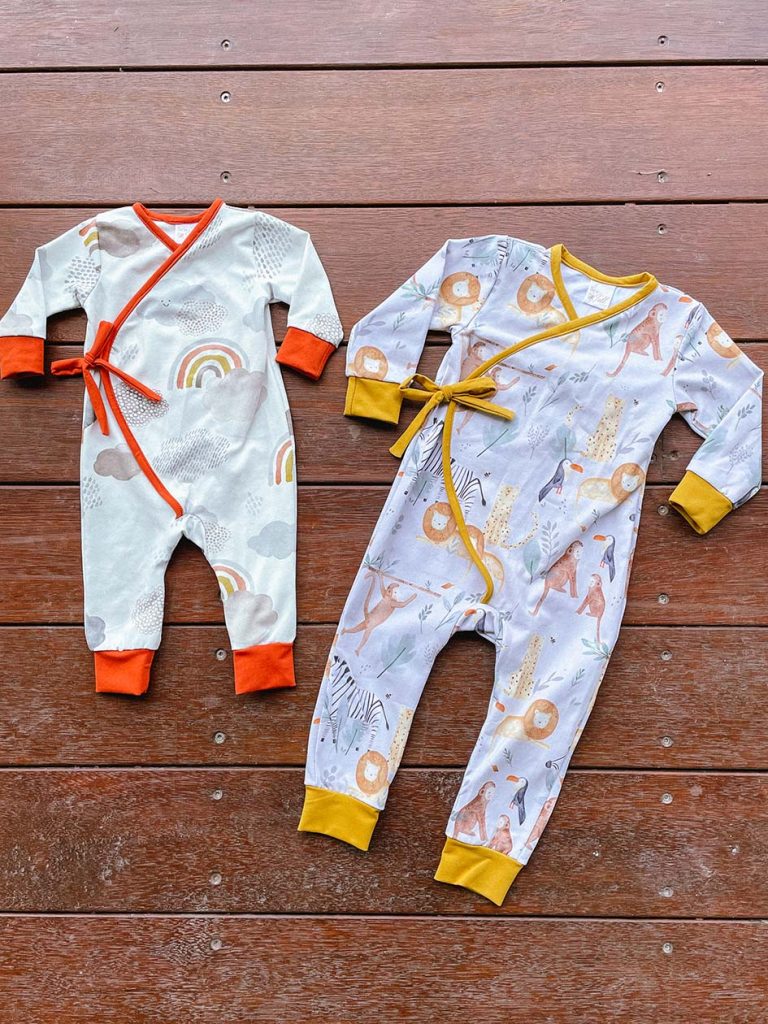
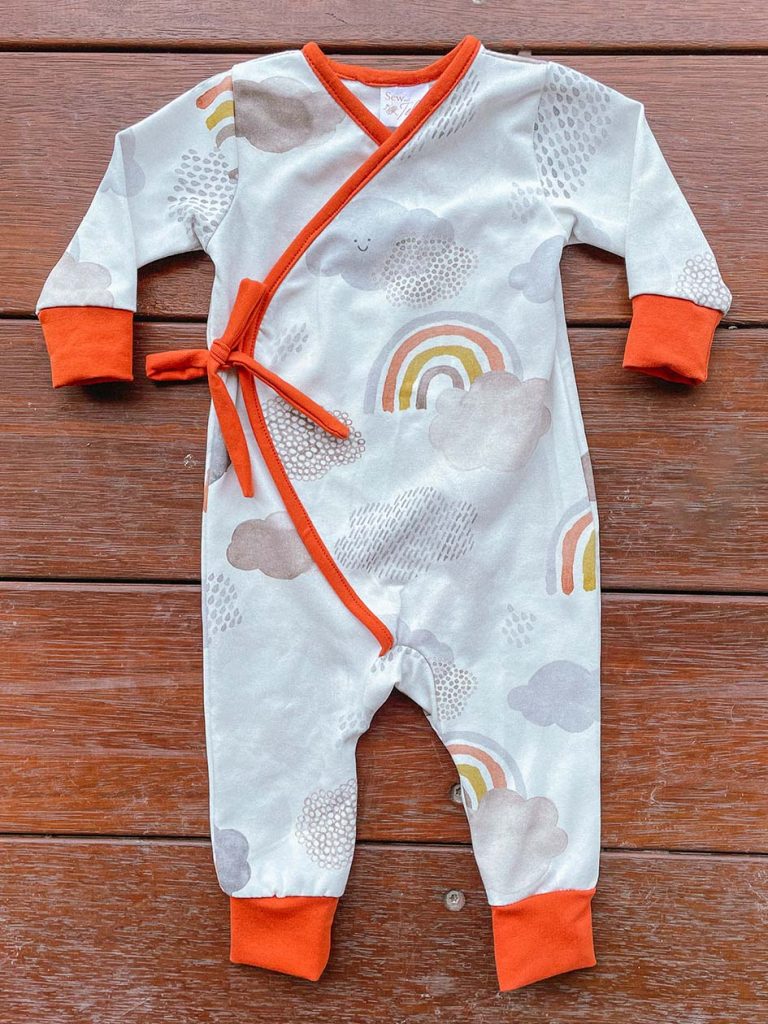
Video Tutorial of Bear Hug Wrap Romper

Learn to Sew
Today I thought I would share the top 5 steps I do before every project. These rituals will help you get the most from your projects and ensure you have the best chance at sewing success! Ready? Let’s dive in!

1. Double-Checking Measurements
“Measure twice, cut once” is an old adage that holds true for a reason. Before anything else, I always check my measurements. Our bodies change, and what was accurate a month ago might not be today.
Why it matters:
Precision: Ensuring a garment fits perfectly starts with accurate measurements.
Avoiding Waste: Double-checking prevents wasting precious fabric on ill-fitting pieces.
2. Assessing My Fabric Stash
 Next, I rummage through my treasured fabric stash. It’s not just about choosing a pretty pattern; it’s about matching the fabric’s drape, weight, and stretch to the project’s requirements.
Why it matters:
Sustainability: Making use of what I already have is eco-friendly and budget-friendly.
Harmony: The right fabric can make or break the final look of a garment.
3. Picking the Perfect Thread
 You might think, “It’s just thread,” but the thread can be the silent hero (or villain) of any sewing project. I love making sure that I have matching thread colour.
Why it matters:
Aesthetics: Coordinating thread ensures seamless (pun intended!) integration.
Professional Touch: Matching thread is a simple step you can do to really level up your projects.
4. Prewashing Fabrics
Ok, Ok. I confess! While it’s advisable to prewash all fabrics, I don’t always wash my knits. I DO however make it a point to prewash my woven ones. This eliminates any surprises like unwanted shrinkage or colour bleed.
Why it matters:
Consistency: Fabric, once sewn, should maintain its shape and size.
Color Integrity: Prewashing can help set dyes and prevent colour bleeding in the finished garment.
5. Crafting a Toile for New Woven Patterns
 Lastly, if I’m working with a woven pattern I haven’t tackled before, I make a toile (or a test garment). It’s an initial version of the final garment made from cheaper fabric (like calico as pictured), allowing me to adjust and perfect the fit.
Why it matters:
Tailored Fit: Ensuring the final garment will fit like a glove.
Learning Experience: Making a toile allows me to familiarise myself with the pattern’s nuances without the pressure of ruining my good fabric.
Starting sewing projects is always an exciting adventure. By following these five rituals each time, I set myself up for sewing success. I hope these insights offer some inspiration for your own pre-project rituals!