Pattern Reviews

  • Pattern Review of the Palazzo Pants

    Pattern: Palazzo Pants
    Designer: Pattern Emporium
    Fabrics: EcoVero Viscose Elastane Jersey Fabric Black -Spotlight Stores
    Measurements:  Waist 39″; Hips 47″
    Size made: 18
    Adjustments: I took in the elastic to sit higher on my waist
    Pros: I adore these pants and they are SO comfy! I love the high waisted look
    Cons: SUPER fabric hungry, and these were only the subtle flare.

    Chic Elegance: Where comfort meets style

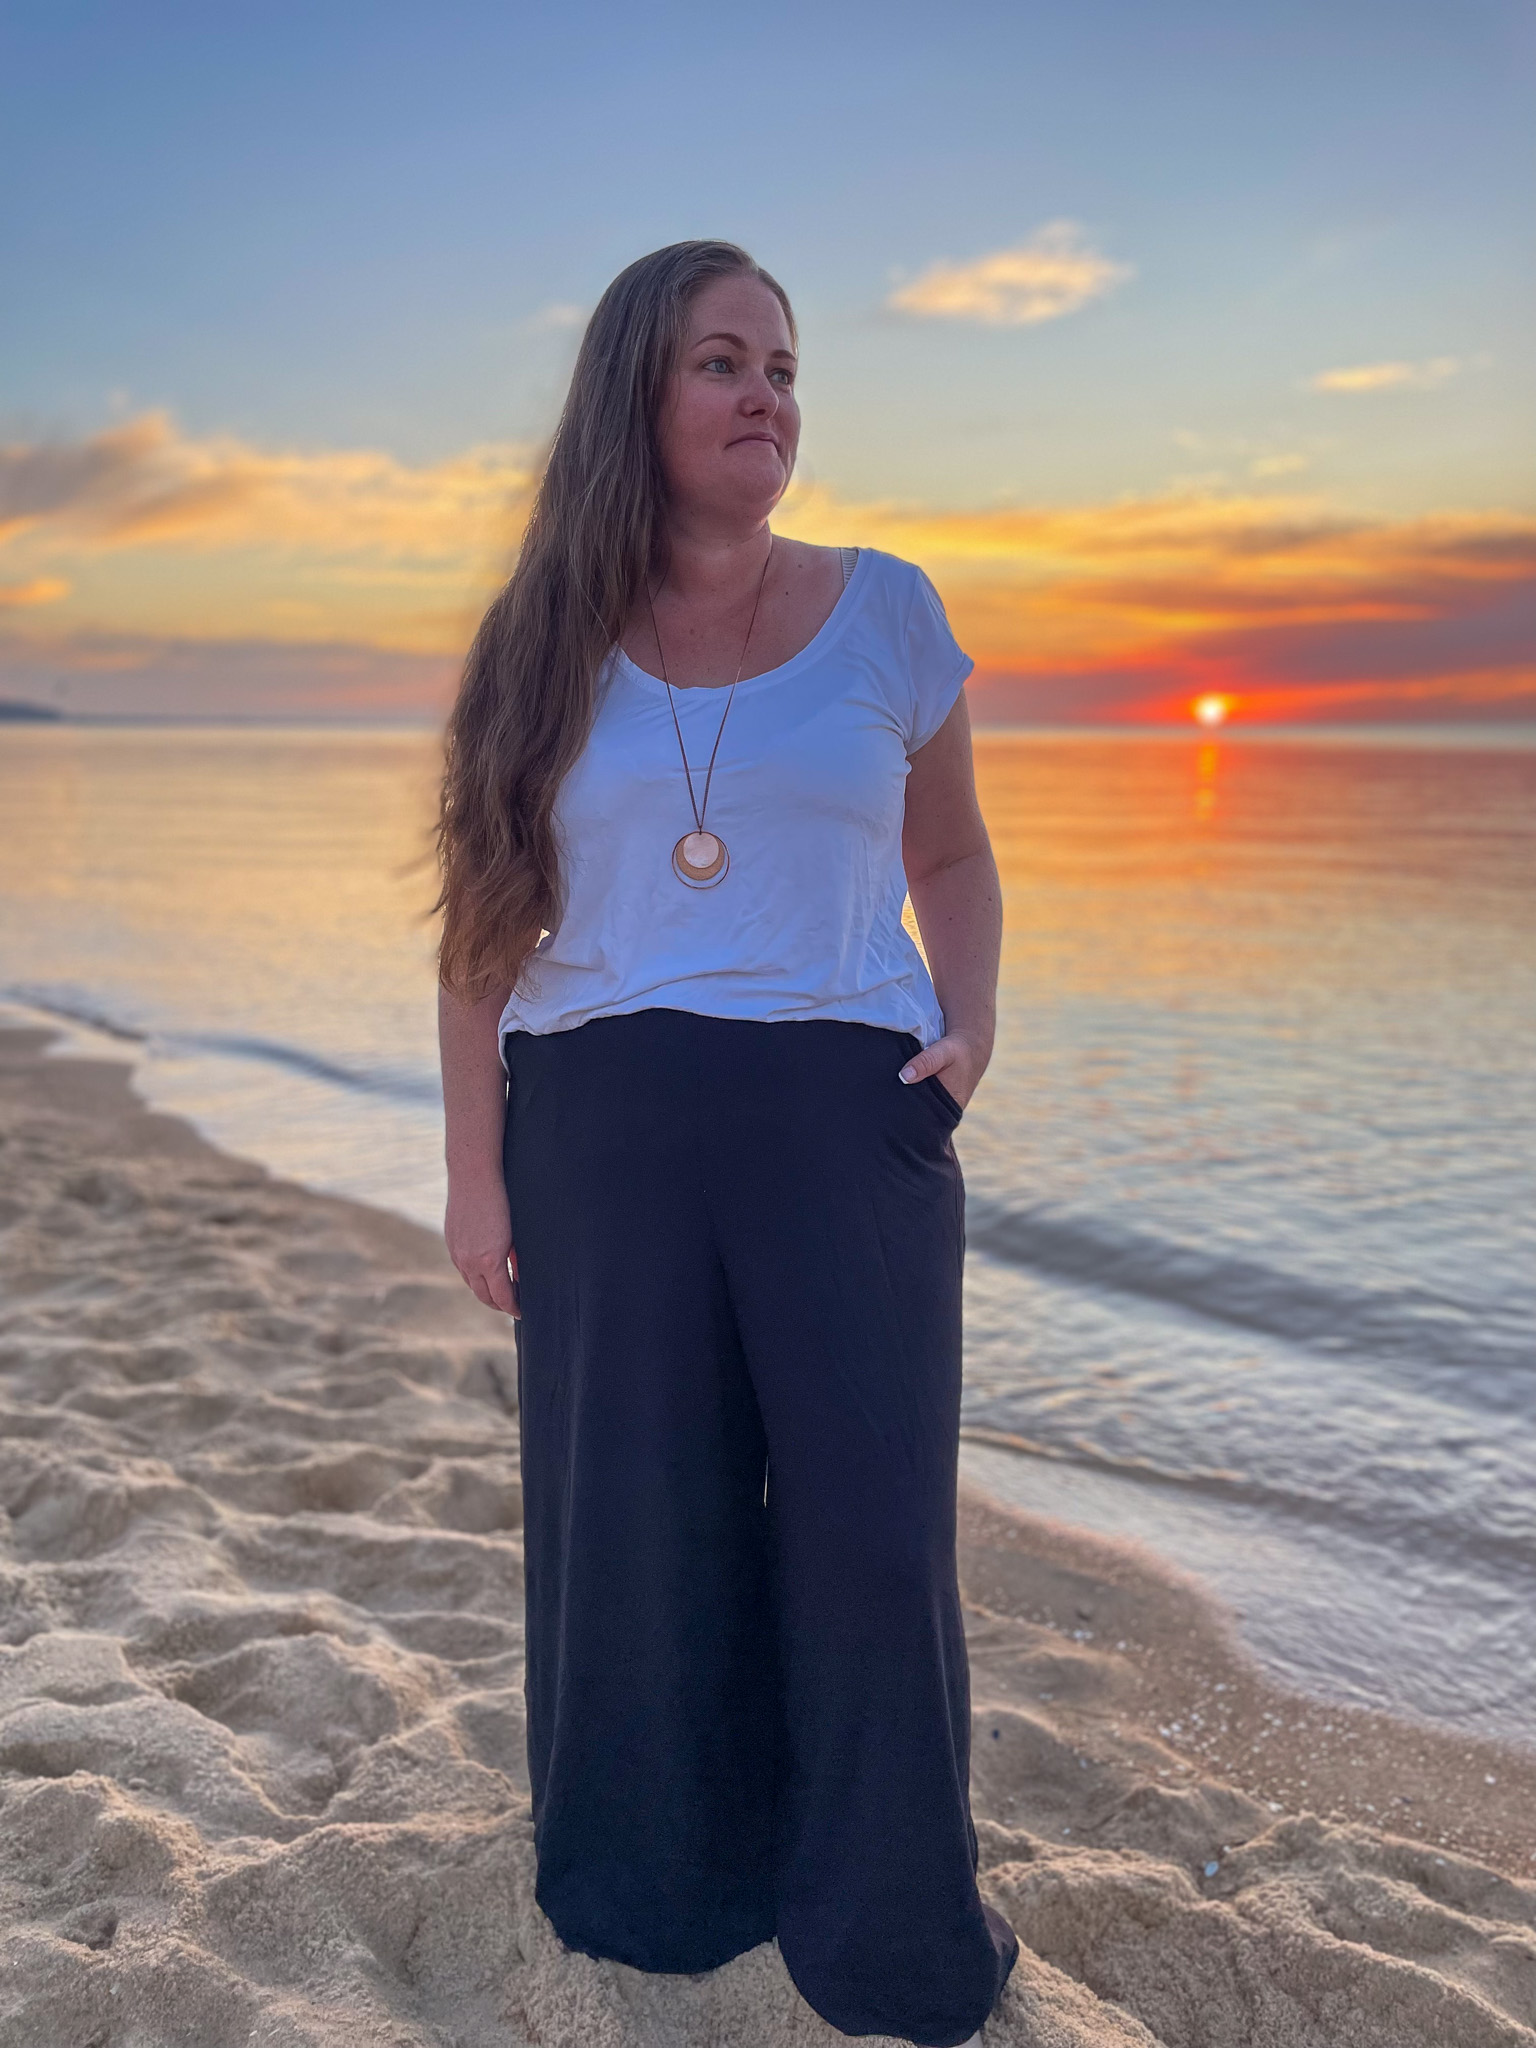
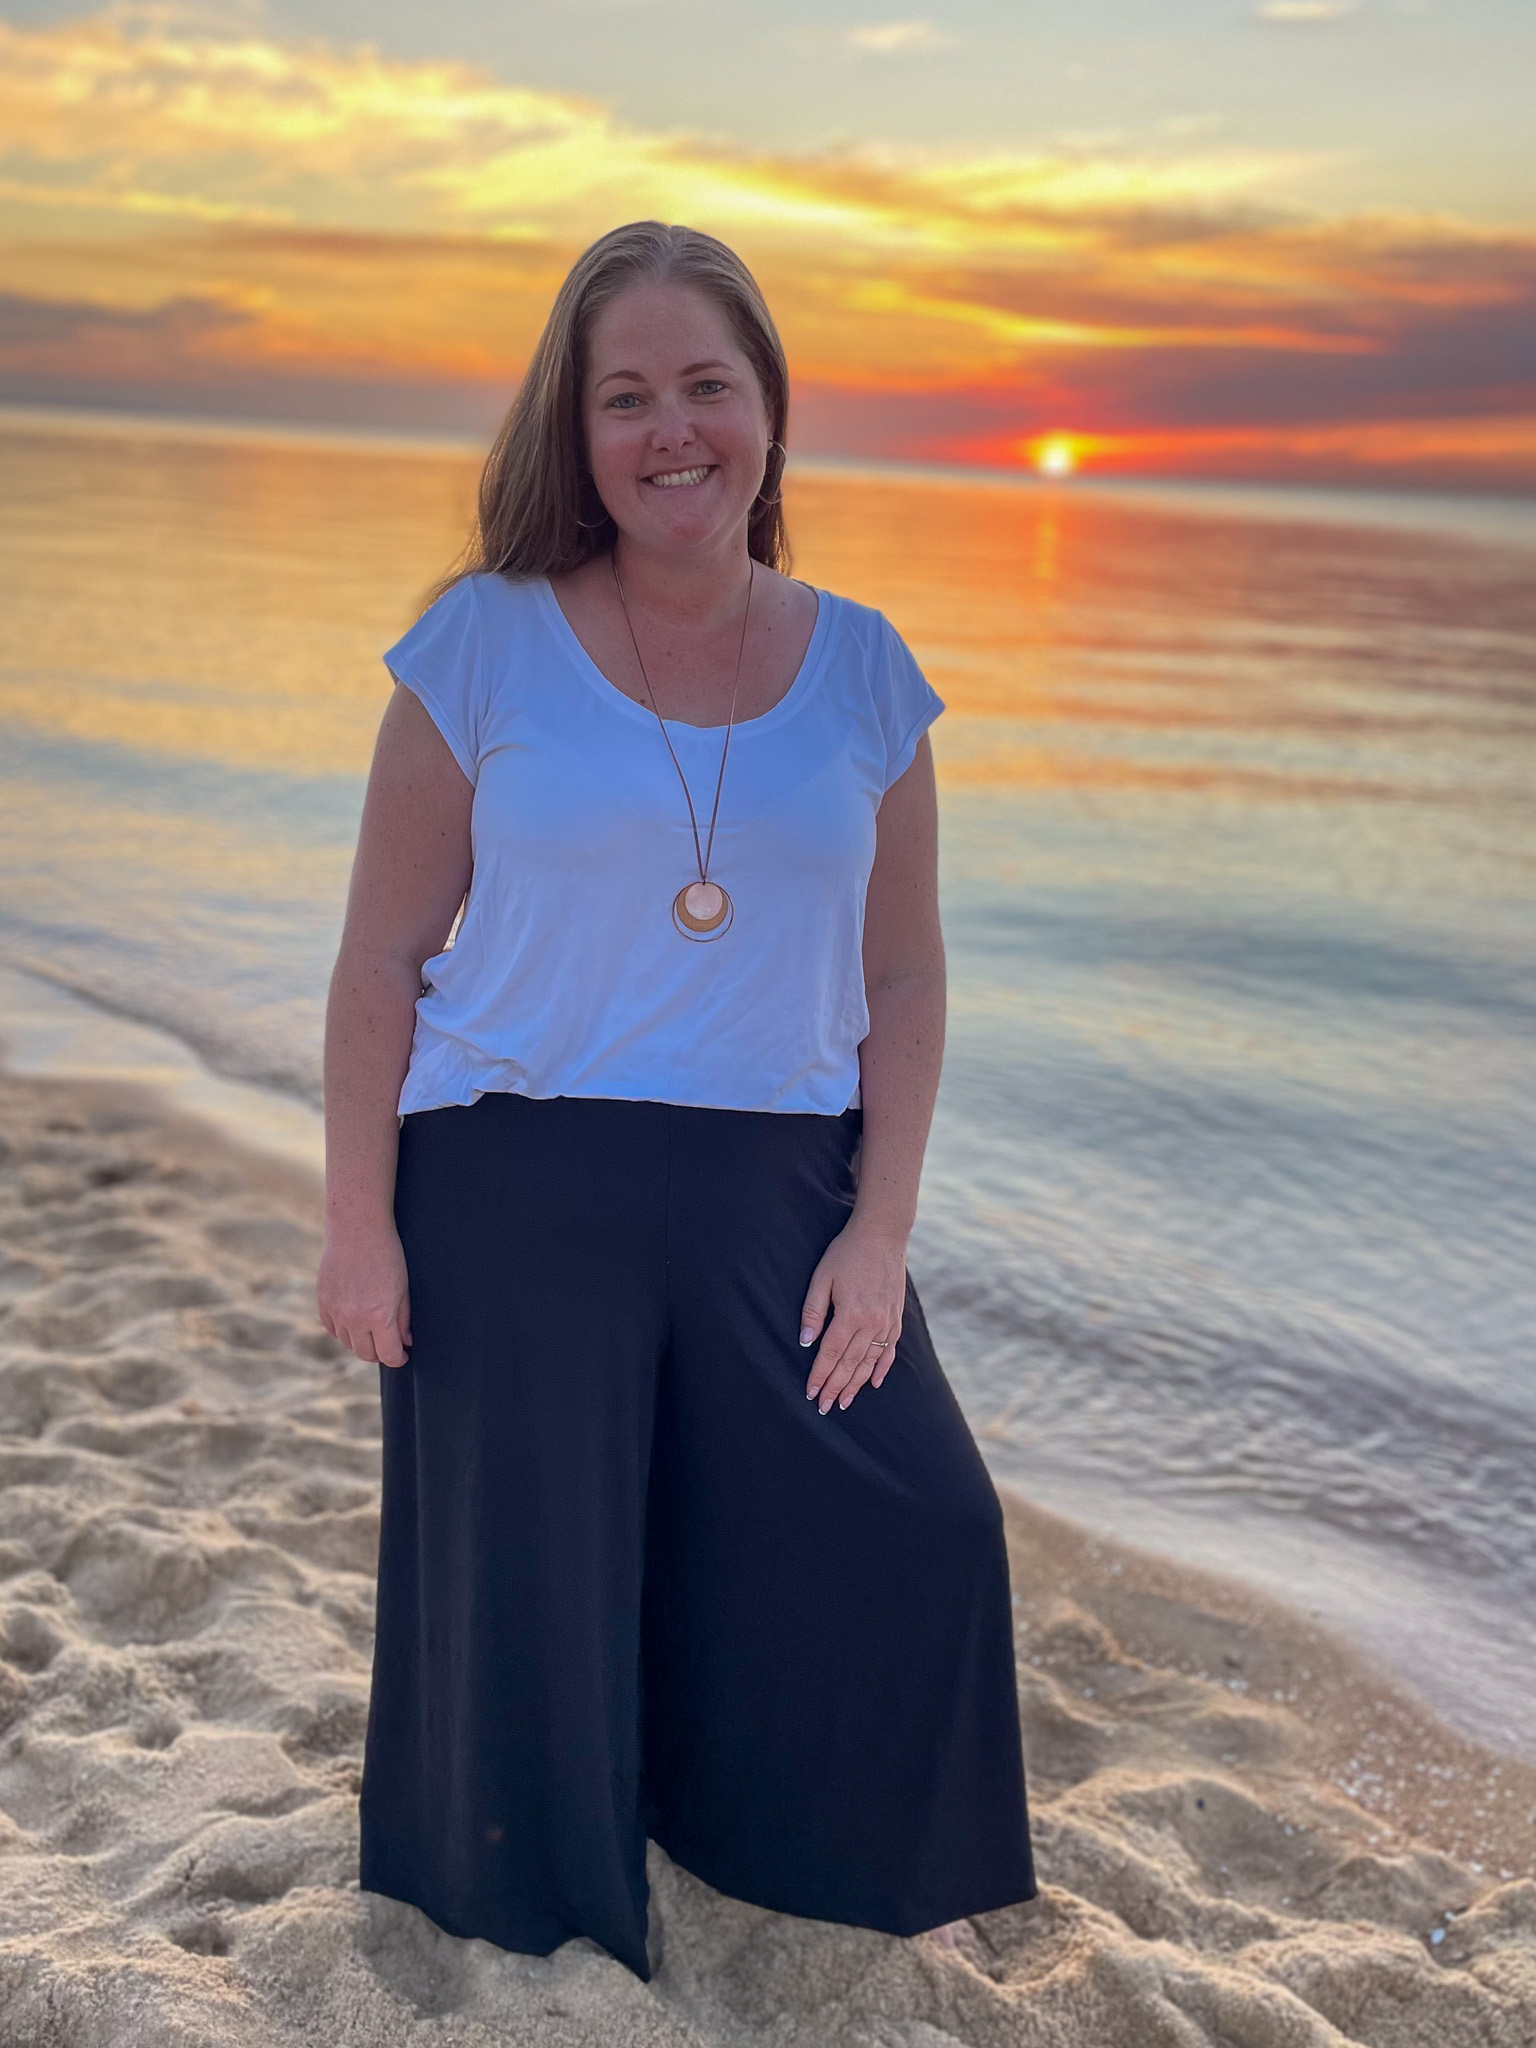
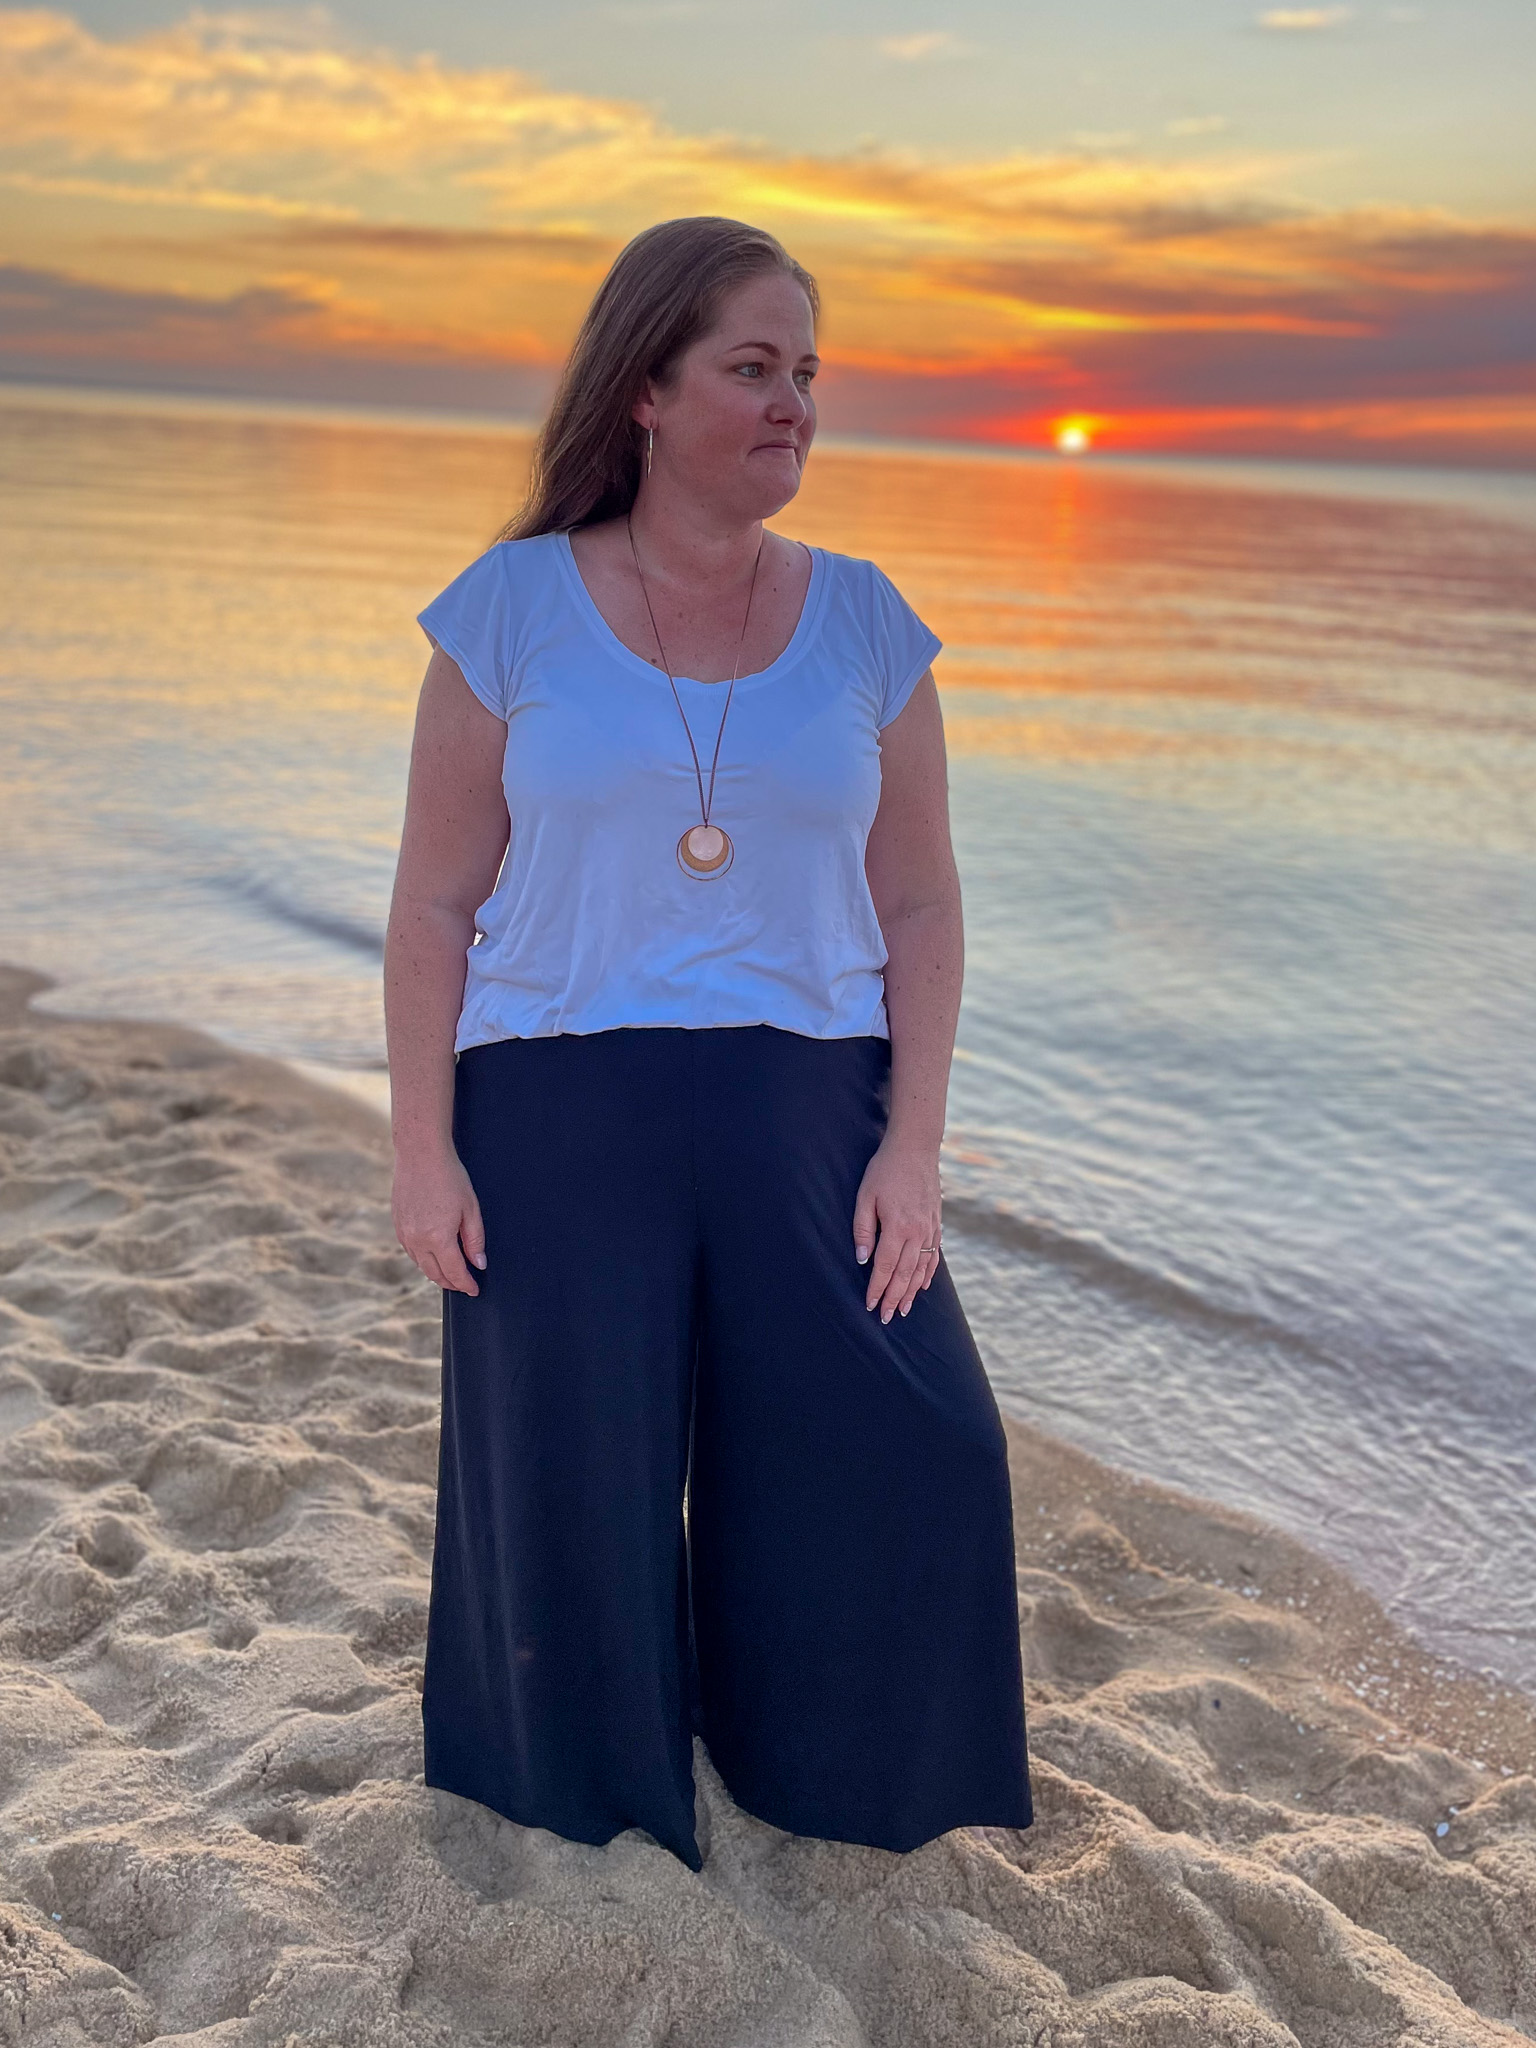
    I always feel a little scared whenever I sew pants. They are notoriously hard to get right and I’ve had my fair share of fails in the past (and I’m sure I still will in the future as well 🙈). However, these pants were a dream and they fit and feel SO good!

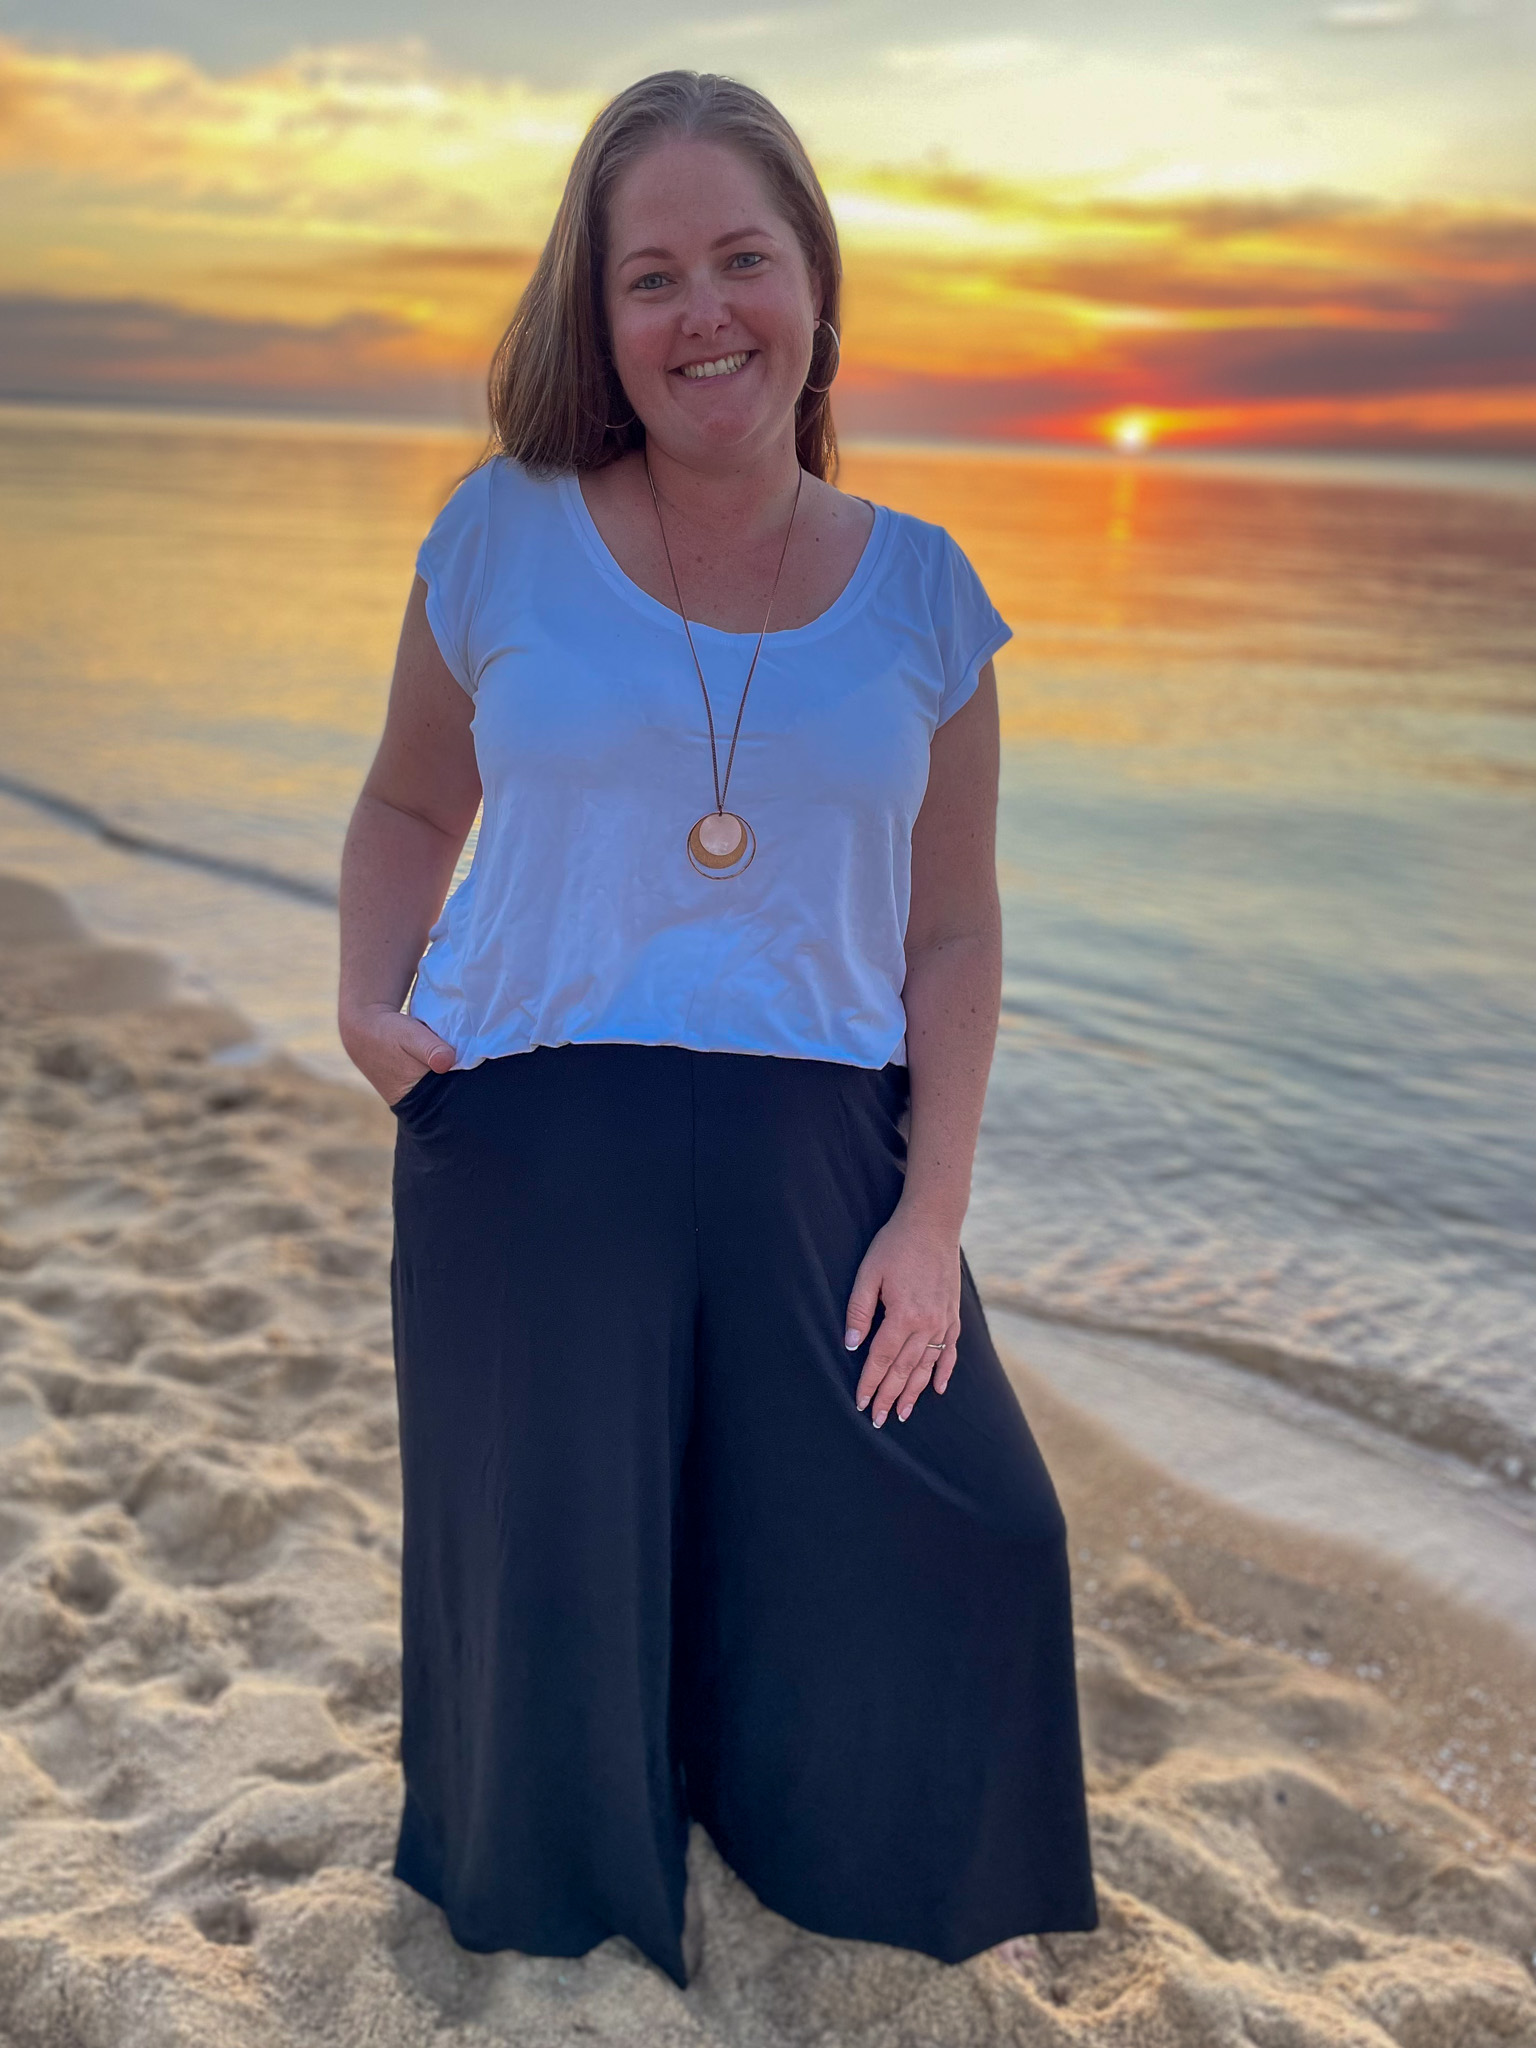
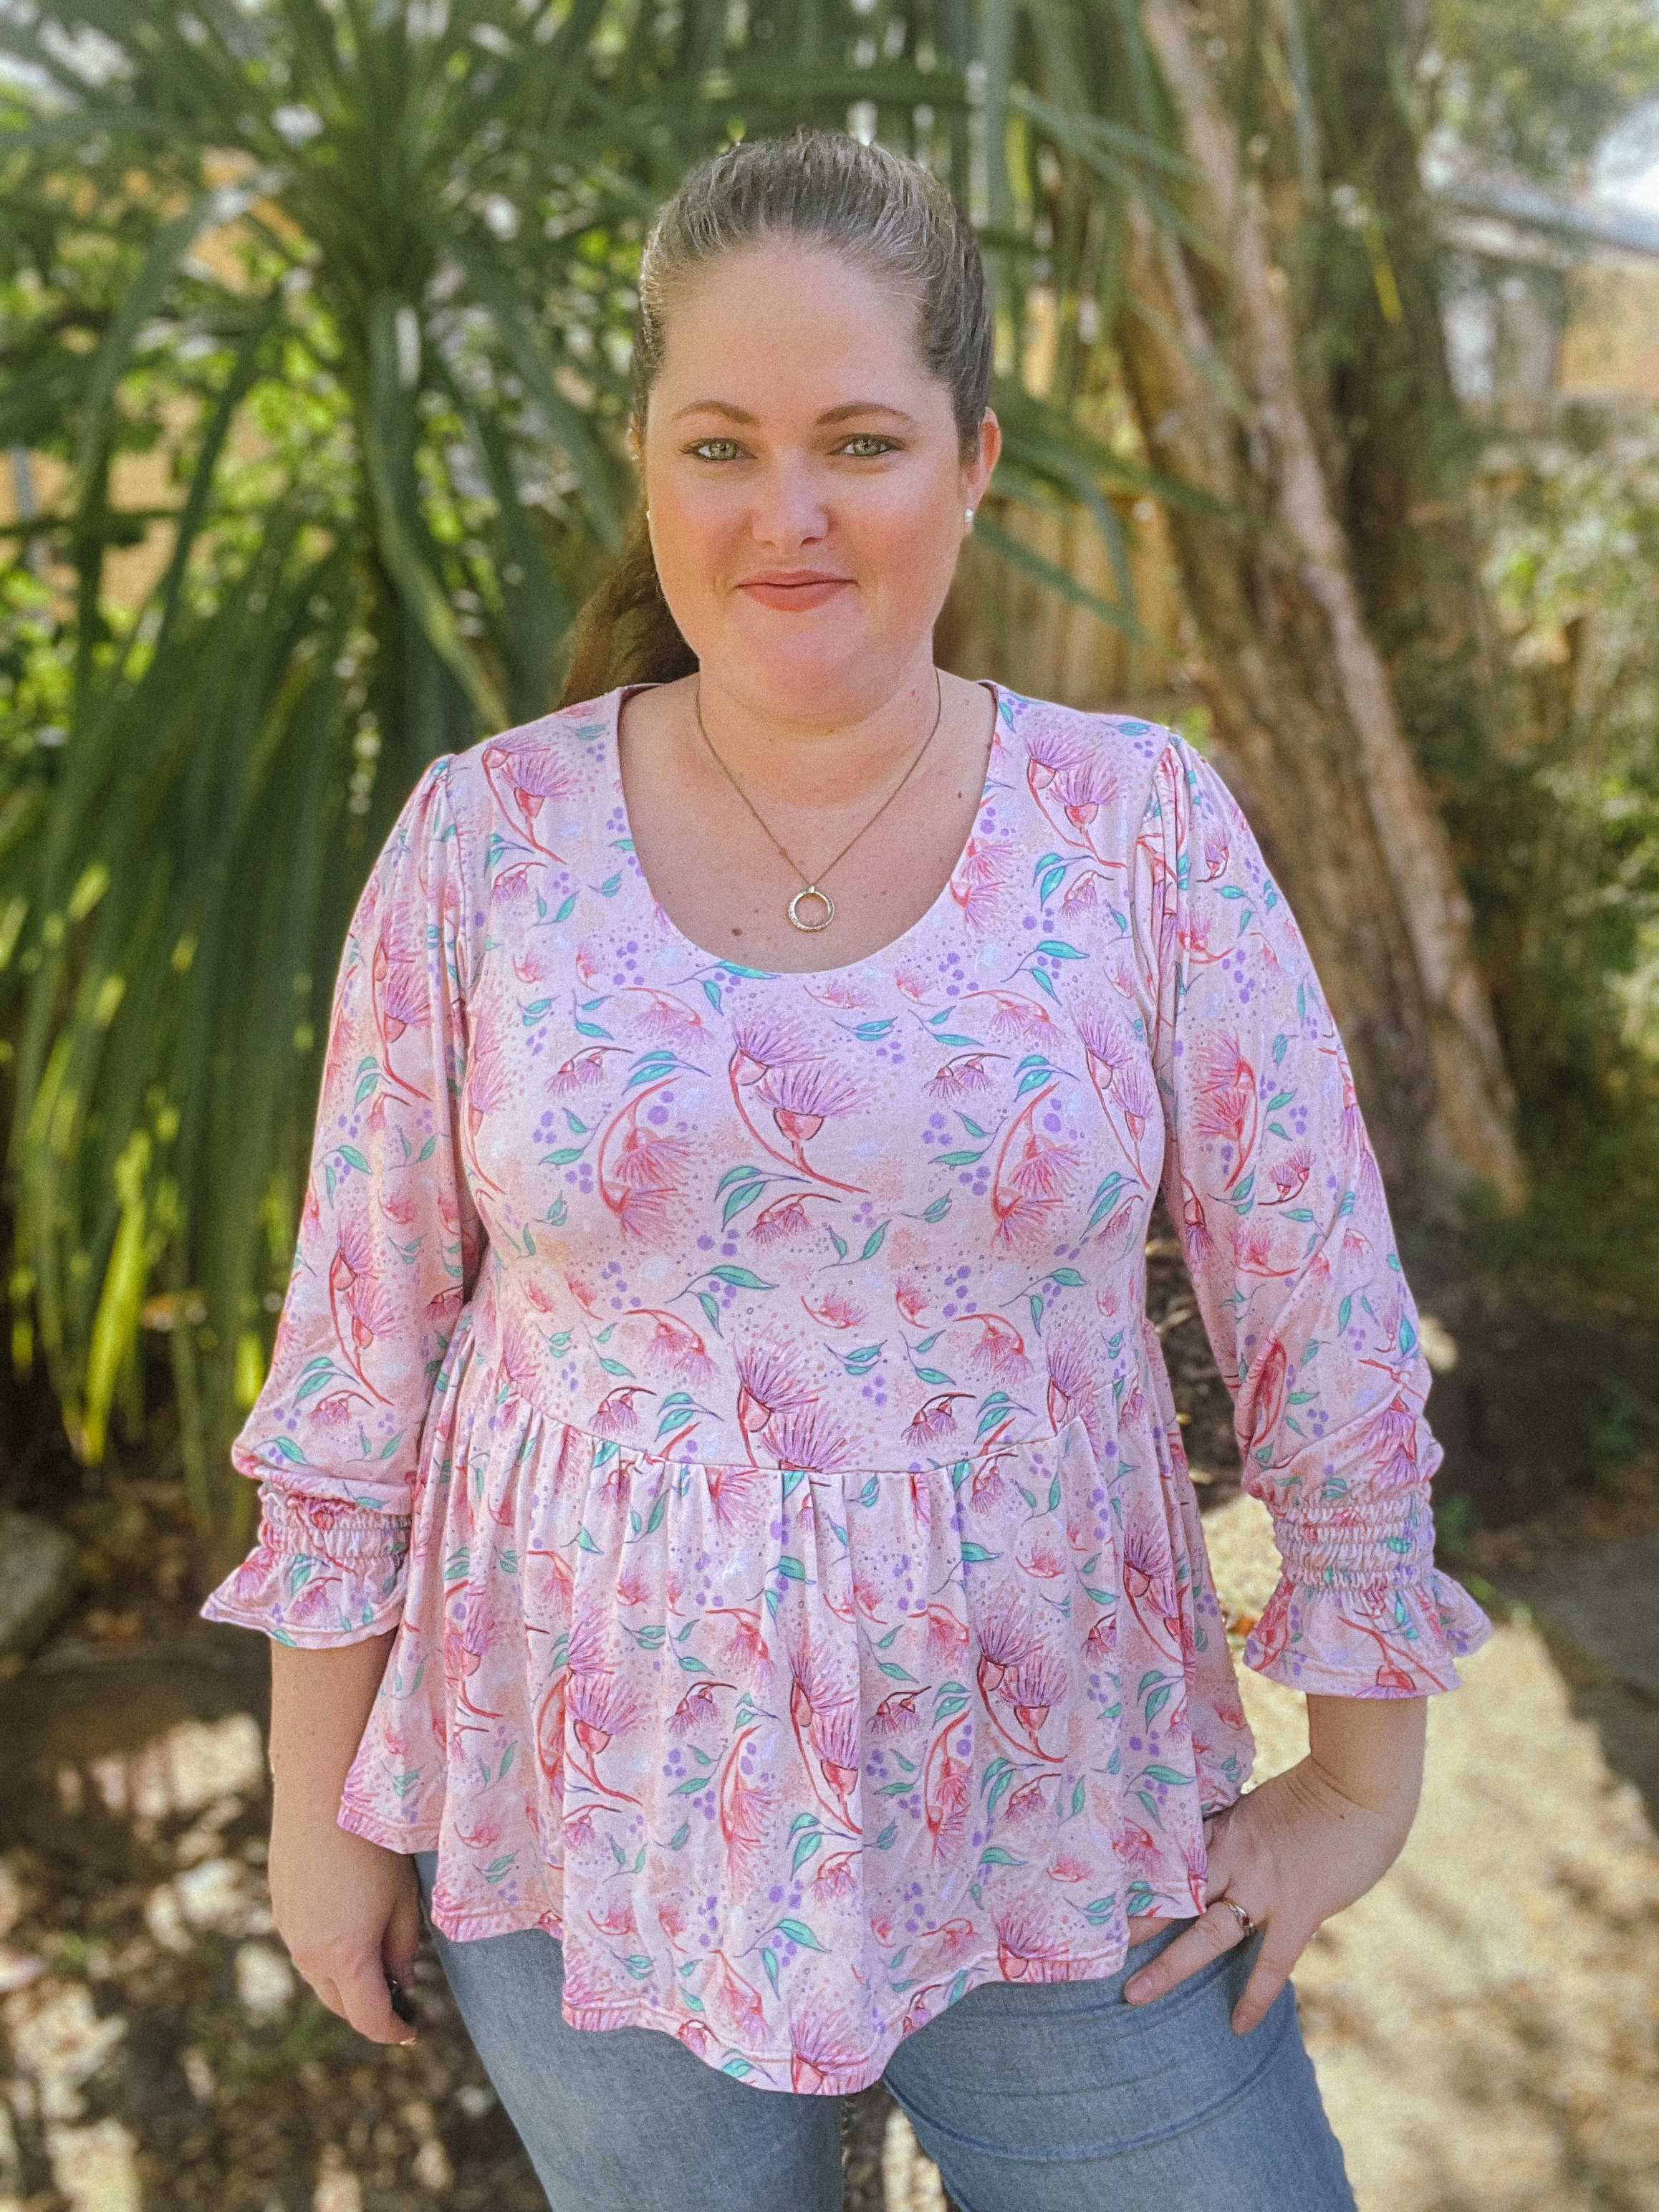
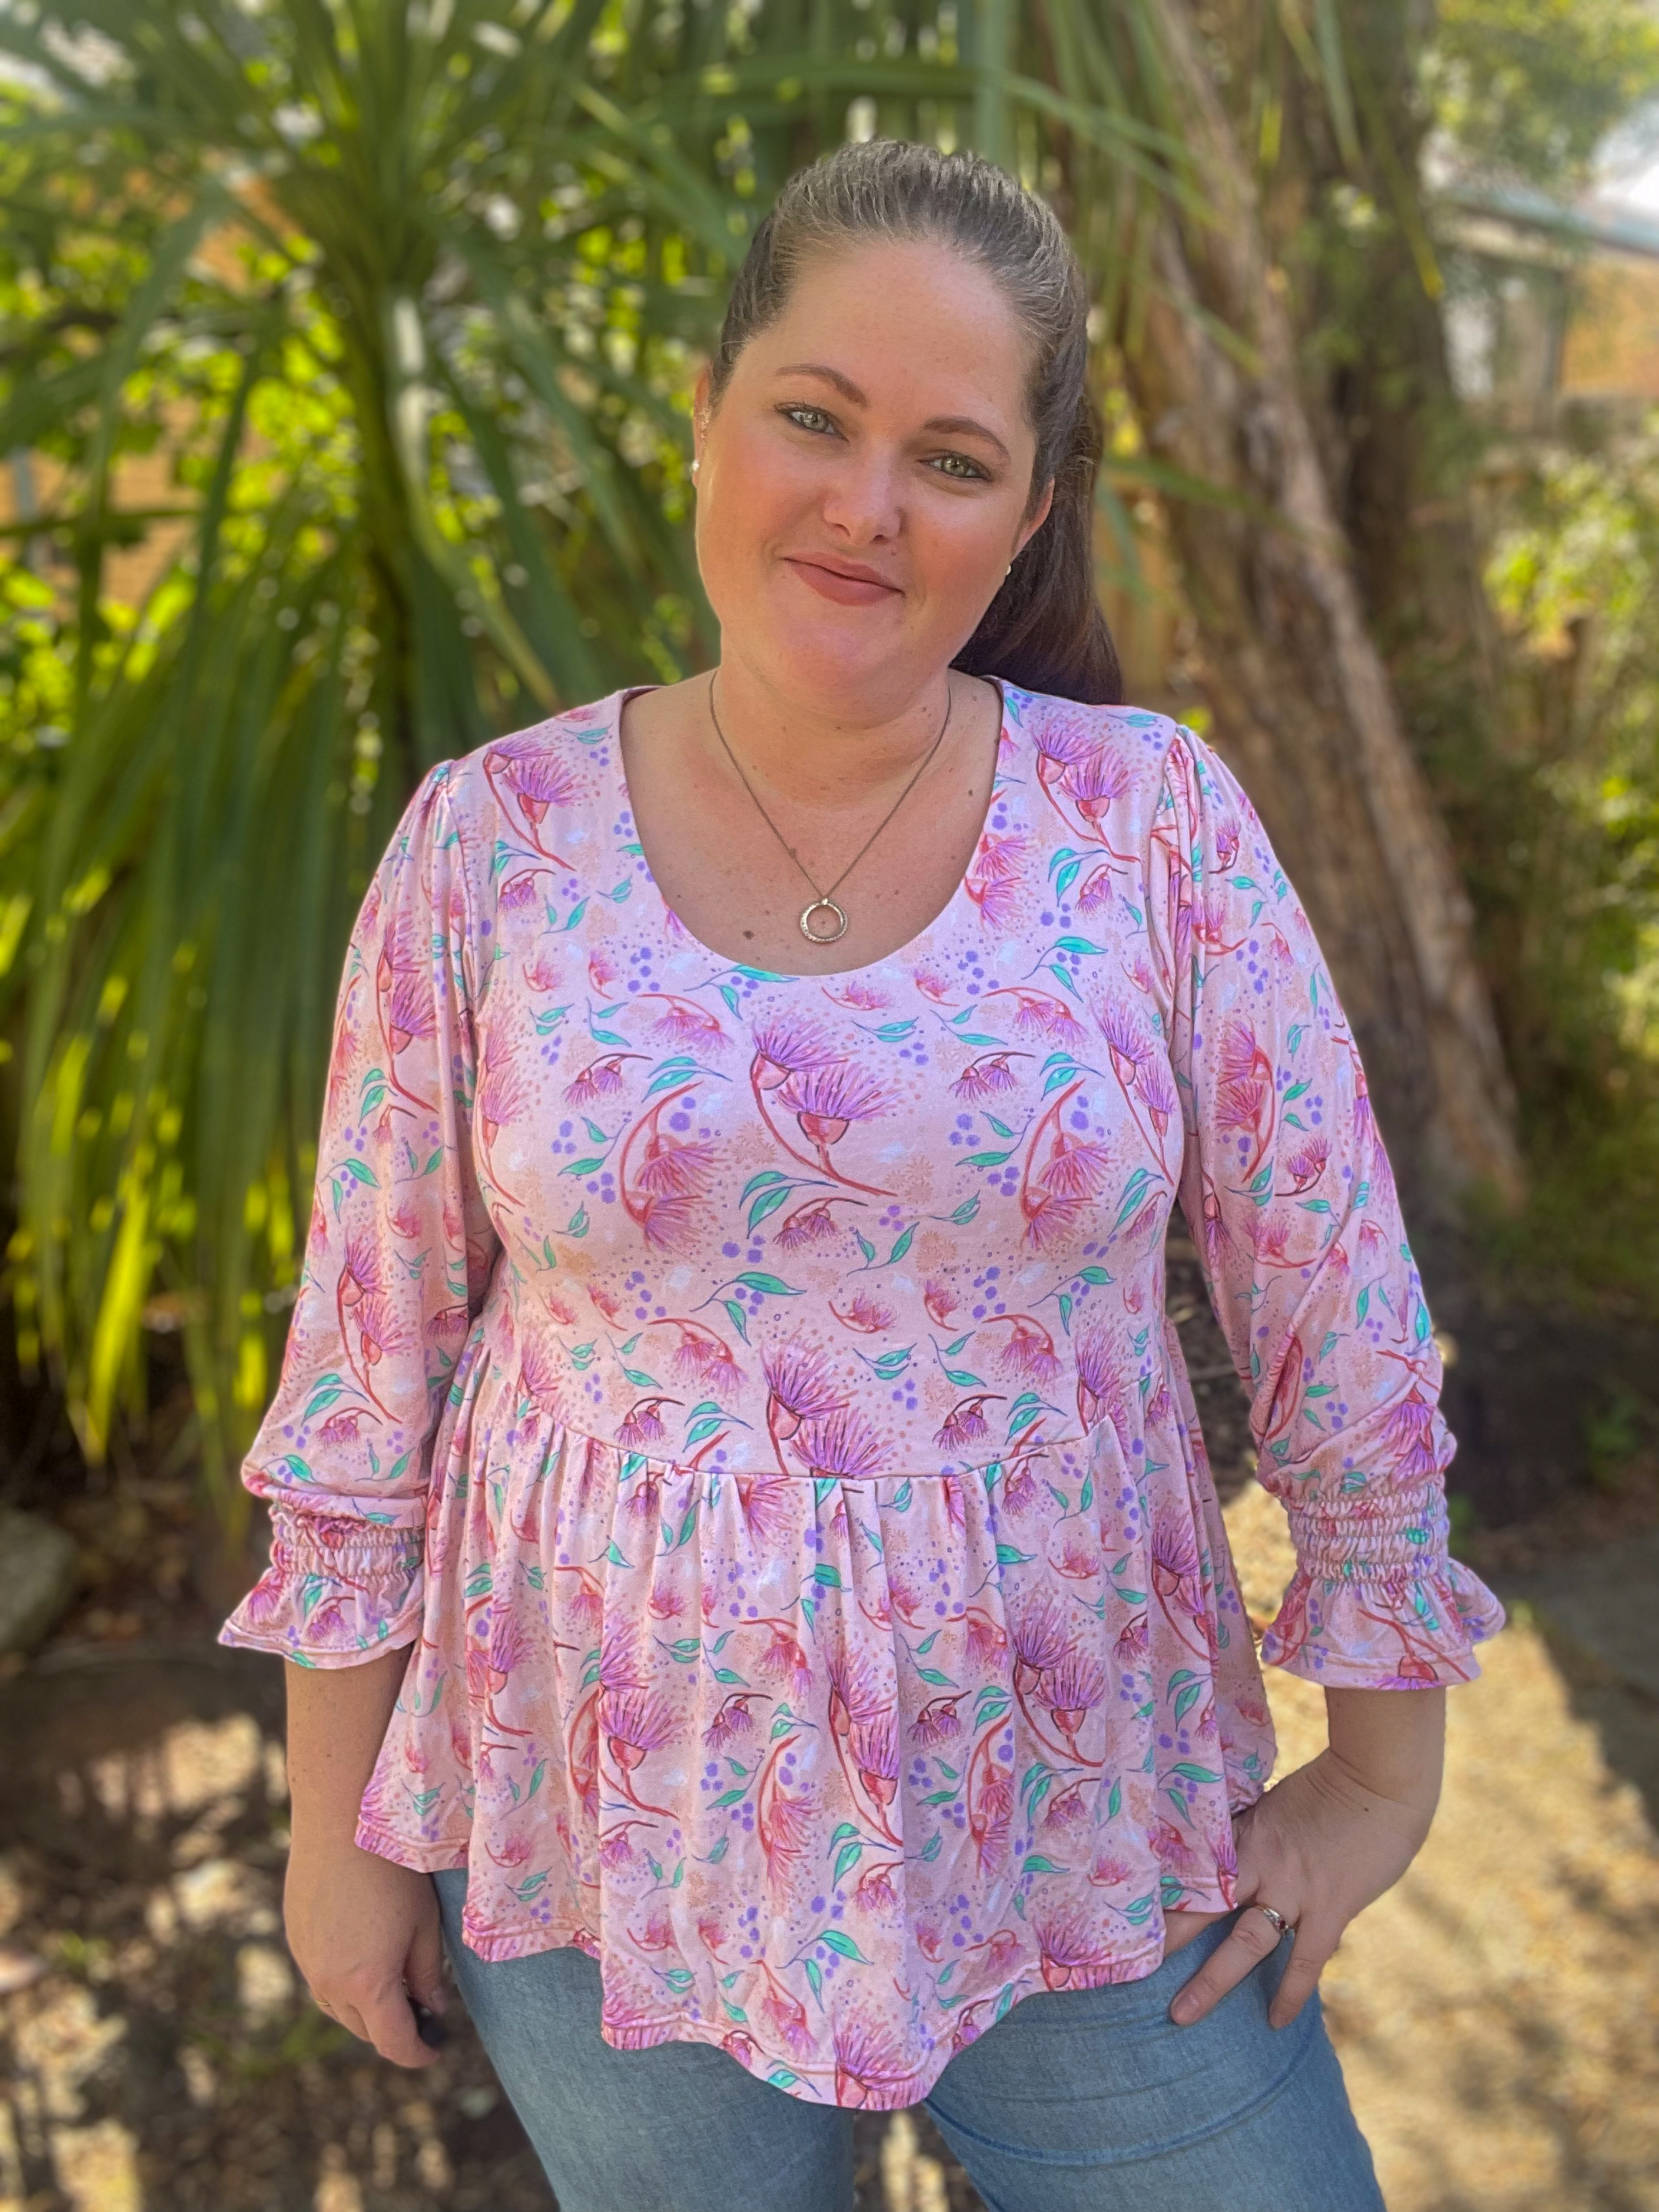
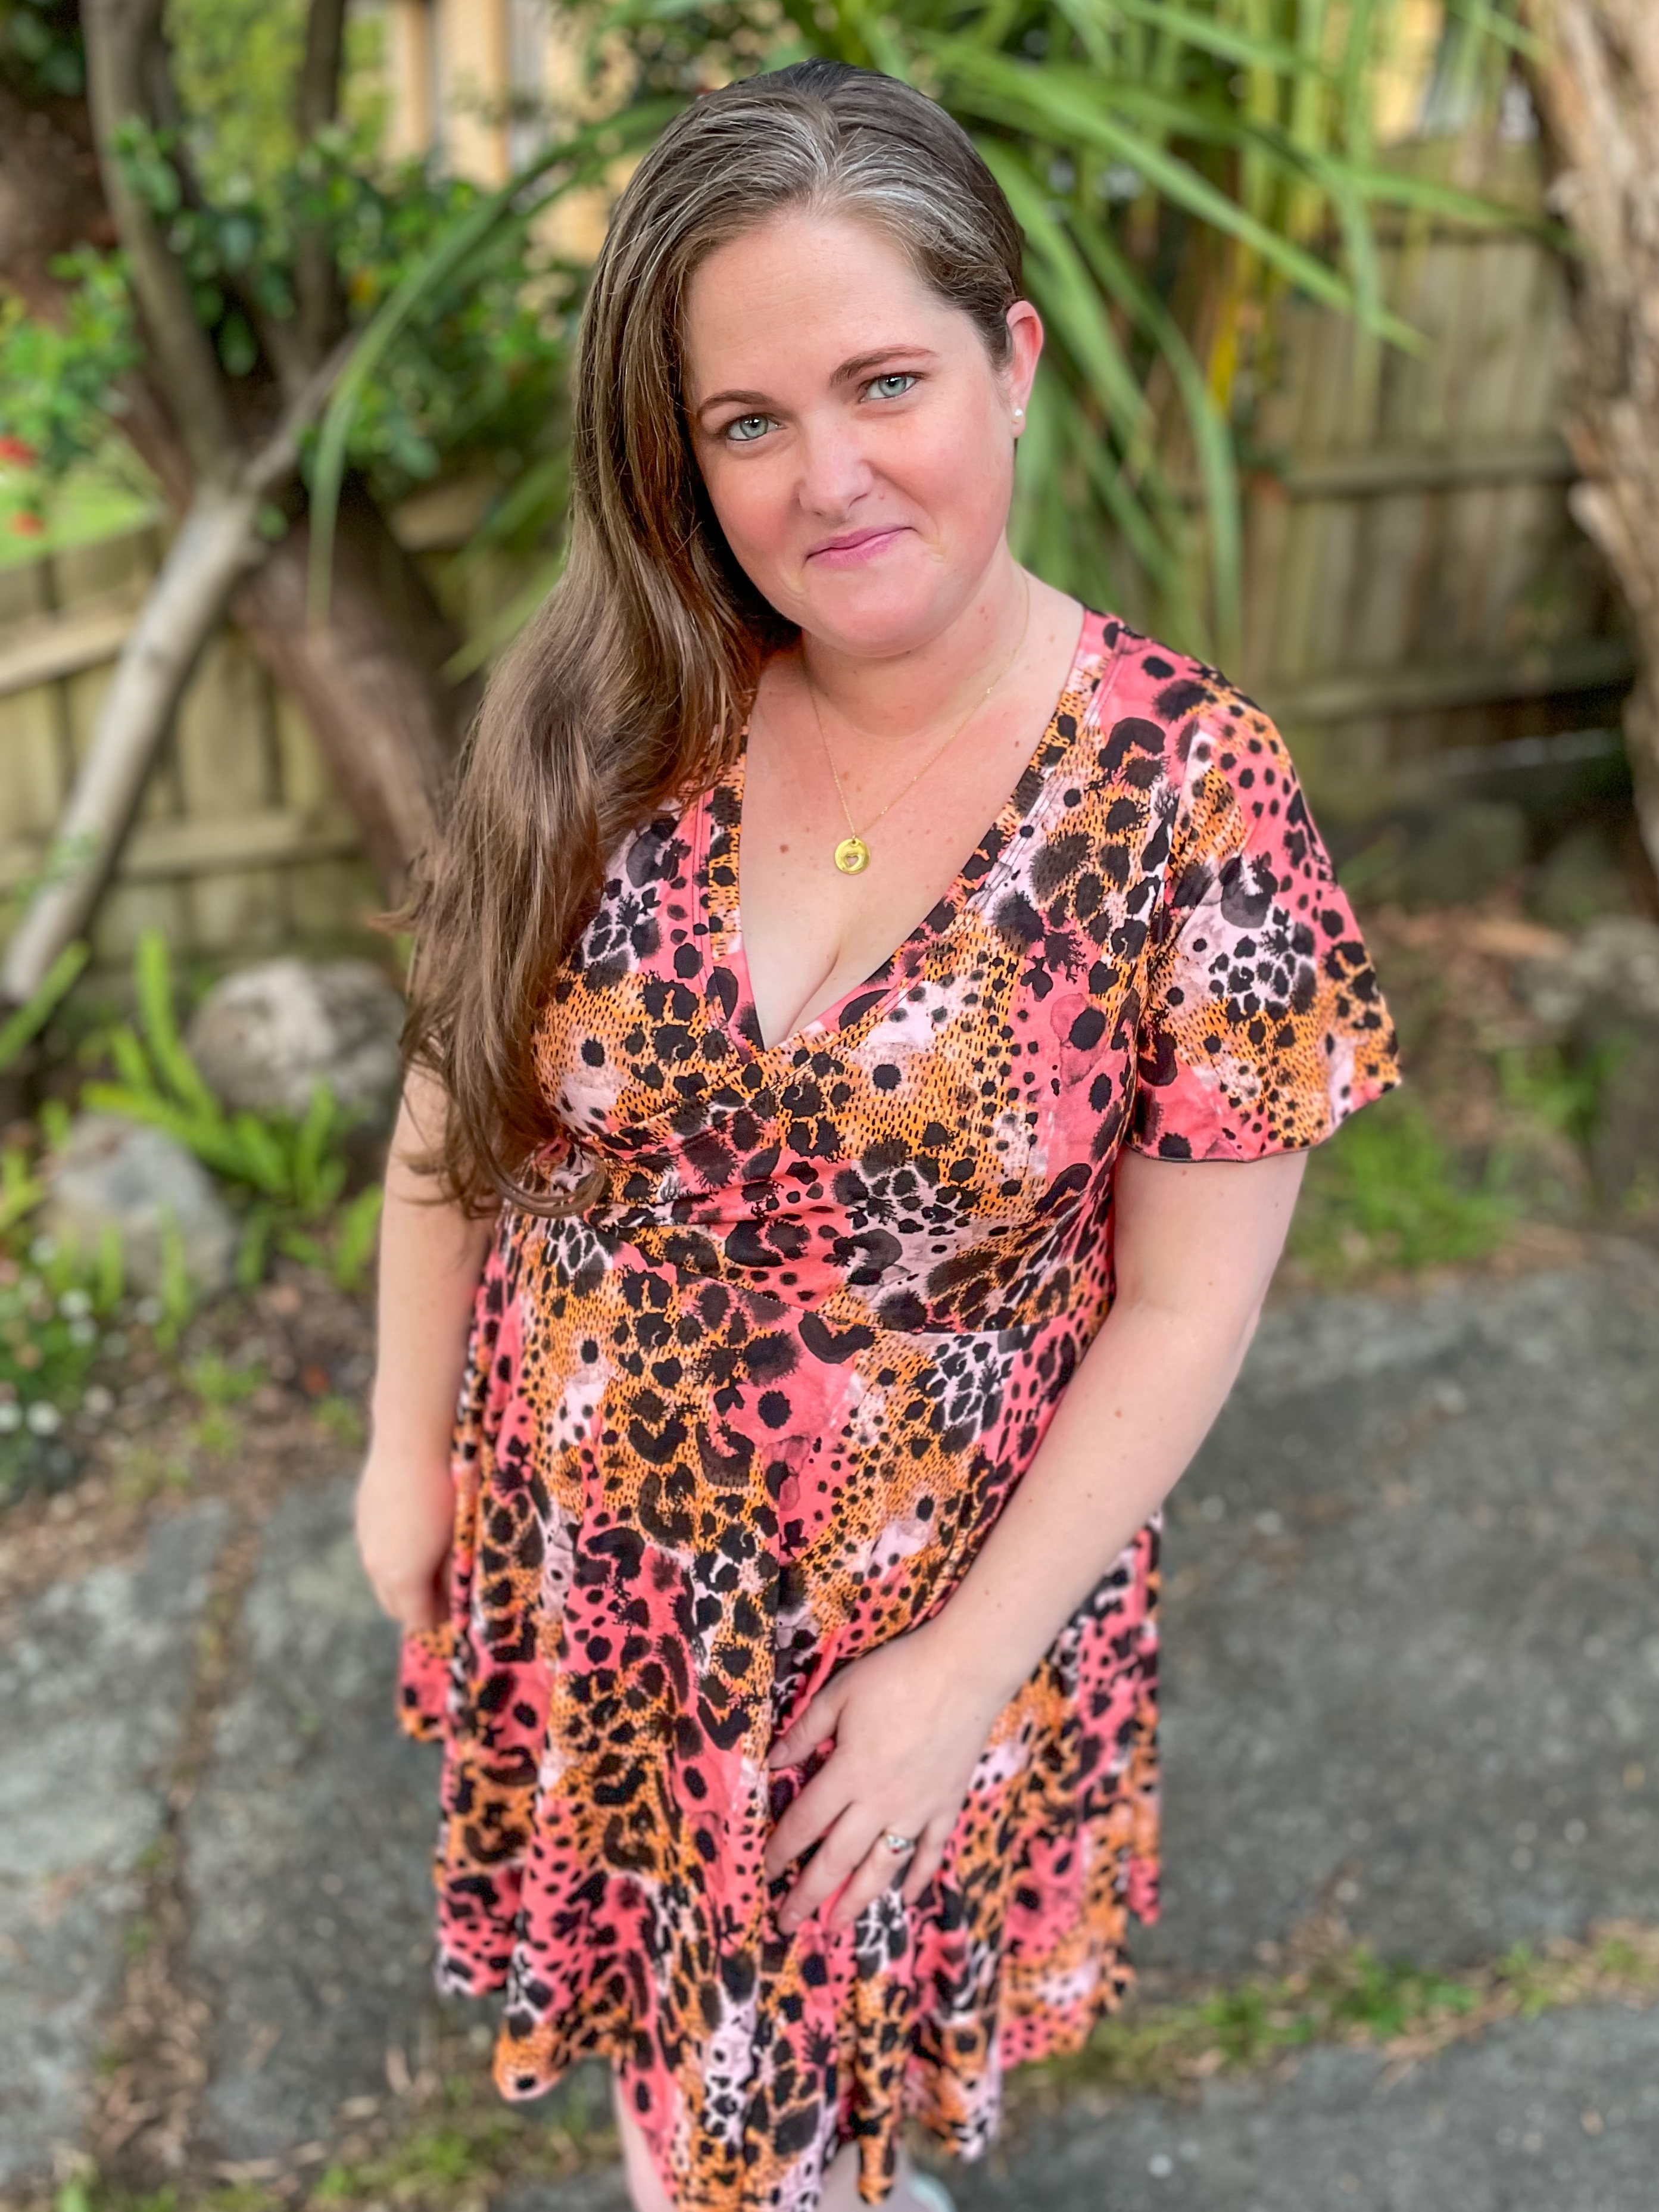
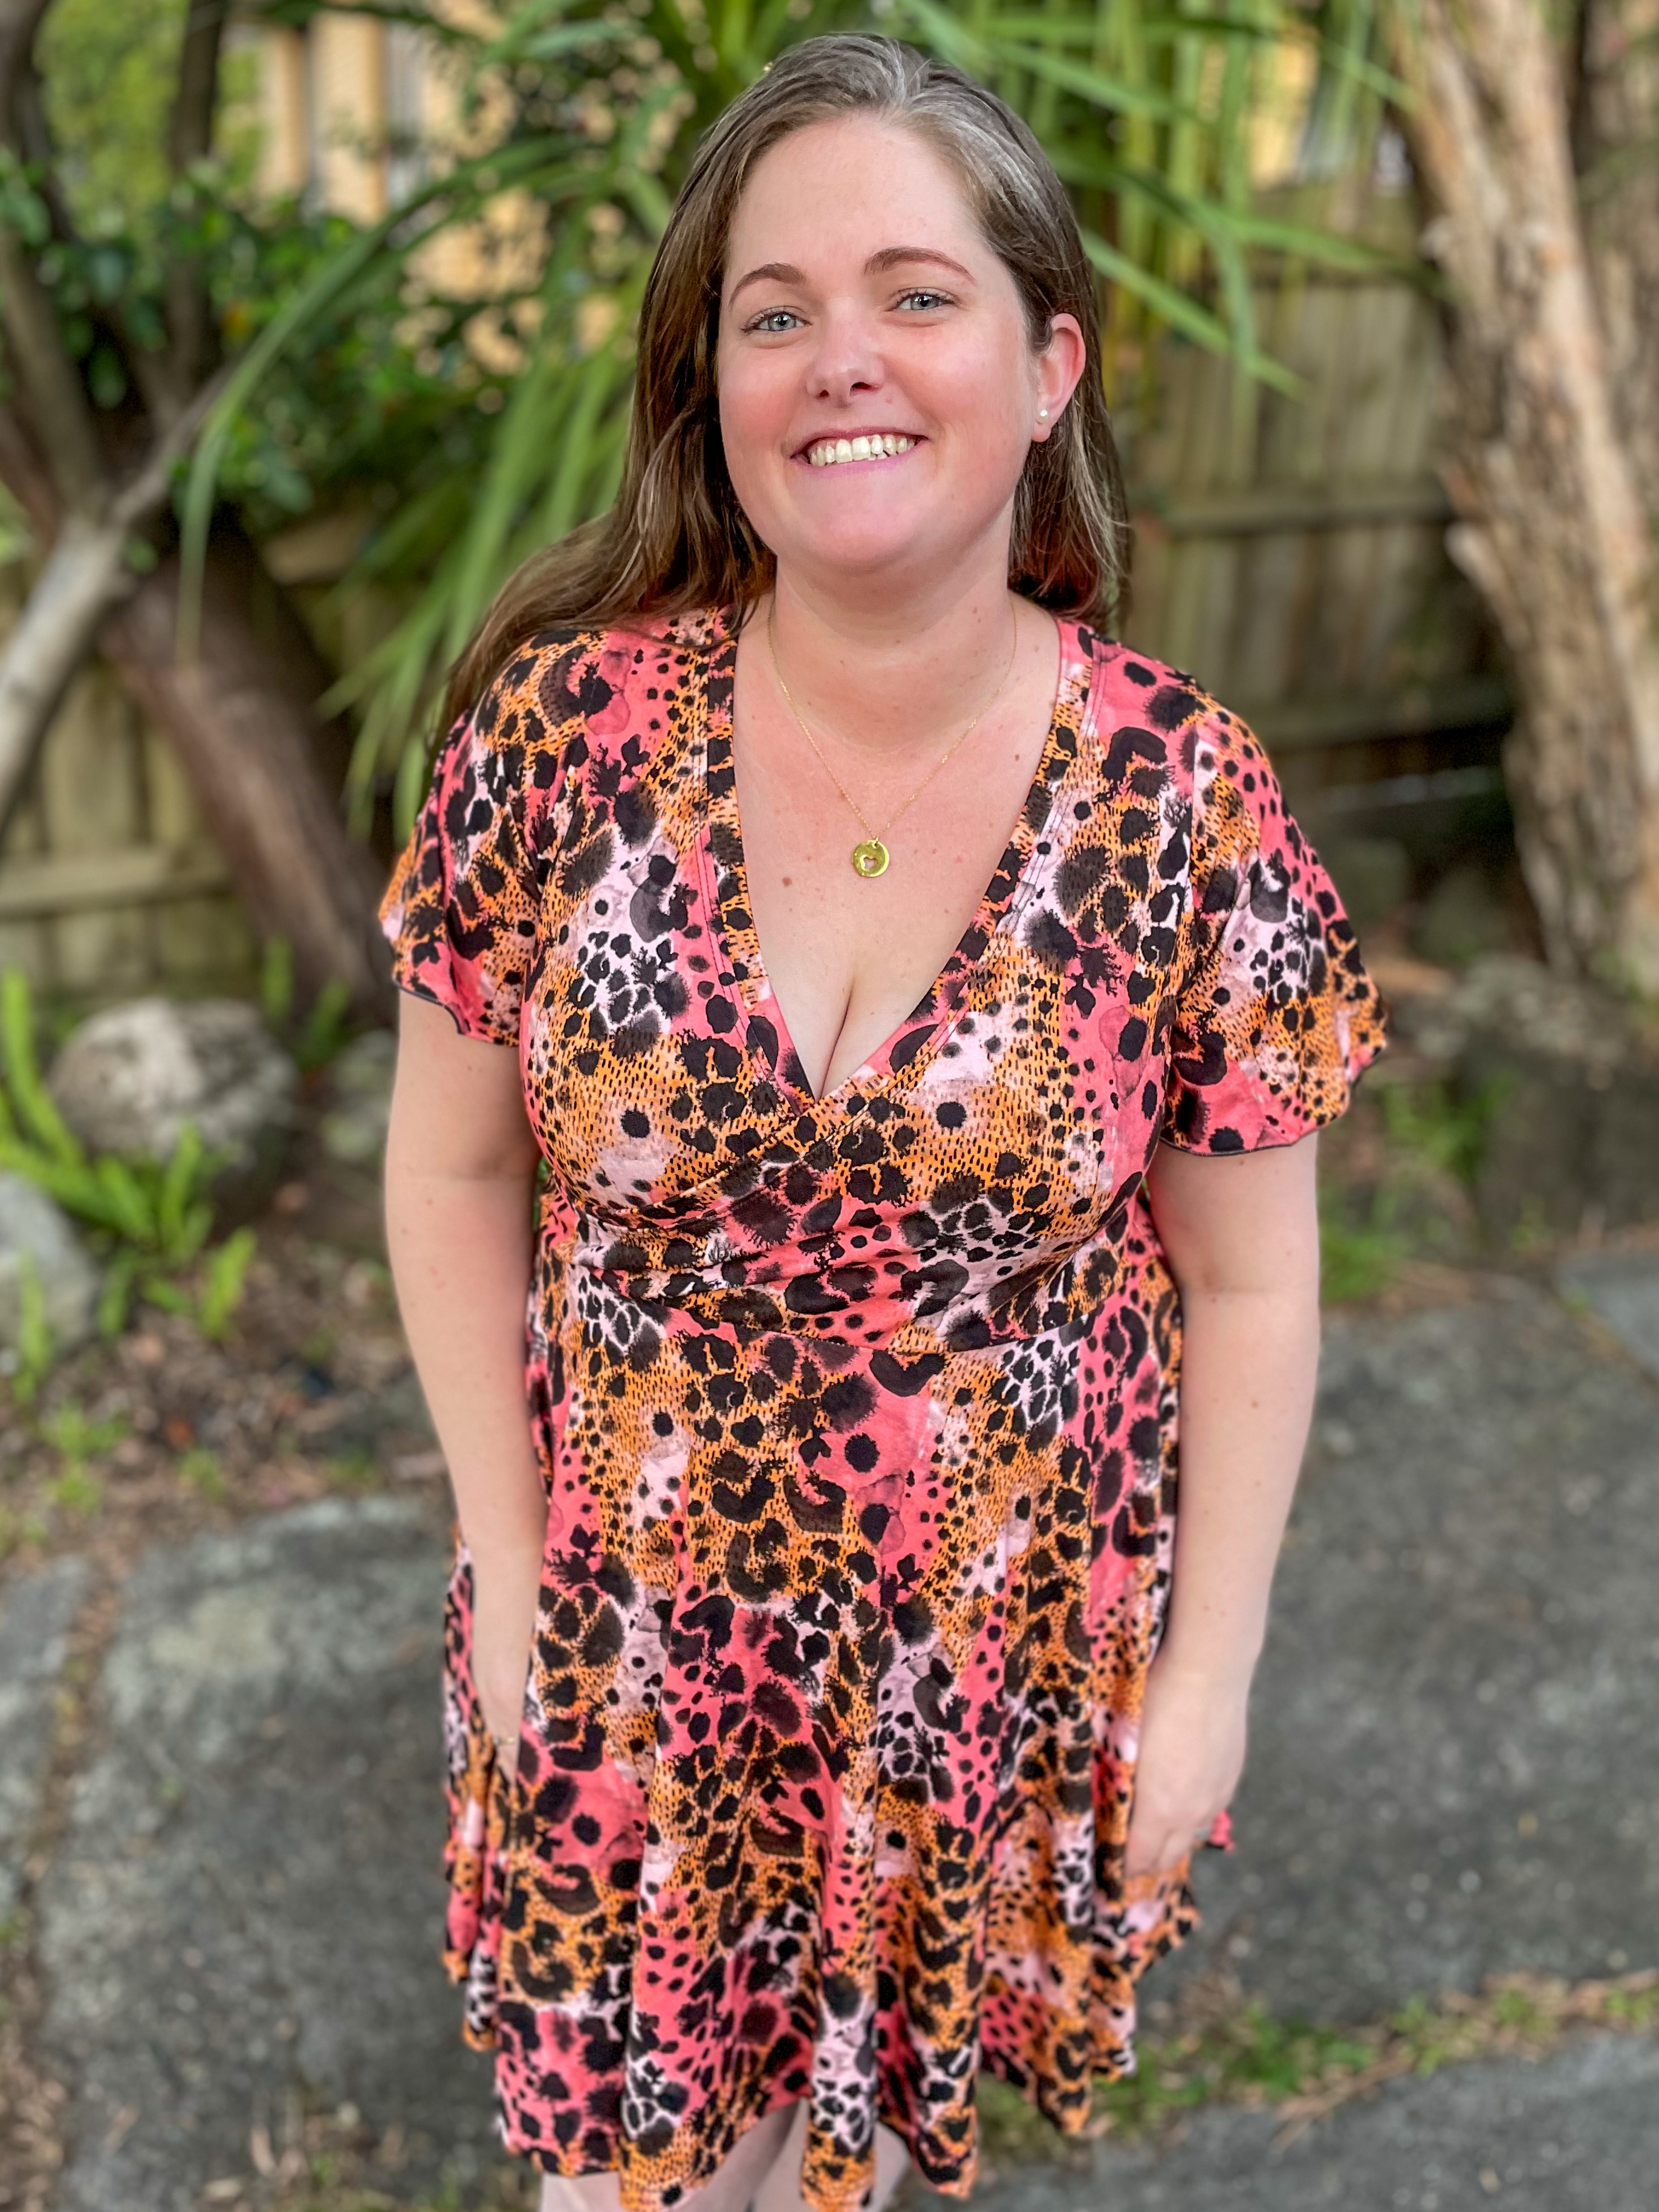
    The thing I like about Pattern Emporium patterns is that Kate is so detailed in her fitting instructions. She makes sure the finished garment size is included and also talks quite extensively as to how the garment should fit. I made sure I read the instructions very well before I chose my size and I actually ended up making a straight 18.

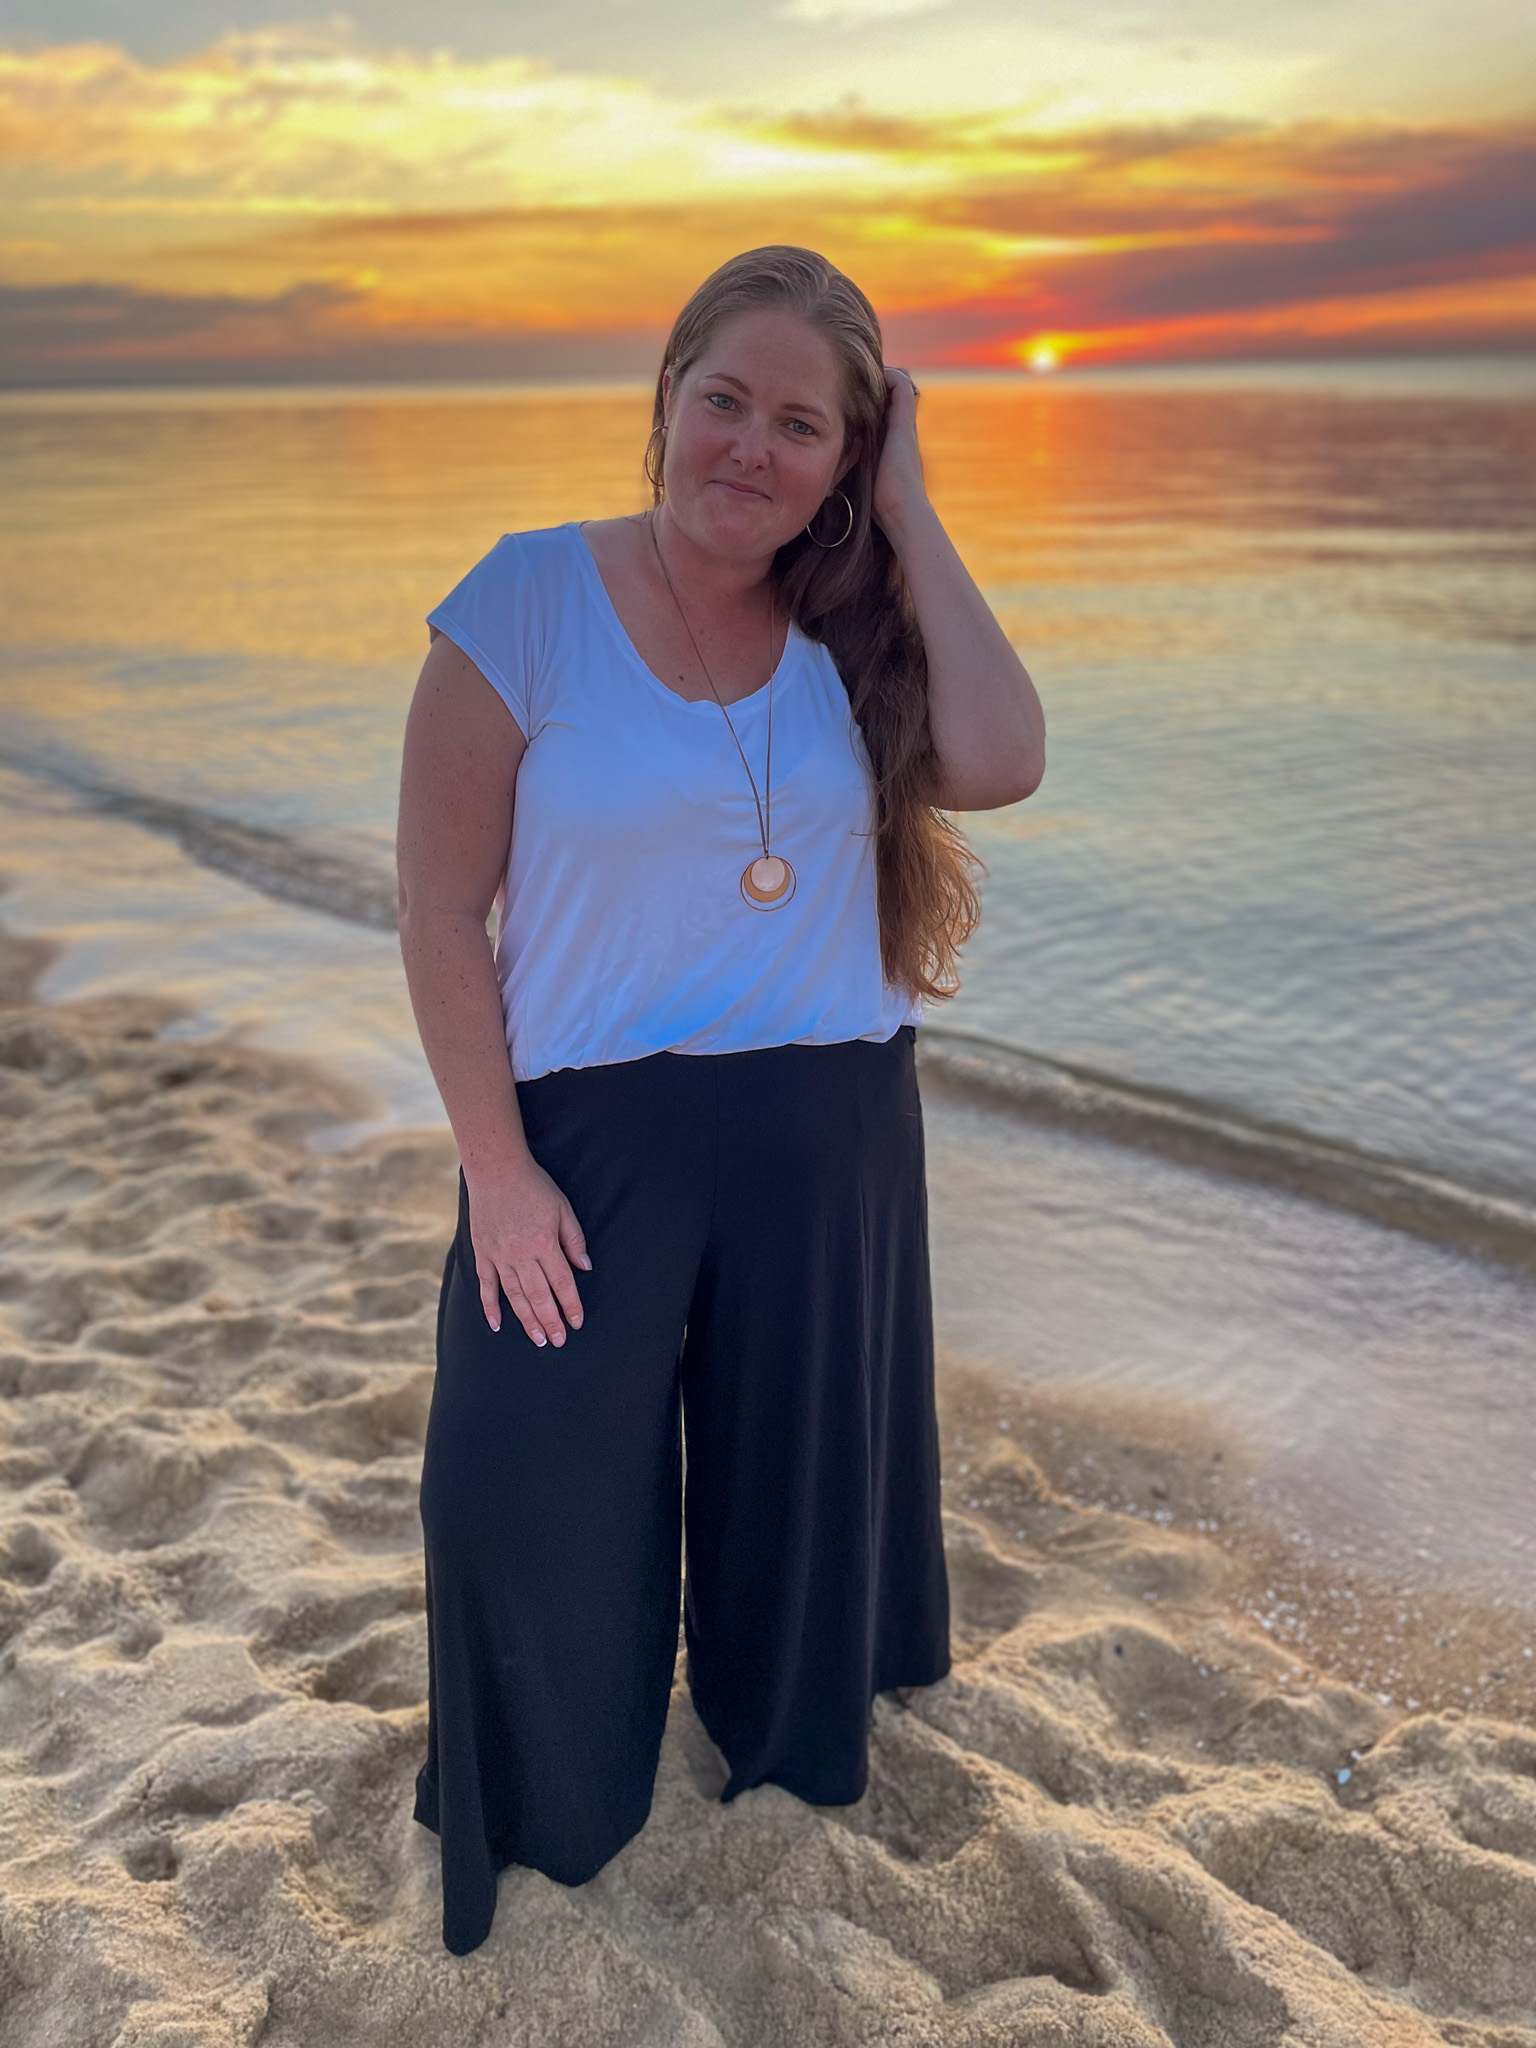
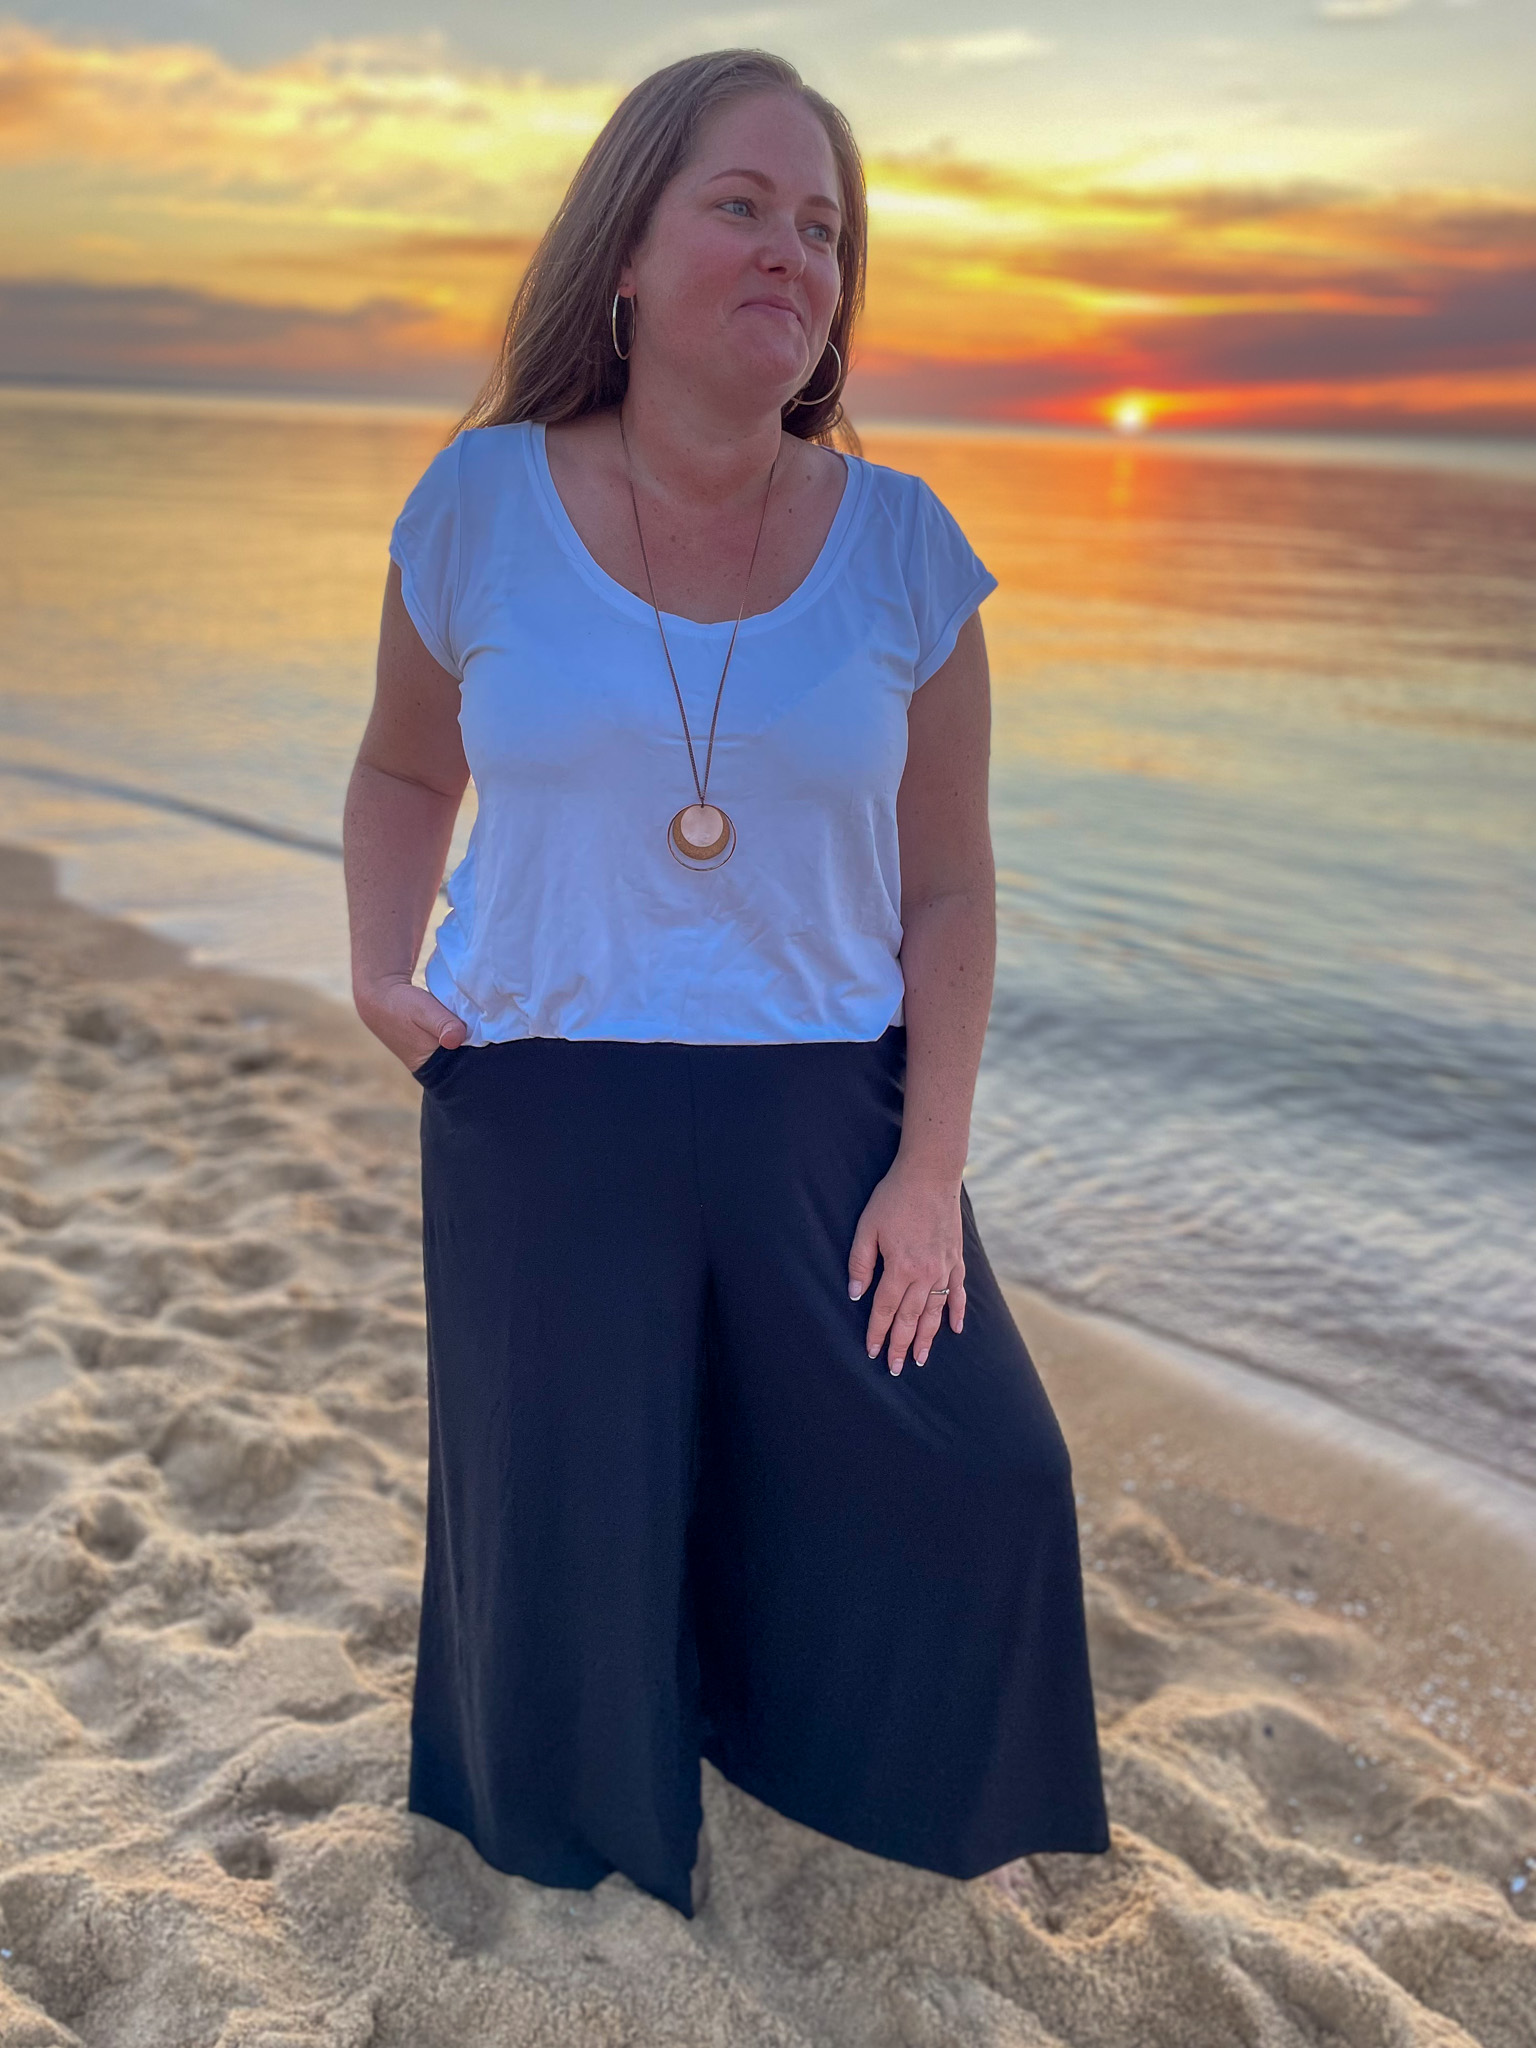
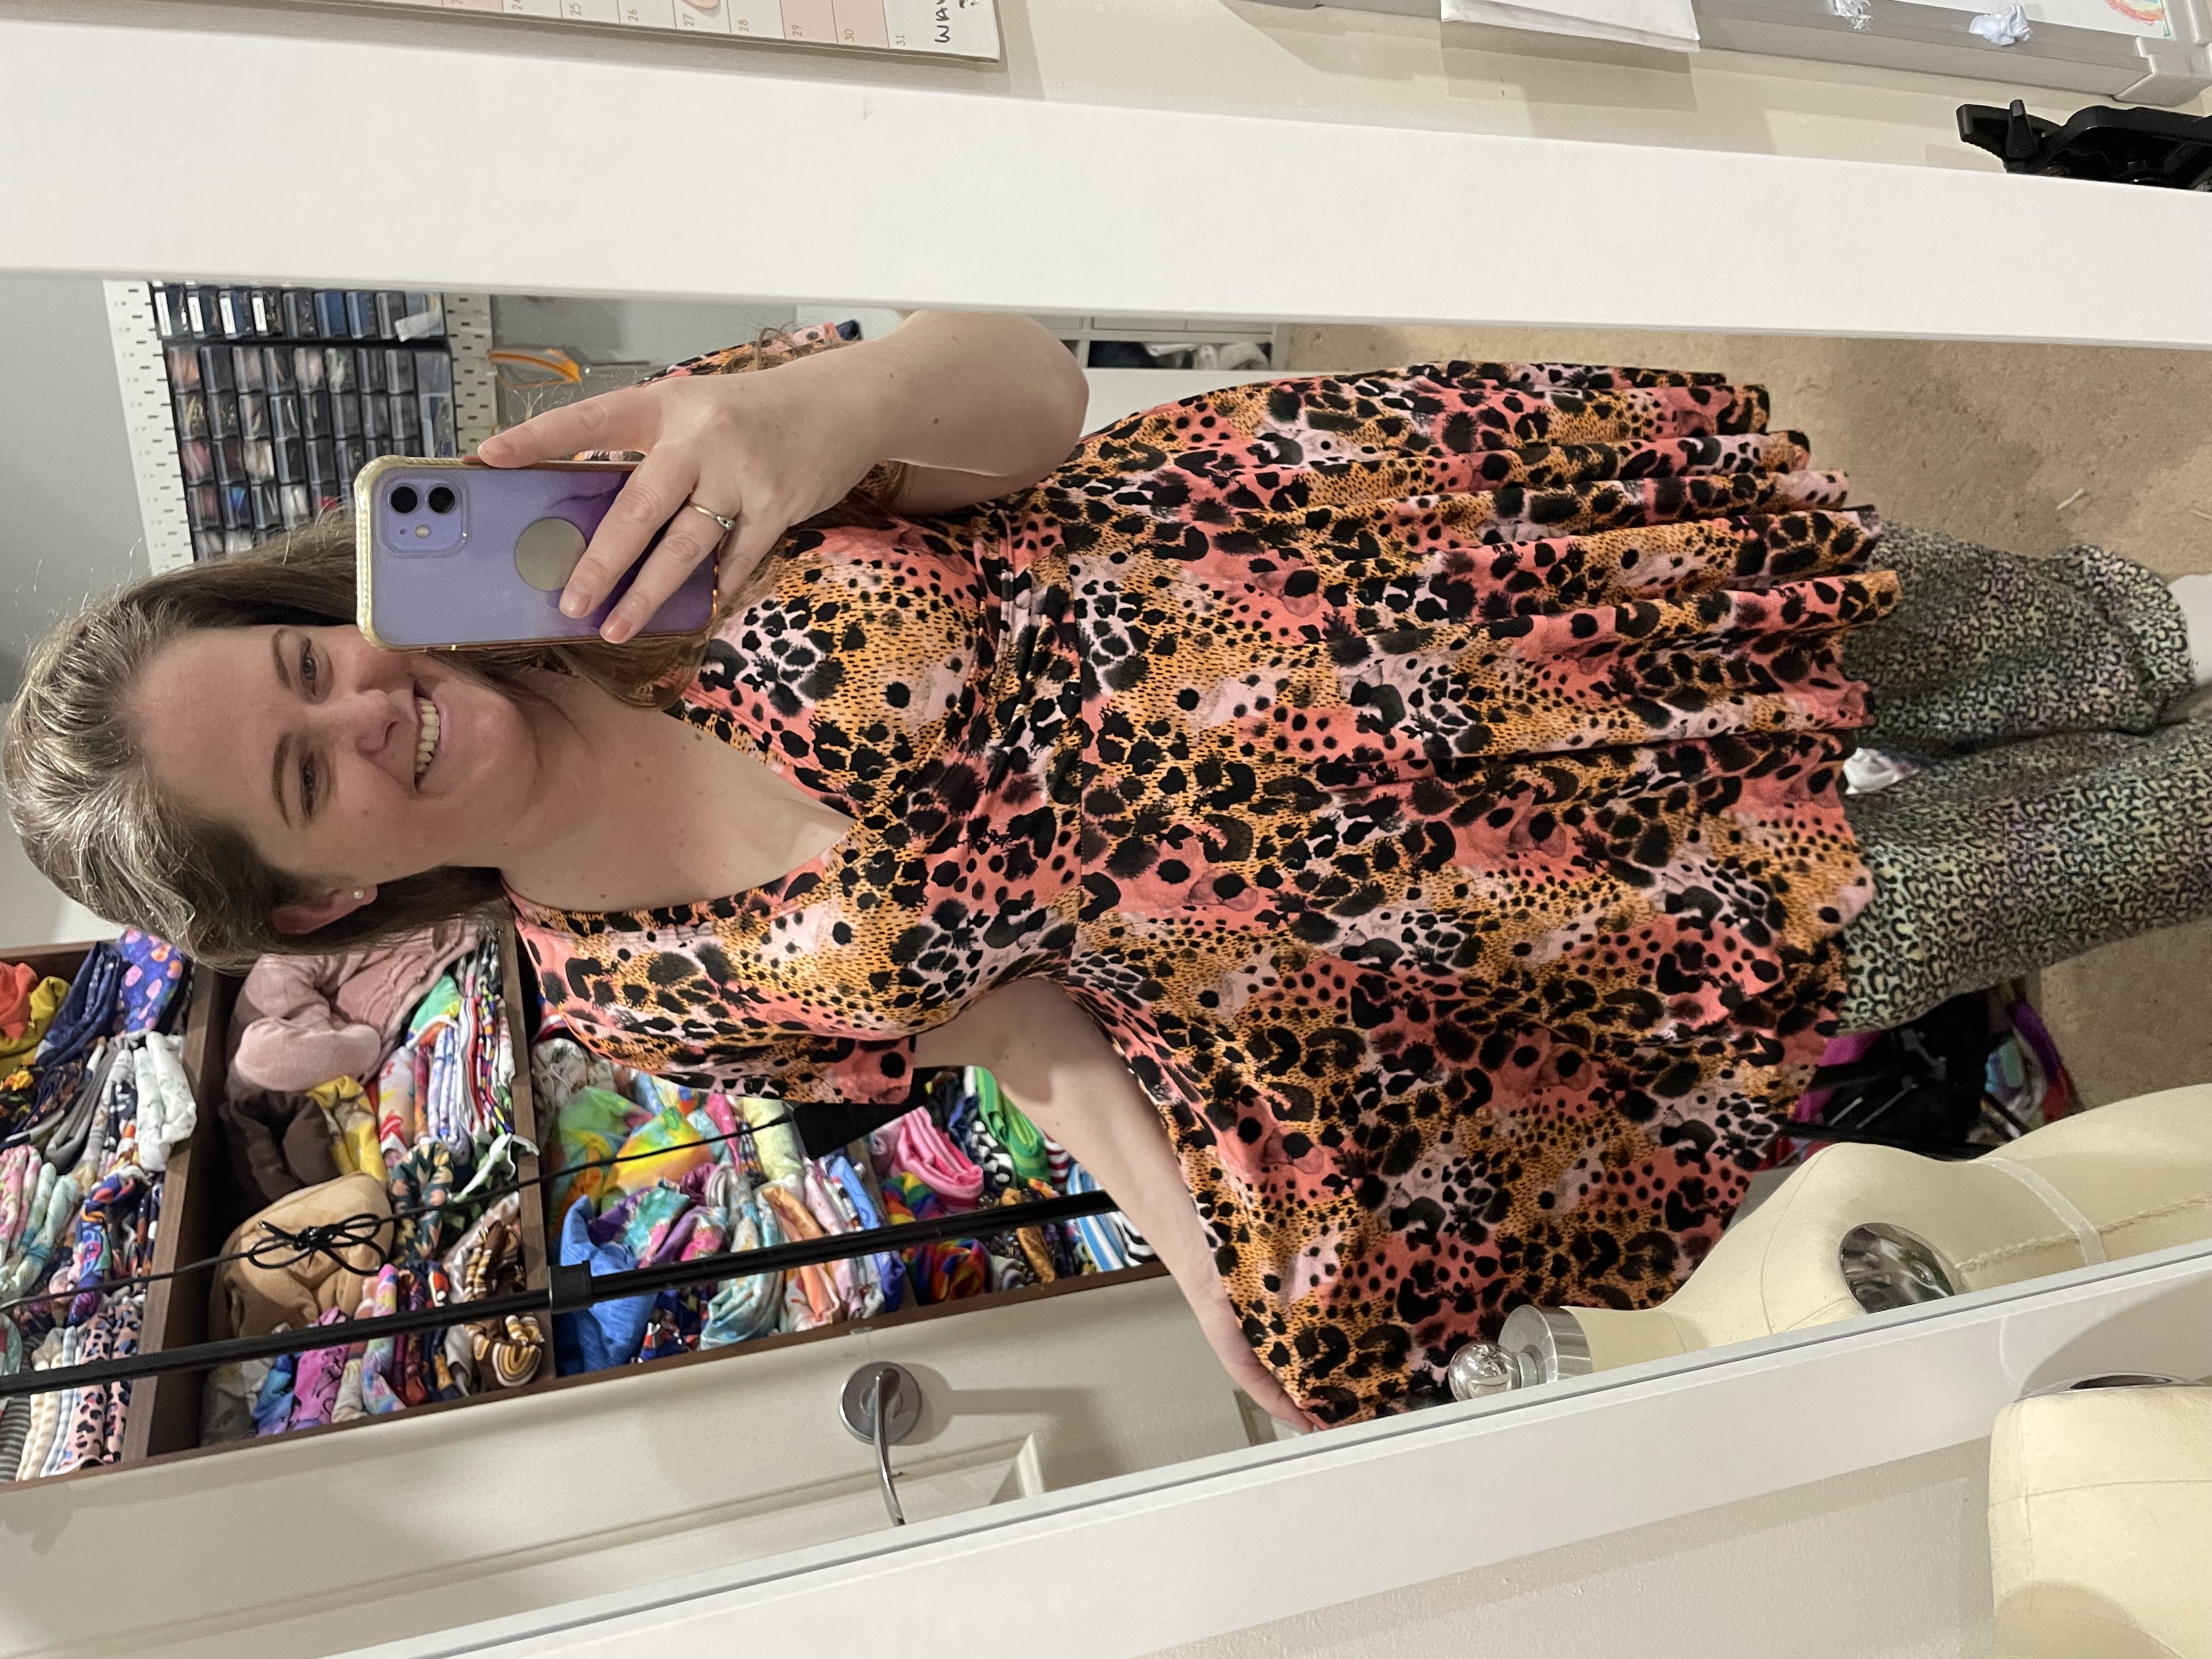
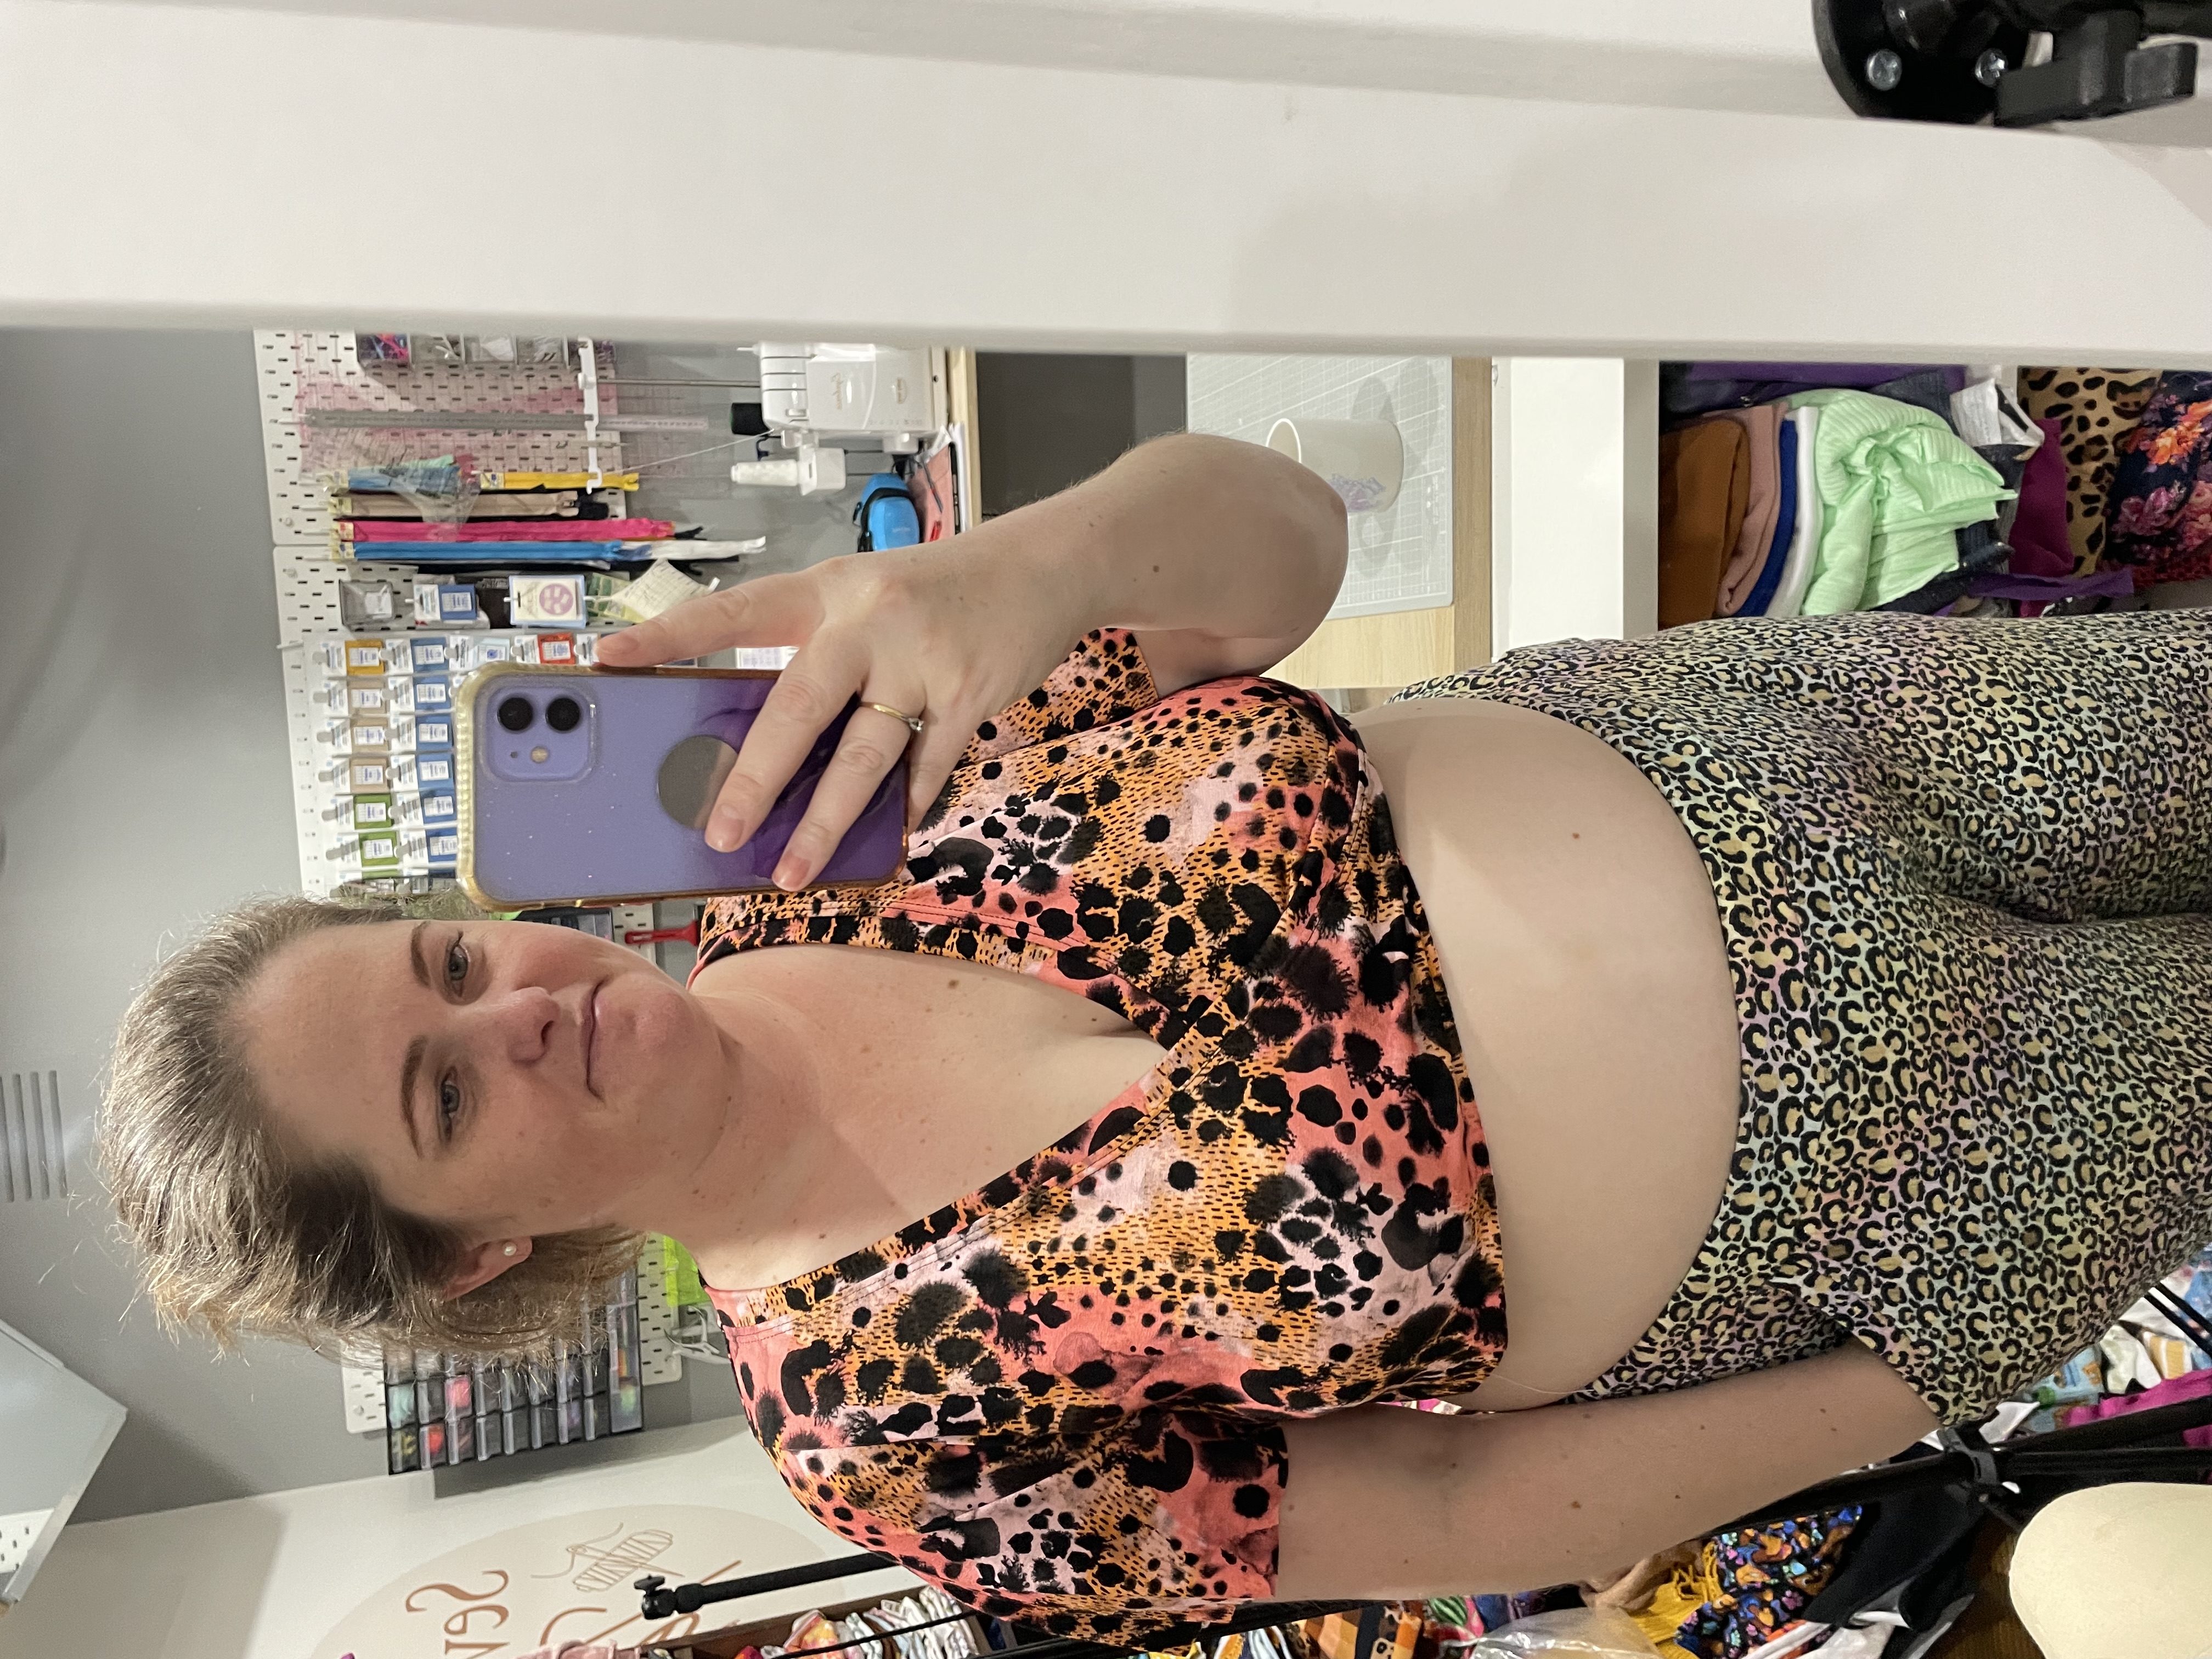
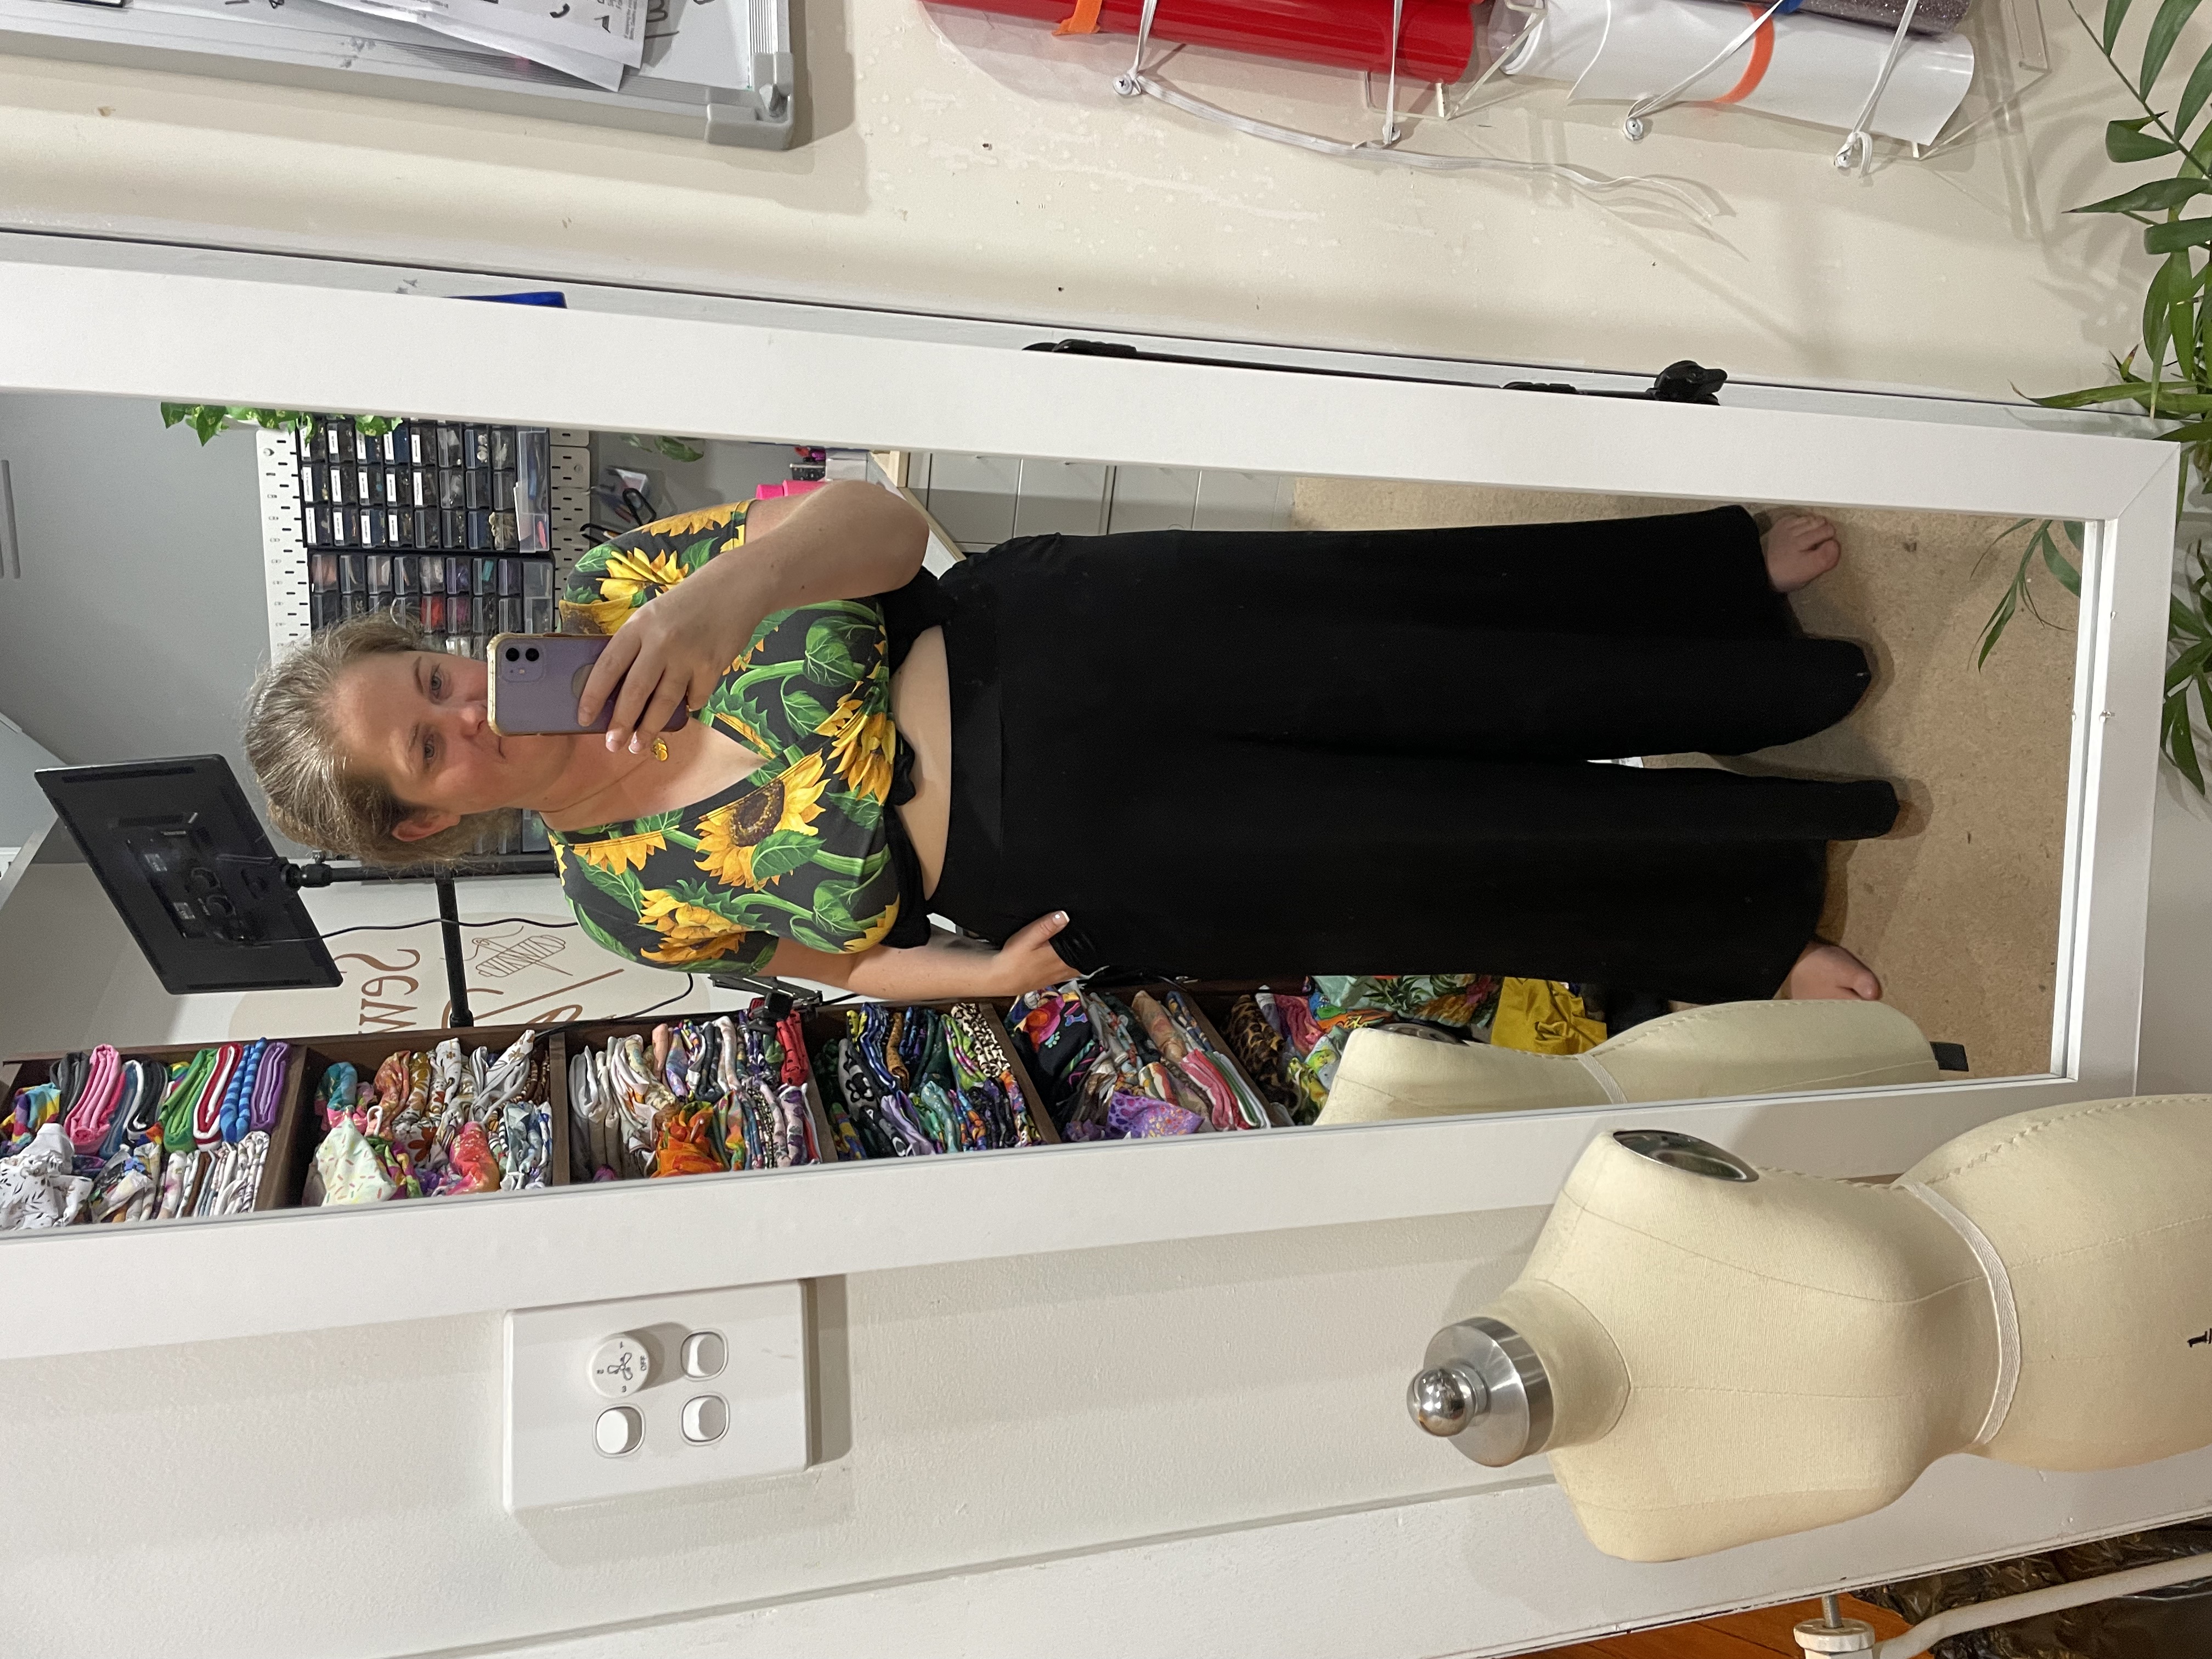
    When I first tried them on, I had them sitting lower on my hips, and they were comfortable, but I had made the high waisted option, so I pulled them up higher and instantly loved them more.

    Thankfully it wasn’t too hard to unpick a small section of the waistband to make the elastic smaller, and then stitch it back up.

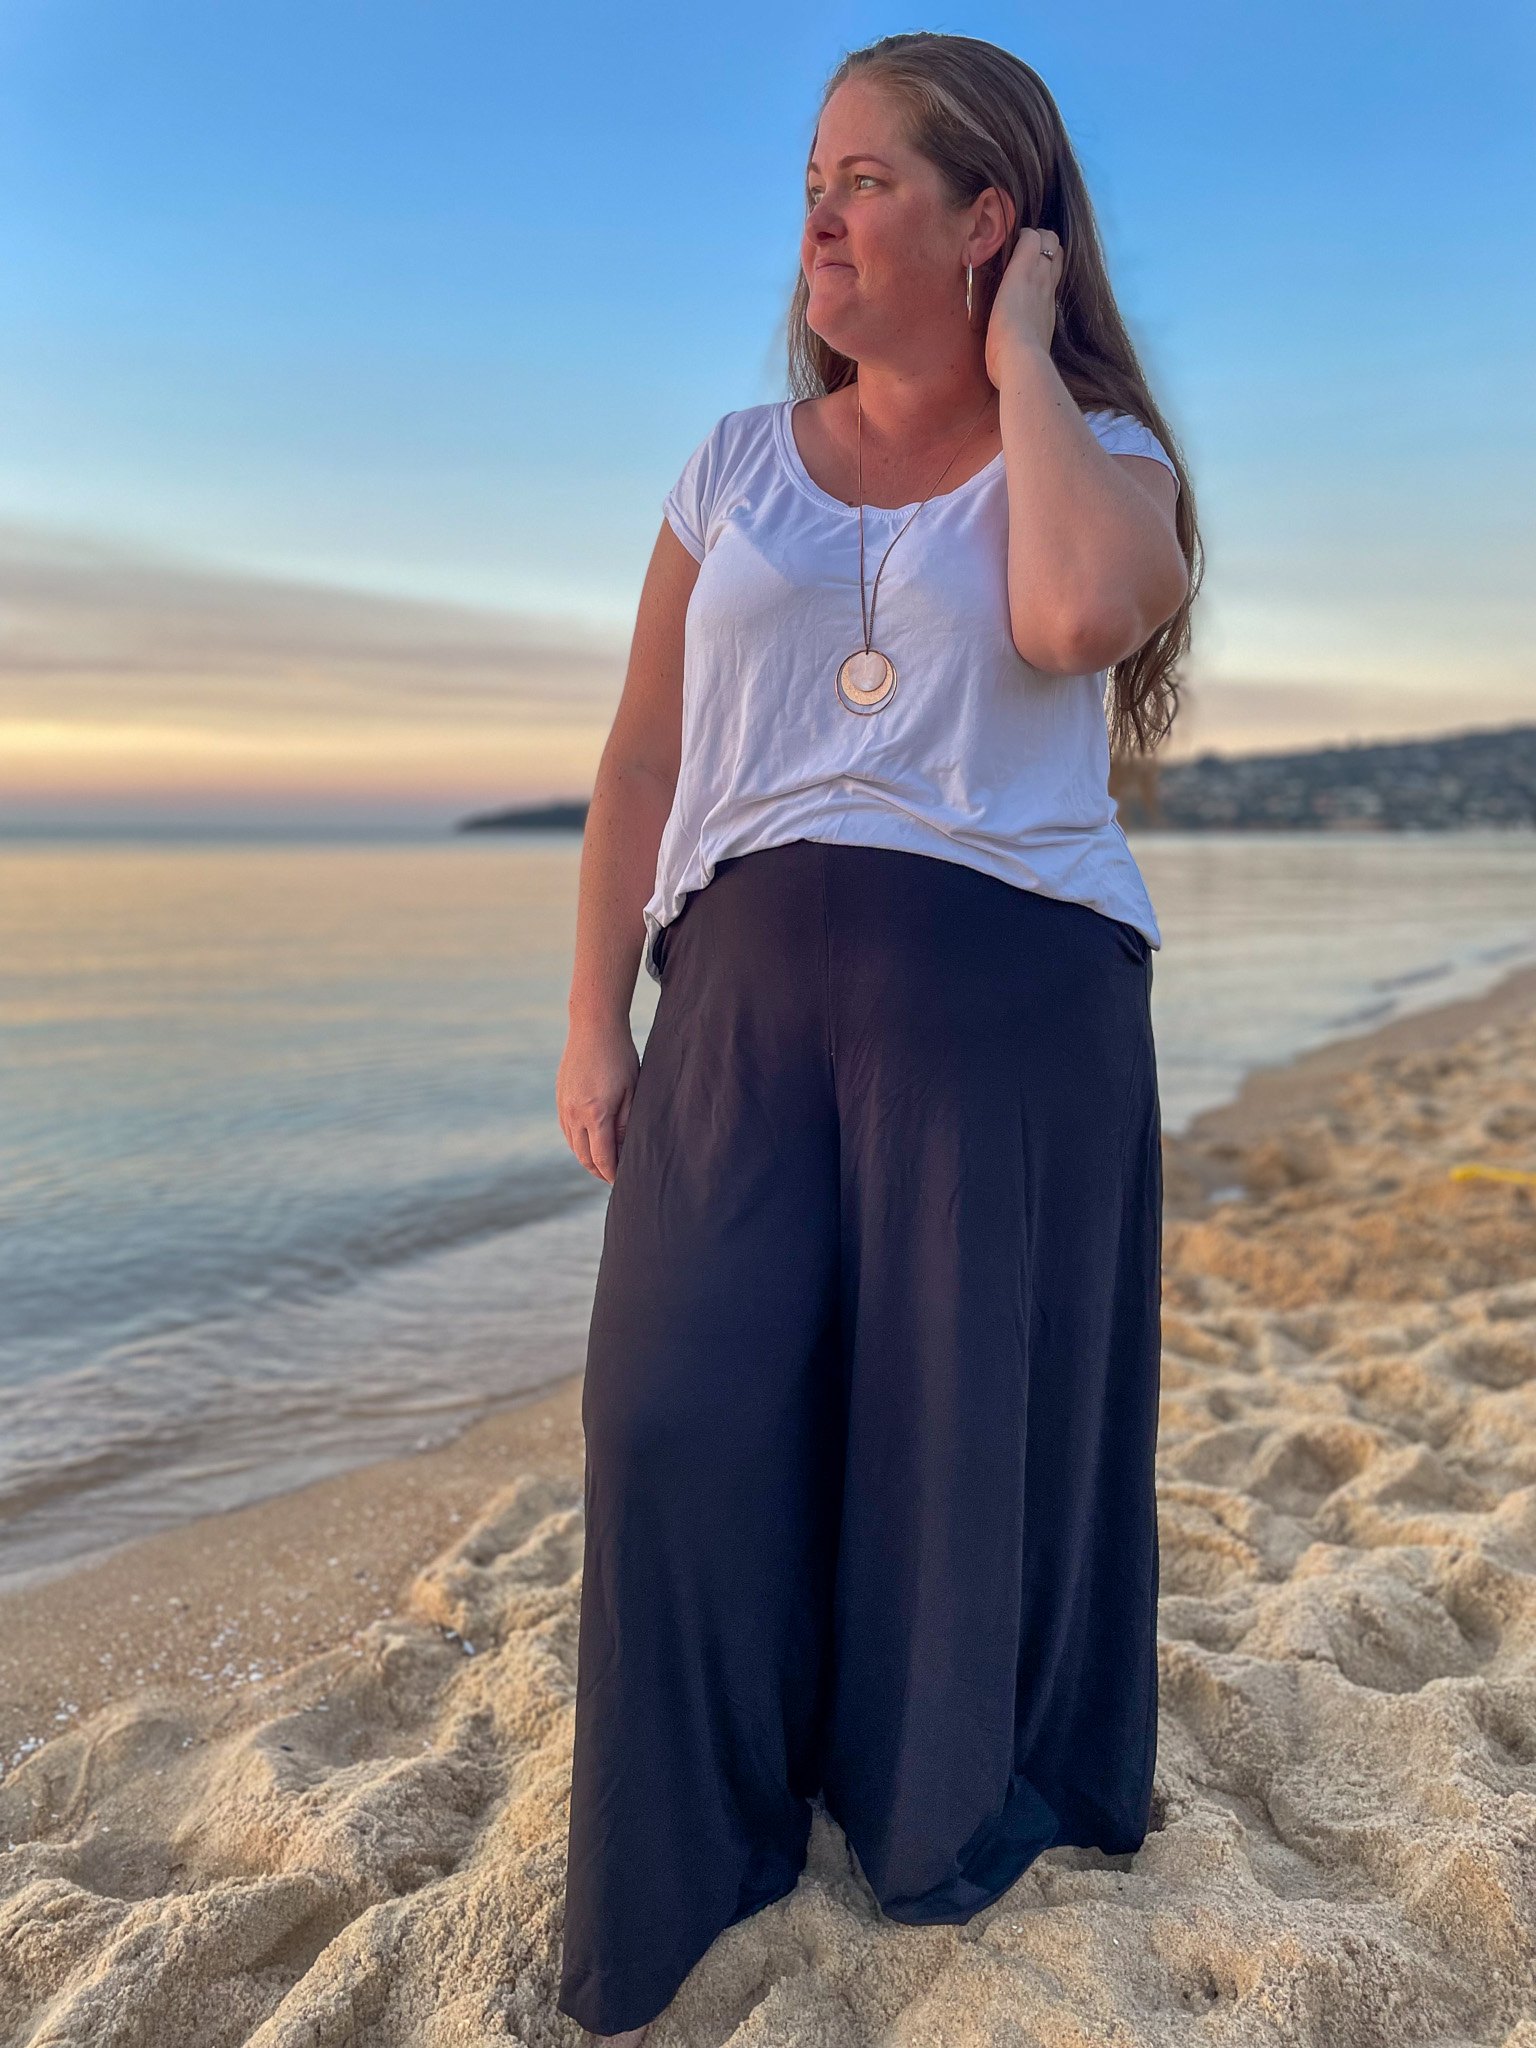
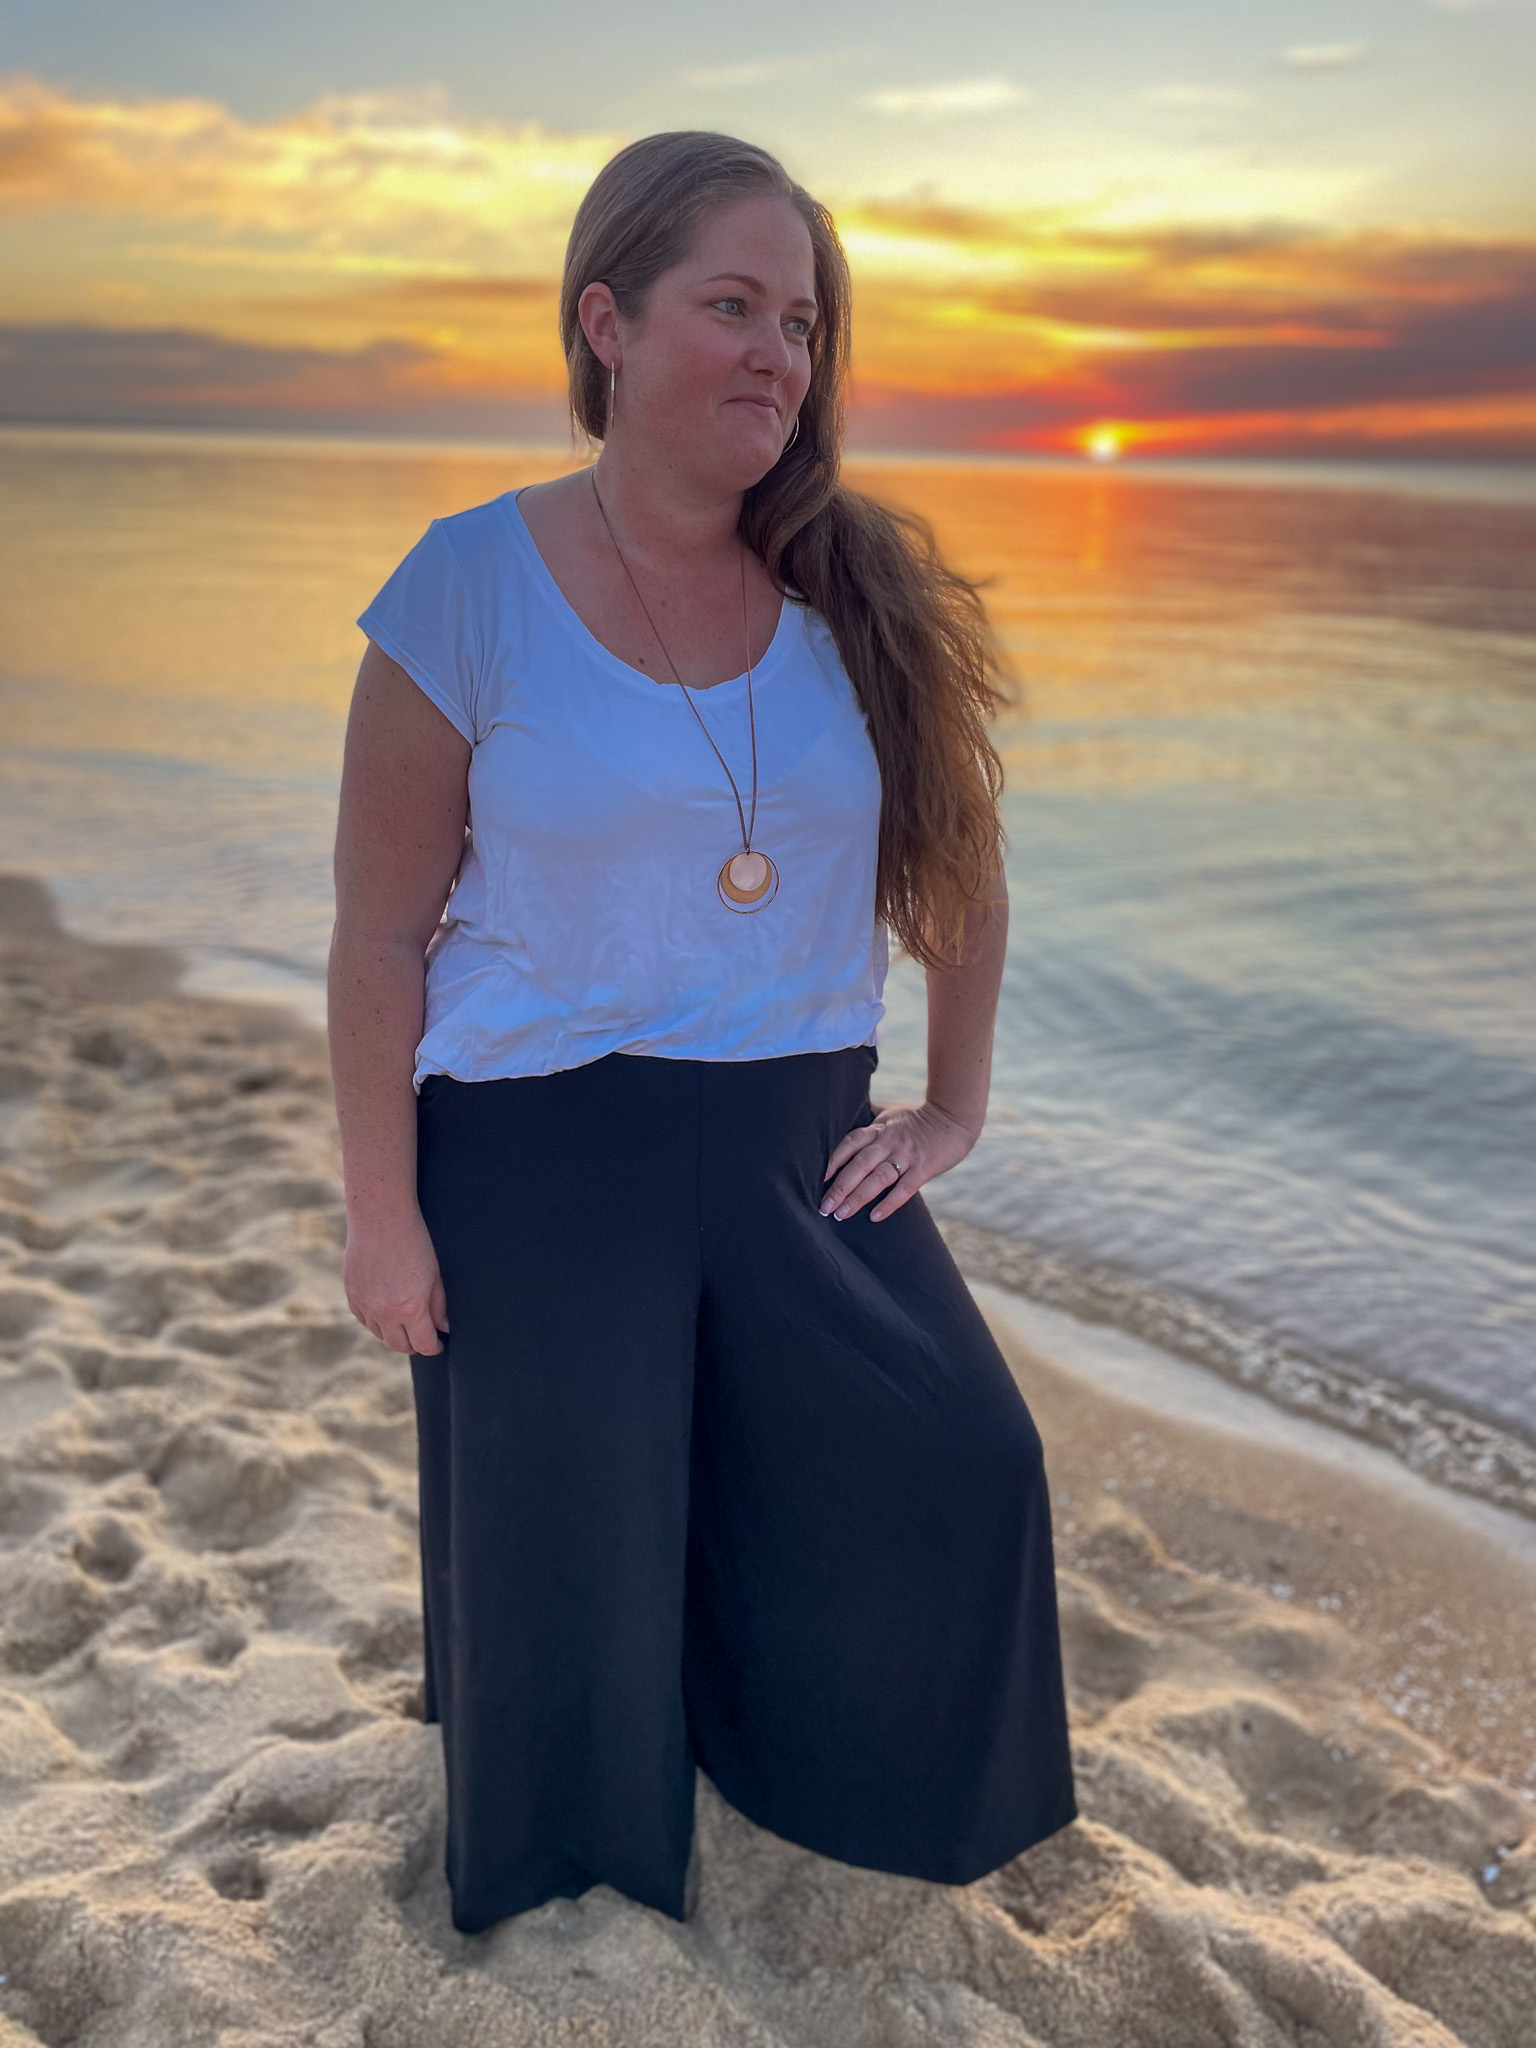
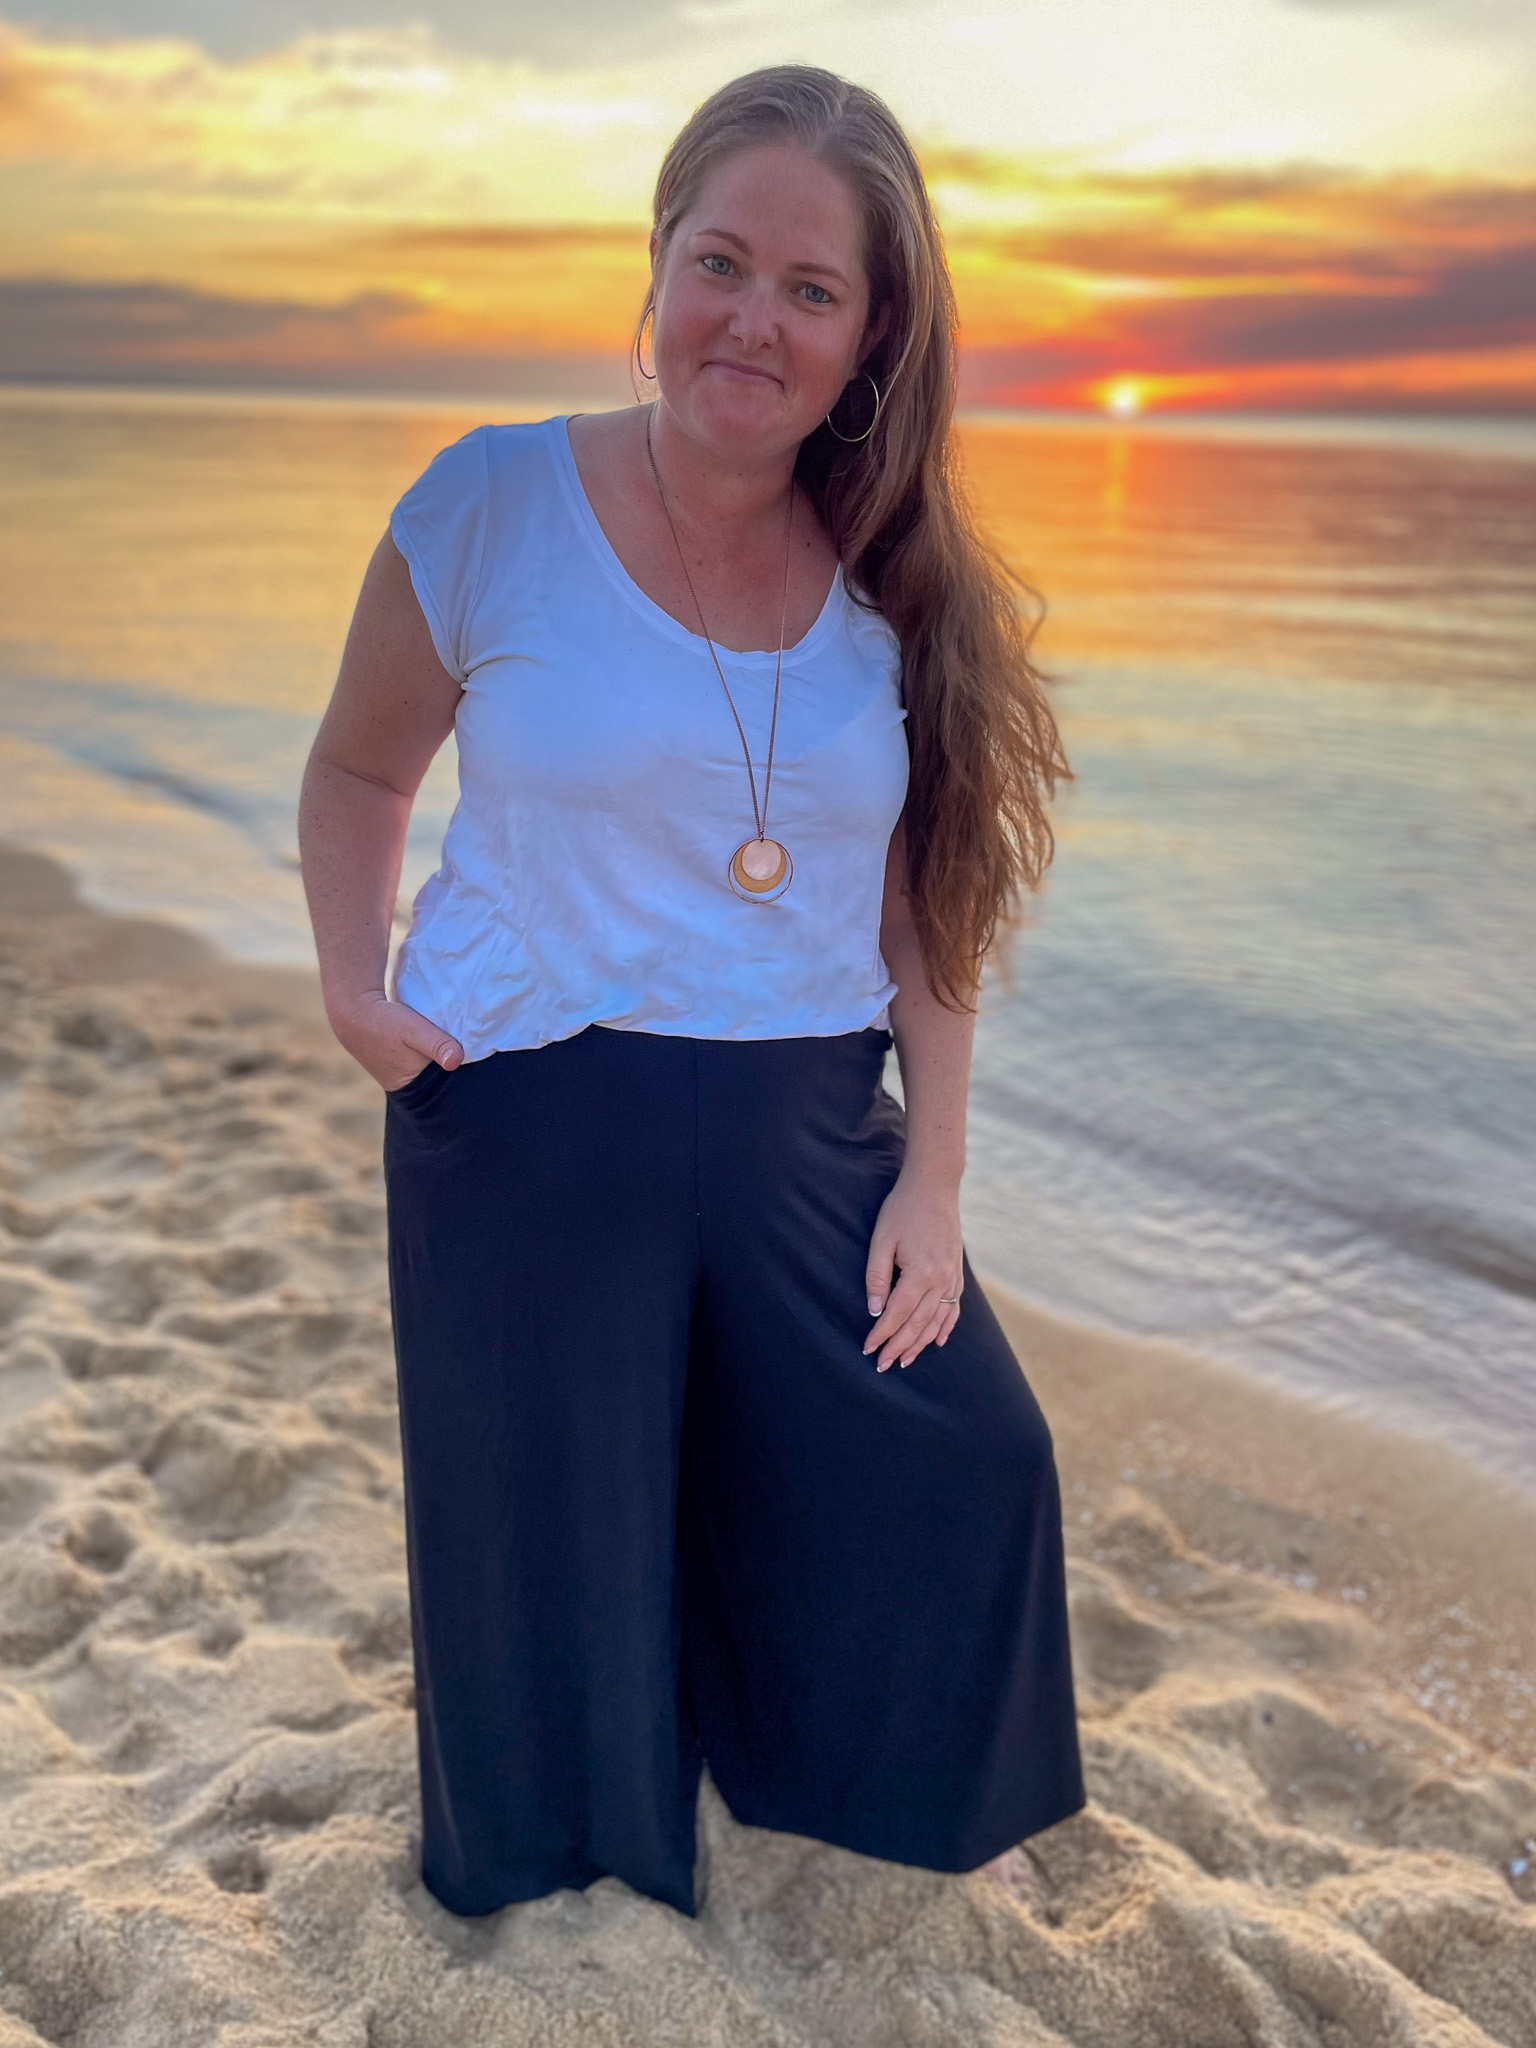
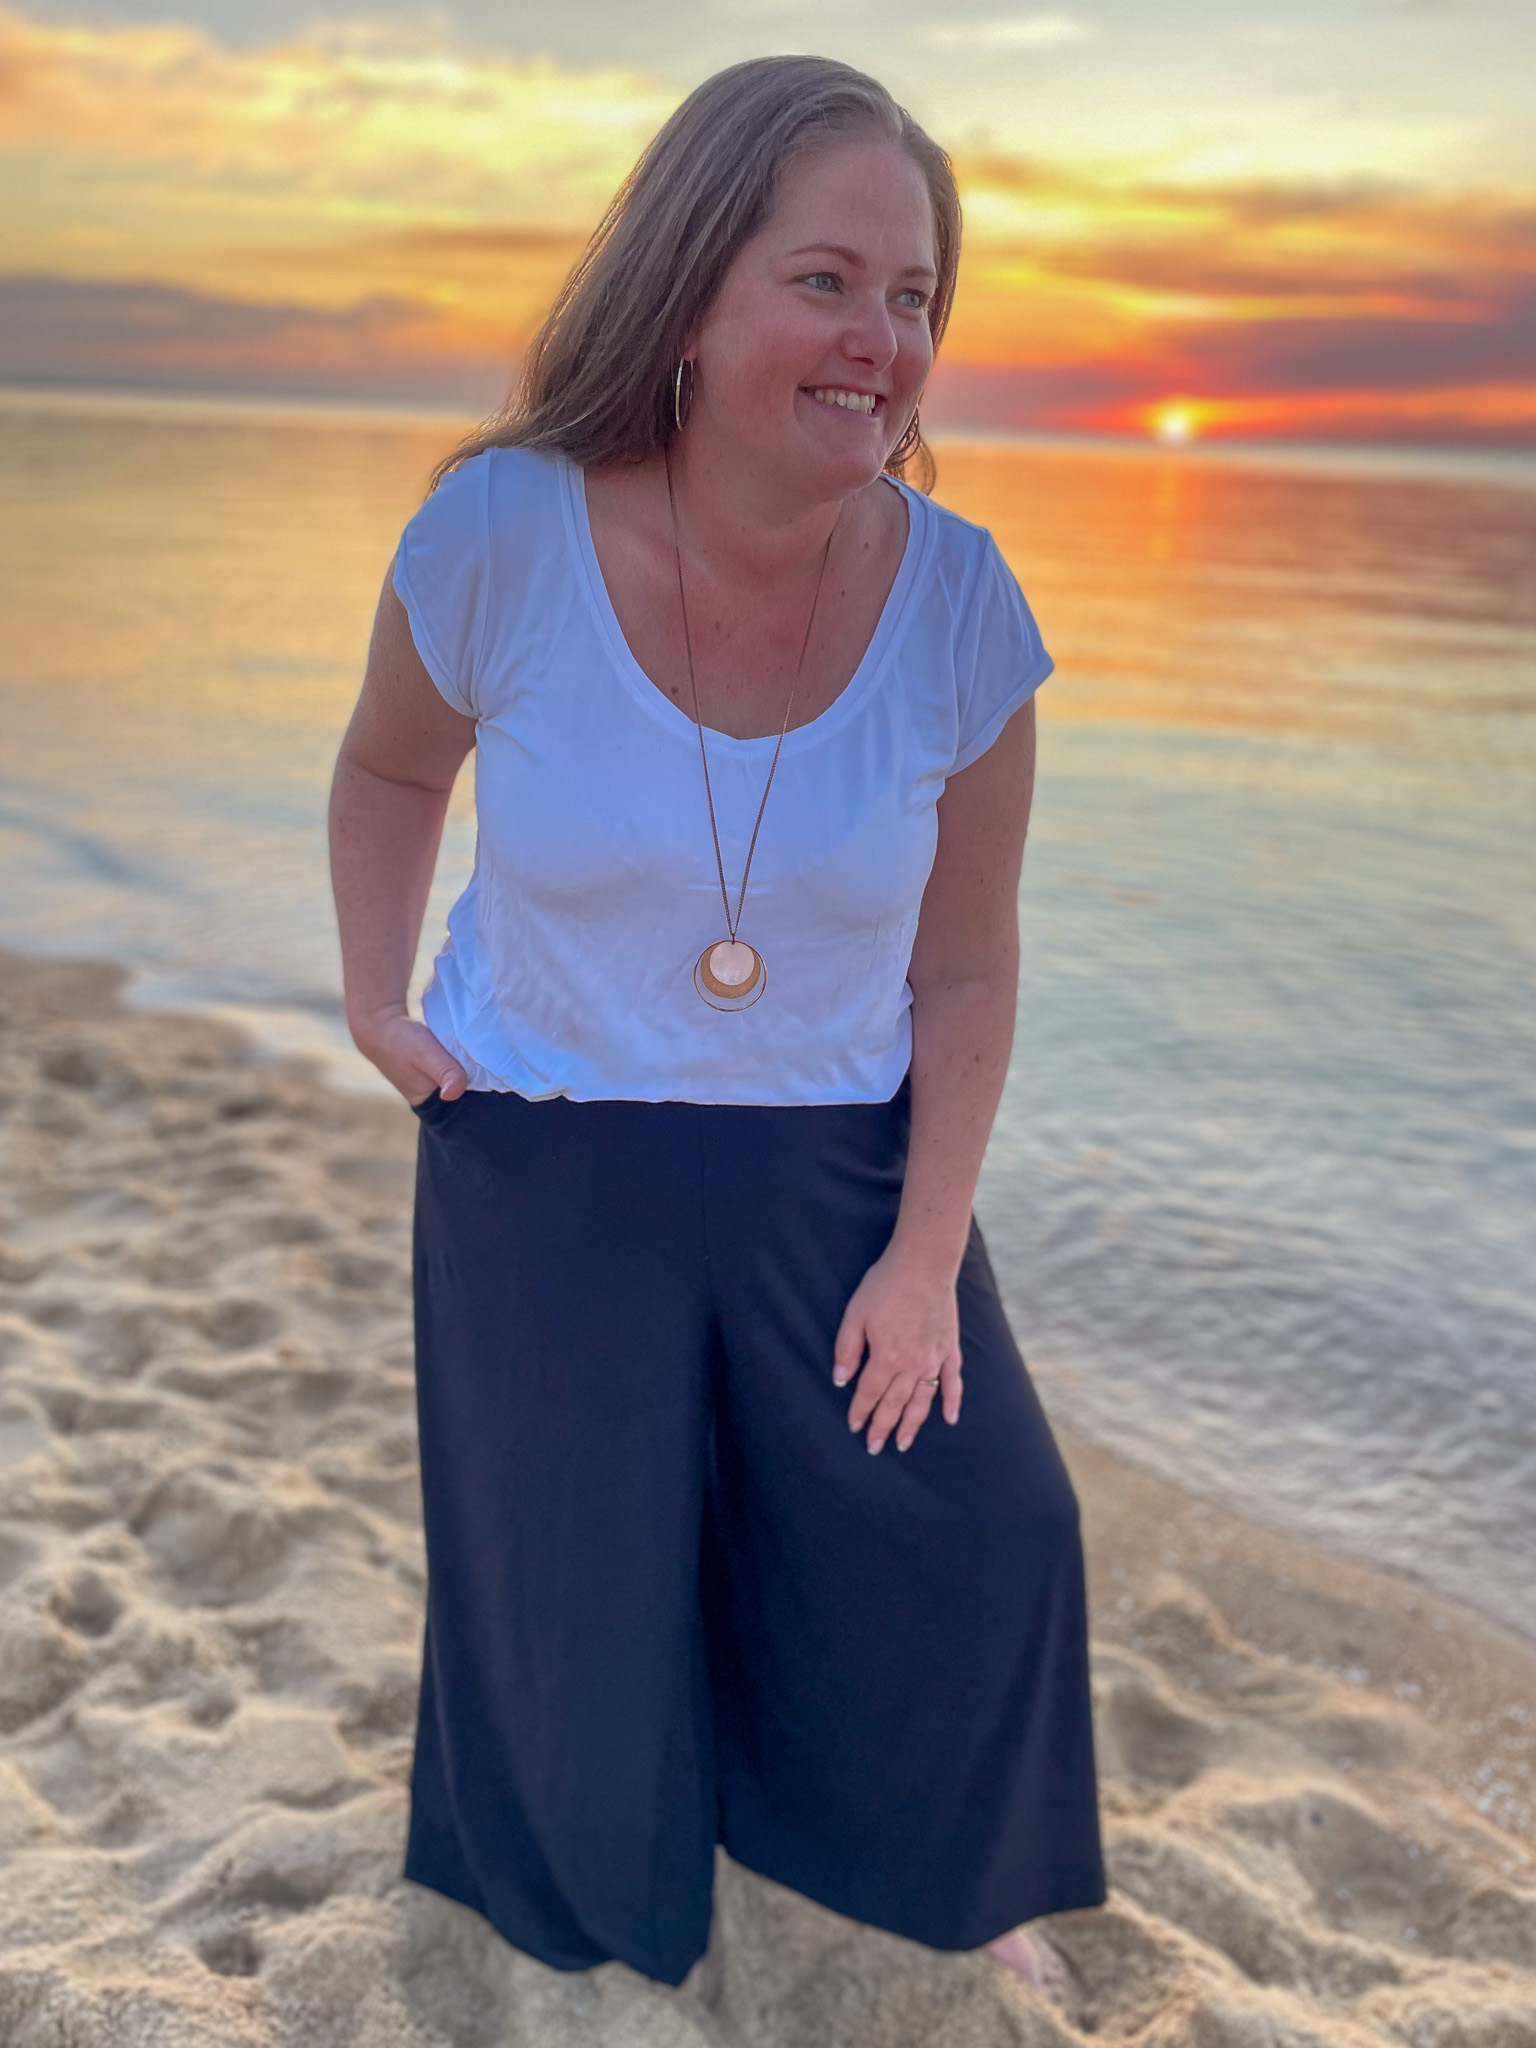
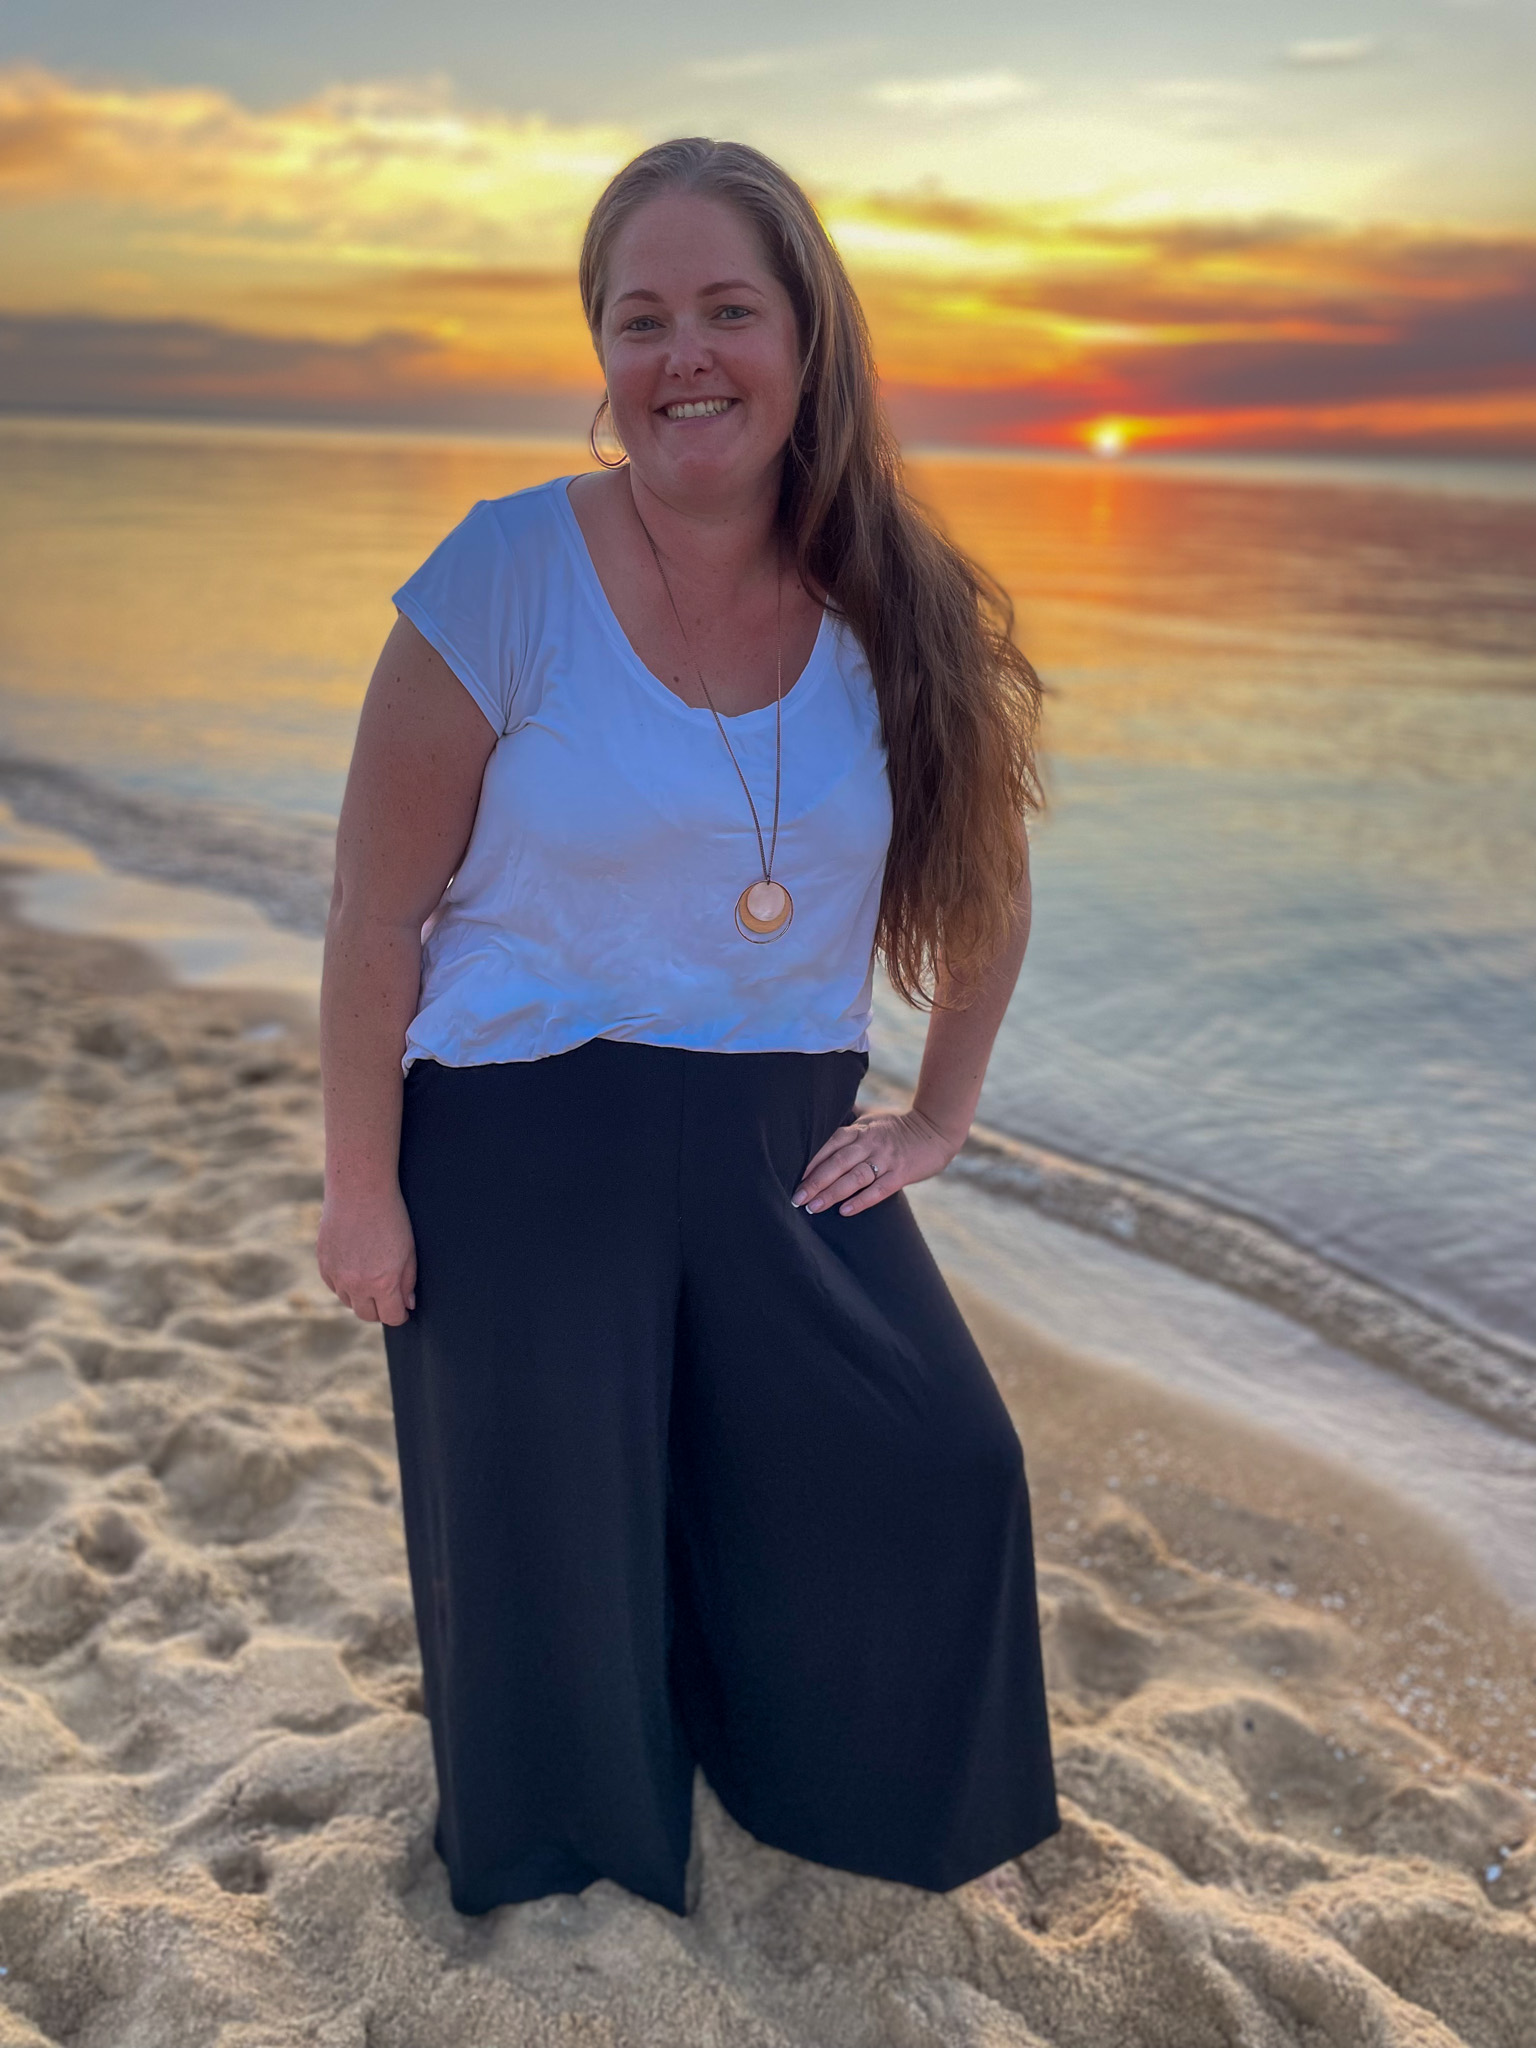
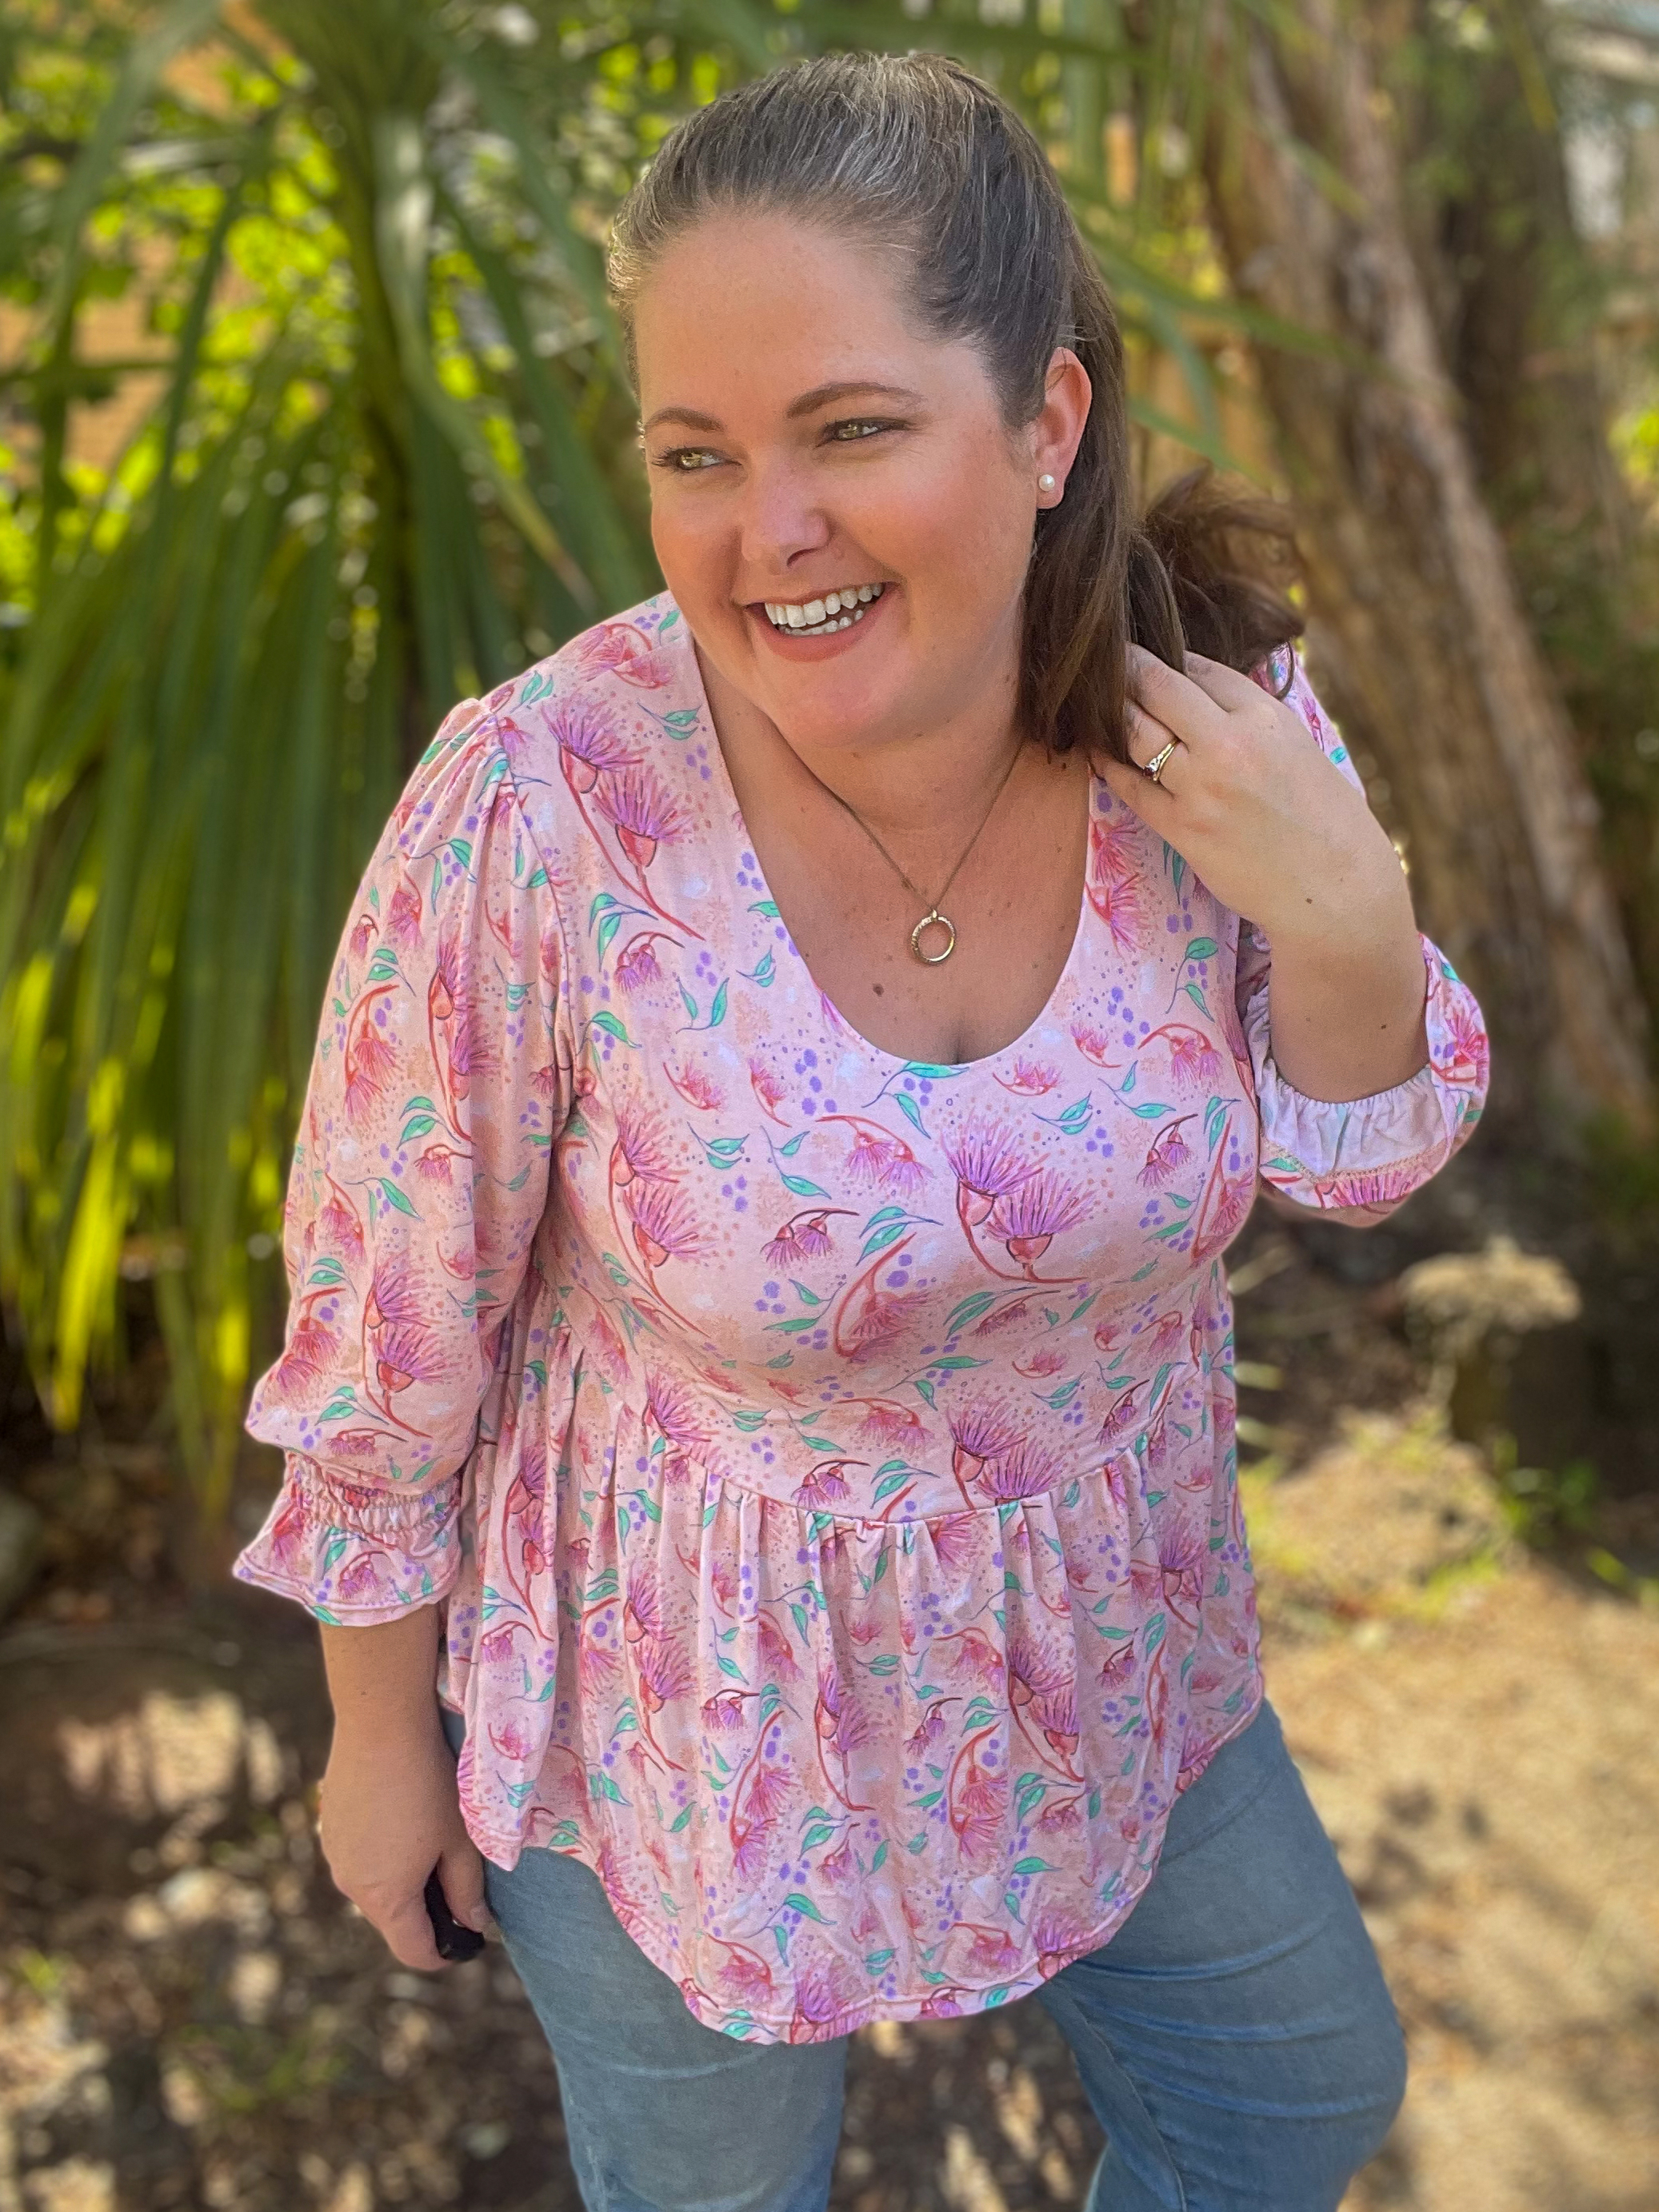
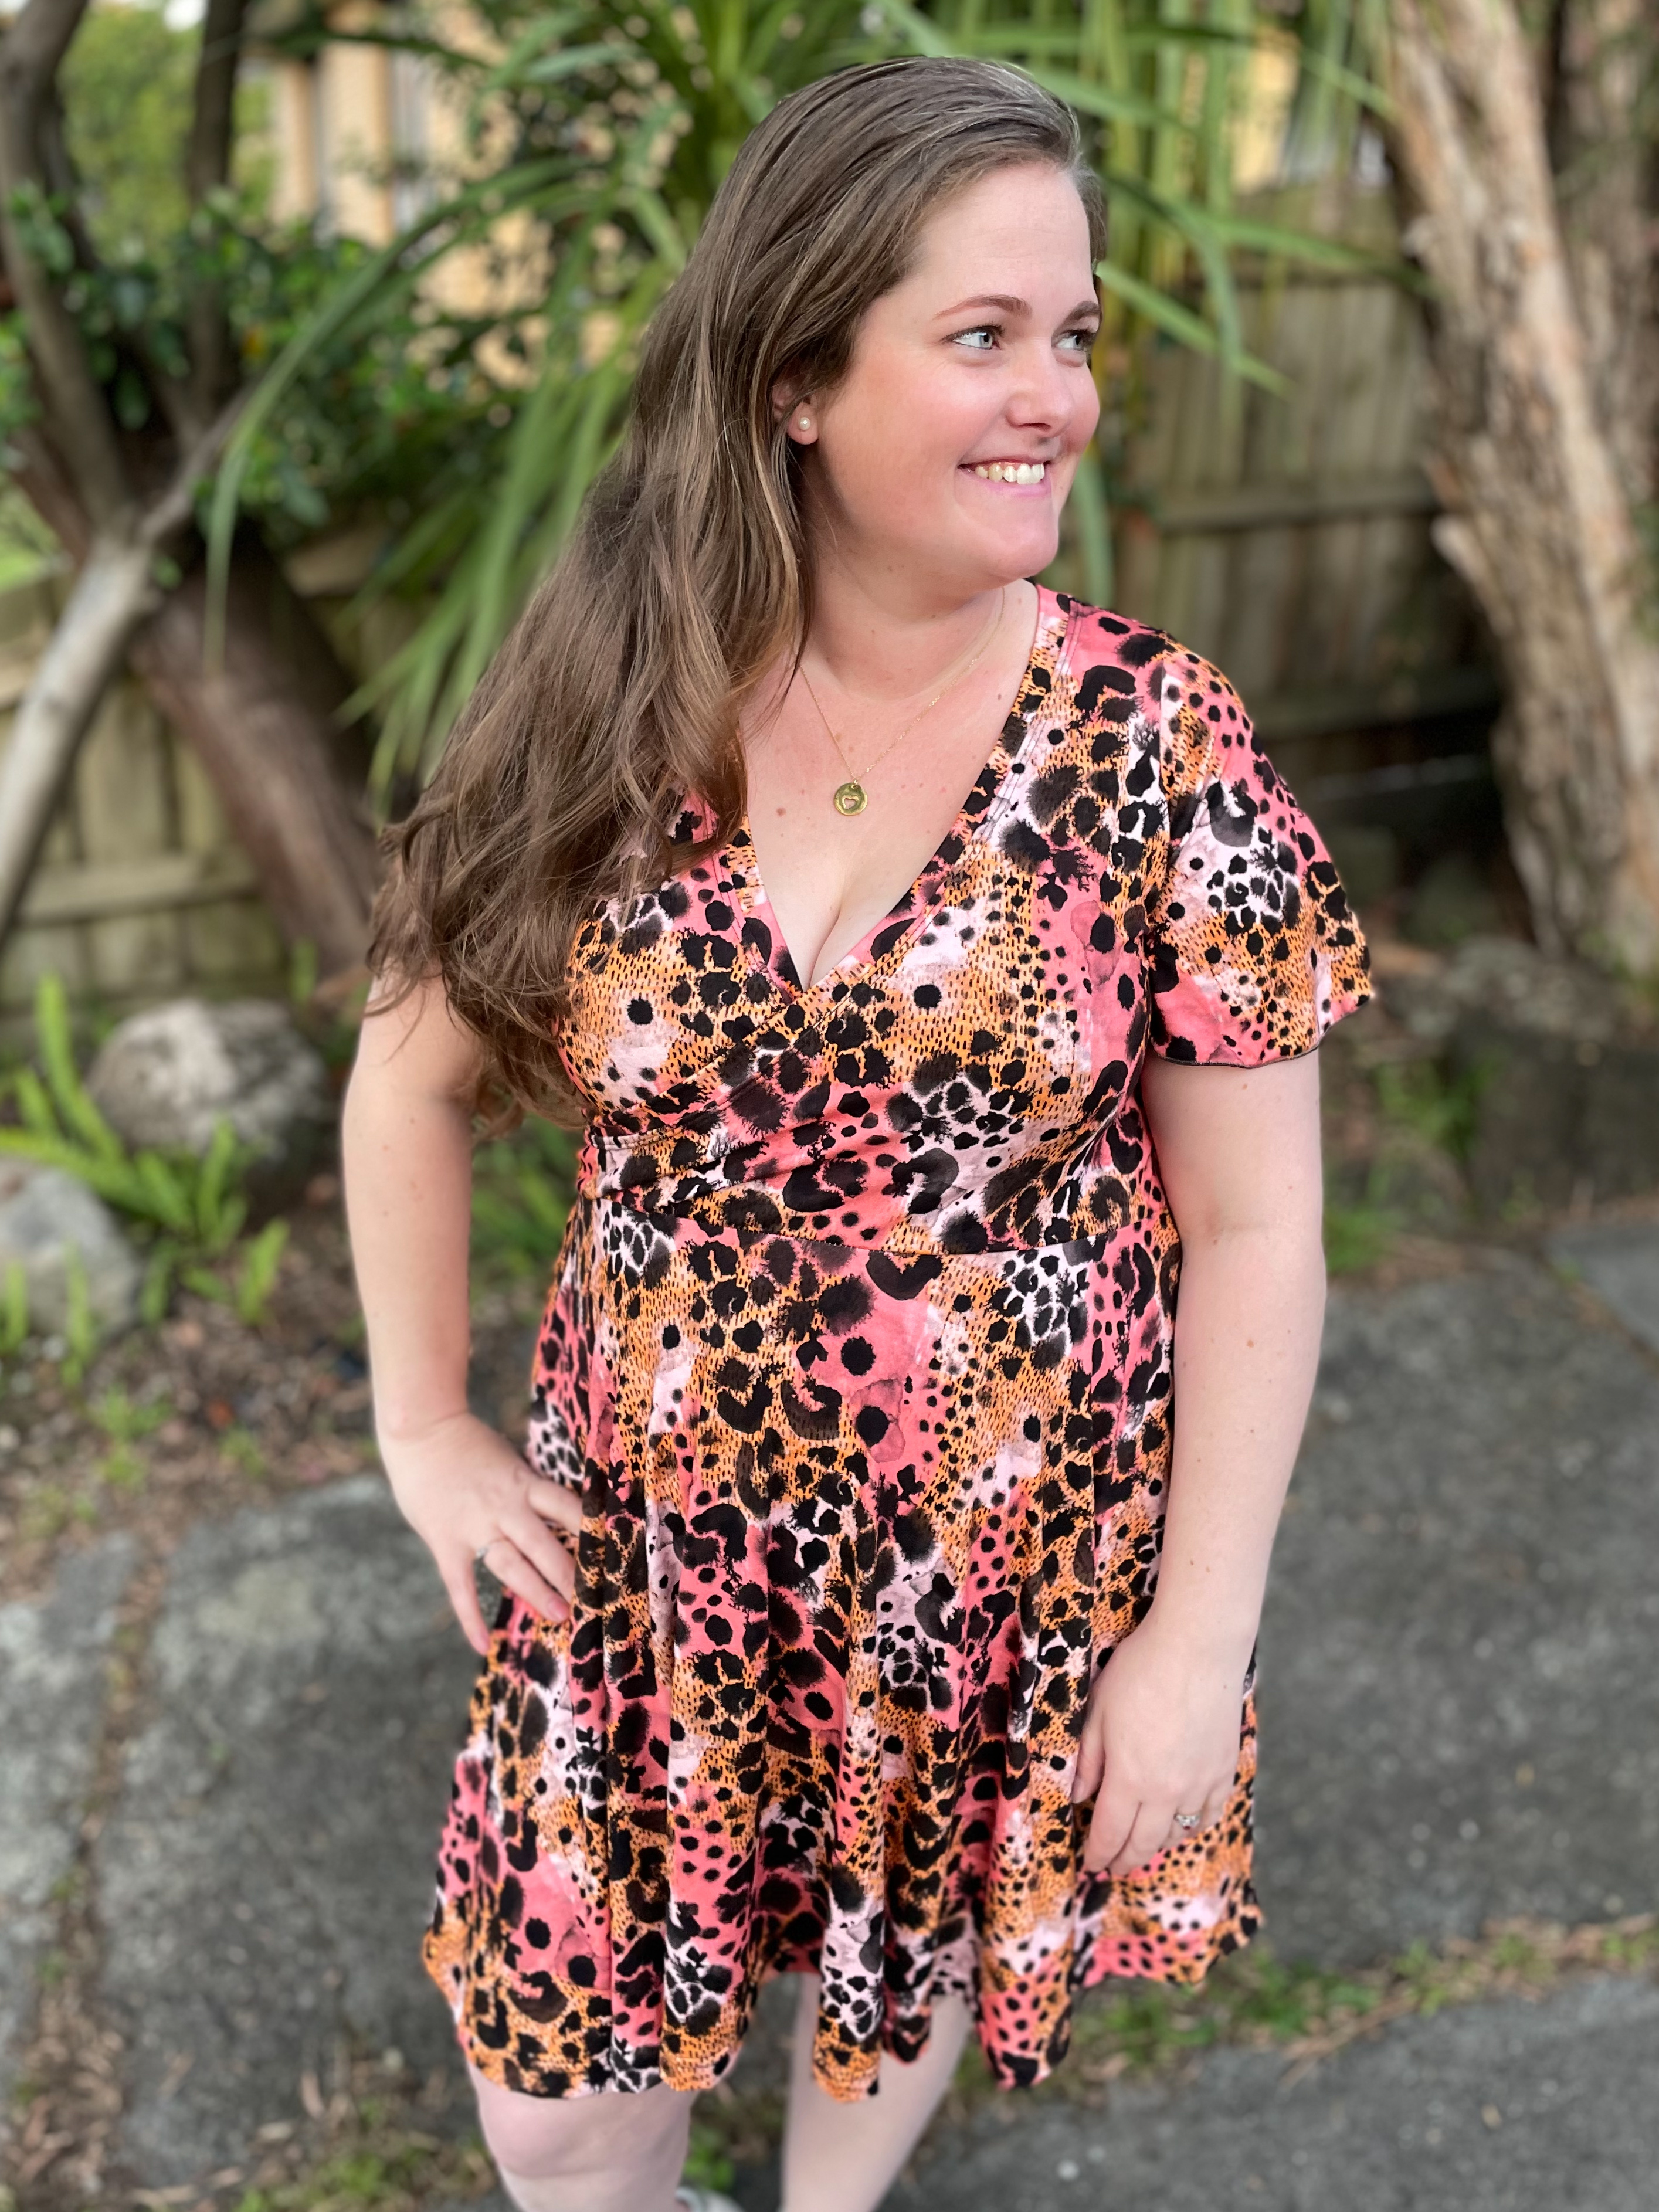
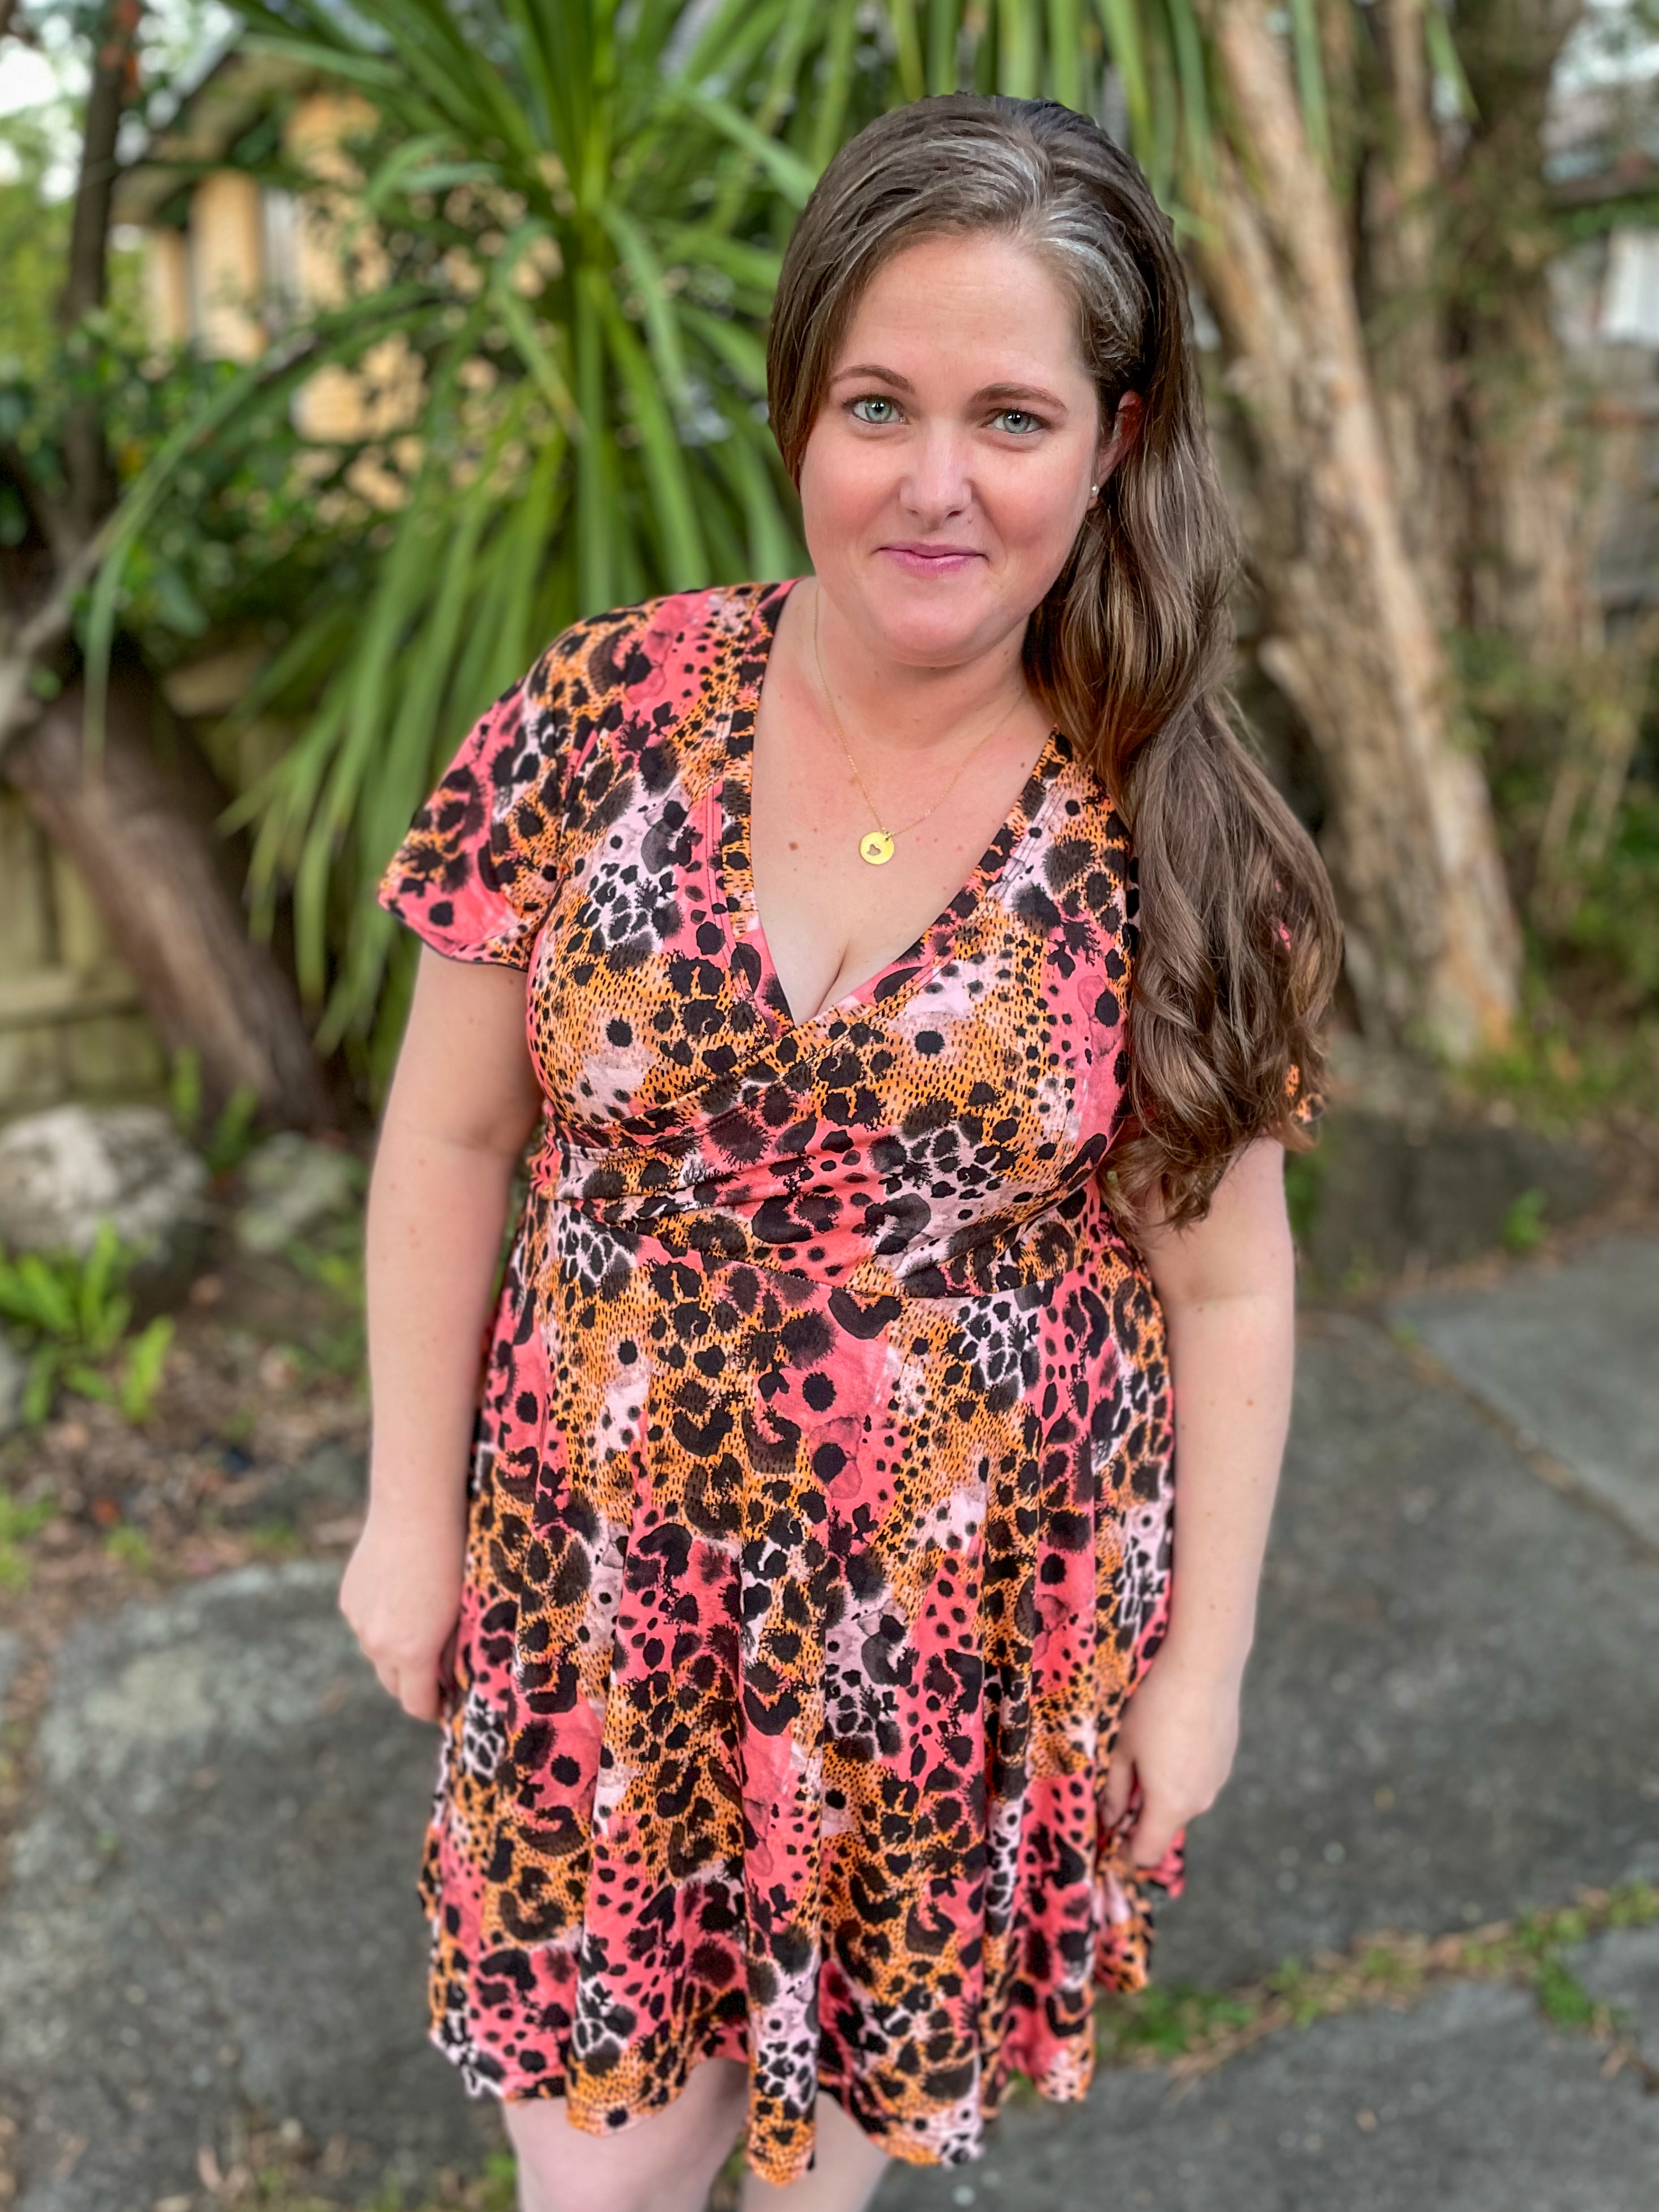
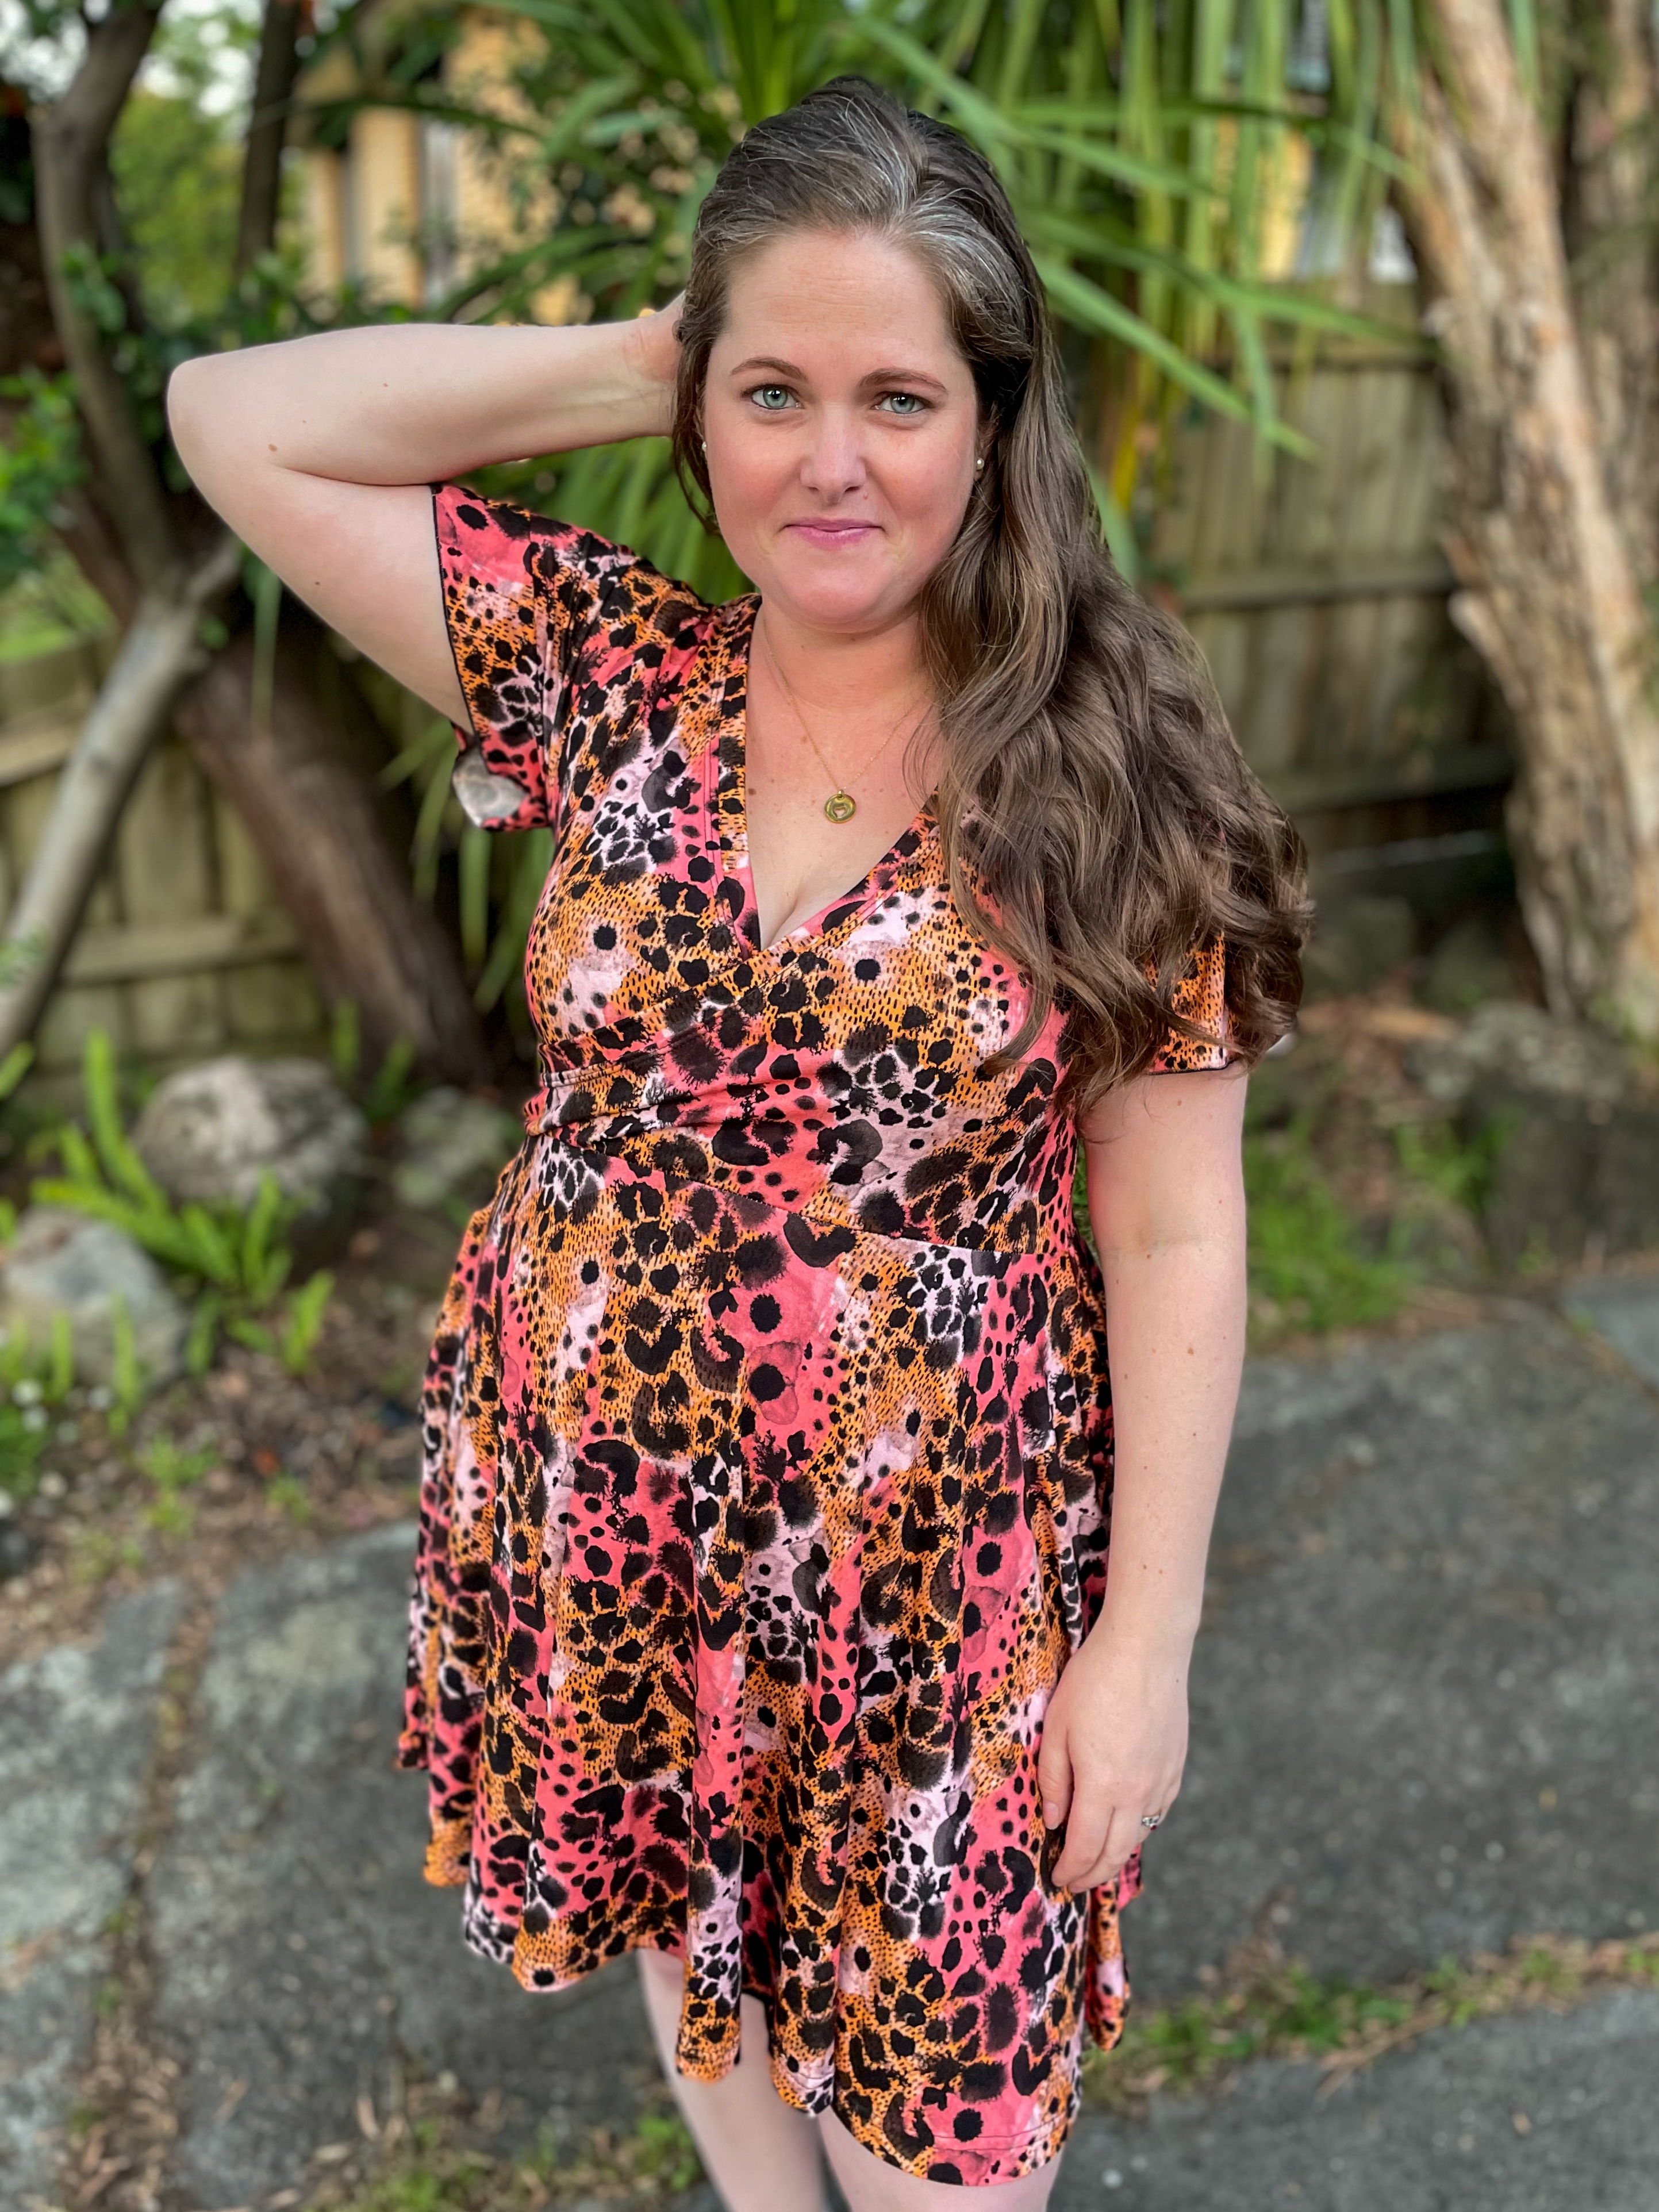
    I made mine out of a EcoVero Viscose Elastane, which is basically a rayon spandex, and I think this is what gives them such a dreamy look. I chose the subtle flare and because it is such a drapey fabric, it just swirls around your legs and feels so good against your skin. It almost has a faux maxi skirt look until you walk and can see the 2 legs.

    I definitely think I will make these again, the only downfall is they are so fabric hungry. Even though I made the subtle flare, I still went through about 2m of fabric as I could only get 1 leg per metre, and I’d hate think what I would need for the dramatic flare 🙈.

    What next?

    Stop wasting fabric and time on projects that don't fit right. 

    Learn to sew with confidence and let me guide you to more sewing success.

  • Pattern Review of the Dockside and Driftwood Polo

    Pattern: Dockside & Driftwood Polo
    Designer: Love Notions
    Fabrics: Cotton Lycra from Frankie Bear Fabrics
    Skill level: Advanced Beginner
    Size made: Large for my husband and size 4 for my son
    Adjustments: None
    Pros: I love a polo, it really takes a t shirt from casual to dressy, without being over the top. I also love being able to add things like the pocket and use different fabrics for the collars and binding.
    Cons: The binding option is a little tricky if you haven’t done a placket before. You can skip it if it’s your first time.

    Double the Polo Fun: Sewing Stylish Sets for Him and Mini-Me with Sewing Tips!

    I get accused all the time by my husband of never making him anything, so I was happy to be able to make not one, but TWO new polos for him this week haha. Hopefully less complaining for a while!

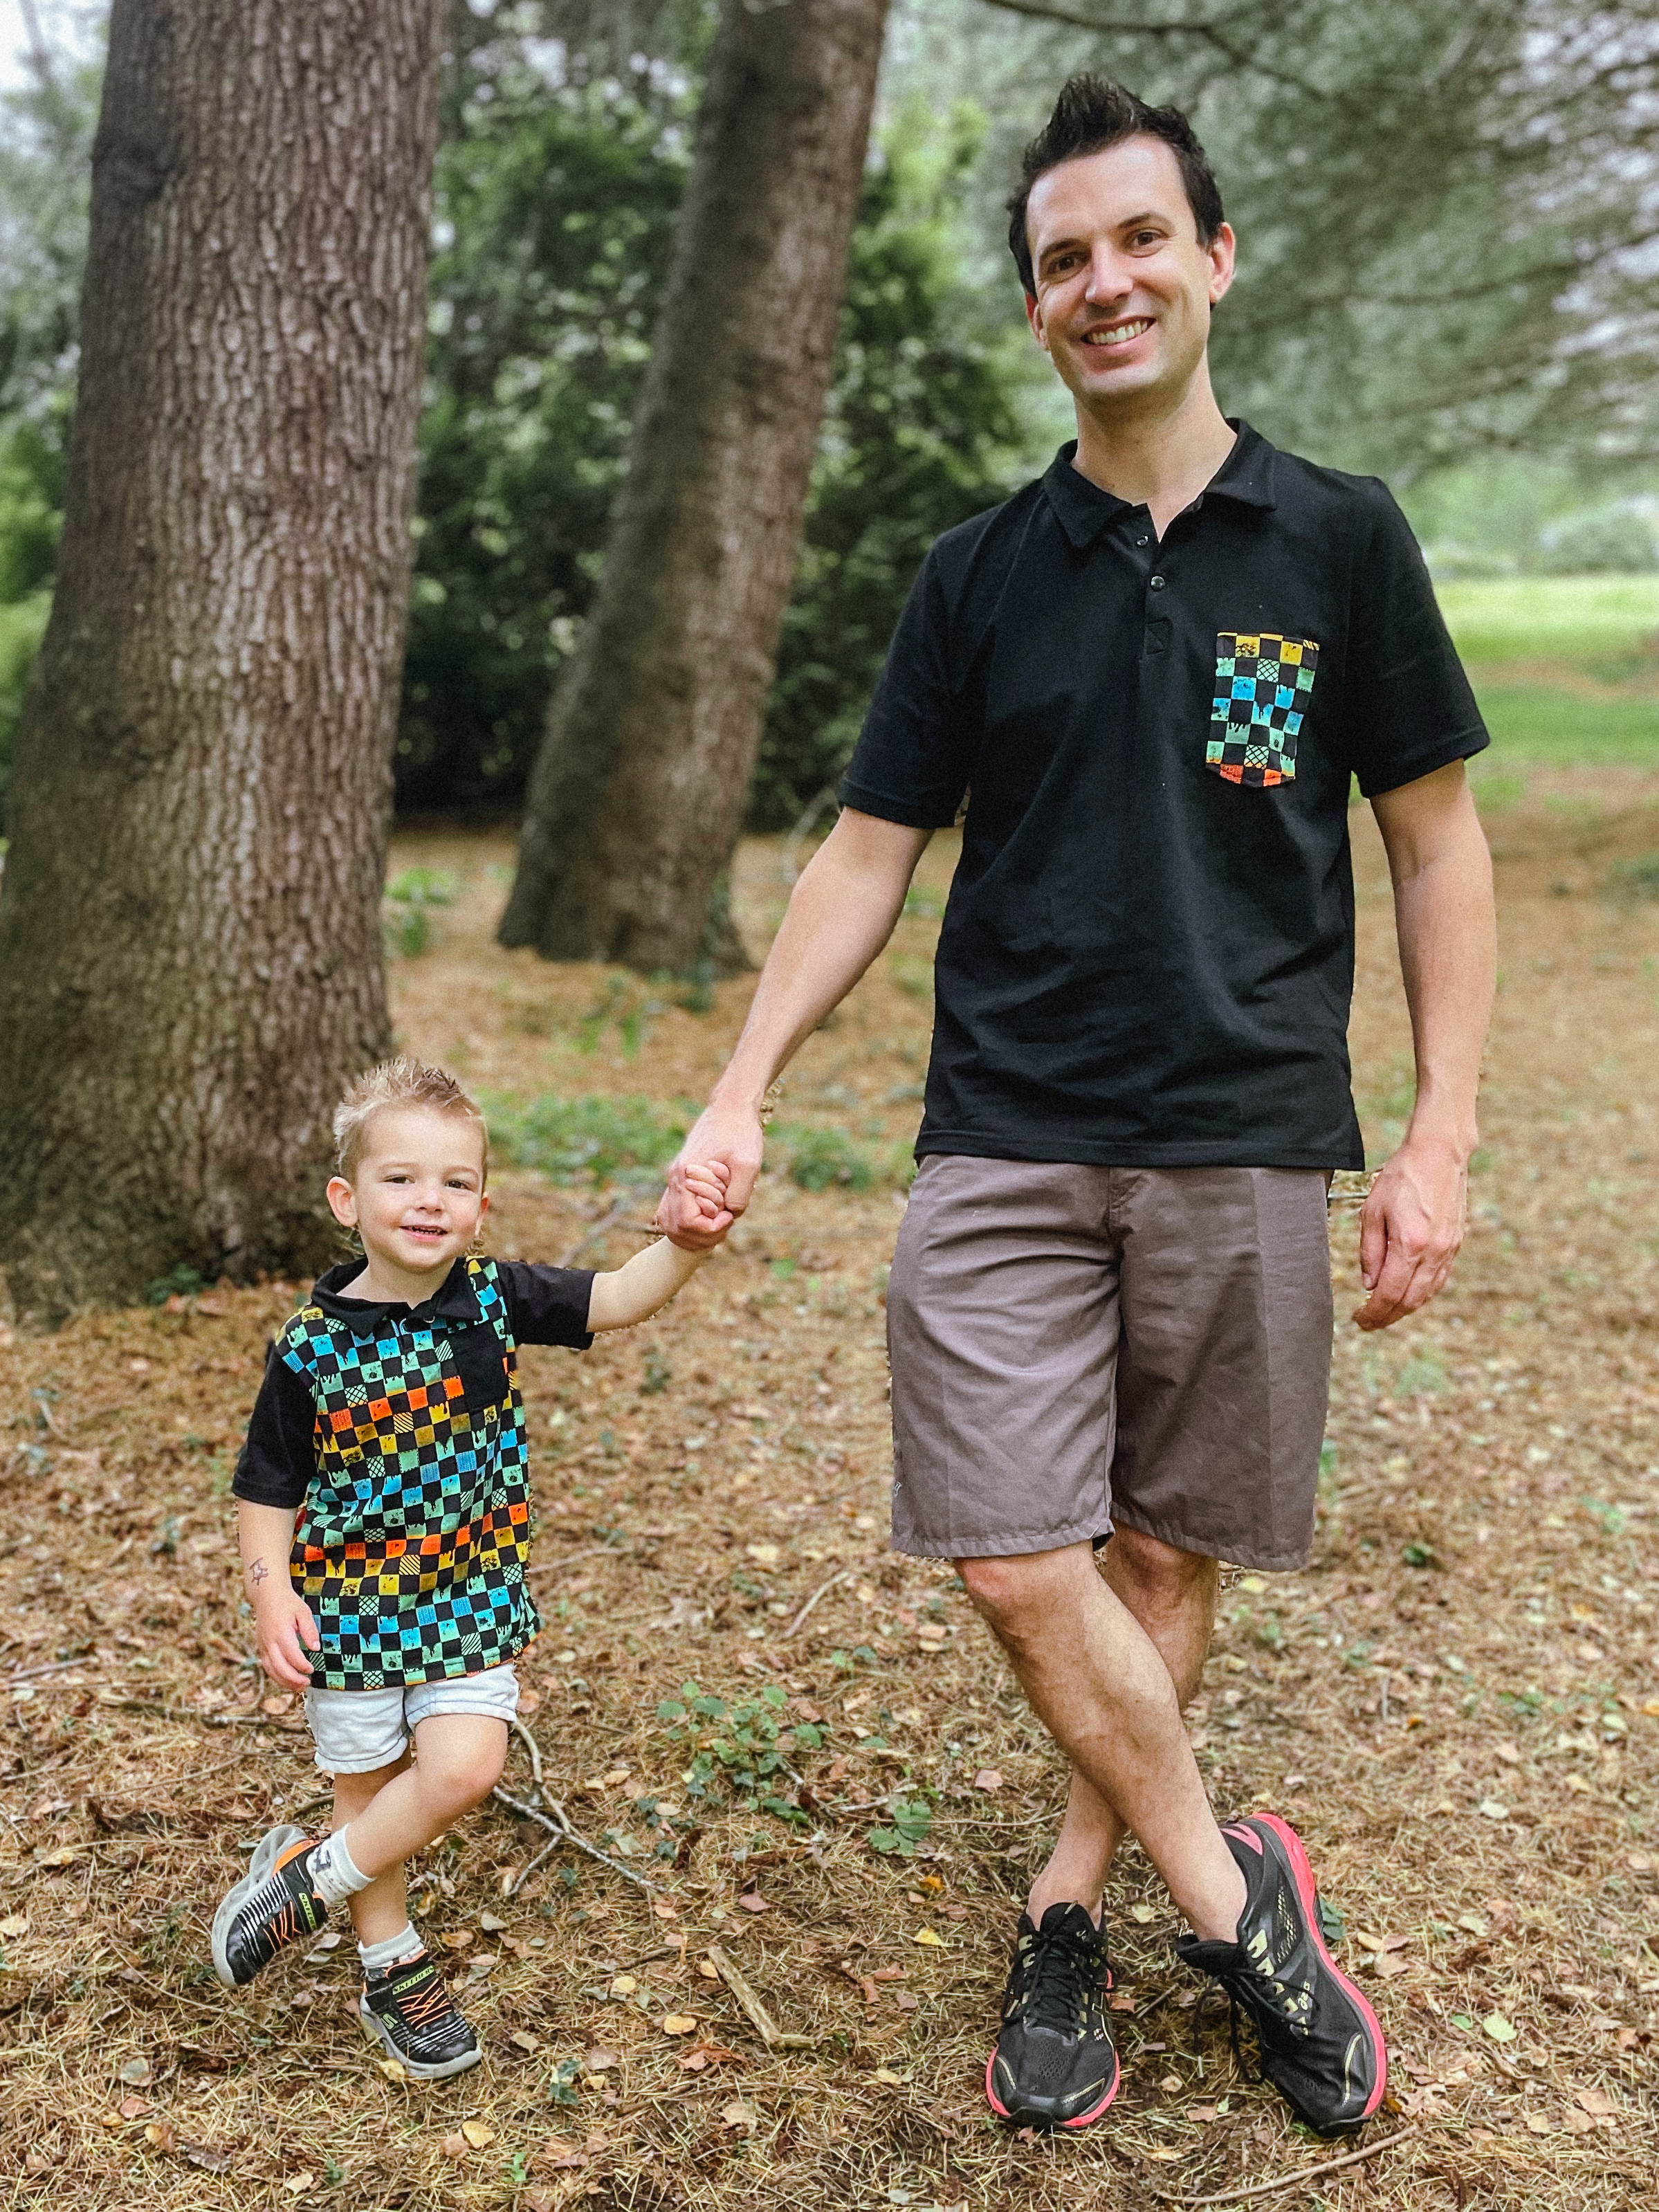
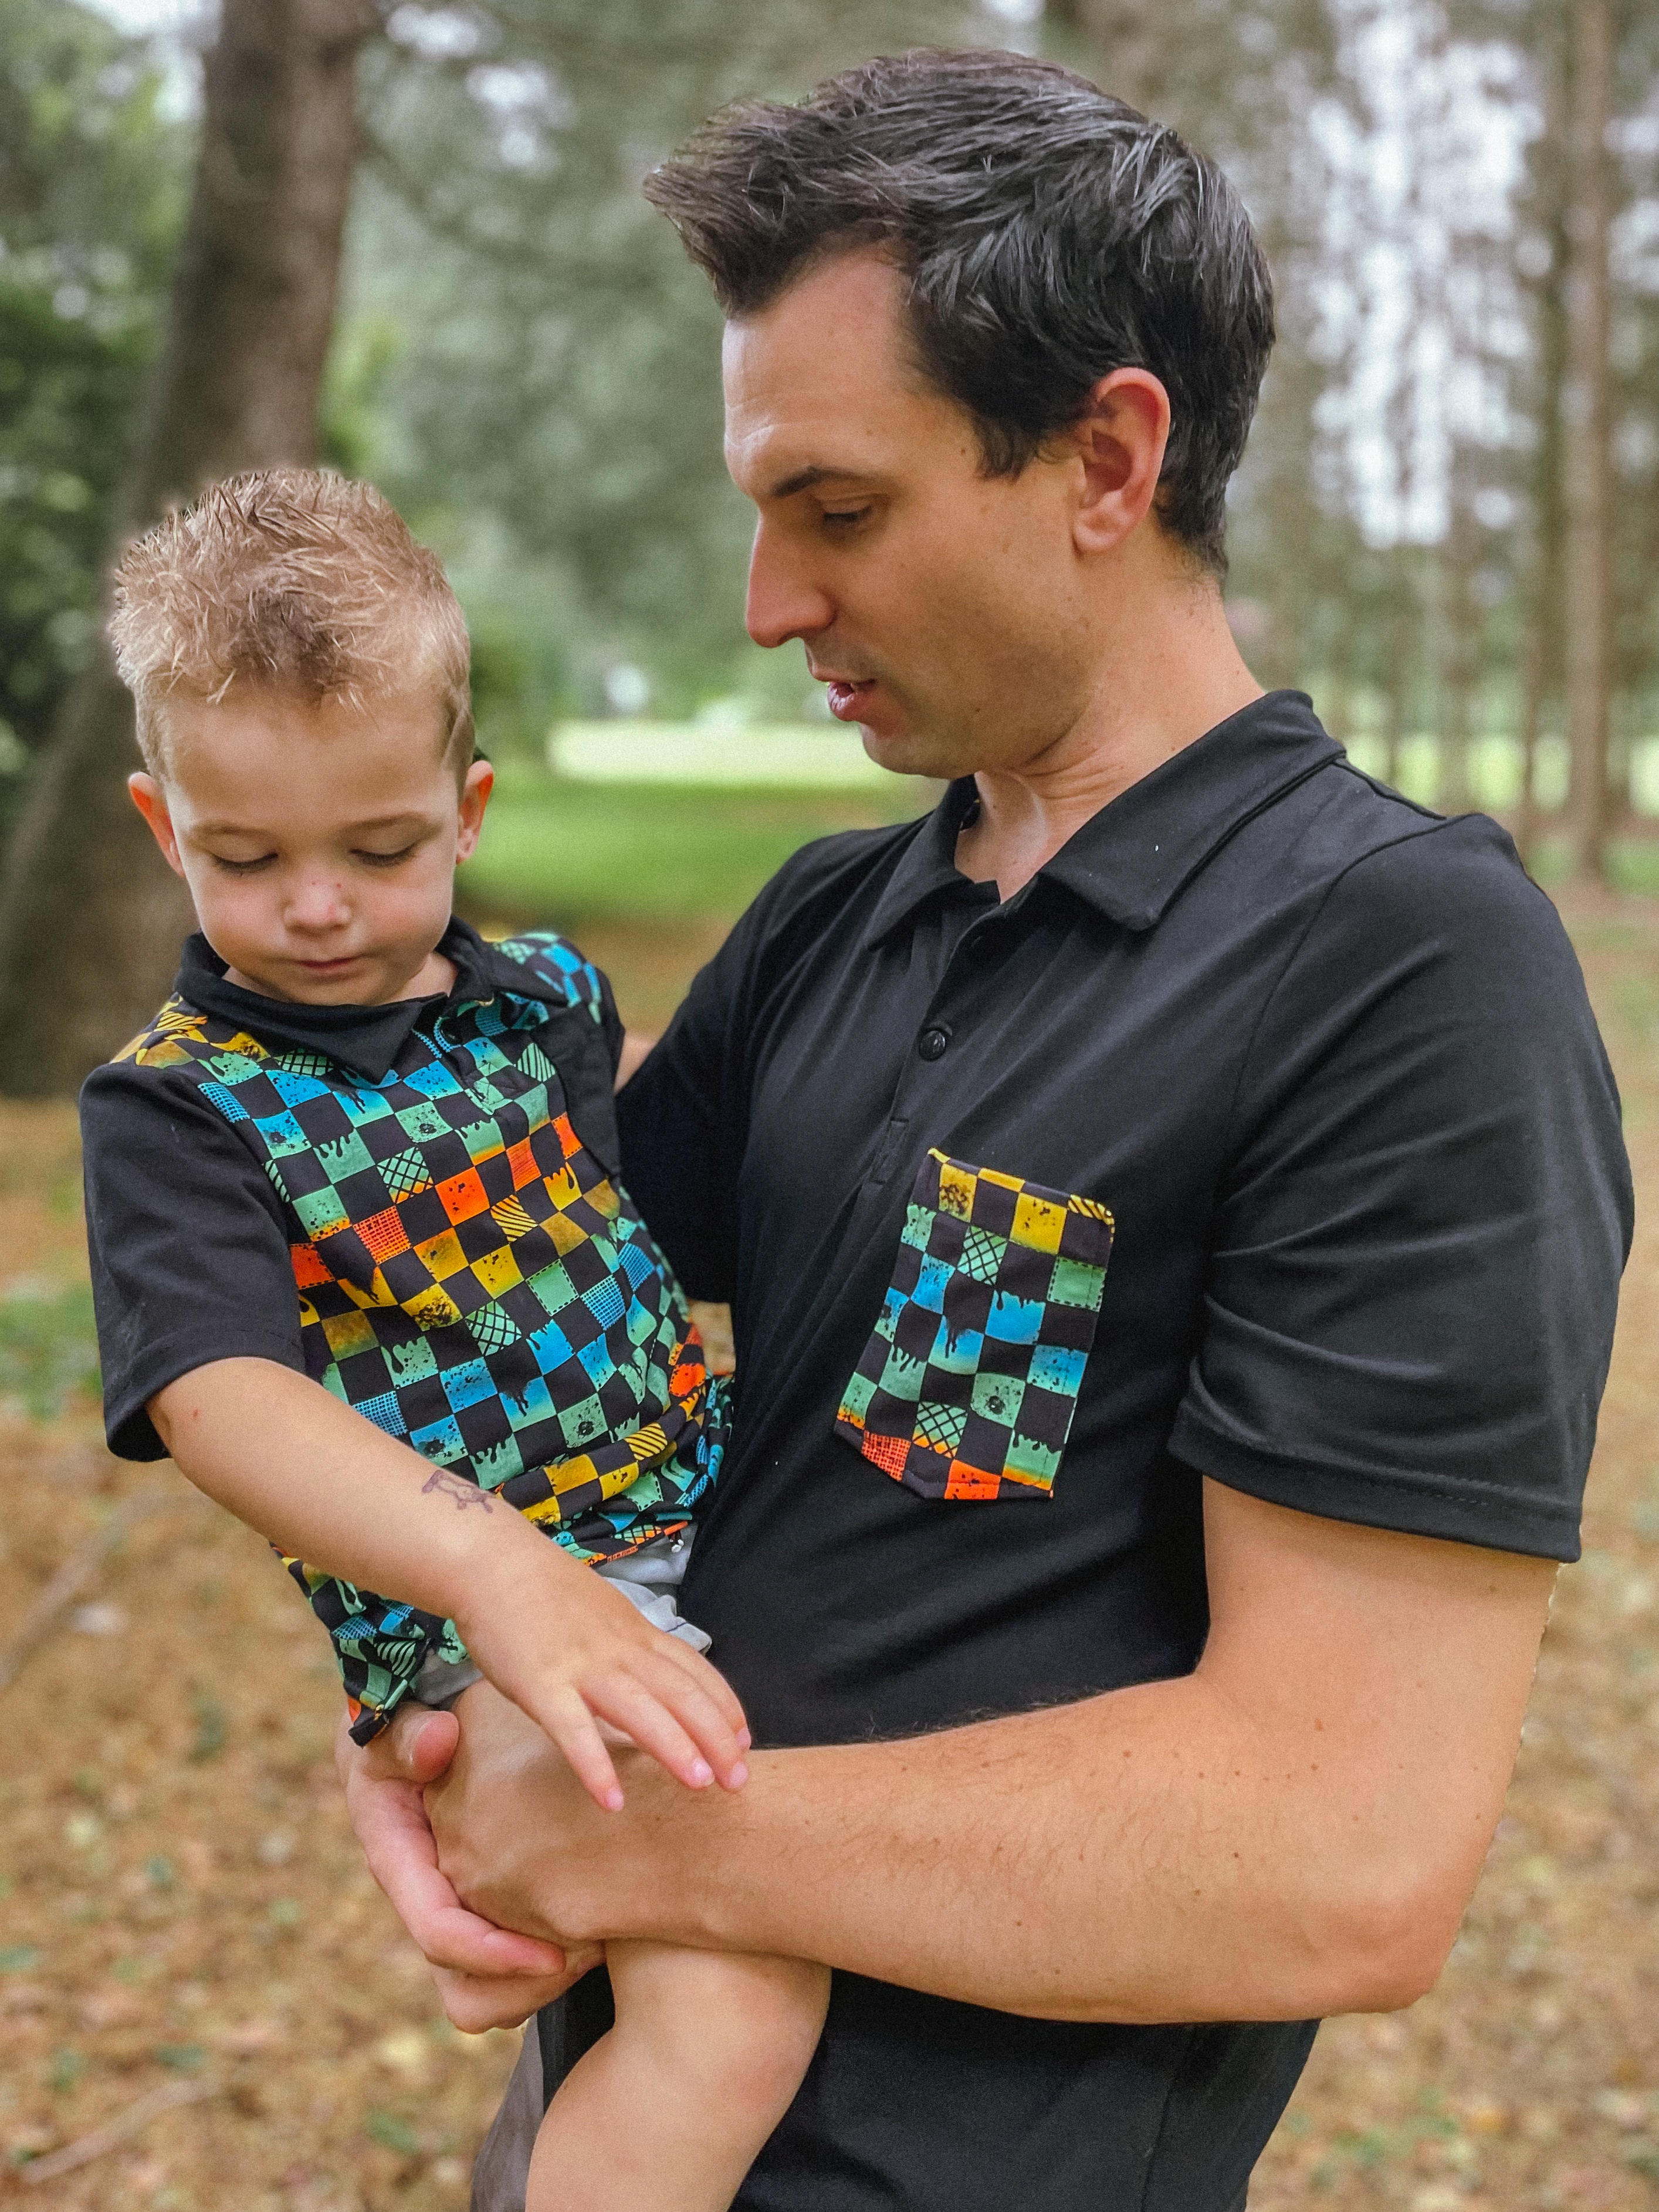
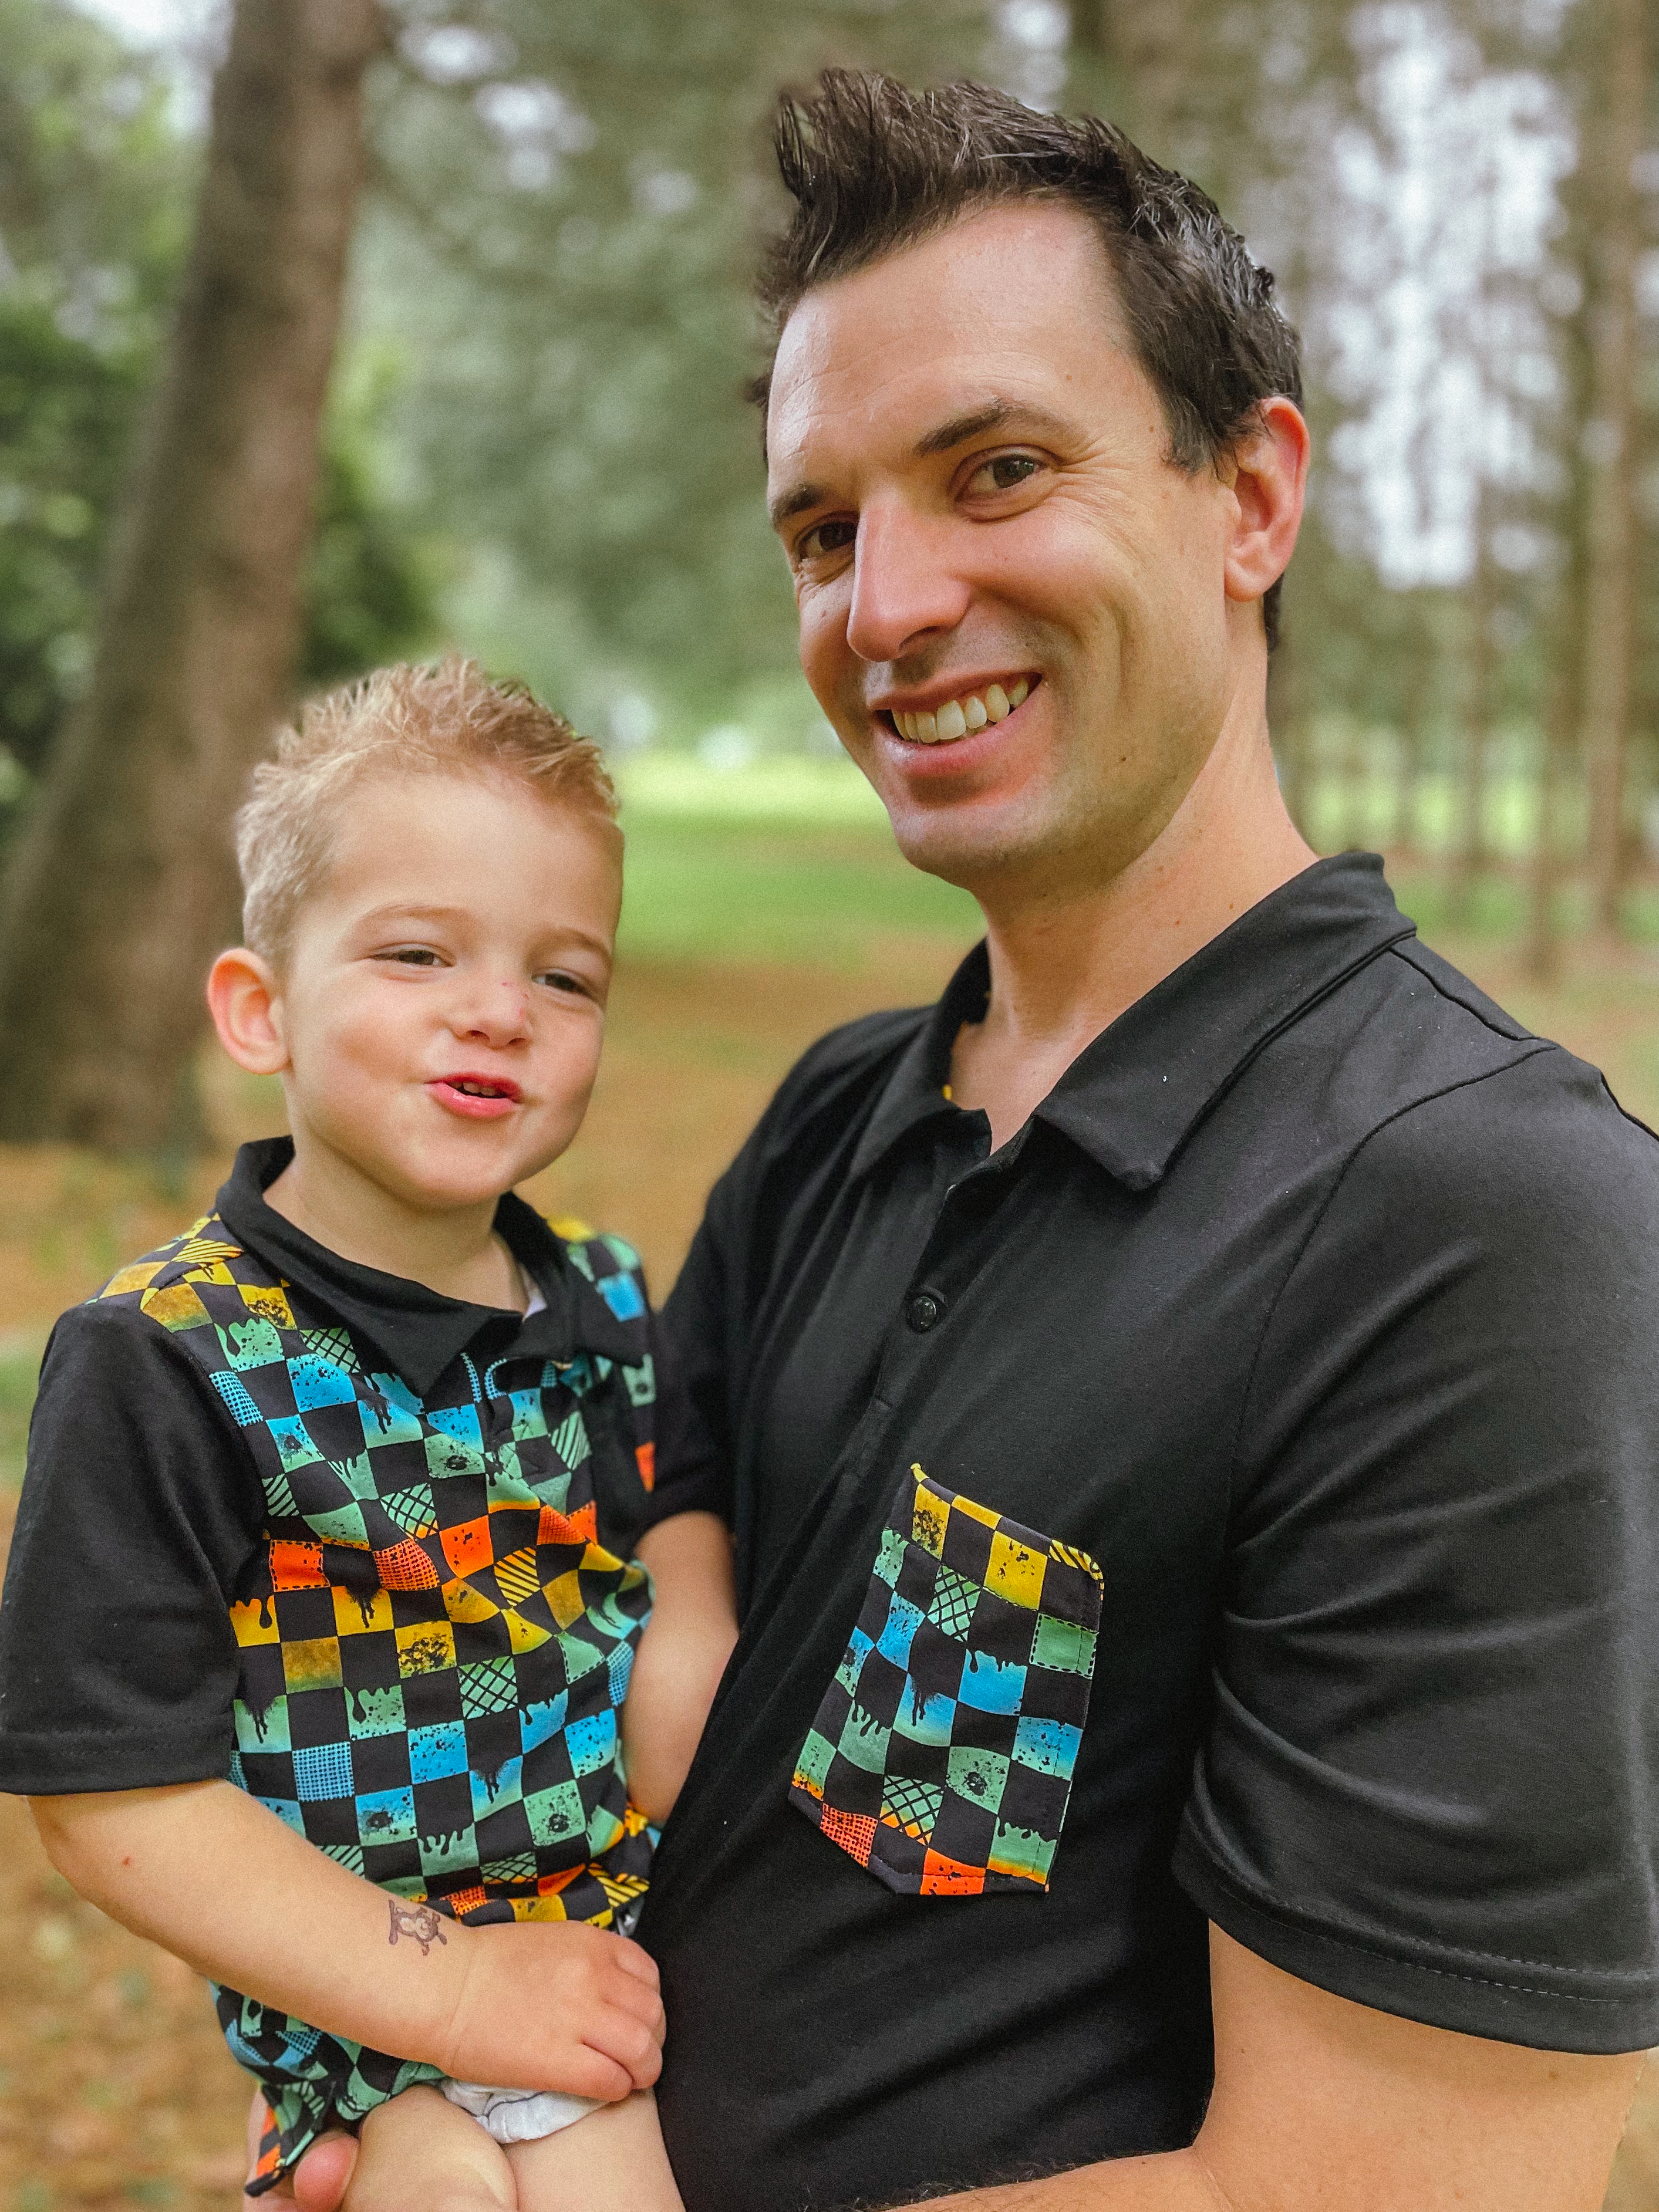
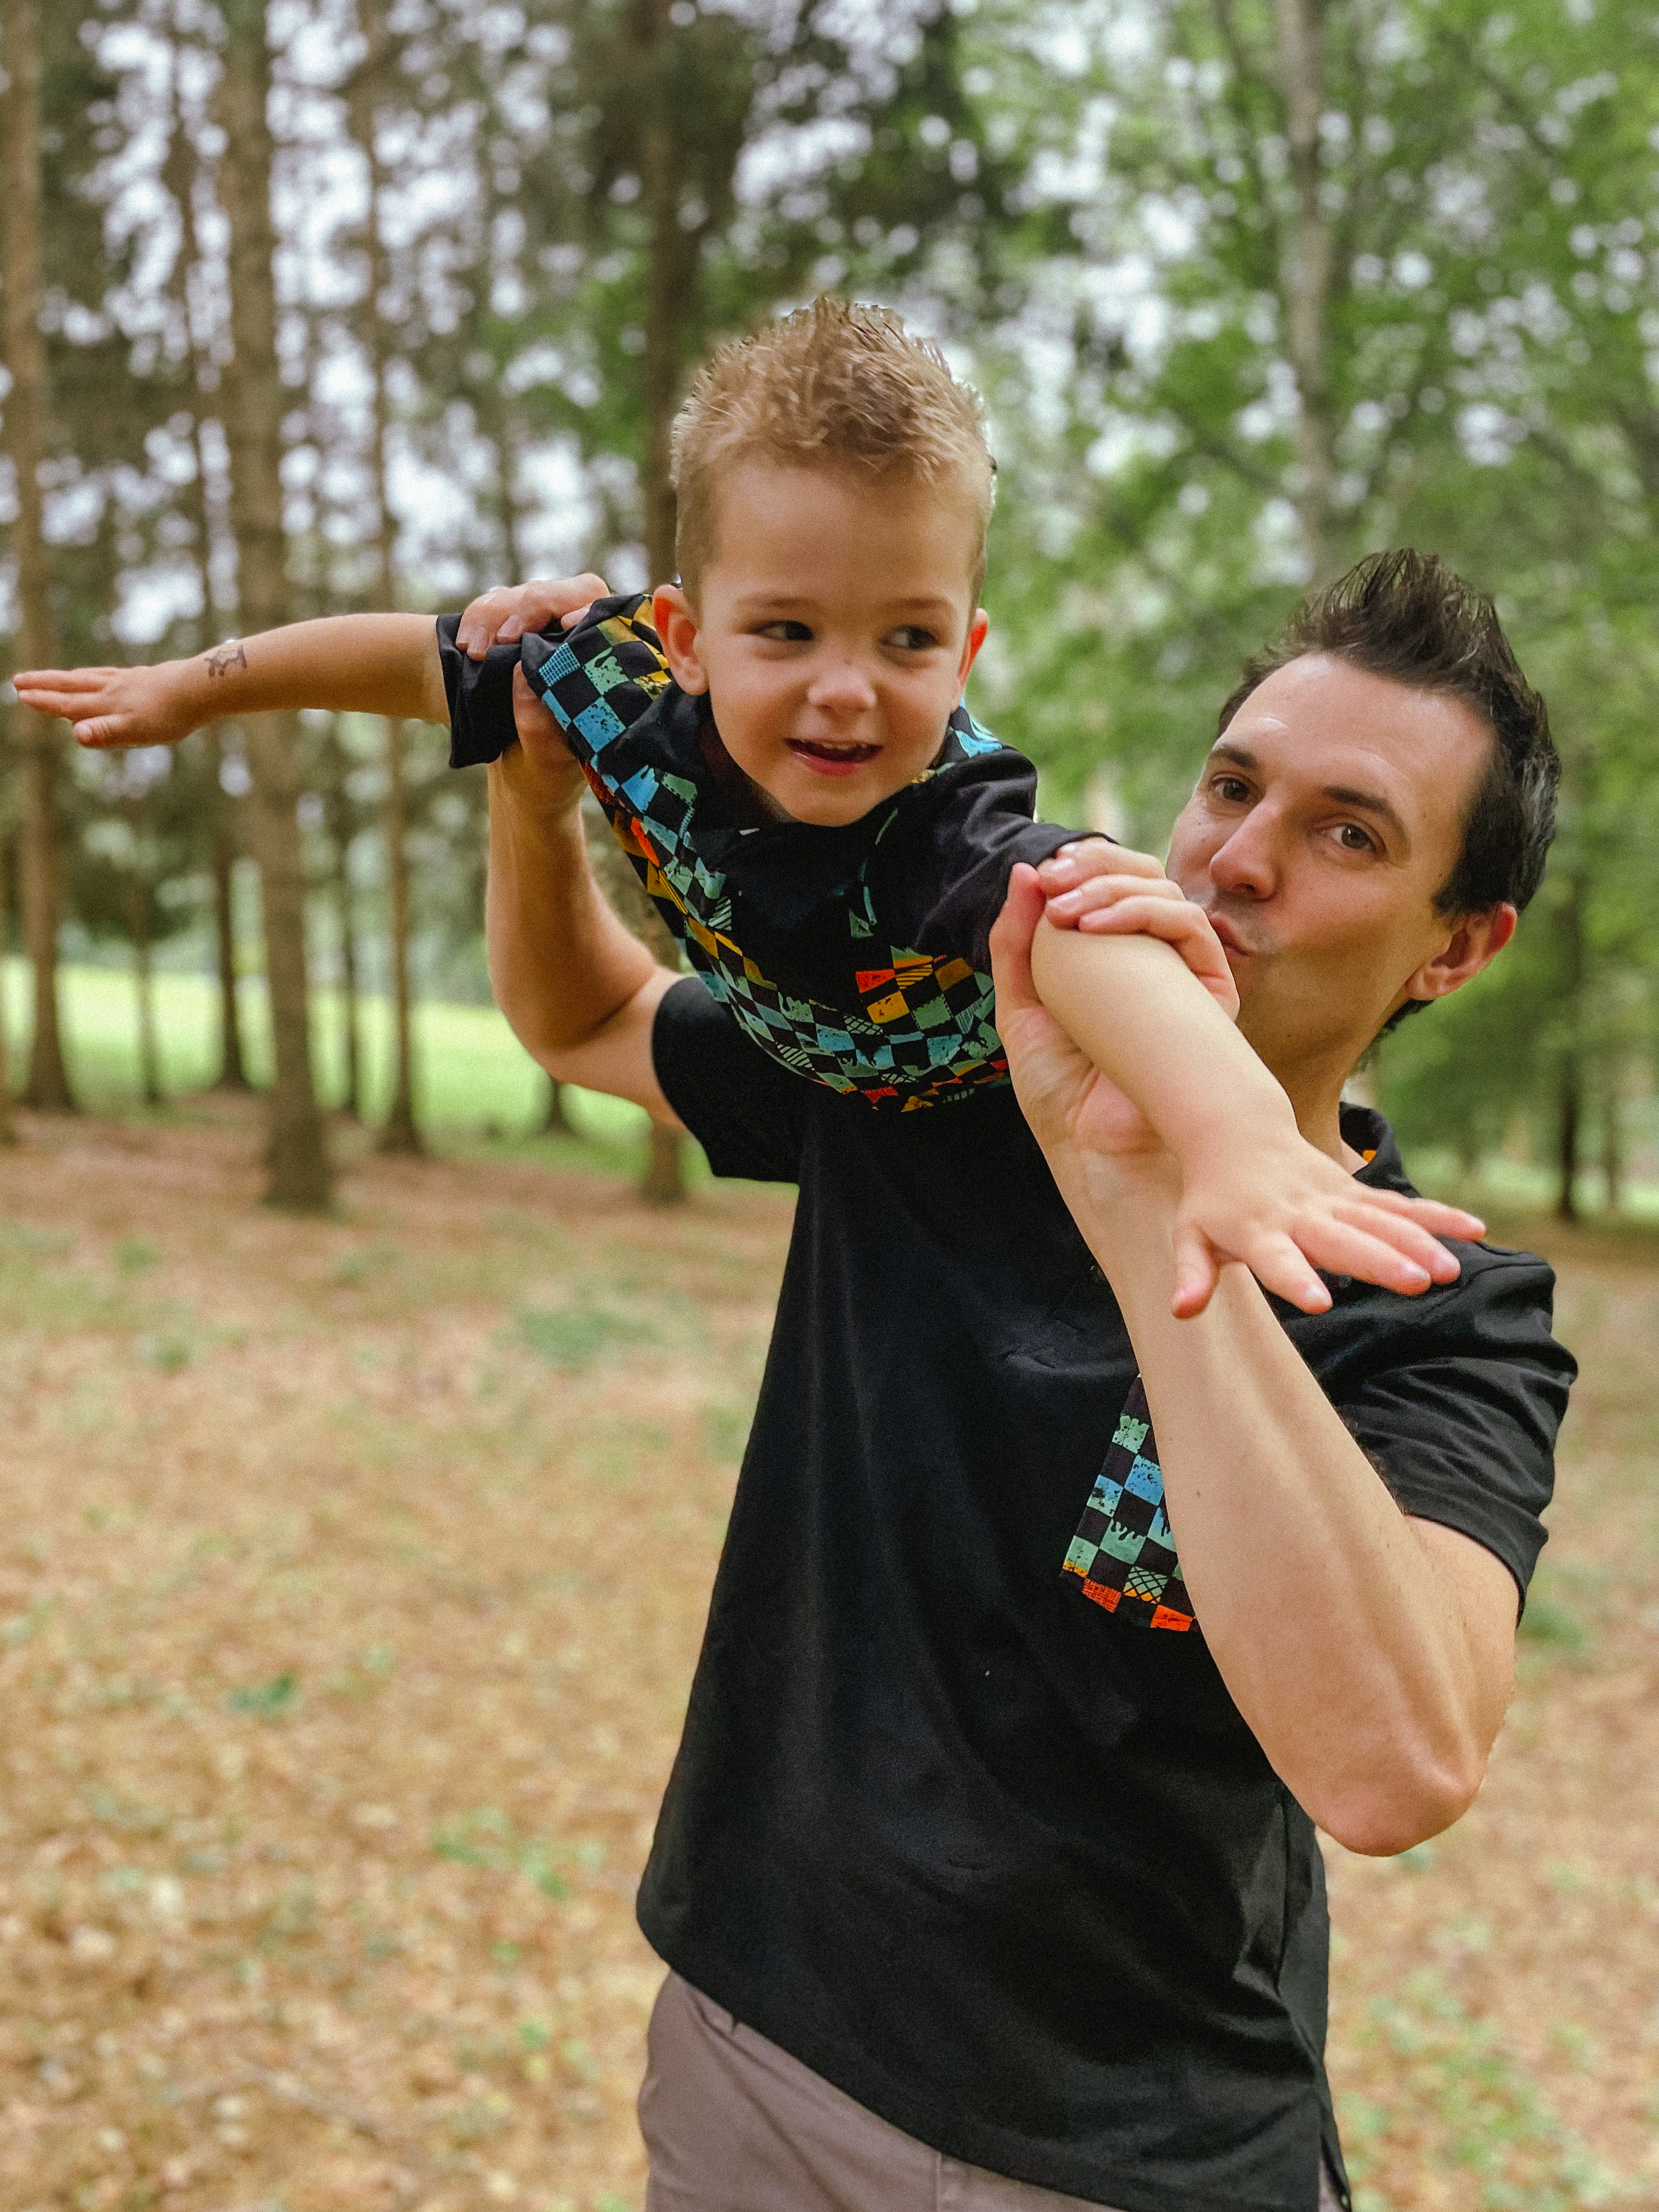
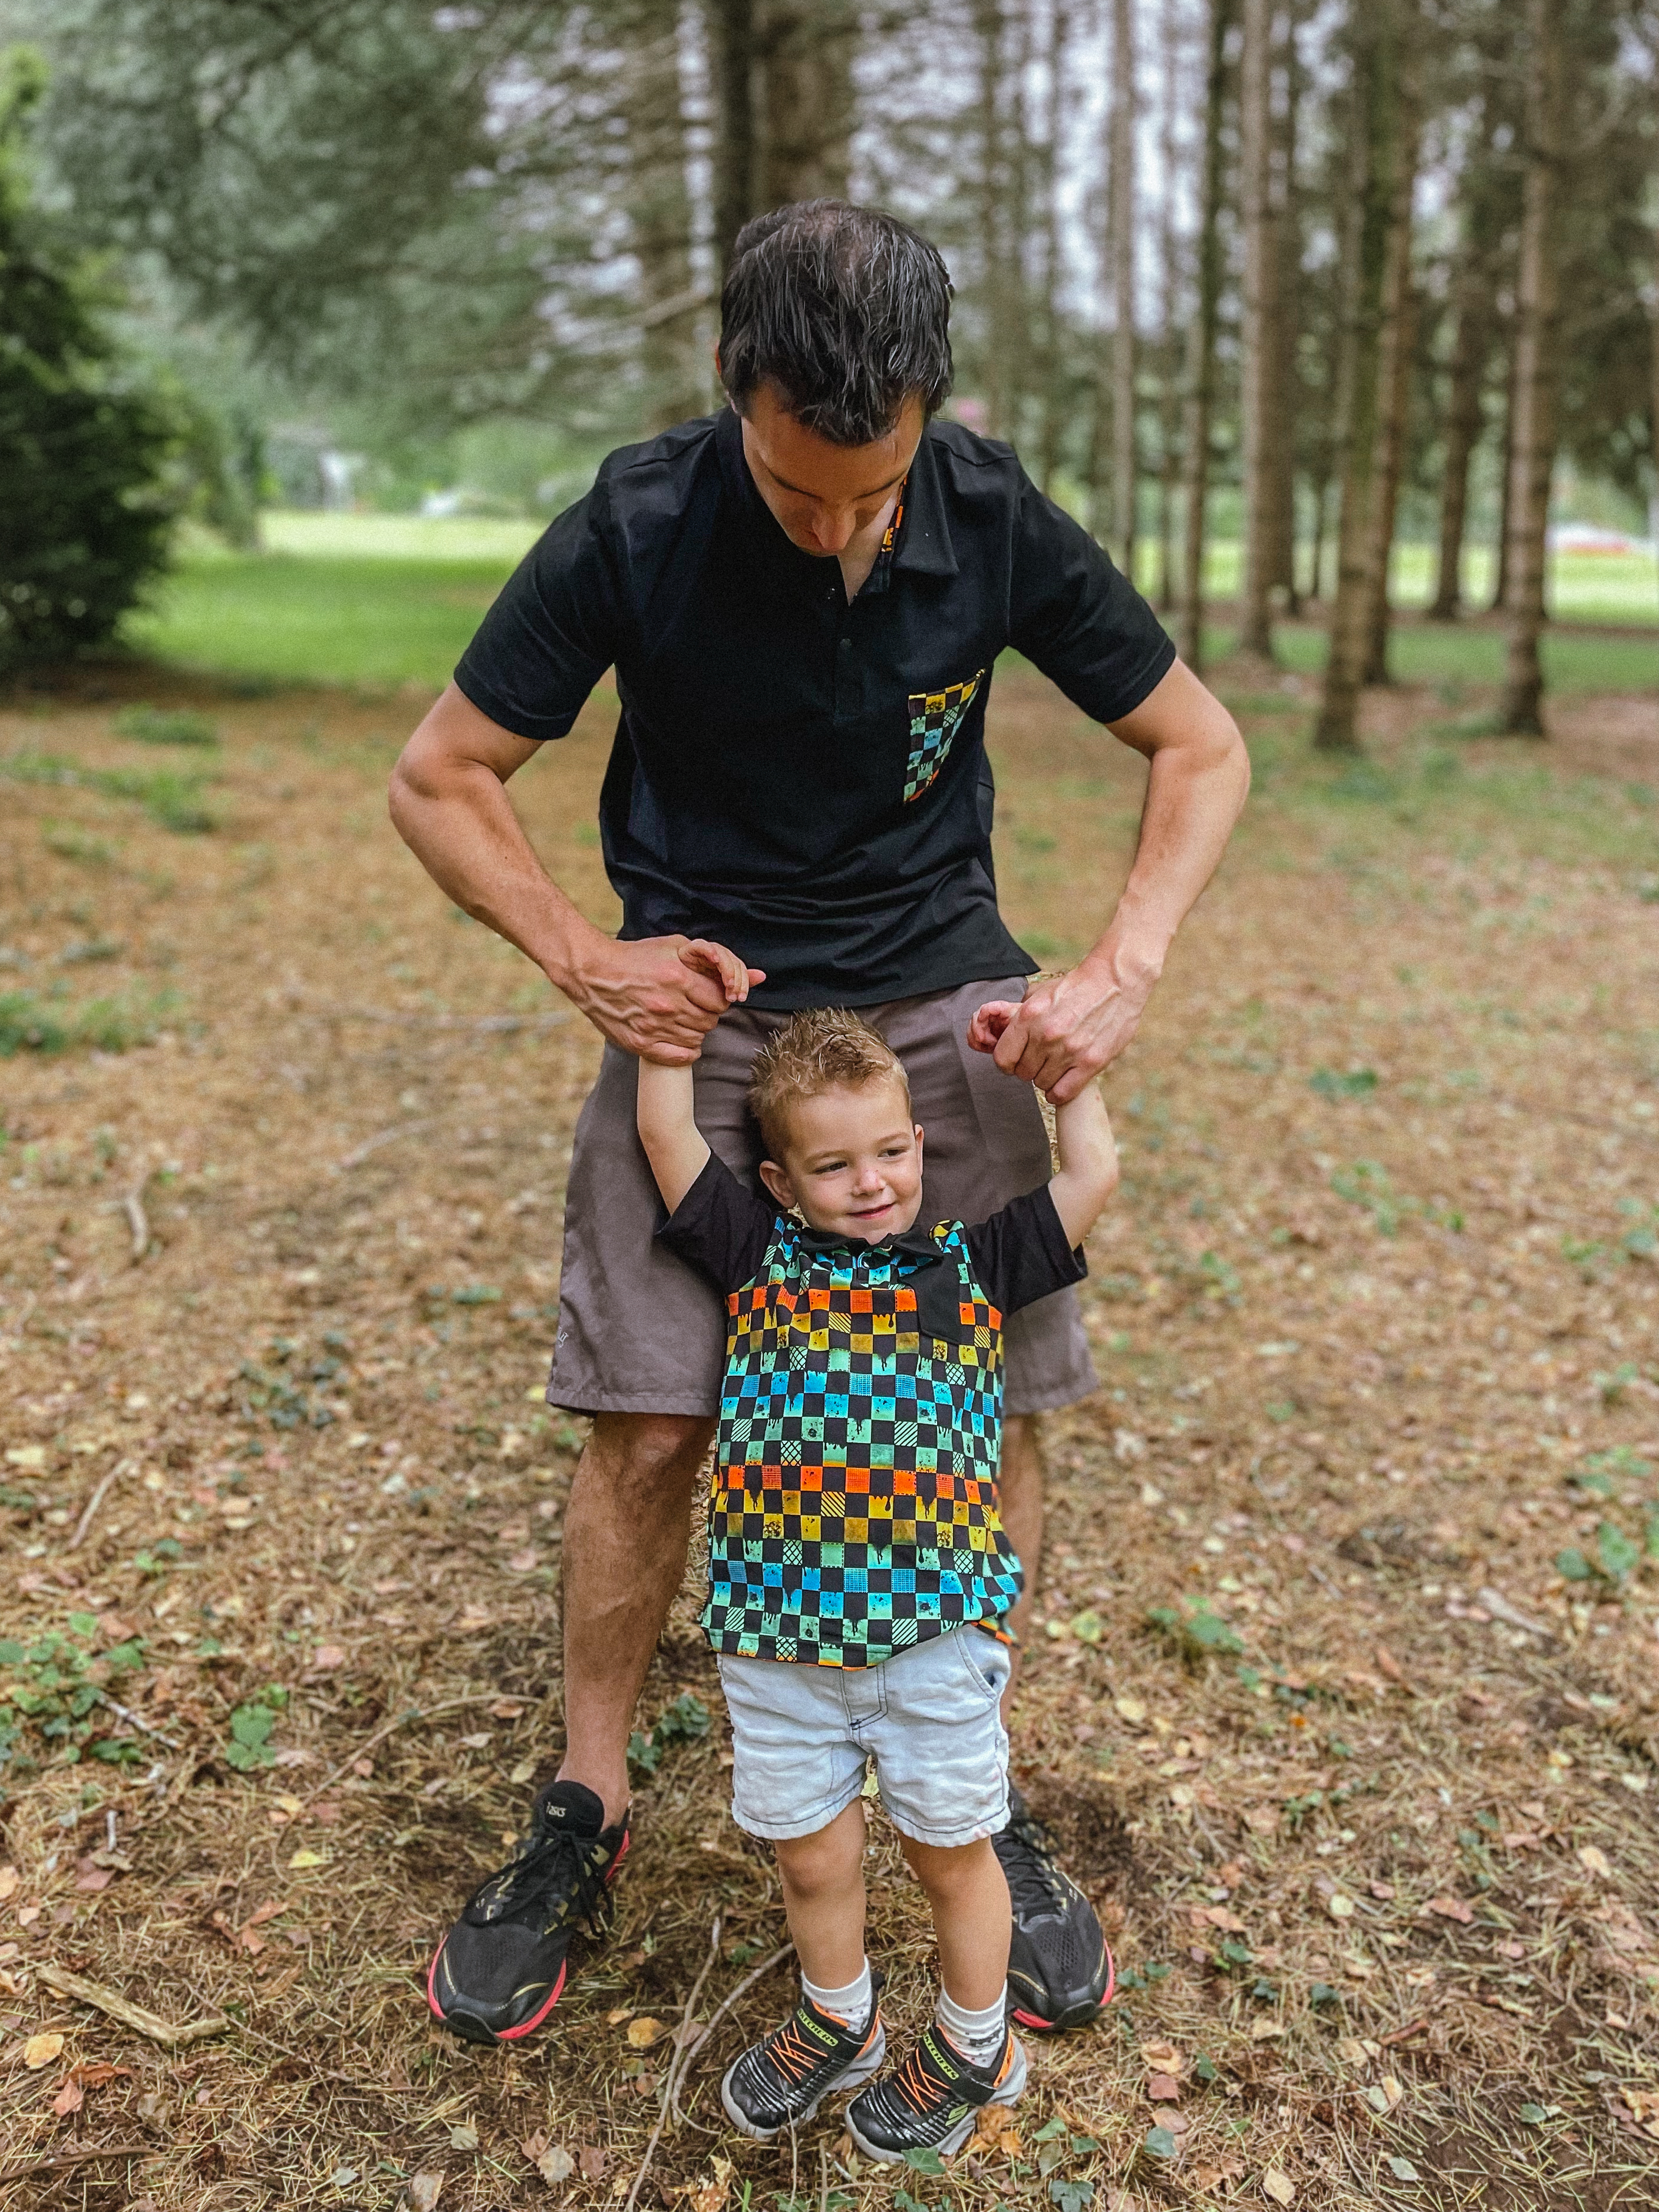
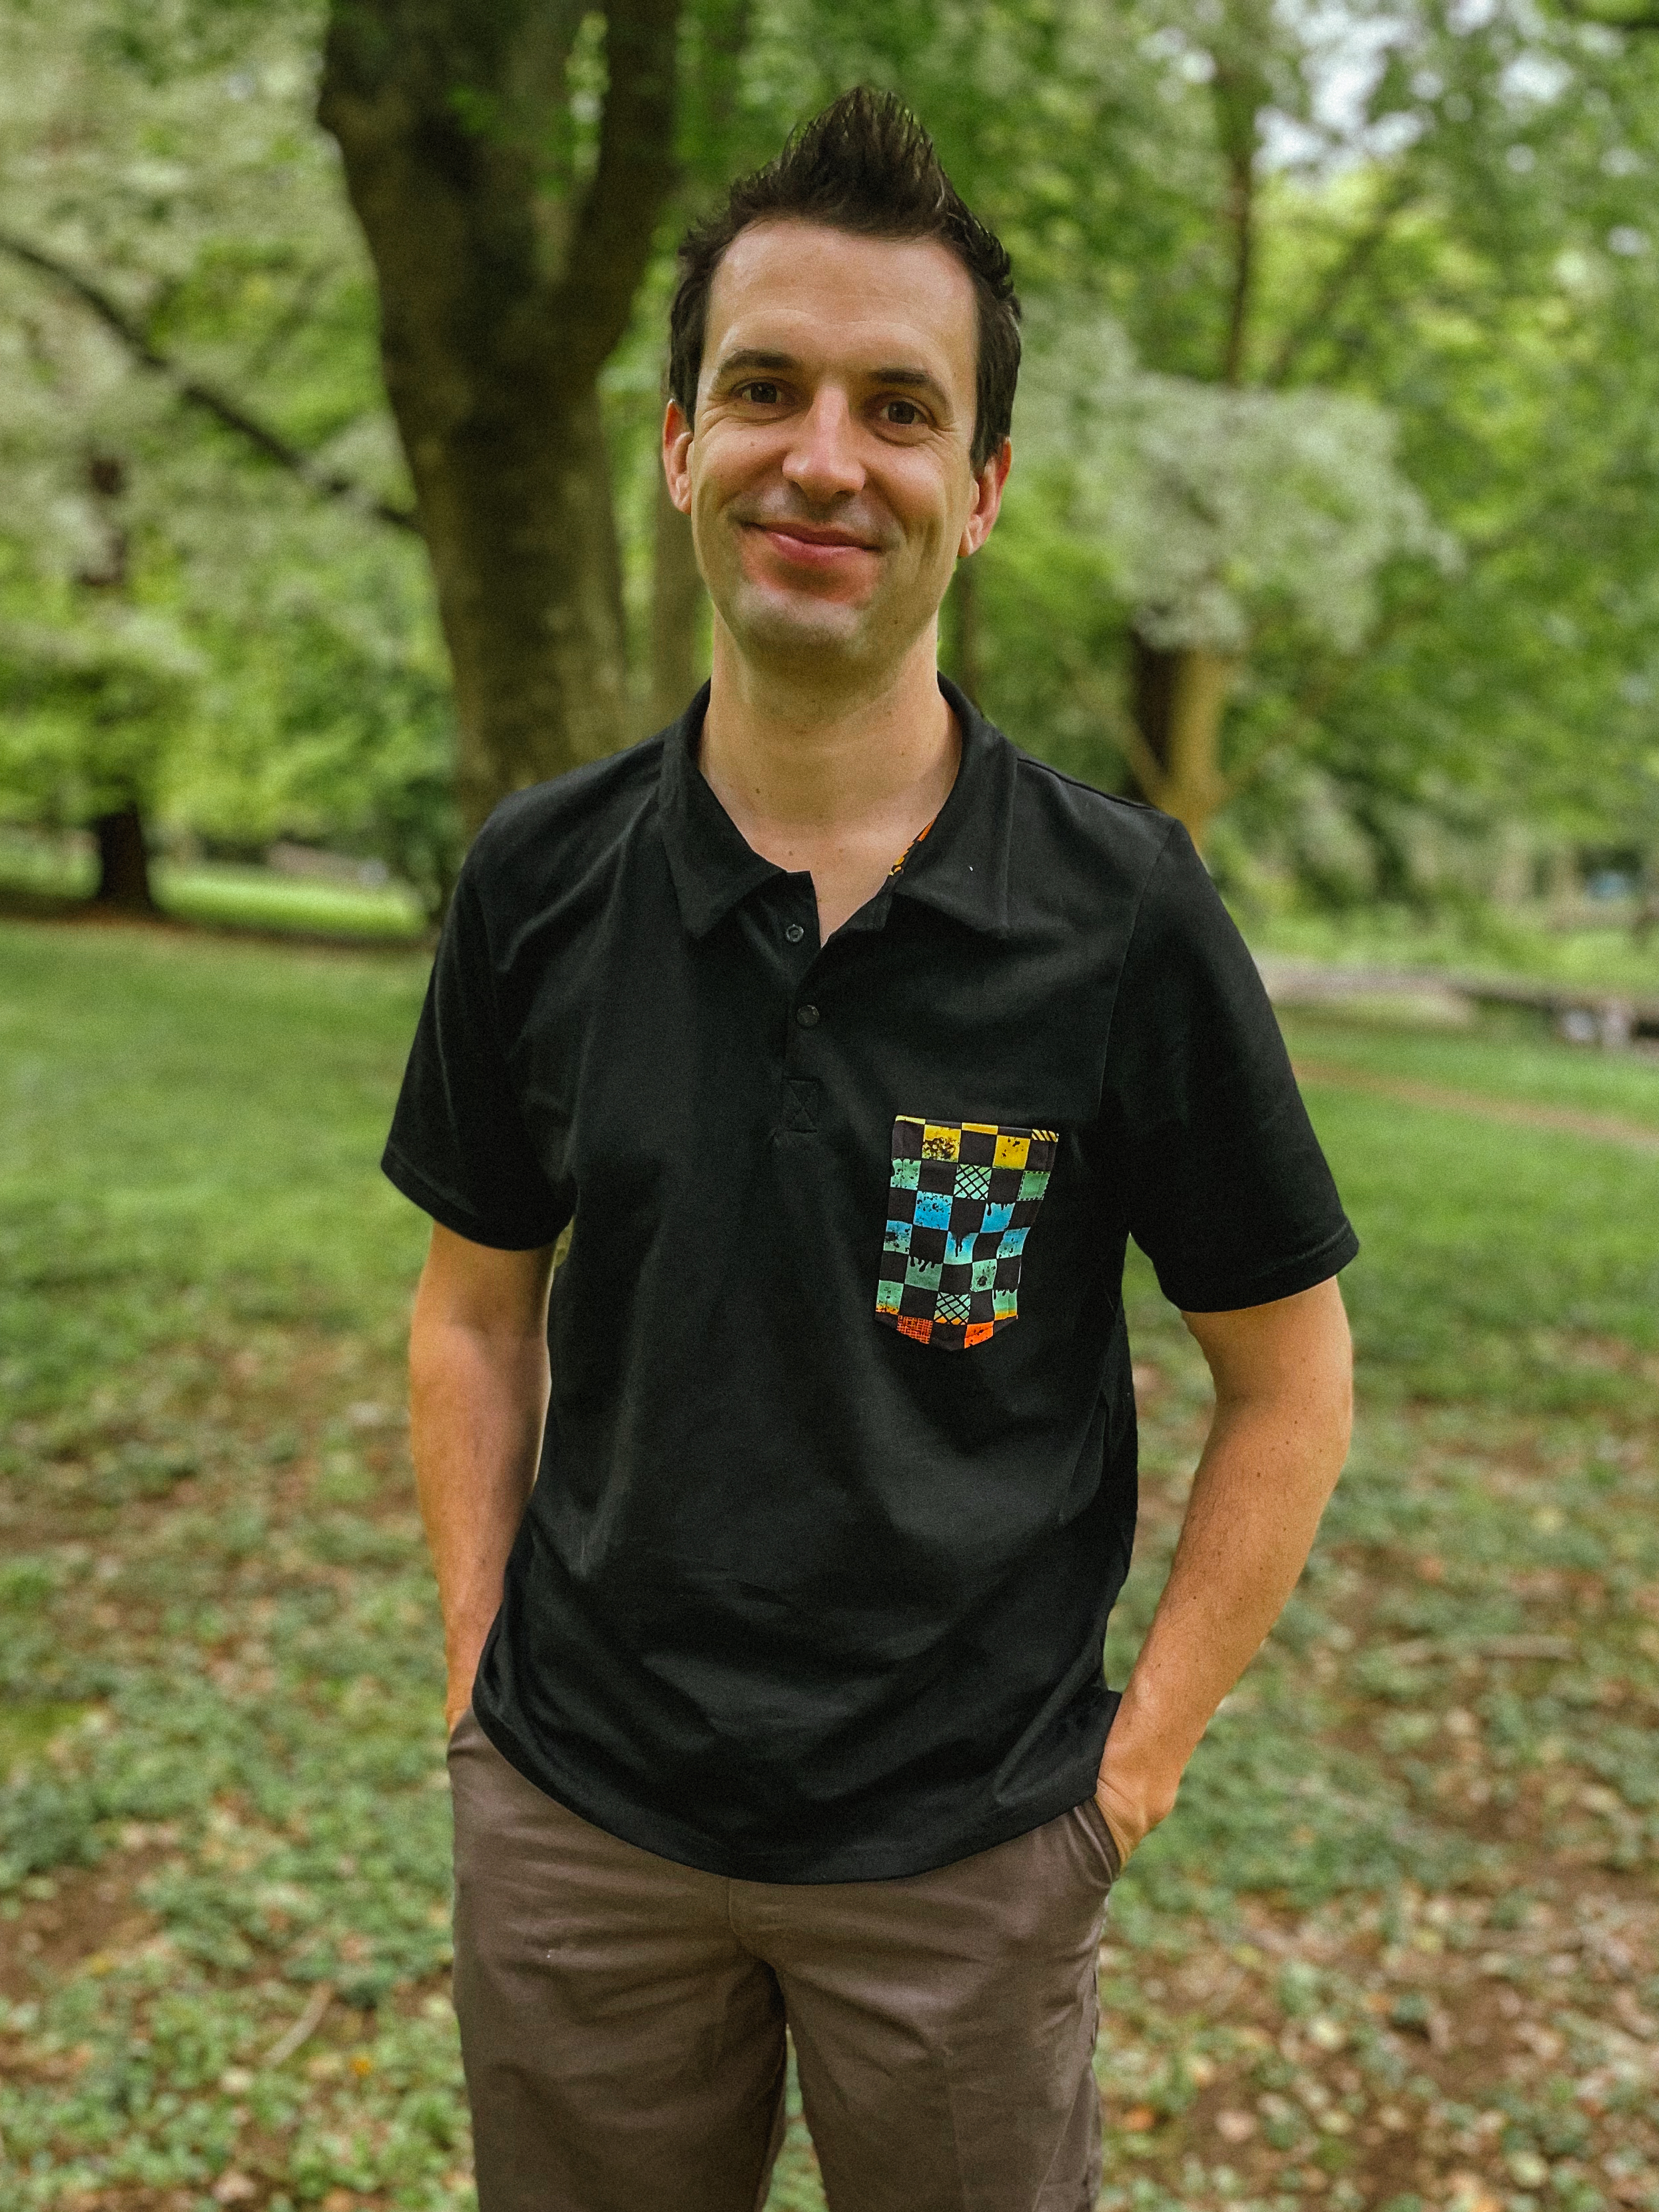
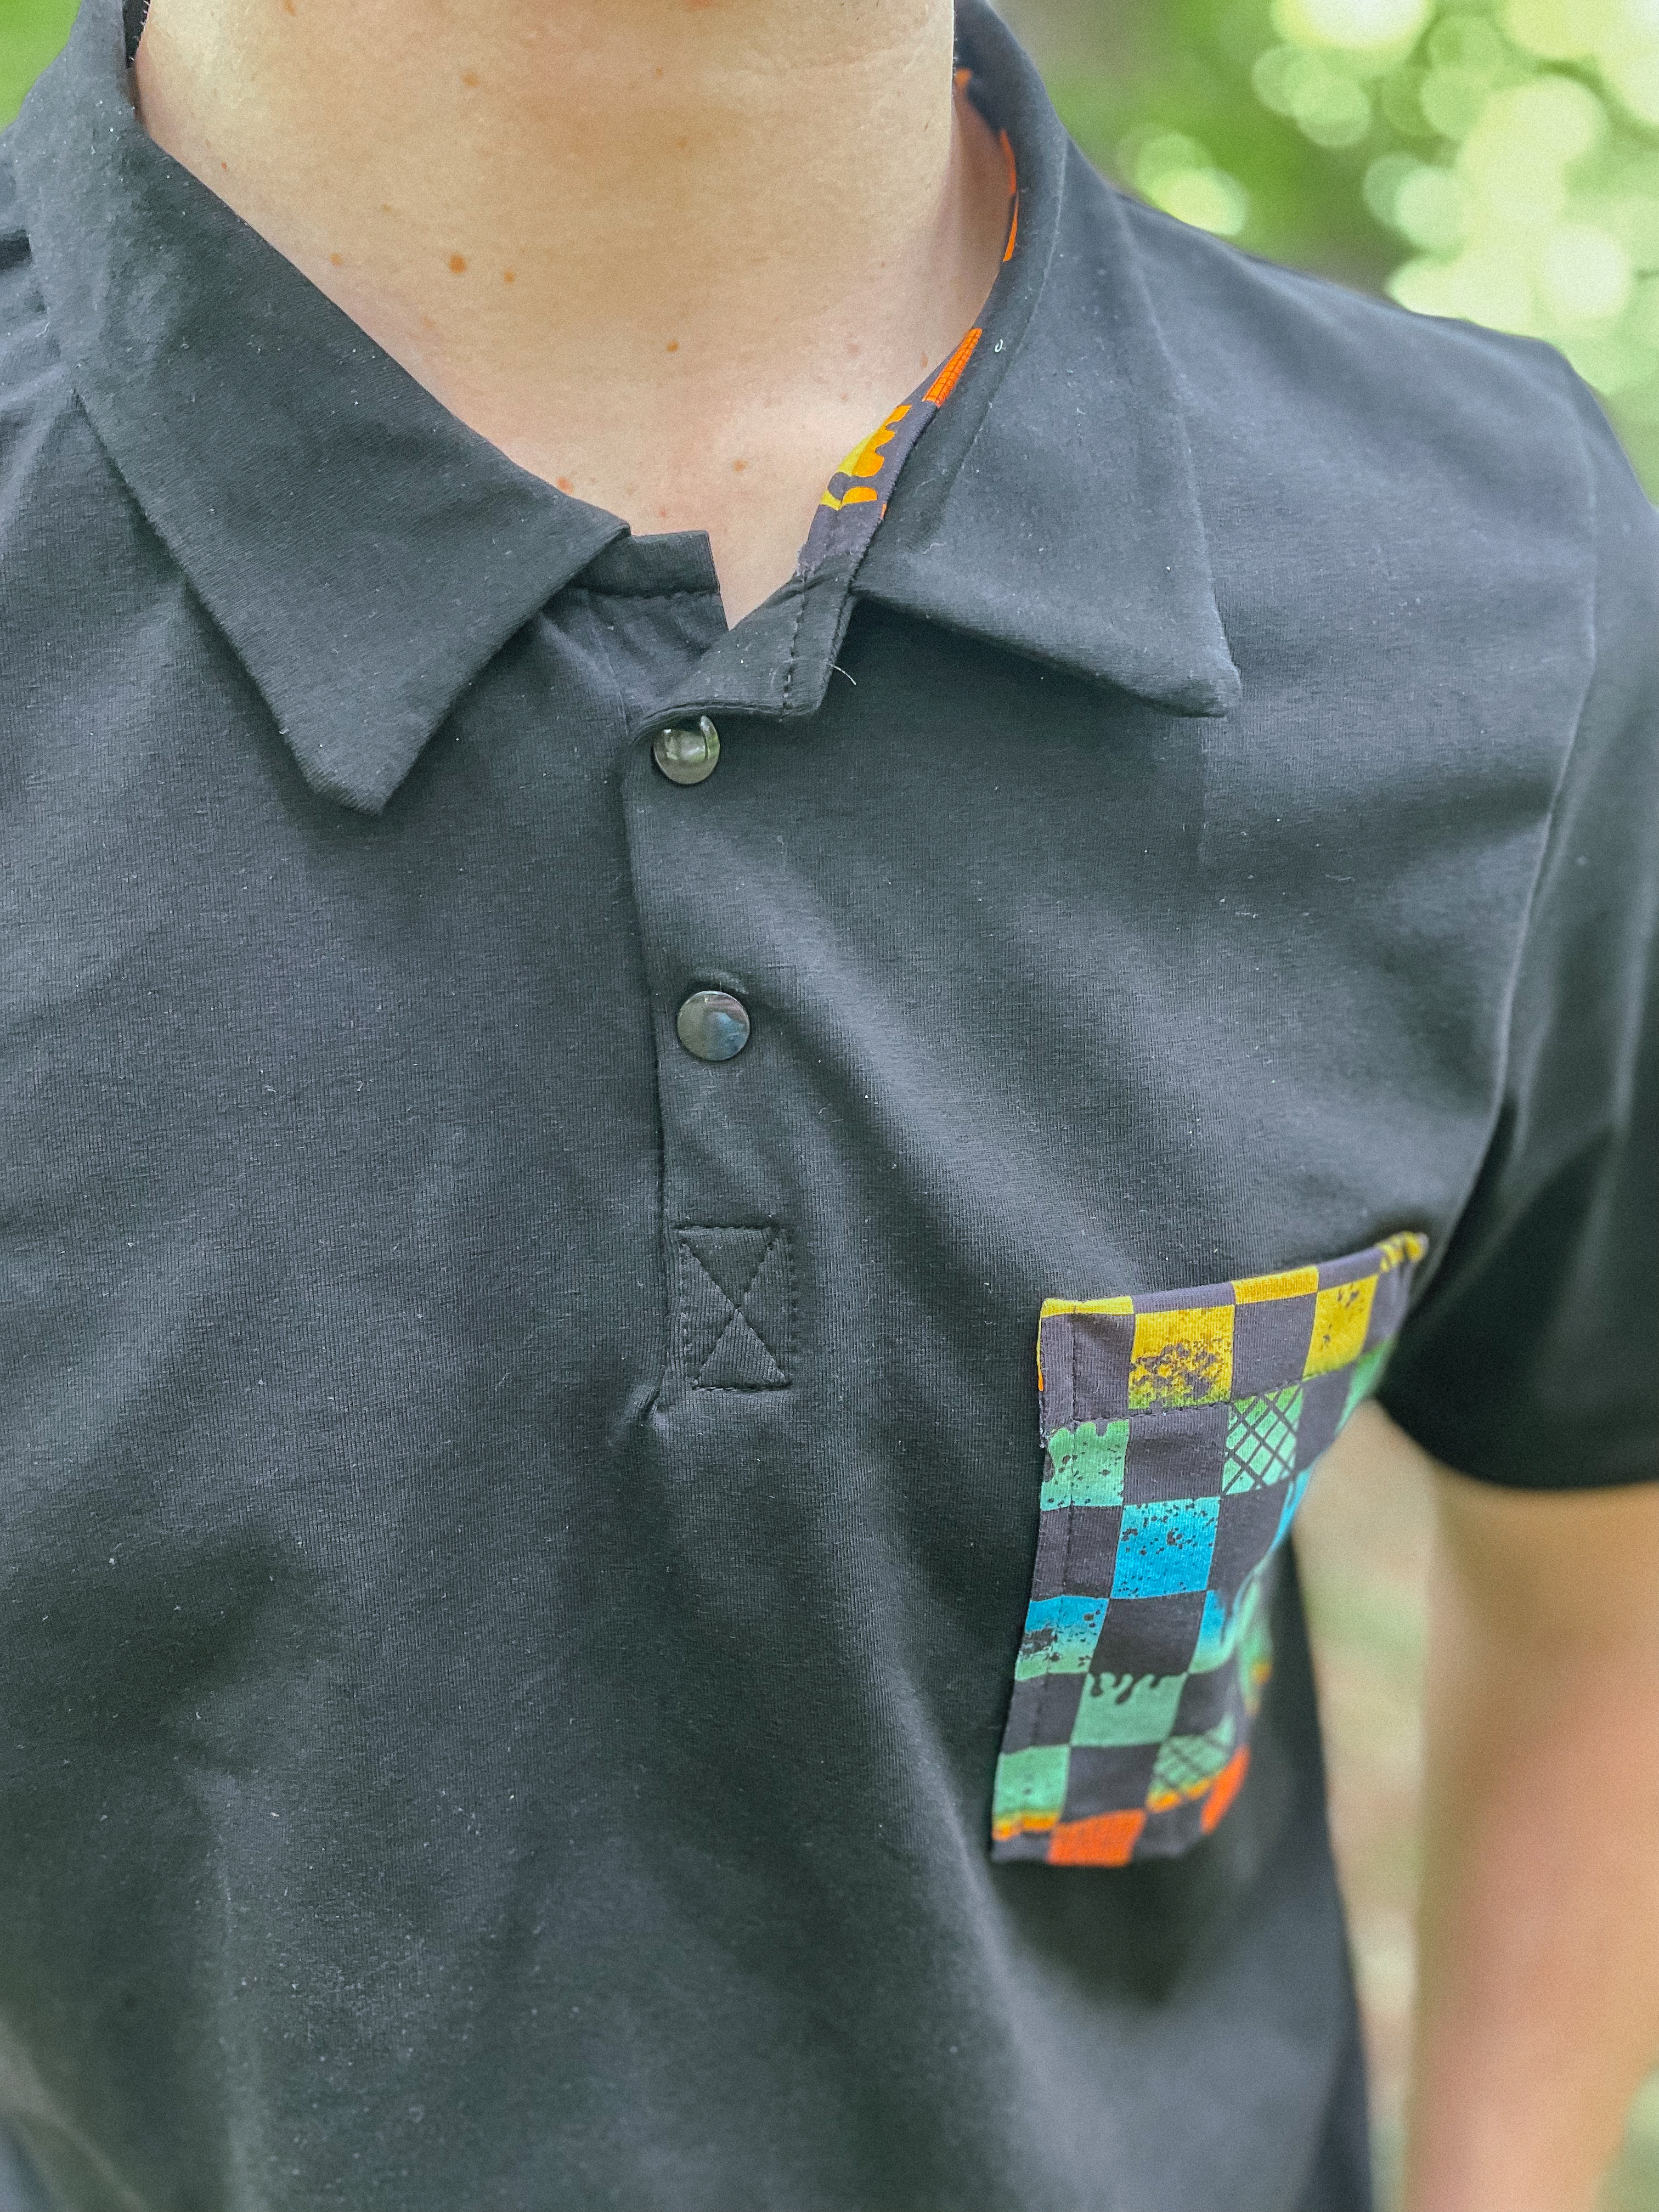
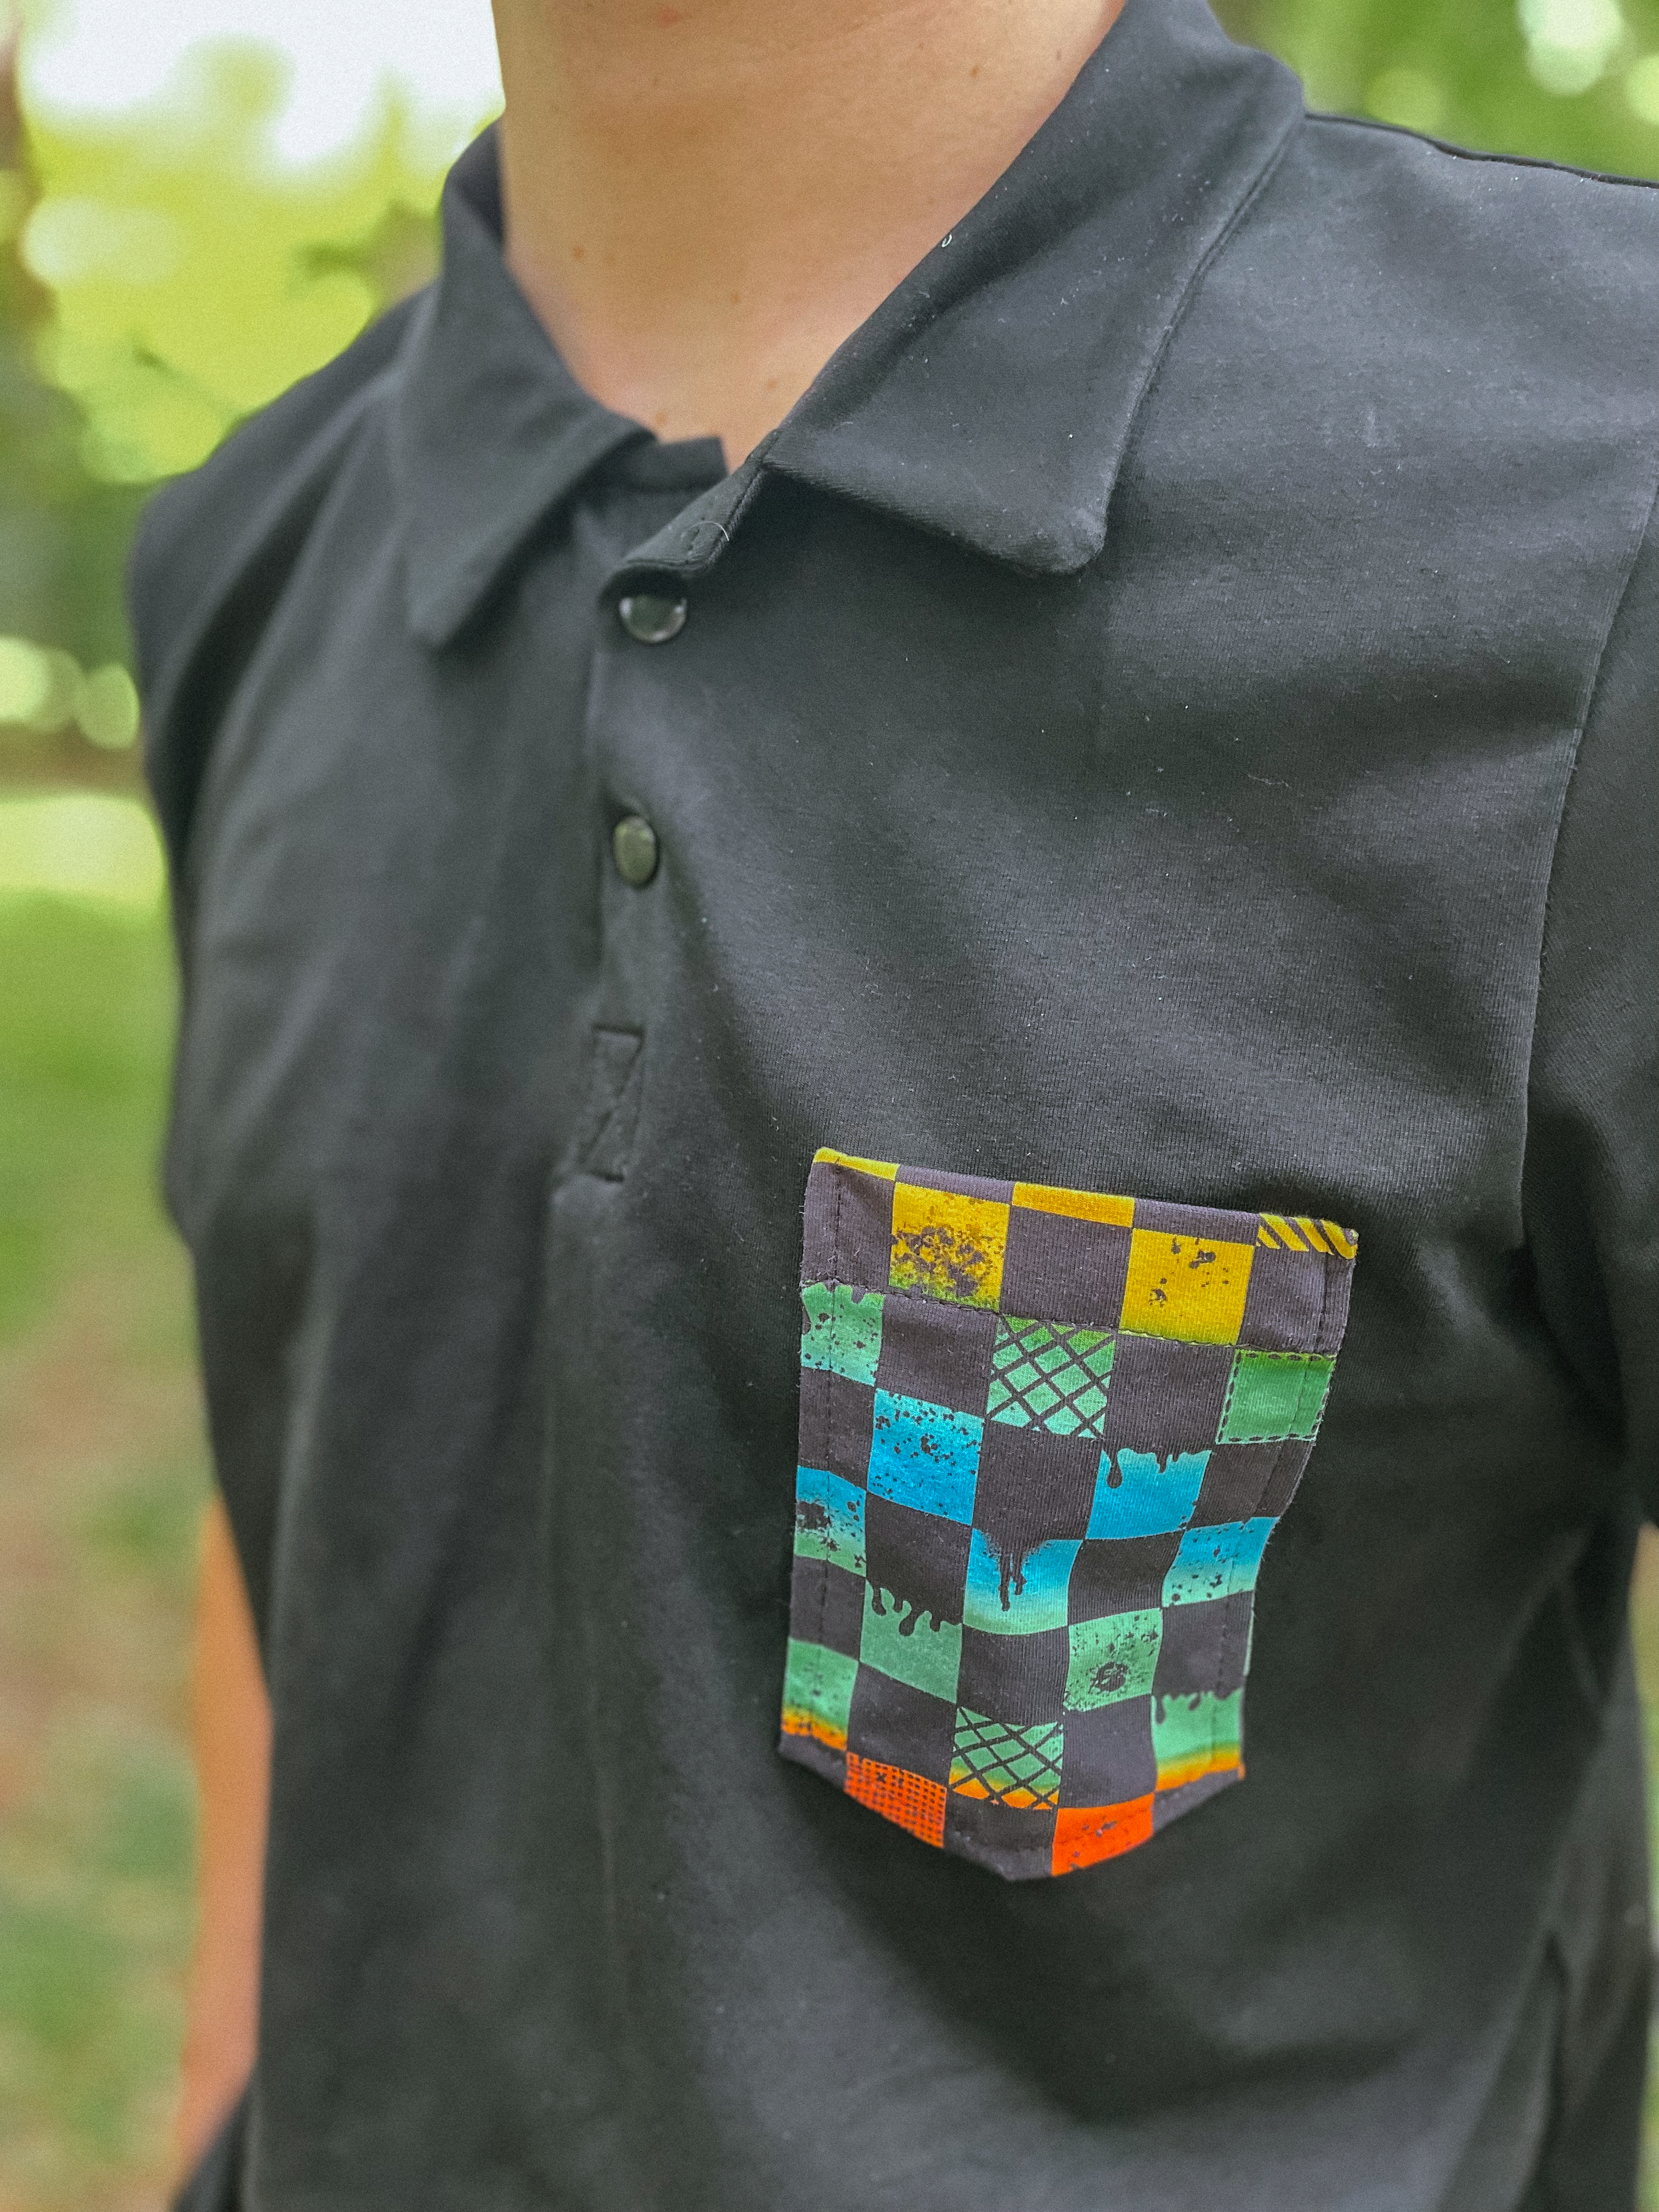
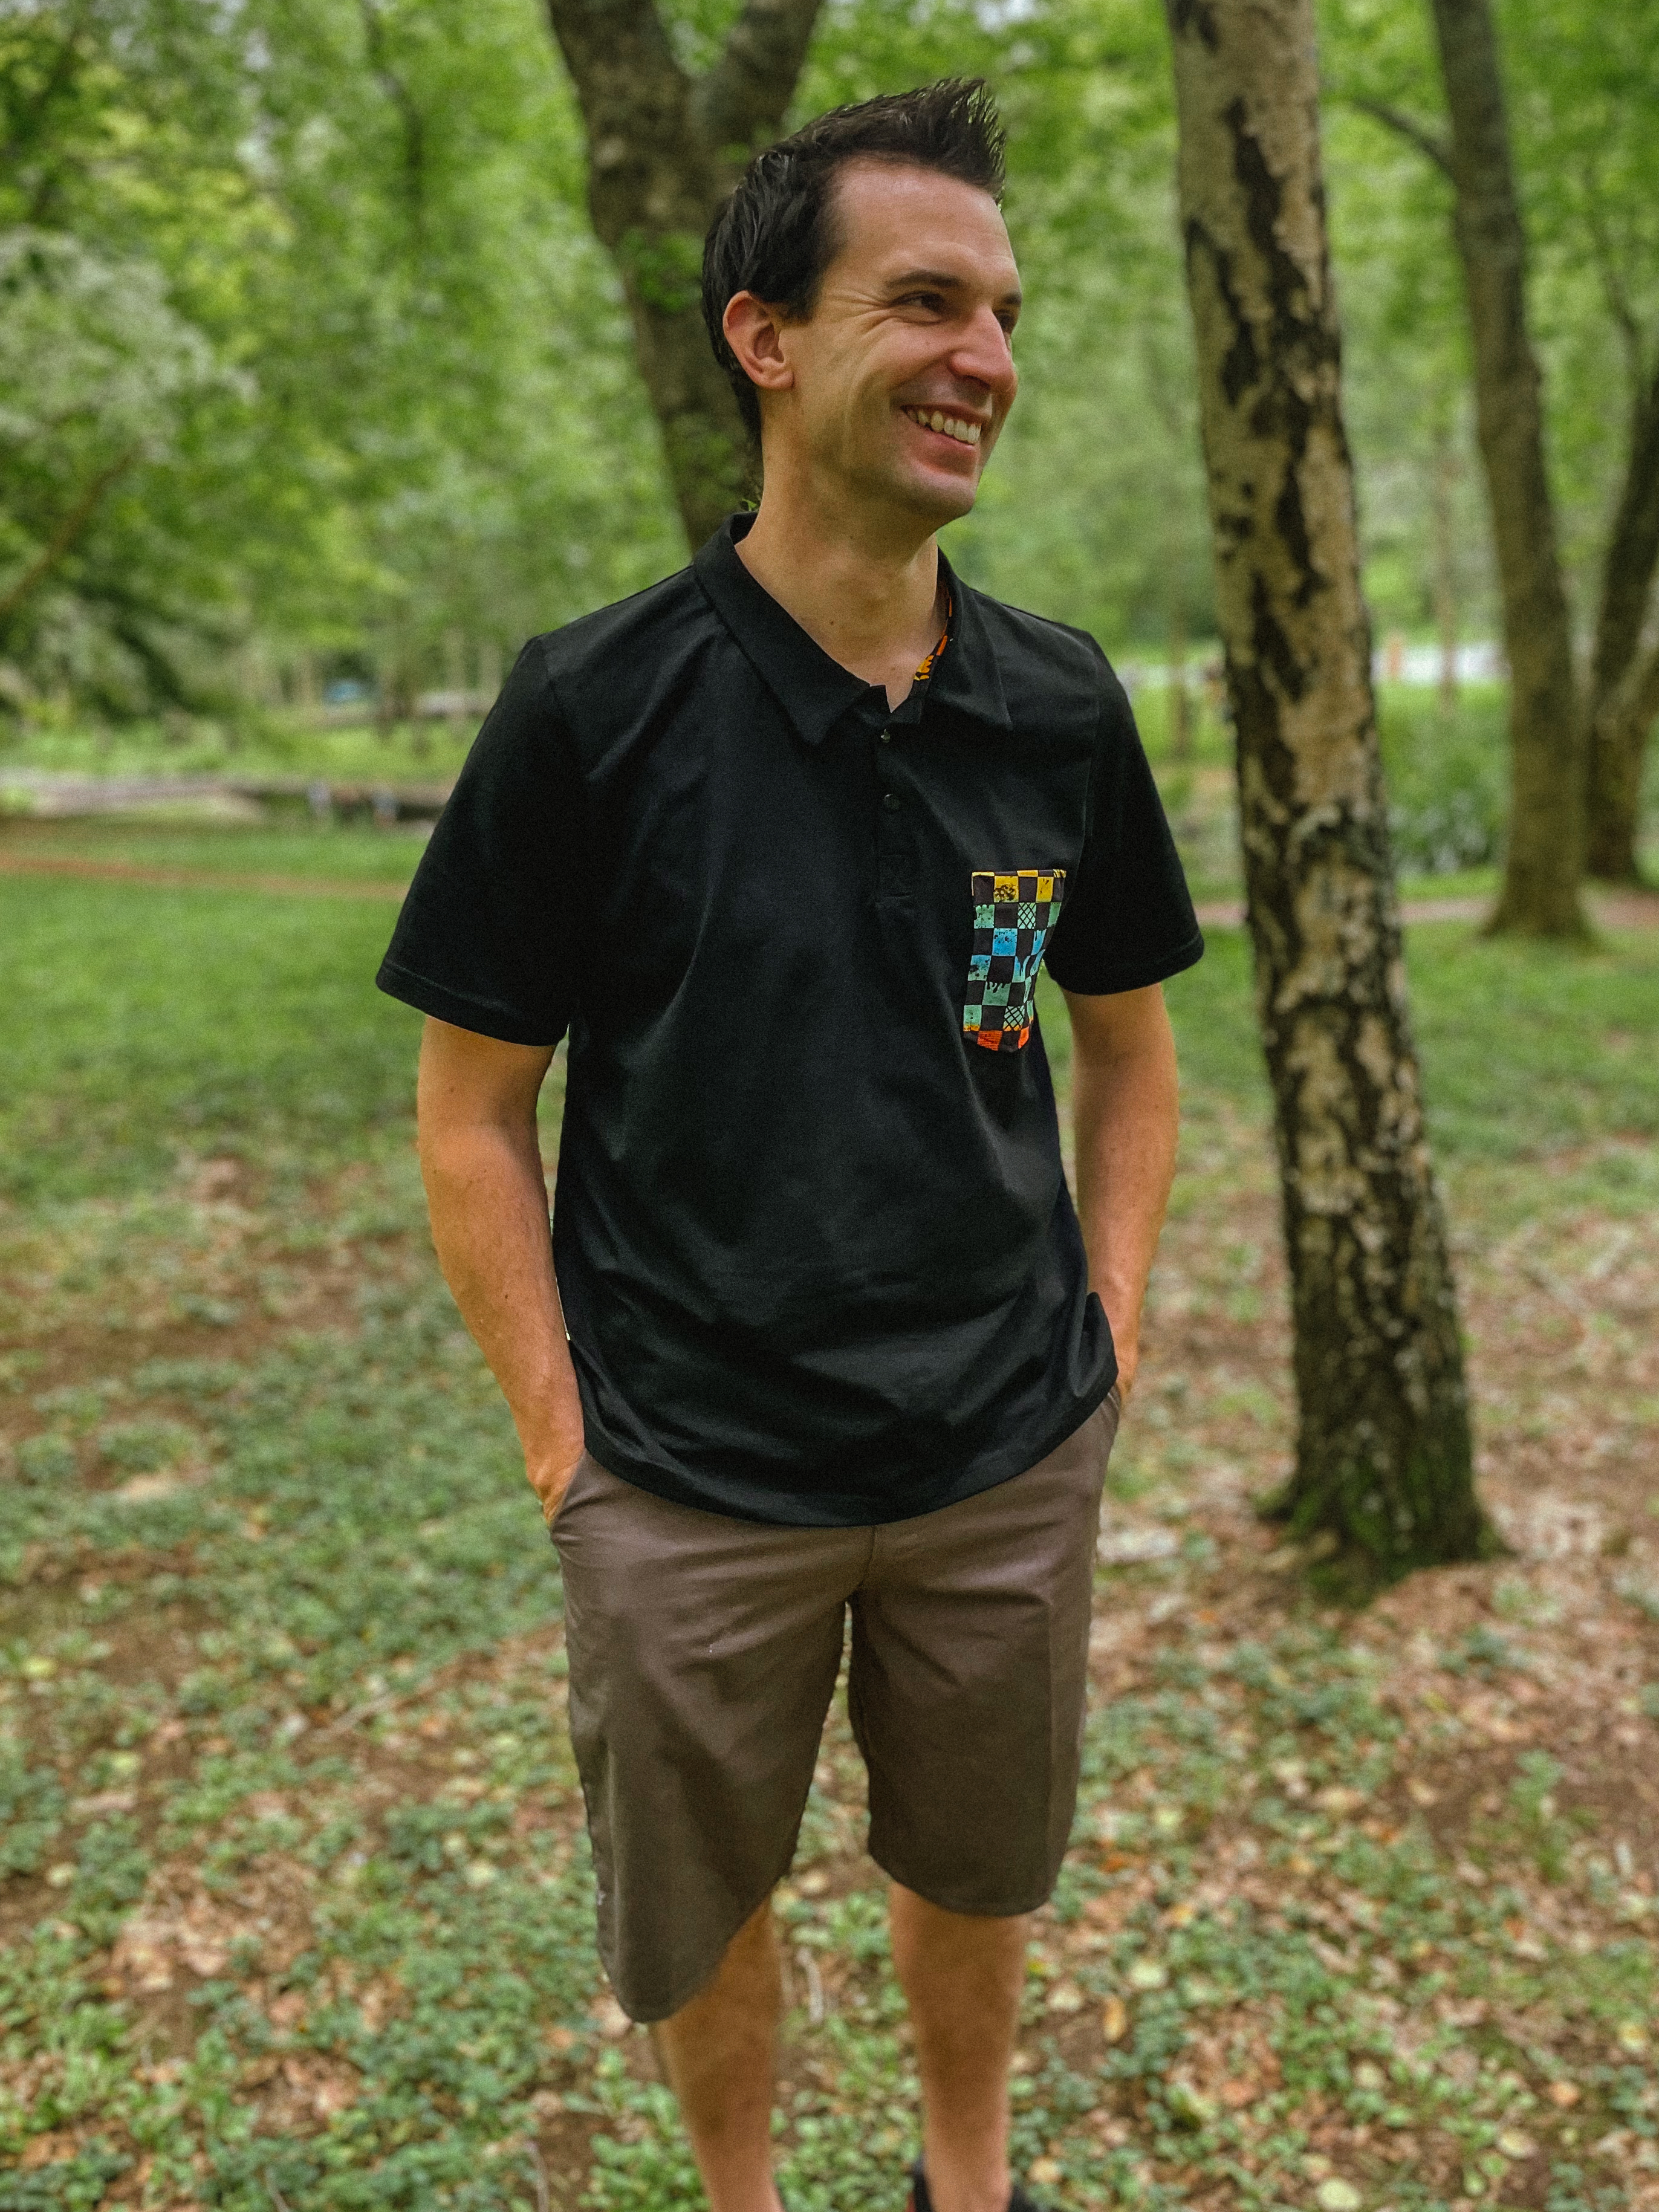
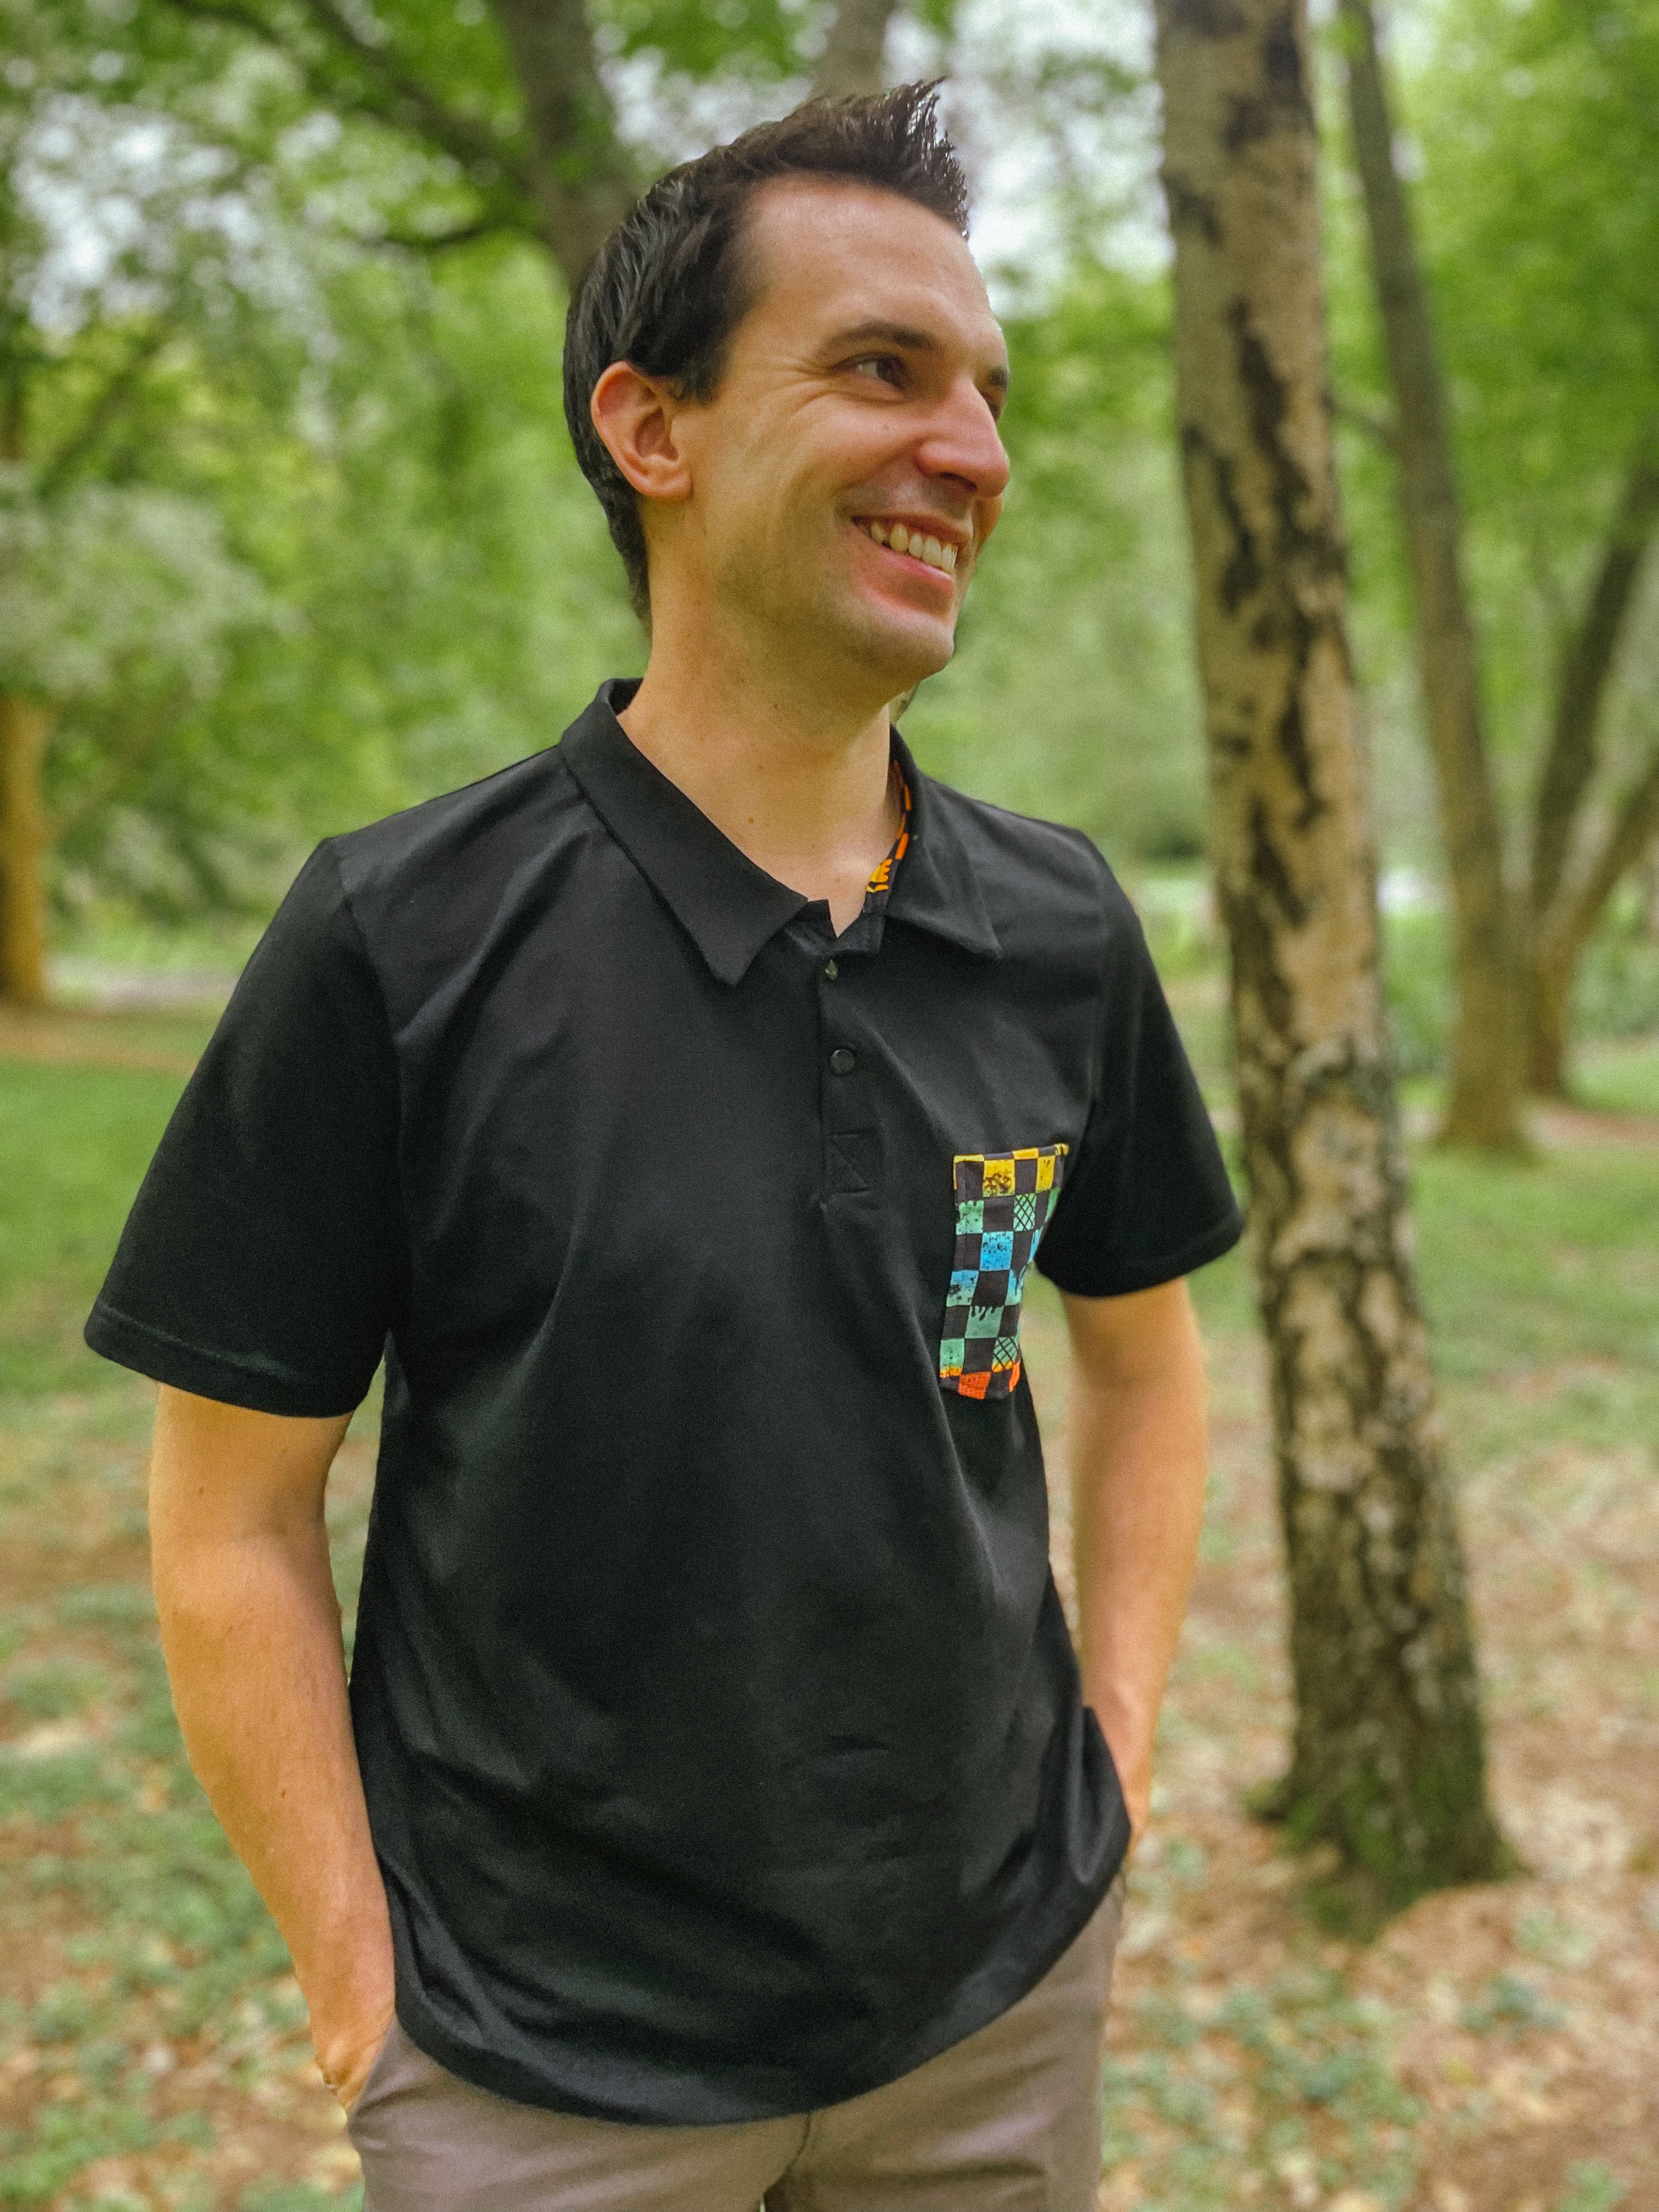
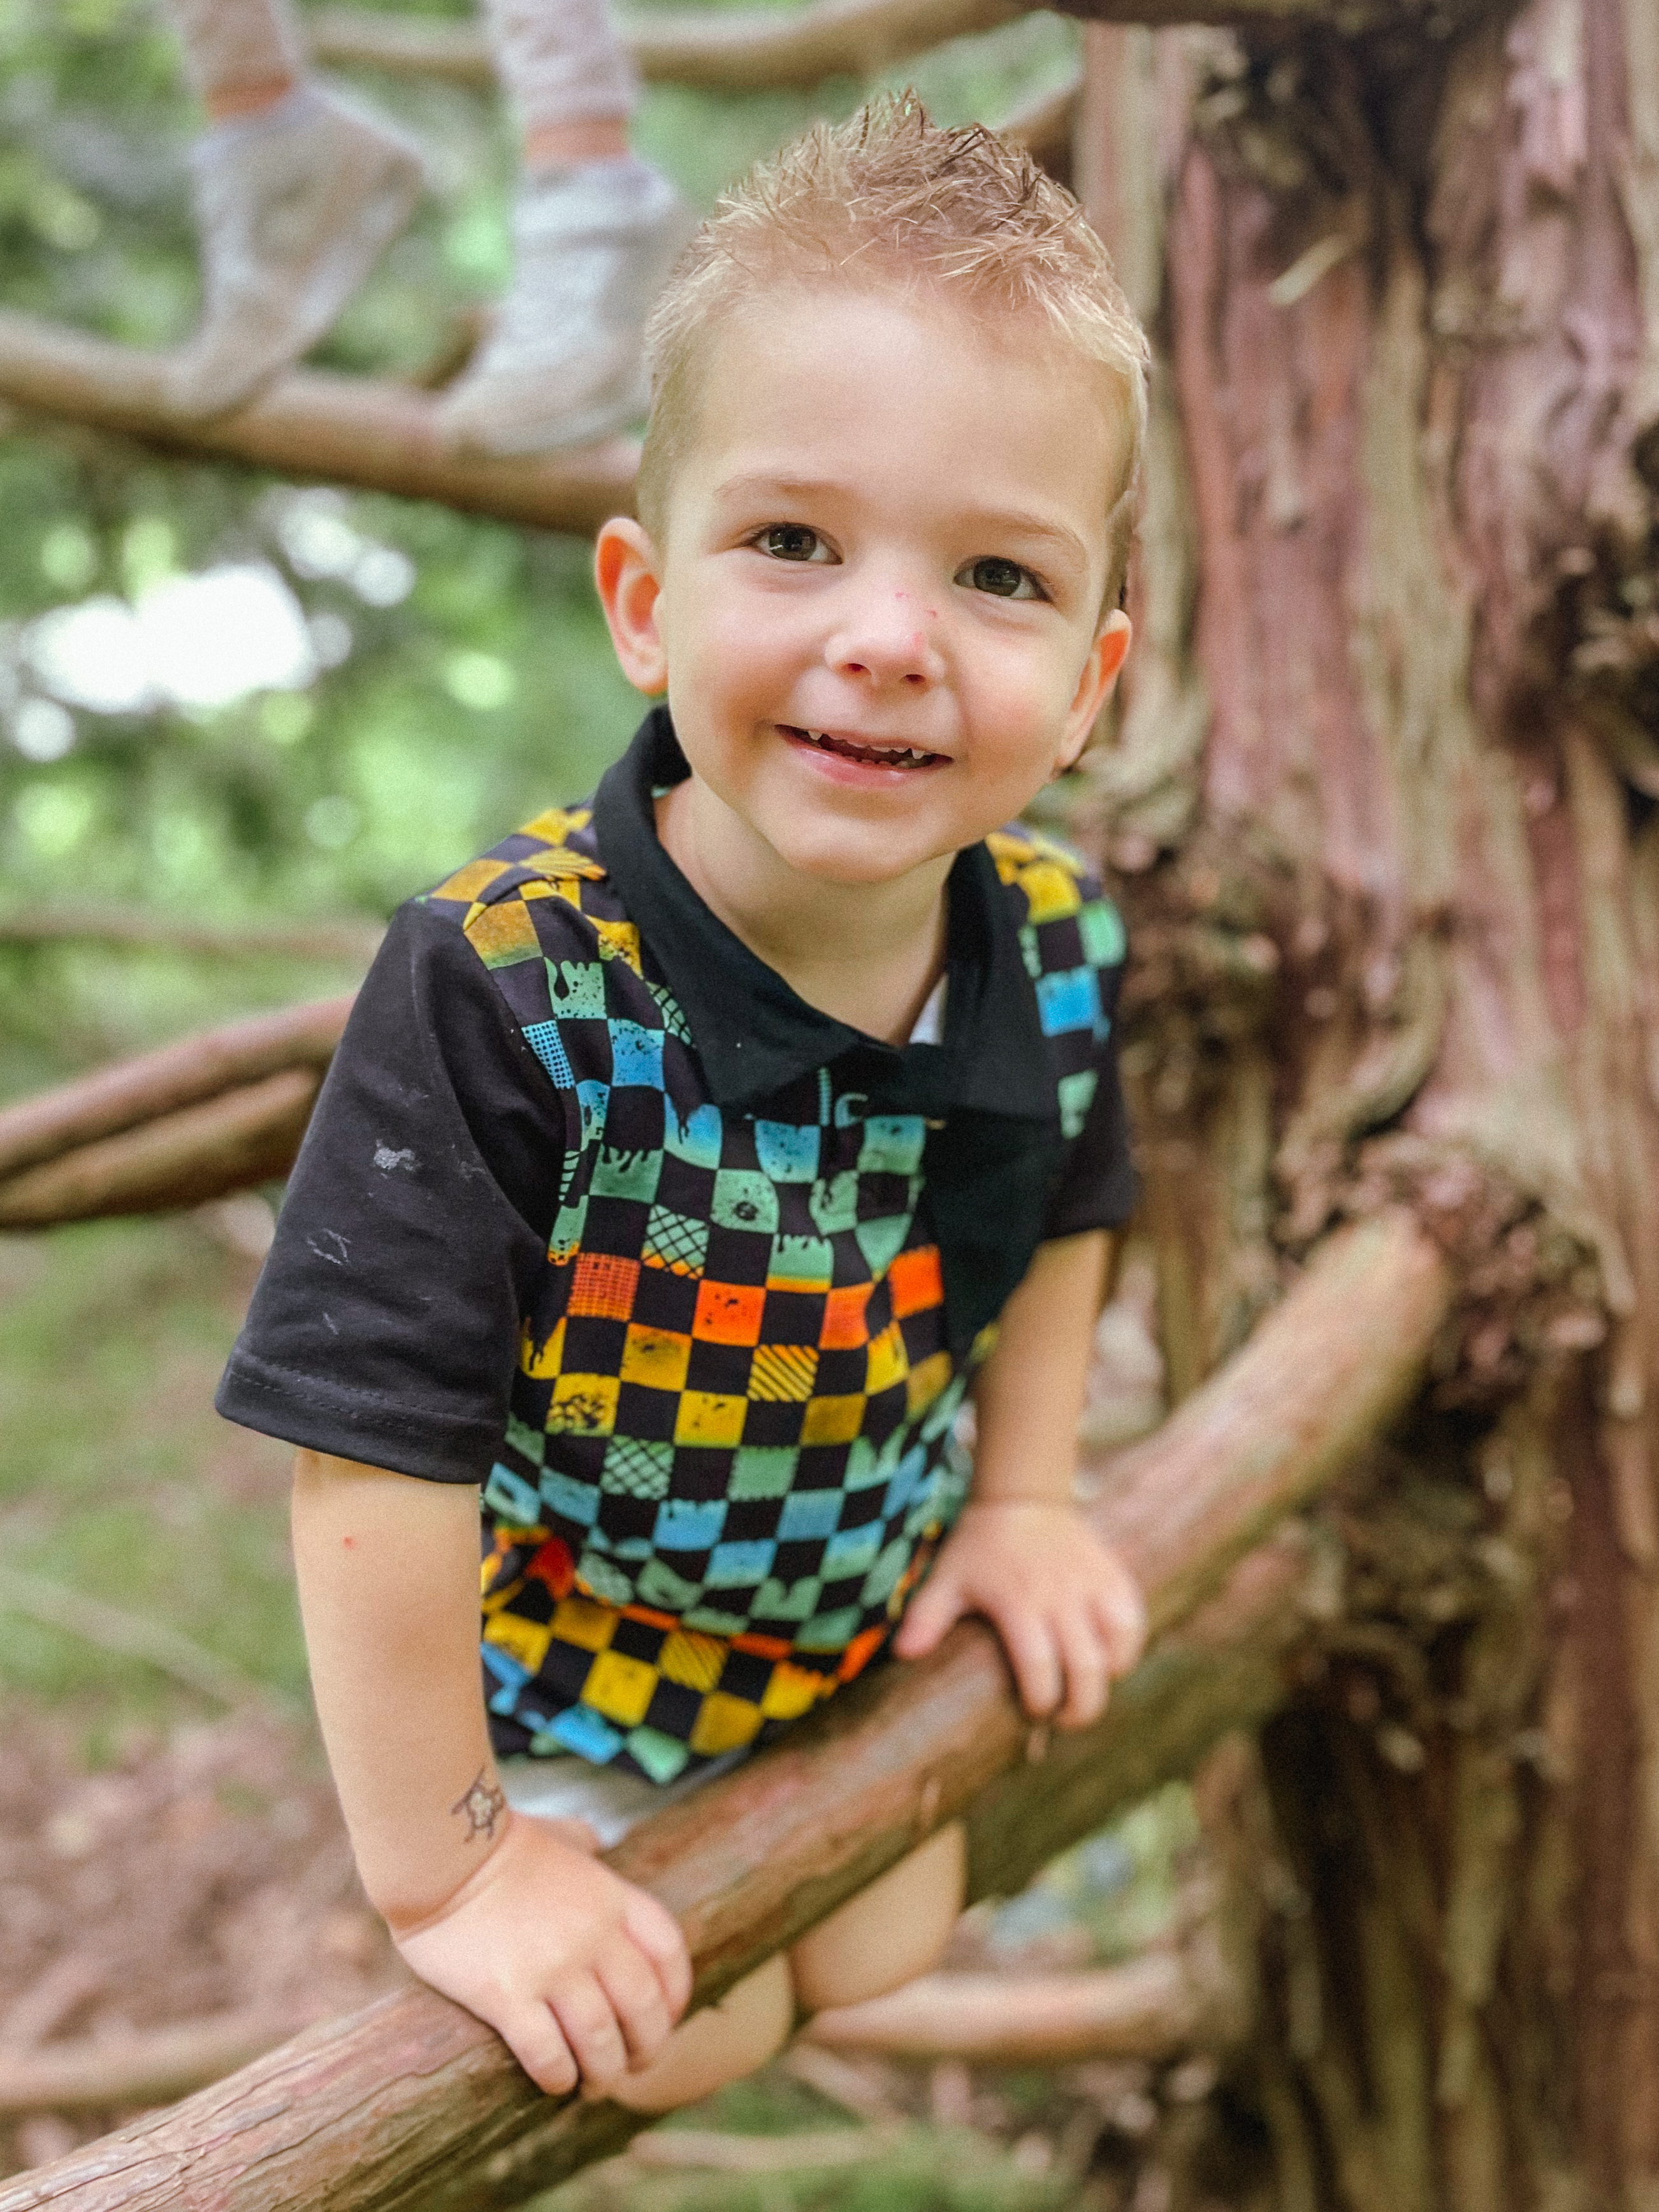
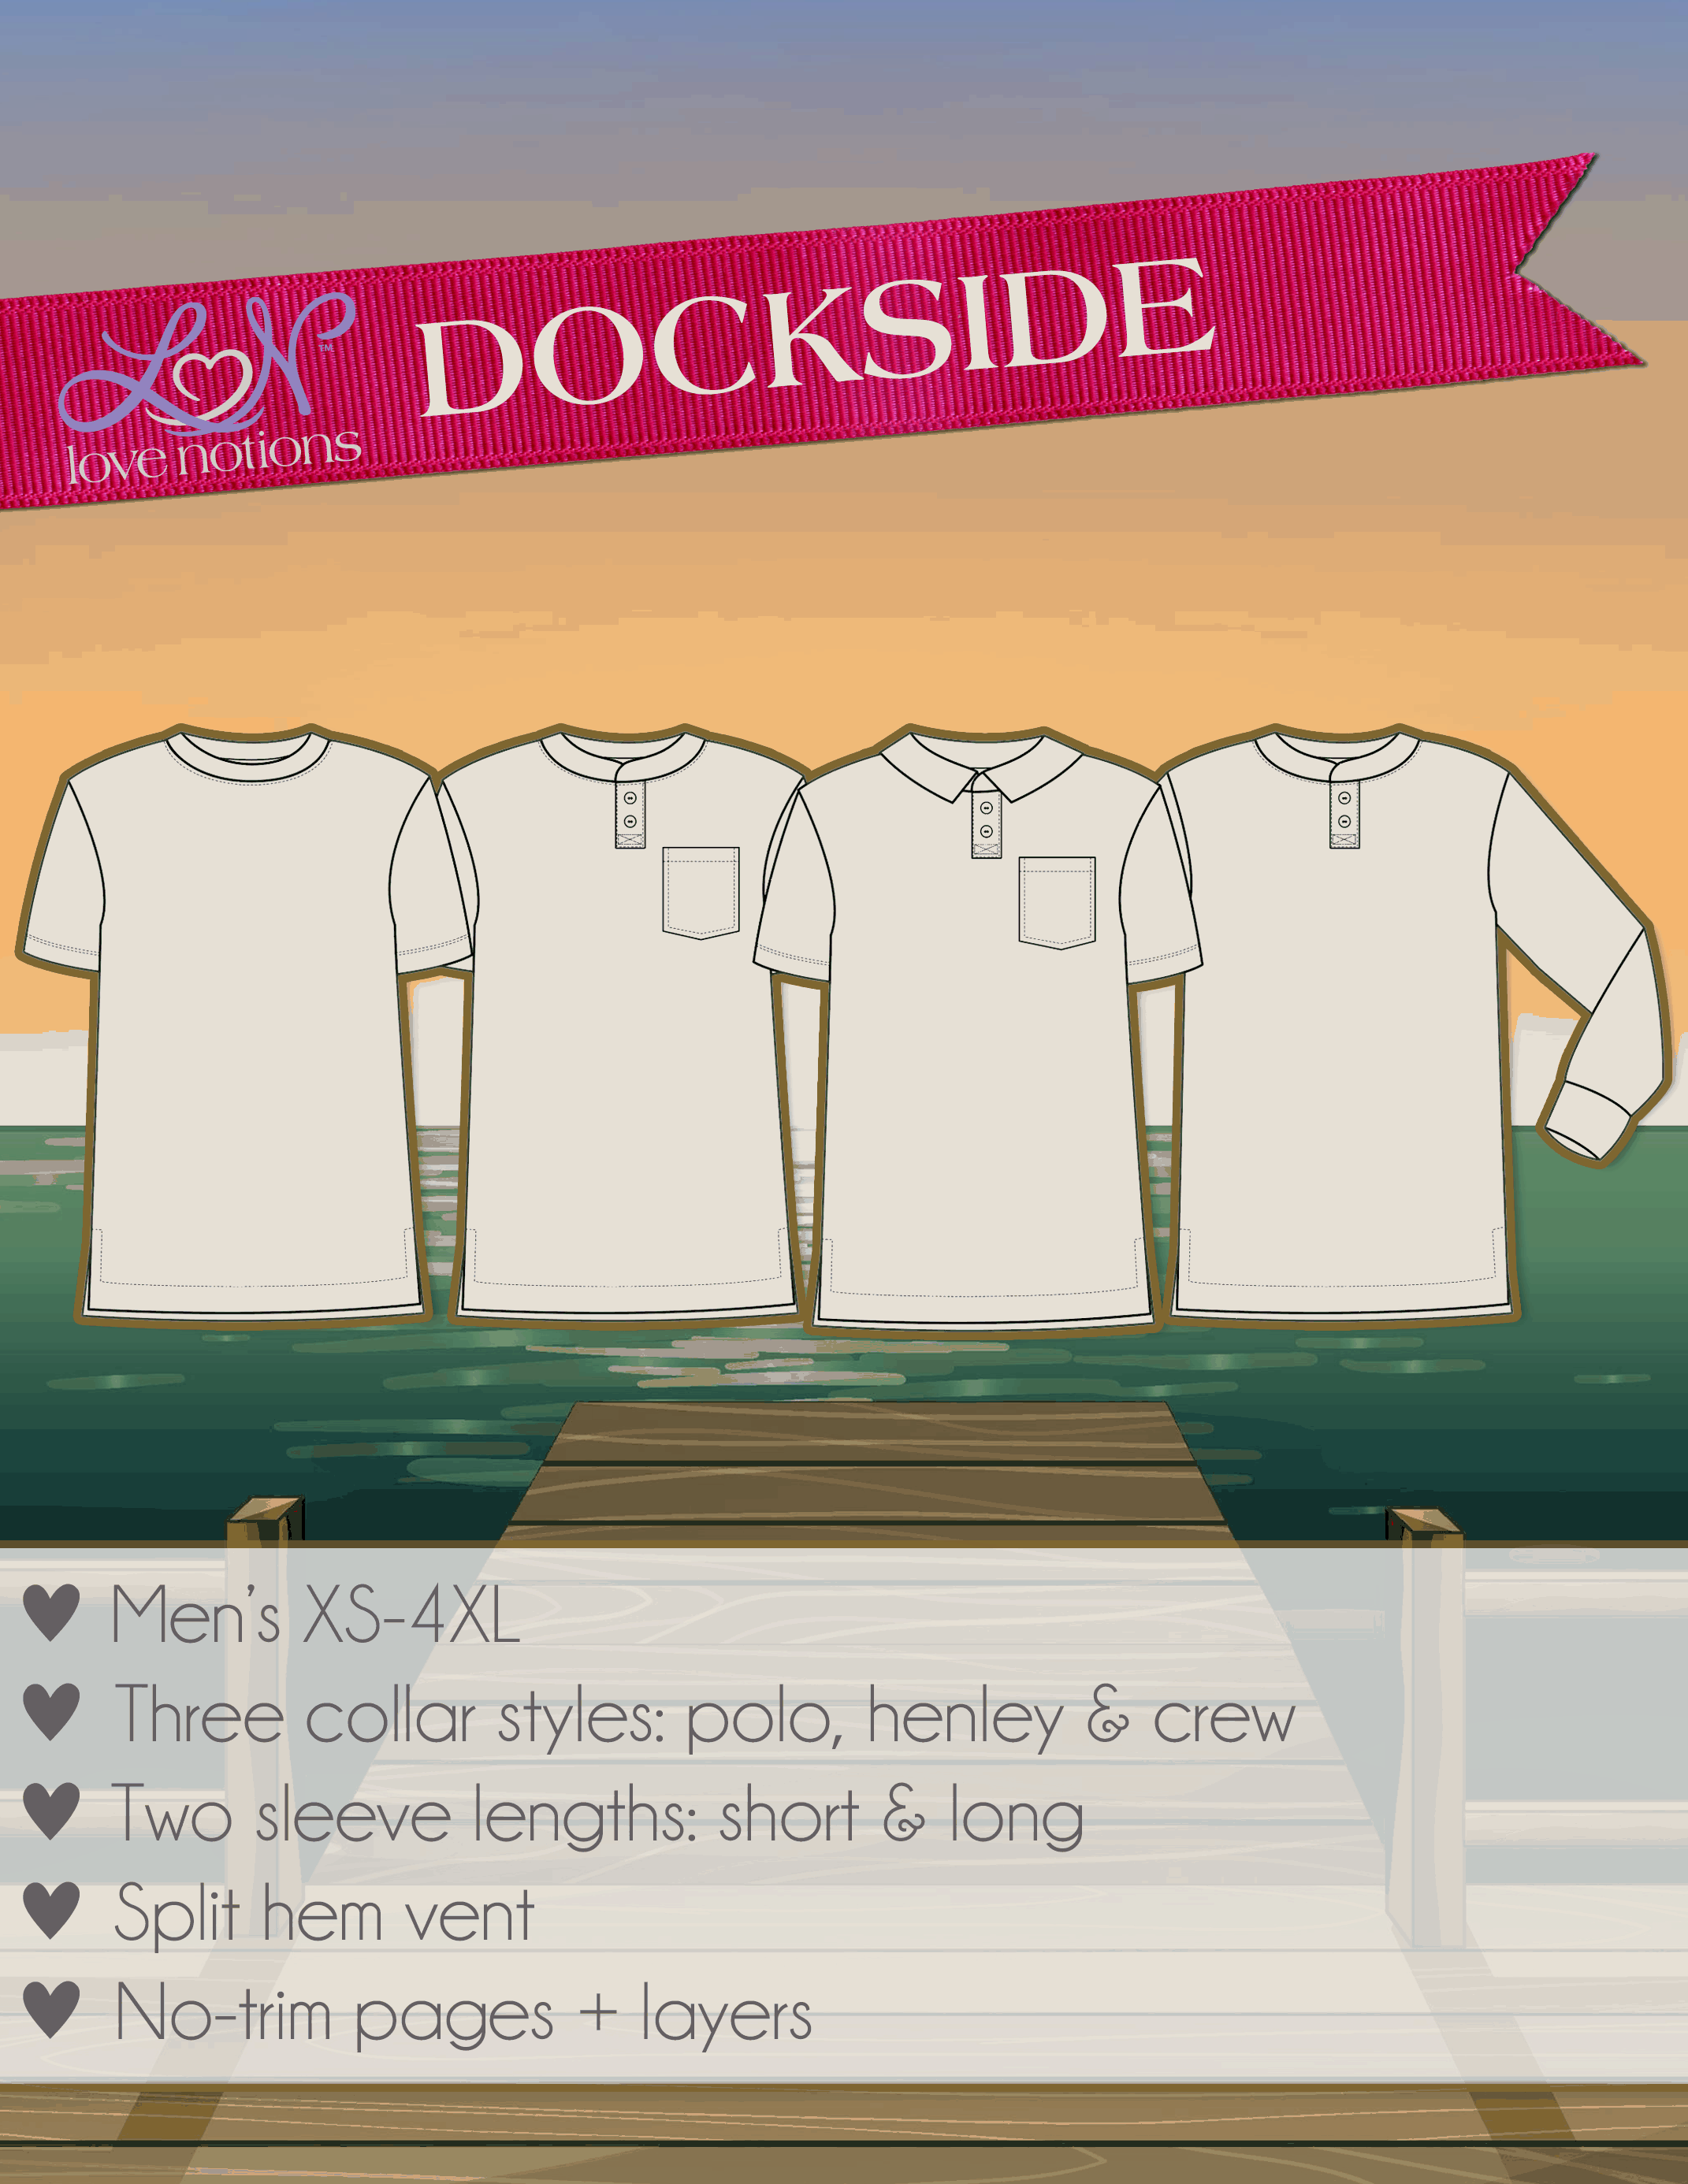
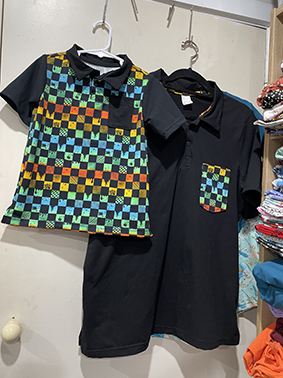
    The Dockside & Driftwood Polo is such a cute pattern, and perfect to make matchy match sets for the whole family. My husband is, in my words, boring with his fabric choices, hahaha, so I did his mainly black and had a pop of colour with the pocket. Using a gorgeous cotton lycra from Frankie Bear Fabrics. I also snuck in some colour in the binding on the neckline. Hehe. To compliment, I did the opposite on my son’s version, who absolutely LOVES colour. So it was a win win for all.

    For those that don’t know, the button up part of the polo t shirt is called a ‘placket’. The placket can be quite intimidating and a bit tricky to get right. It requires precise stitching and cutting. With a bit of practice however, you can get some really crisp and professional looking plackets on your polo’s.

    To help you get a smart looking button placket, I outlined my easy sewing tips for a perfect polo t shirt placket every time, in my latest episode of Sewcial Moments with Megan. These 5 simple tips will help you get a beautiful result and are so quick to watch!

    Grab both patterns while they are on sale $5usd each for the next 24hrs. Use code ‘Lovemegan’ at the checkout for an EXTRA 10% off.

    Also, as part of my role as a Ambassador for Love Notions, I filmed a step by step tutorial over on their YouTube channel if you still want some extra help after watching my 5 quick tips on Sewcial Moments with Megan.

    What next?

    Say Goodbye to Confusion and Frustration... 

    …and hello to pride and confidence! Learn to sew stretch fabrics with ease. Enjoy showing your creations proudly to your family and friends!

  • Pattern Review of the Adult Essential Dolman

    Pattern: Adult Essential Dolman Dress
    Designer: Ellie & Mac
    Fabrics: Organic Viscose from Spotlight
    Skill level: Beginner
    Size made: XL/XXL
    Adjustments: Grading from the bust to waist. I also did a whoopsie empire waist adjustment, read below for more details.
    Pros: Great to compliment your shape and lots of options for skirt length and sleeves.
    Cons: Because its a dolman style, it is very fabric hungry!

    Sewing Summer Vibes: A Slinky Success Story with Ellie & Mac's Weekly Sale Pick

    This one has been on my to make list for such a long time, and I’m glad I finally got around to making it. Even better, it’s part of the Weekly Sales over at Ellie & Mac this week.

    This pattern has a boat neck and scoop neck and while I thought about doing the boat neck, I really love a scoop neck on me, so I went with that. It also has a few sleeve options and skirt lengths, but I liked the short sleeves and mid thigh for the skirt. Being summer I figured I’d get good use out of it and could also put leggings underneath when it starts to cool down.

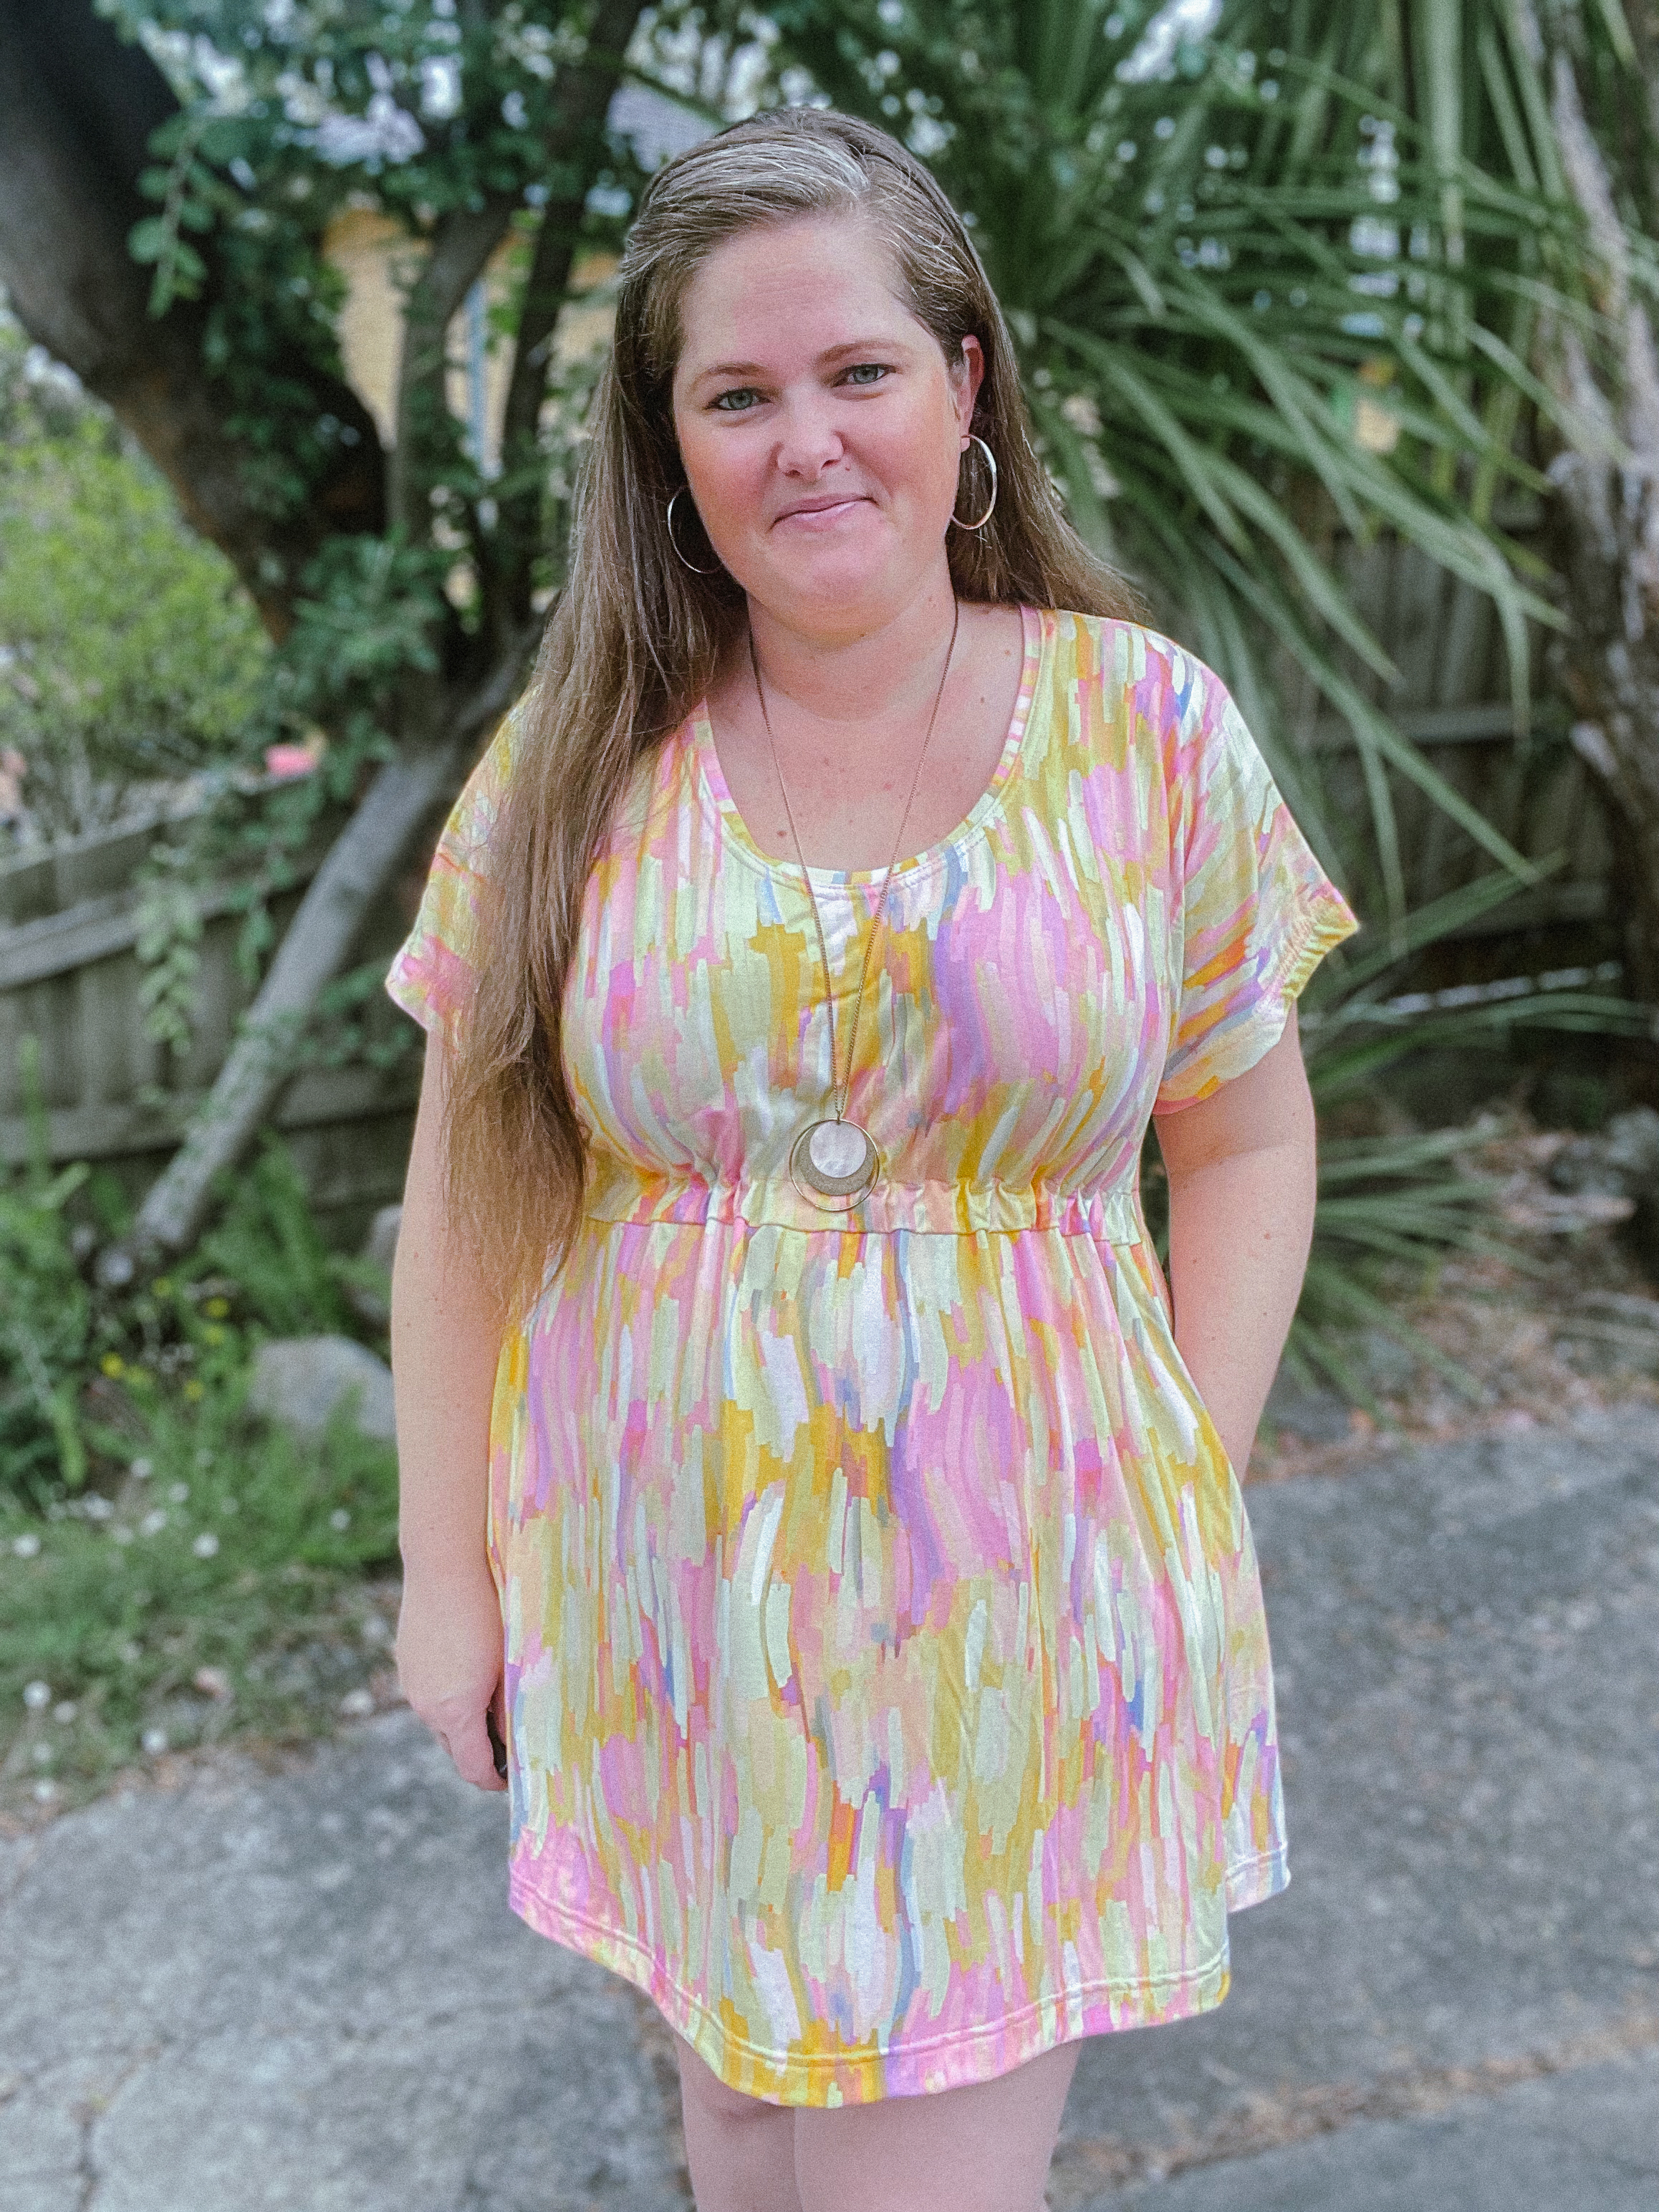
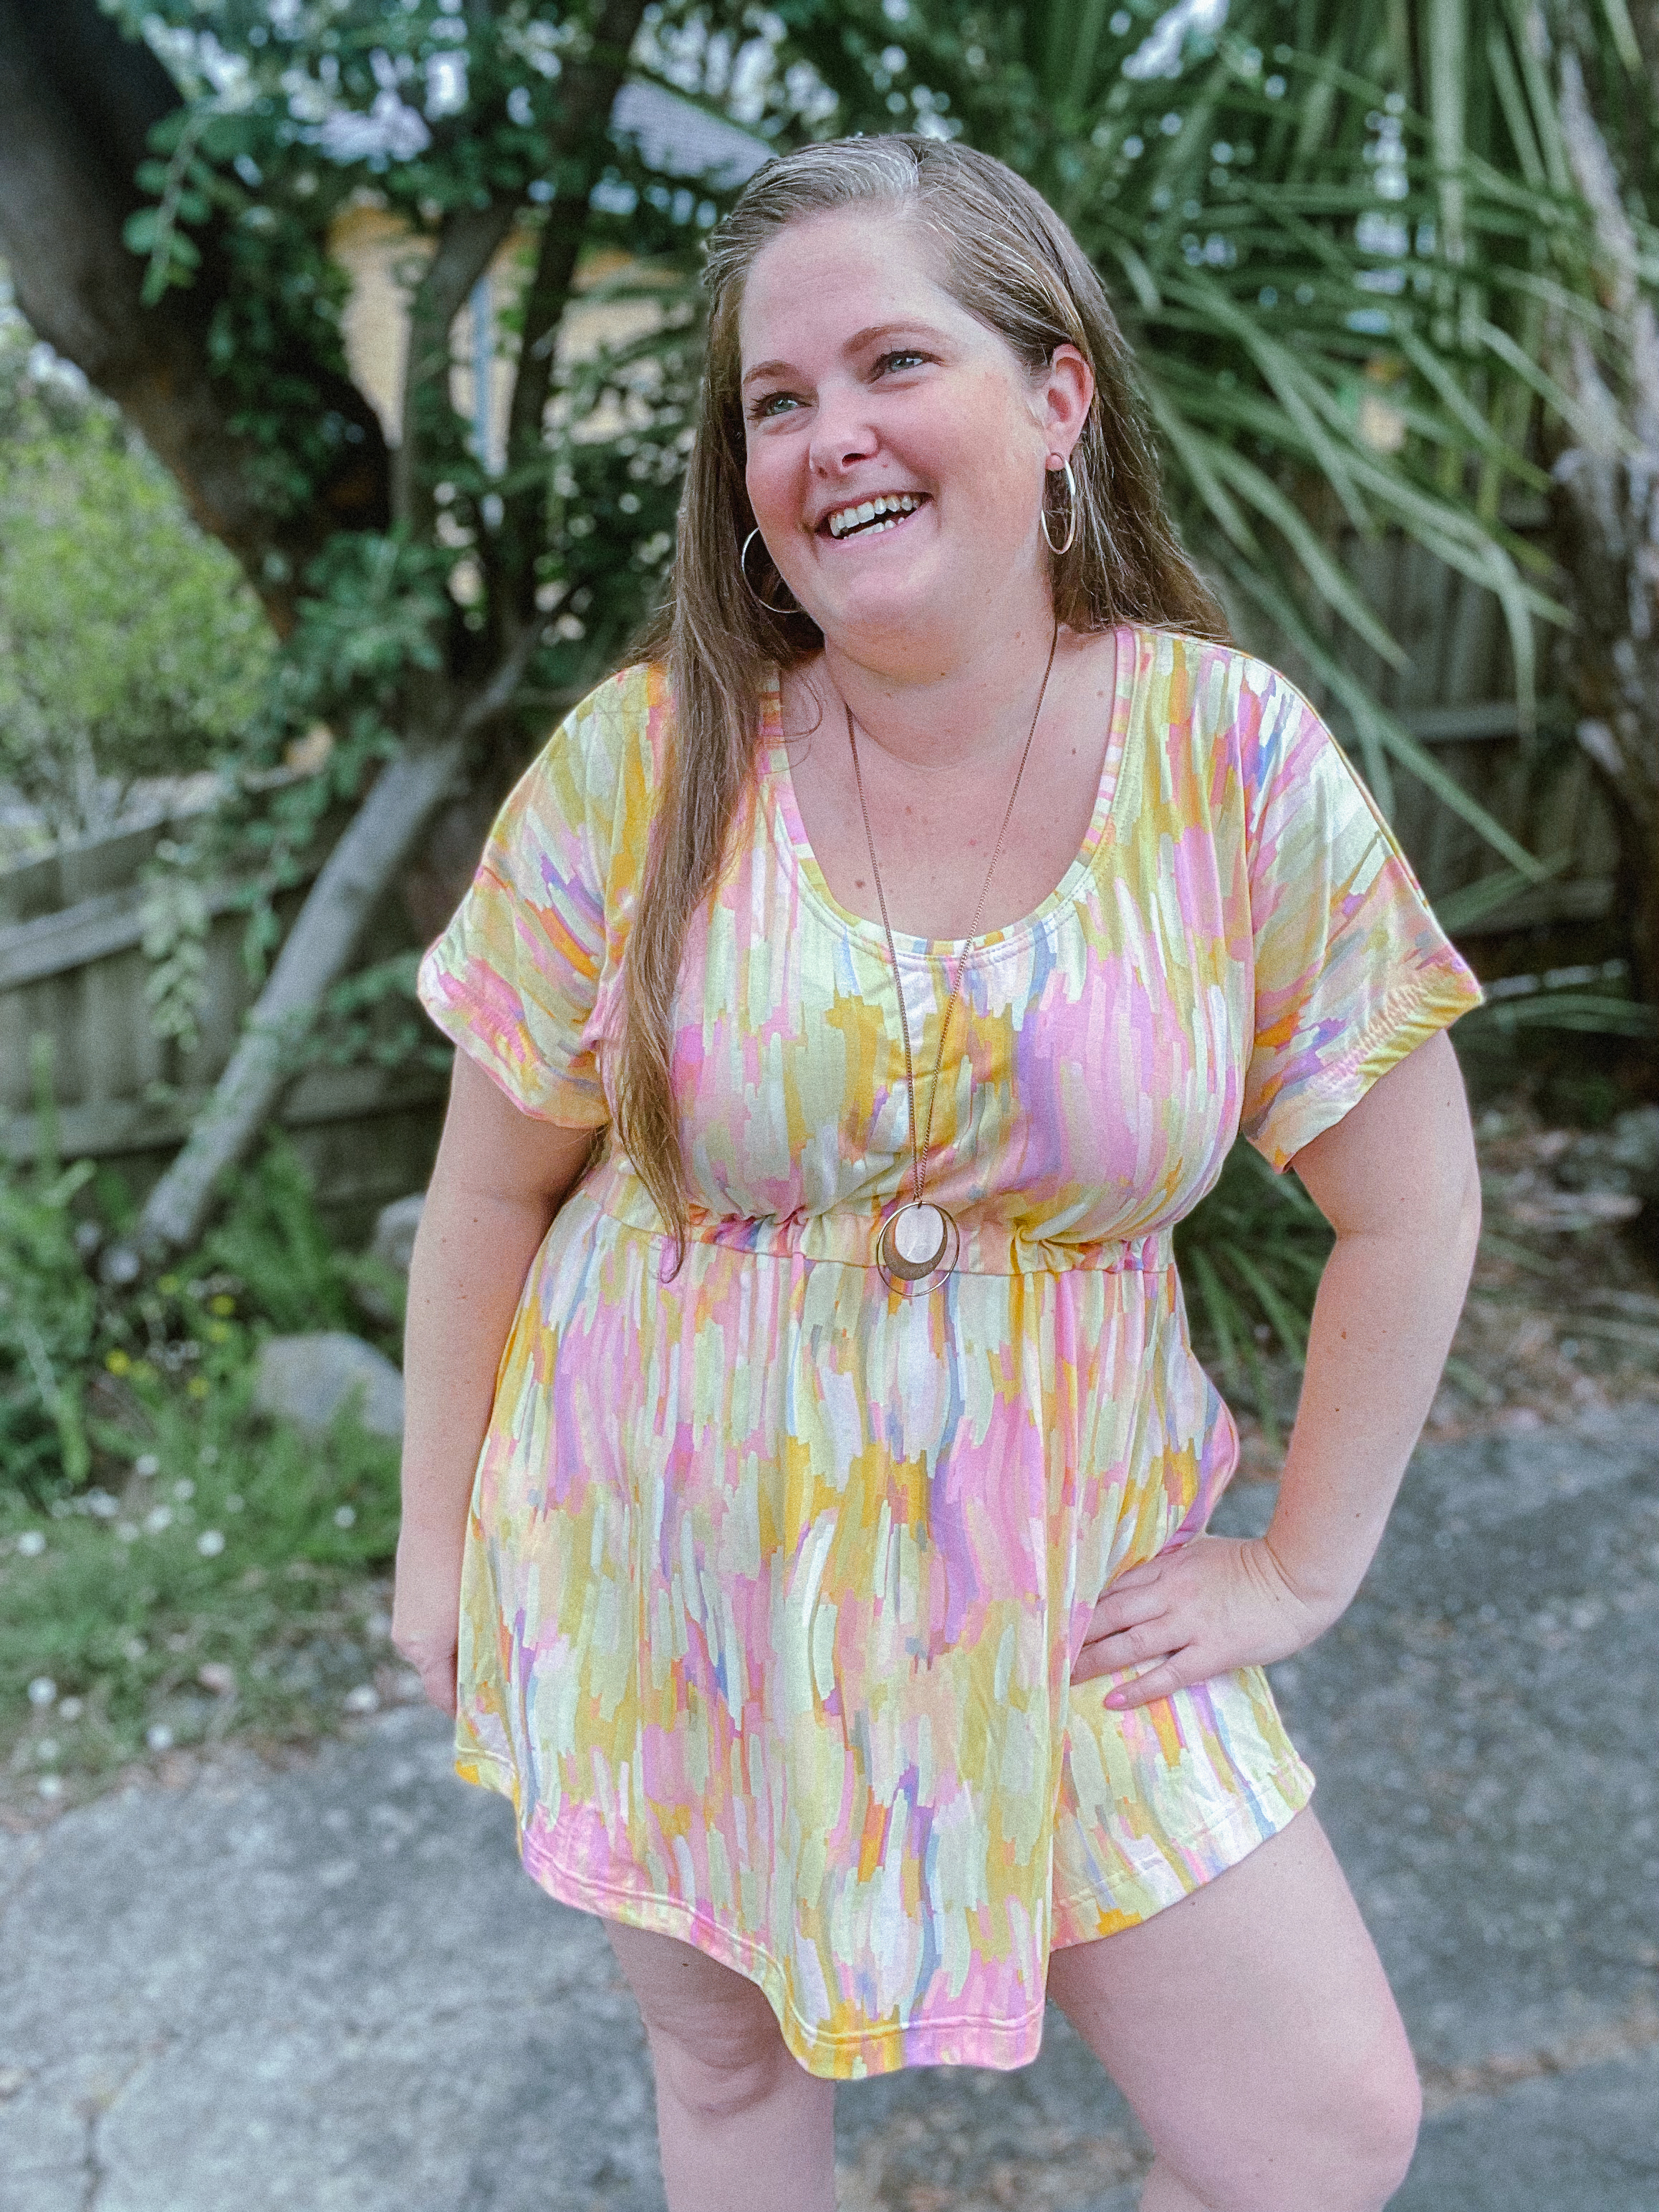
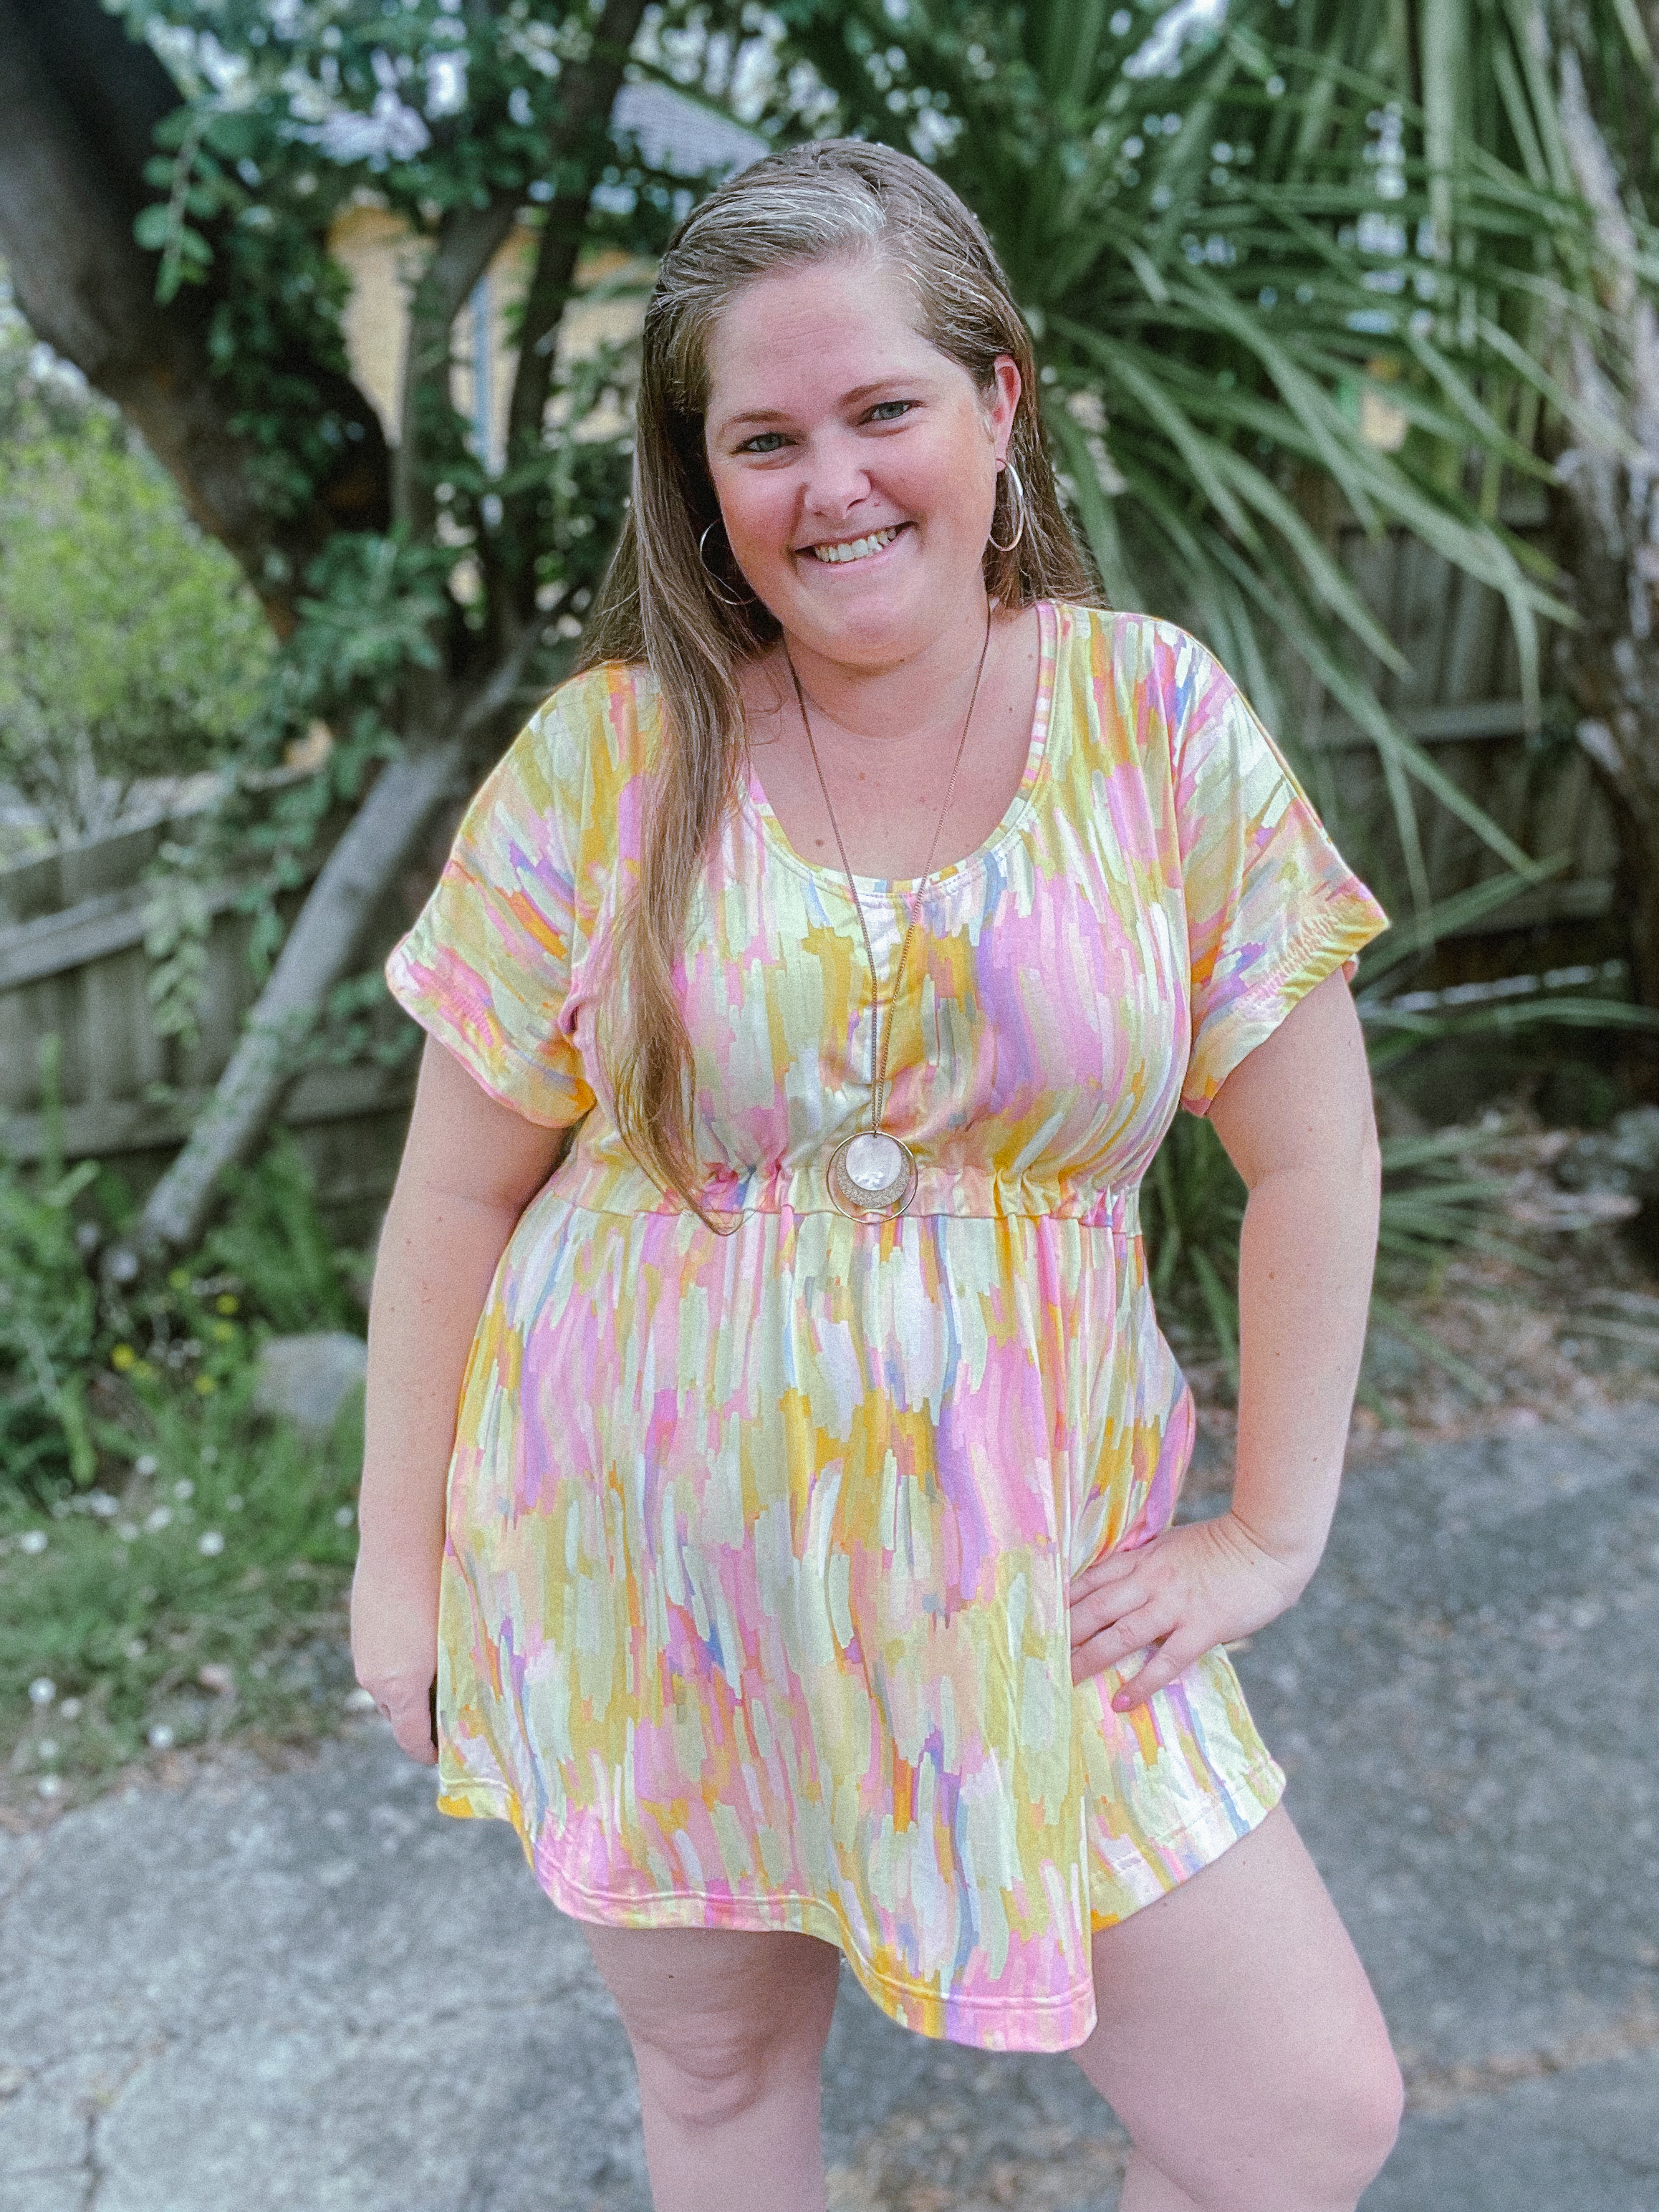
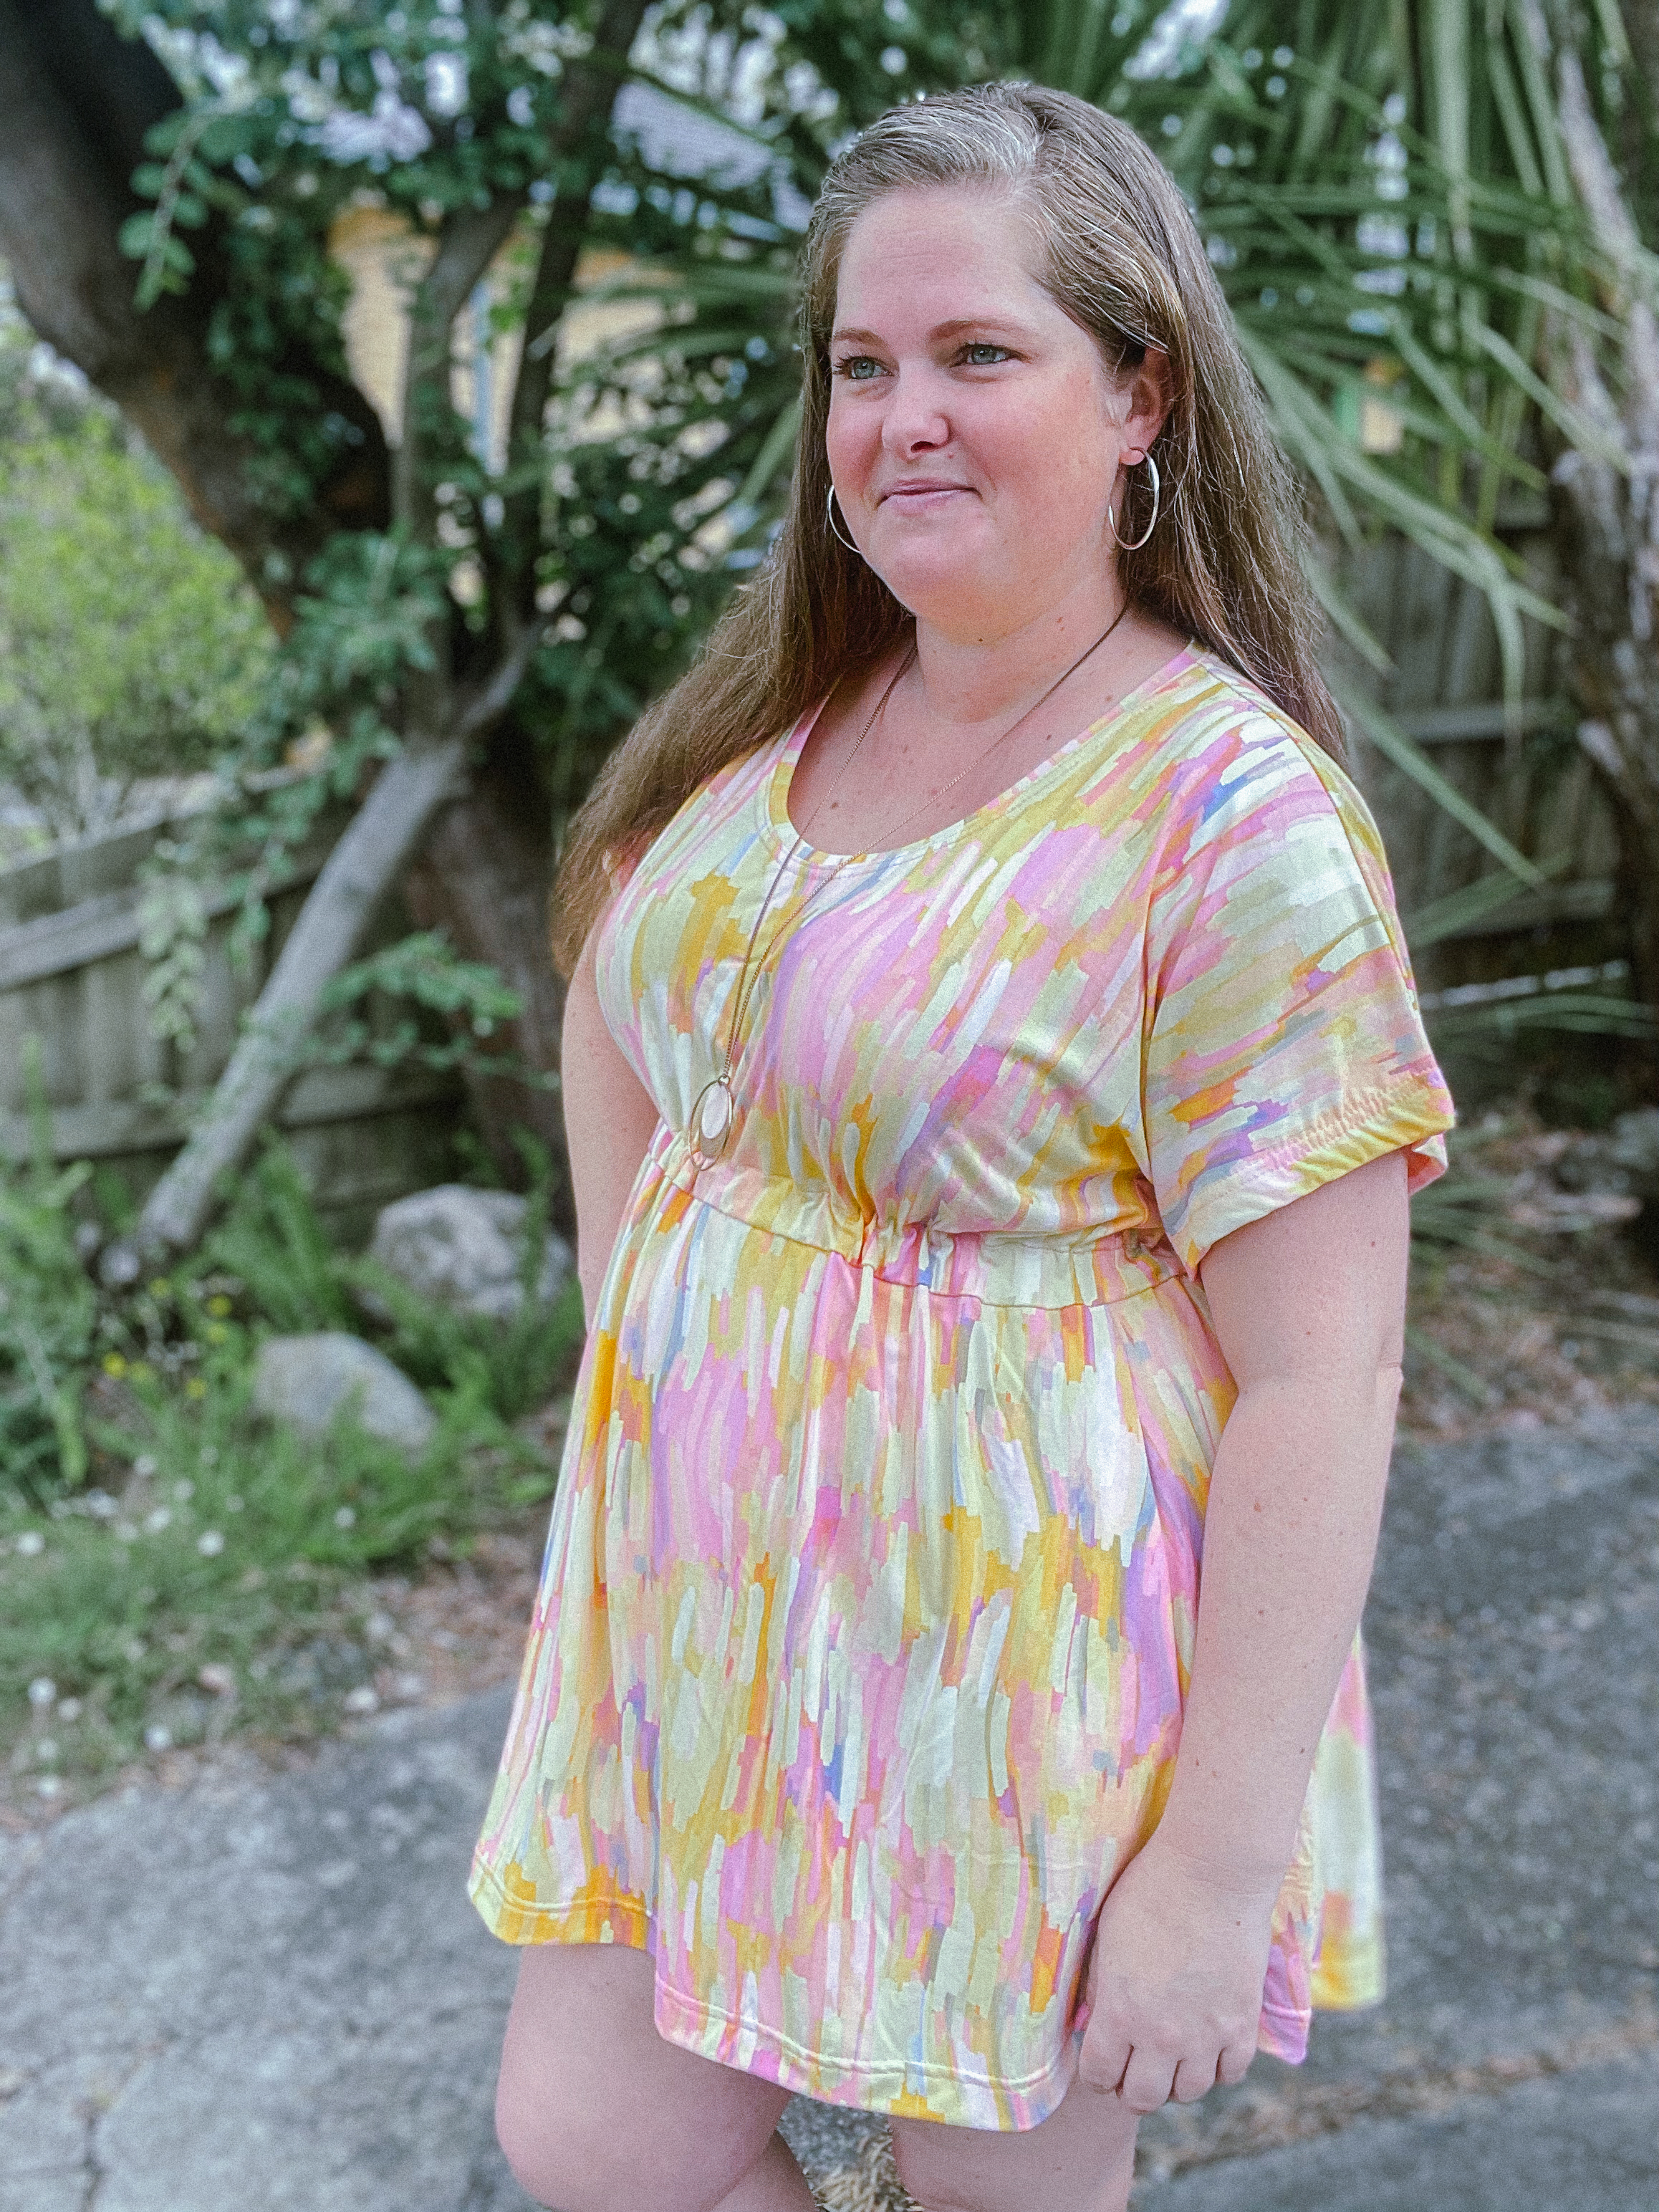
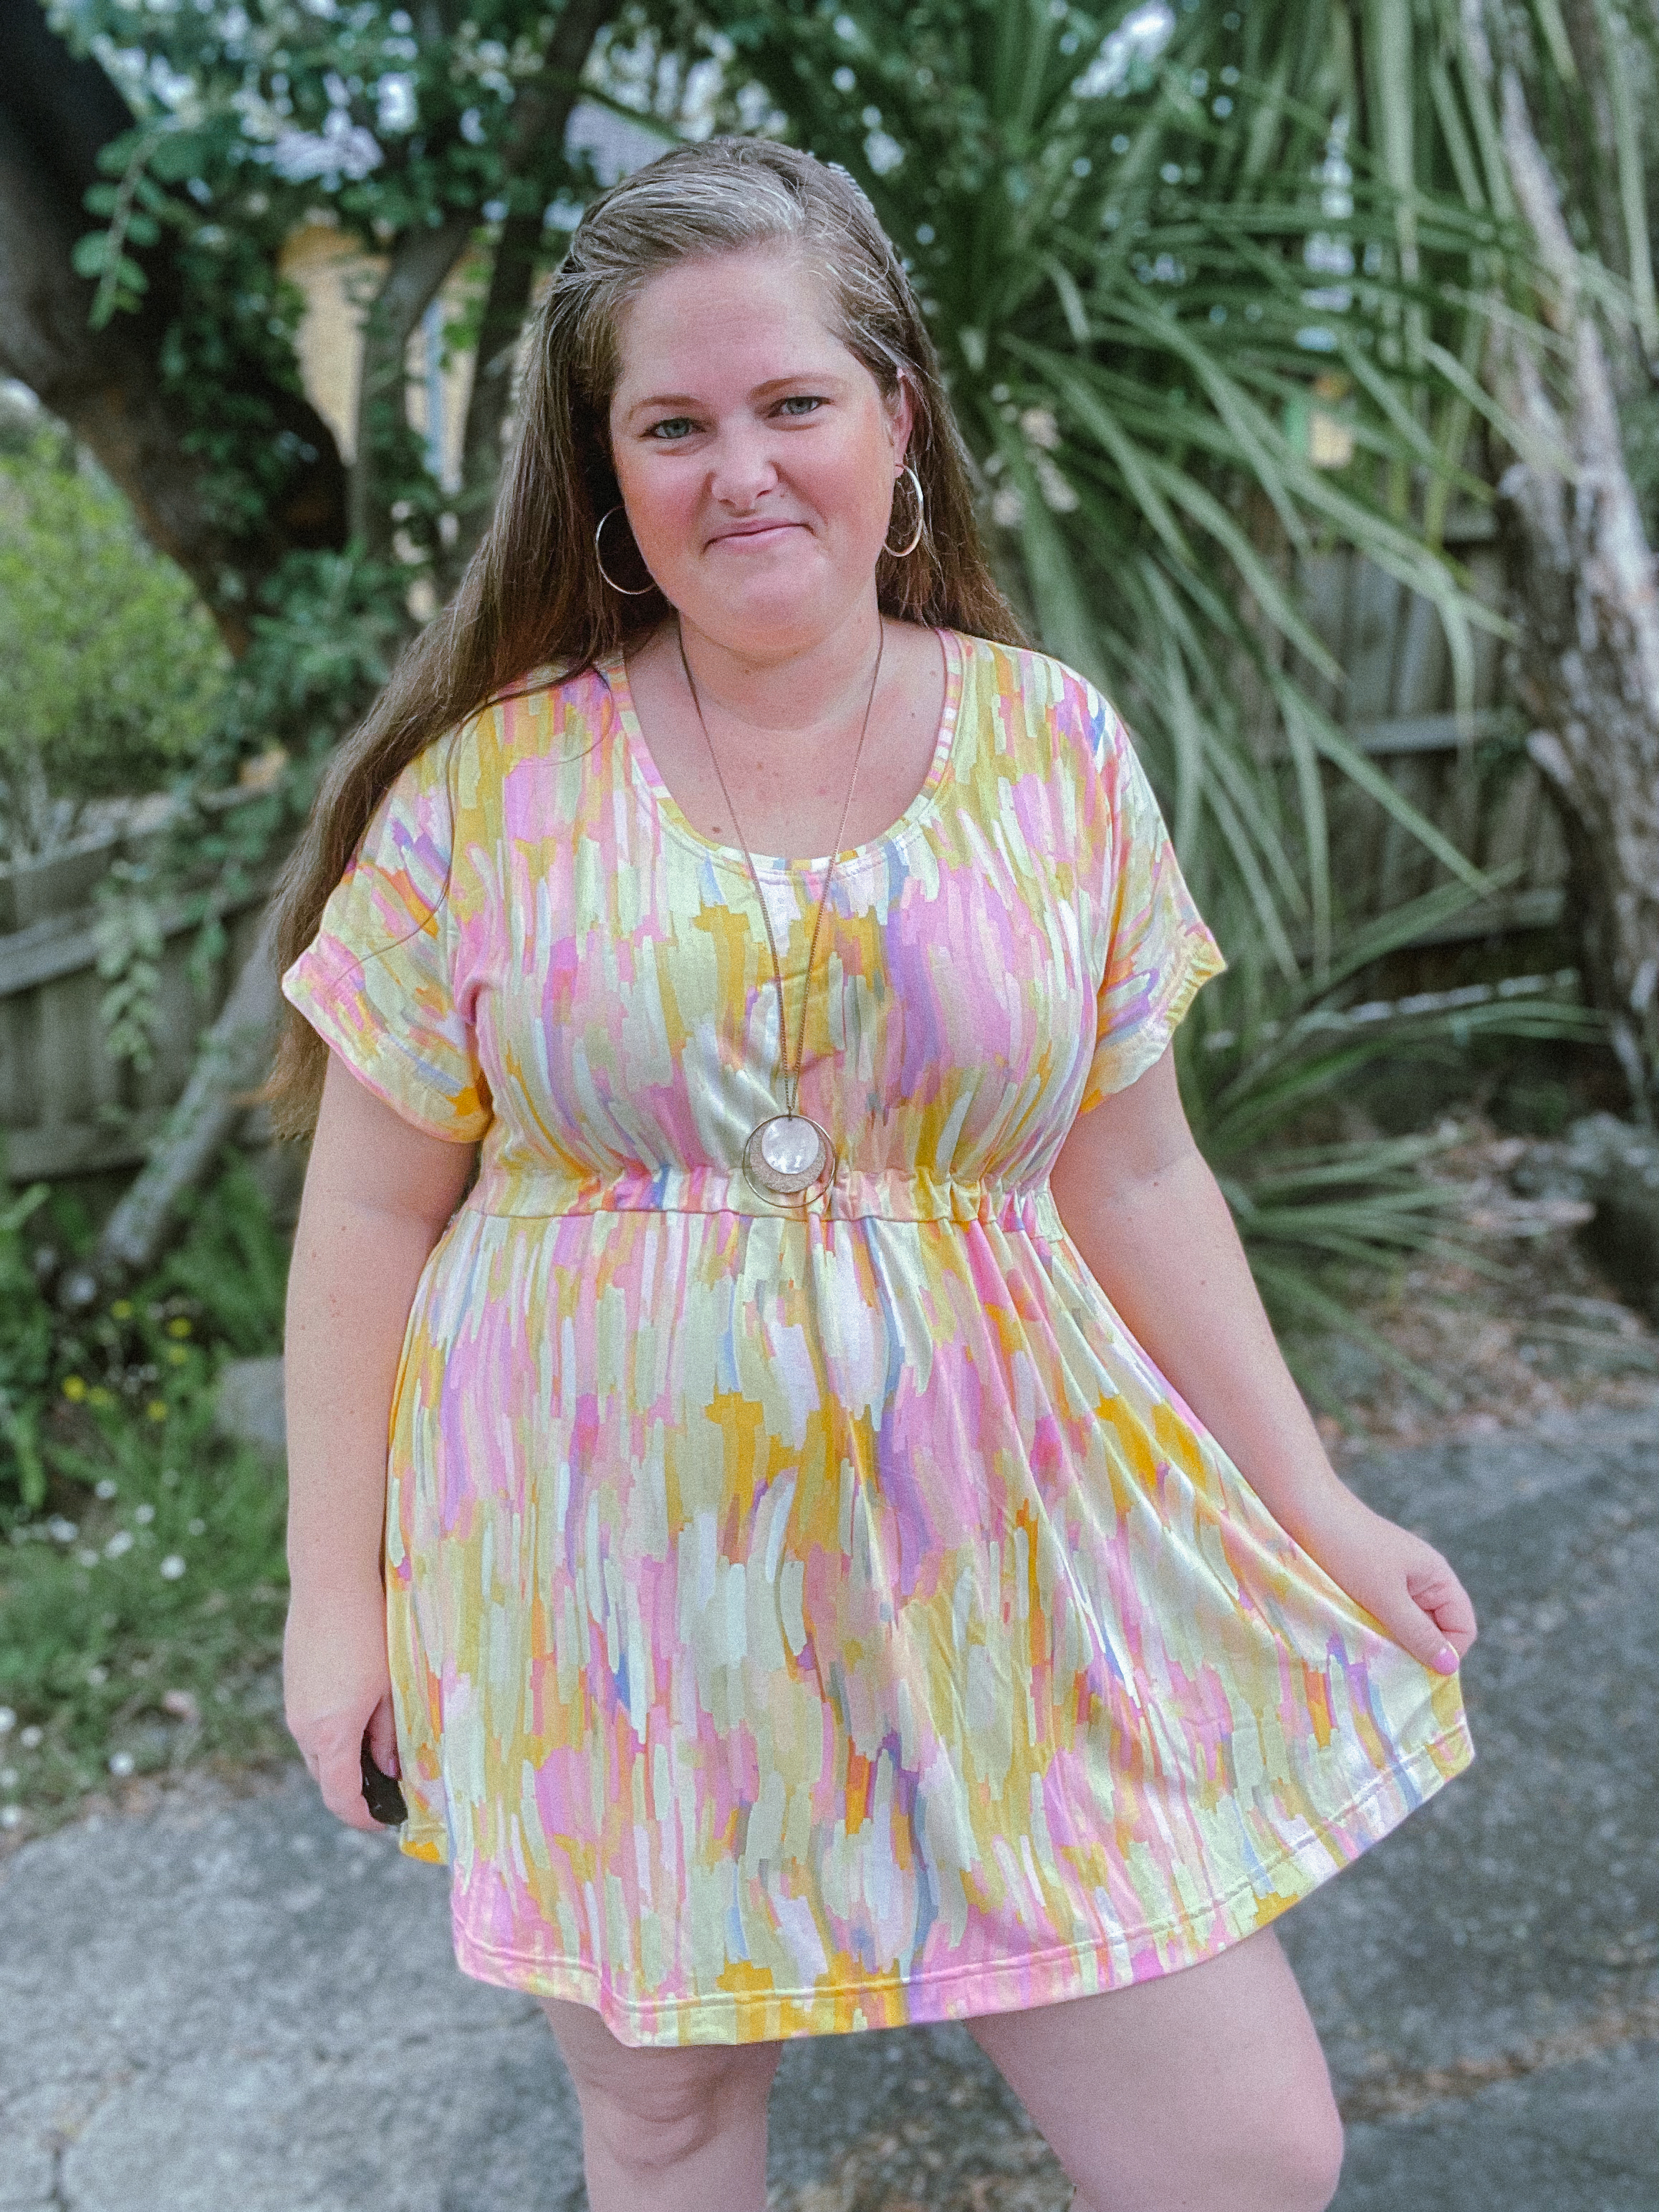
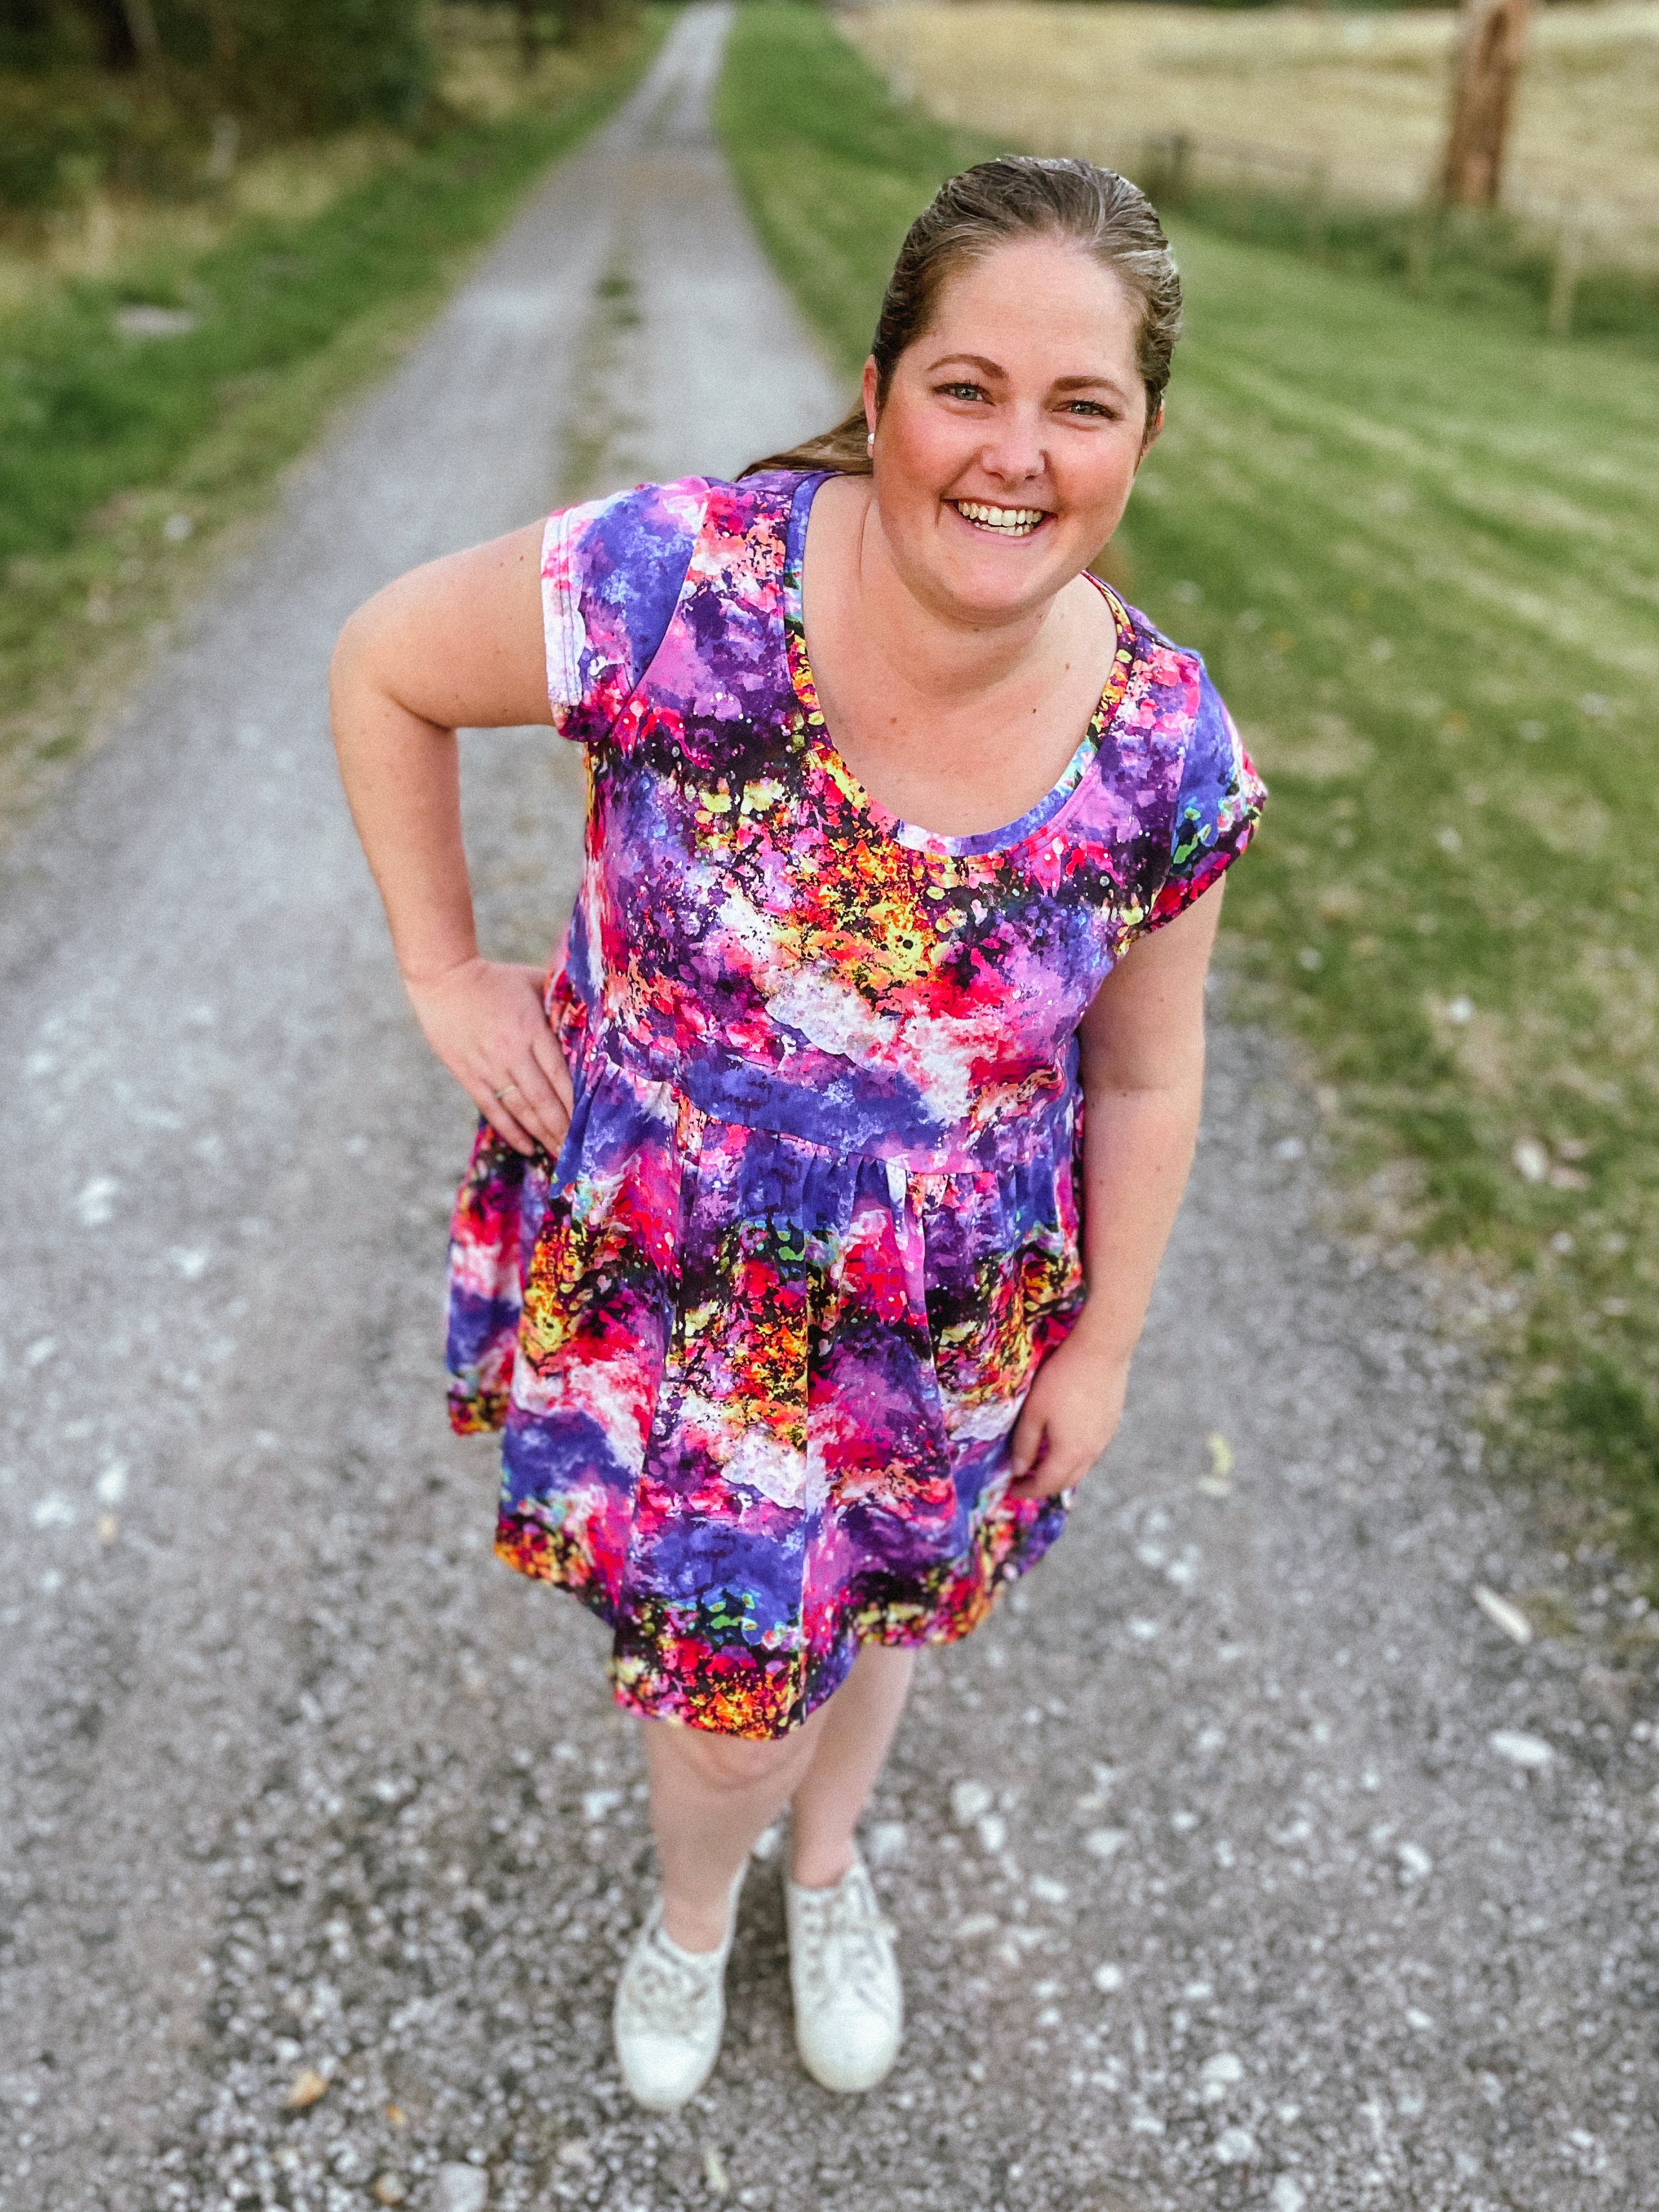
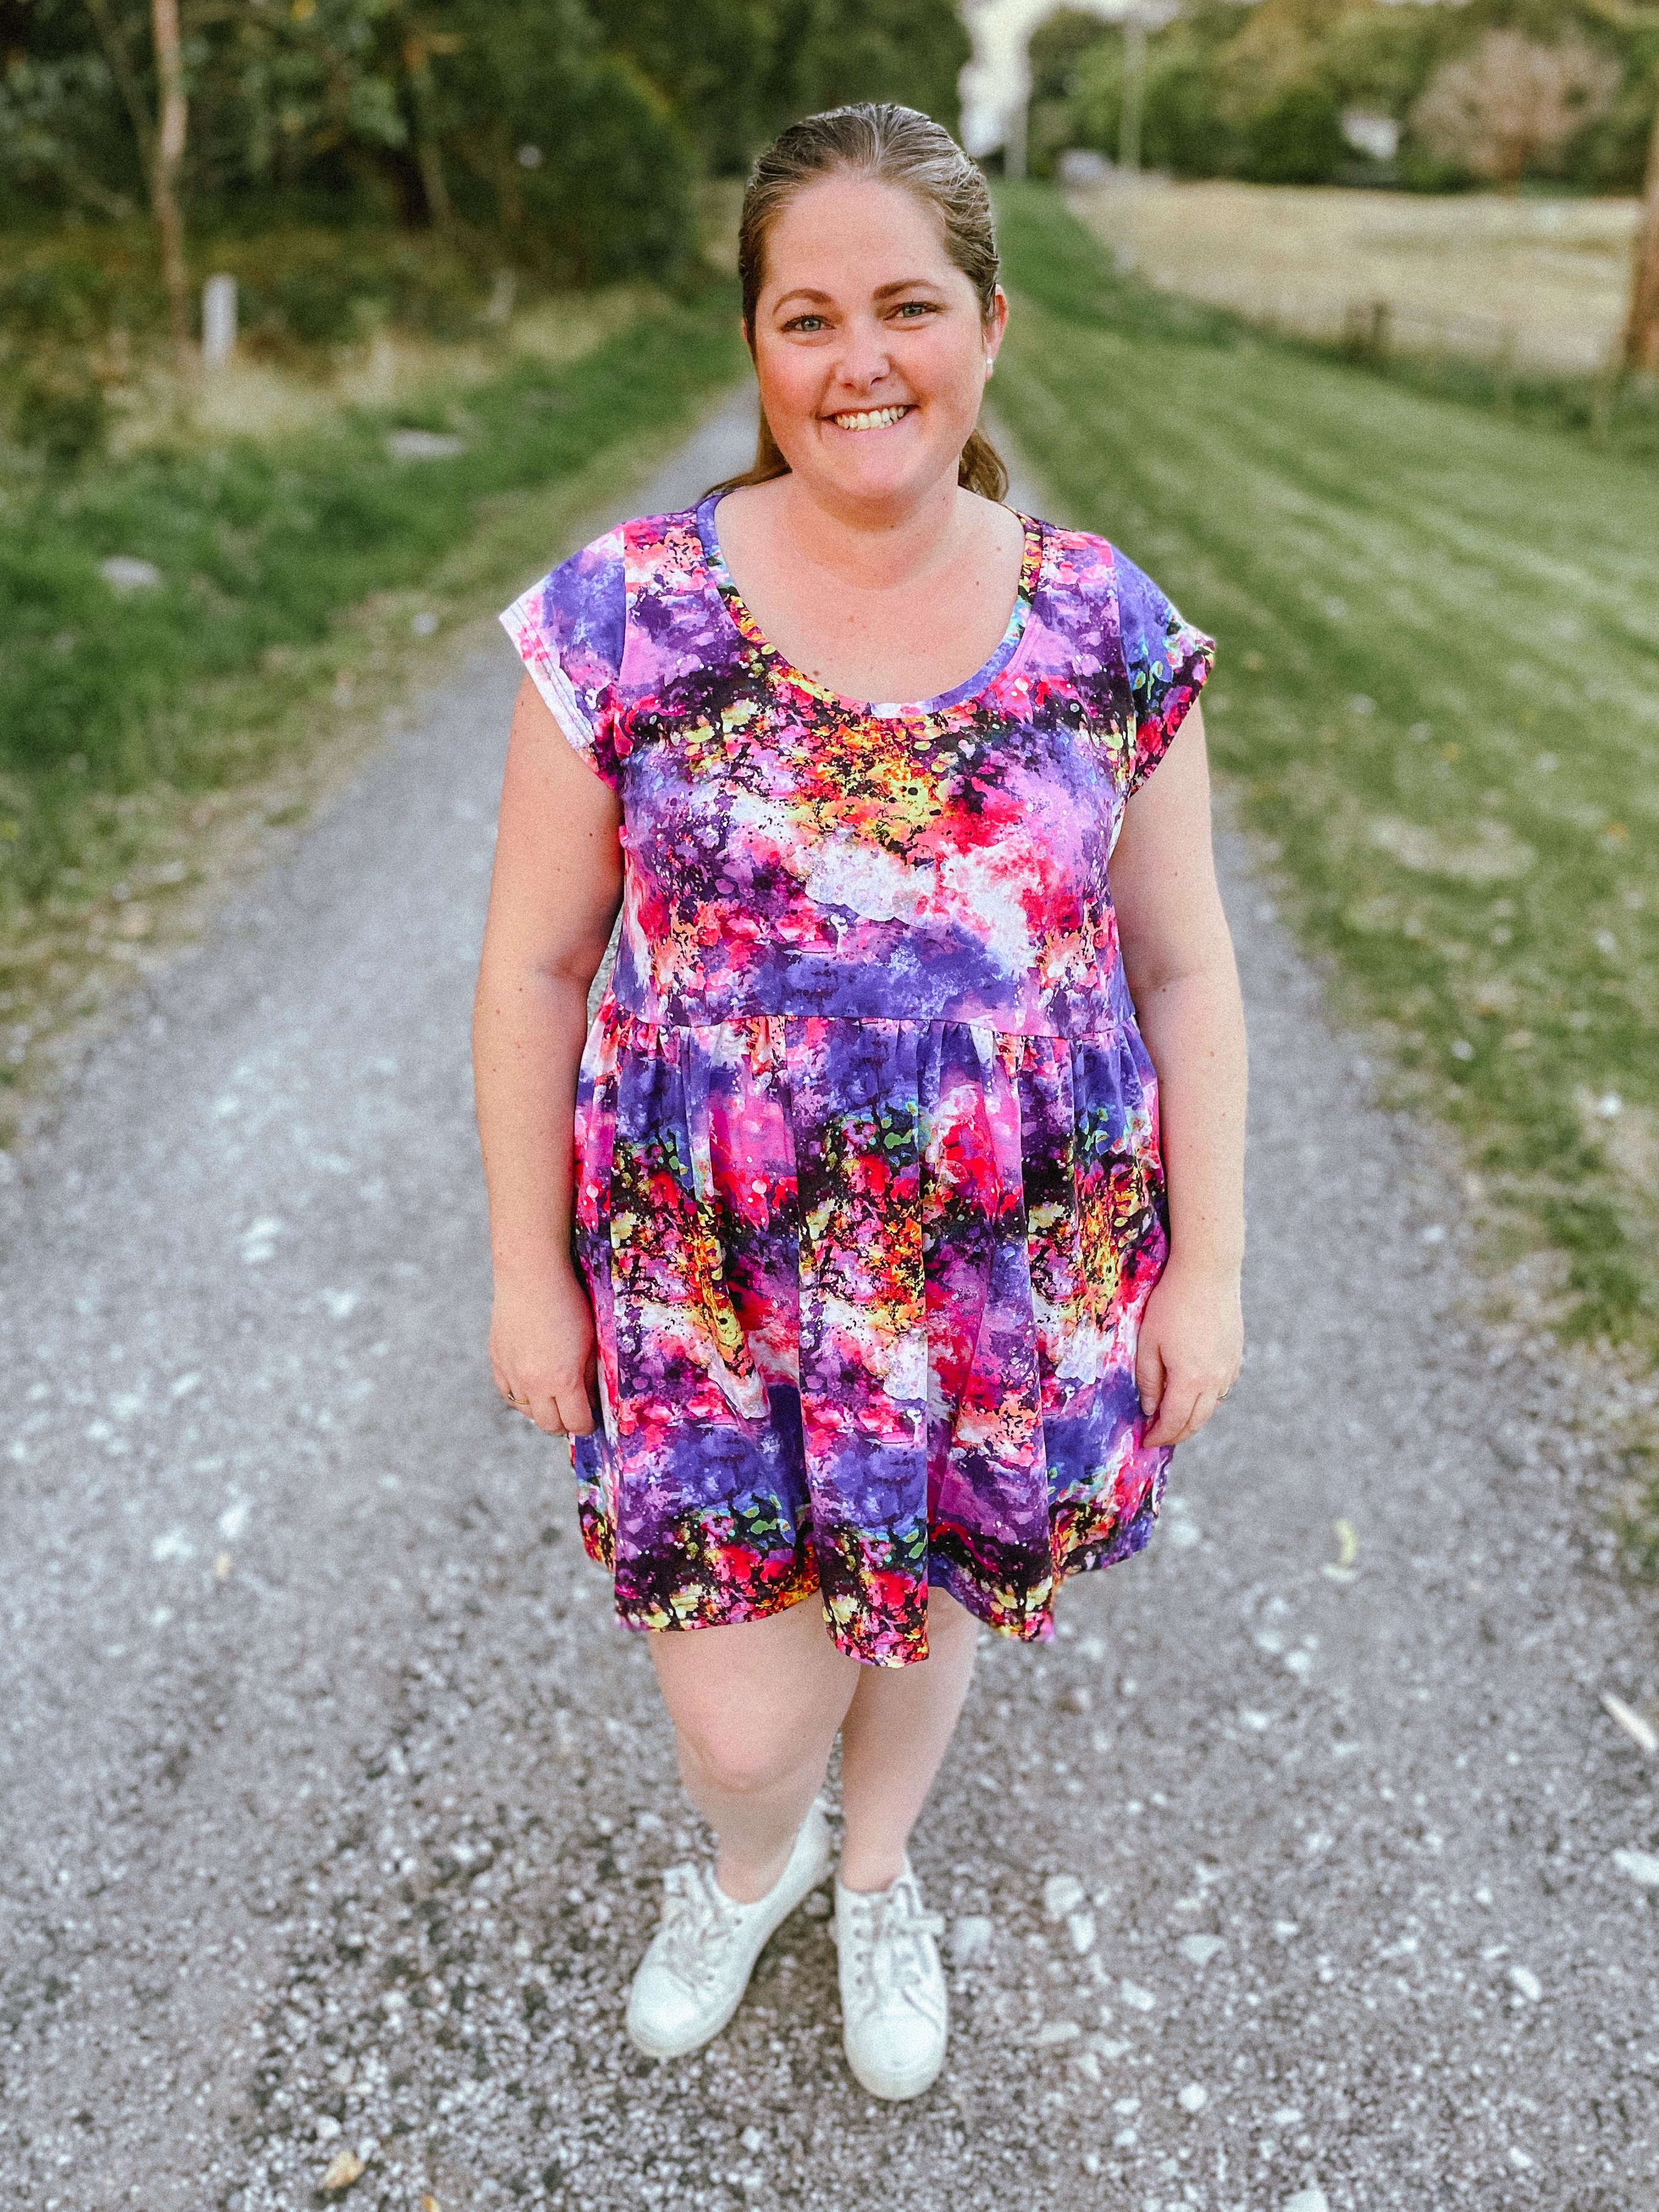
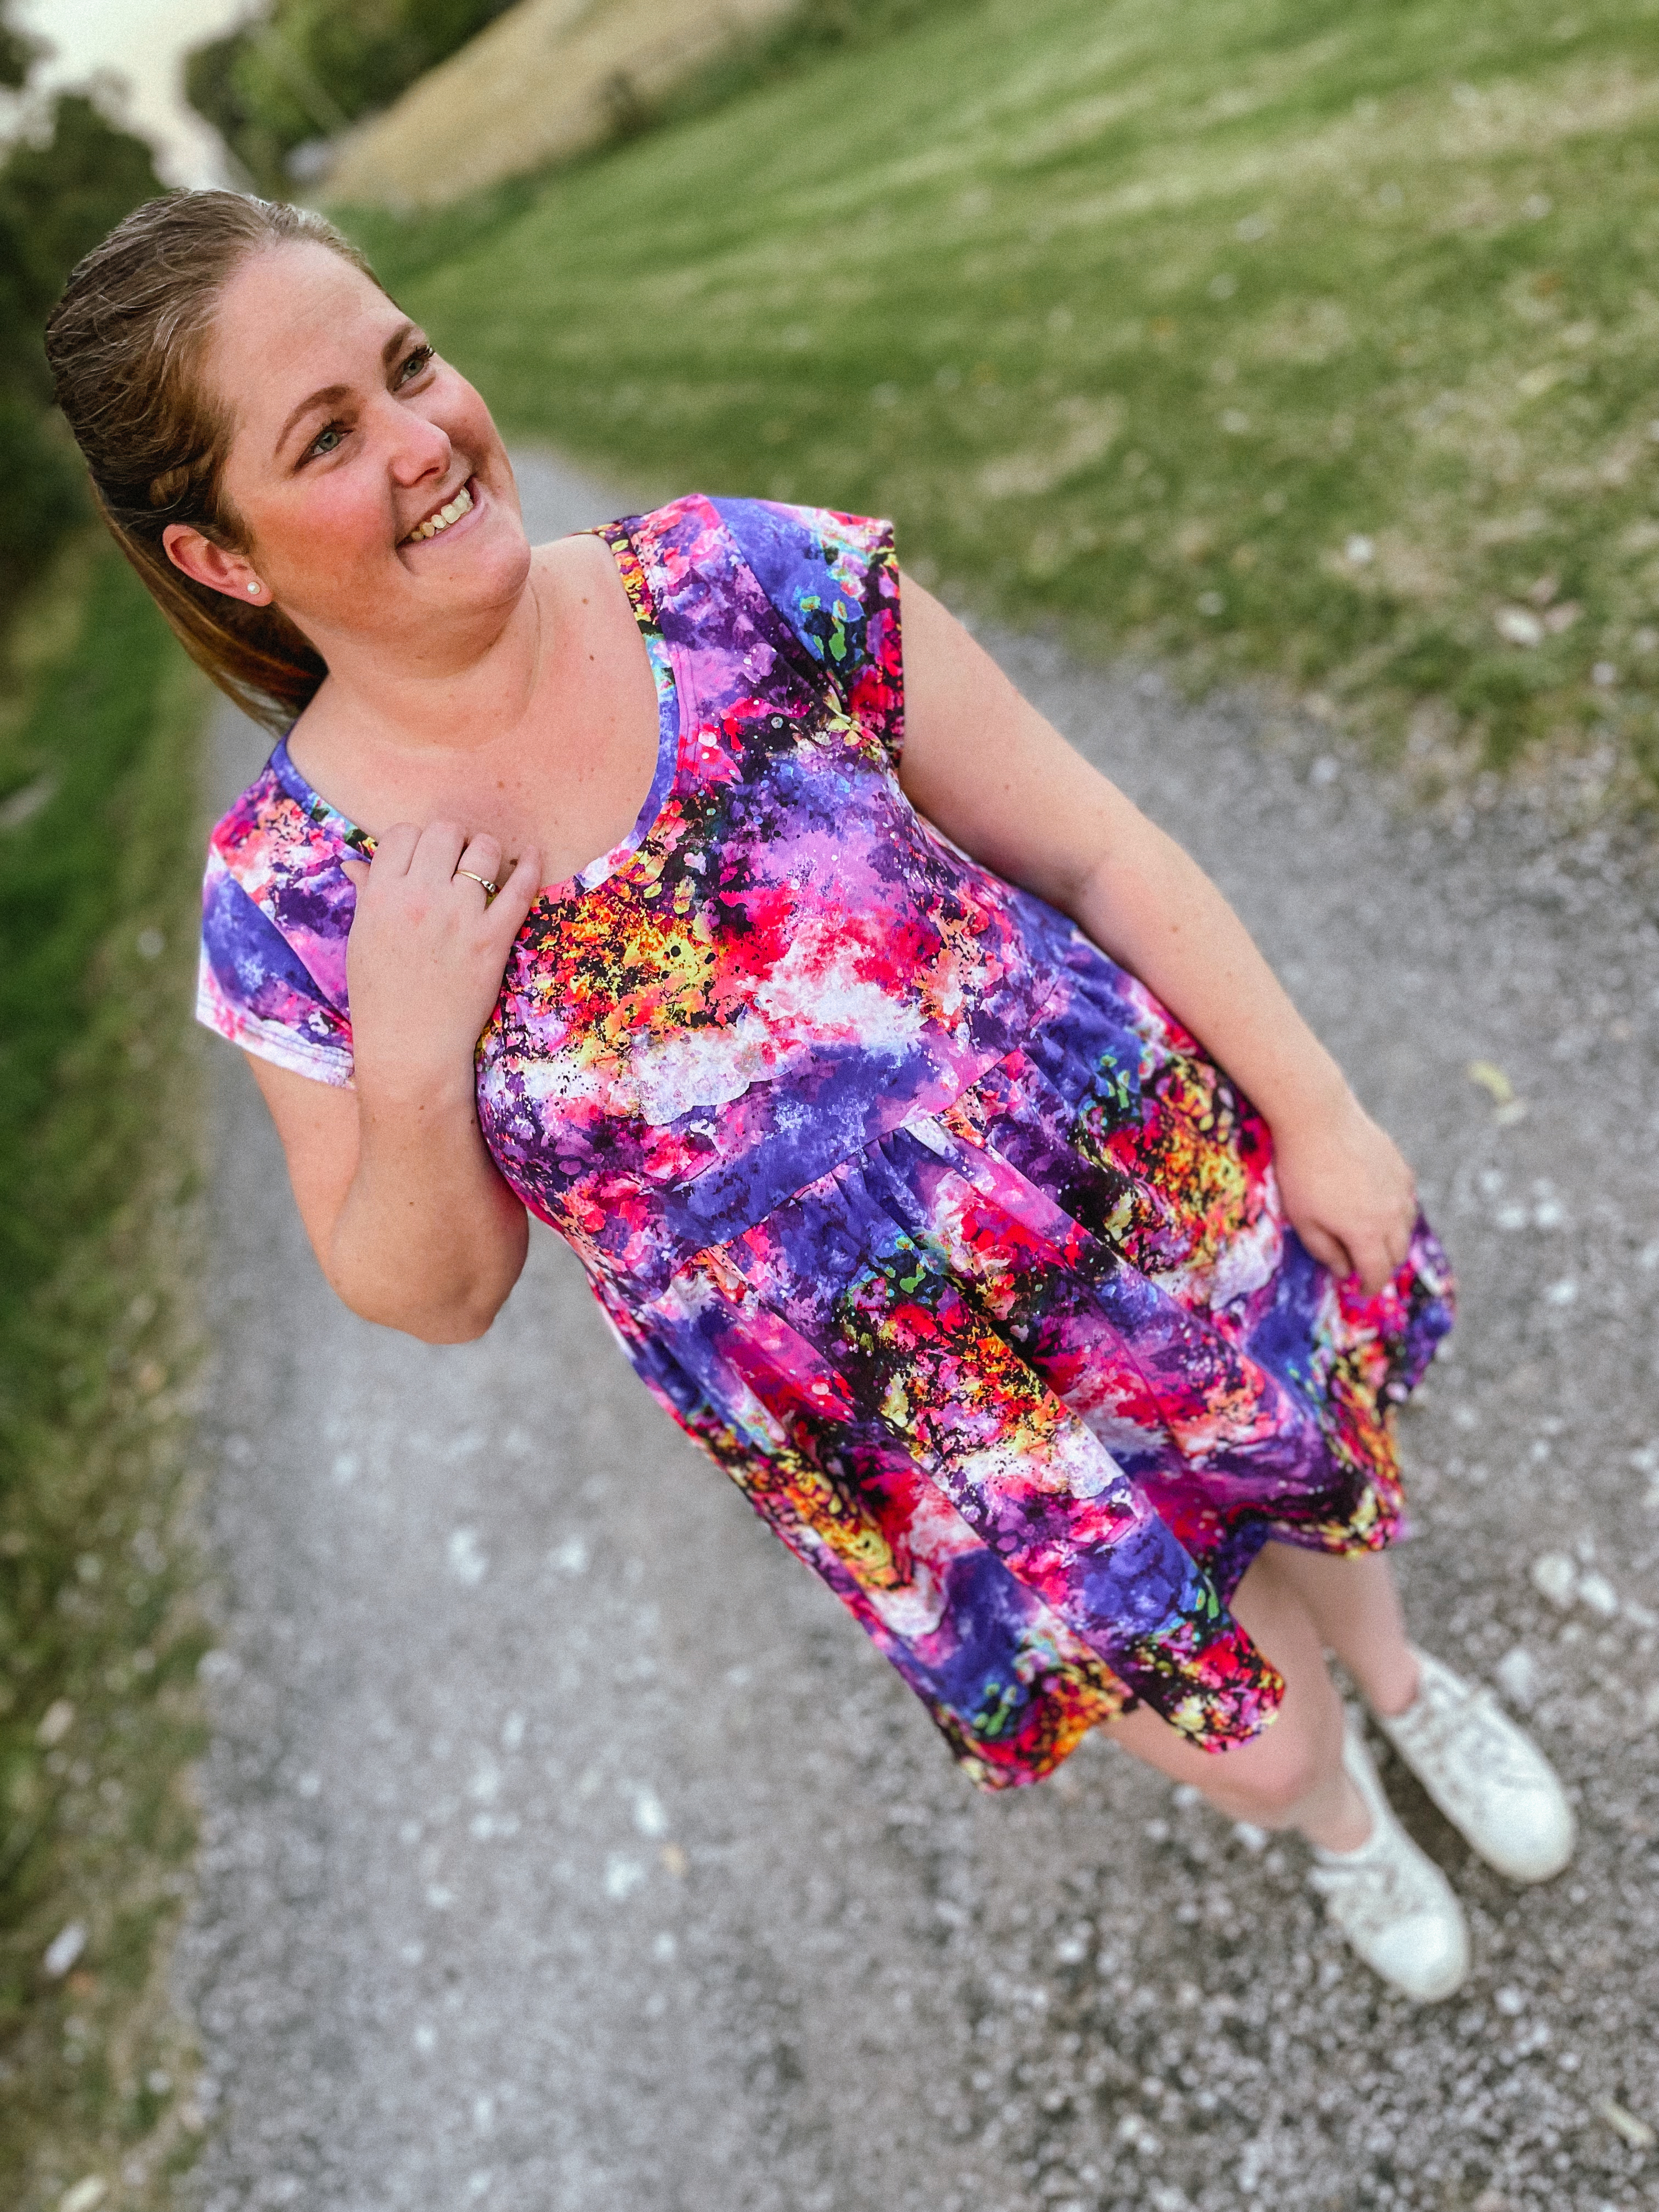
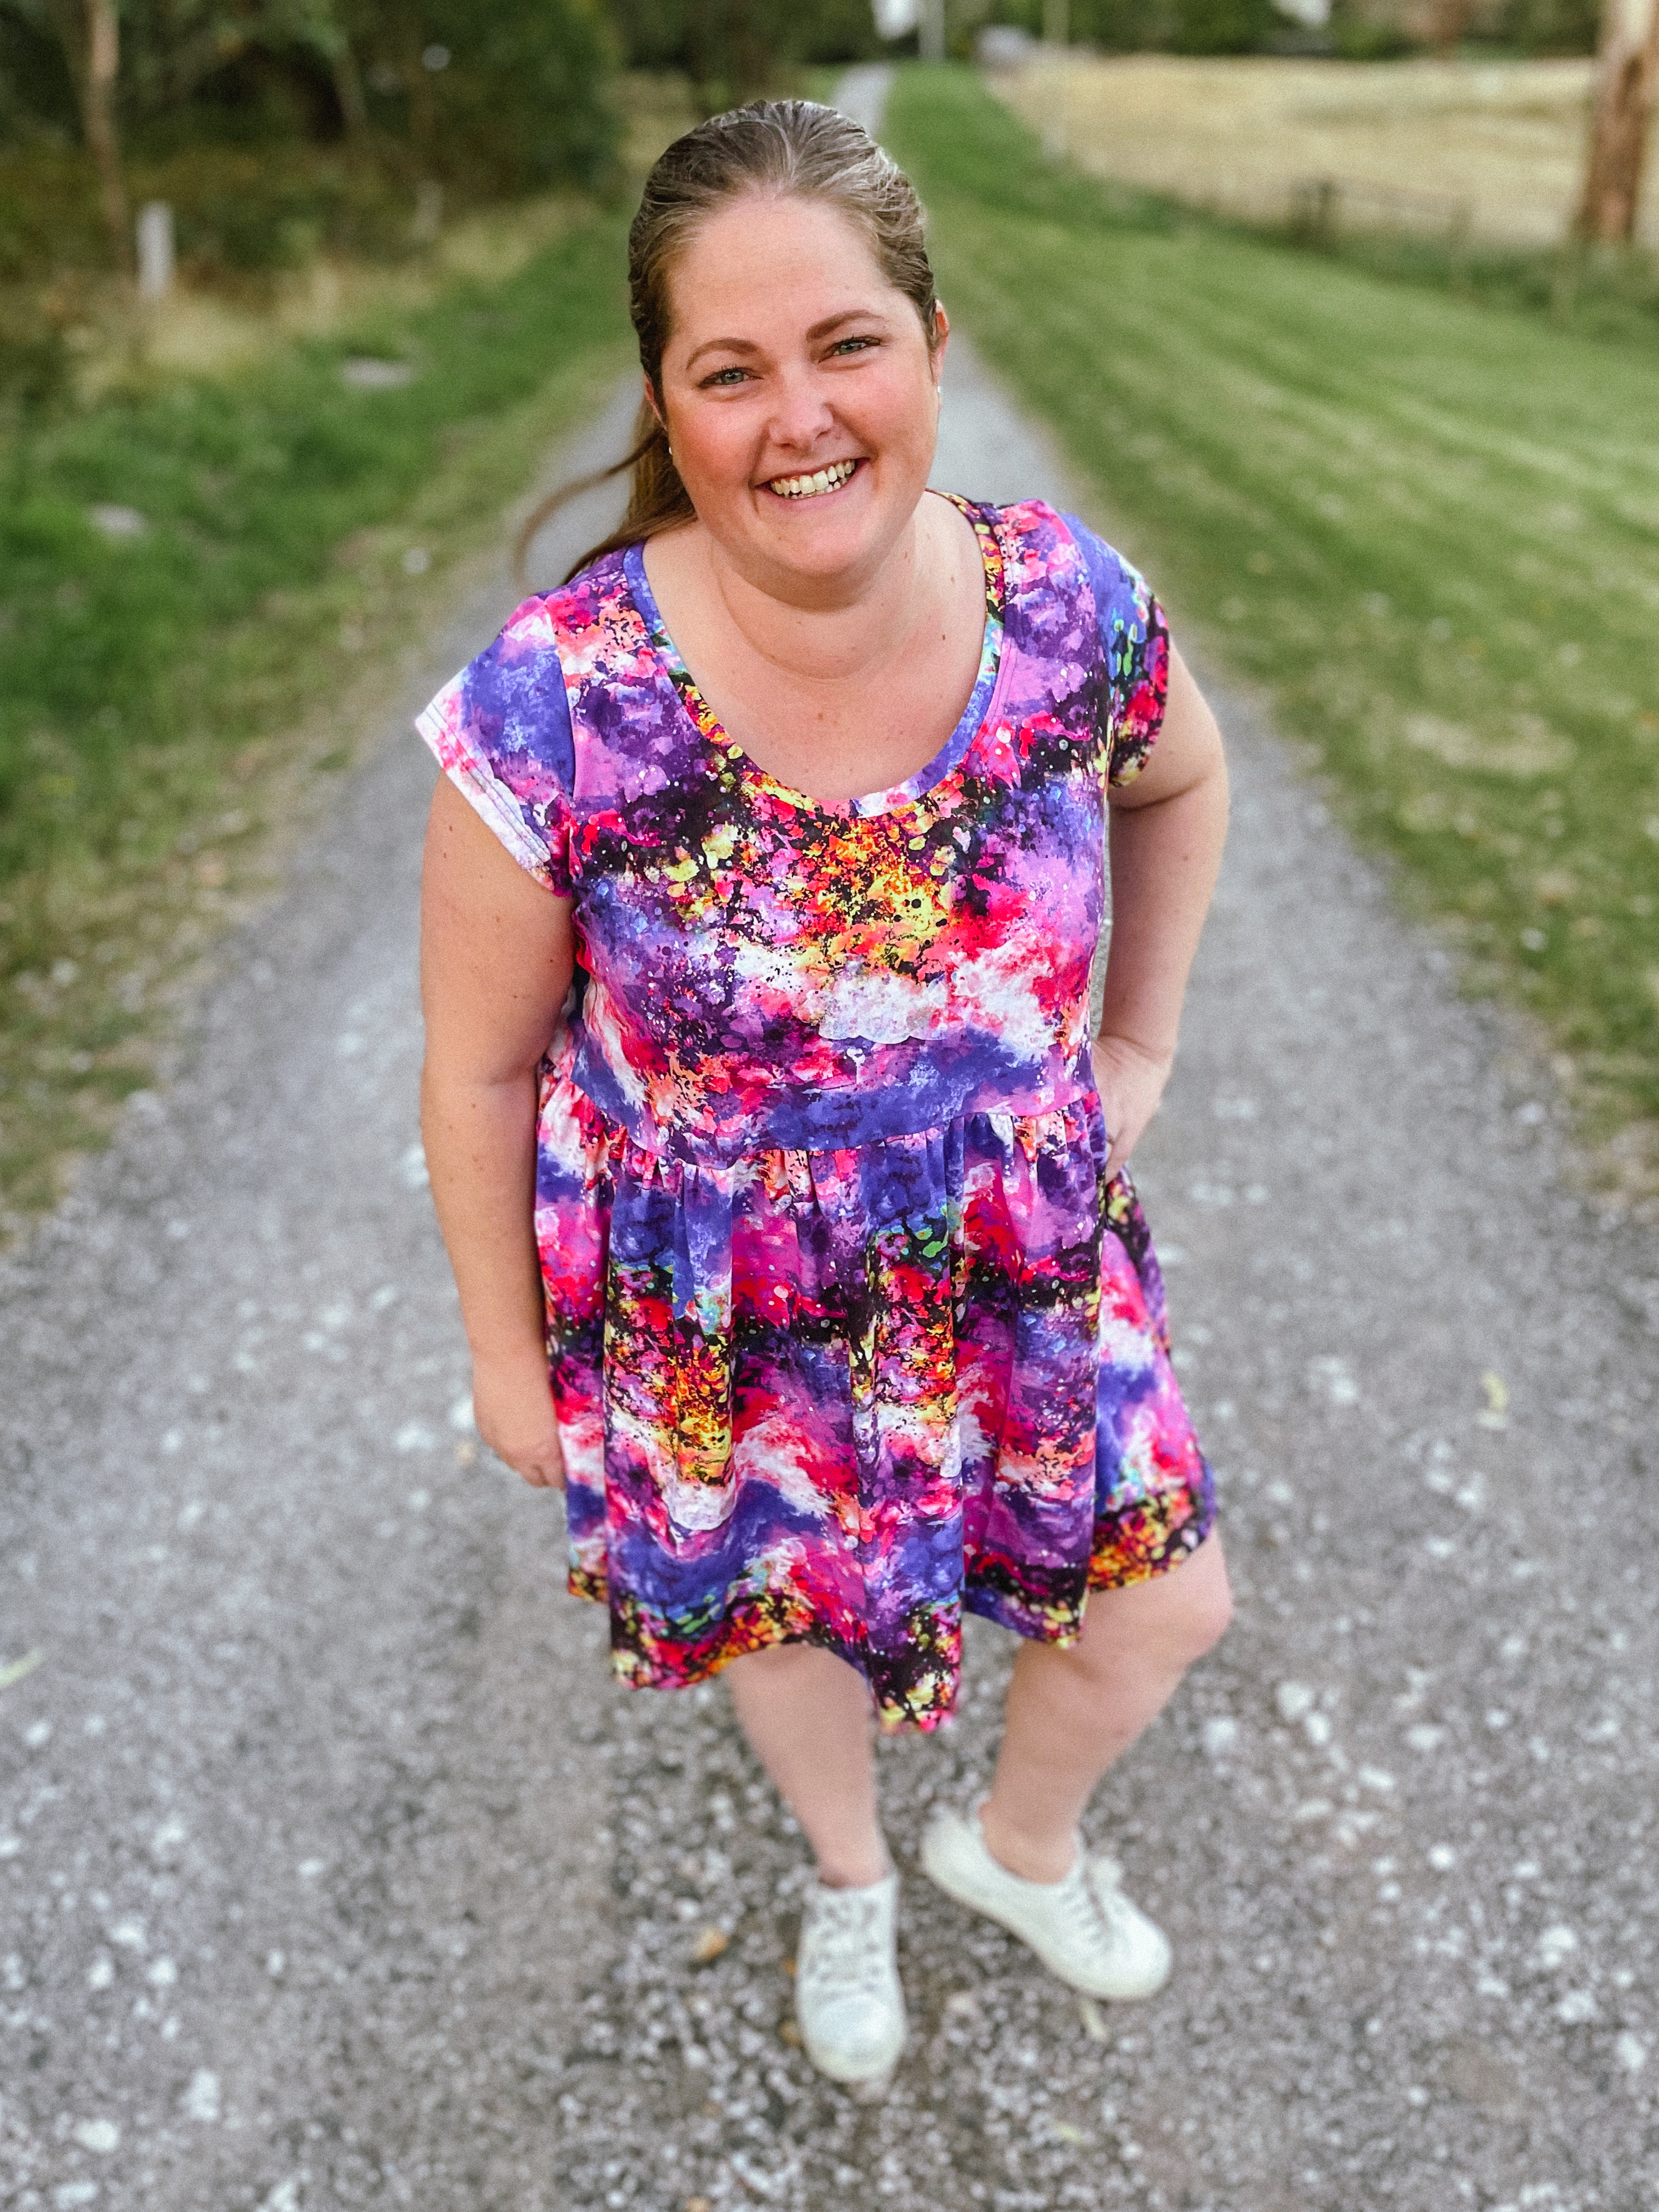
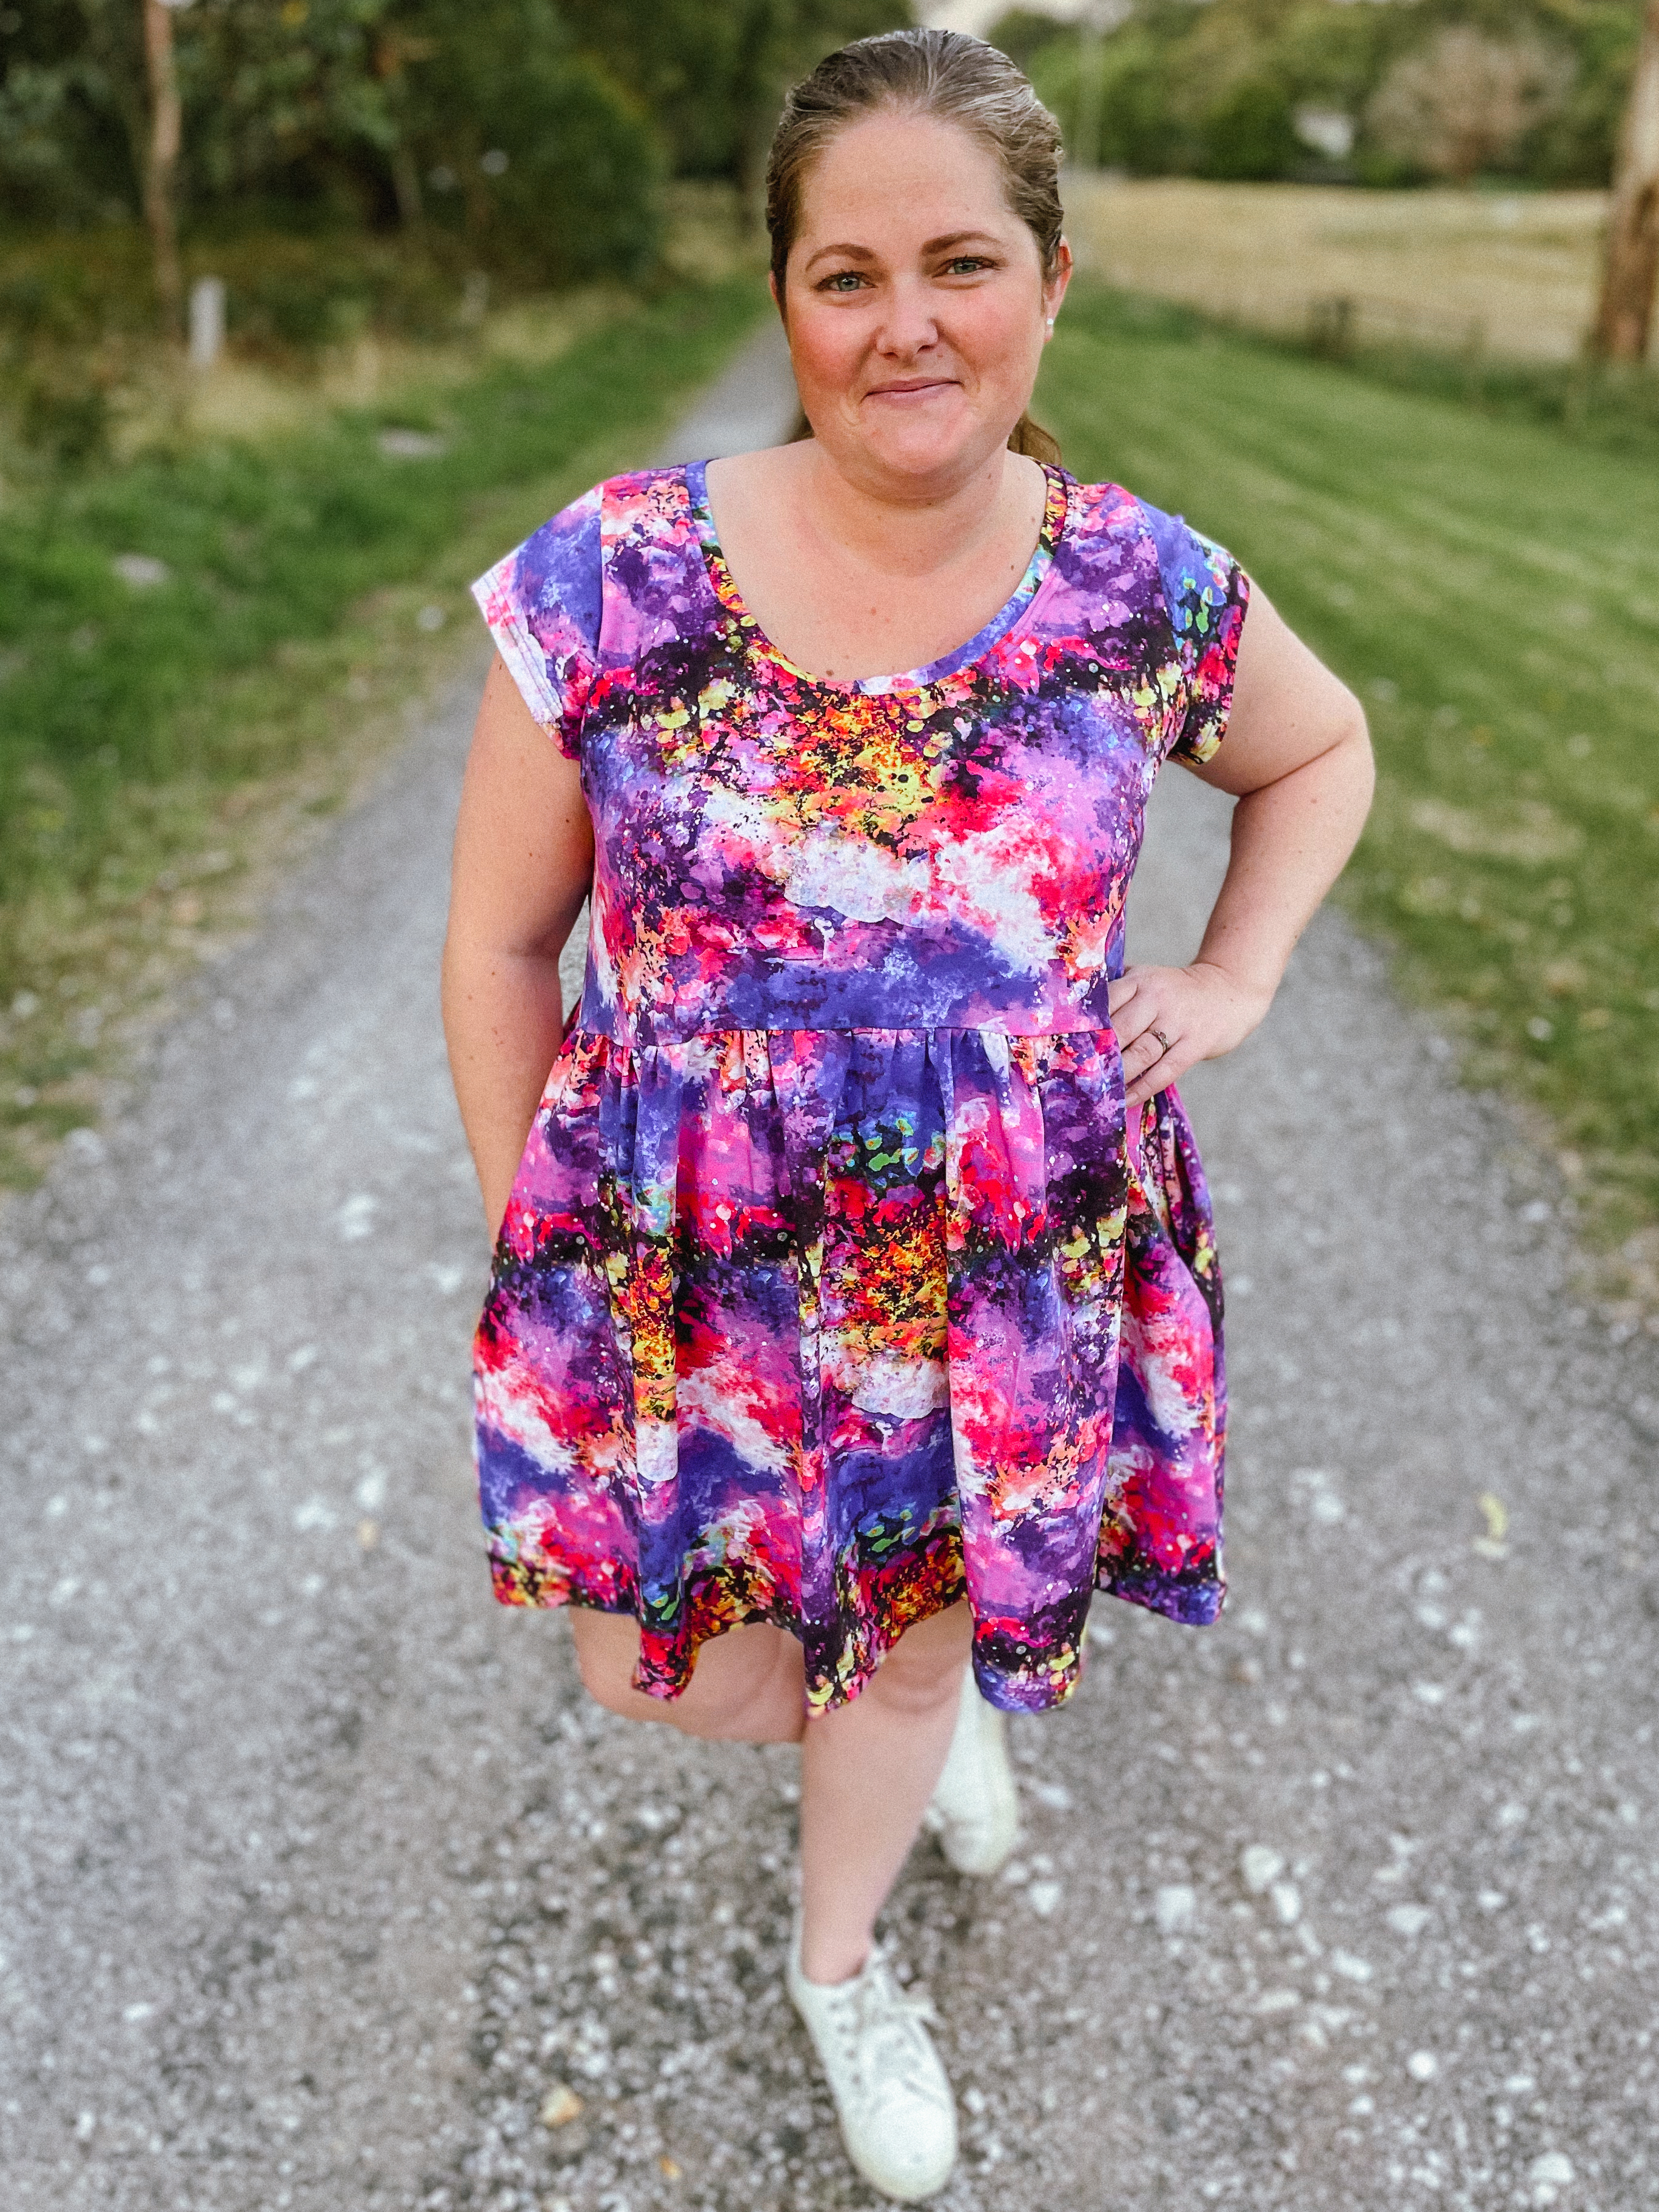
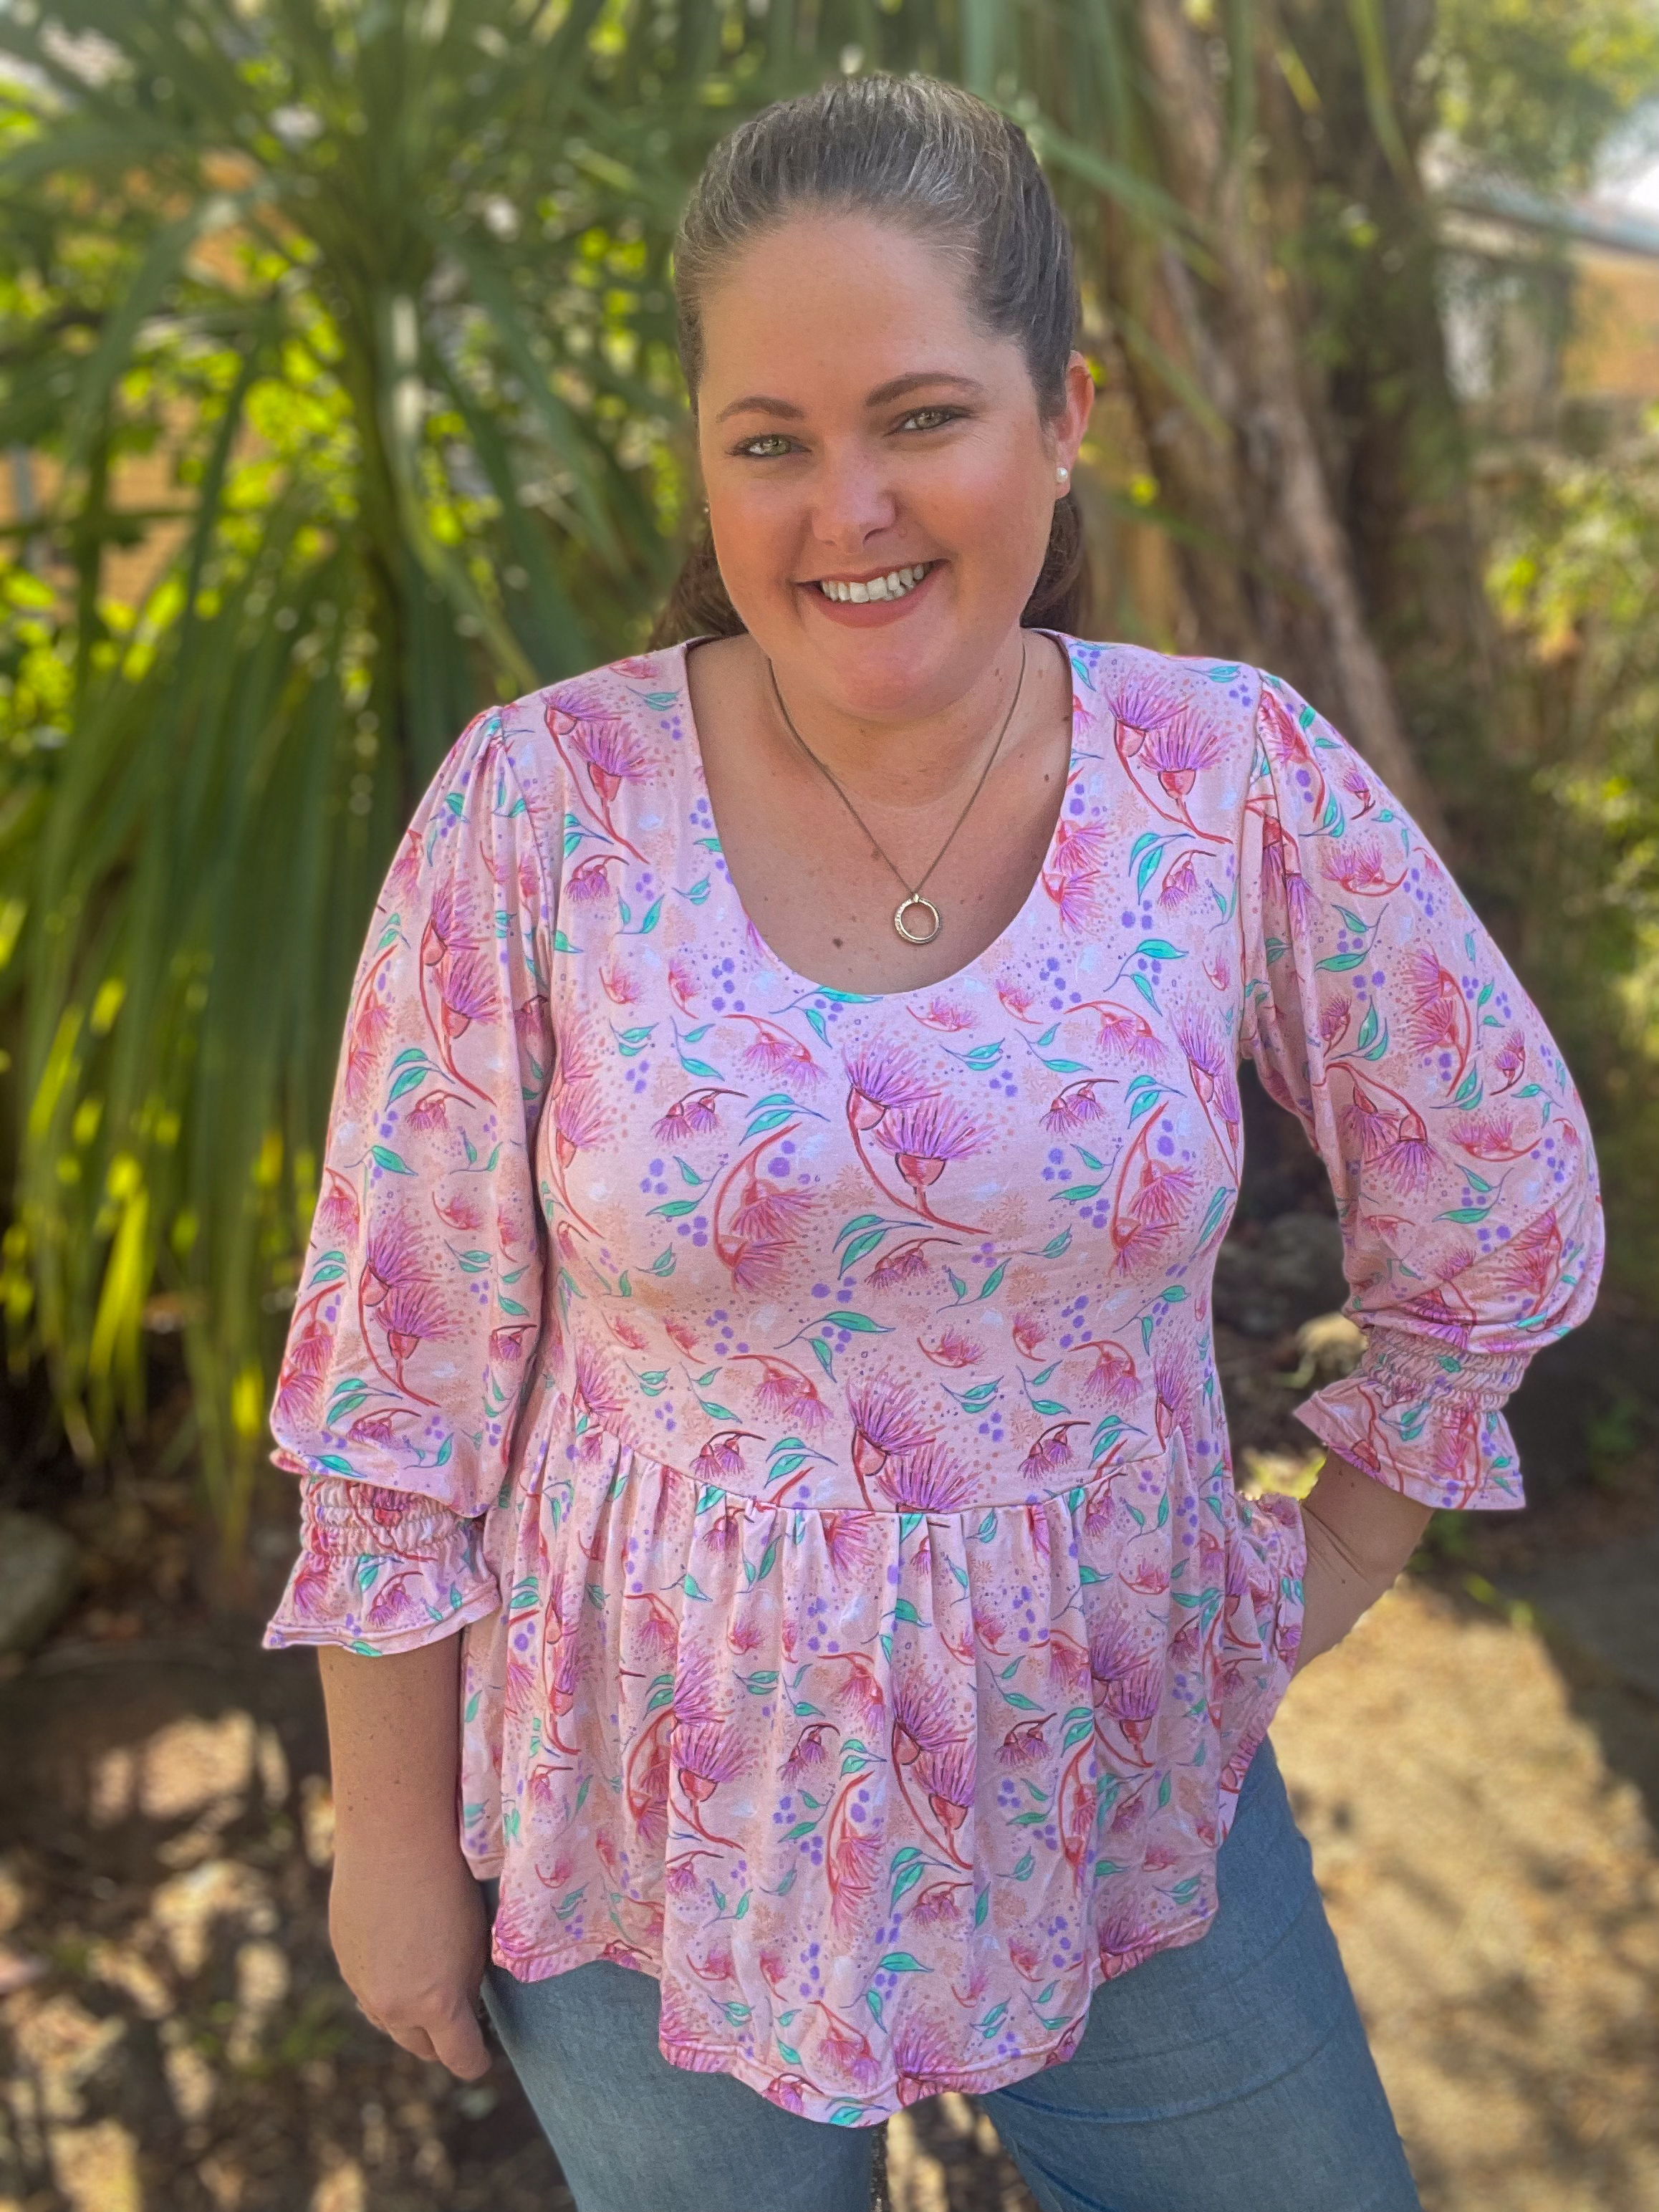
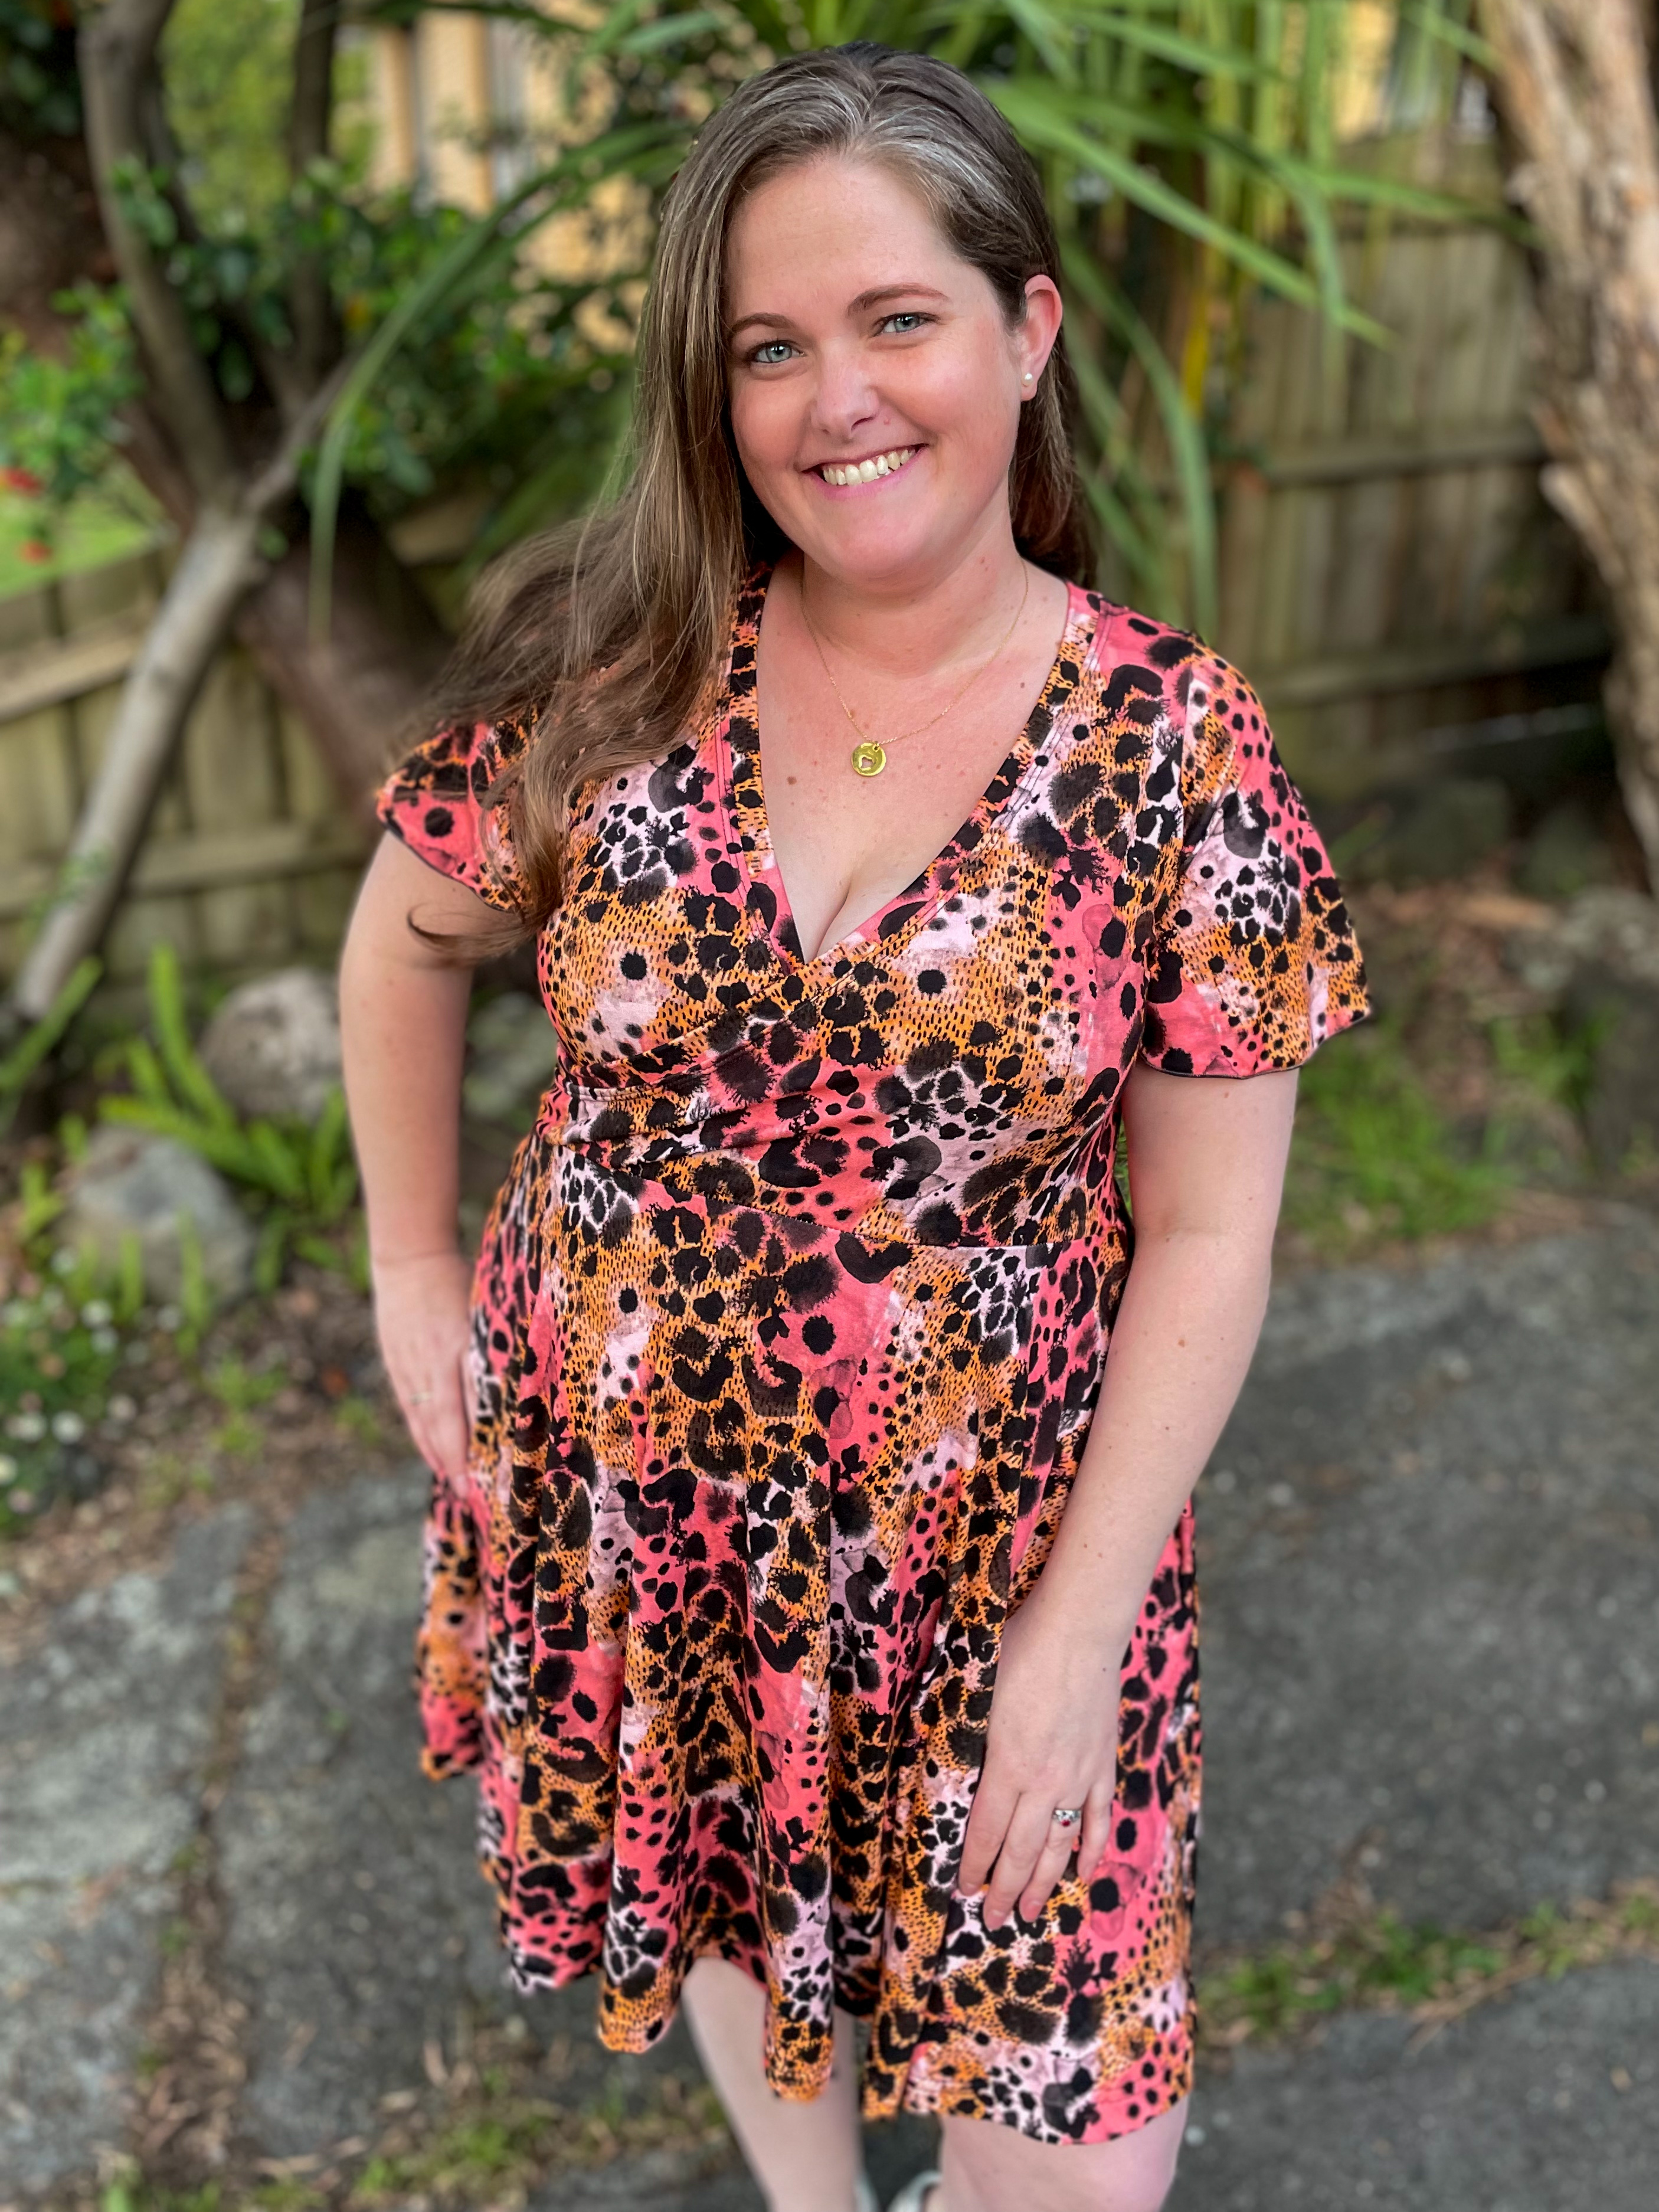
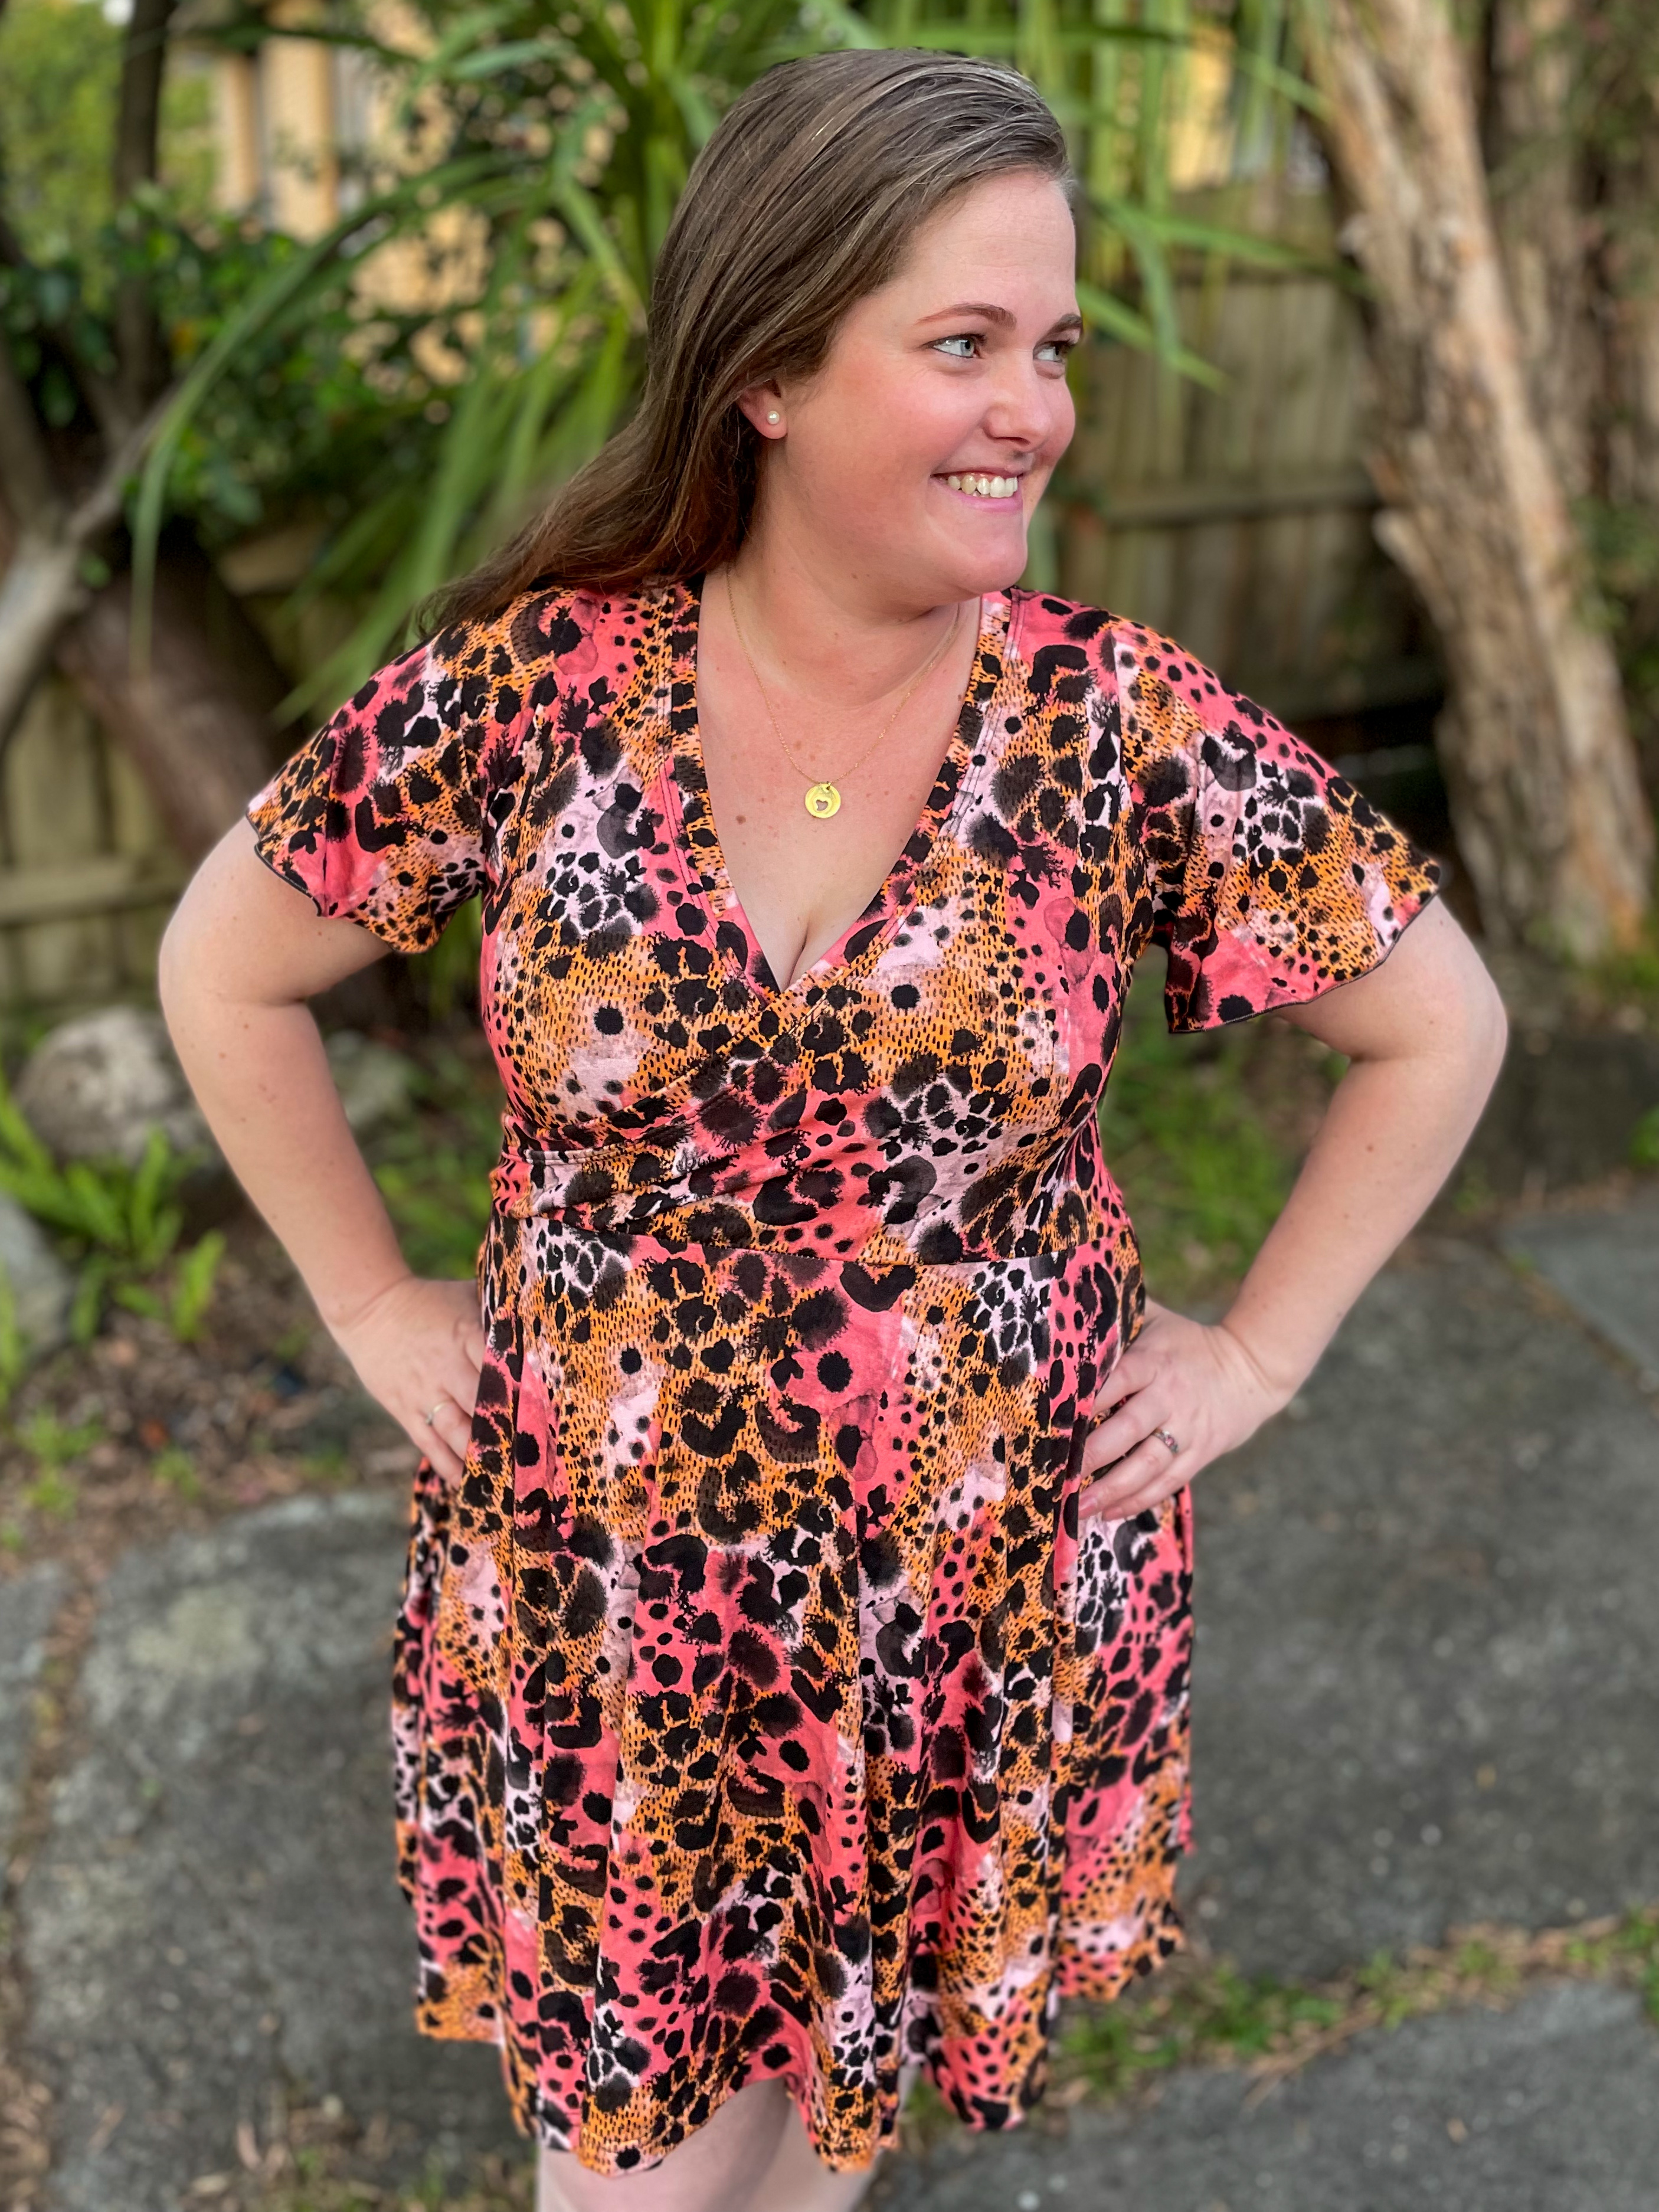
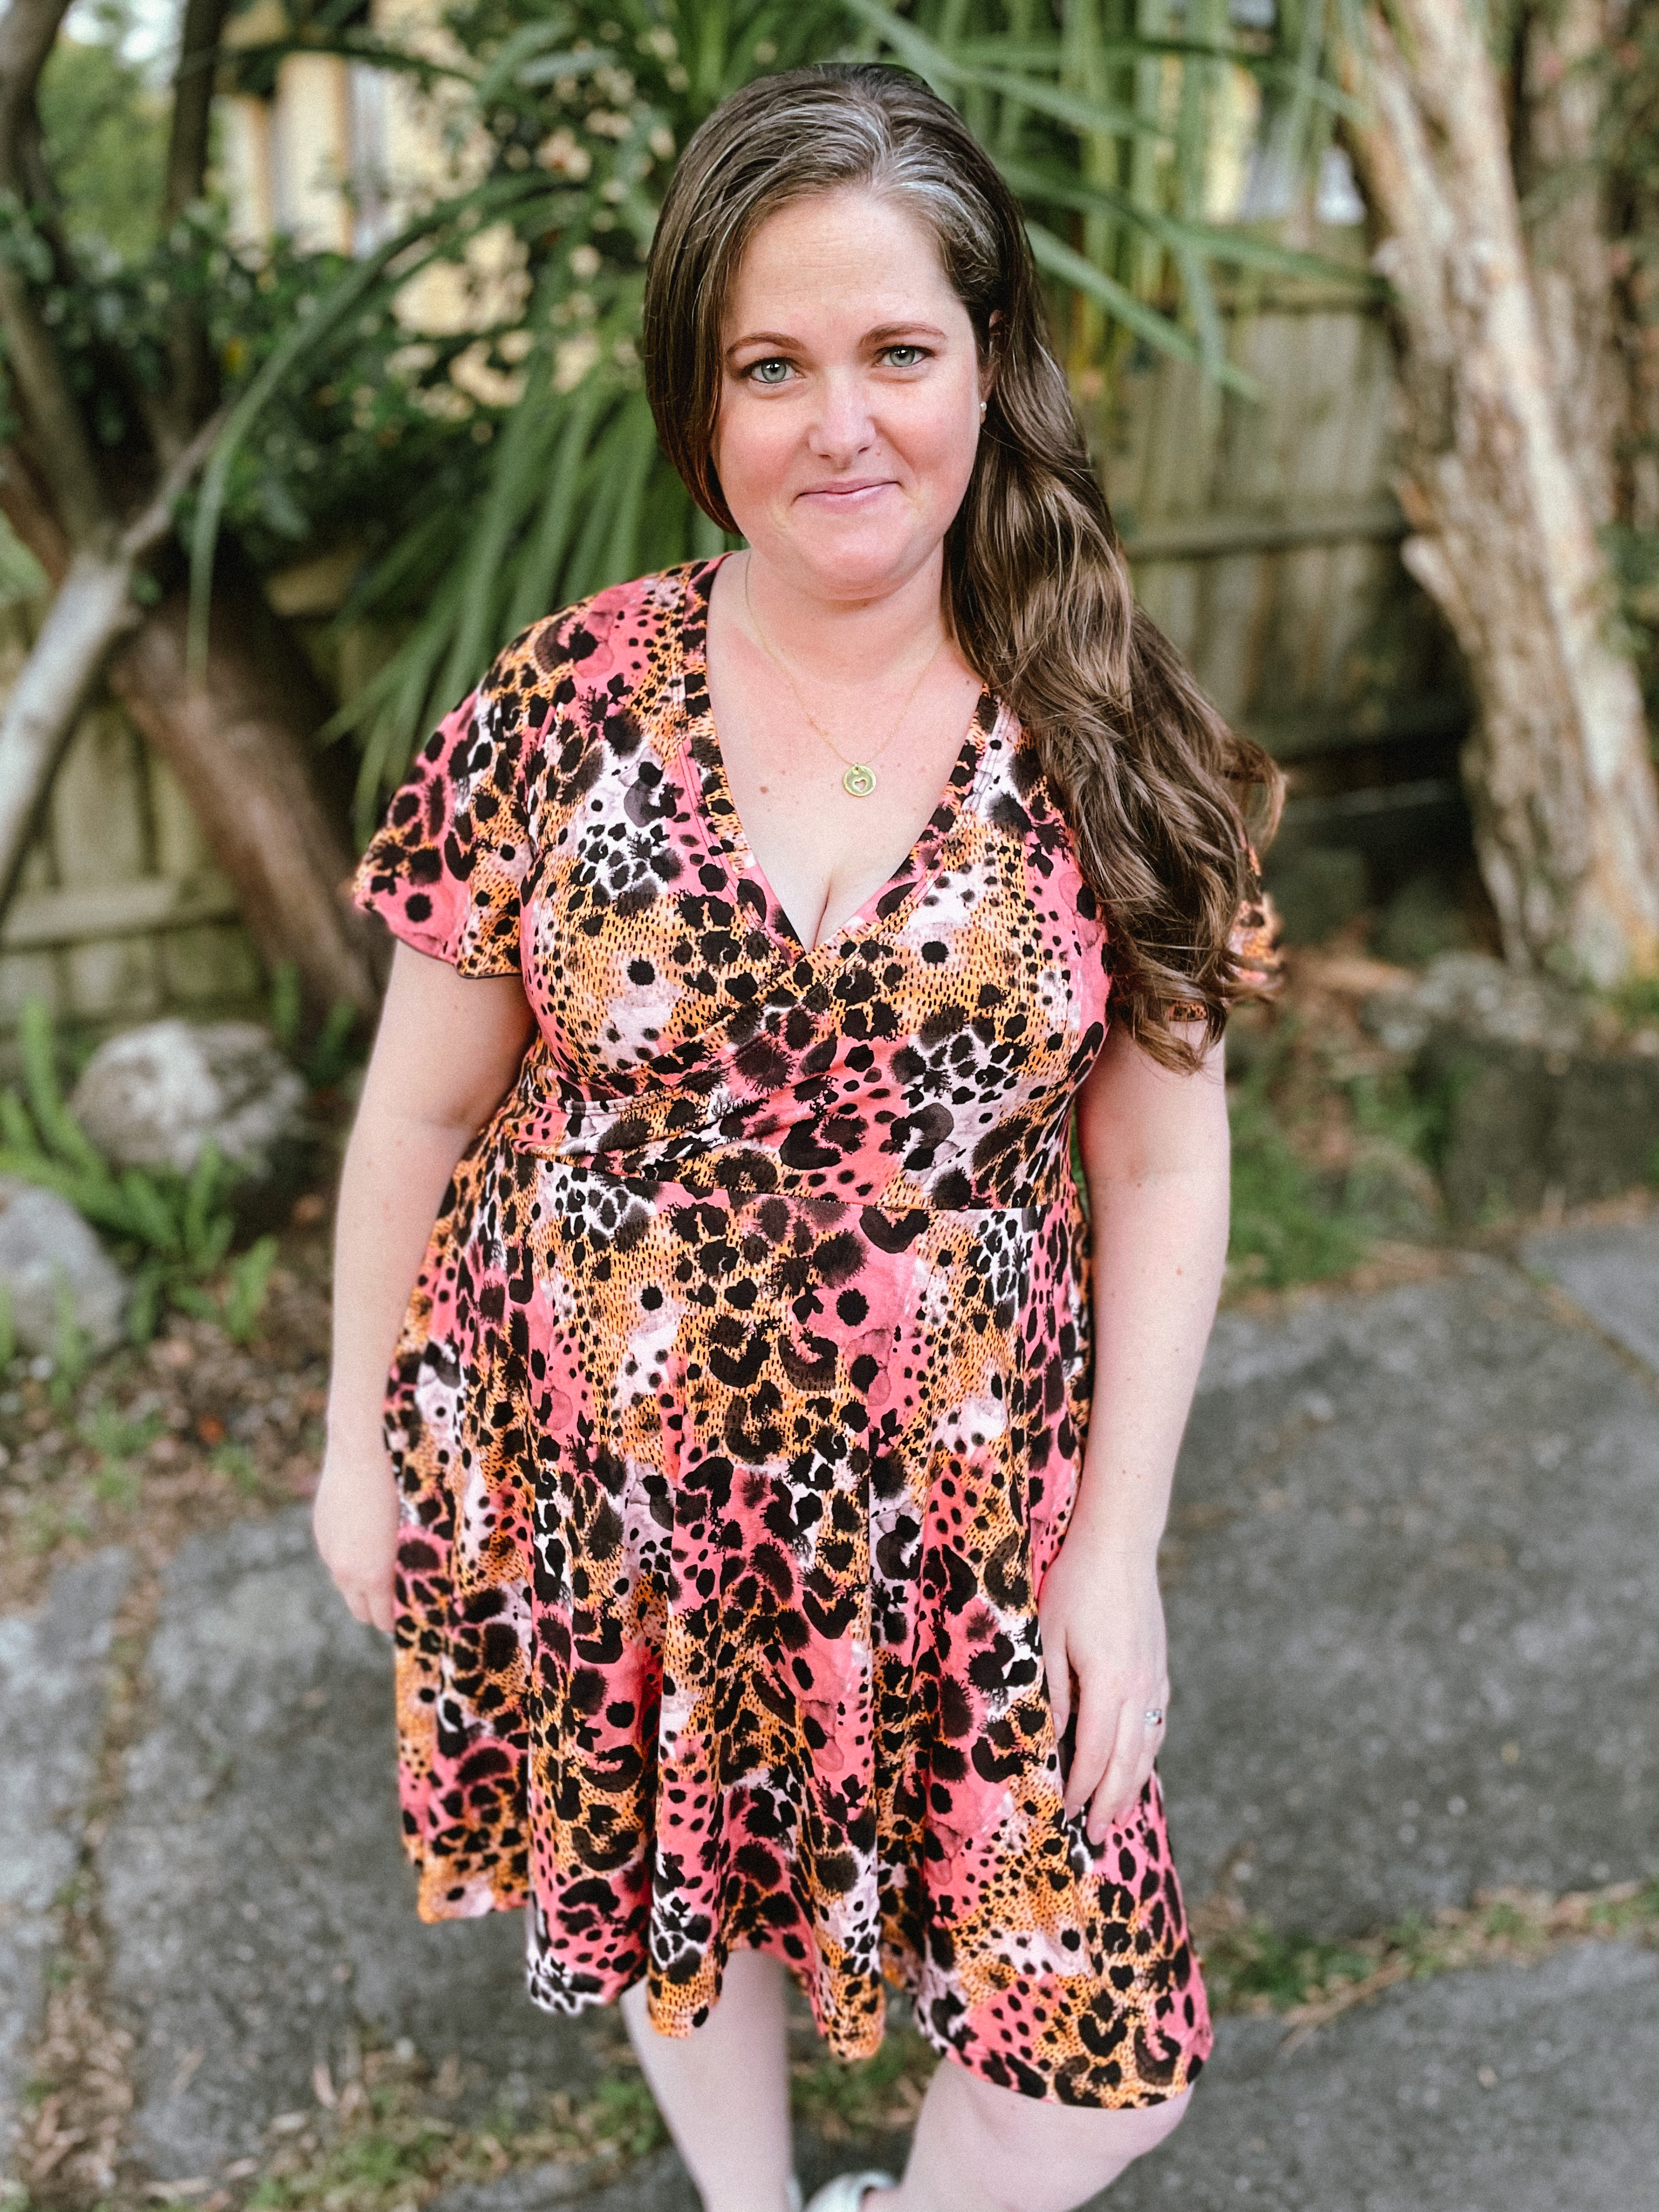
    Unfortunately I didn’t read the pattern right and ended up taking about 3 inches out of the waist, whoops! BUT, I am really happy with the end result, I would probably just end up adding that to the skirt next time as its *quite* short. haha. Instead of cutting the actual waist measurement, I cut the height adjustment line instead. But as I said, I love the result of this ‘mistake’.

    Using a really slinky fabric like the organic viscose meant it drapes so beautifully and its super soft against my skin. There is heaps of ease so I didn’t feel constricted and having the elasticated waist adds definition to my waistline, without emphasizing my stomach, which I am still self conscious about.

    All in all, I’m very happy with this one and can see it getting a lot of wear both for the rest of summer and well into the Autumn/Fall months!

    What next?

    Stop wasting fabric and time on projects that don't fit right. 

    Learn to sew with confidence and let me guide you to more sewing success.

  • Pattern Review of the Everyday’s A Weekend Dress

    Pattern: Everyday’s A Weekend
    Designer: Pattern Emporium
    Fabrics: Cotton Lycra from The Telarie
    Skill level: Beginner
    Measurements: Bust: 45″; Waist 42″; Hips 50″
    Size made: 20
    Adjustments: None
    Pros: This is the comfiest dress and I am LOVING wearing it.
    Cons: None

    Summer Joy: Turning a Tiered Dress Pattern into a Single-Tier Skirt Delight

    I’ve had this pattern on my list for a while with every intention of making it, but I just never got around to it.  So when I recommended it in my end of year pattern sales episode of Sewcial Moments with Megan, I had a renewed desire to make one!

    The fabric I used is a Cotton Lycra from The Telarie that I got in one of their Mystery Boxes and I LOVE it!! Cotton Lycra is the same as Spandex or Elastane, they are just known by different names, which can be really confusing! It’s one of the reasons I go so in-depth in my Knit Confidence course. It’s just one of the modules that helps you understand how to sew with knit fabric better which I know has helped countless students. Happy Teacher right here!

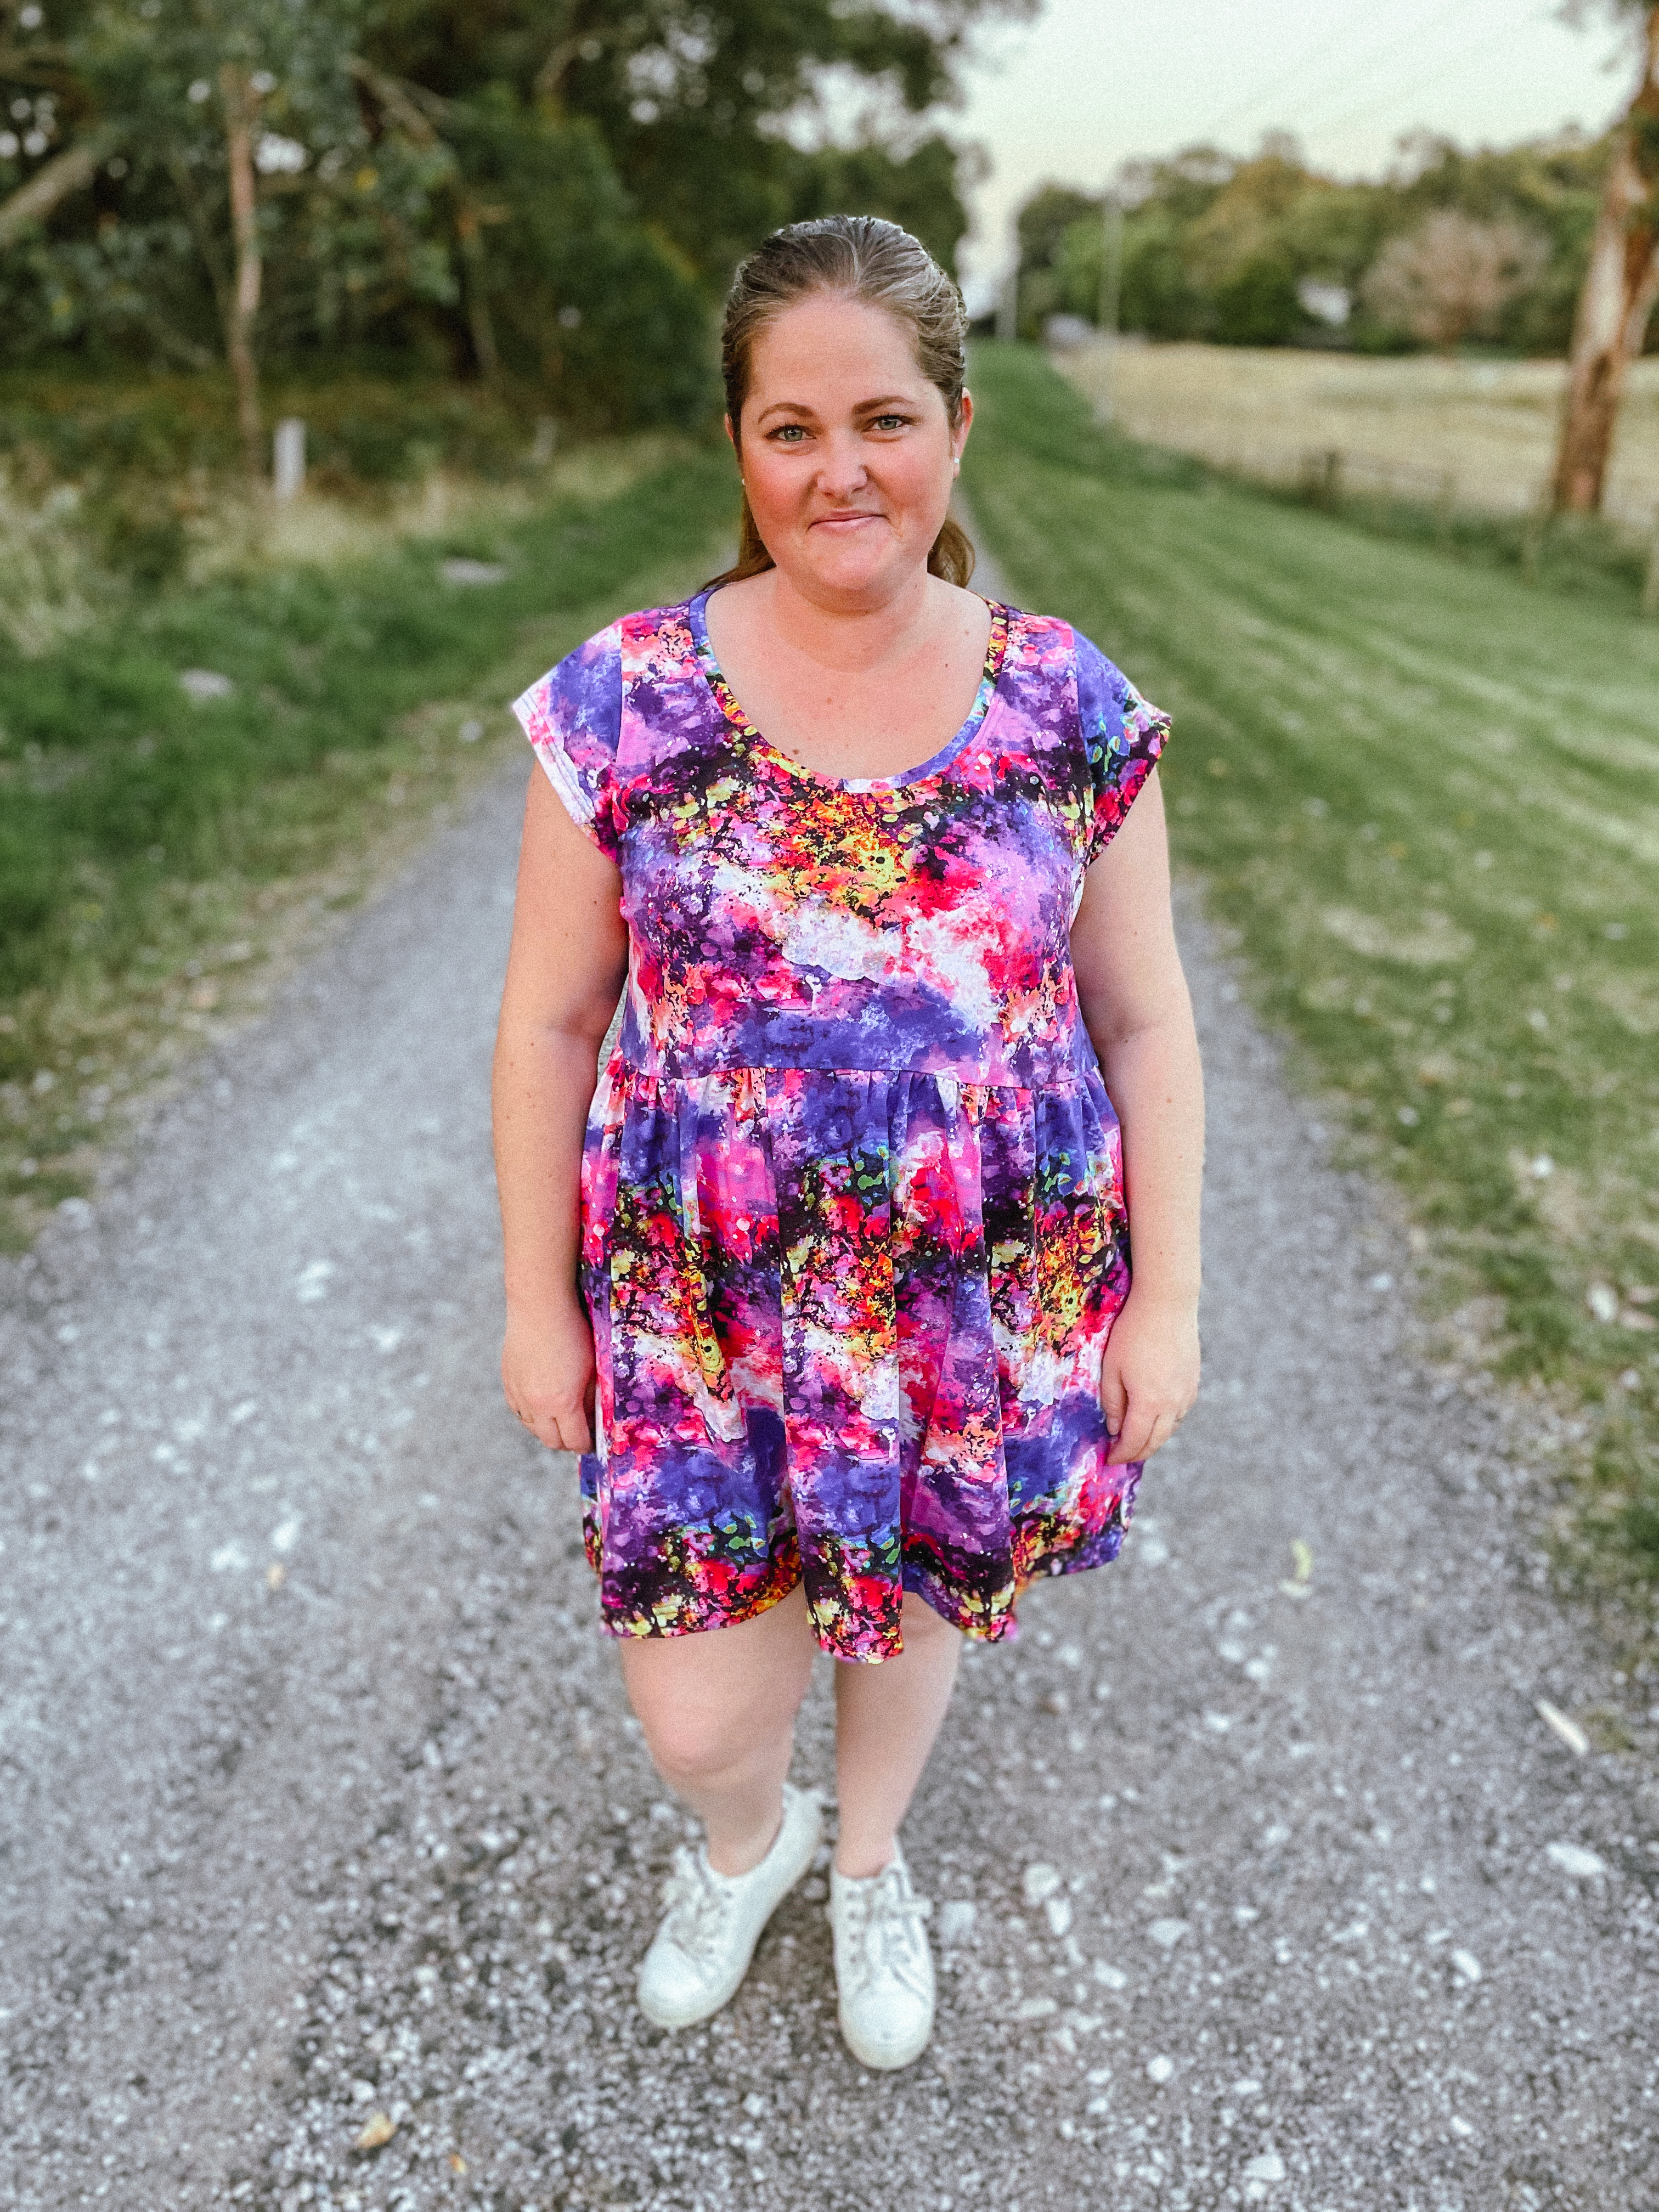
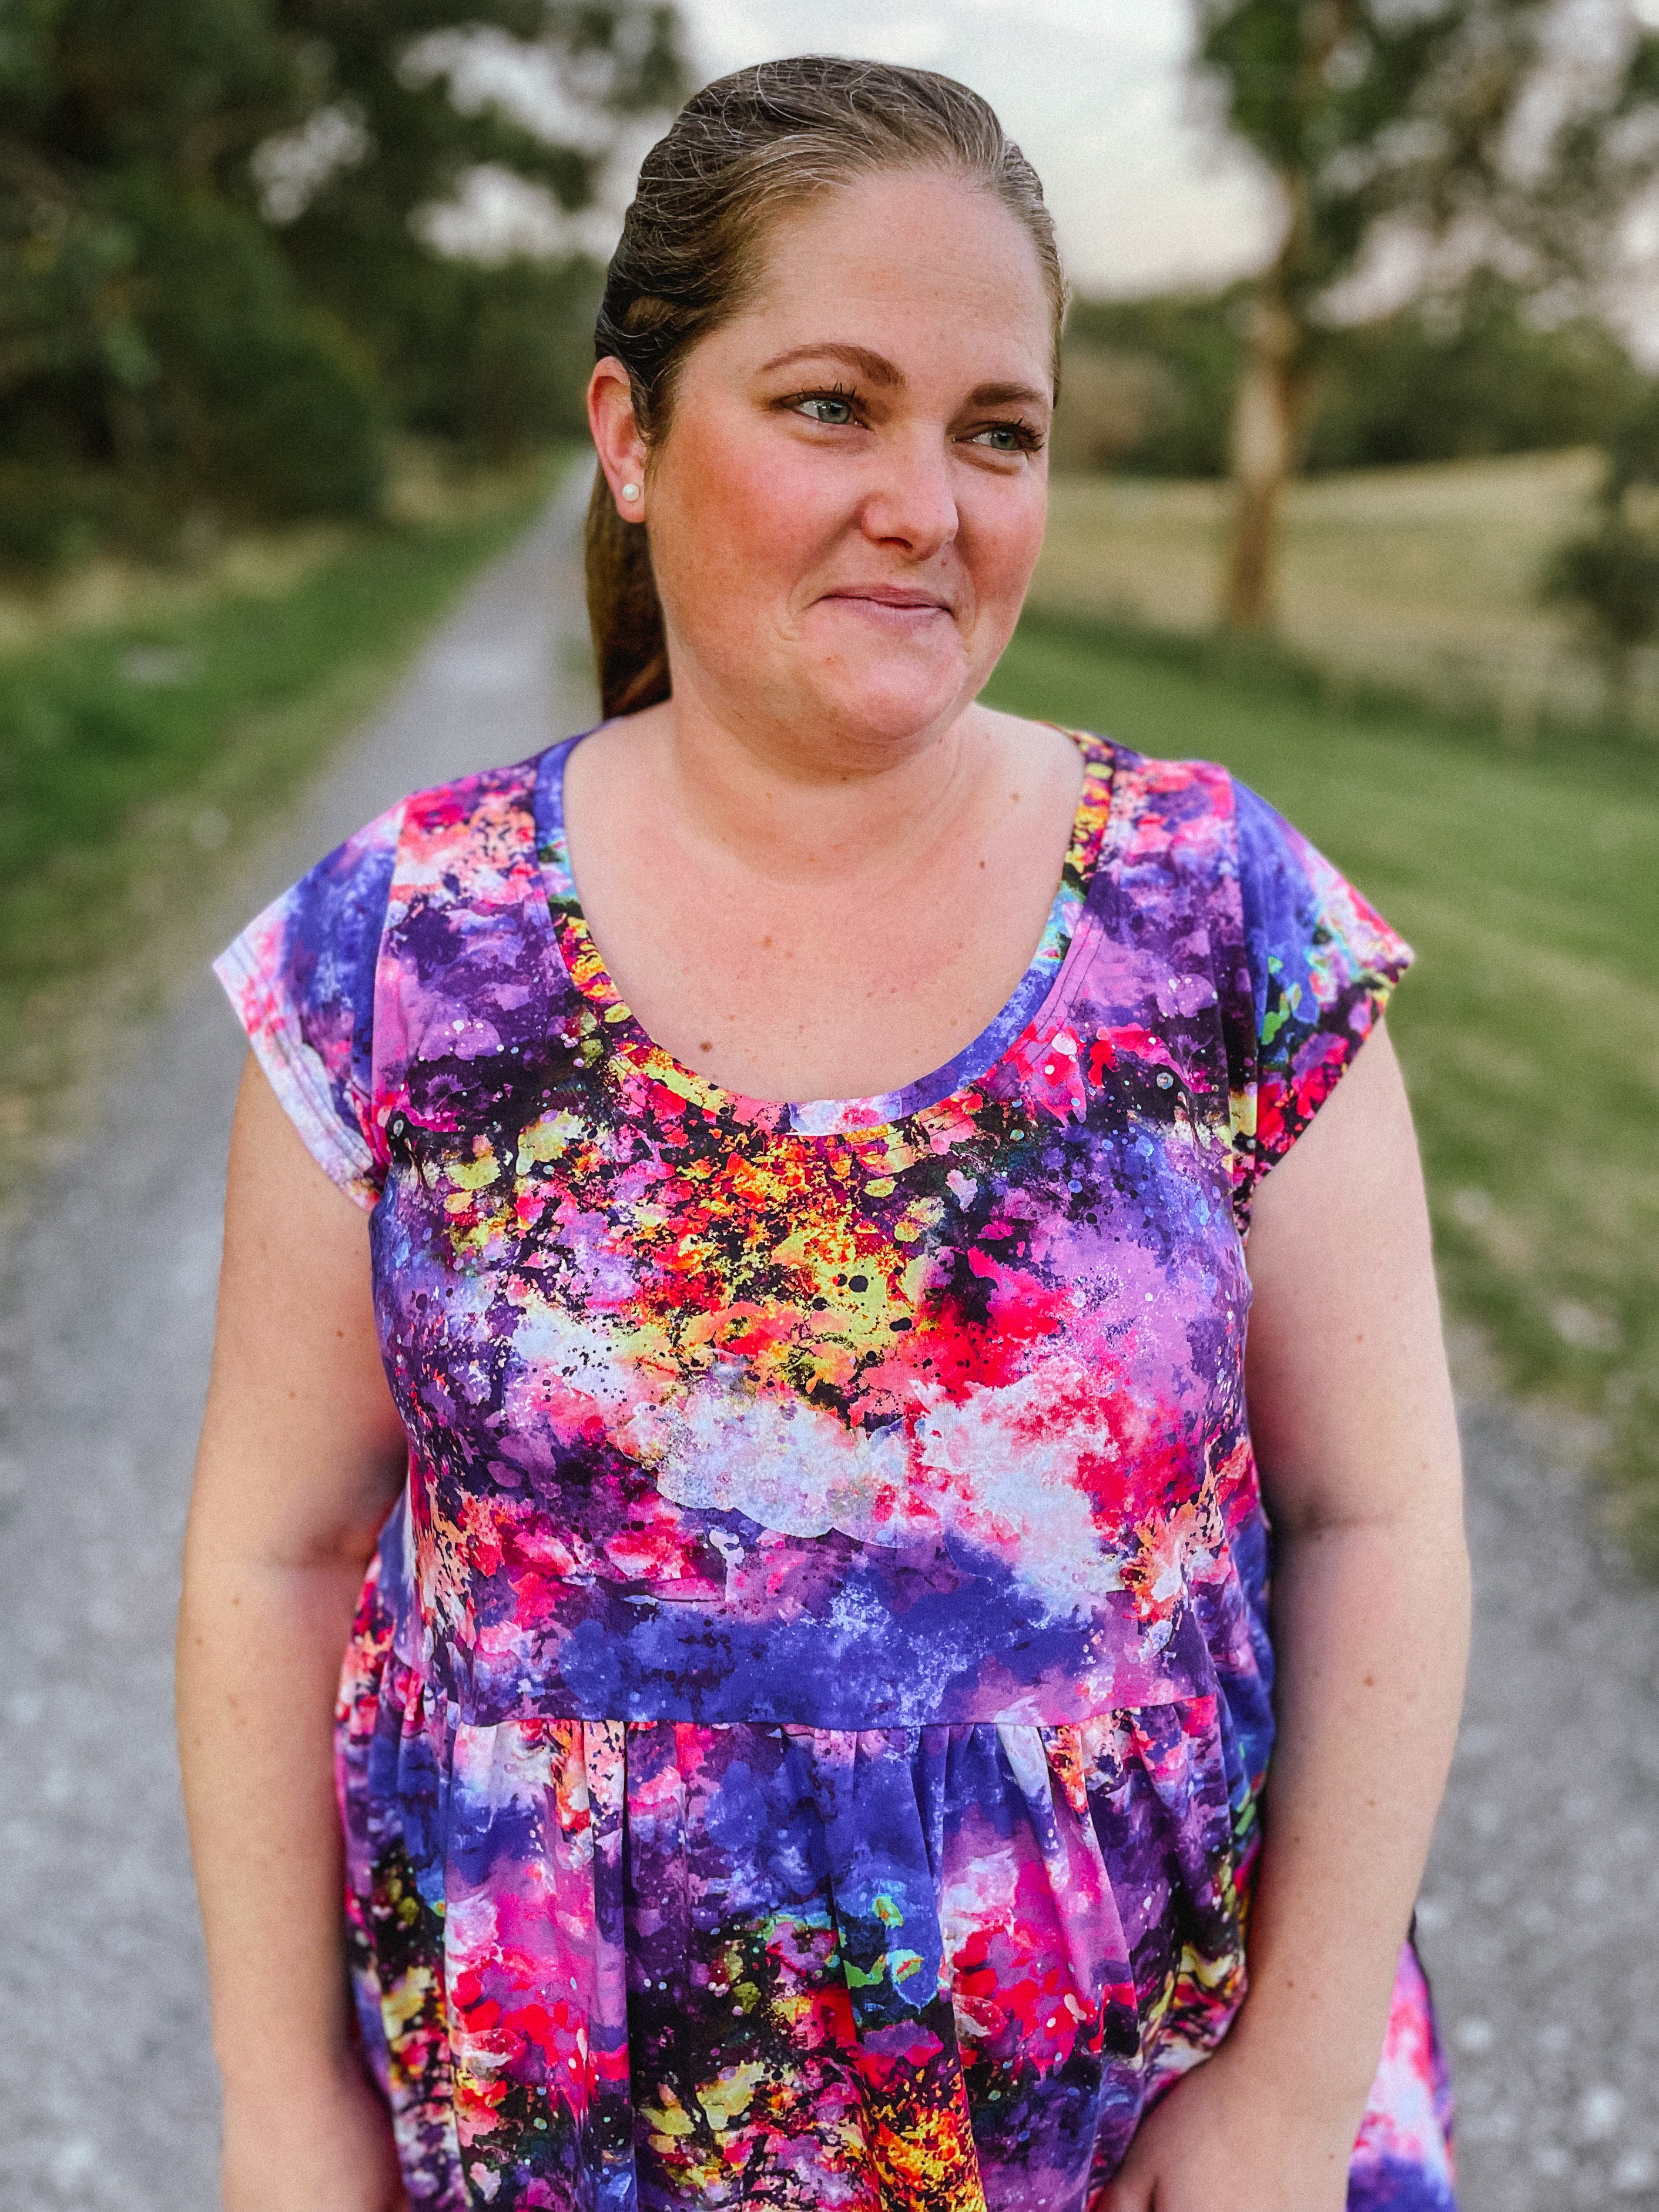
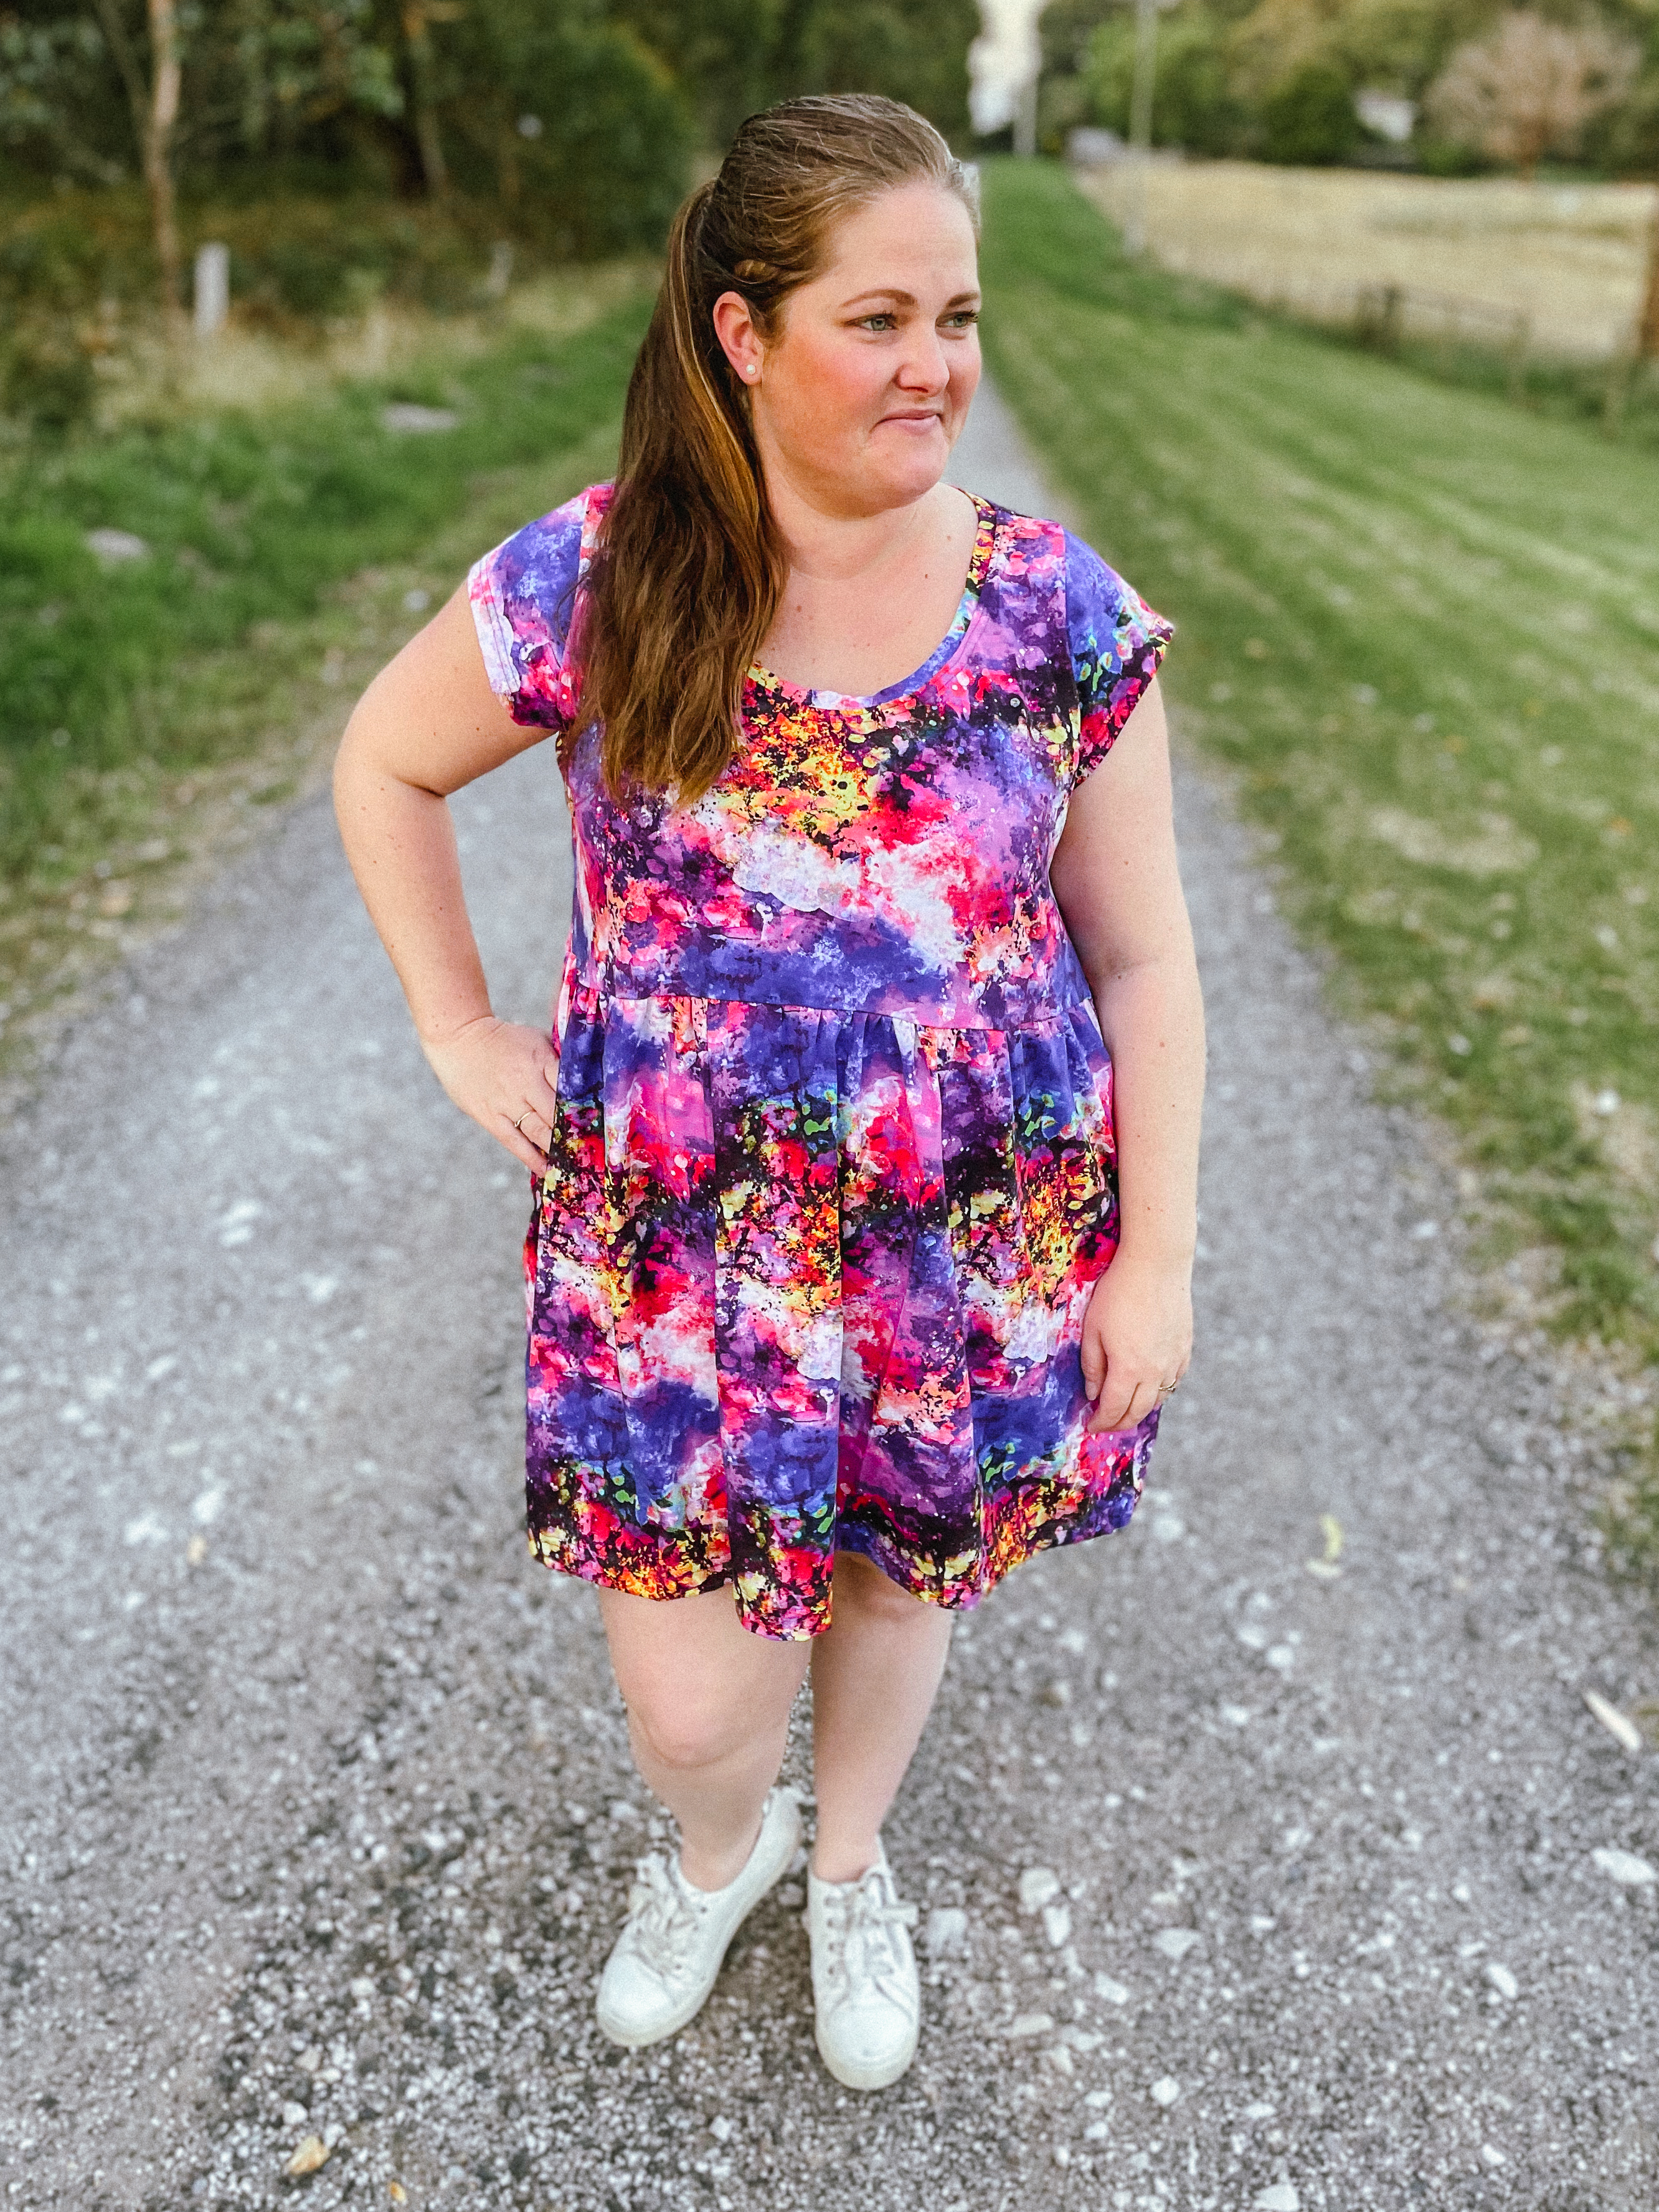
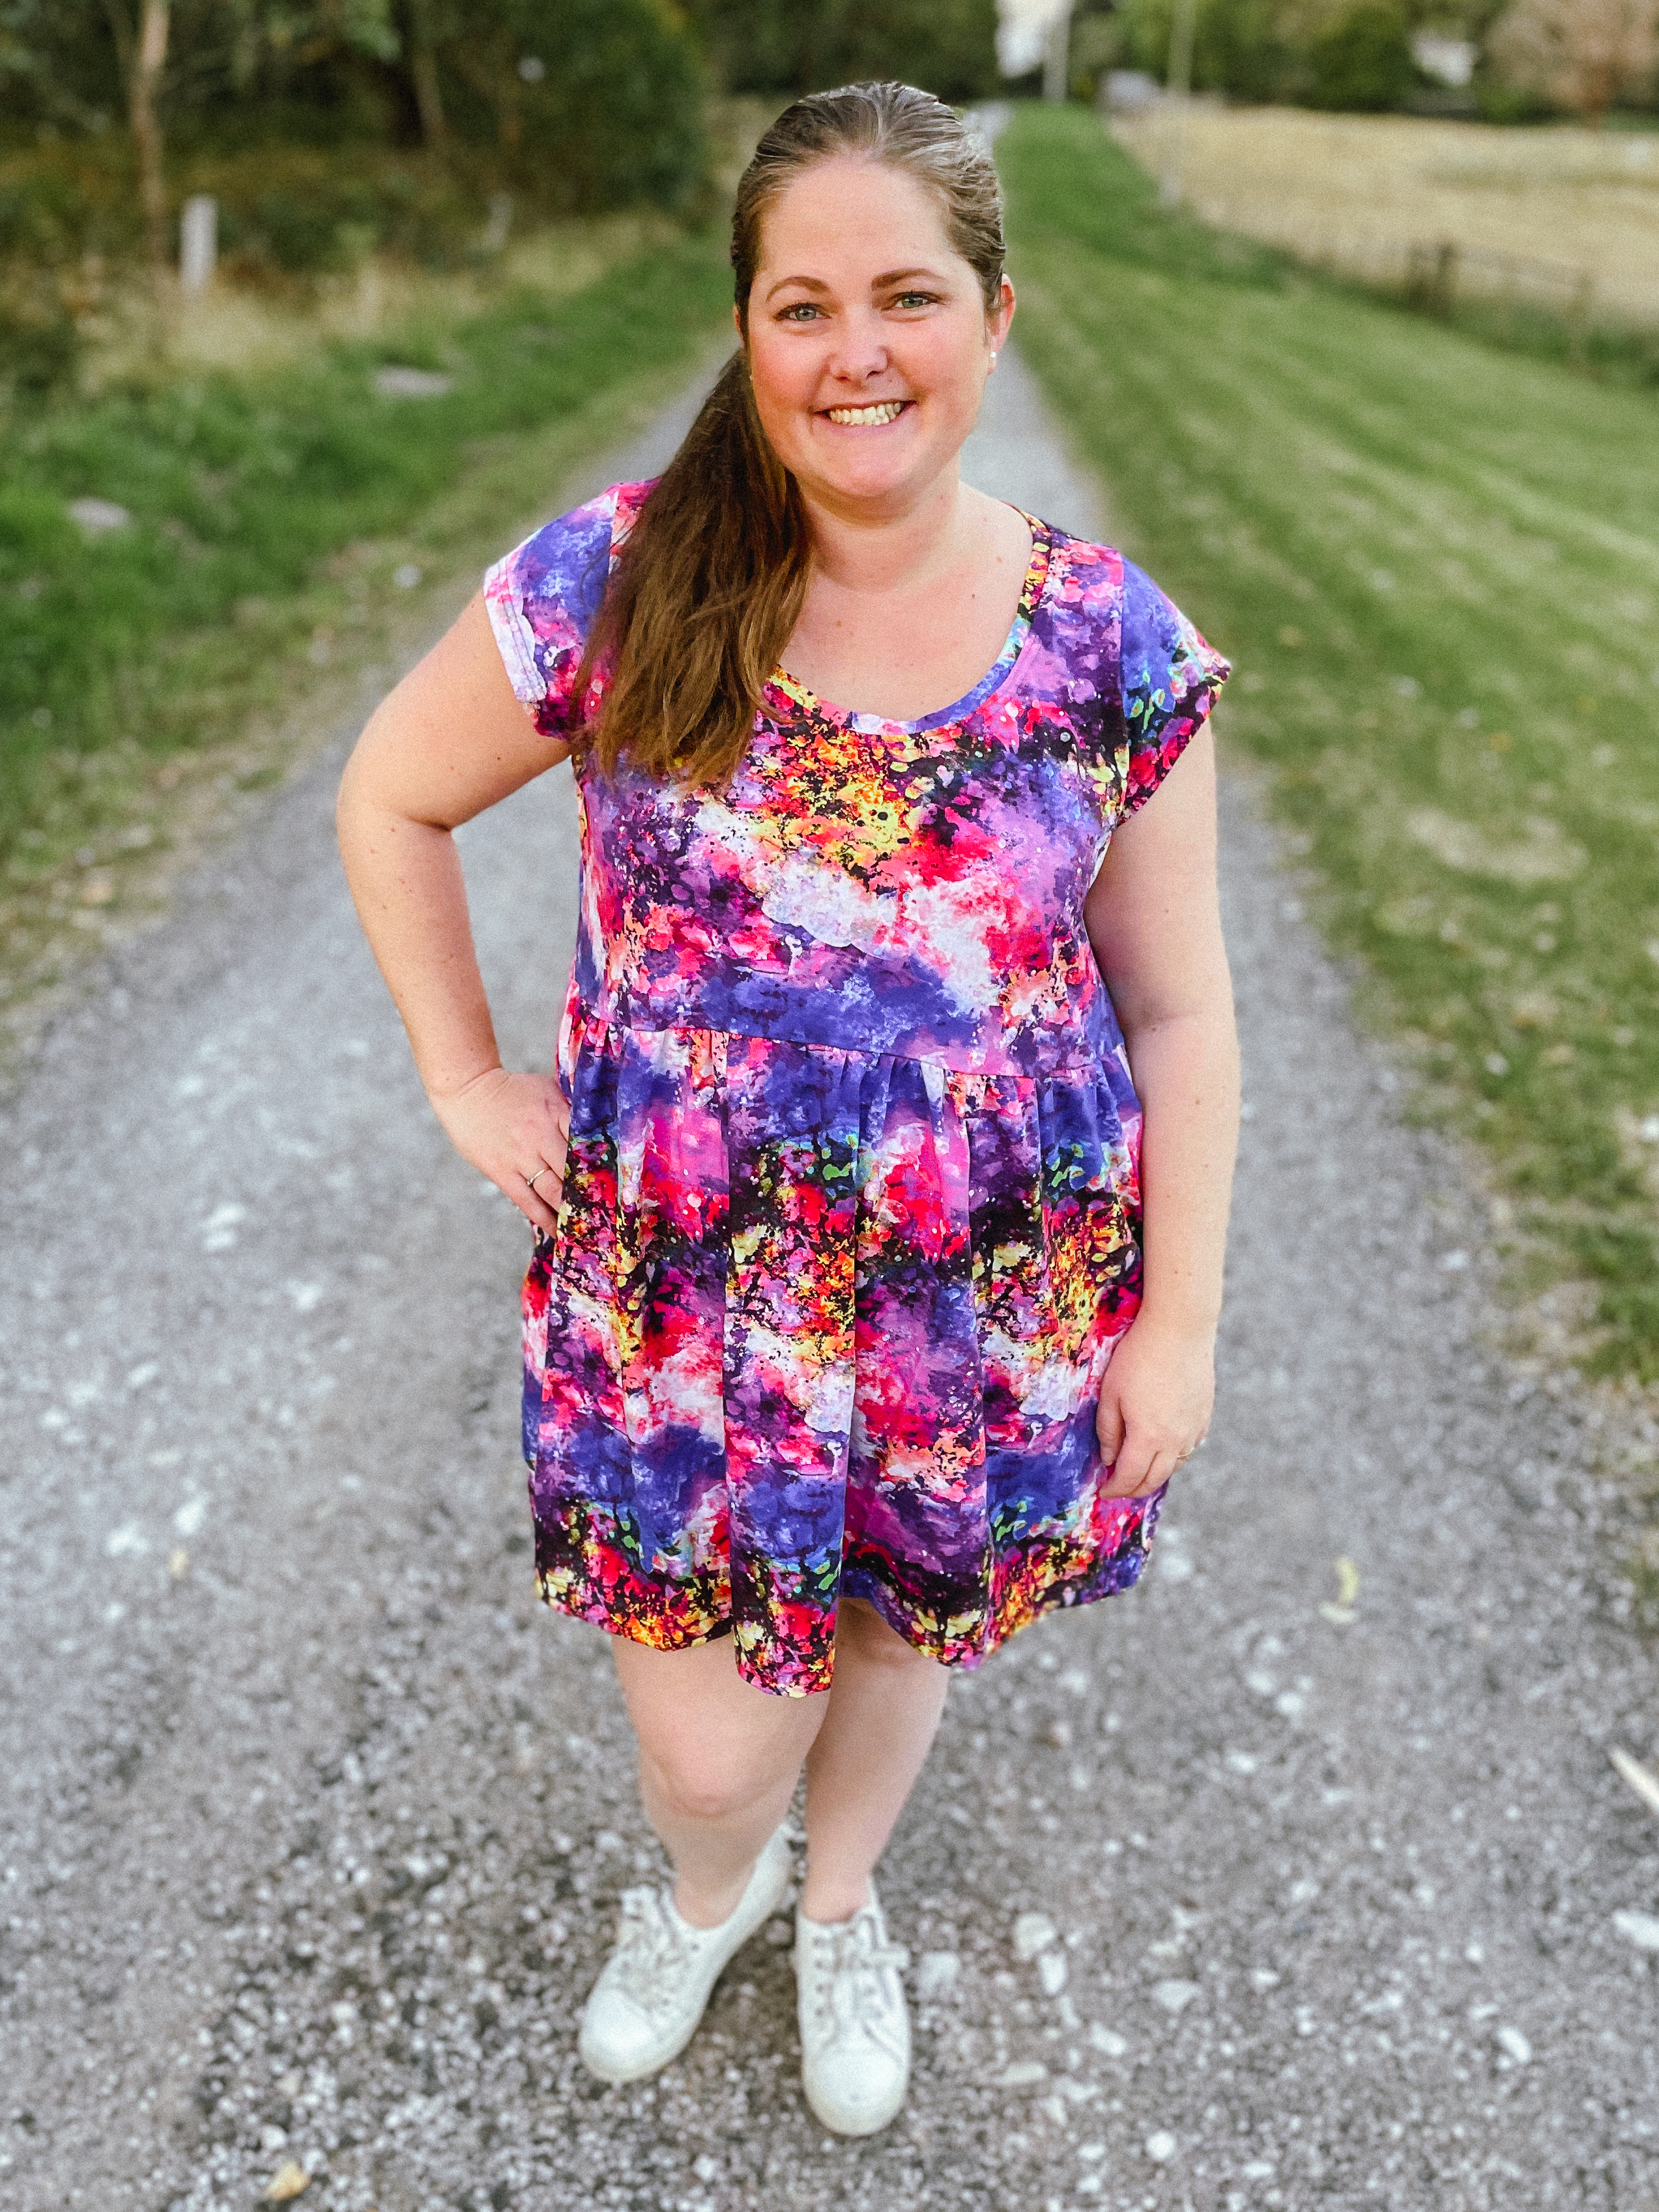
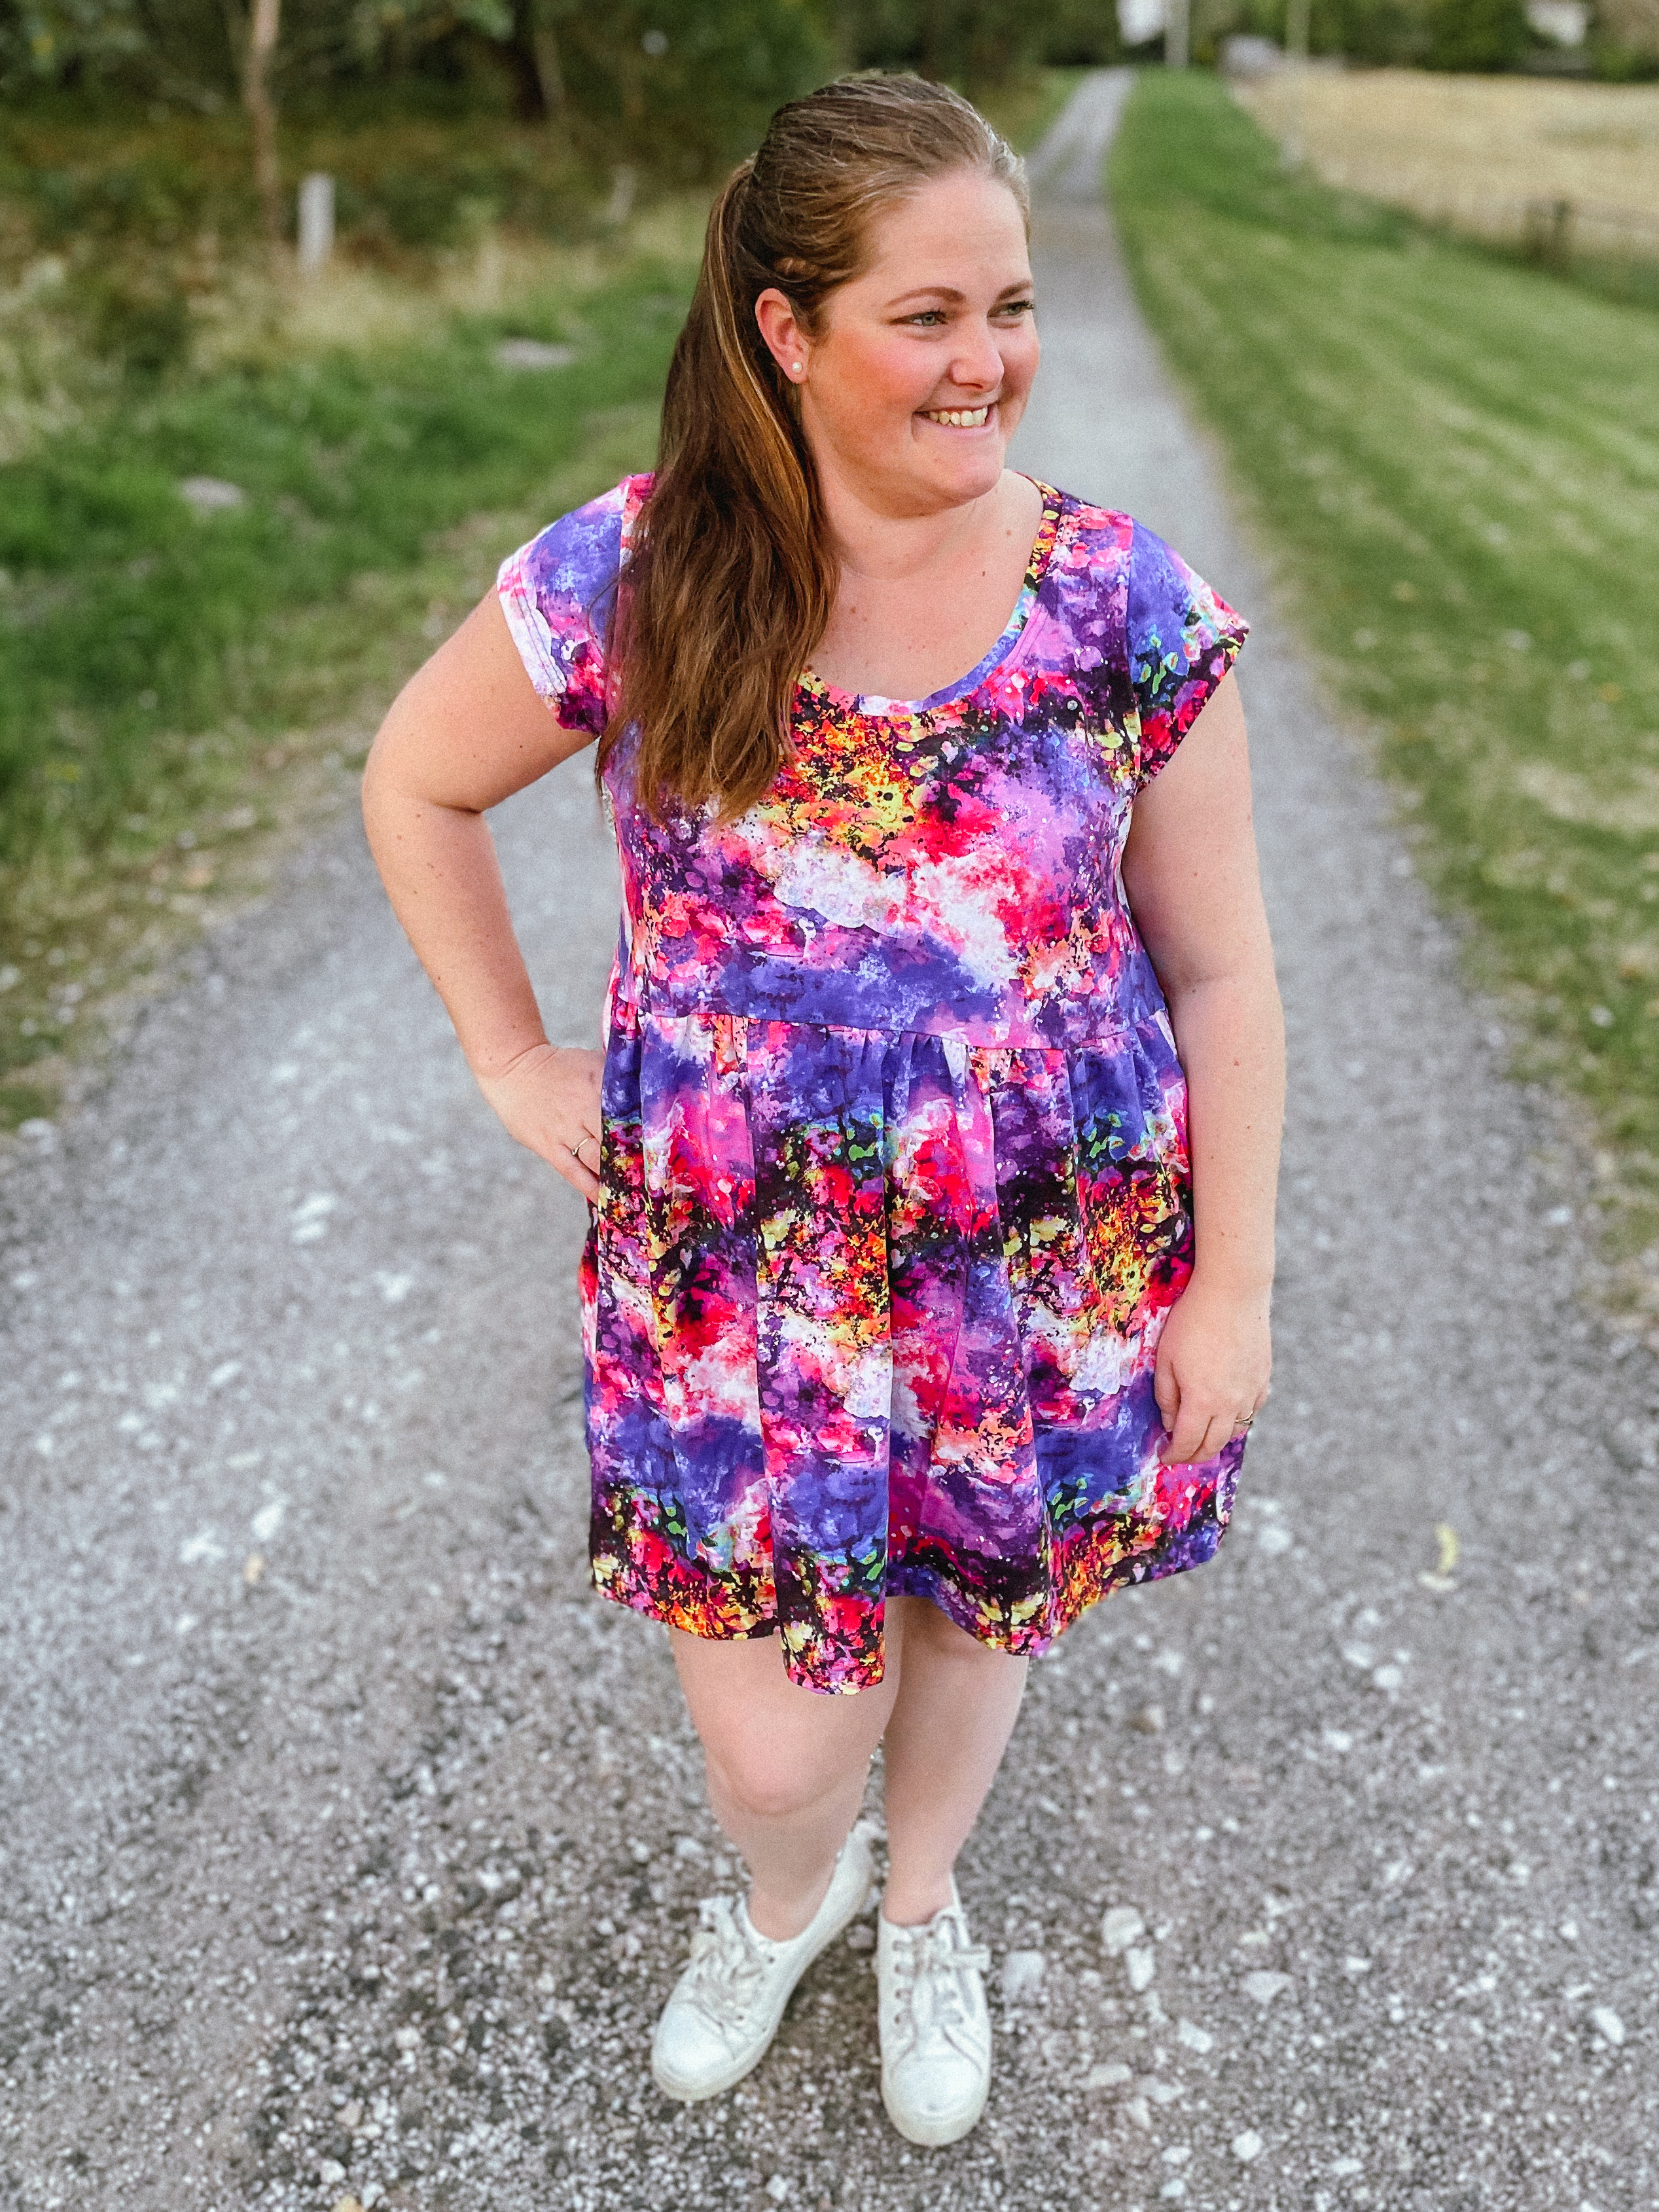
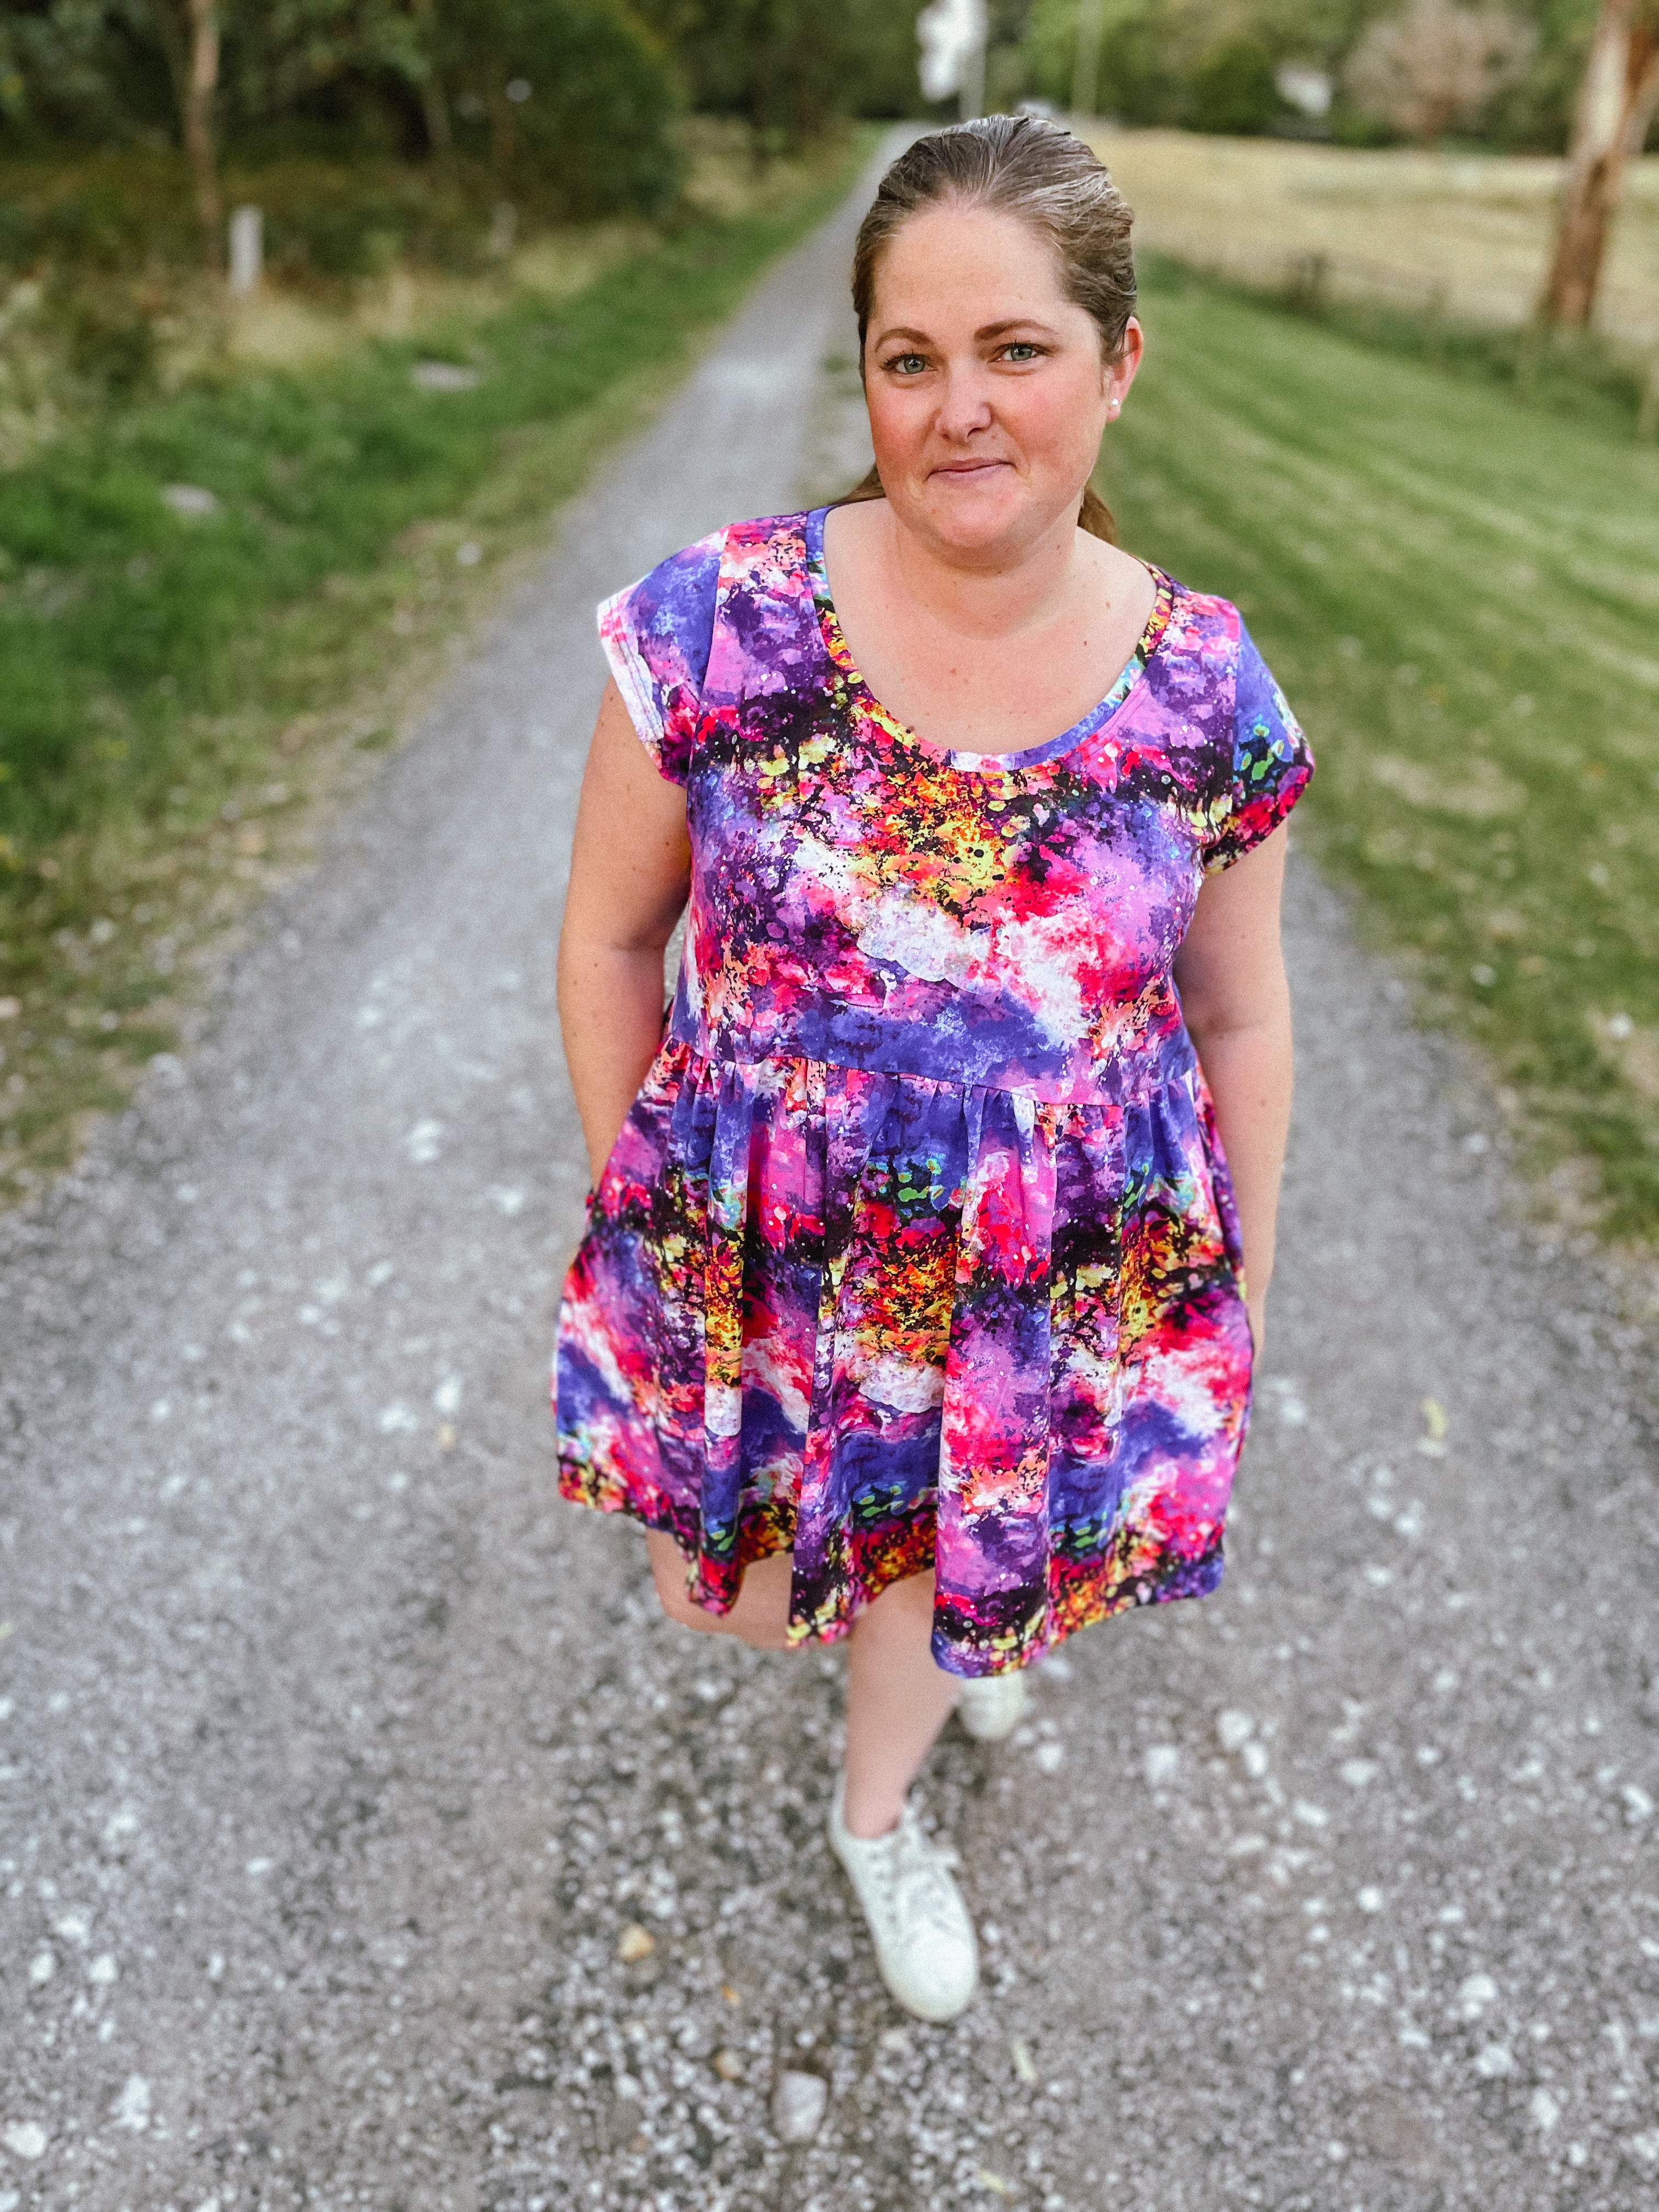
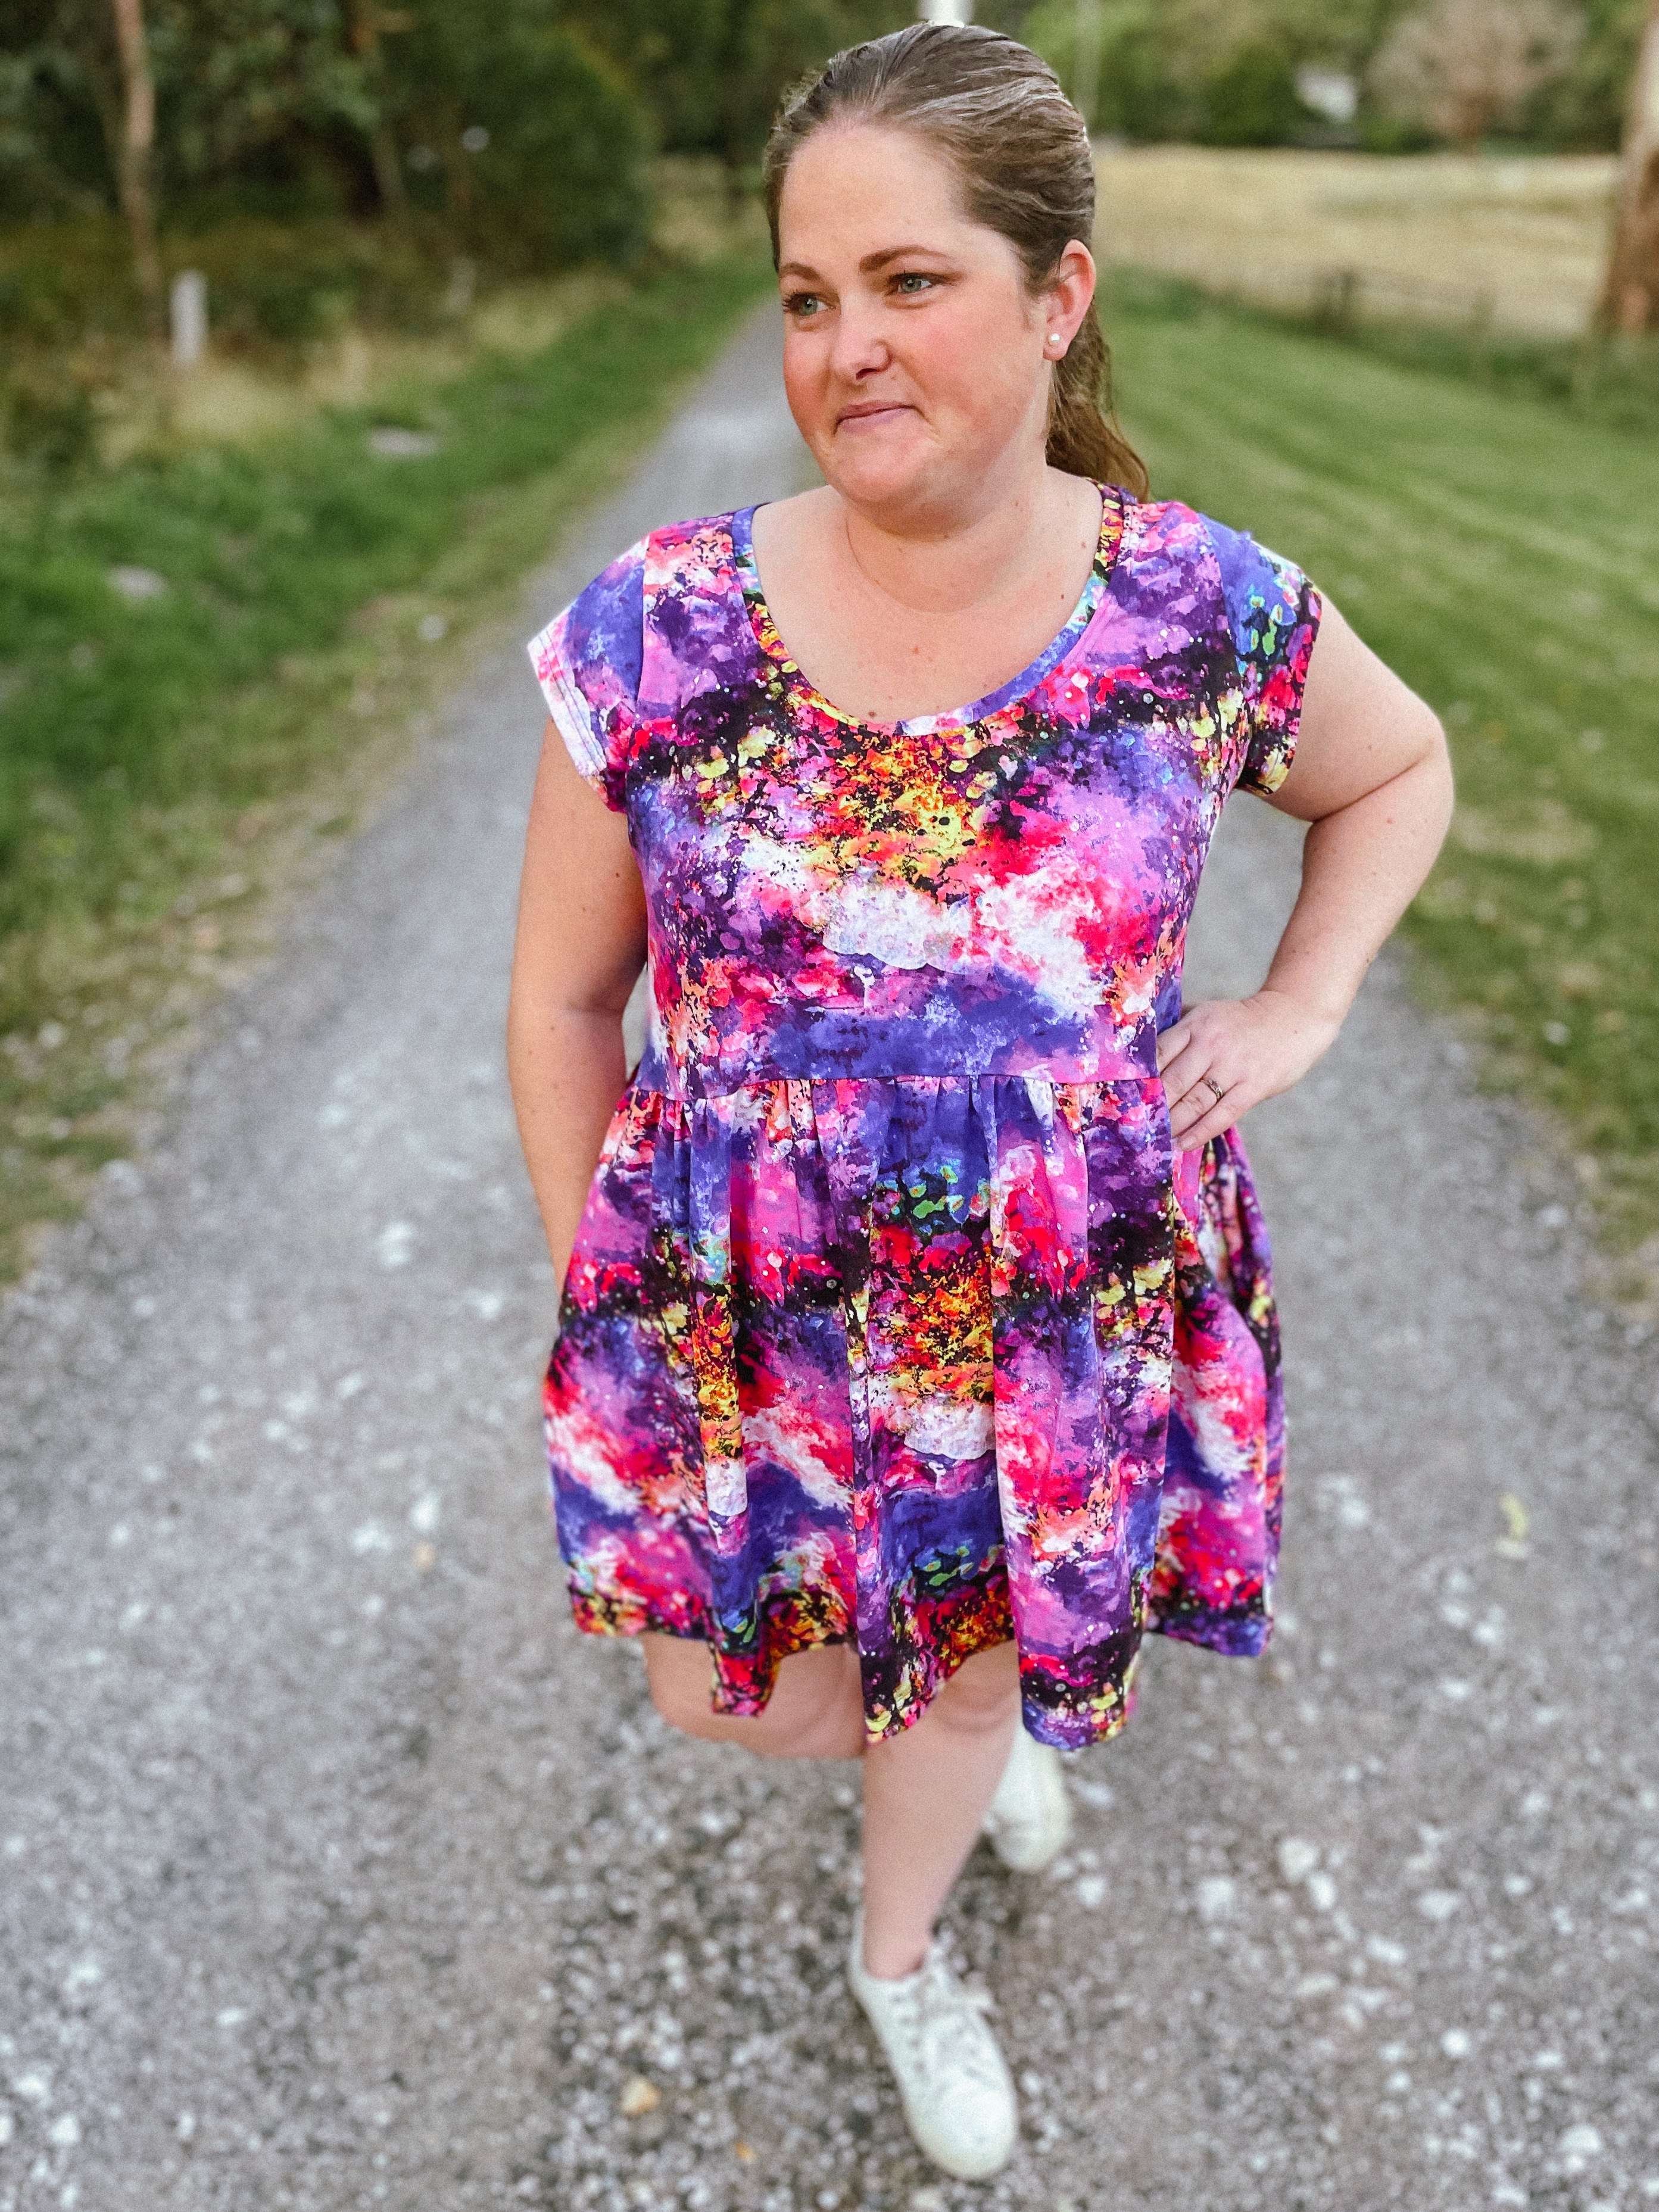
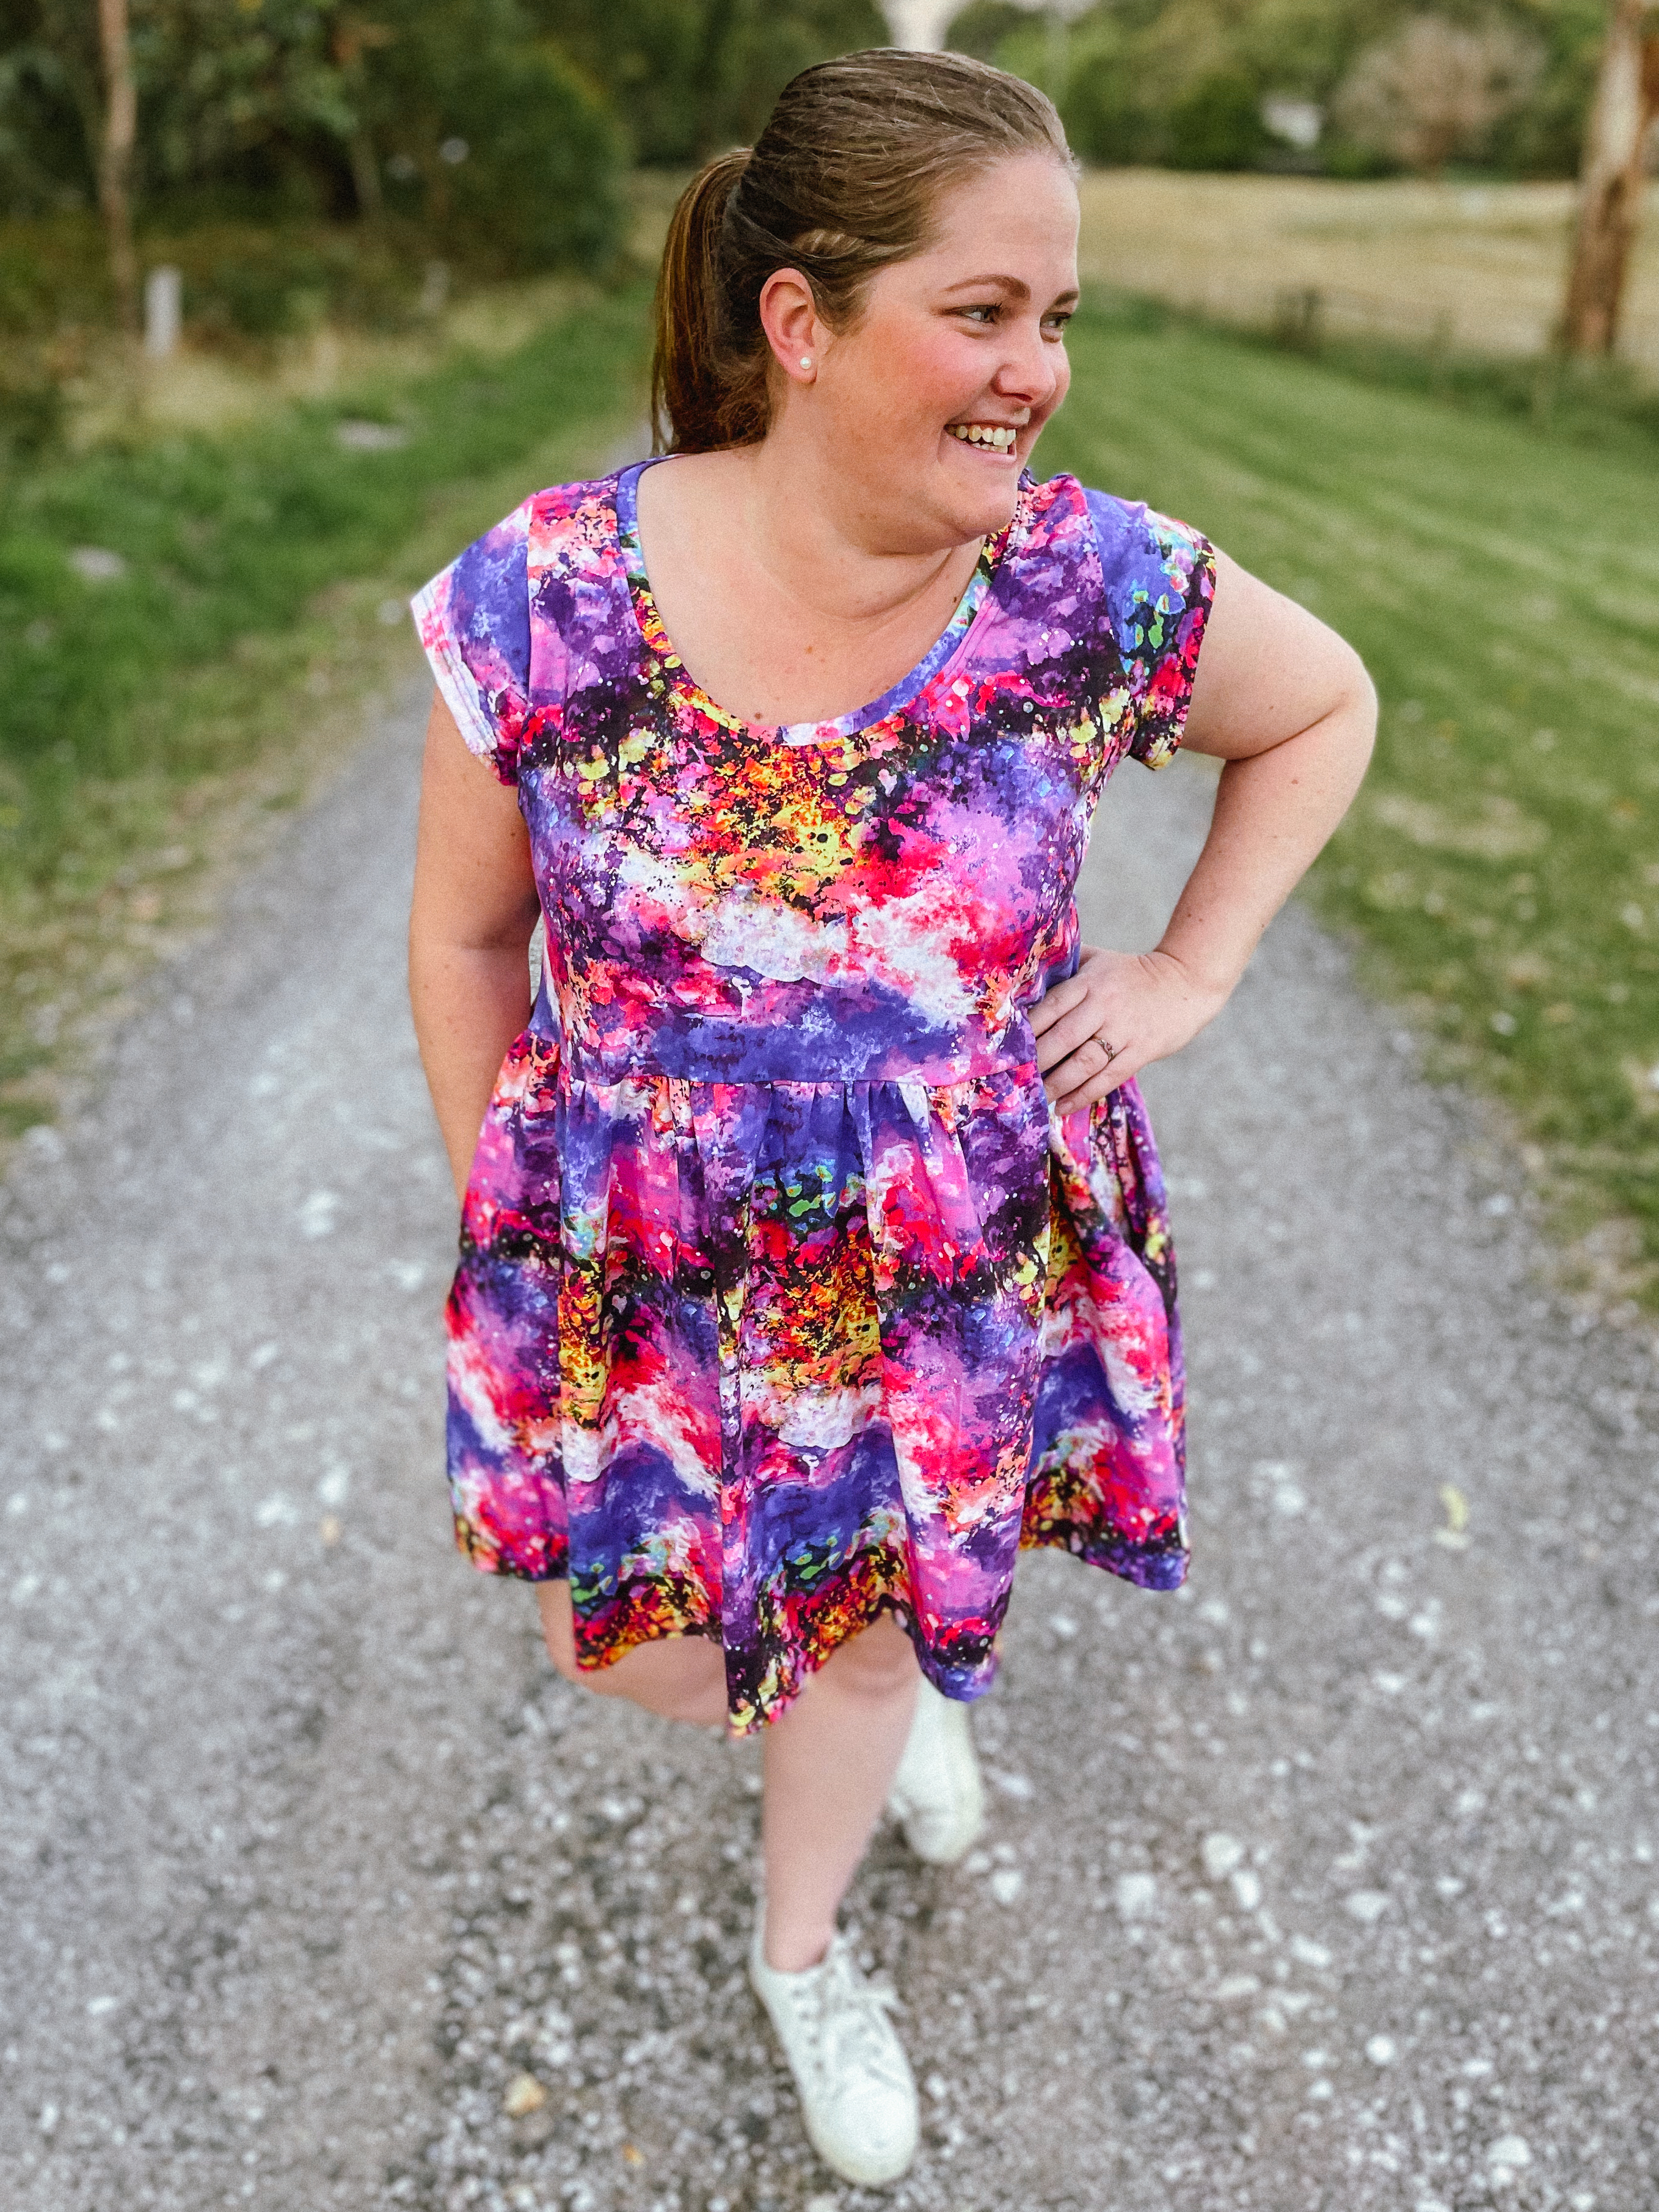
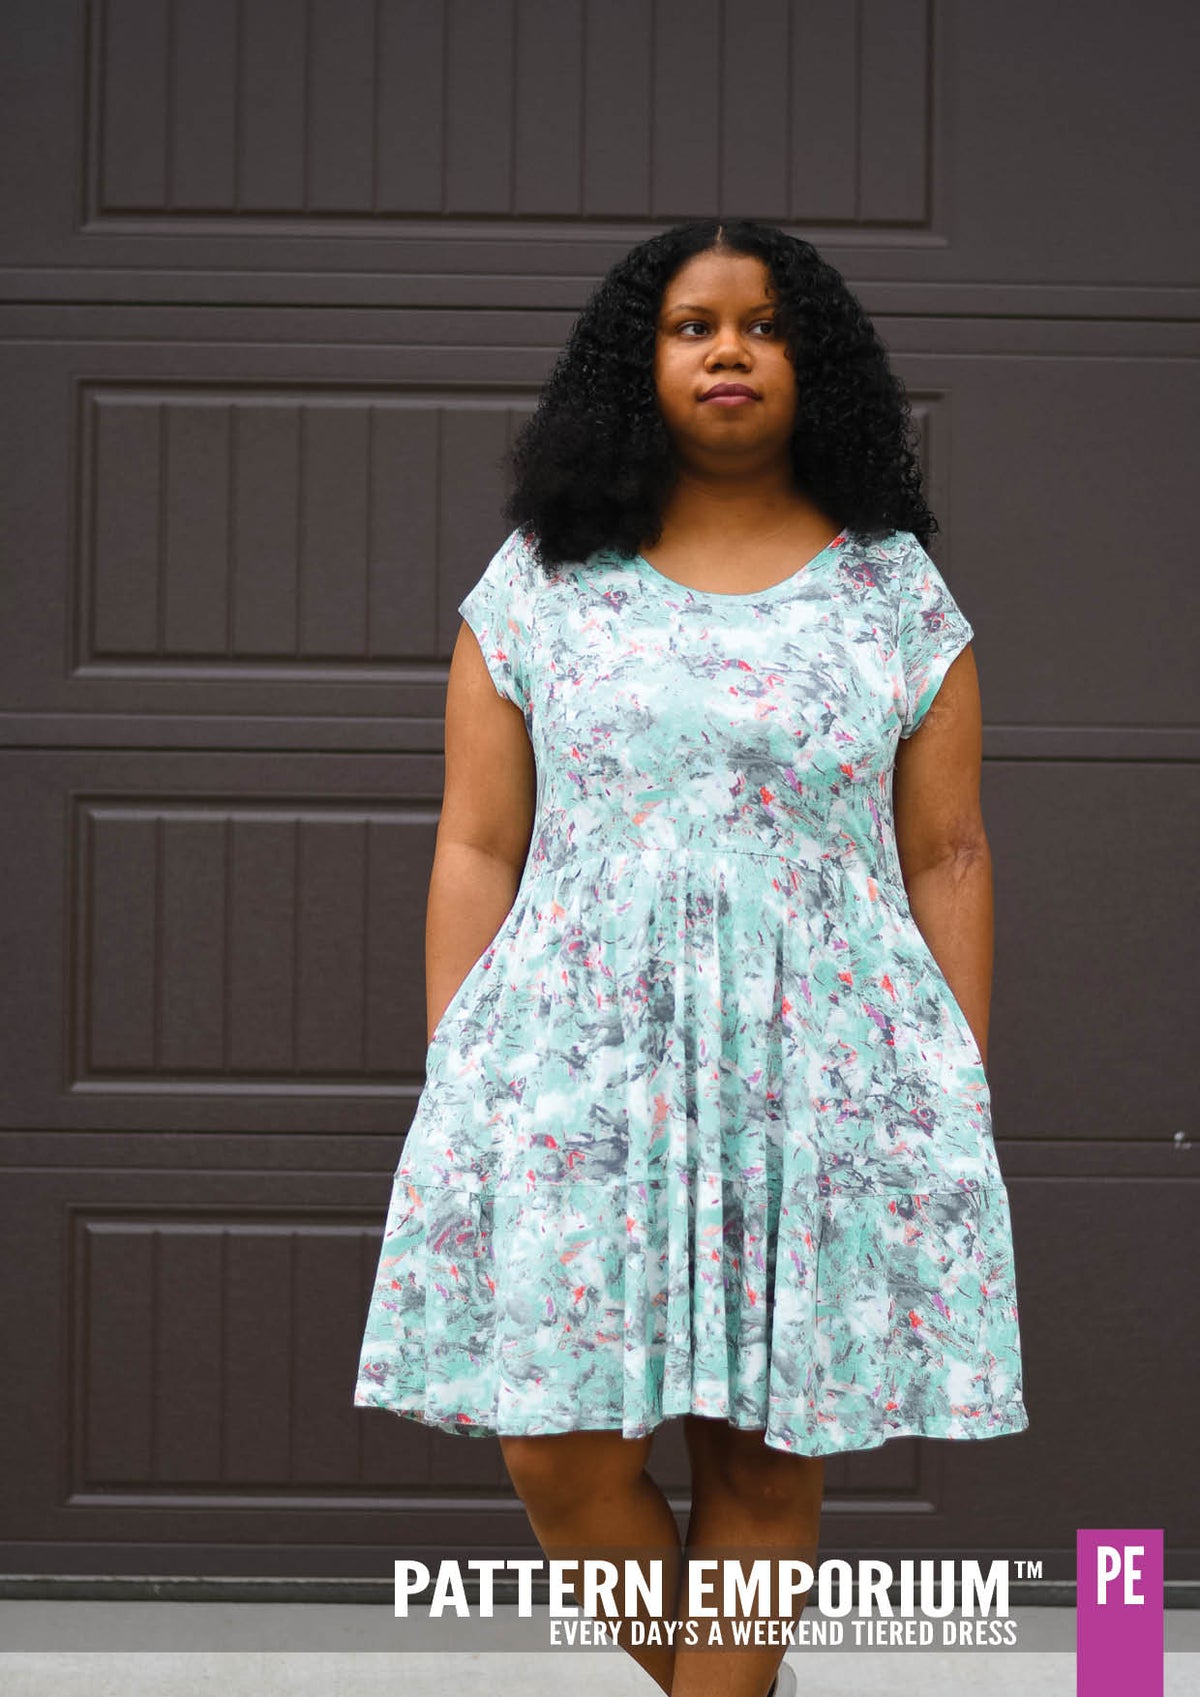
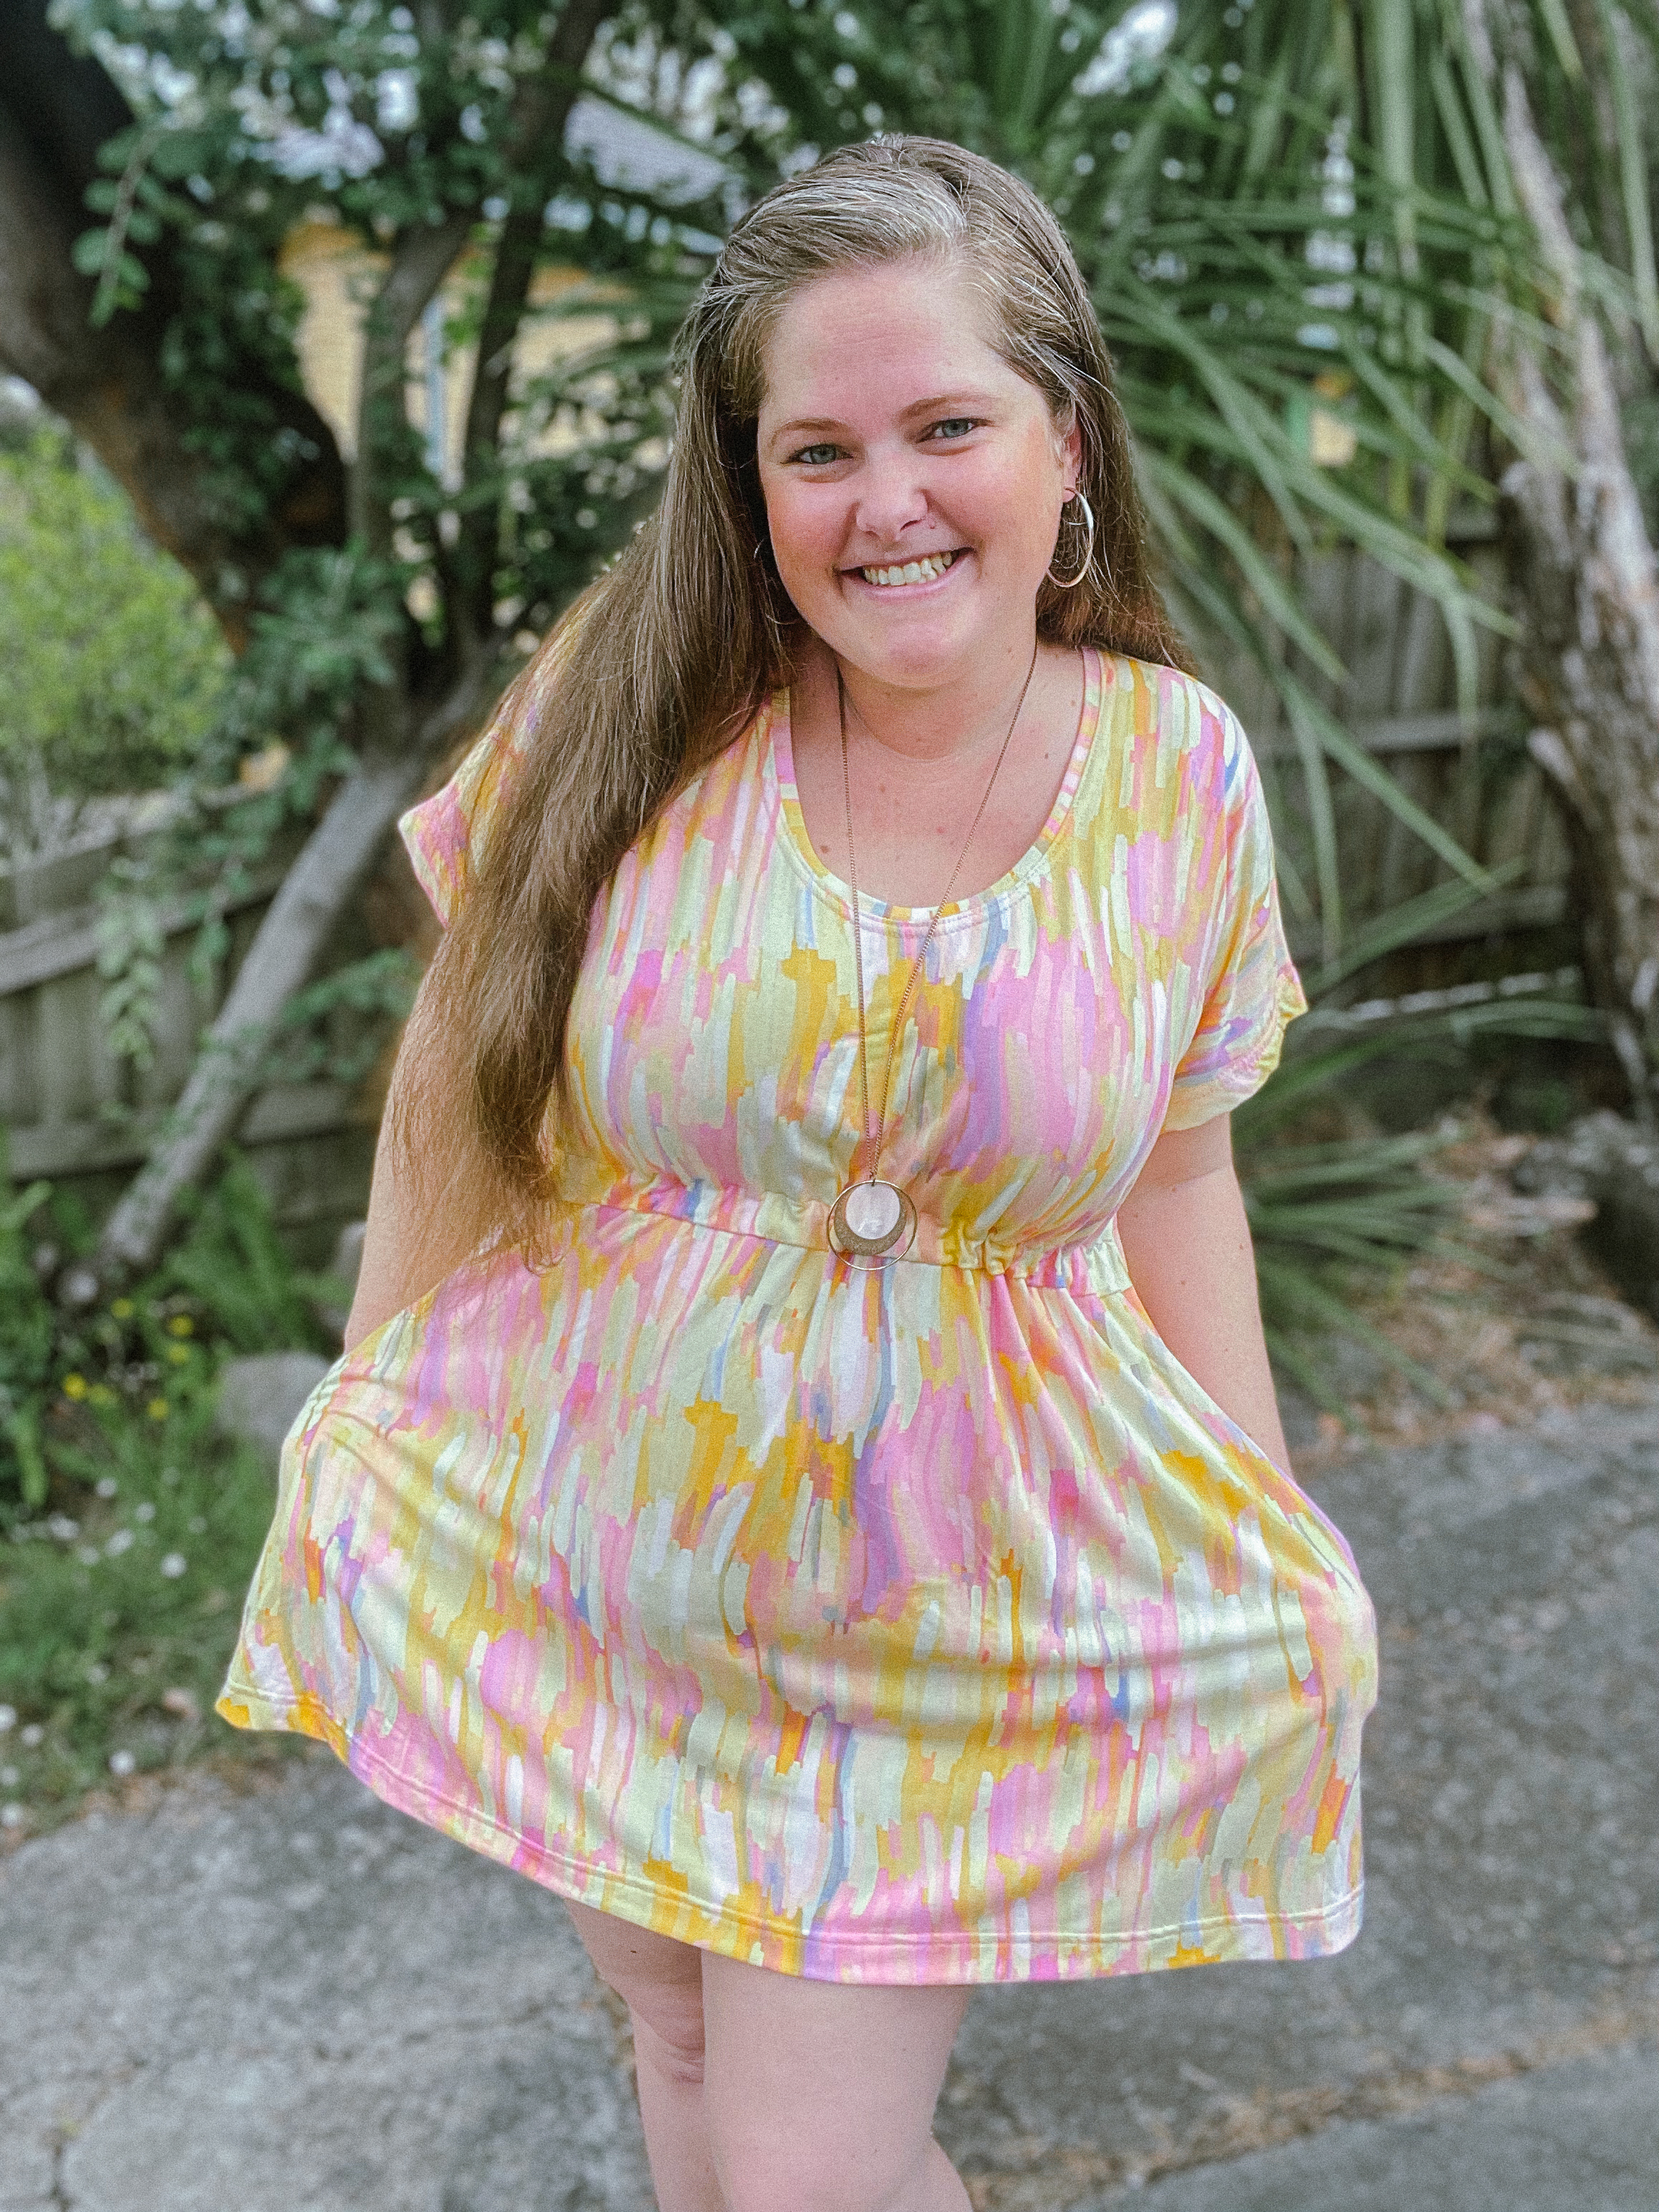
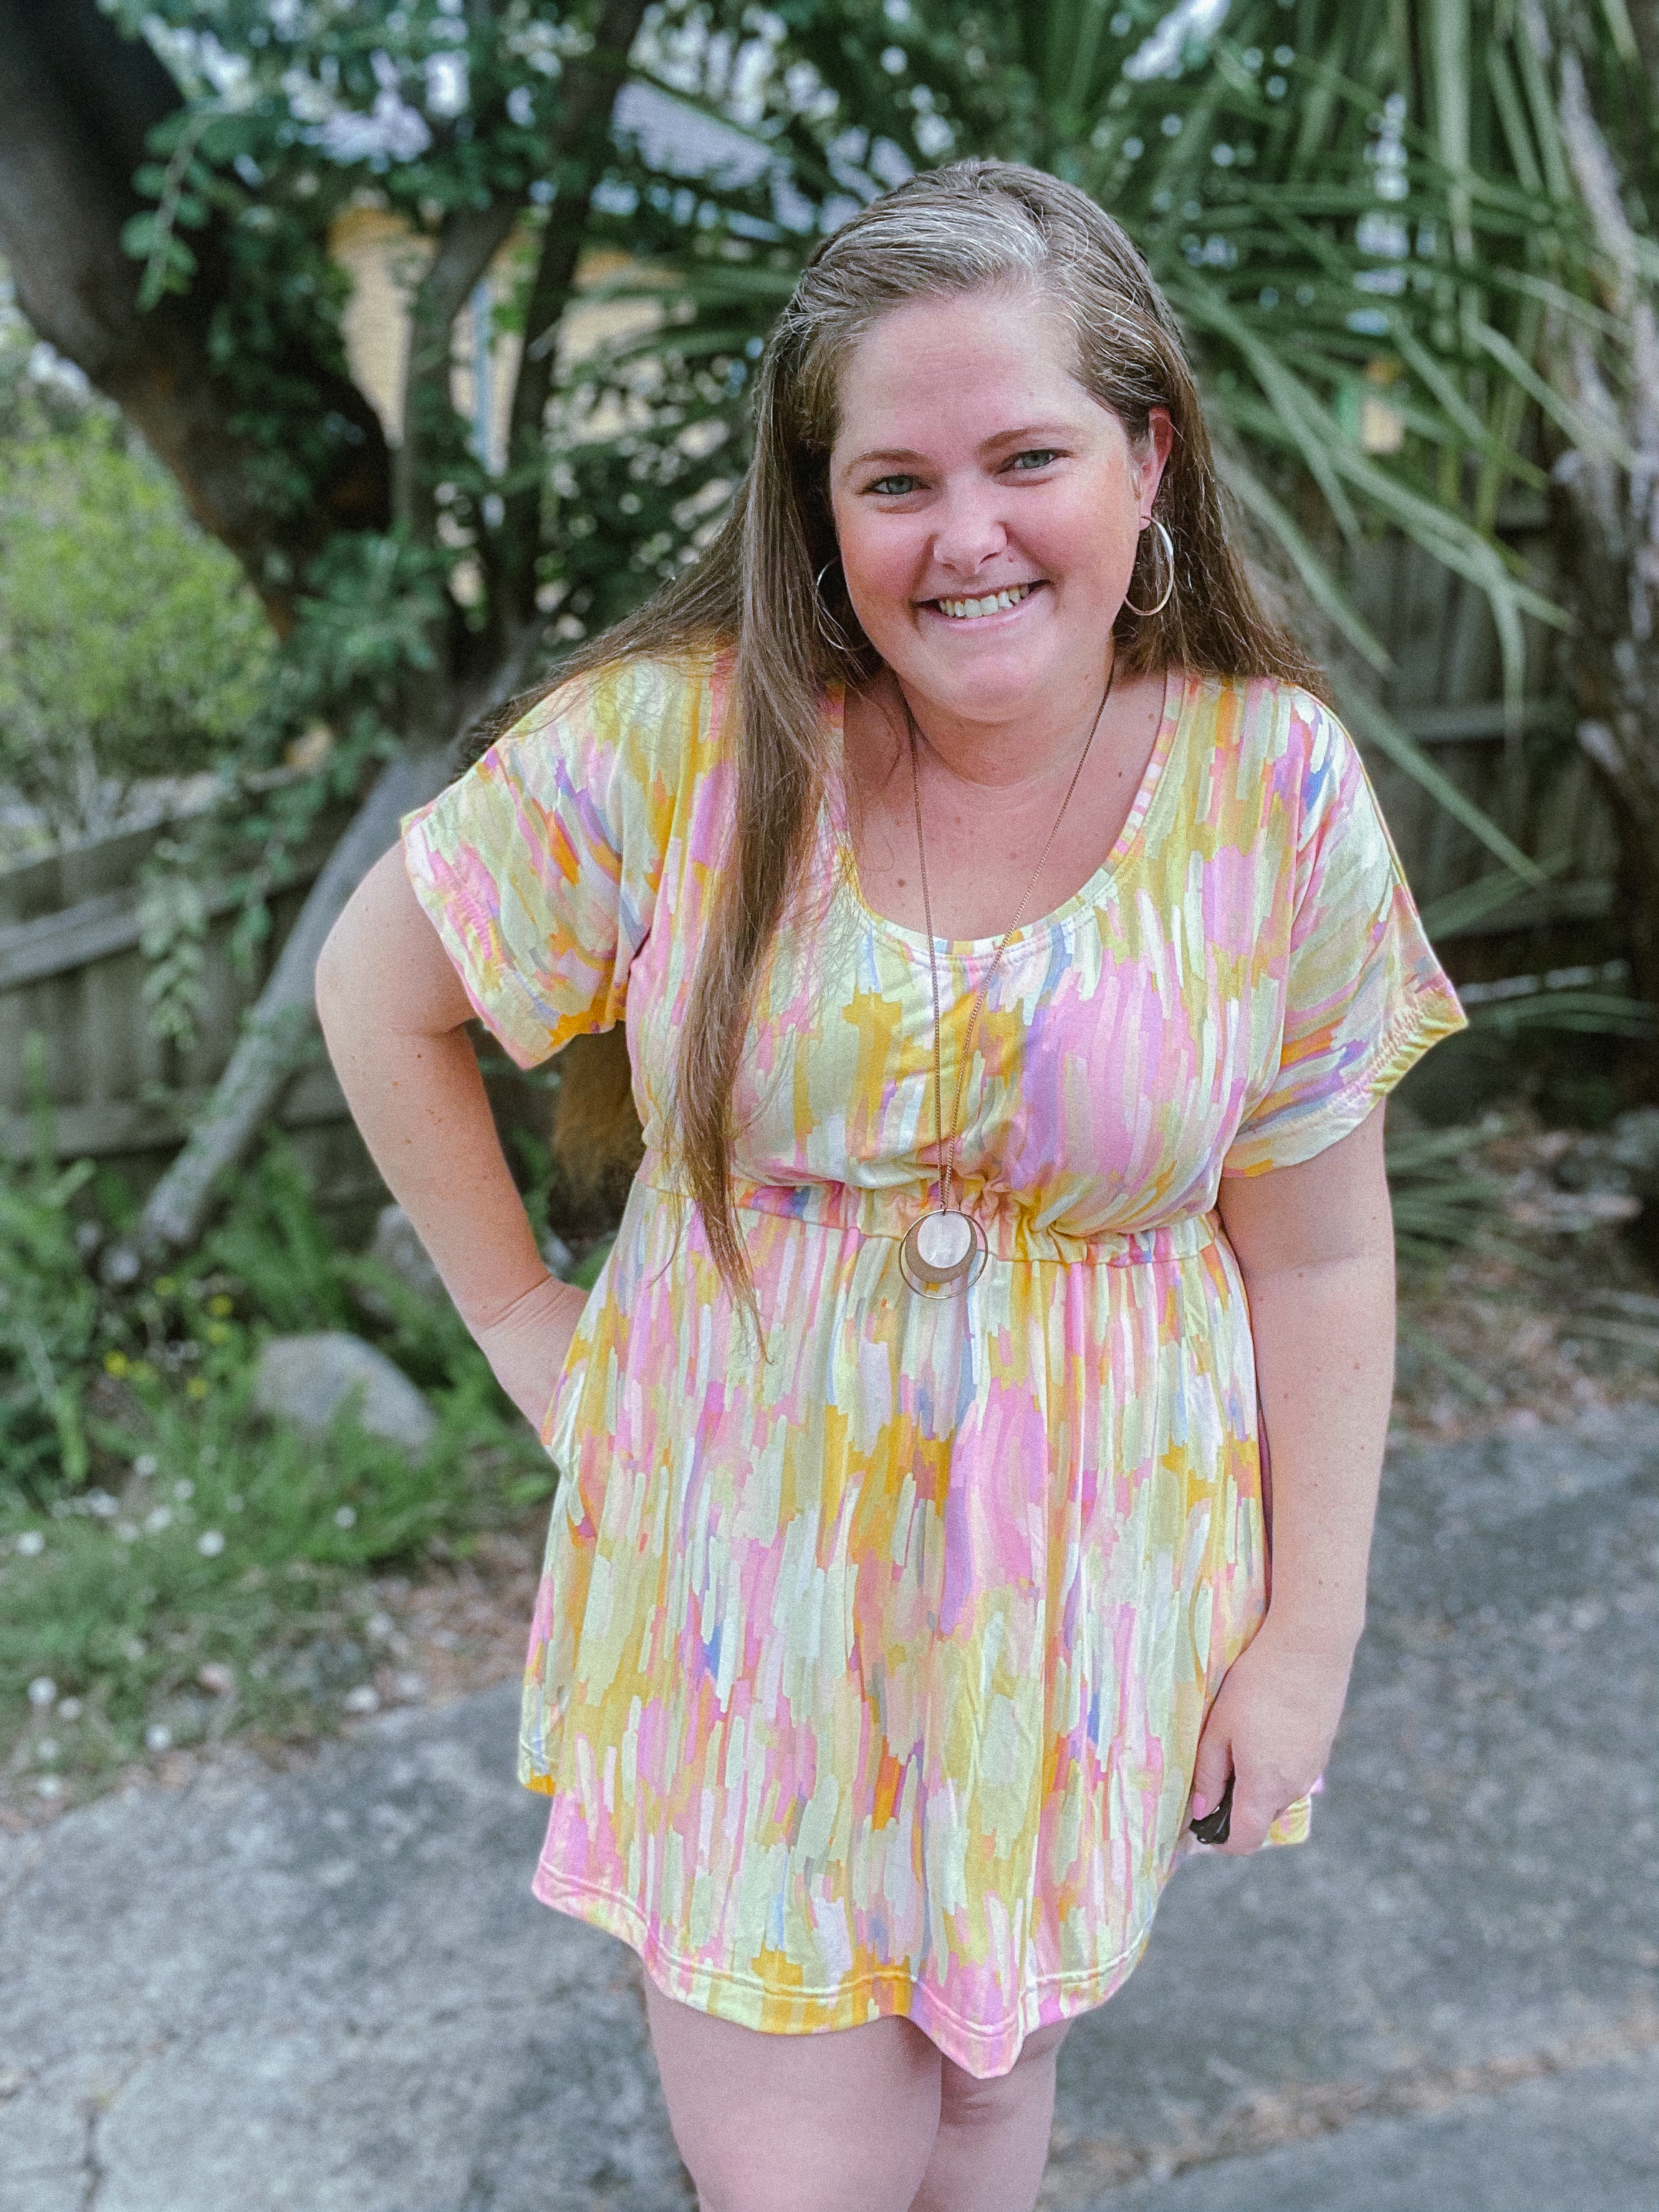
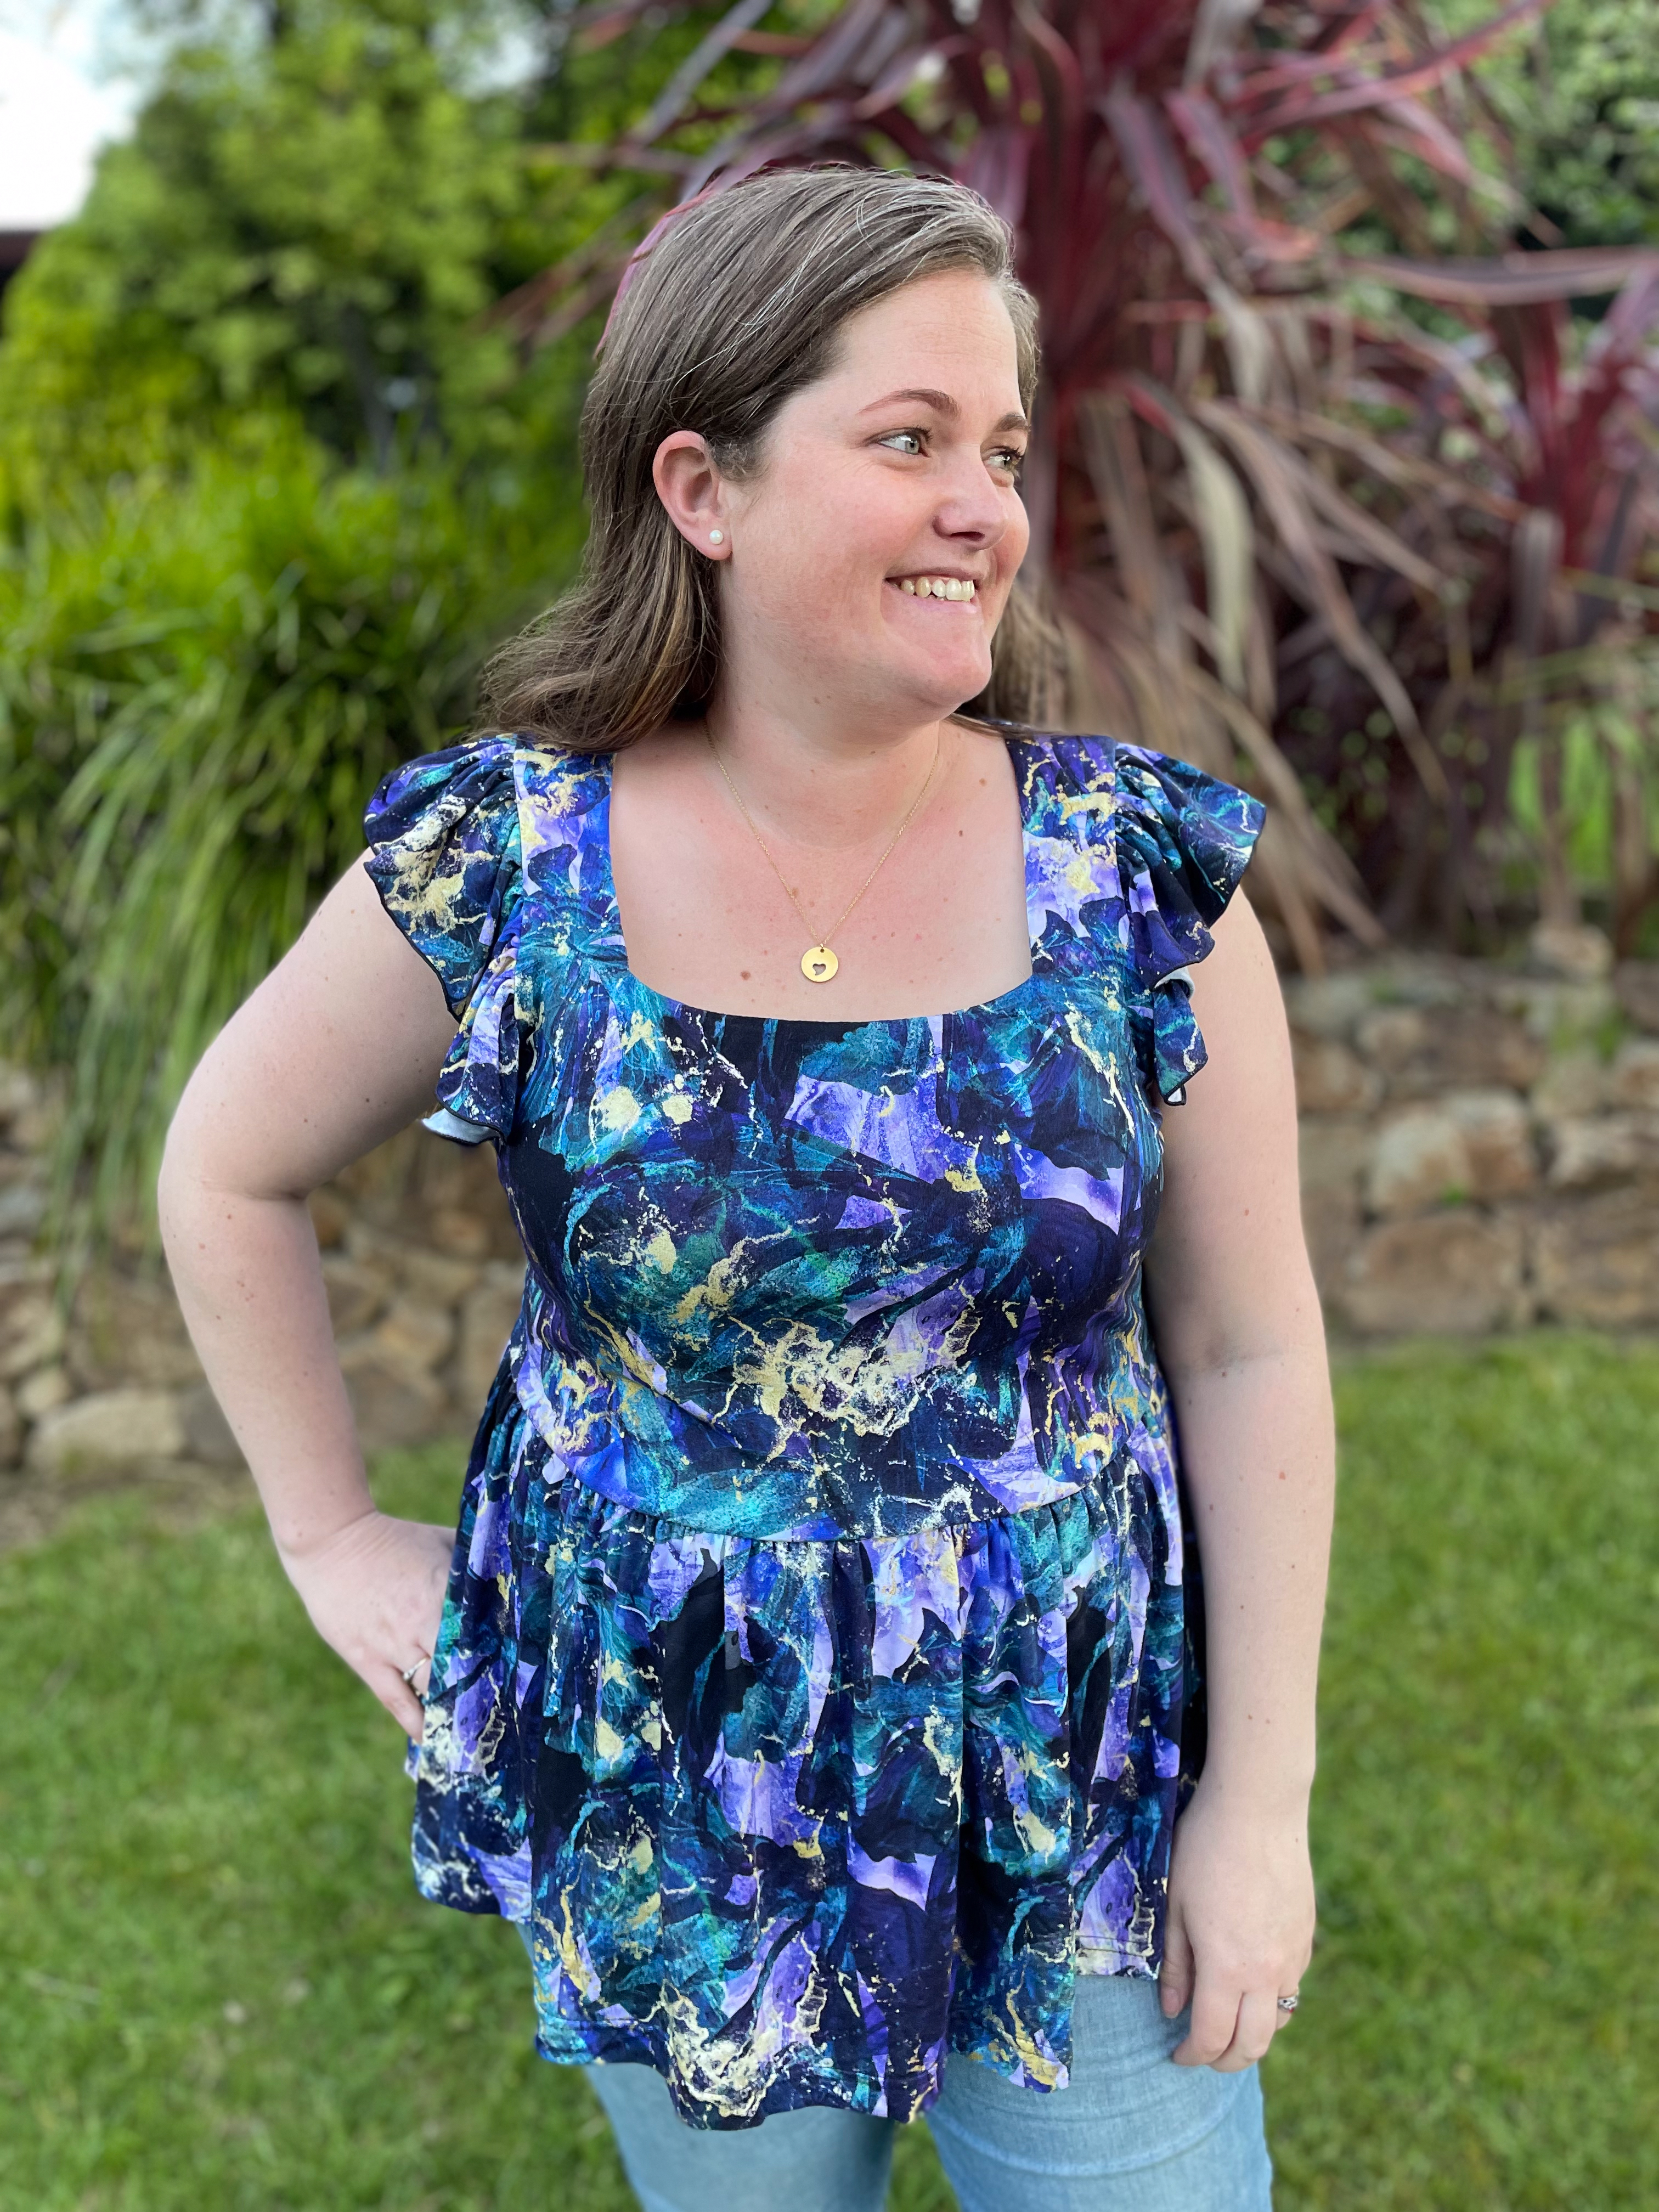
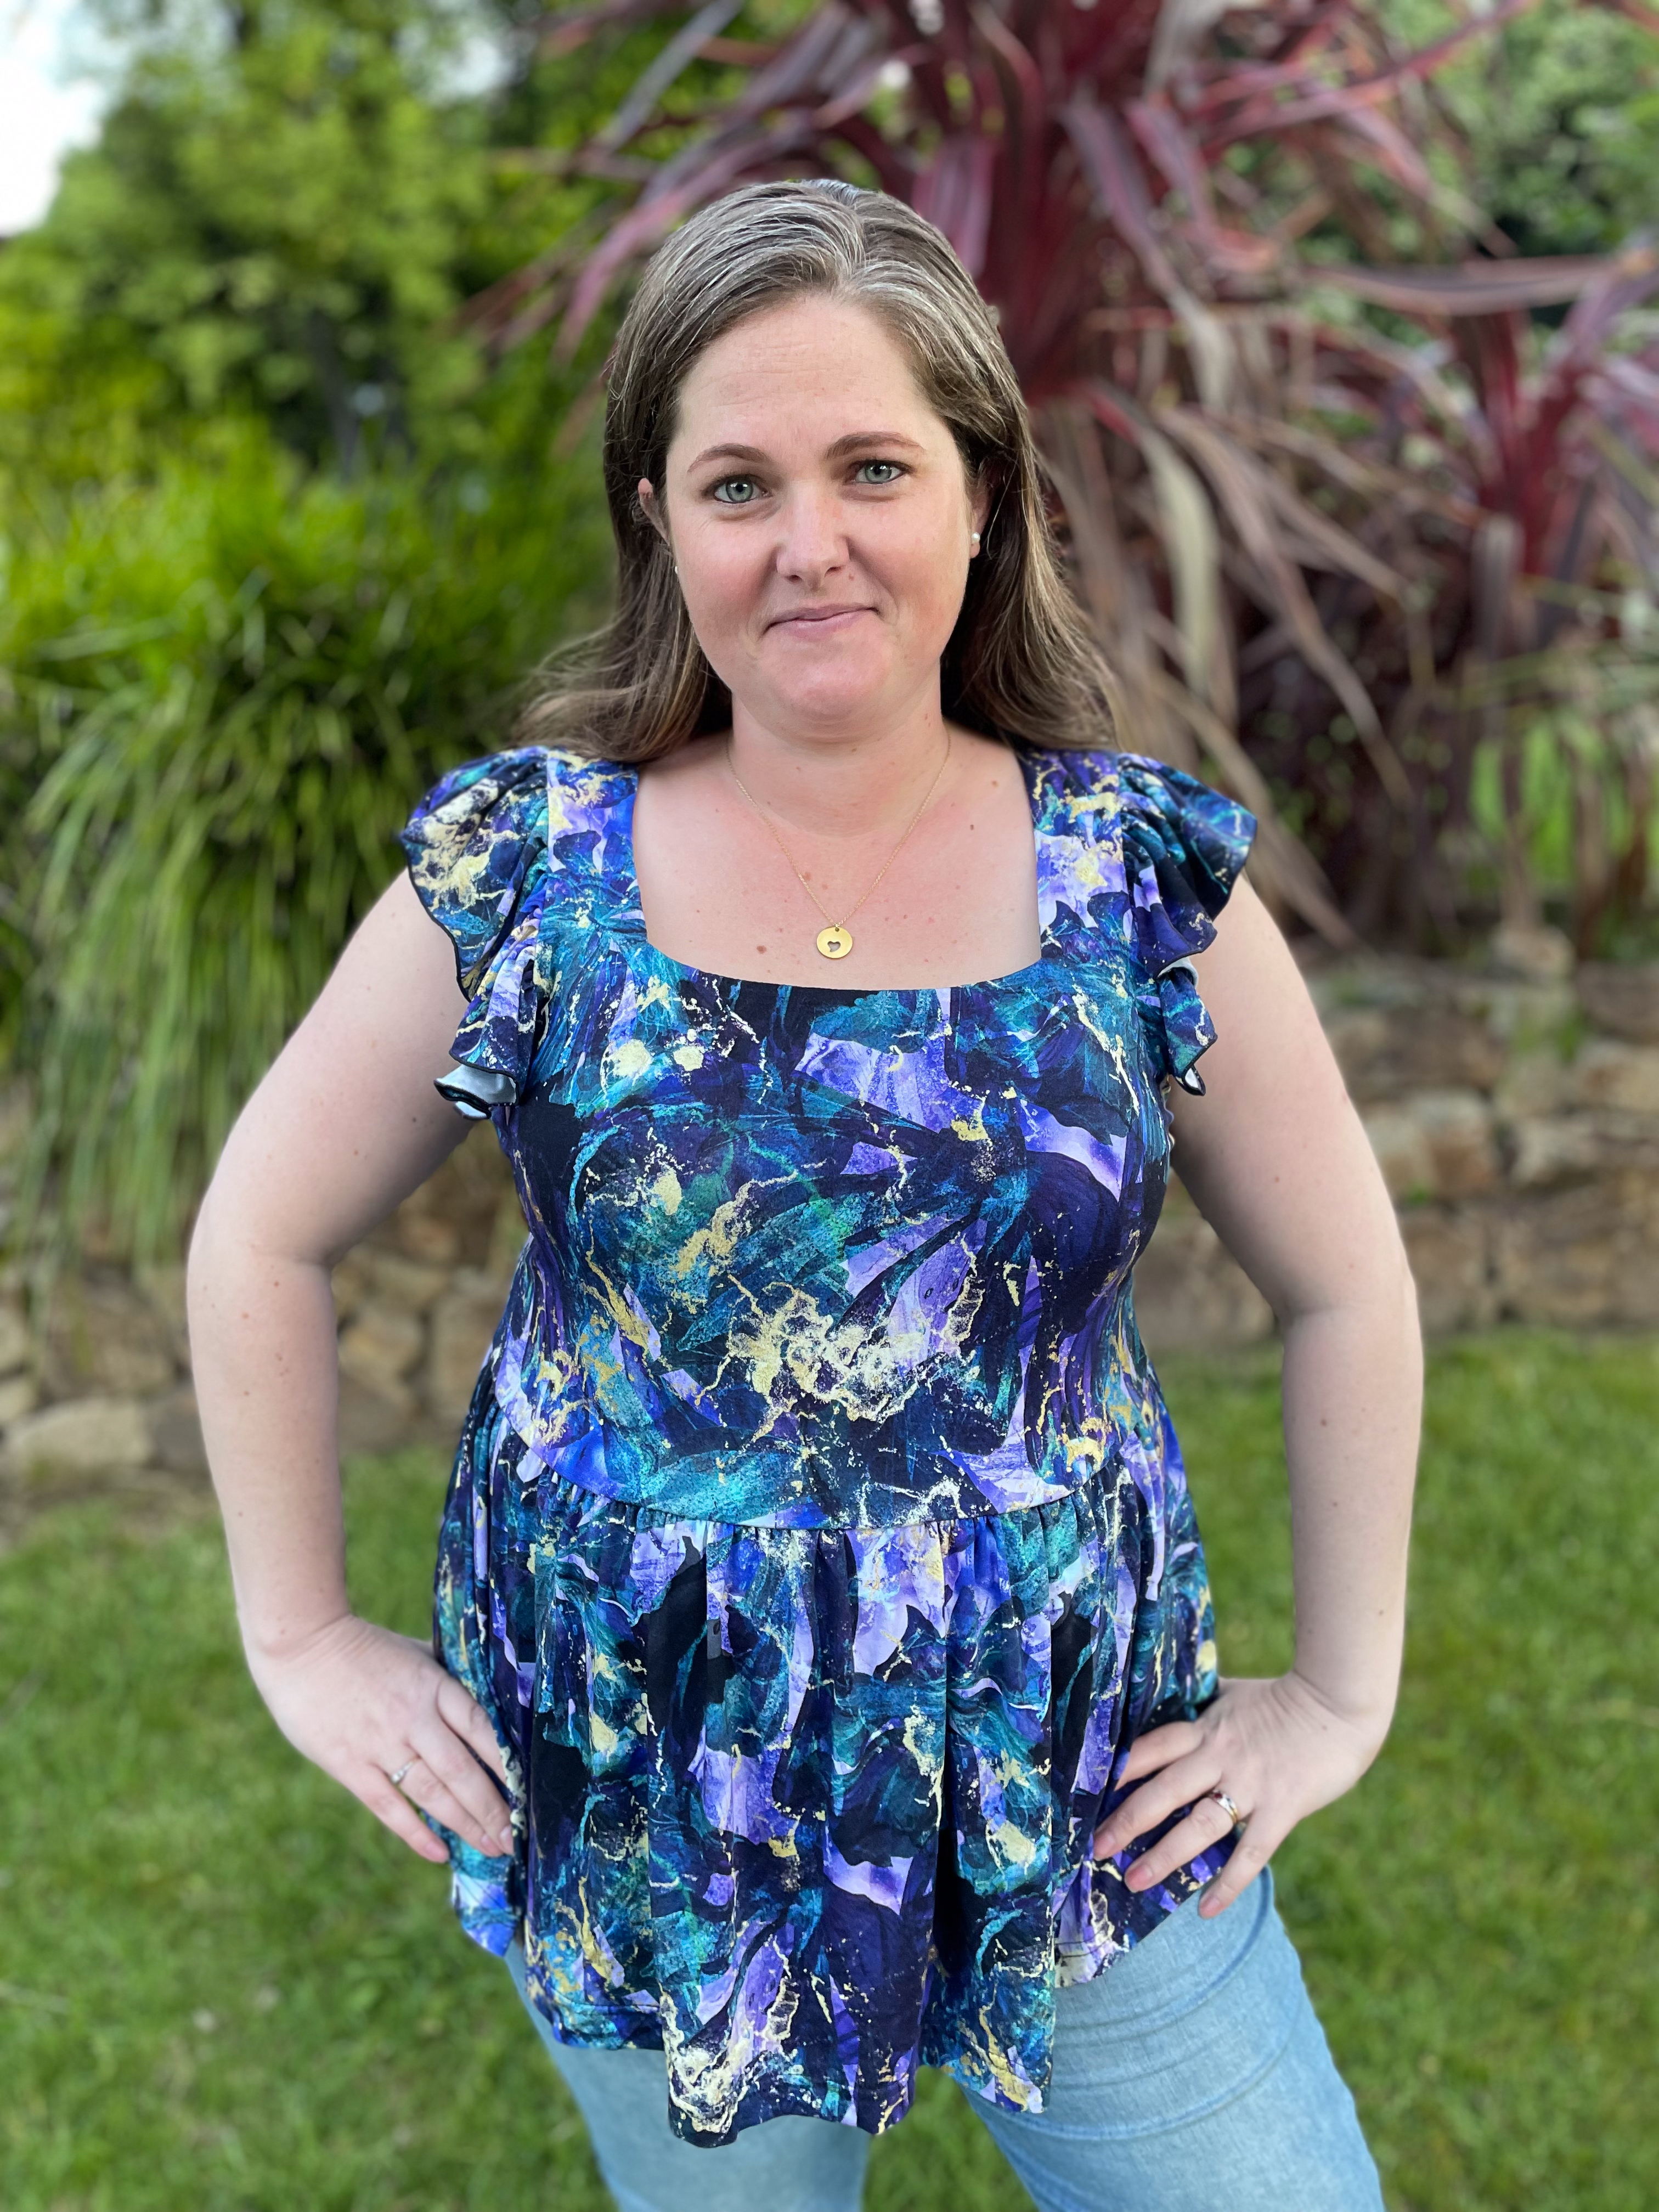
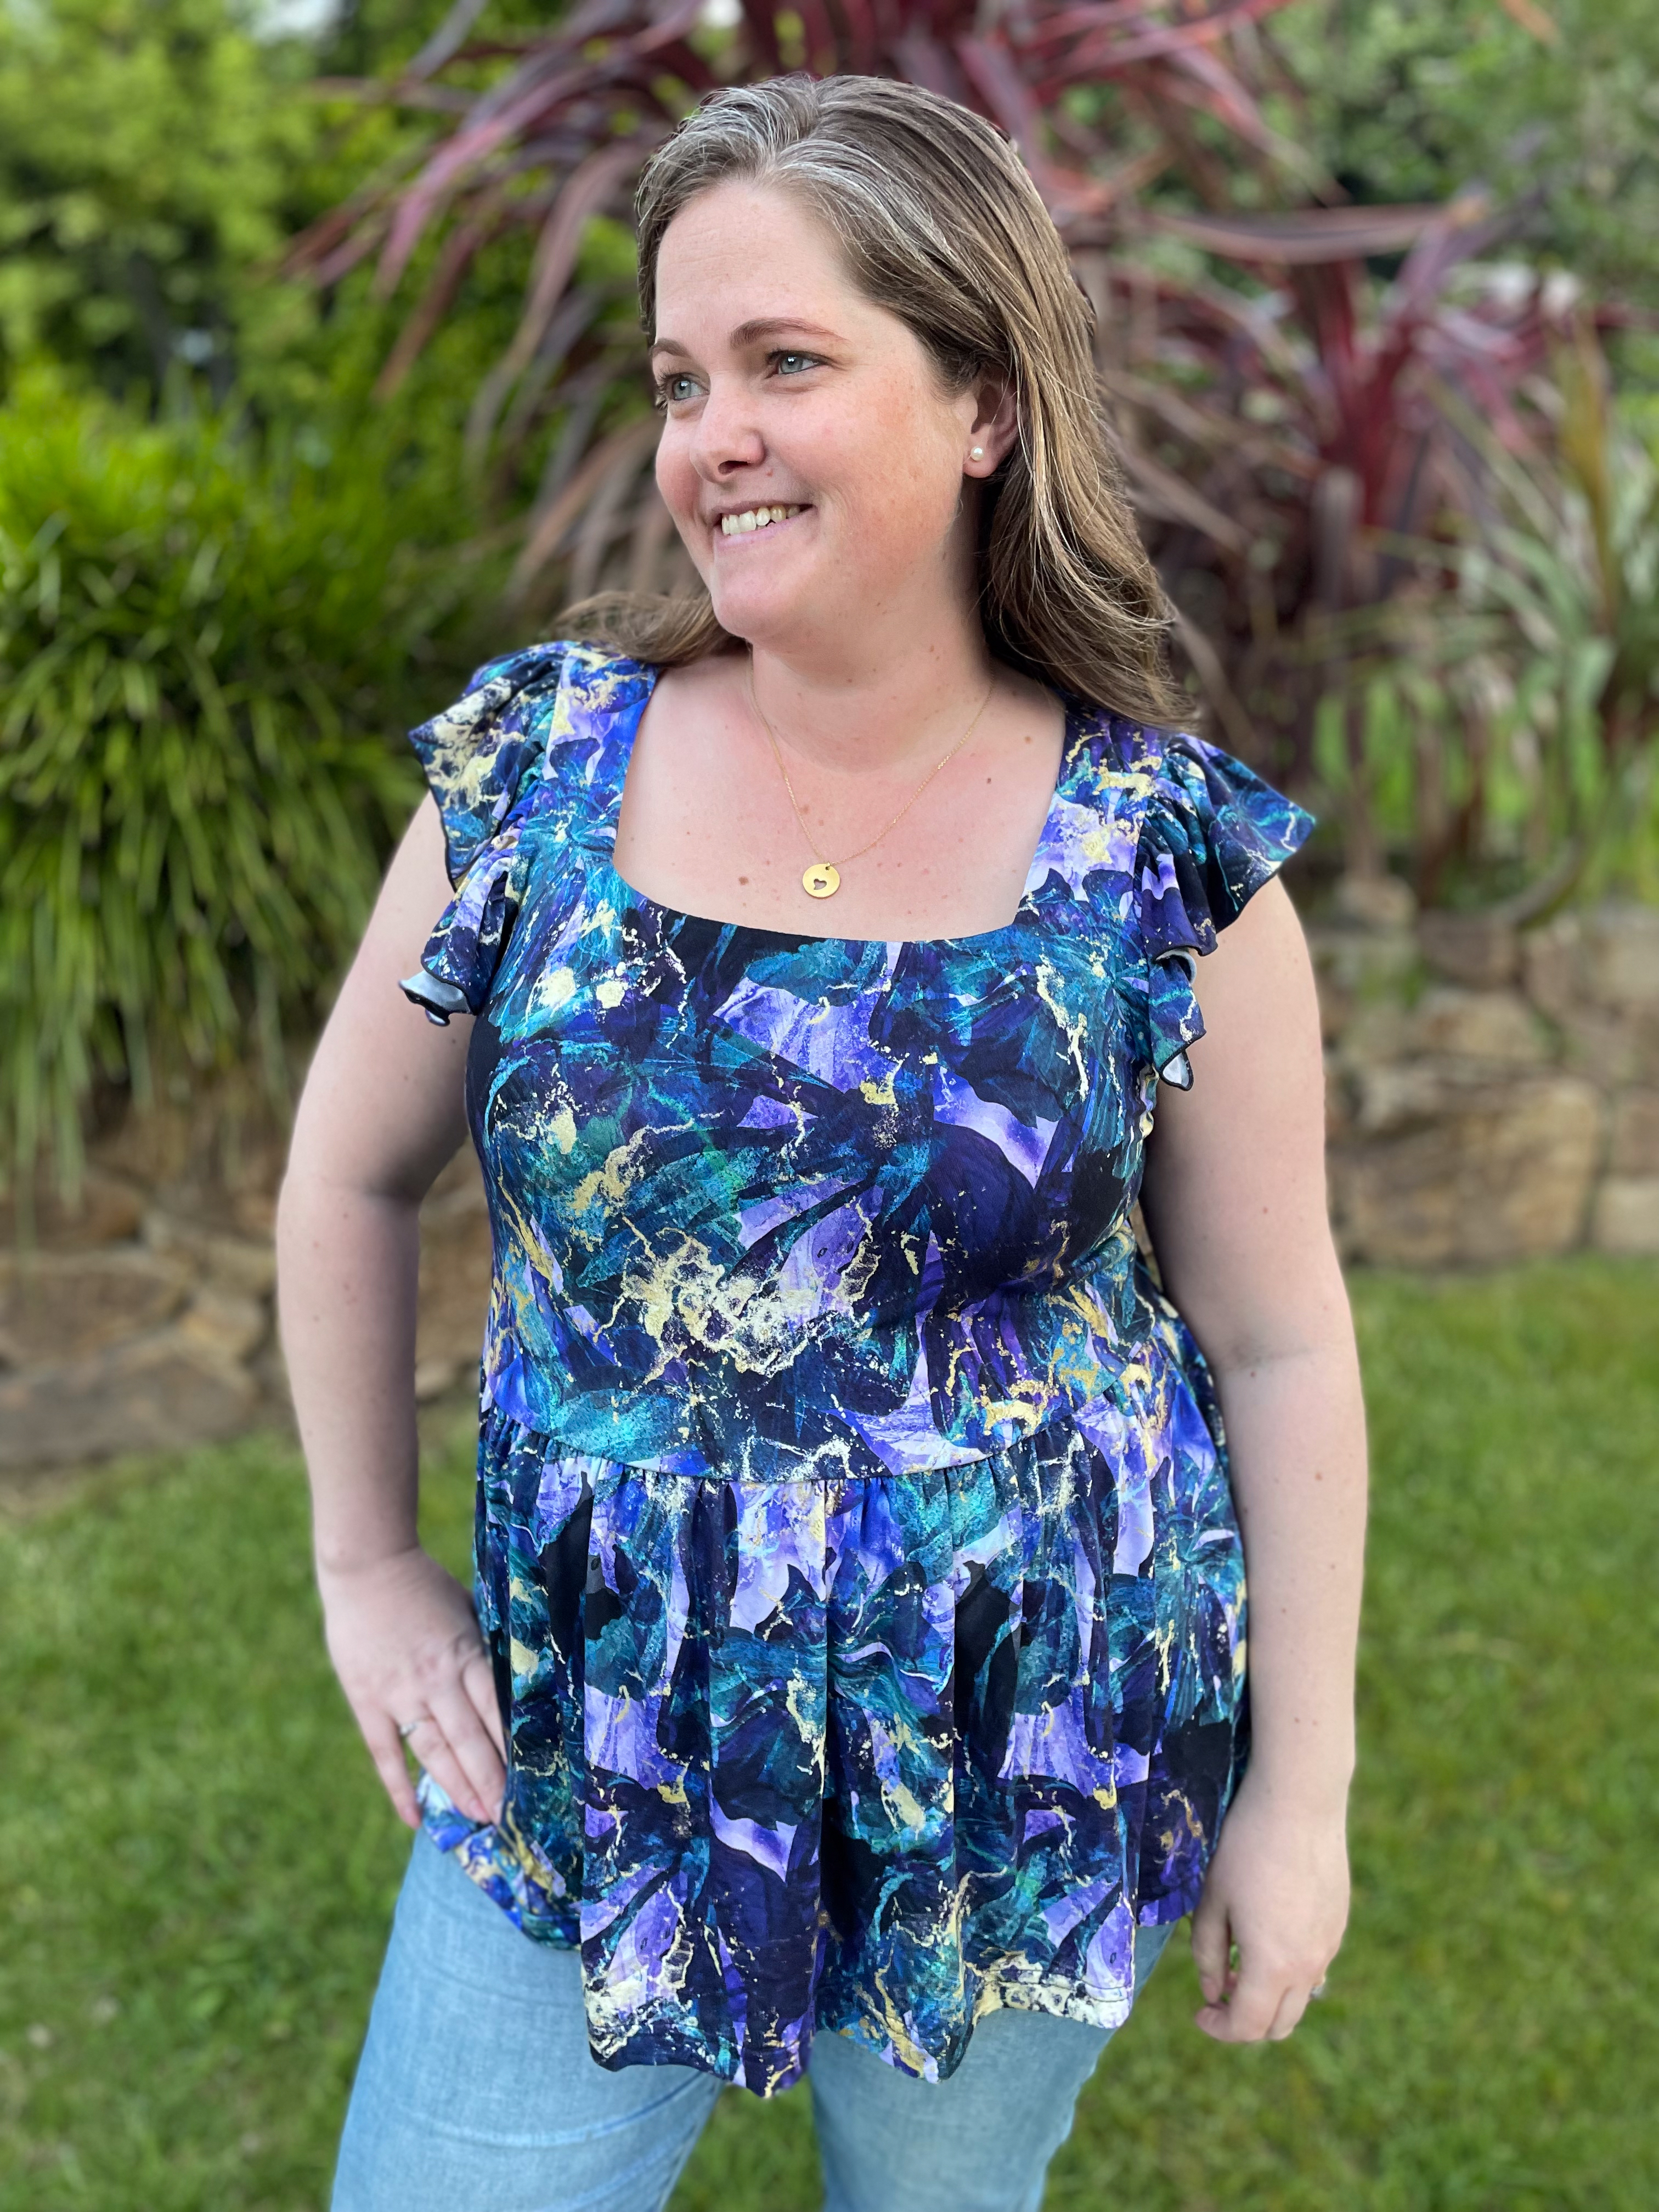
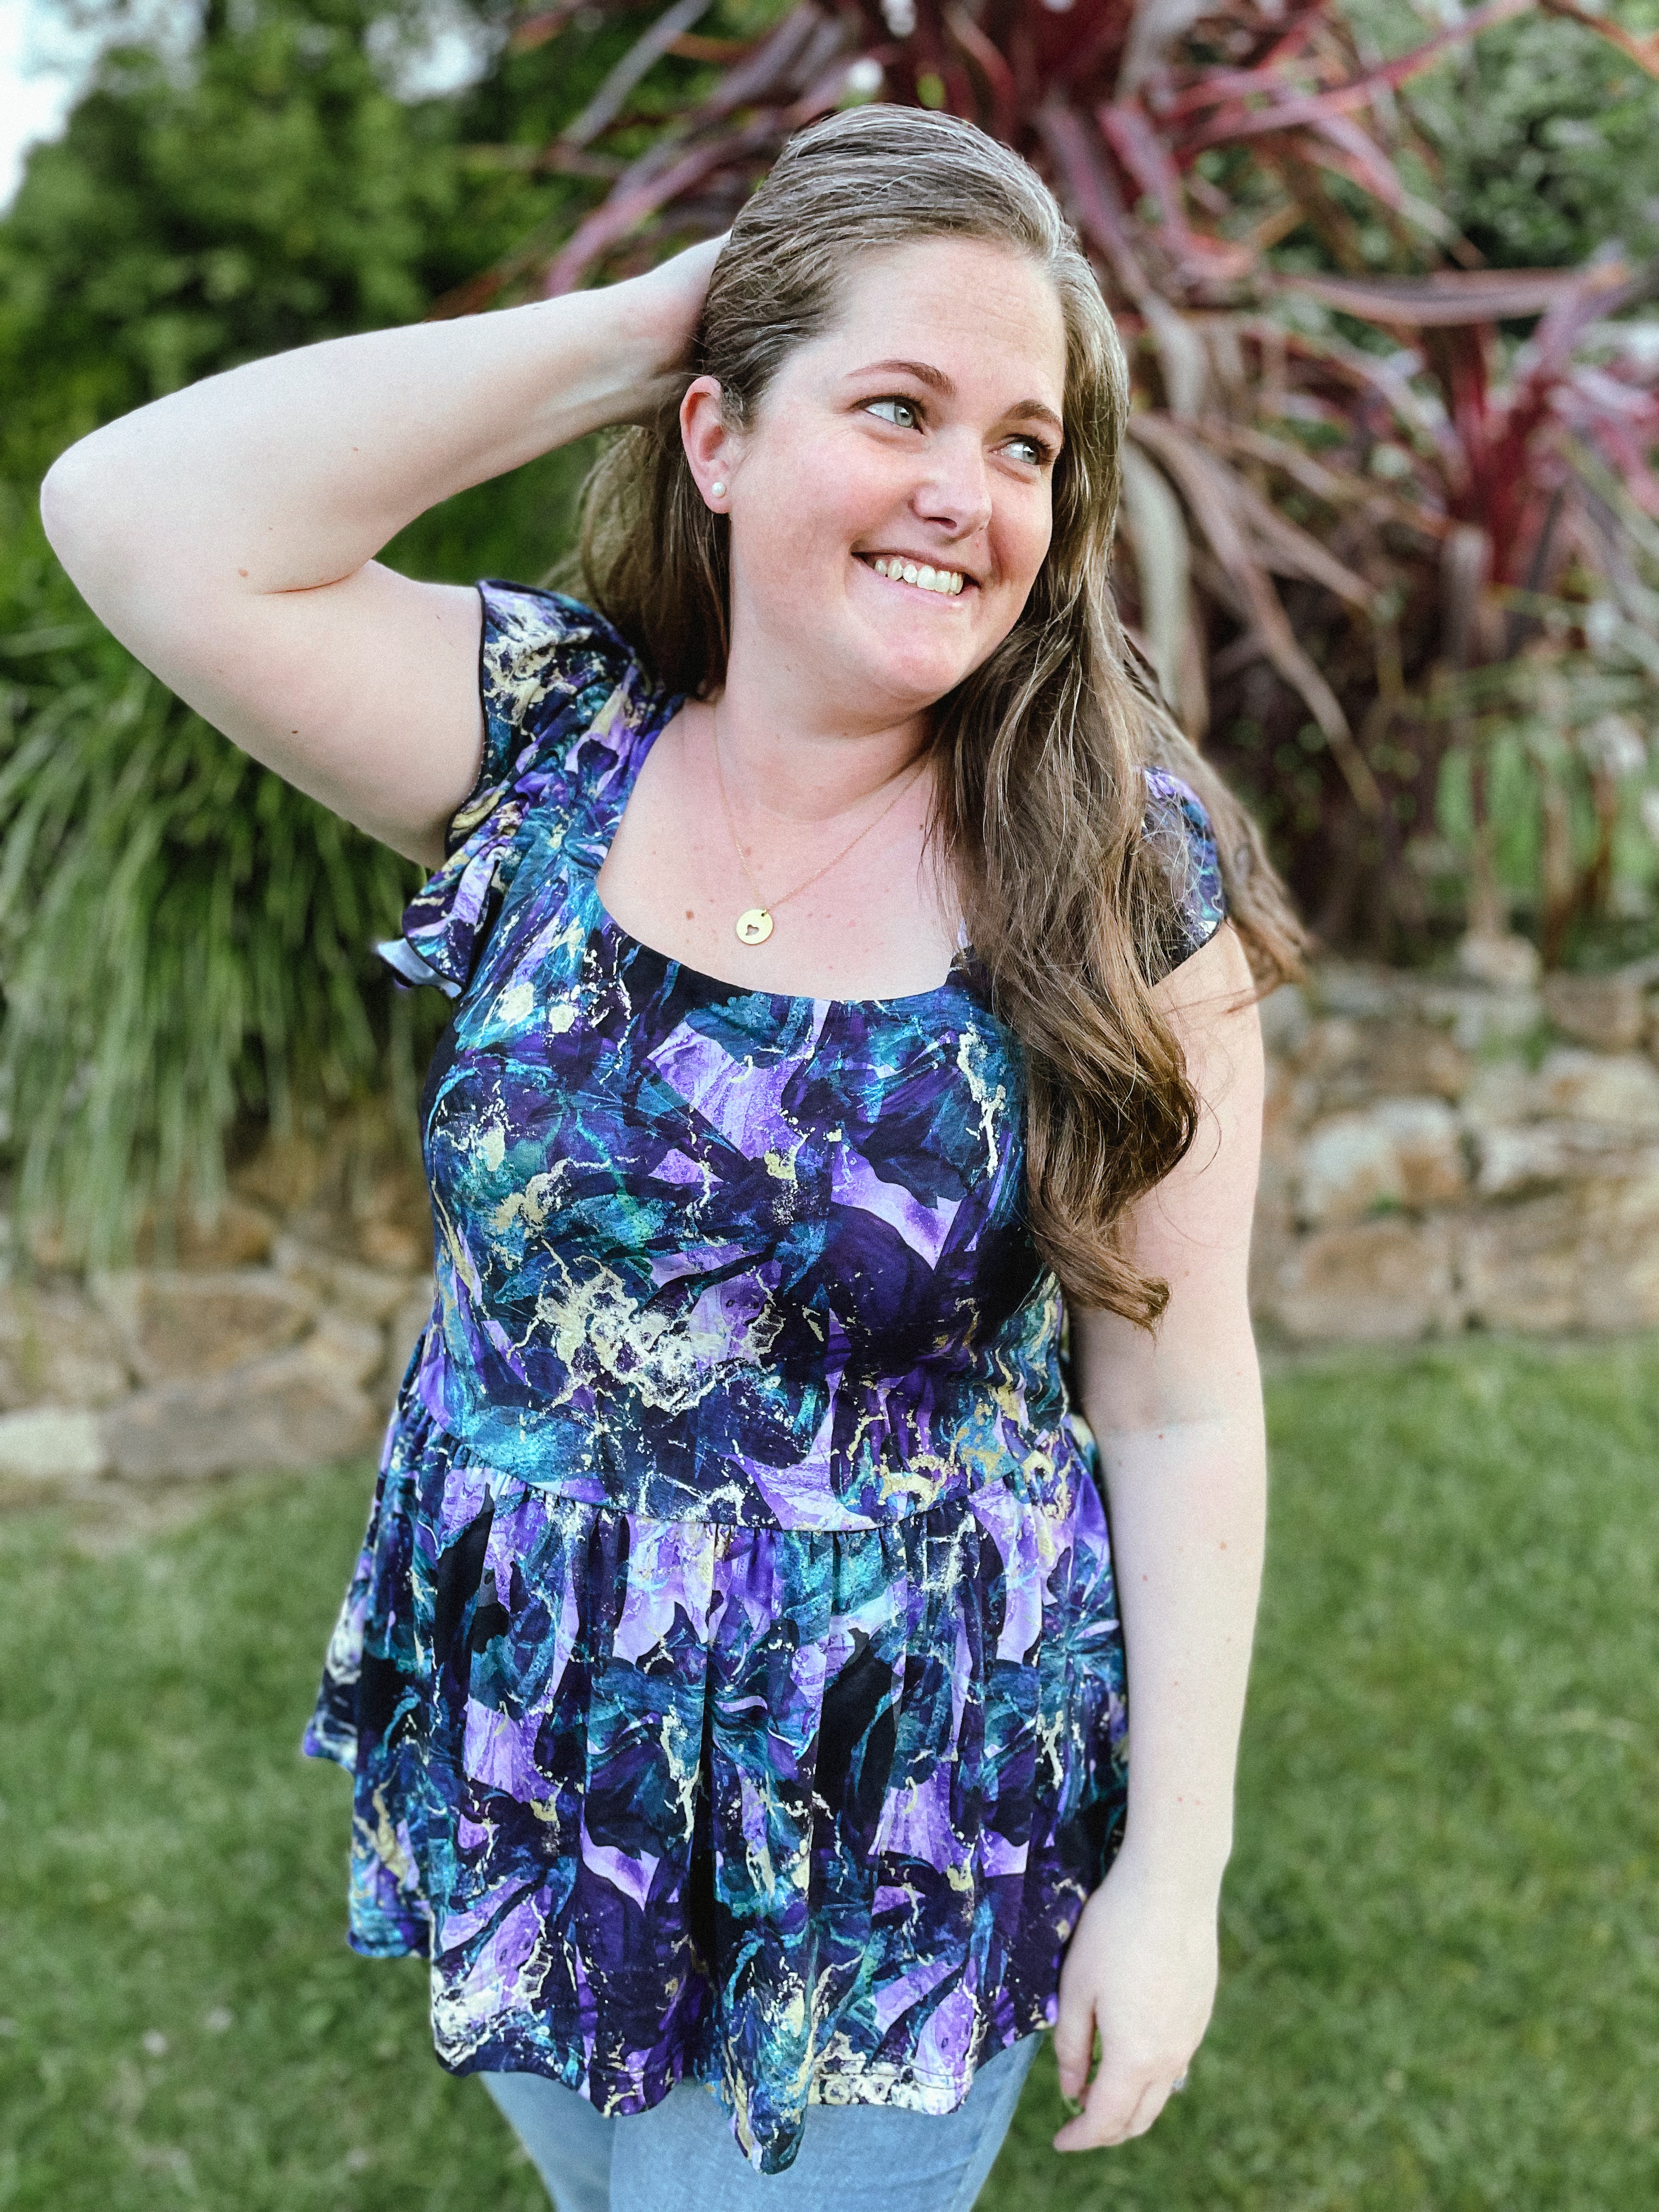
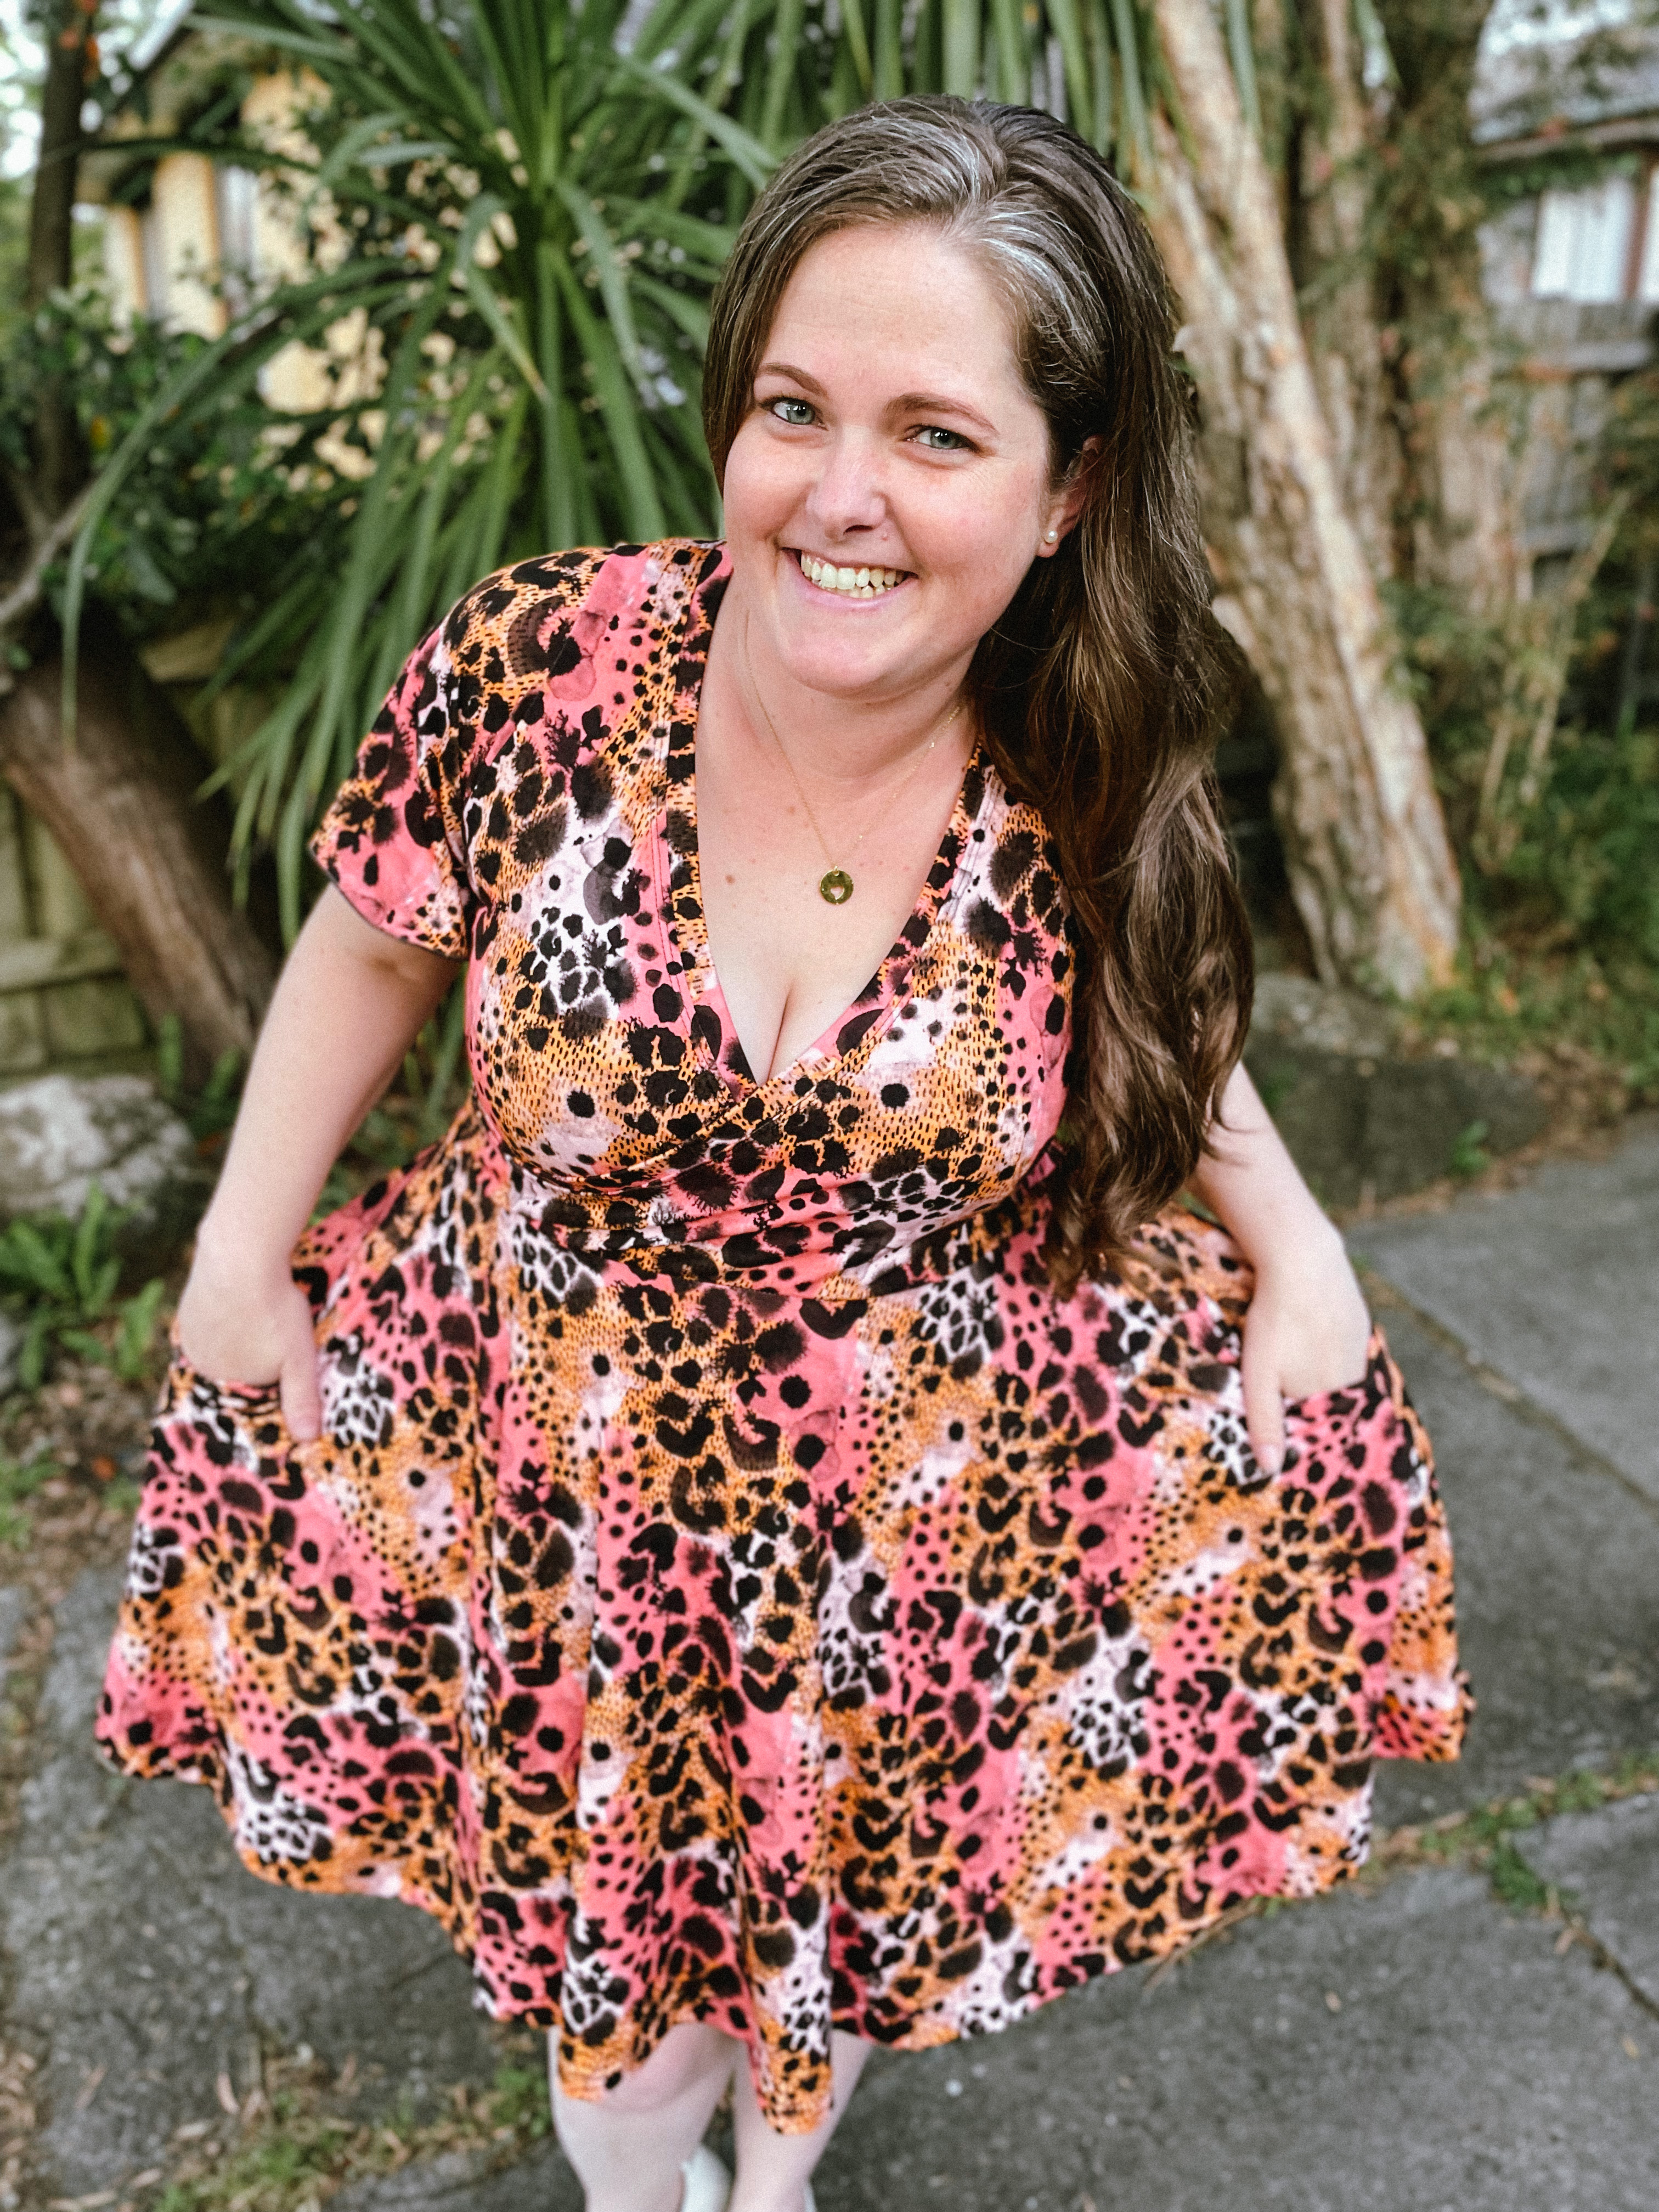
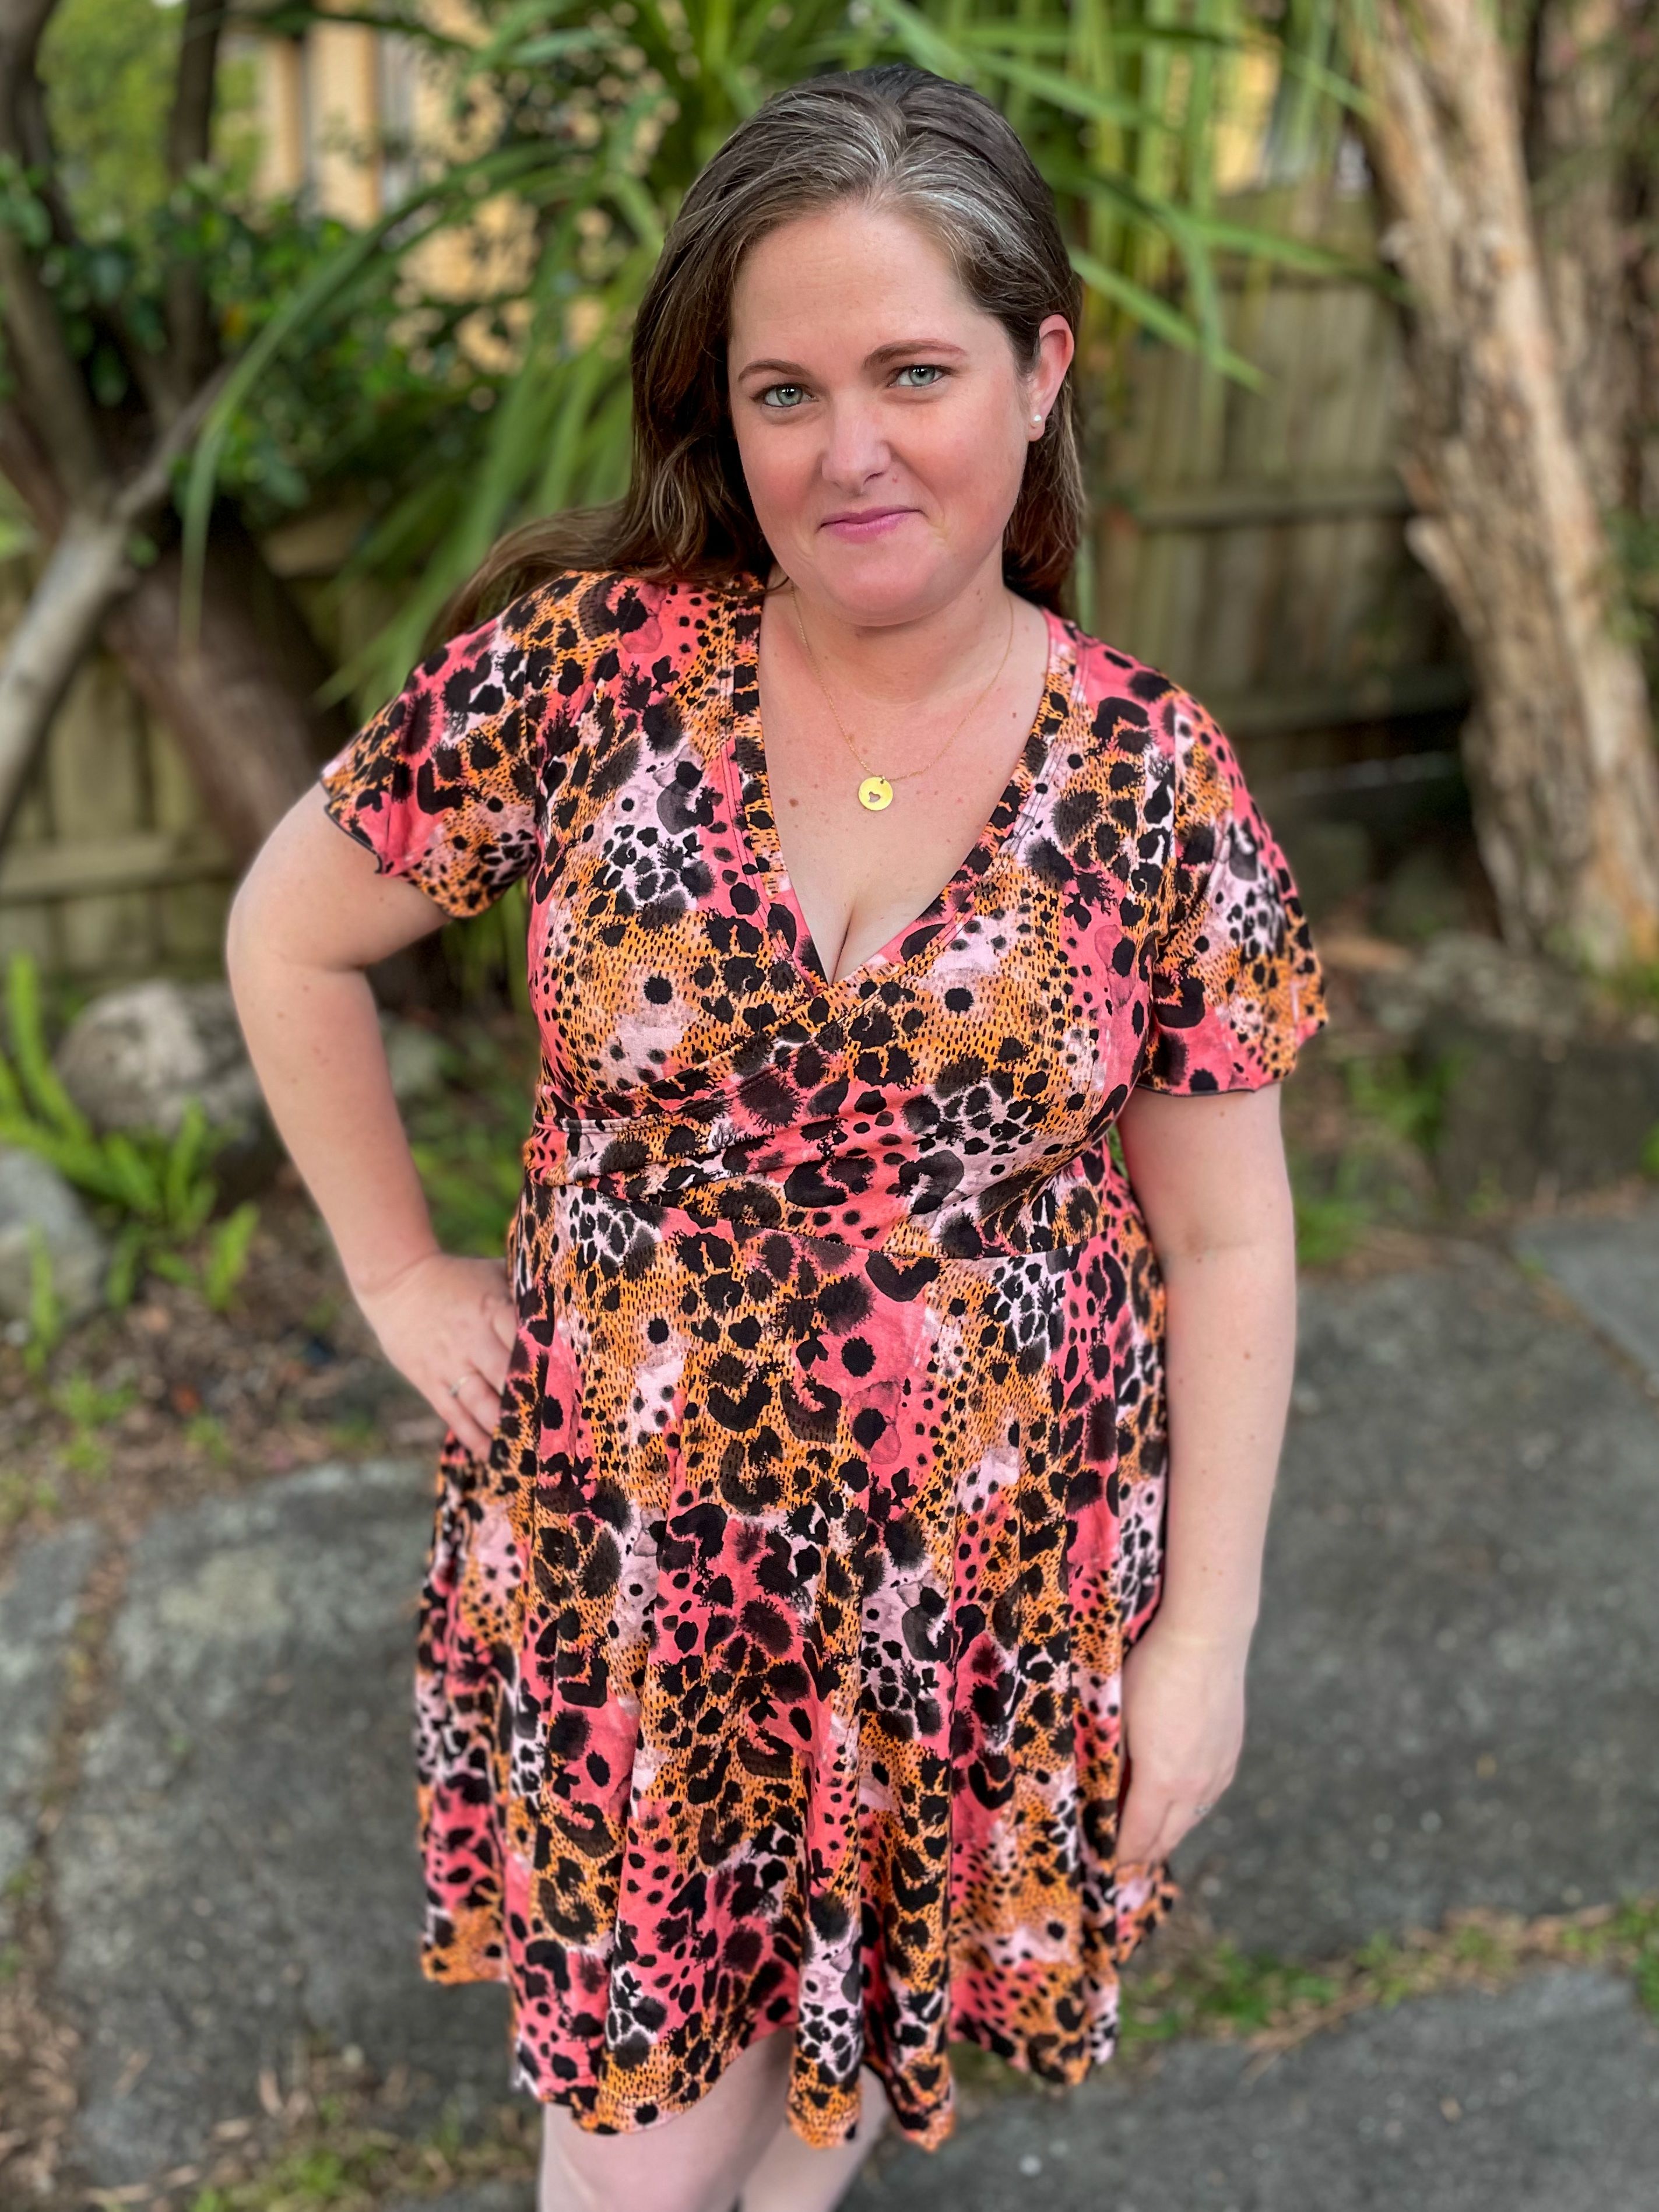
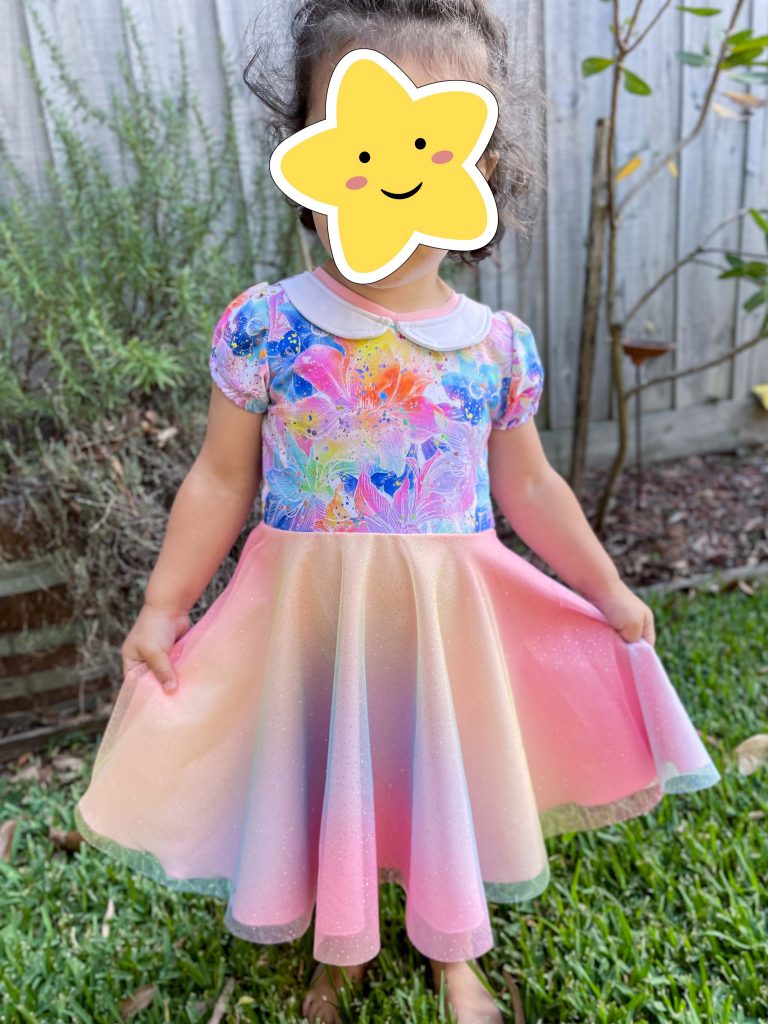
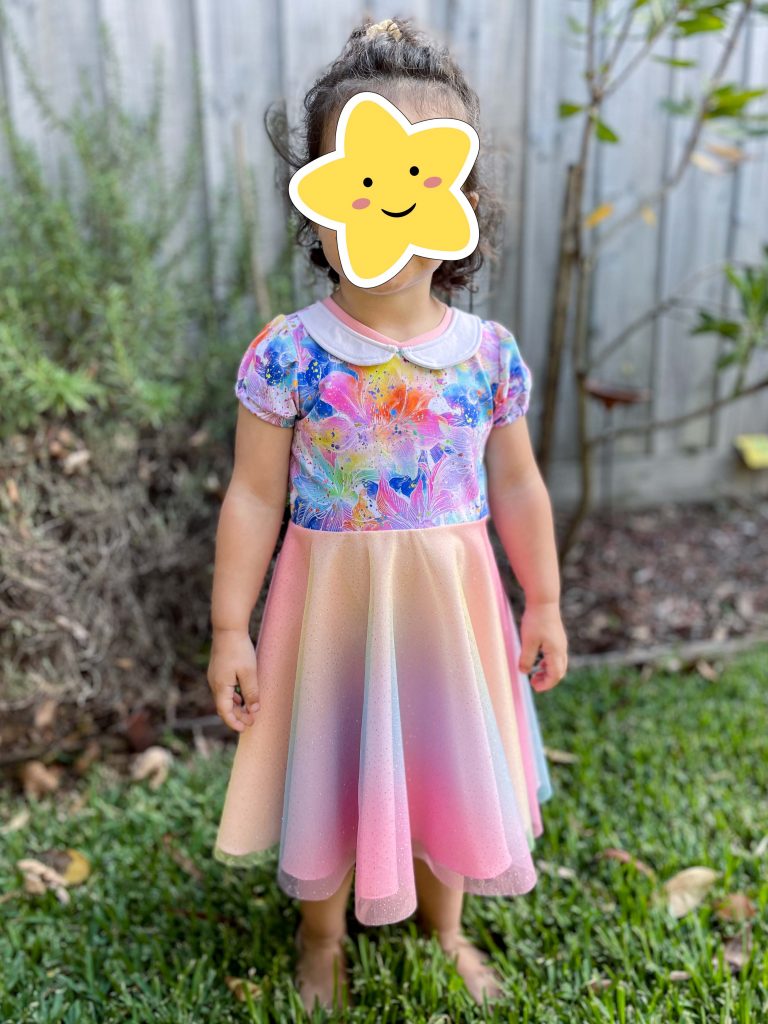
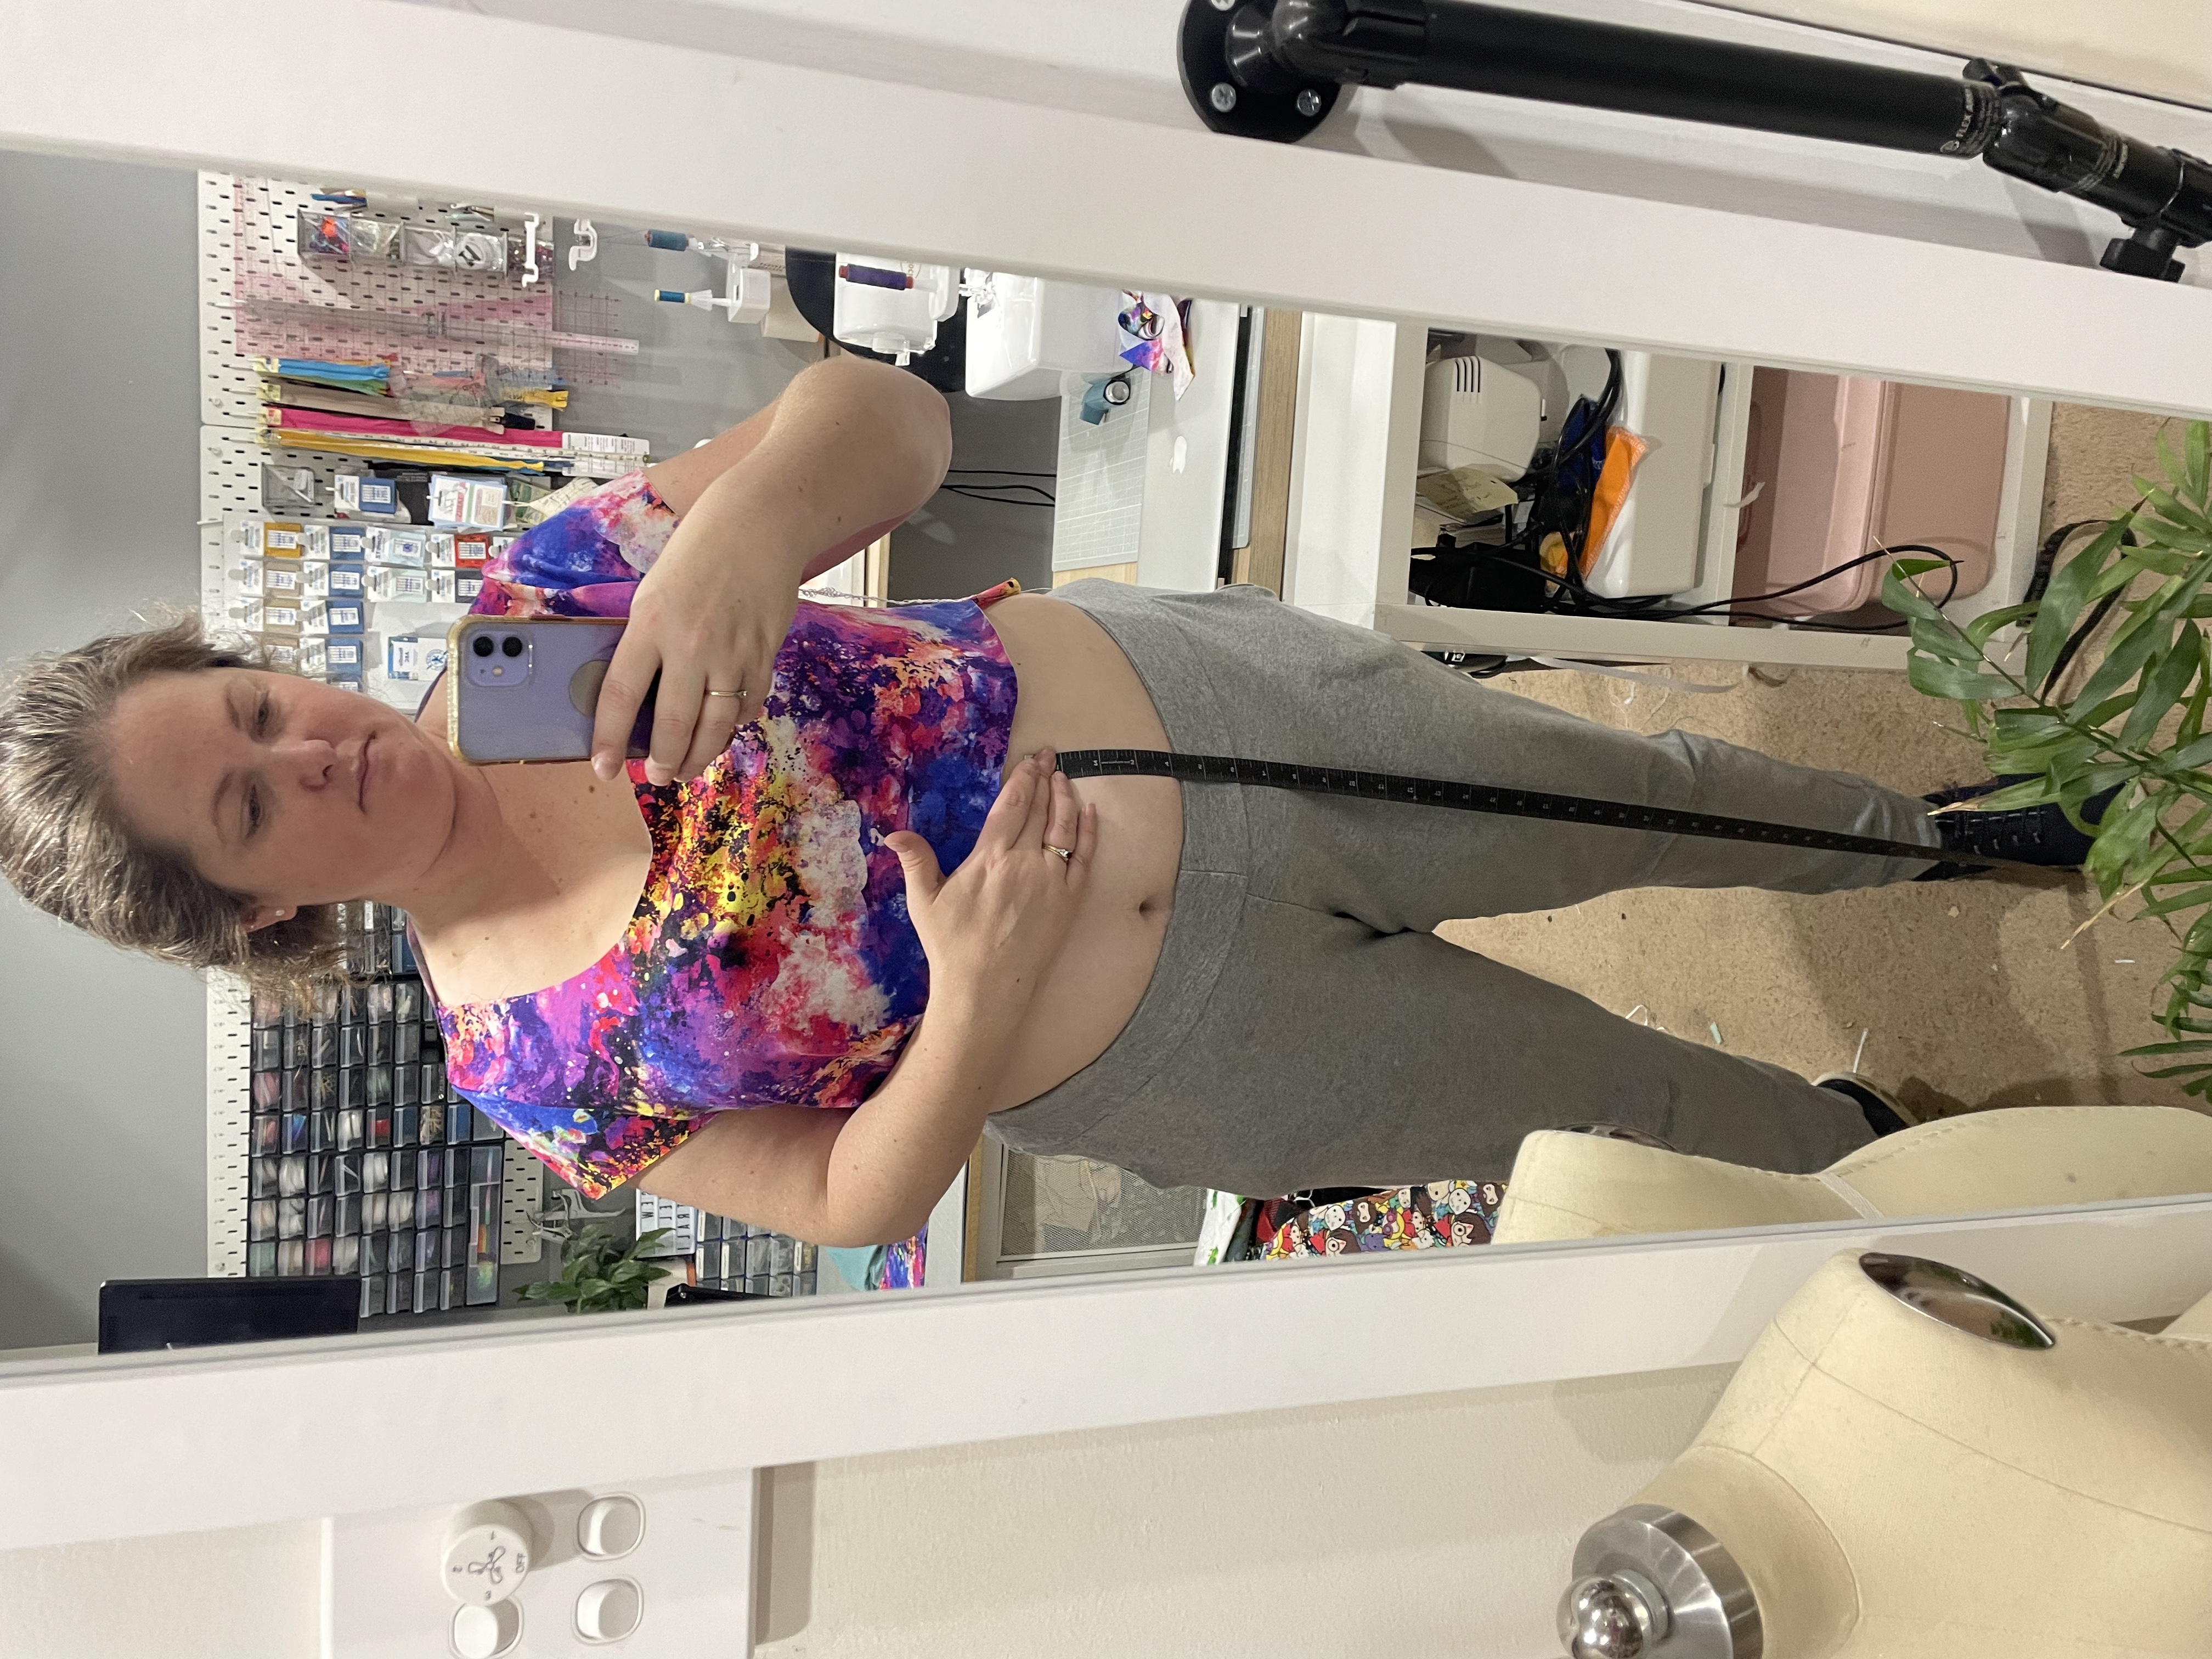
    The original pattern is a tiered dress, but I wanted to make it a single tier skirt. Luckily it’s such a simple hack to do. First I finished the bodice. I then took a measuring tape and held it up to the bottom of the bodice while I was wearing it and decided where I wanted the skirt to sit. 

    Once I had that measurement I added about an inch for the seam allowance and cut the front and back pieces at that length and carried on with the pattern as normal!

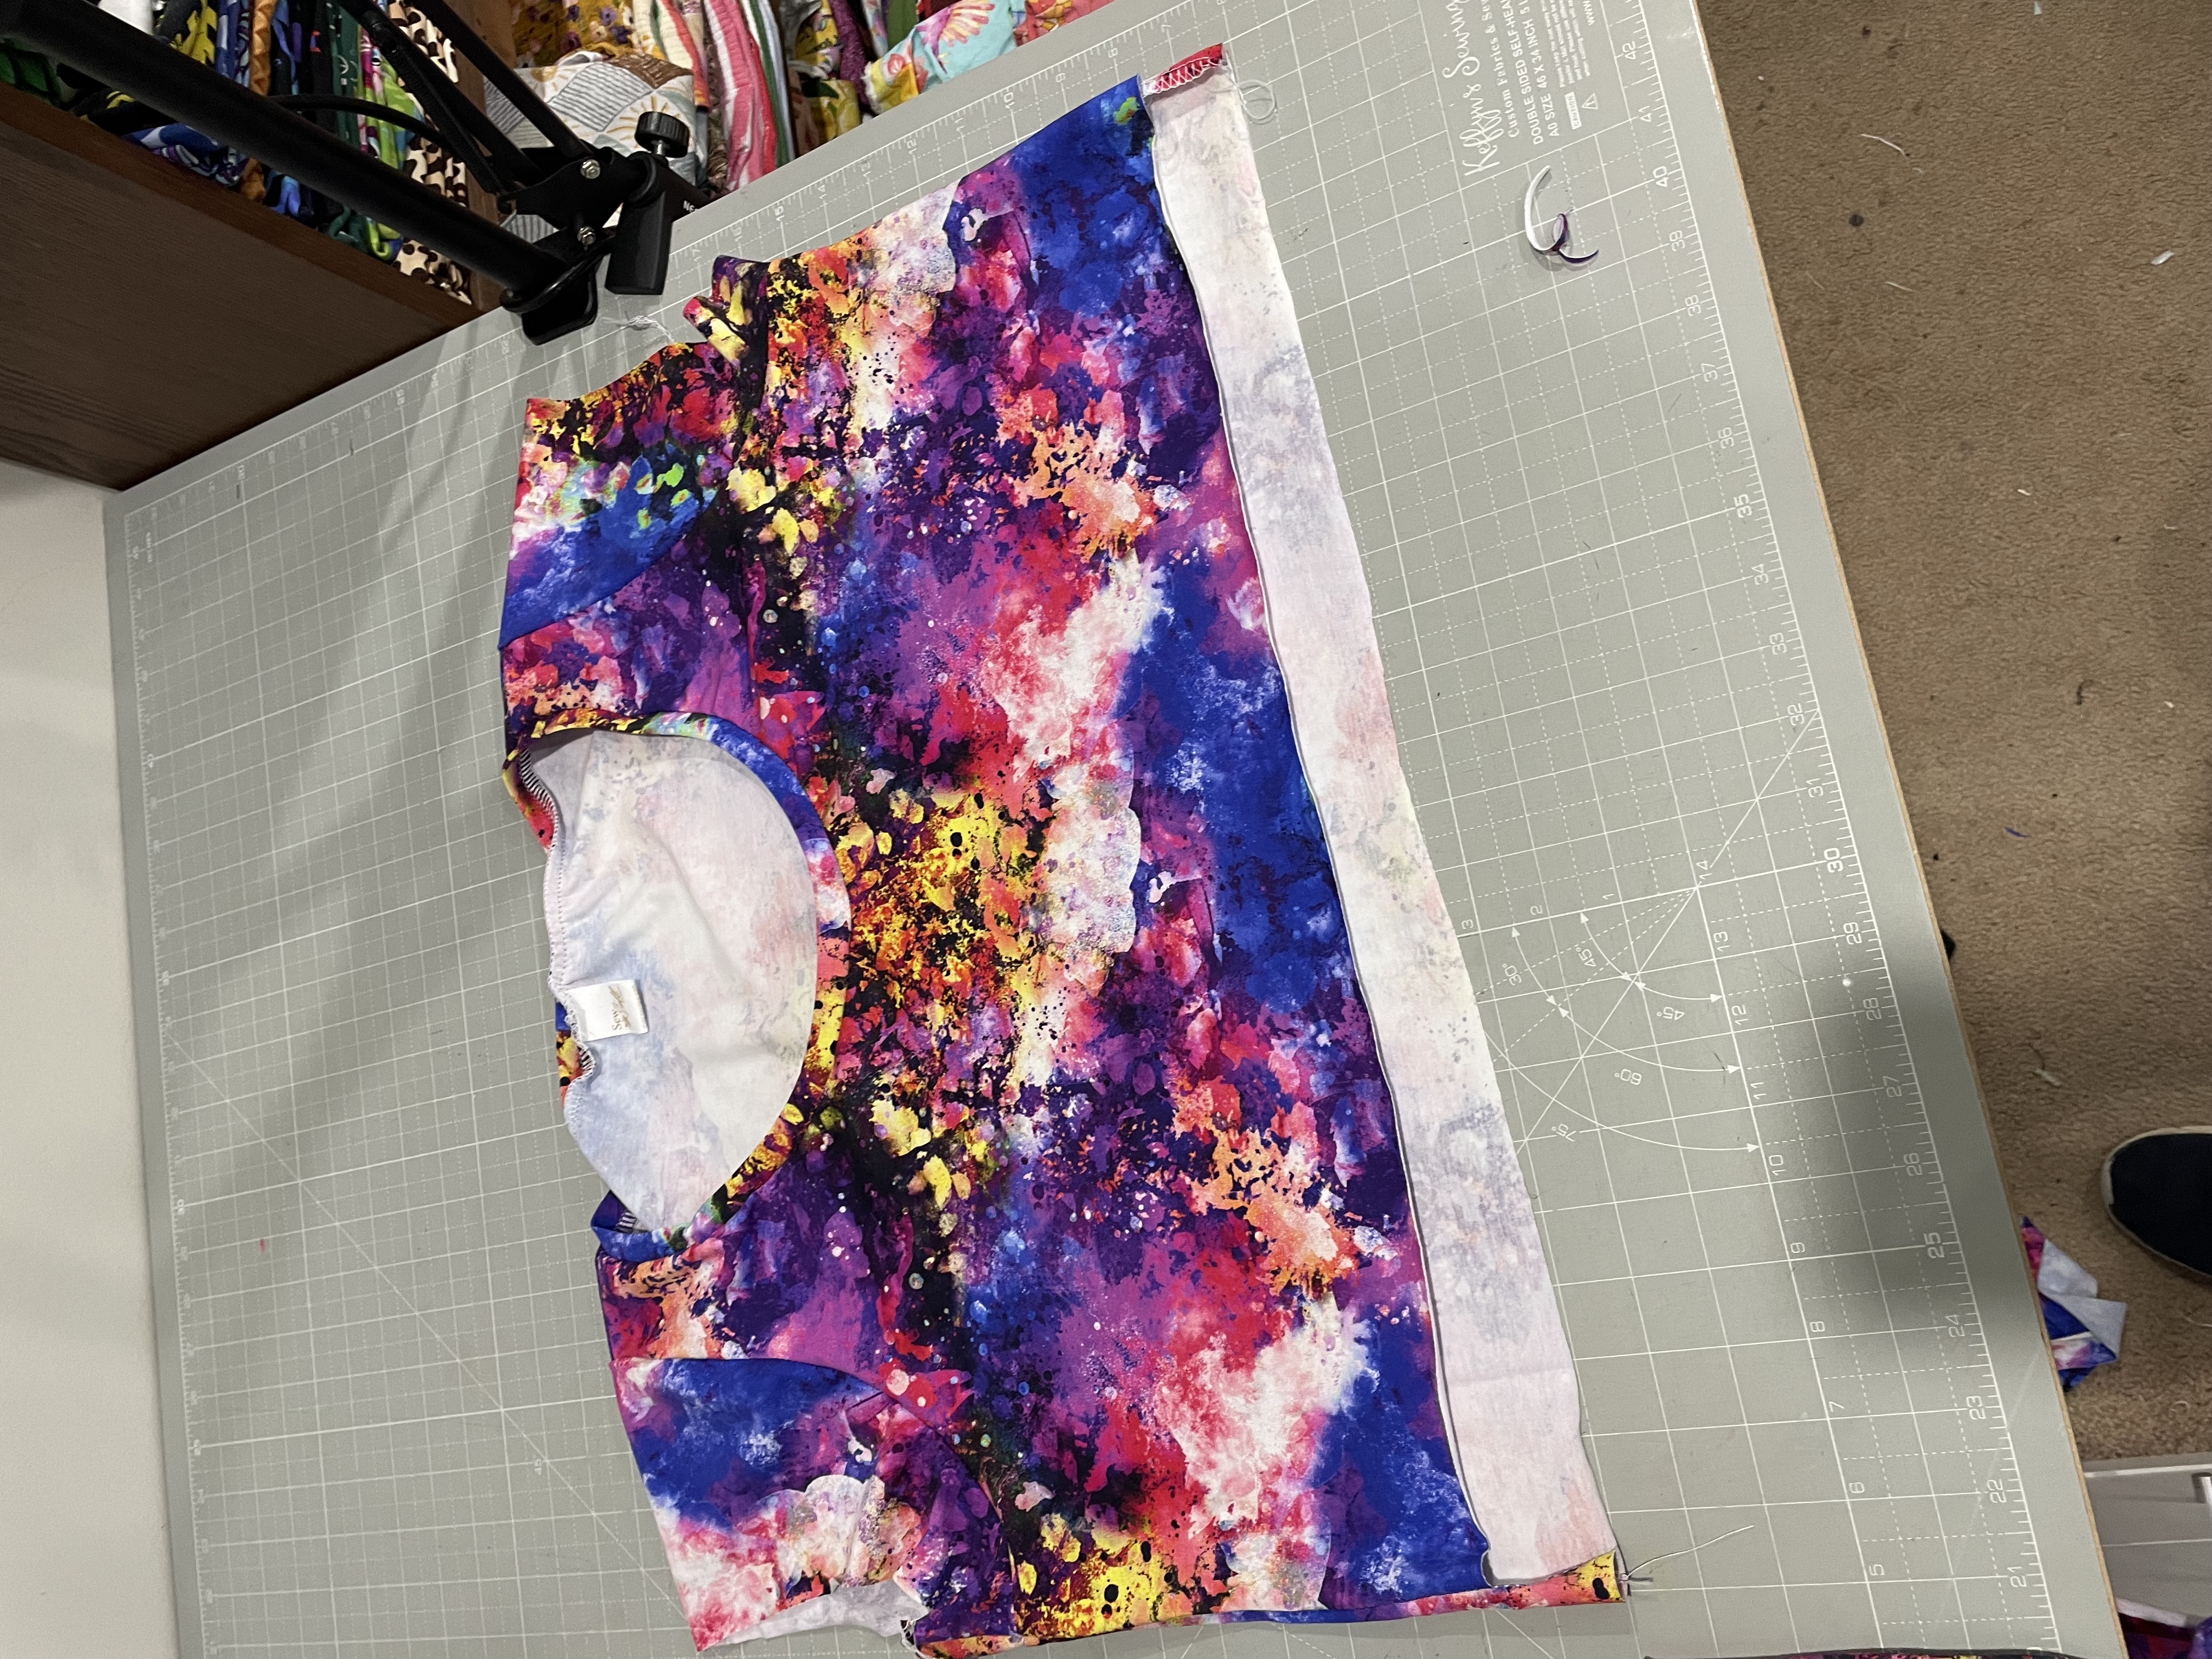
    I would make one note, be careful that you take note of the bodice line you are cutting. I cut the regular length for my front but didn’t pay attention on the back and cut the tall. It was a simple fix to adjust, but just be aware and don’t make the mistake I did haha.

    I think one of my fave things about this pattern is the generous ease in the waist measurement so it doesn’t cling to my tummy making me feel uncomfortable. It’s the perfect dress to throw on in the morning and just cruise around in all day. I imagine in winter I could pair it with some leggings and a cardigan and I’ll have the perfect easy winter dress as well.

    And you know the VERY BEST thing about this dress?!

    I was shopping at the supermarket and someone stopped me to tell me how beautiful my dress was and that is was just so summery and happy. I of course thanked them and said I made it, which they couldn’t believe. It made my day and I had the biggest smile on my face for the rest of the day. Having wearable, comfortable AND flattering clothes is just one of the reasons I sew, and sewing this dress sure didn’t disappoint!

    What next?

    Stop wasting fabric and time on projects that don't fit right. 

    Learn to sew with confidence and let me guide you to more sewing success.

  • Pattern Review of the Diana Dress & Top

    Pattern: Diana Dress & Top
    Designer: Ellie & Mac Patterns
    Fabrics: Bamboo Lycra from The Telarie
    Skill level: Beginner
    Size made: 2XL/3XL
    Pros: I adore this flattering top and dress. It is so beautiful to wear and has some great options.
    Cons: Sometimes a lined top annoys me as it uses more fabric.

    Sewing Serendipity: The Delightful Dance of Fabric and Pattern

    As soon as I saw this pattern release, I knew I had to make one. Or as it currently stands, three! haha.

    For starters, this pattern is named after one of my good sewing friends, Diana from @eloiseandezra. If you don’t already follow her on insta, definitely check her out. She also shares lots of fun tips and tricks on her YouTube channel.

    I also really liked that there were quite a few options to choose from. There are multiple skirt lengths and tiered options as well as the peplum top, which is the 3 types I have made. It also has a couple of necklines, including the square neckline, which is a big fave of mine. I’ve made two with the square neckline and one with a low scoop. On the Square neckline you can also add some ruching at the front centre to make a cute sweetheart neckline.

    The sleeves were another big draw card for me as there were so many options!! I loved the 3/4 shirred sleeve and also I am a sucker for a flutter. Shirring is a lot of fun and has such a great effect. If you’re new to shirring or not sure how to do it, I cover how to shir in one of the Master Classes in my membership, The Sewing Corner.

    I am always a bit hesitant to do knit patterns that are lined as its extra fabric to cut out and use, but I didn’t mind so much for this make. There really isn’t any other ‘neat’ way to get a square neckline either without lining or doing some kind of facing. And I do NOT like facing on a knit garment haha. So lining is the lesser of 2 evils for my fave neckline! It shows how to include elastic in the neckline for extra stability as well which is nice. My Knit Confidence course covers elastics in knits if you need some support with this technique.

    Two of the versions I have made have been with The Telarie Bamboo Lycra and they are SO lovely and flowy. The quality of the material is gorgeous and I just love the prints I chose. 

    I would not hesitate to try this one out, its especially nice in the more flowly fabrics like Bamboo Lycra, Modal, Rayon Spandex and a Viscose Elastane. Try it out and tag me in your makes!

    FYI. This pattern is on sale for 50% off for the month of November 2023. Grab it now!

    What next?

    Stop wasting fabric and time on projects that don't fit right. 

    Learn to sew with confidence and let me guide you to more sewing success.

  • My Favourite Tres Belle Hack – Pattern Review!

    Pattern: Tres Belle Dress with Willow Wrap Flutter Sleeves
    Designer: Ellie & Mac (Tres Belle), Love Notions (Willow Wrap)
    Fabrics: Viscose Jersey from Wattle Hill Fabrics
    Skill level: Beginner
    Size made: 2XL
    Adjustments: I used the flutter sleeves from the Willow Wrap and mashed them straight into the Tres Belle Bodice
    Pros: I’ve done this mash a couple of times and it NEVER fails to impress me. It is light, breezy and super flattering.
    Cons: The binding on the neckline can be a little intimidating, but take it slow and you should have no problems.

    Romance in Every Stitch: Mastering the Tres Belle Dress with a Flutter Sleeve Hack

    So, I guess the first question I ask is, can you ever have too many beautiful dresses?

    Answer, NO!

    I think this is the 3rd or 4th Tres Belle I have made and at least the 2nd or 3rd I’ve made with the Willow Flutter Sleeve hack. I just love the romanticism of the flutter and softness it brings. I find that using soft fabrics such as Modal’s, Viscose Jersey, Bamboo Lycra and Rayon Jersey/Lycra’s work best if you want a really soft look, while something like a 220gsm Cotton Lycra/Elastane will have slightly more structure to it. 

    In terms of the hack, its a pretty straight hack. I used the sleeves from the Willow Wrap and put them straight onto the Tres Belle armcyes at the same size. For example, my armcye was an XL, so I cut the XL flutter sleeve on the Willow Wrap and it fit in nicely.

    Of course the other staple that is always in any dress I make, is pockets! I just can’t imagine having dresses without pockets now haha. 

    I think one of my favourite things about this style of dress is the cross over front that flares from under the bust, helping to skim over my tummy, which is the area of my body I am most self conscious about. I am working on accepting myself as I am, but being able to make clothes that help me feel more confident is definitely part of that process.

    I hope this review has inspired you to explore the fluttering elegance and comfort of the Tres Belle with the Willow Sleeve hack. It’s such a joy to create garments that not only look beautiful but also make you feel confident and comfortable in your skin. If you’re looking to enhance your knit fabric sewing skills further, take a look at my free guide, ‘Improve Your Knit Sewing in 30 Minutes or Less’, and start making your sewing journey even more rewarding. 

    Use code ‘sewwithmegan10″ on any Love Notions Pattern for an extra 10% off.

    Ellie & Mac also have 50% off ALL patterns during November 2023. Grab it while it’s on sale!

    What next?

    Stop wasting fabric and time on projects that don't fit right. 

    Learn to sew with confidence and let me guide you to more sewing success.

  • Video Tutorial of Bear Hug Wrap Romper

    Pattern: Bear Hug Wrap Romper
    Designer: Peek A Boo Patterns
    Fabrics: Cotton Lycra from Wattle Hill
    Size made: 3 months & 12 months
    Adjustments: None
    Pros: This is a really cute little wrap romper for your babies. Perfect as a baby shower gift.
    Cons: None

    Effortless Baby Dressing: A Dive into the Bear Hug Wrap Romper Pattern!

    There’s something innately charming about dressing up babies; their outfits are like pint-sized versions of adult clothes, filled with cuteness overload. However, the practicality of baby outfits is just as crucial, if not more so, than their aesthetic appeal. That’s where the Bear Hug Wrap Romper pattern shines bright.

    This pattern effortlessly combines style with functionality. The wrap design not only adds a touch of elegance but also ensures a quick dressing process – a must during those late night changes or with a wriggly baby.

    The rompers’ variety is another plus. It offers short and long sleeves, making it adaptable to different seasons and climates. The optional fold over cuffs is good for those bubbas who scratch themselves, protecting their hands and face. I also like the options of both cuffs or footies, ensuring your little ones remain snug as a bug.

    I also think an important feature of babywear is ease of use in getting to the nappy/diaper. If you choose to add the inseam snap placket, it eliminates the hassle of fully undressing the baby, saving both time and effort.

    I would say the most difficult part of the wrap is the binding. It can be quite tricky, however I suggest going slow and using something like double sided washaway tape to help keep it in place while you sew. Have a look at the tutorial I filmed below for additional tips and tricks.

    I highly recommend for those sewing for their little ones or even as a thoughtful handmade gift for expecting friends and family!

    Step-by-Step Tutorial: Sewing the Adorable Bear Hug Wrap Romper for Your Little One!

    What next?

    Stop wasting fabric and time on projects that don't fit right. 

    Learn to sew with confidence and let me guide you to more sewing success.

  • Pattern Review of the Avonlea Knit Party Dress

    Pattern: Avonlea Knit Party Dress
    Designer: Peek A Boo Patterns
    Fabrics: Cotton Lycra from  The Telarie & Netting from Spotlight
    Skill level: Adventurous Beginner
    Size made: 2
    Adjustments: None
    Pros: I love how sweet this one looks and the tulle overlay really makes it.
    Cons: The collar takes some time to get right and I recommend basting it before you sew it in properly.

    Where sweetness meets rainbow dreams

    I’m not sure there is anything sweeter than a peter pan collar on a little one, so I LOVED being able to use this pattern for a friends little girl.

    This is a great staple to have in your pattern library and lends itself well to quite a quick sew. Littlies also love twirling, and the half circle skirt on this one is perfect for that. When I gave Miss I this dress she immediately wanted to put it on and start to twirl in it. Made my heart sing.

    I was a little worried about how the collar would sit being that it has the neck band over the top, but the only way to avoid that would be to line the bodice, either fully lined or partial, and to be honest, I couldn’t be bothered. I needed have worried as I think it turned out really well with the neck band anyway. I wouldn’t hesitate to do another one that way.

    My other thing I loved about this pattern was the cute puff sleeves. They looked just so adorable!

    To add the tulle overlay I simply cut the skirt piece out of the tulle and then treated it as one piece while I was attaching it. I did actually initially try a gathered skirt over the top of the half circle but it didn’t work. I didn’t have enough volume in the gathered skirt to give the circle skirt underneath the correct movement.

    All in all I highly recommend this one!

    What next?

    Stop wasting fabric and time on projects that don't fit right. 

    Learn to sew with confidence and let me guide you to more sewing success.

  • Pattern Review of the Happy Feet PJ set

    Pattern: Happy Feet Pjs
    Designer: Peek A Boo Patterns
    Fabrics: Cotton Lycra from Frankie Bear Fabrics
    Skill level: Beginner
    Size made: 0 (6-12 months)
    Adjustments: None
    Pros: If you love footed pjs are frequently changing nappies, being separates is a big plus.
    Cons: It doesn’t come in adult size! haha. 

    Step into Coziness

    When it comes to achieving the perfect blend of comfort and style in sleepwear, the Happy Feet PJ’s pattern proves to be a true gem.

    I was and still am a HUGE fan of the Classic Zip PJ’s (read my review here), but when my son started toilet training, he needed to be able to get his PJ’s off himself. The zips on the Classic Zipper Pj’s proved to be a bit of an issue for him while still learning, but he loves the footed part of the Classic Zipper. When I started making the Happy Feet PJs however, it was the perfect mix of both!

    Especially great if your little ones often lose socks while sleeping, the built in feet keep them super cosy. I also love the raglan style sleeves. I feel it gives a better opportunity to mix and match fabrics and colours, creating the perfect balance.

    I can see many more Happy Feet Pj’s in our future!

    What next?

    Want personalised advice on your next sewing project?

    Learn to sew with confidence and let me guide you to more sewing success.

  • Pattern Review of the Demi Raglan Tee

    Pattern: Demi Raglan
    Designer: Sinclair Patterns
    Fabrics: Cotton Lycra from Rubyjam
    Skill level: Beginner
    Size made: 18/20
    Adjustments: Only the grading
    Pros: Super easy for a beginner and great fitting.
    Cons: Making sure you mark your front and back notches is important.

    The Wrap Up

    When you are self conscious about your mum tum (like I am), it can sometimes be hard to find a tshirt pattern that doesn’t cling to all the wrong places. The Demi Raglan is one of my fave raglan style tees cause it doesn’t make me feel uncomfortable and is such a nice fit!

    Something I love about raglan sleeves is I think you have better colour blocking options. Having the sleeves form part of the neckline means you have a great opportunity to showcase fabric and patterns on the sleeves. This means options like a bold print paired with a solid work really well as they balance each other out and can look very cohesive.

    I wanted to use the feathers in this one as I didn’t have a huge amount left and I knew that pairing it with the black would look really effective. I also toyed with the idea of a mustard or teal, but ultimately I thought the black worked the best. The only thing I was a little worried about what that it then left the middle panel quite plain.

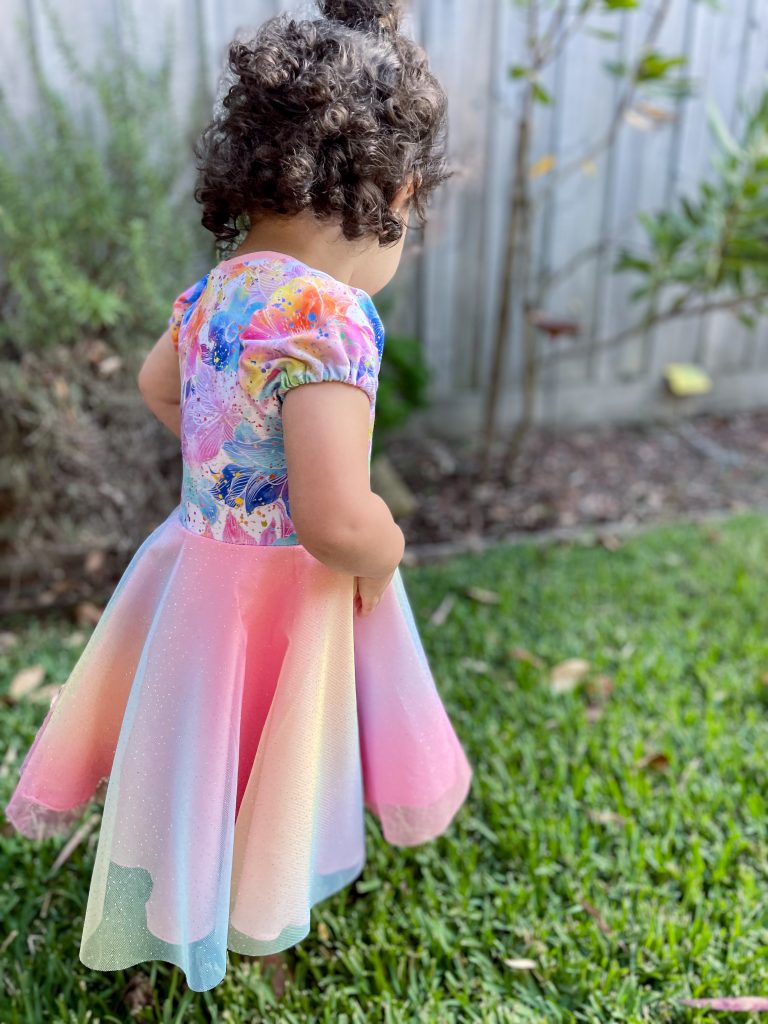
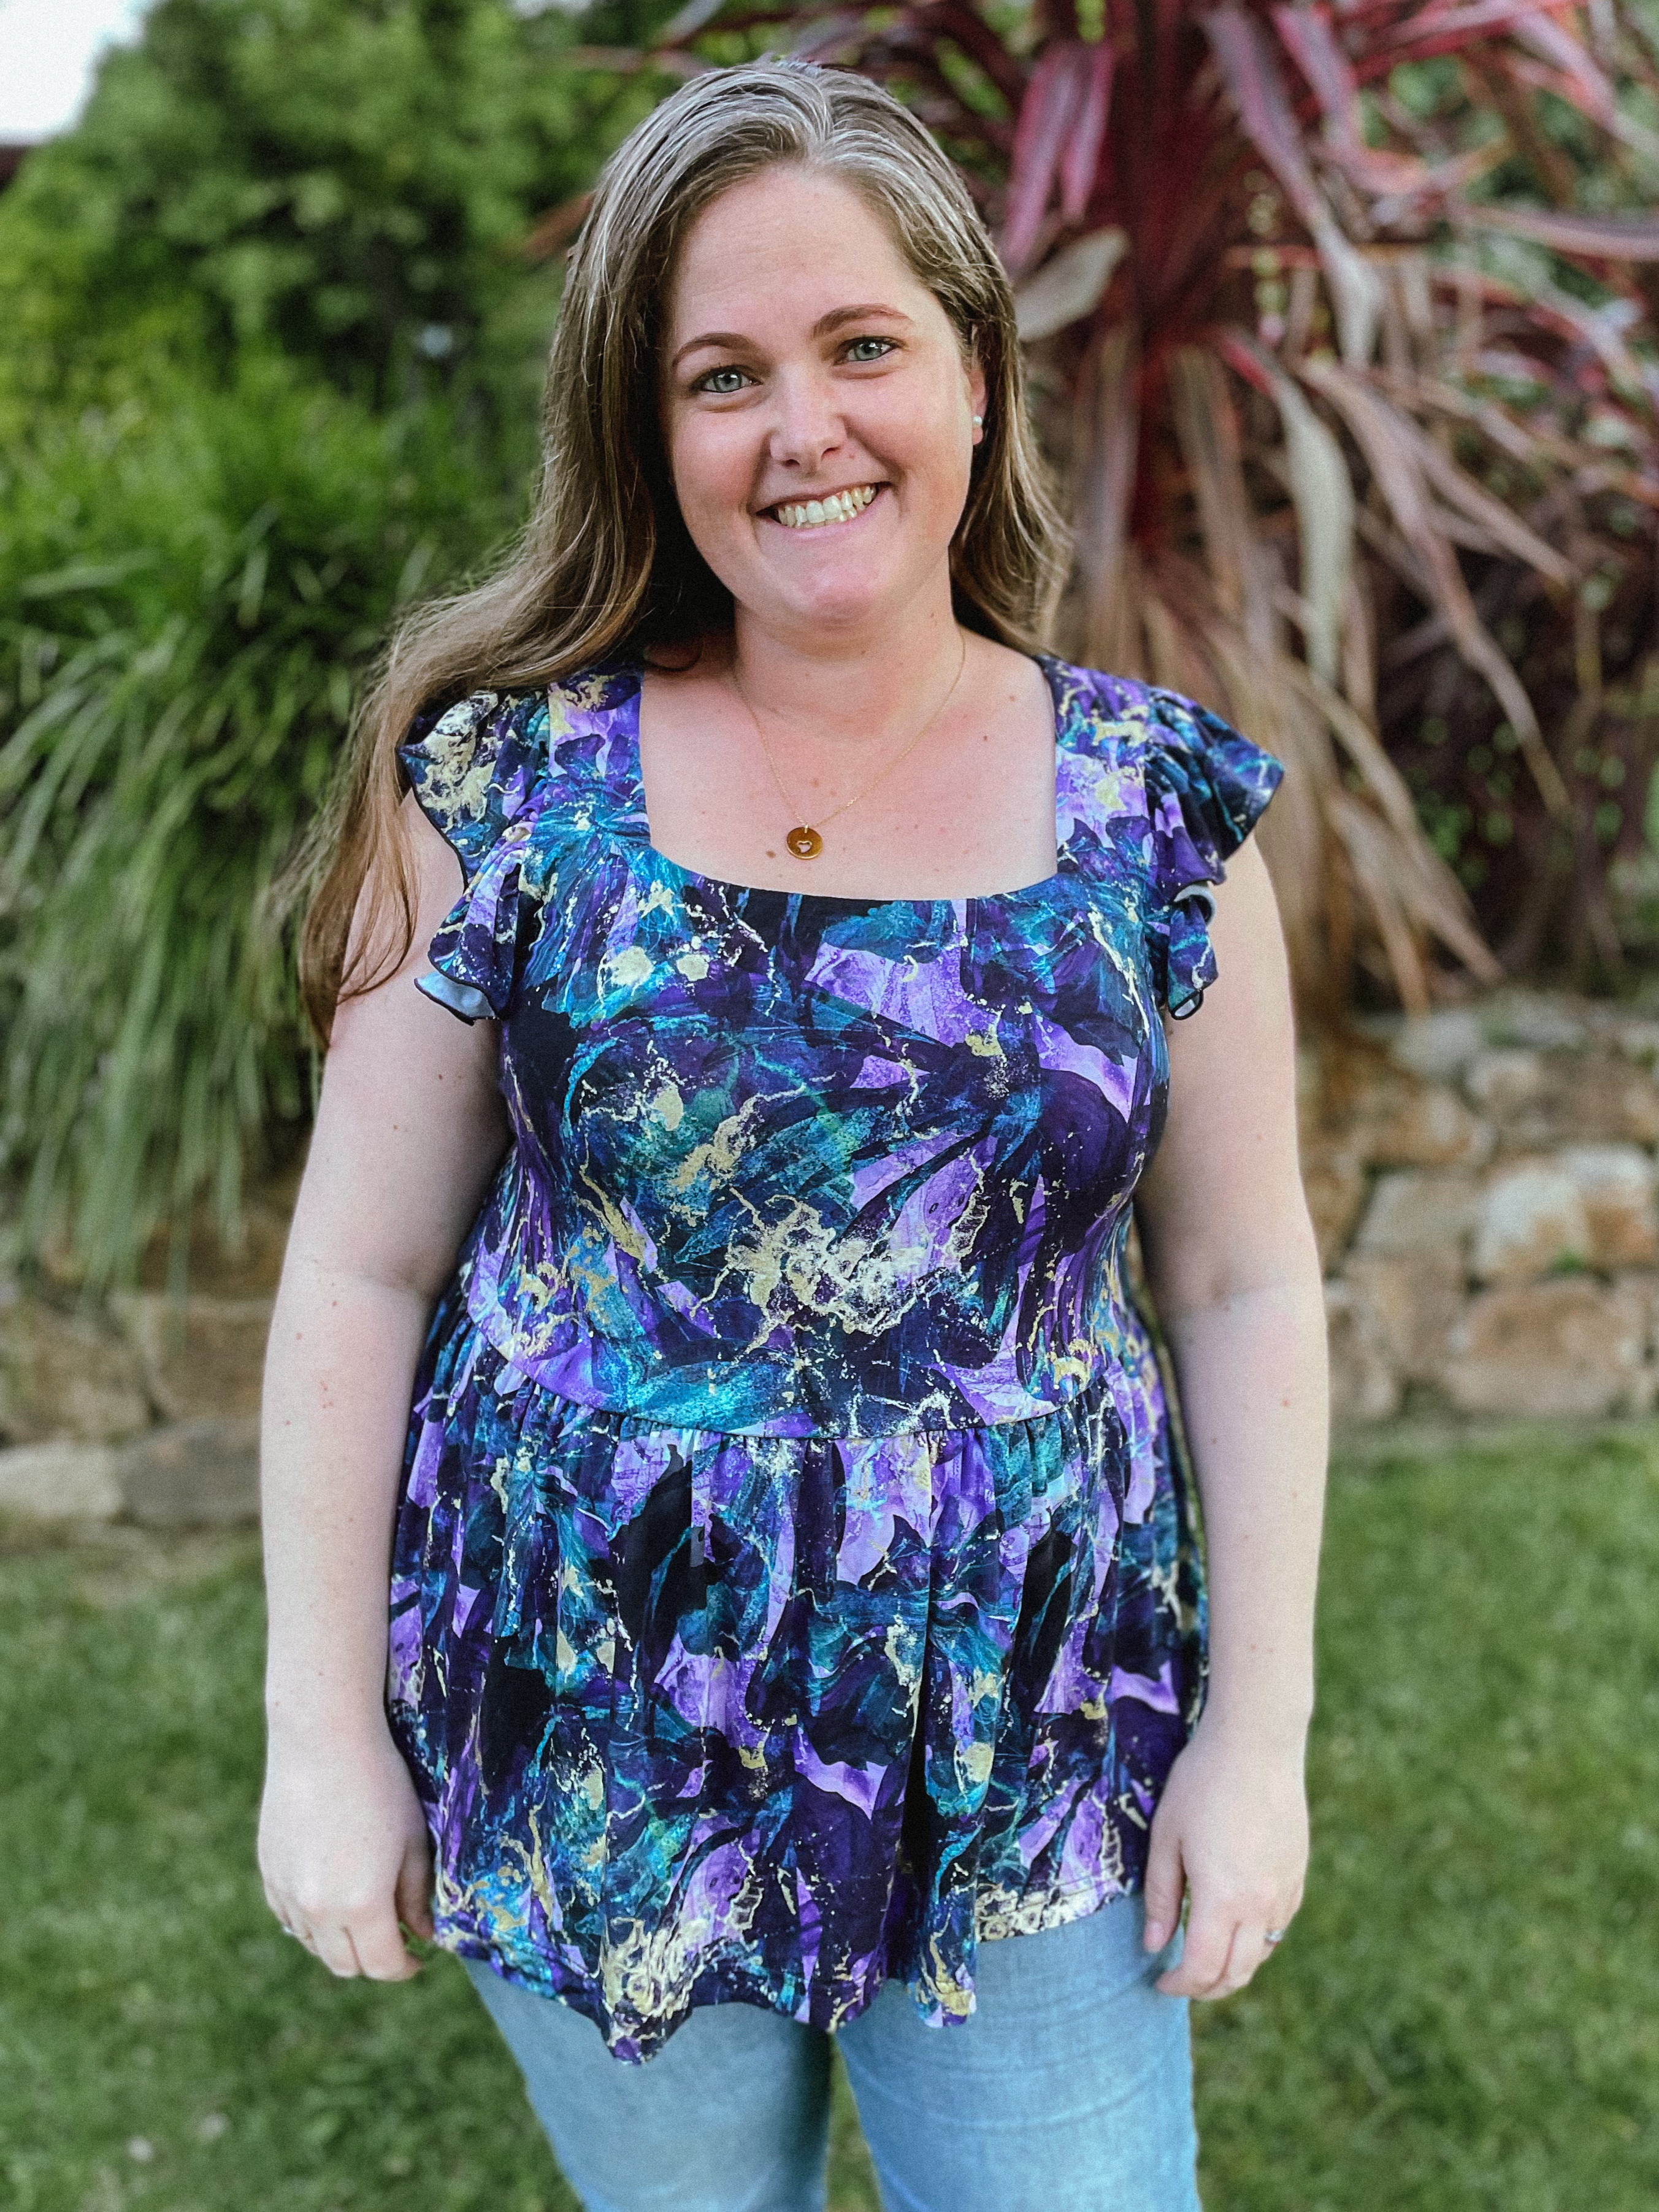
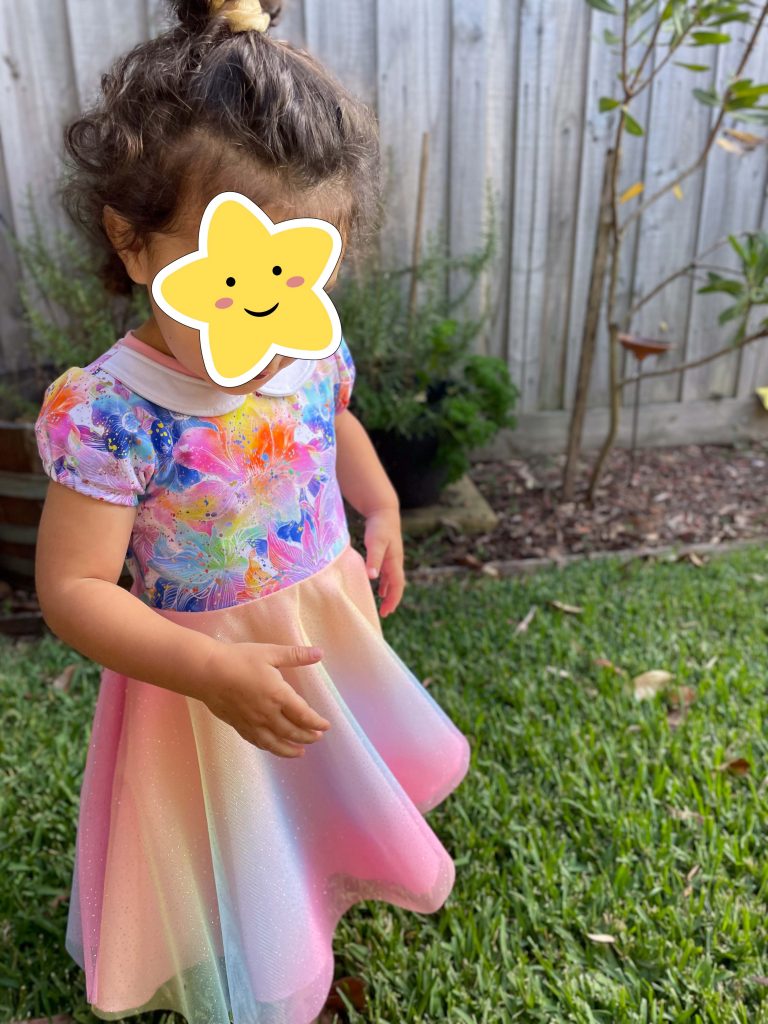
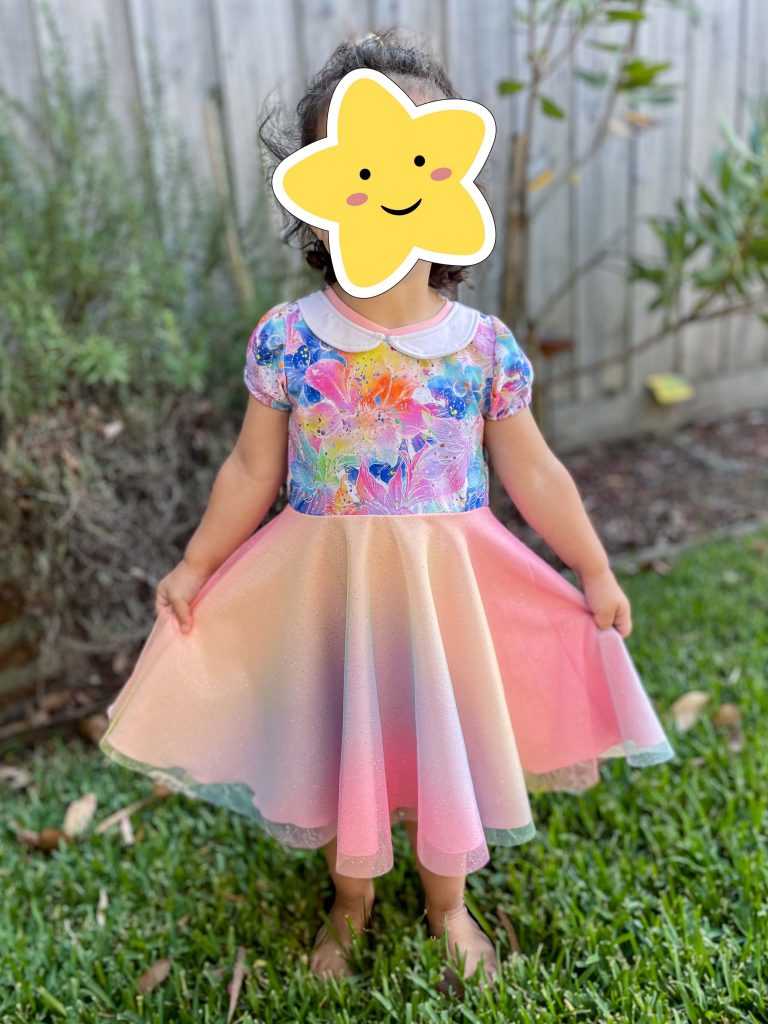
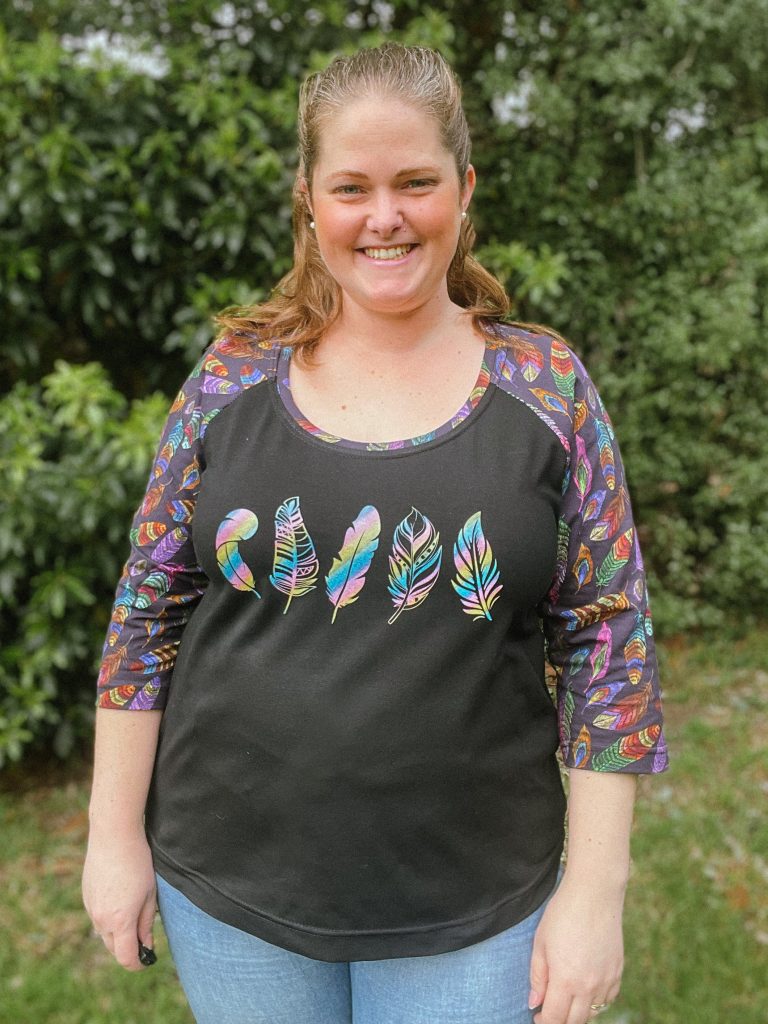
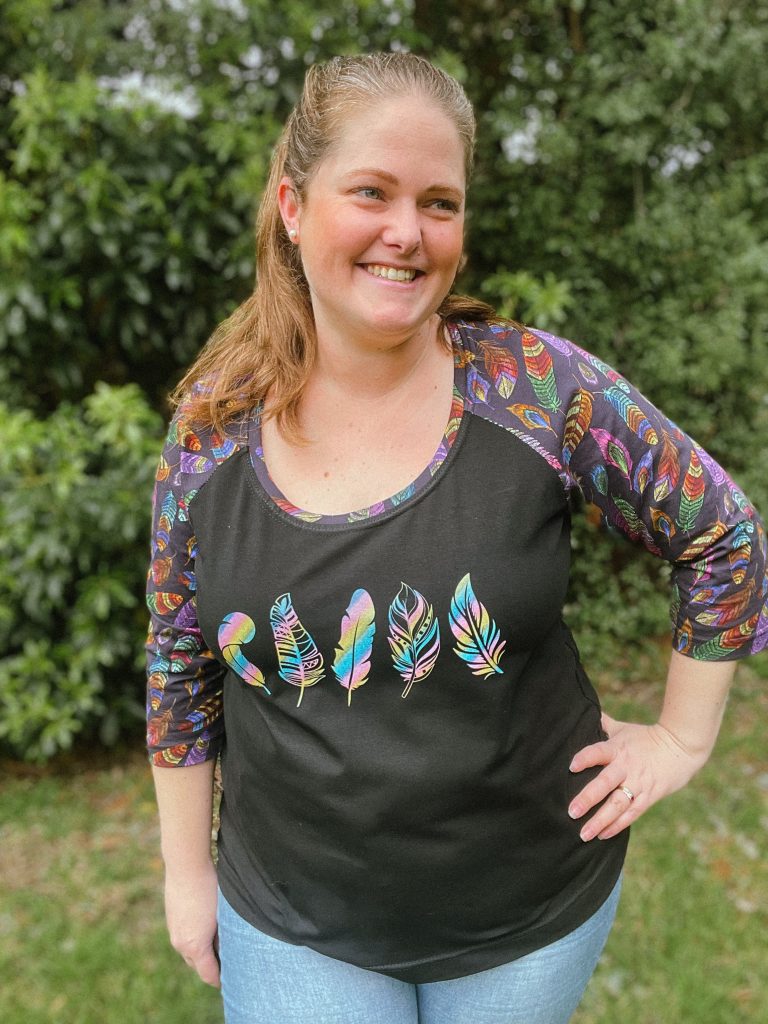
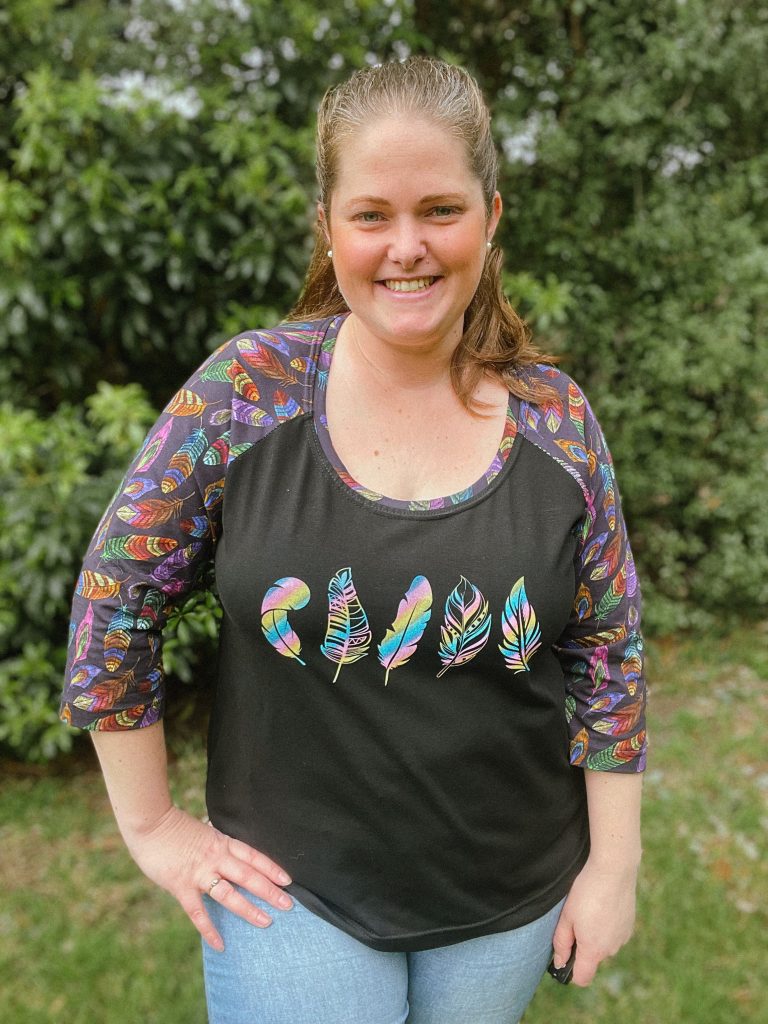
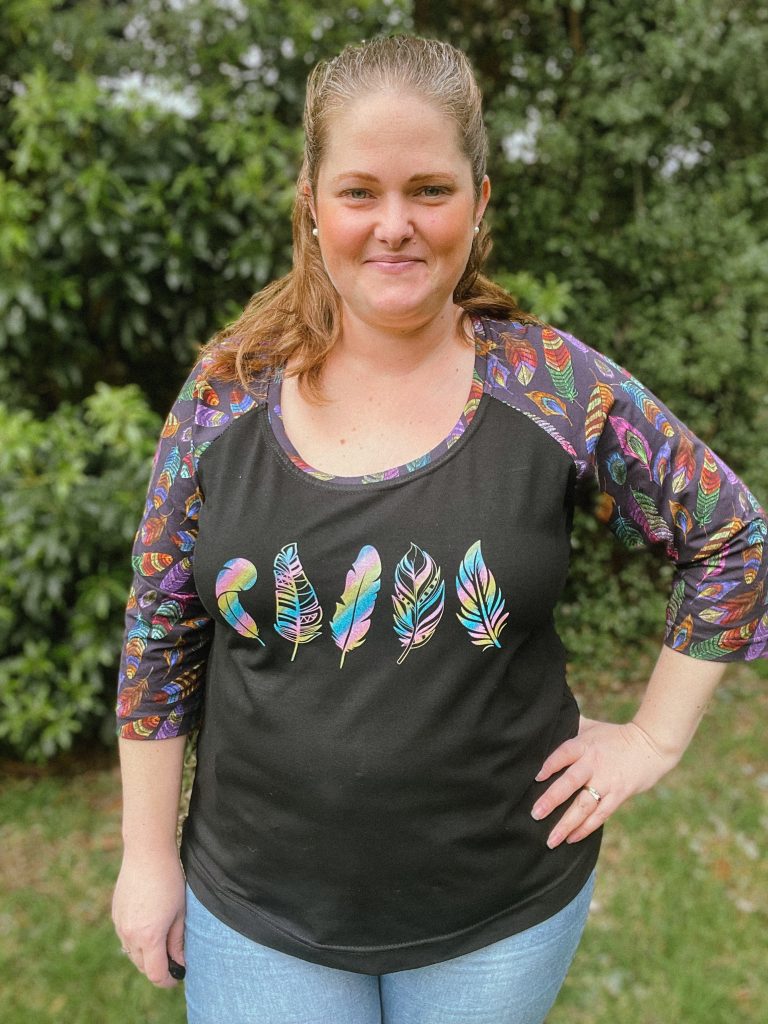
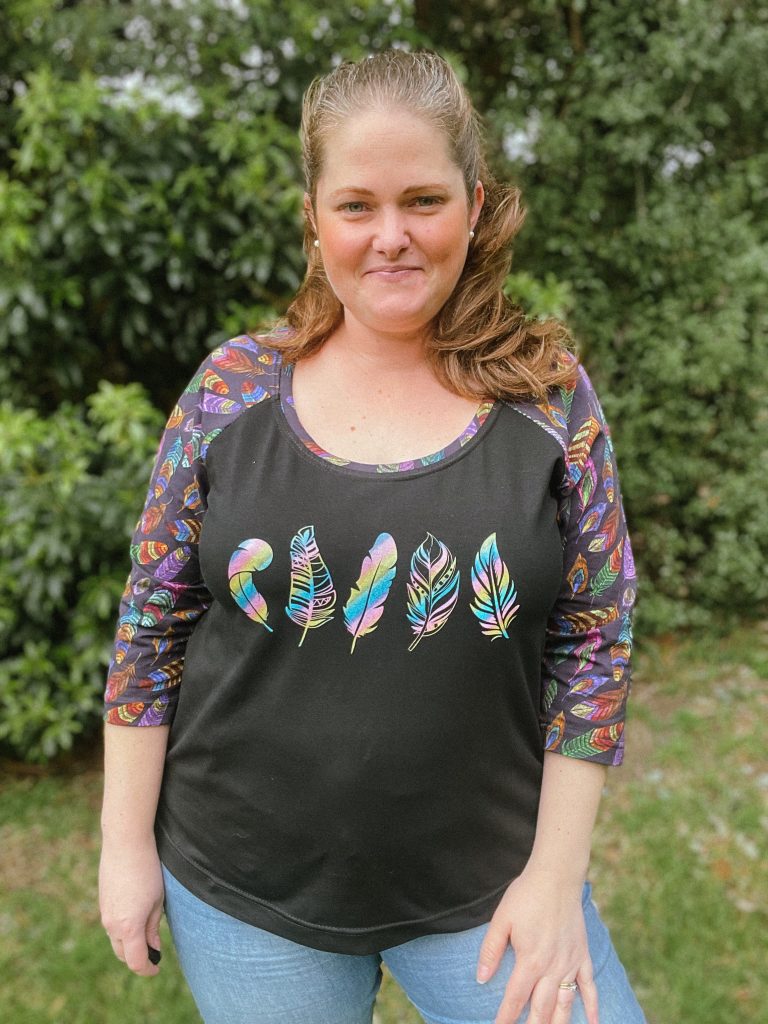
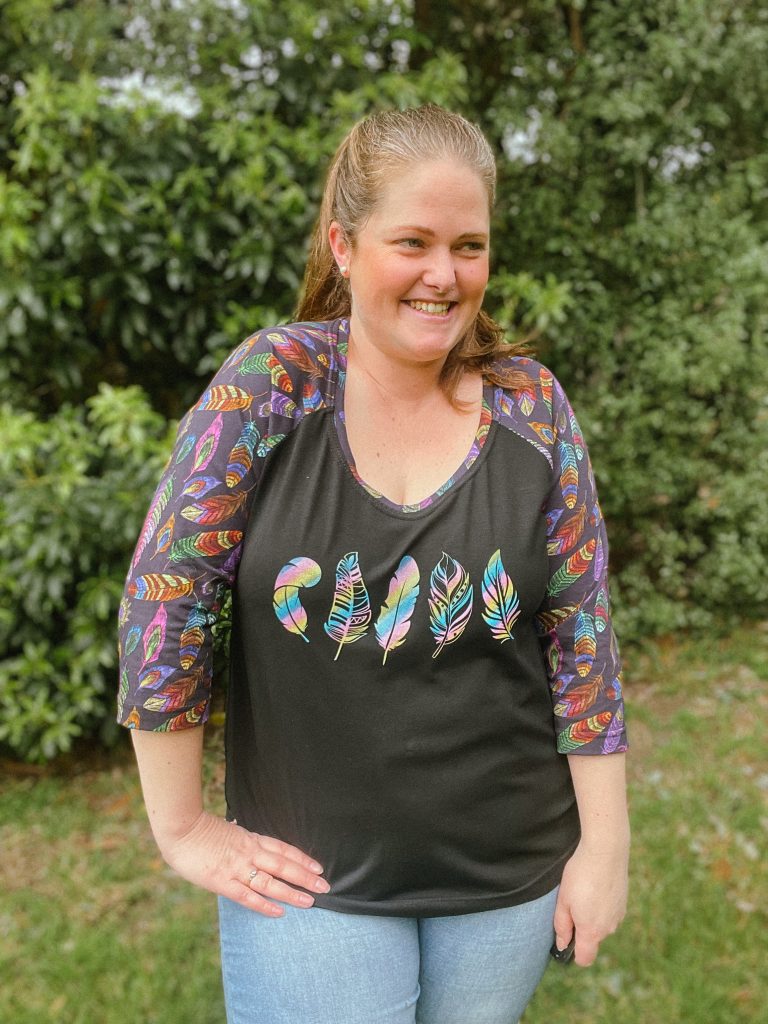
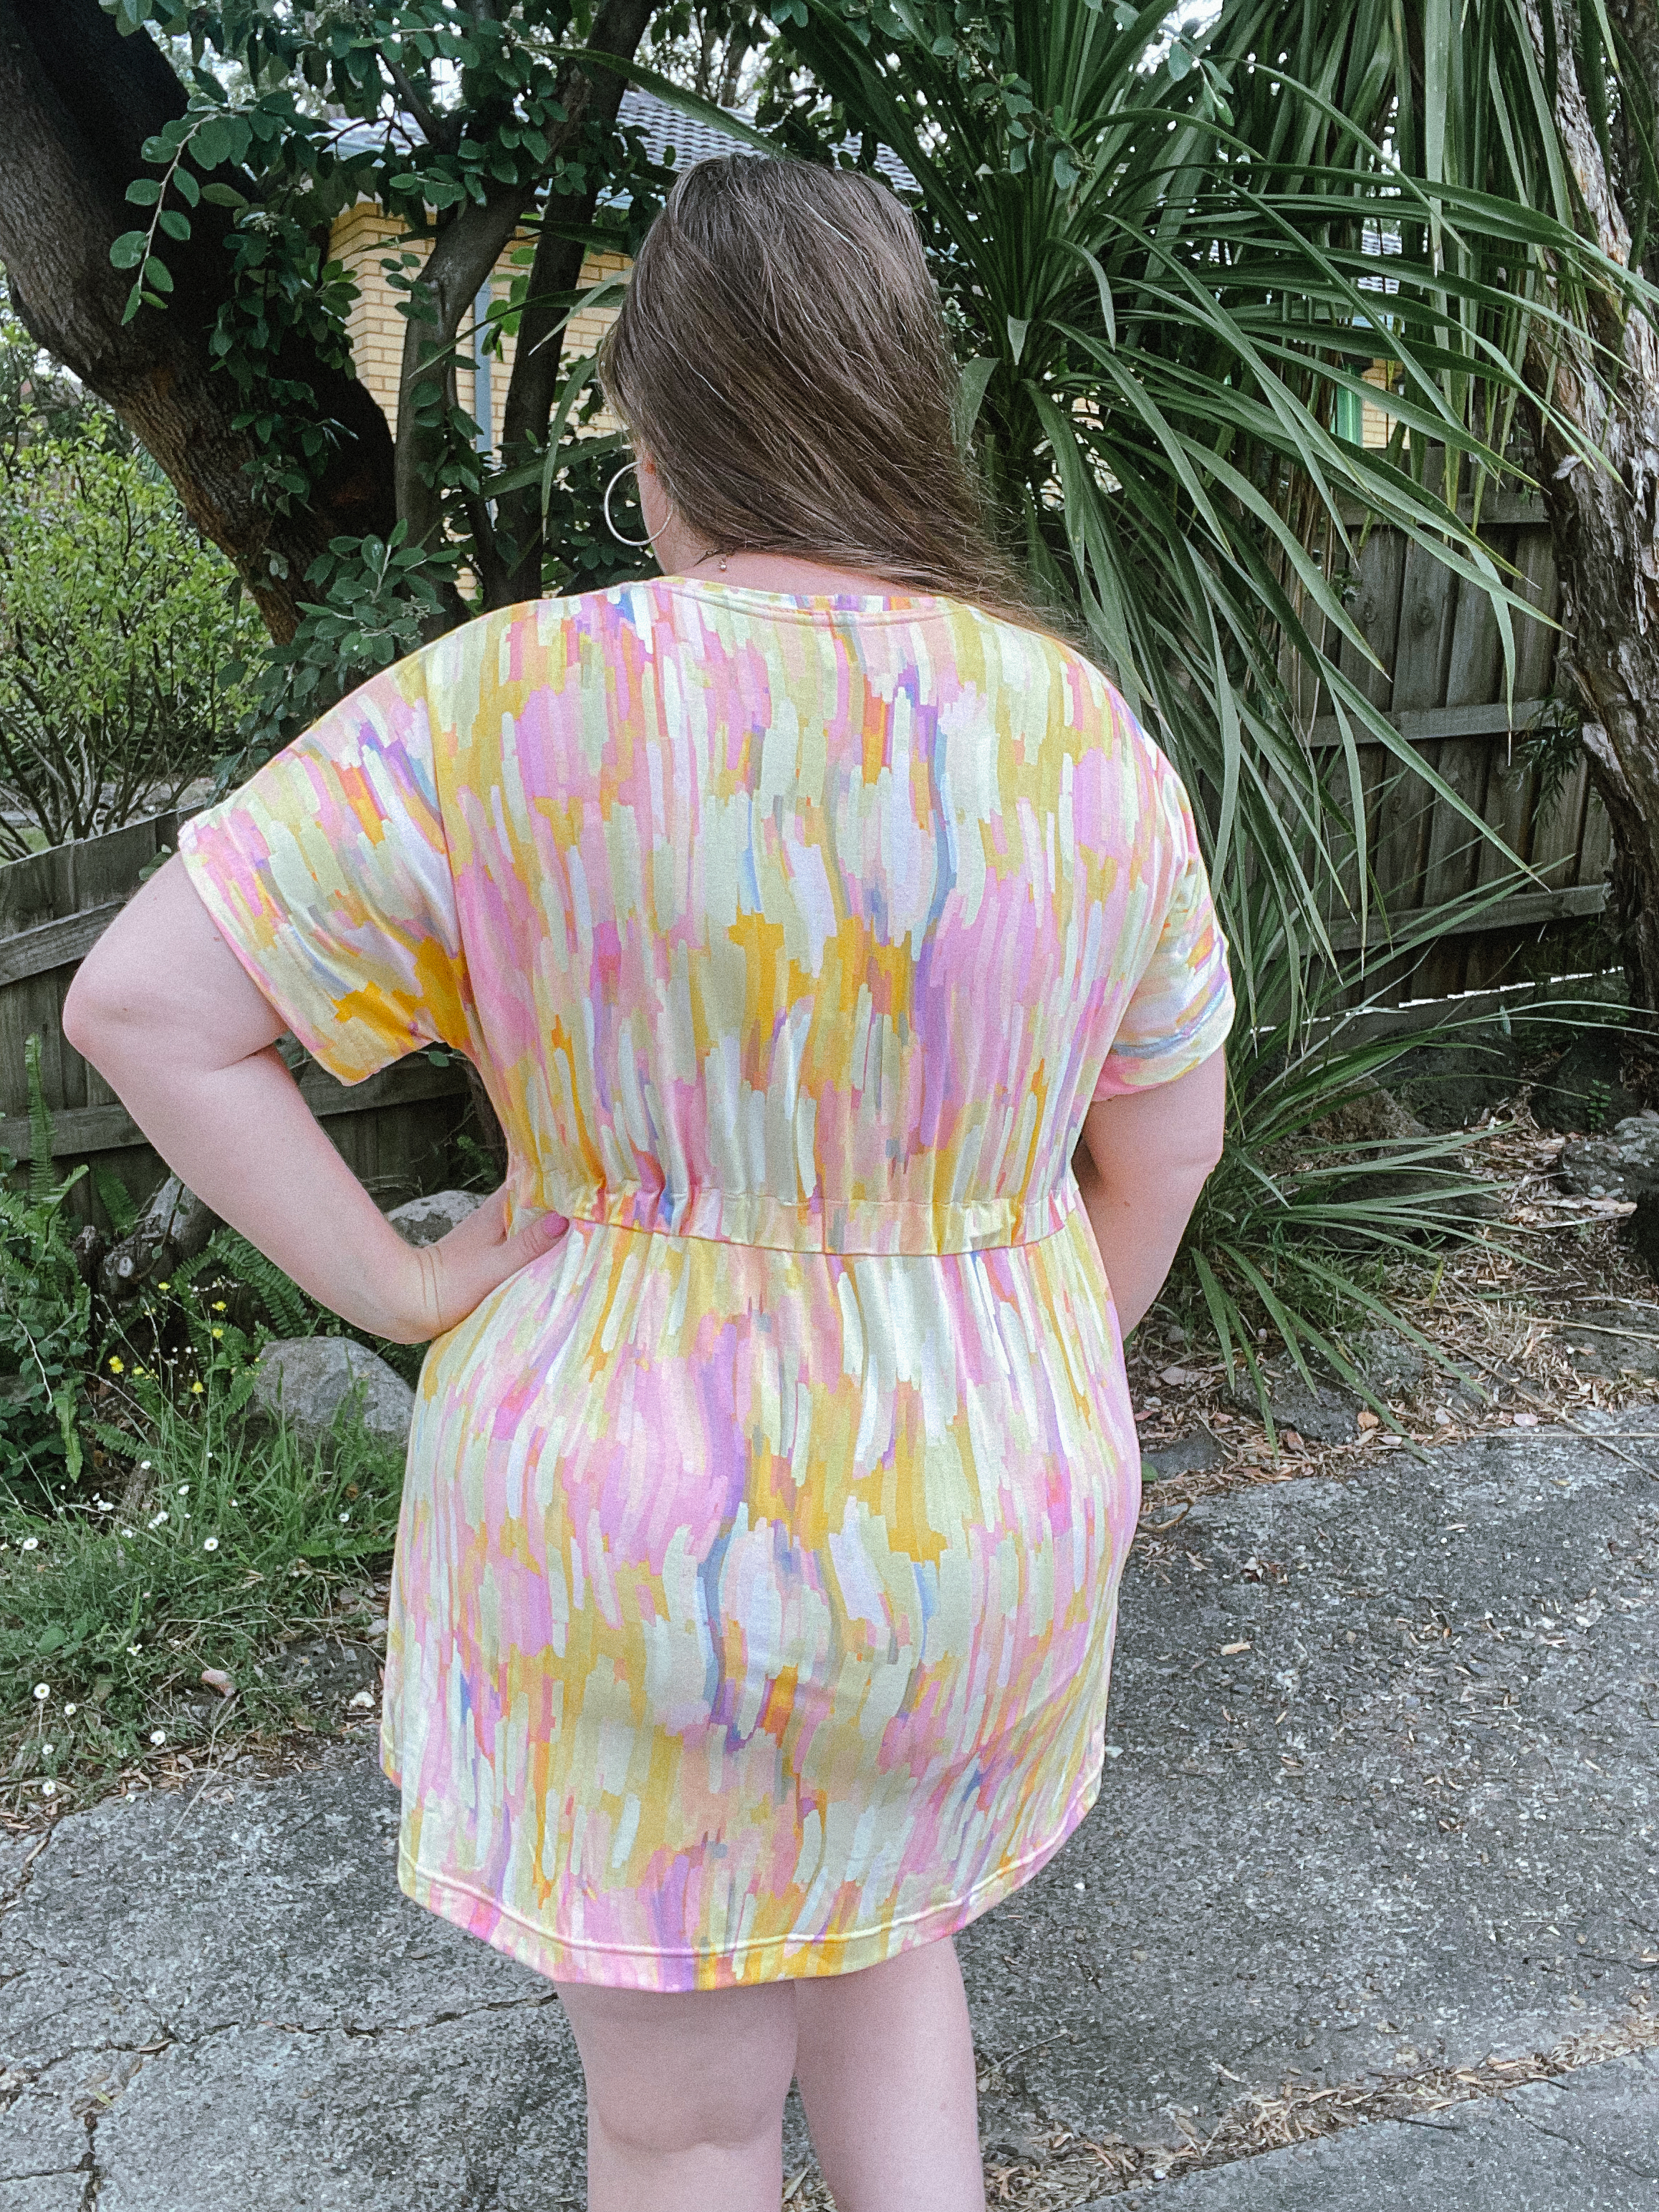
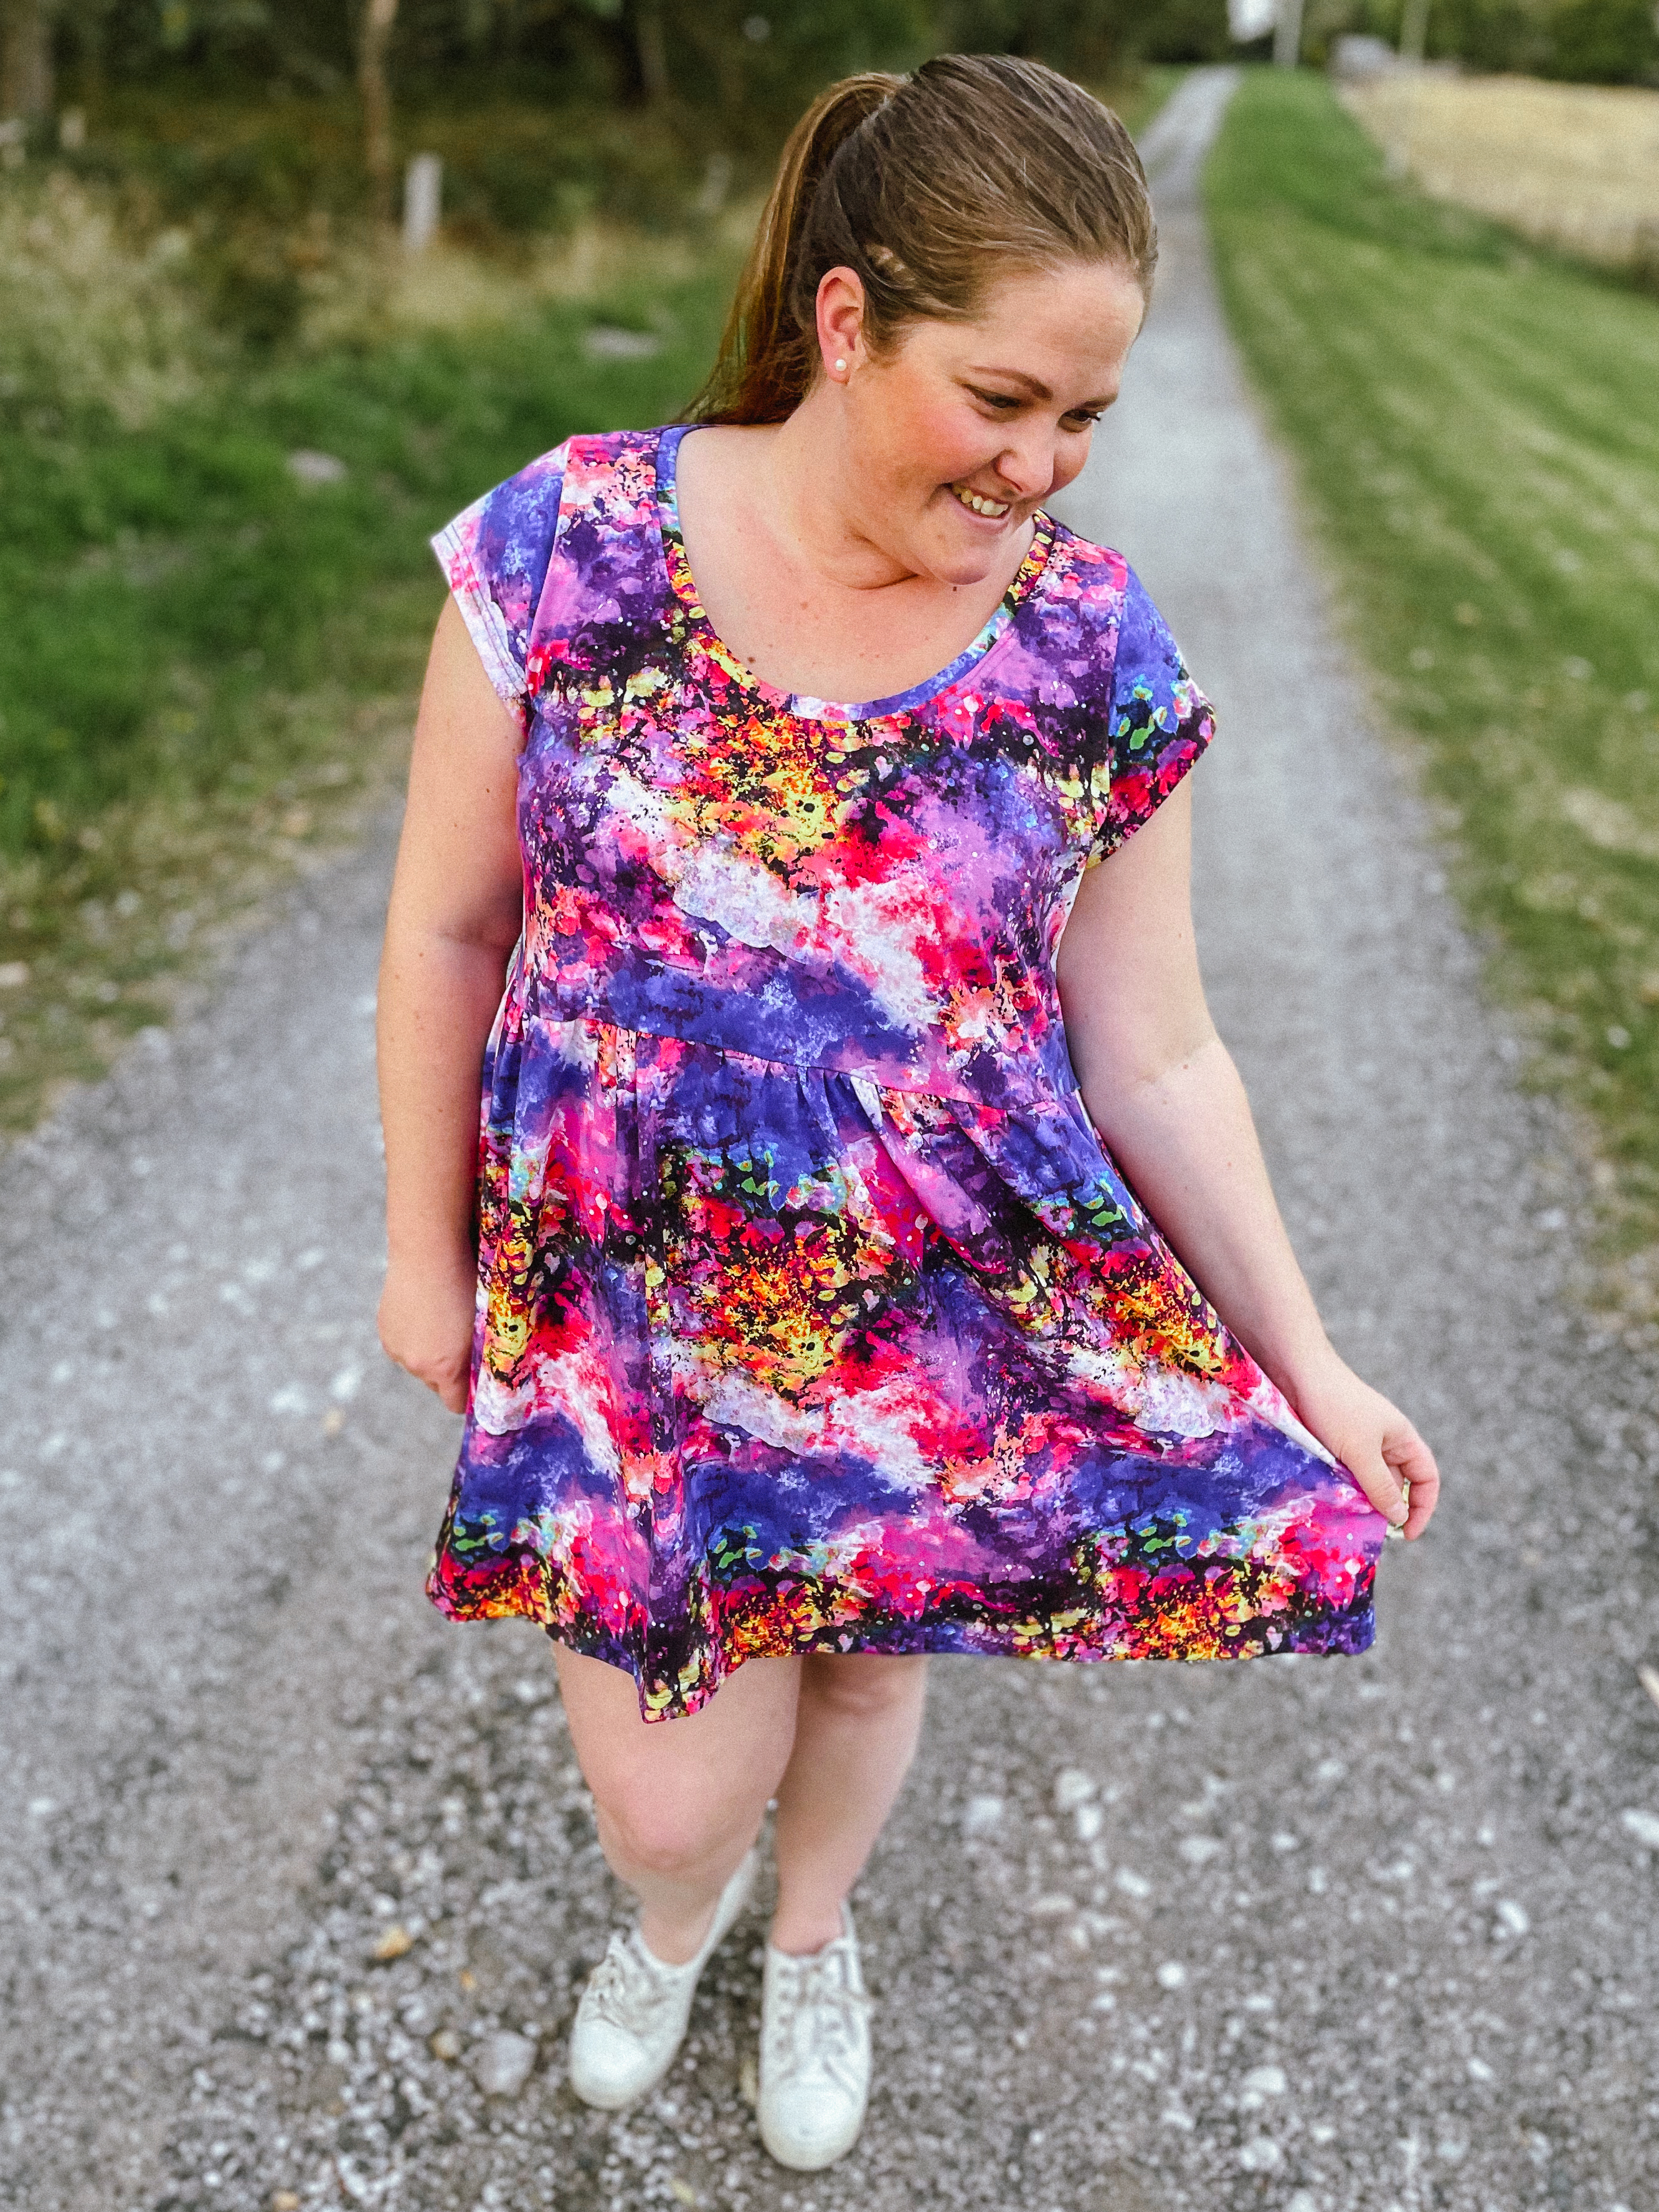
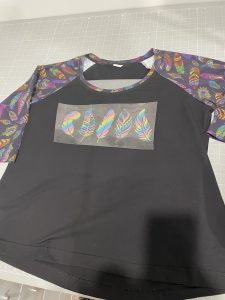
    I decided to use my new cutter, the Juliet cutter from Siser with some Siser Heat Transfer Vinyl in rainbow glitter to brighten up the front panel. I wanted to keep in the feather theme so I bought a feather file off Etsy that had a few options and then incorporated it into a horizontal group across the chest. It worked SO WELL!!

    I am super happy with how this one turned out and will definitely be making more Demi Raglans as it’s pretty much my goto raglan pattern!

    If you would like to learn how to make this pattern and have me hold your hand as you explore sewing with knit fabric, join me in The Sewing Corner. The Demi Raglan is one of a growing number of tutorials in the exclusive member library. Click the link below to find out more.

    What next?

    Stop wasting fabric and time on projects that don't fit right. 

    Learn to sew with confidence and let me guide you to more sewing success.