Top stitching with a twin needle, the secret hack to hemming pants, dresses and more
Discover the secret sewing hacks of Top Stitching with twin needle sewing needles. Make hemming pants, dresses, t shirts easy and give your garments a more professional finished look.
— Recommended Videos —
📹 What is the difference between Stretch Fabric and woven fabric? 👉 https://youtu.be/Dr7rH5ogQuI?si=5pcHPcV2t8Y_oDVp
— Tools & Resources —
(when available, we use affiliate links and may earn a commission)
🔧 Sewing Kit & Tool Recommendations
👉 https://sewandtell.com.au/sewing-resources/
🔧 Conquer Stretch Fabric Sewing Course
👉 https://sewandtell.com.au/csfs/
— Freebies & Community —
📕FREE guide on How to improve your stretch fabric sewing in 30 minutes or less:
👉 https://sewandtell.com.au/improve-your-stretch-fabric-sewing/
💻Ready to boost your stretch sewing skills and gain the expertise and confidence you need to tackle stretch fabrics with ease? Join Conquer Stretch Fabric Sewing here.
👉 https://sewandtell.com.au/csfs/
🖥 Join a supportive community of other sewists in The Sewing Corner. An exclusive membership offering detailed tutorials and expert guidance to help sewists enhance their skills.
👉https://sewandtell.com.au/the-sewing-corner/
— Chapters —
00:00 Top stitching with a twin needle, the secret hack to hemming pants, dresses and more
01:09 What are Twin Needle Sewing Needles – a detailed explanation
01:59 How to install your twin needle sewing needles in your sewing machine
02:37 How to thread your twin needle sewing needles in your sewing machine
04:46 What settings to use with your twin needle sewing needles
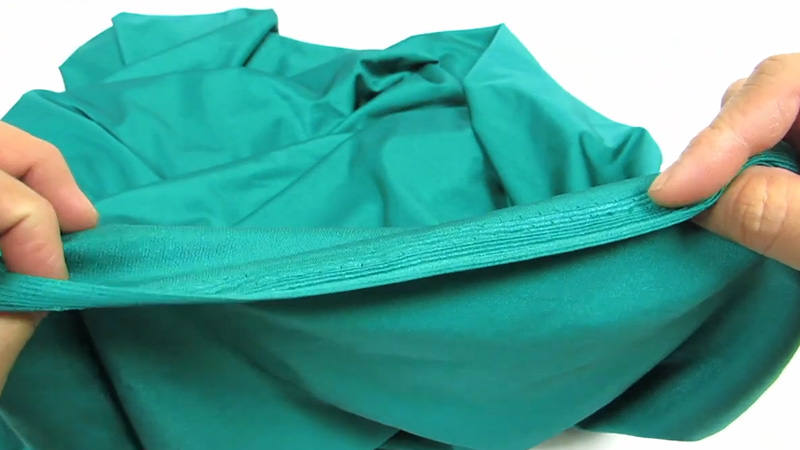
05:36 Sewing a hem with your twin needle sewing needles
06:54 Troubleshooting the tension of your twin needle sewing needles
07:57 Understanding and troubleshooting tunneling with your twin needle sewing needles
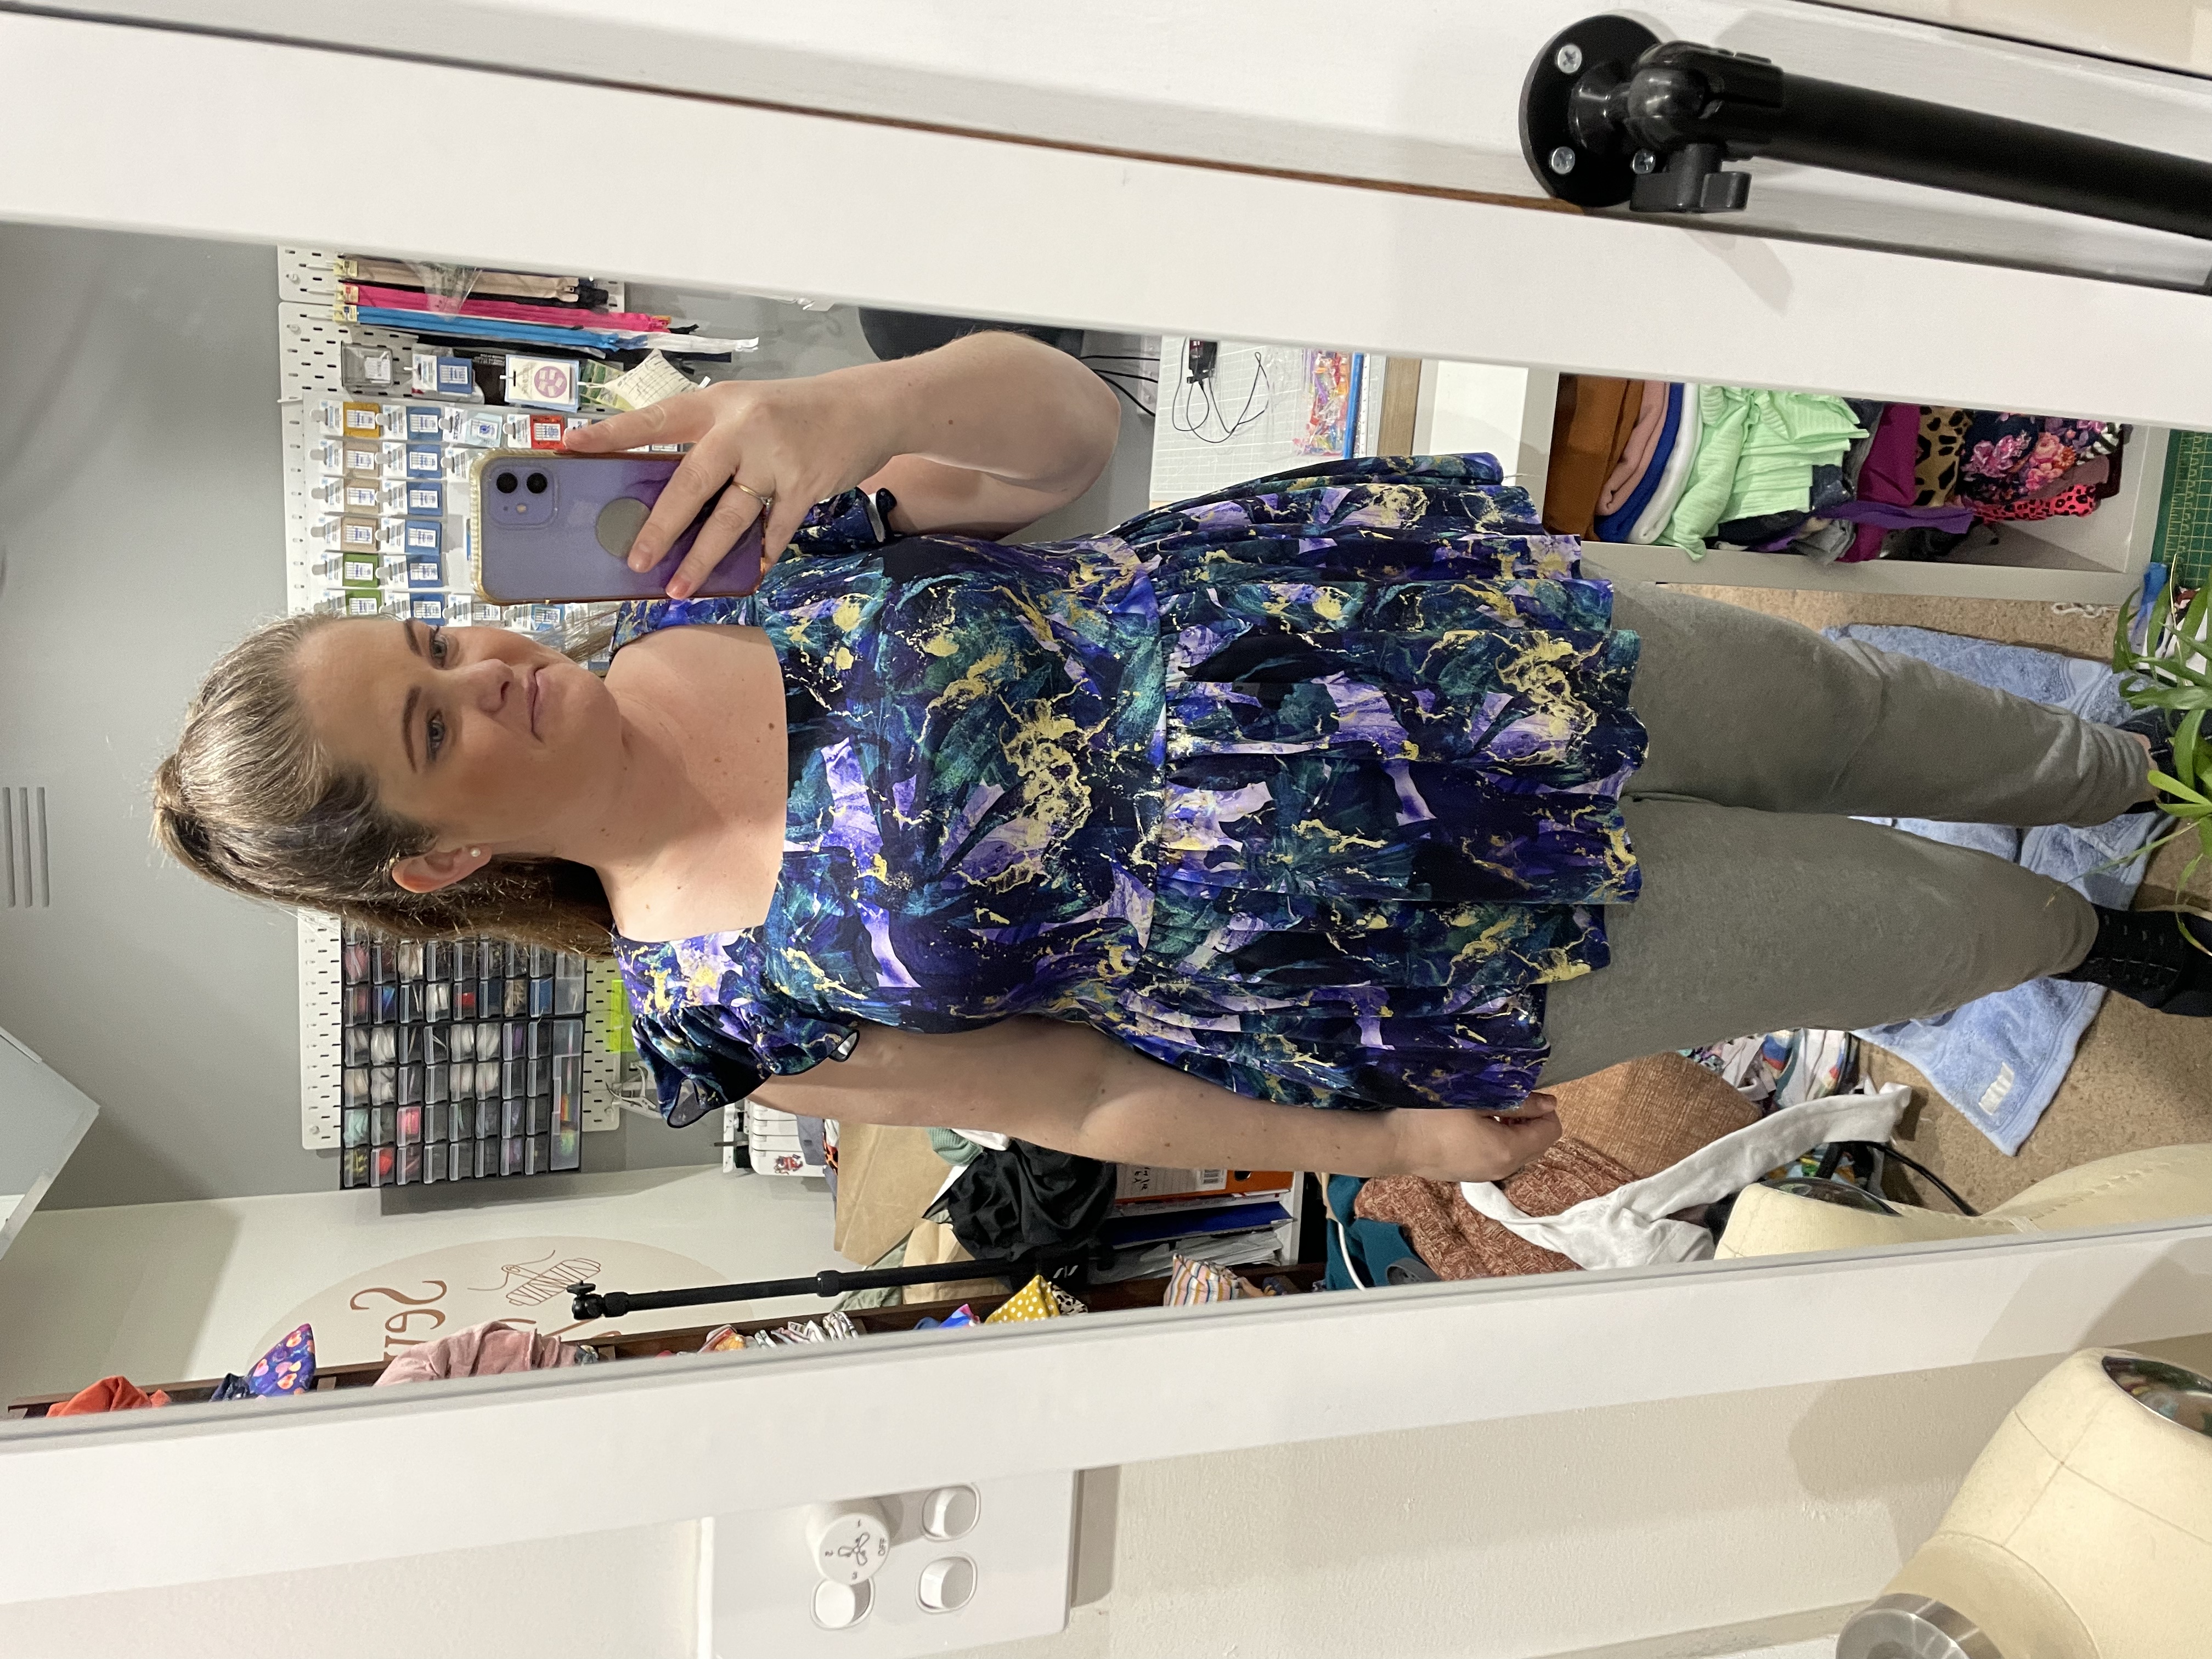
05:56 The final garment after you’ve finished with your twin needle sewing needles
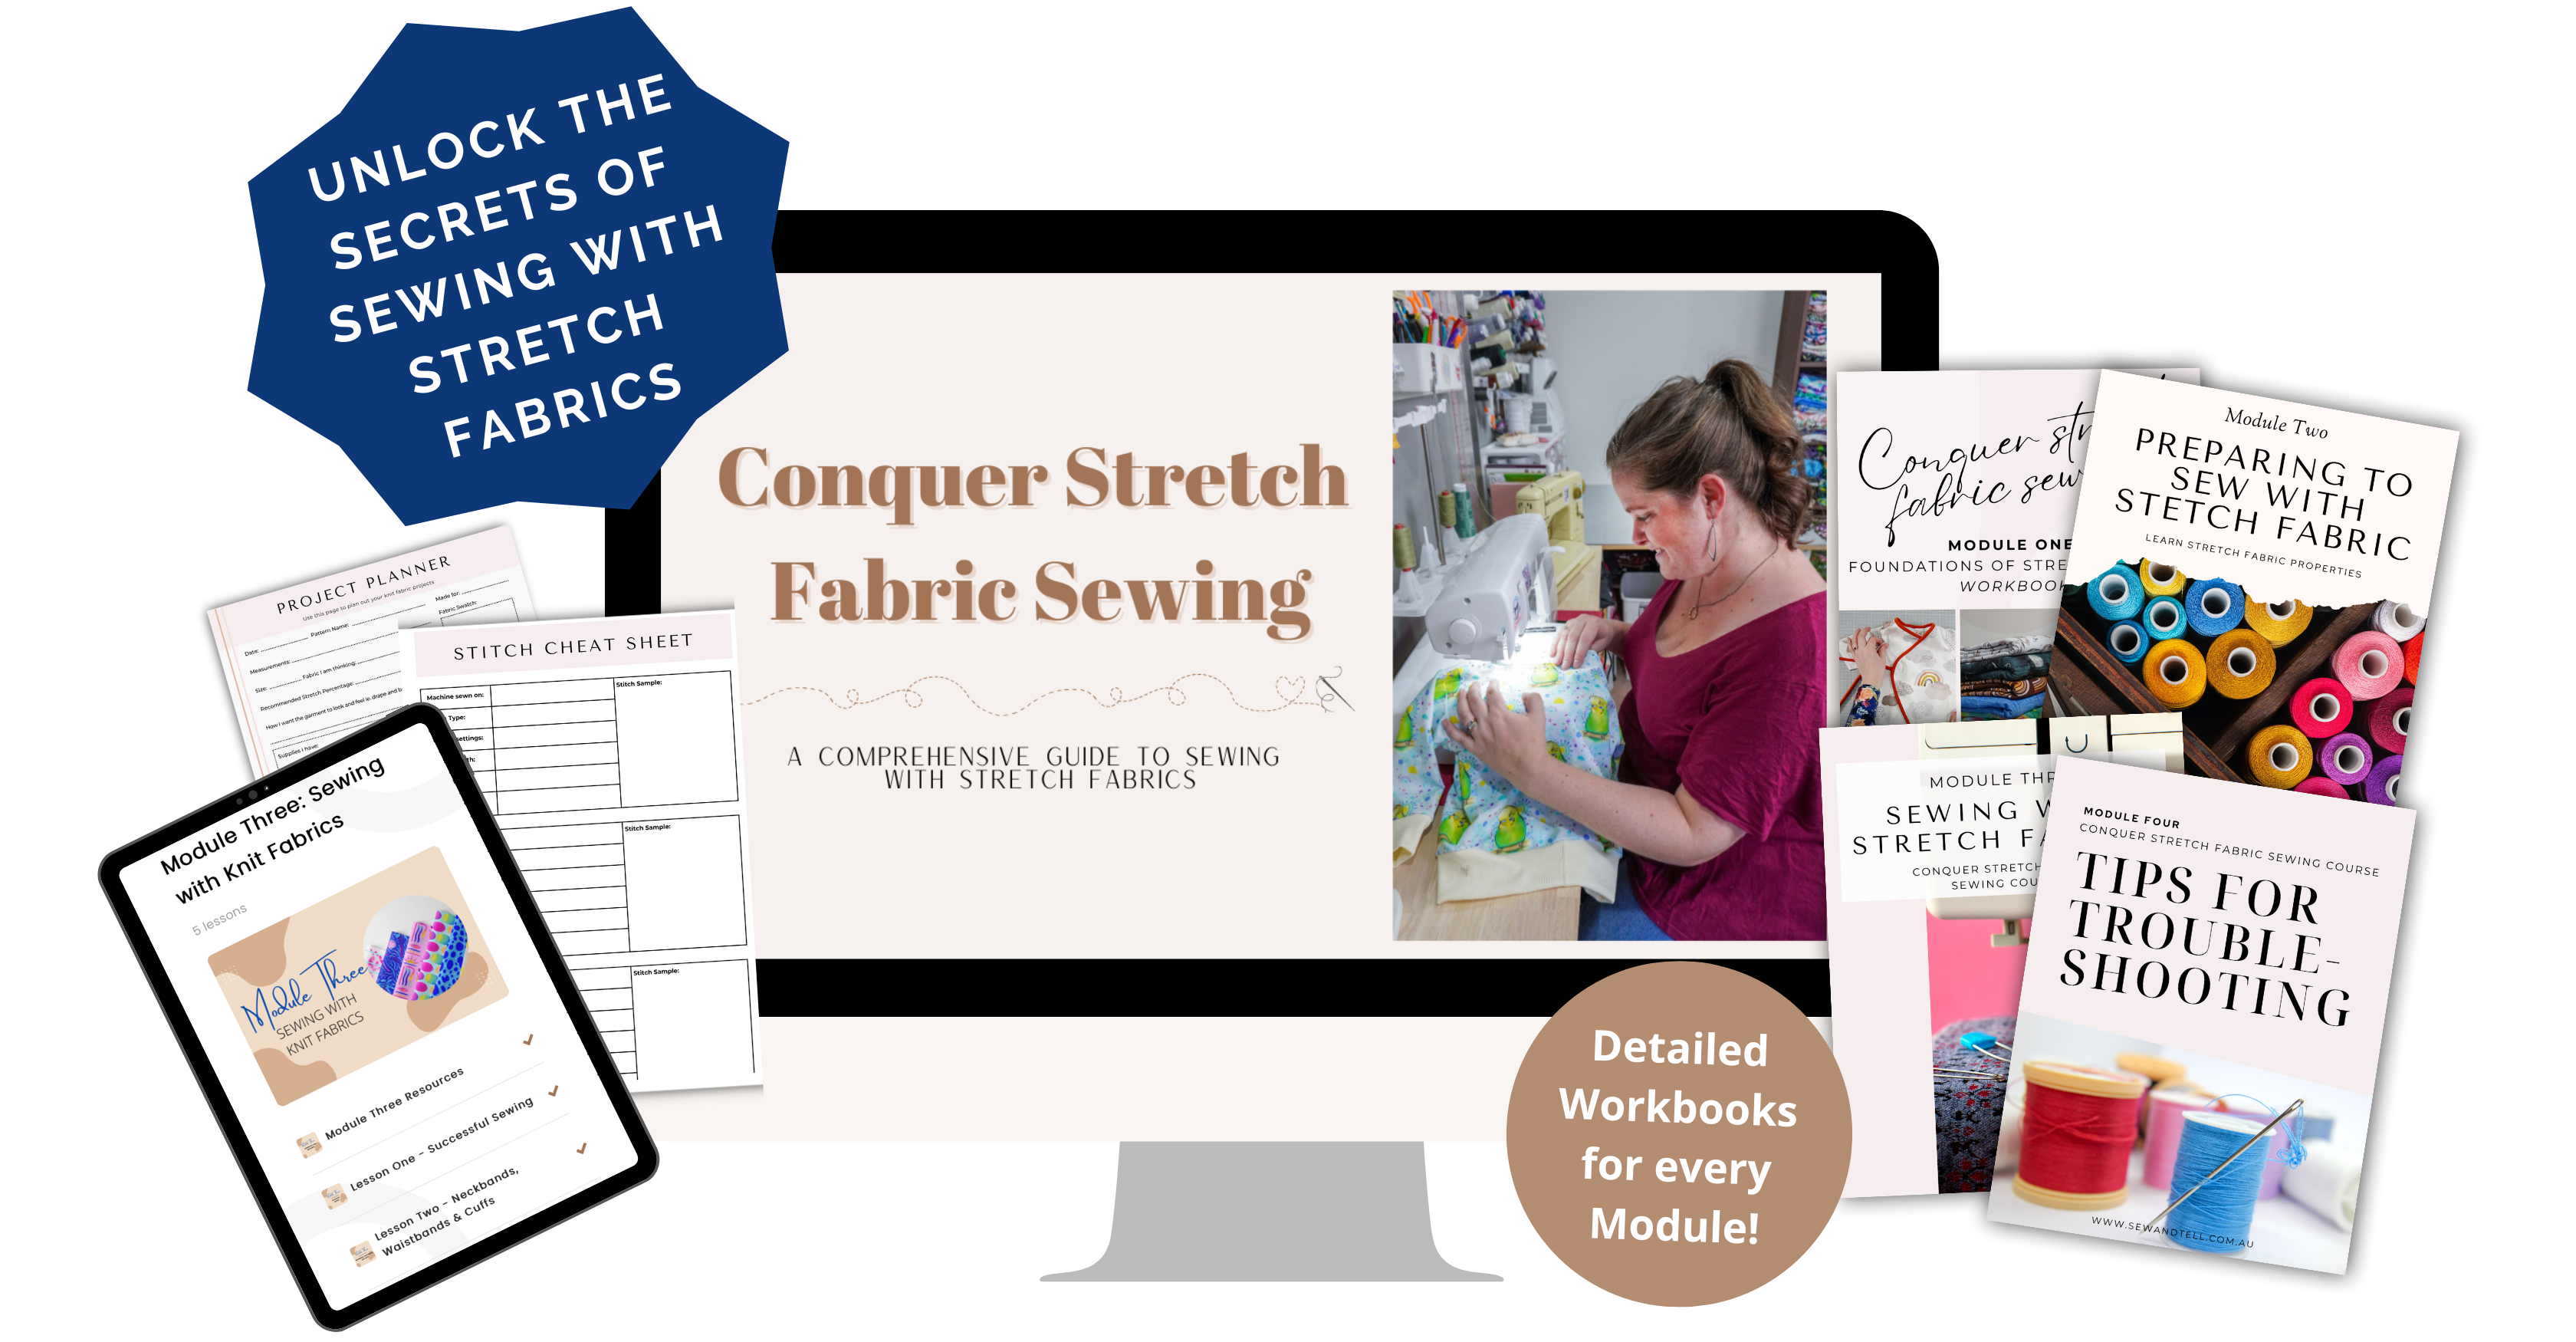
— Top stitching with a twin needle, the secret hack to hemming pants, dresses and more —
Discover the secret sewing hacks of Top Stitching with twin needle sewing needles. Make hemming pants, dresses, t shirts easy and give your garments a more professional finished look.
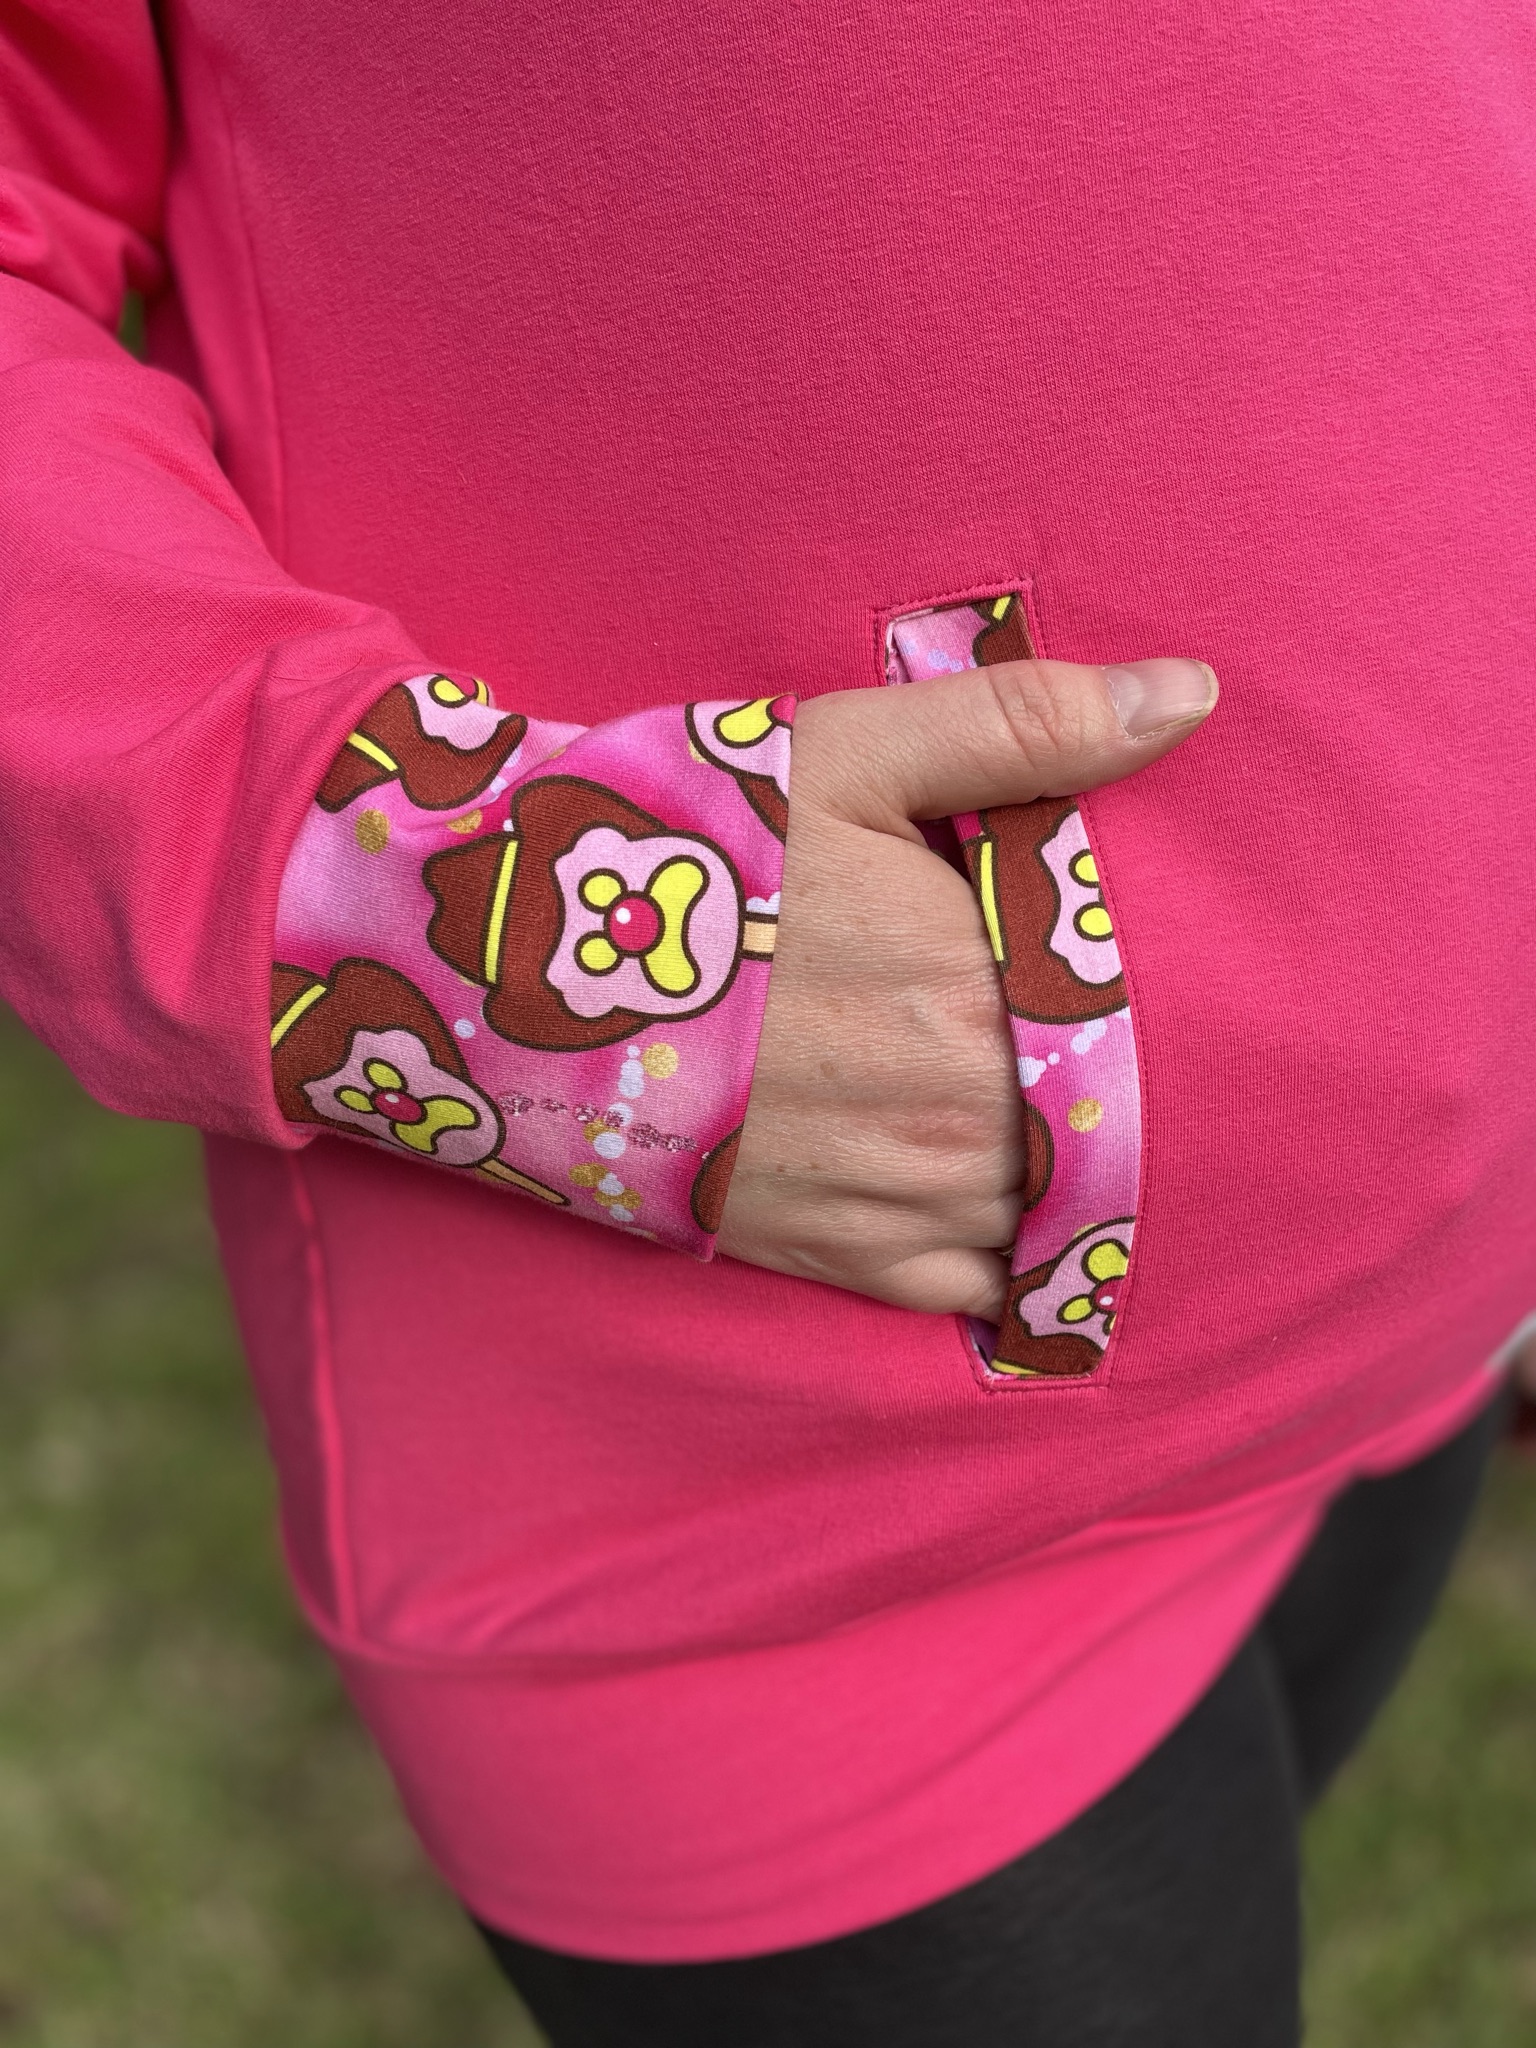
If you’ve ever looked at store bought clothing and thought how do they get it looking so neat and beautiful, I’m here to share my tips and tricks for using twin needle sewing needles that can be used in your normal domestic machine. Taking that extra step to top stitch your necklines and hems goes such a long way in the final look of your garment.
Troubleshoot issues such as
– Twin needle tunneling
– Twin needle tension settings
– How to install your twin needle sewing needles
Don’t forget to like, comment, and share this video if you find it helpful. Your engagement helps us grow and continue providing great content. Happy sewing!
— Let’s Connect —
http://www.sewandtell.com.au
https://www.instagram.com/sewandtellau/
https://www.facebook.com/sewandtellaus
https://www.tiktok.com/@sewandtellaustralia
https://www.youtube.com/@sewandtellaustralia
DISCLOSURE: We often review or link to products & services we regularly use and think you might find helpful. To support the channel, where possible, Sew & Tell Australia registers for affiliates for the patterns, tools and resources we love. Several links on this page are affiliate links. Clicking on these links and making a purchase may earn us a commission, with no extra cost to you. Also, as an Amazon Associate, I earn from qualifying purchases.

 The ‘Metric Pattern Cutting for Women’s Wear’ is like the bible for how to create a block in your or your model’s measurements. Winnifred goes into detail about how to measure, draft and create your block, as well as how to turn your blocks into some basic patterns once you’ve created them.
 My very first block was made from this book and it turned out great. Remember though, practice makes perfect, and every ‘body’ is different, so you will still need to make toile’s/muslin’s (practice garments) to get your pattern right before you cut into your good fashion fabric.
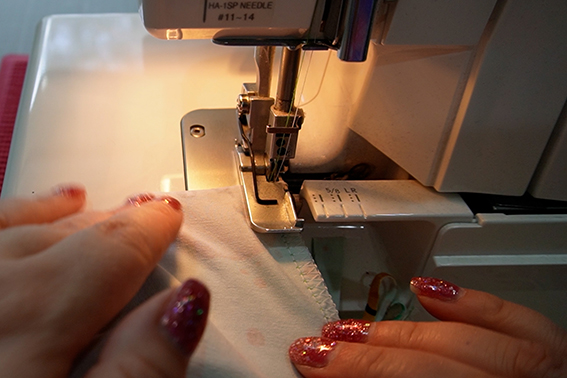
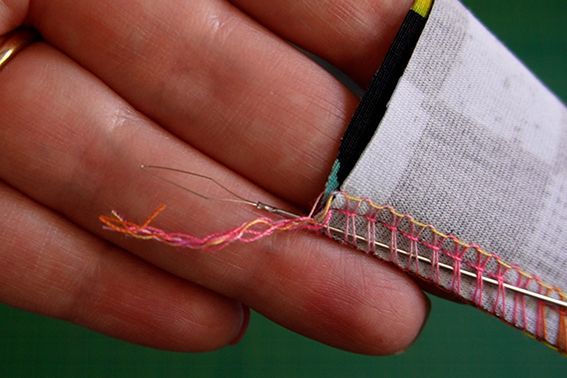
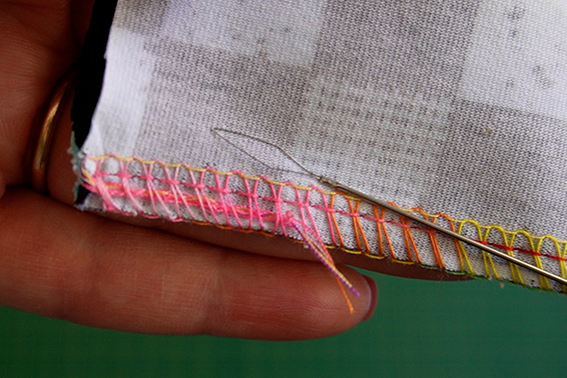
 This method is a bit different from the start and the finish. At the start by ensure you have a tail of thread. Sew a few stitches in, lift the presser foot, and loop the thread back around itself. You will then stitch the thread down for a few stitches before cutting the thread off as you continue sewing as normal.


 The Problem:
 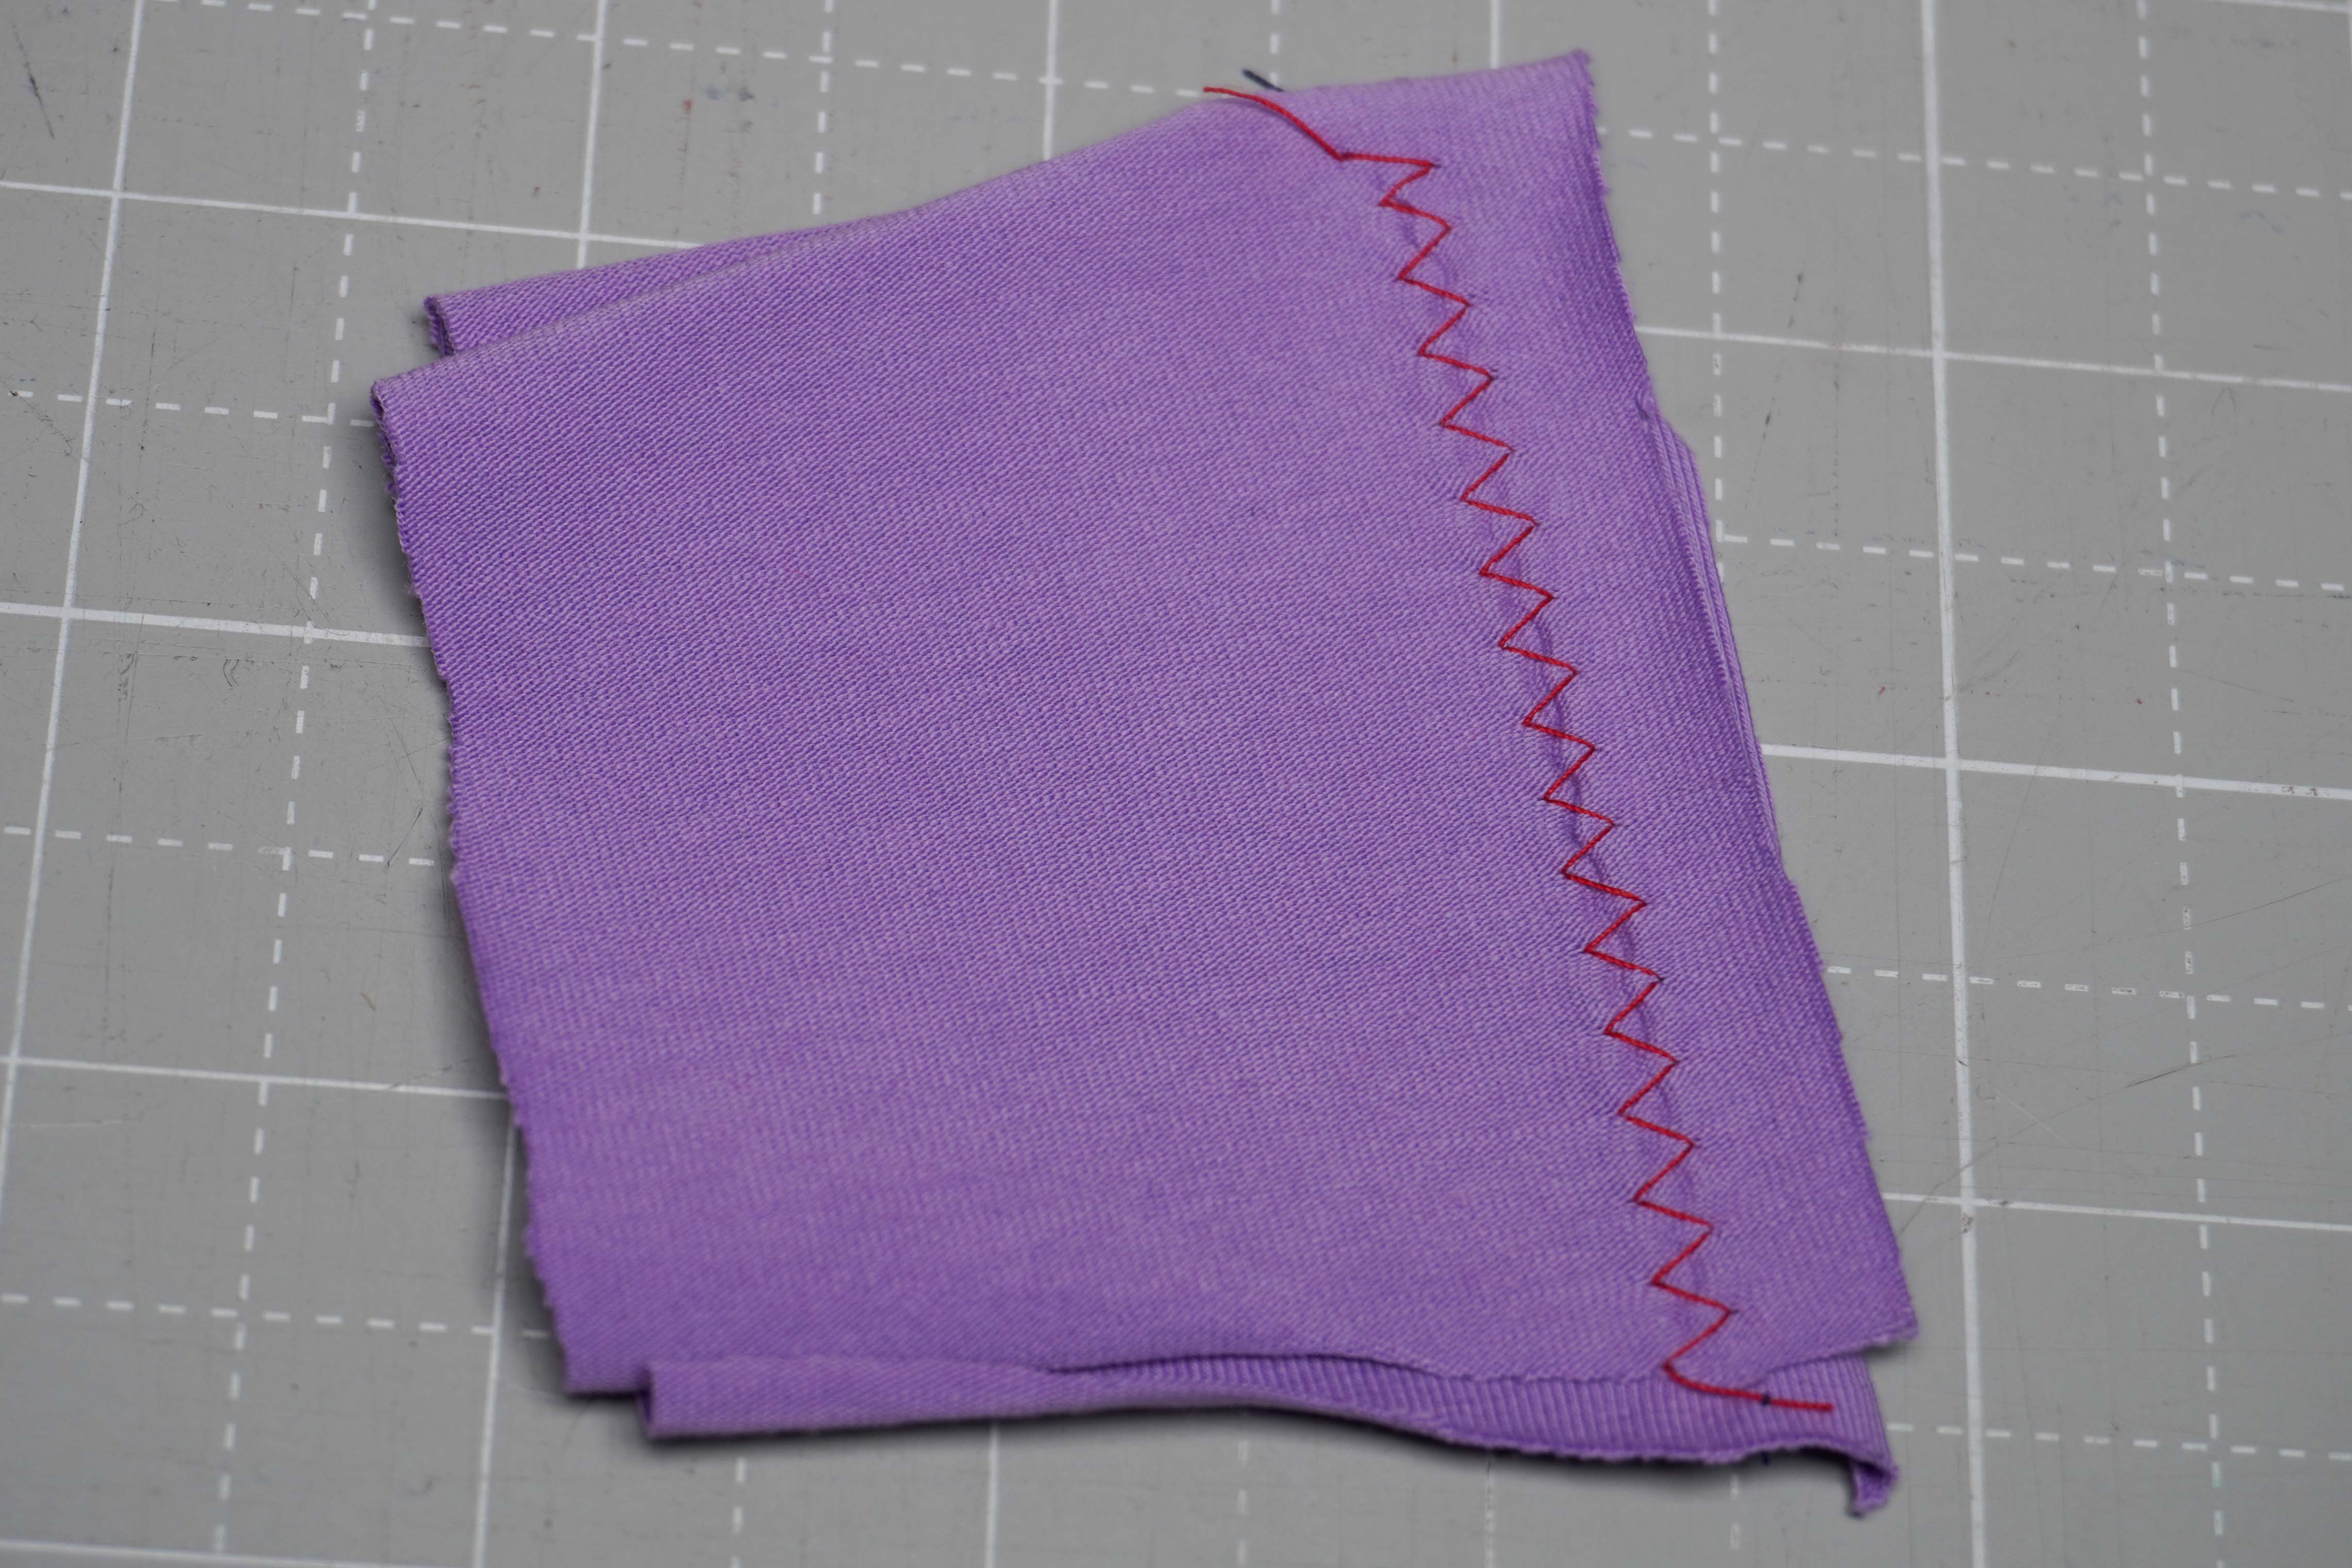 The Fix:
 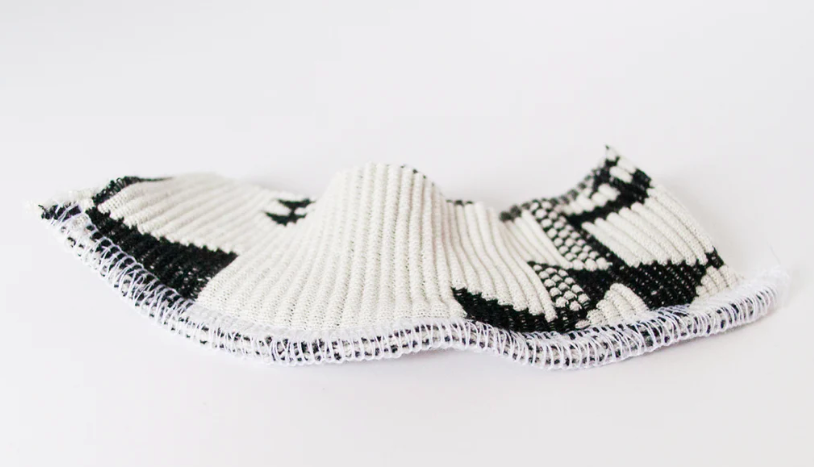 The Problem:
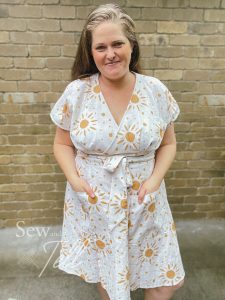
 Pros:
Pros: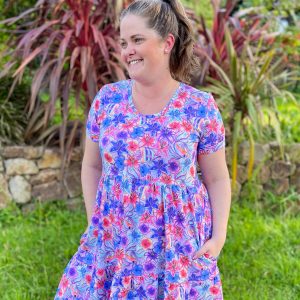 Pros:
Pros: 1. Mind Your Thread Tension
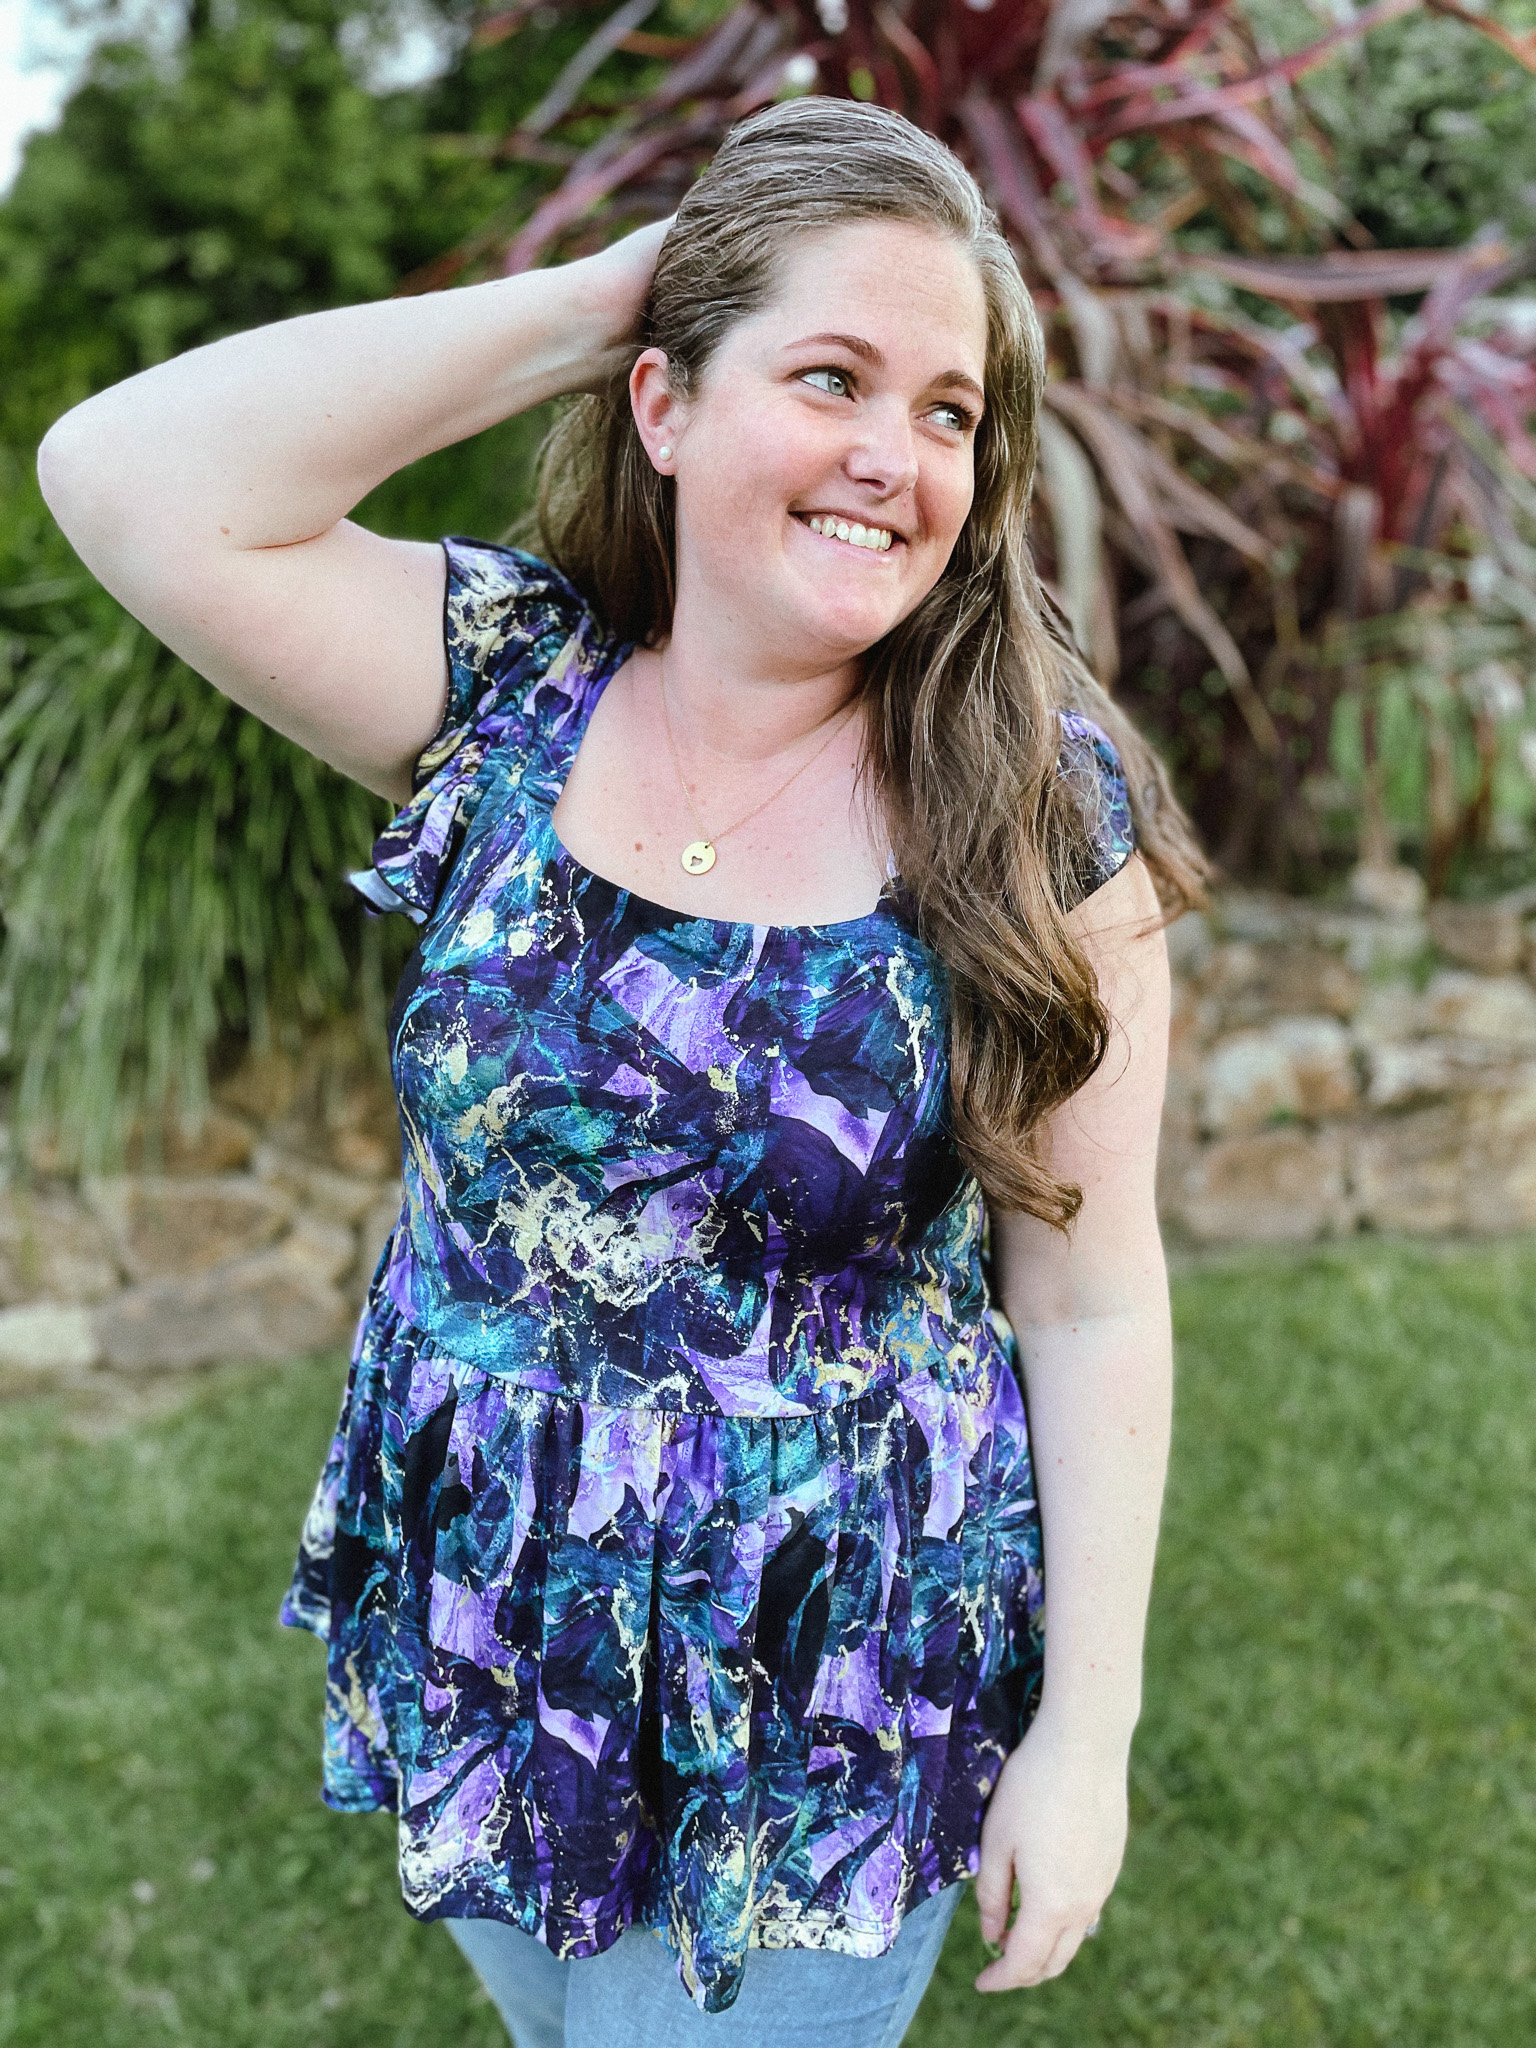 3. Use a Wooly Nylon or Maxi Lock Stretch thread
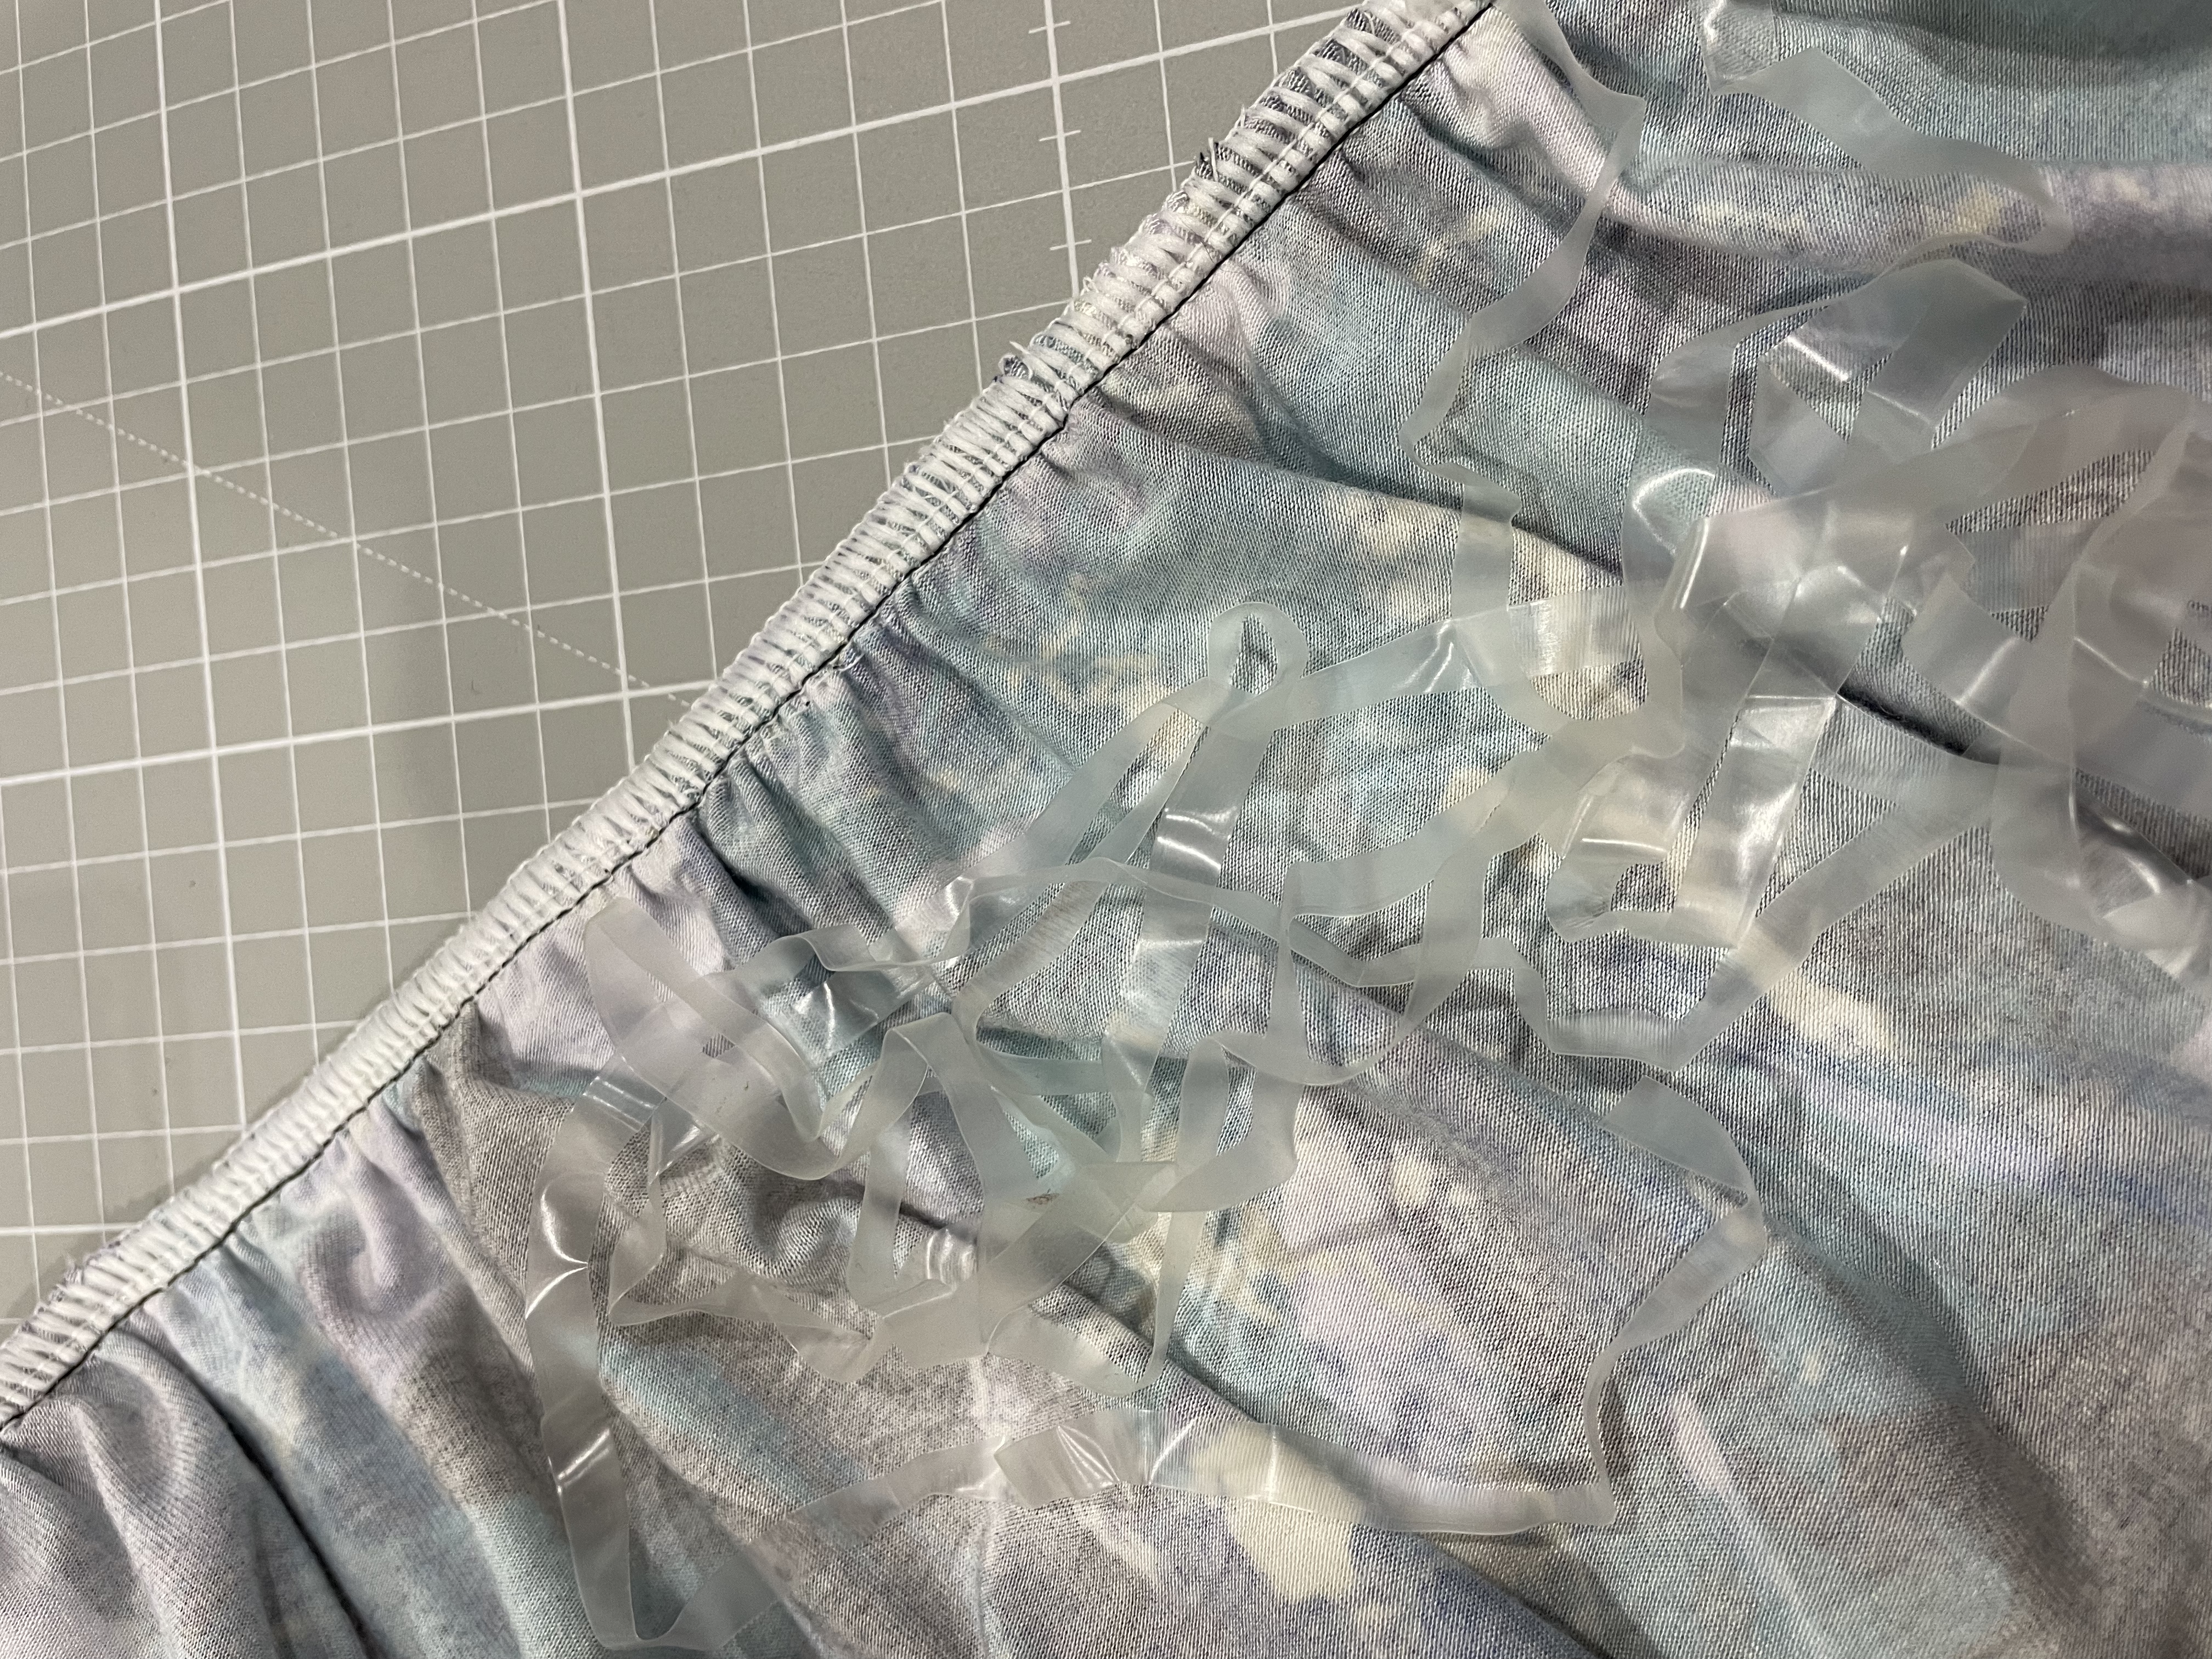
 The Pros of Clear Elastic: