Pattern Review of the Elodie Wrap Dress
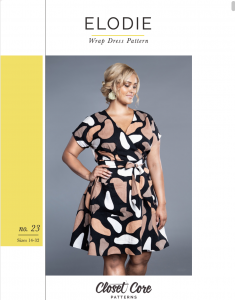
Pattern: Elodie Wrap Dress
Designer: Closet Core Patterns
Fabrics: Linen blend from Spotlight
Measurements: Bust: 44″; Waist 39″; Hips 48″
Size made: 16 graded to 20
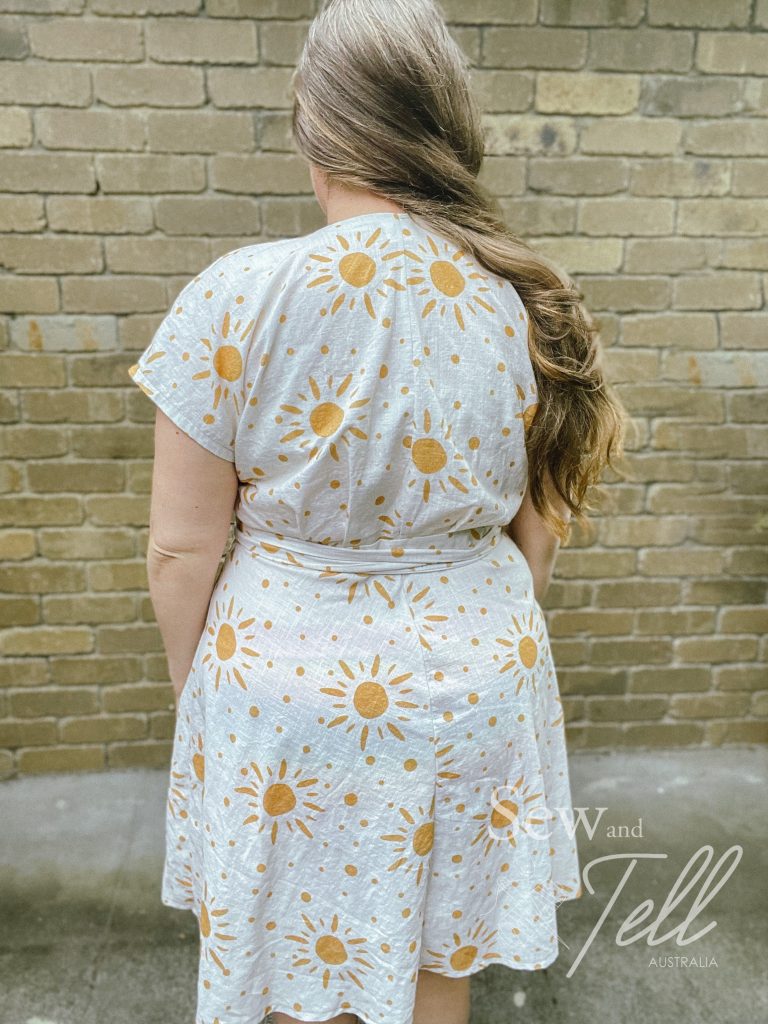
Adjustments: Took an inch out of each shoulder seam and shaped the back
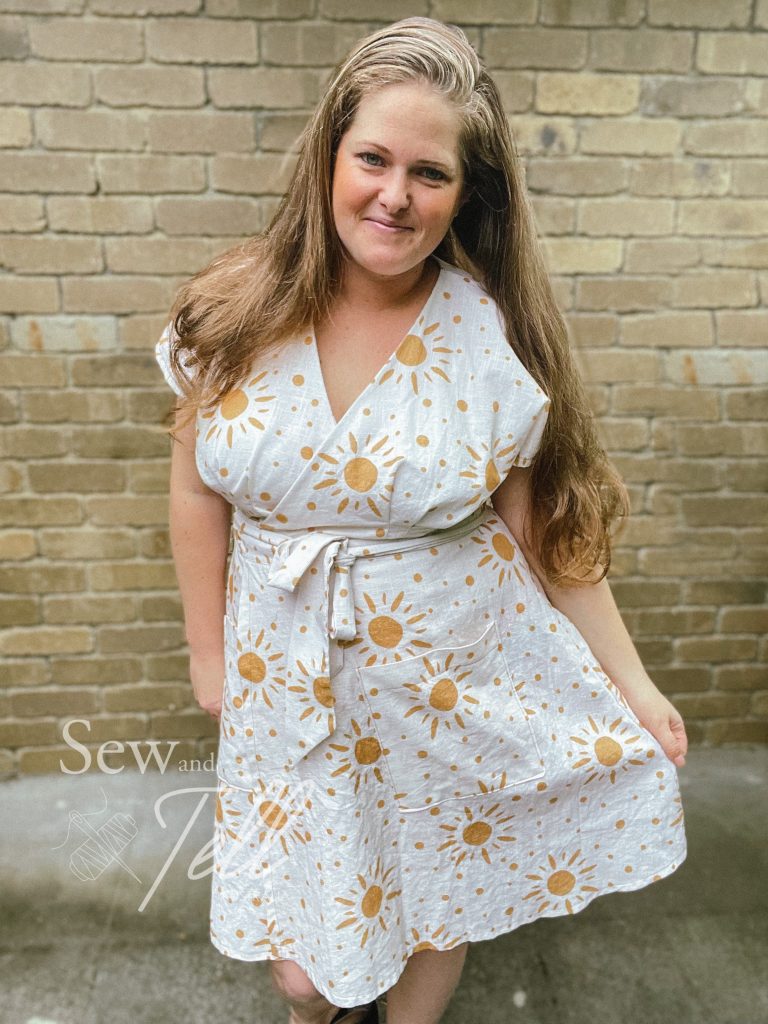
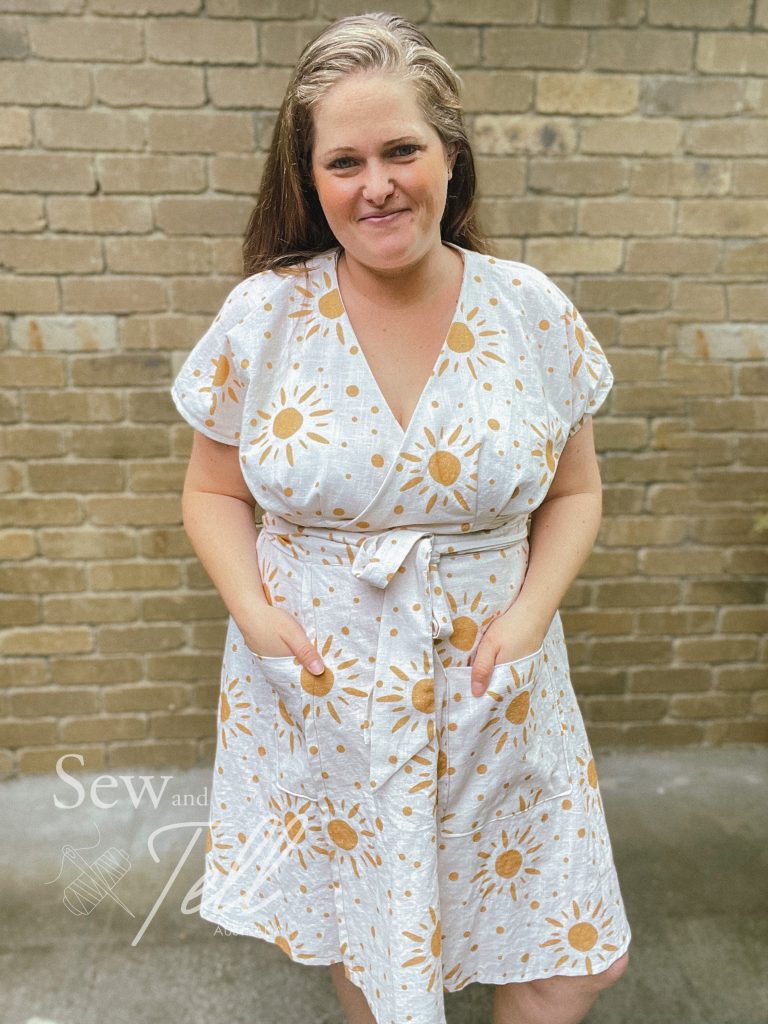
Pros: Love the loose flowyness of this dress, as well as the wrap neckline
Cons: I had trouble fitting the neckline with my boobs. I also misunderstood the instructions for the wrap tie part.

Links:
The Wrap Up:
I bought this pattern quite a while ago with grand plans to make it for summer and never got around to sewing one up. So naturally I decide halfway through Autumn that it is the right time to finally get one done. haha
This pattern is designed for woven fabrics and I chose a beautiful linen blend from Spotlight to try. This is quite a fabric hungry pattern so I think I ended up buying 3.5m for my dress and I closely followed the cutting guide so I didn’t run out of fabric. The linen worked well but I’d love to try it in a twill as well.
This was my first time sewing a Closet Core pattern, despite owning a few of Heathers patterns, and I must say I’m pretty impressed. While they don’t have projector files, they do have A0 files that are layered so I was able to use those effectively.
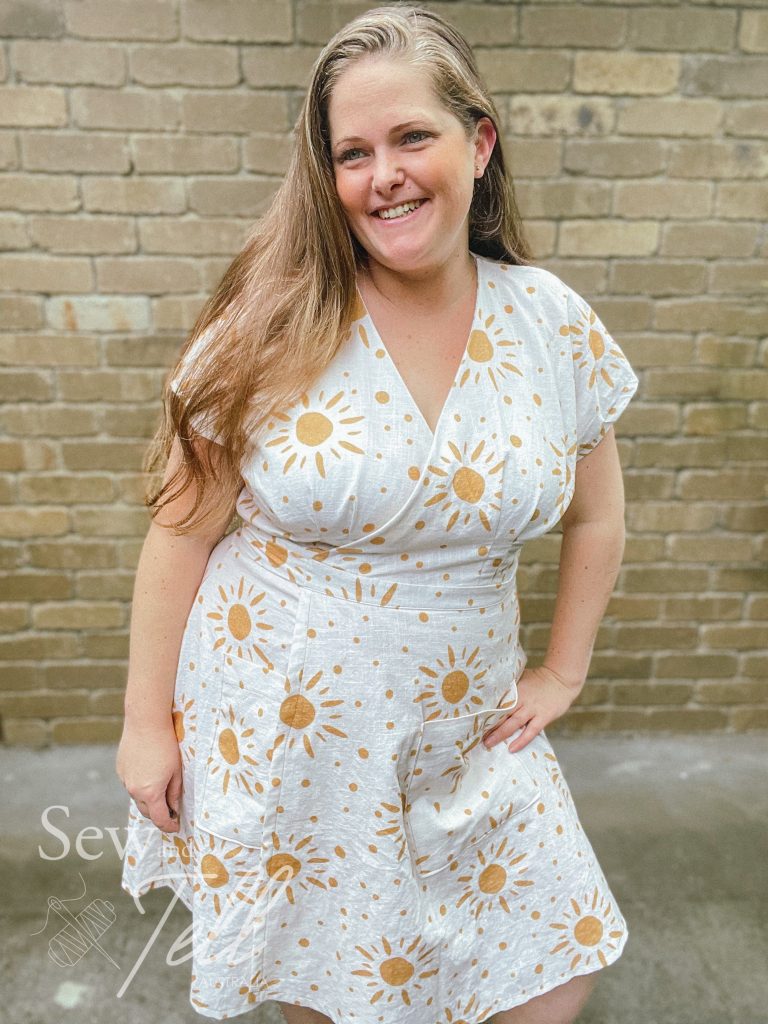
Being a curvier body, I used their 14-32 pattern range which is based off a curvier block and I think its a size D cup for breasts which suits my body better. I sewed up a 16 graded to an 18 at the waist and hips which was great for the waist and hips, but I had some issues with the cross over section not sitting properly over my boobs so I ended up taking an inch out of each shoulder seam and at the back neckline which helped correct it mostly.
I did really love the pleats under the bust and at the back, I think they are a really nice feature and help give the bodice shape for the bust without using darts. Thats the first time I’ve used a pattern like that and I thought it was really effective. I do think I probably need more ‘space’ for my boobs, so I will have to research how to achieve that with this style.
I also had some issues with the hole for the tie area. I don’t think I read the instructions properly to begin with and when it came time to open up the hole in the waistband to pull the tie through, I had a world of trouble as I had done it wrong. But, with my trusty unpicker and a little bit of creative sewing, I got it to work and it doesn’t look half bad either.
I will definitely make this pattern again, I will just have to pay closer attention to the tie area for a cleaner finish next time.
Gallery:

