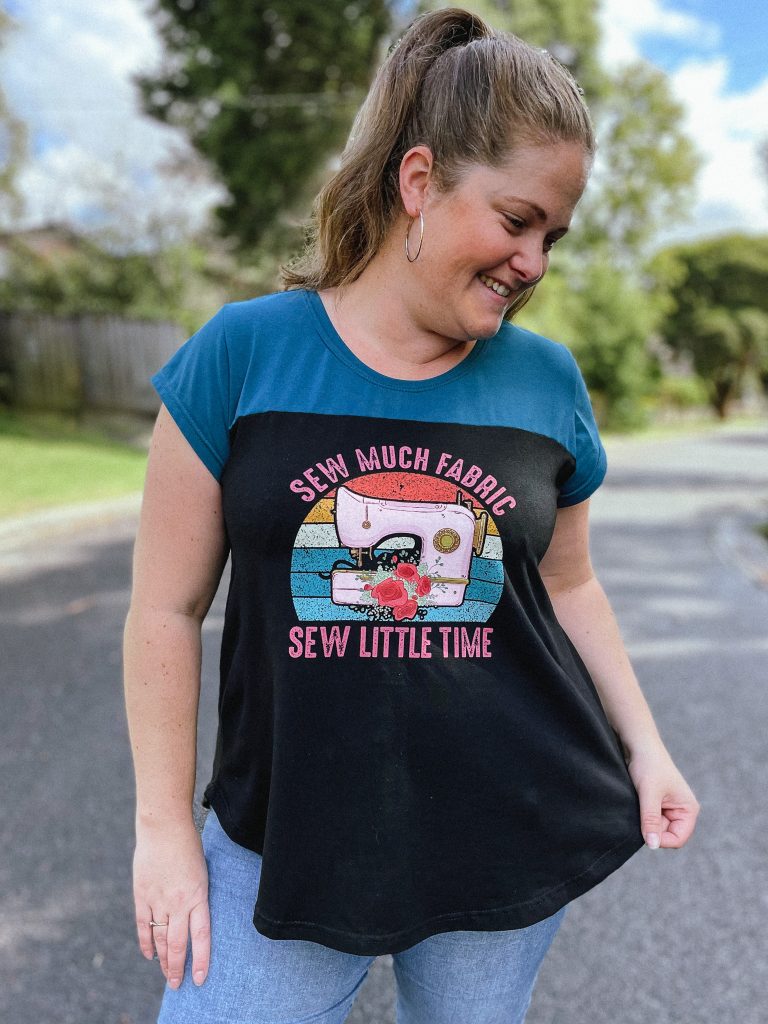
Pattern Review of the Ivy Colourblock Tee
Learn to Sew


I love the kids discoverer tee. Its such a great, simple pattern with great colour blocking. It’s one of my go to patterns when making the kids basics.
Recently, I’ve been adding a little contrast knit binding at the front colour blocking, just to give the pattern a little something-something and I really think it jazzes it up a little. The best thing is, its really EASY to do! In this blog, I’ll walk you through all the steps you need to take to add your own contrast binding. If you haven’t already, grab the pattern here:


Let’s get started!
The first thing you need to do is cut out all your pattern pieces as per instructed in the pattern. You should have the front top piece, back top piece, 2 bodice pieces (front and back), sleeves, neckband and the optional cuff and waistband pieces if thats what you are doing, as shown below. (I chose not to do those pieces and will hem my sleeves and tee so they are not pictured)

Once you have cut those pieces, you are going to take one of the bodice pieces and measure how wide it is across the top. I’m making the 2T and its about 12 inches from side to side.

You are now going to cut a piece of knit fabric that is going to be your binding. You want this to be about an inch longer than what you measured the top of your bodice piece to be anything from a 1-2 inches in width. For this tee I cut mine 2 inches wide, but I think I actually prefer the original knit binding I did on the black and grey tee which I’m pretty sure was only 1 inch wide. You just need to take into account that you are going to loose about 1/4 of an inch or more when sewing it on.
I used a clear quilting ruler to cut mine which made it really easy to mark out the 2 inches width and the length I wanted of 13 inches long.

Once you’ve cut your knit binding piece, fold it in half, wrong sides together and give it a press if you like. Then you are going to pin/clip it along the top of the bodice piece, raw edges together. It should look like the image below.
Baste the binding piece to the bodice piece with a long straight stitch on your sewing machine.

Now lay your top front piece on top of the bodice and knit binding piece, aligning the raw edges so the knit binding piece is sandwiched between the bodice and the top front bodice piece. The edges of the binding will stick out at the sides but thats ok, we’ll trim them after. Pin/clip in place and serge them together.

Flip the front bodice piece up and press the seam toward the top. Top stitch the seam in place using your preferred top stitching method. I have used a cover-stitch but a stretch stitch or twin needle on a normal machine will look nice as well.

Trim the sides to neaten up your front bodice piece.

Tadah! You can now continue with the instructions as indicated in the pattern.

As I mentioned above, have a try with different widths until you get the width of knit binding you are happy with. I think adding the binding gives this tee such a snazzy look and helps give it a little extra something!
Thanks for reading, I really hope it helped you add your own knit binding to your kids discoverer tee. Tag me on instagram with your makes, I’d love to see them! @sewandtellau
Gallery:


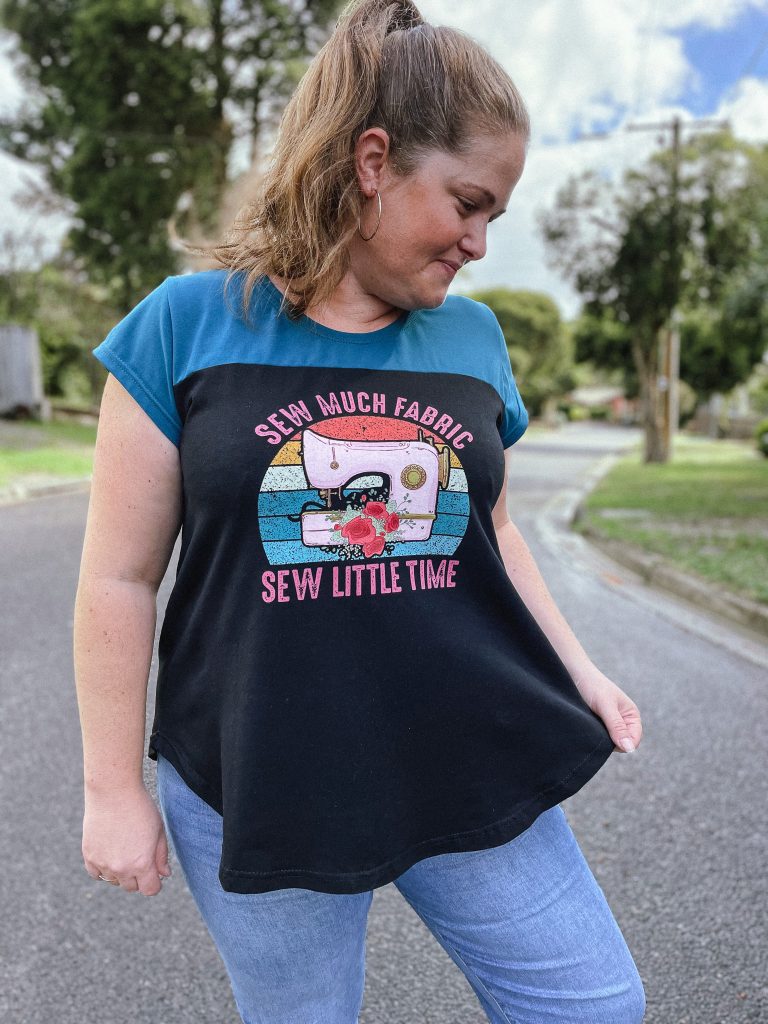
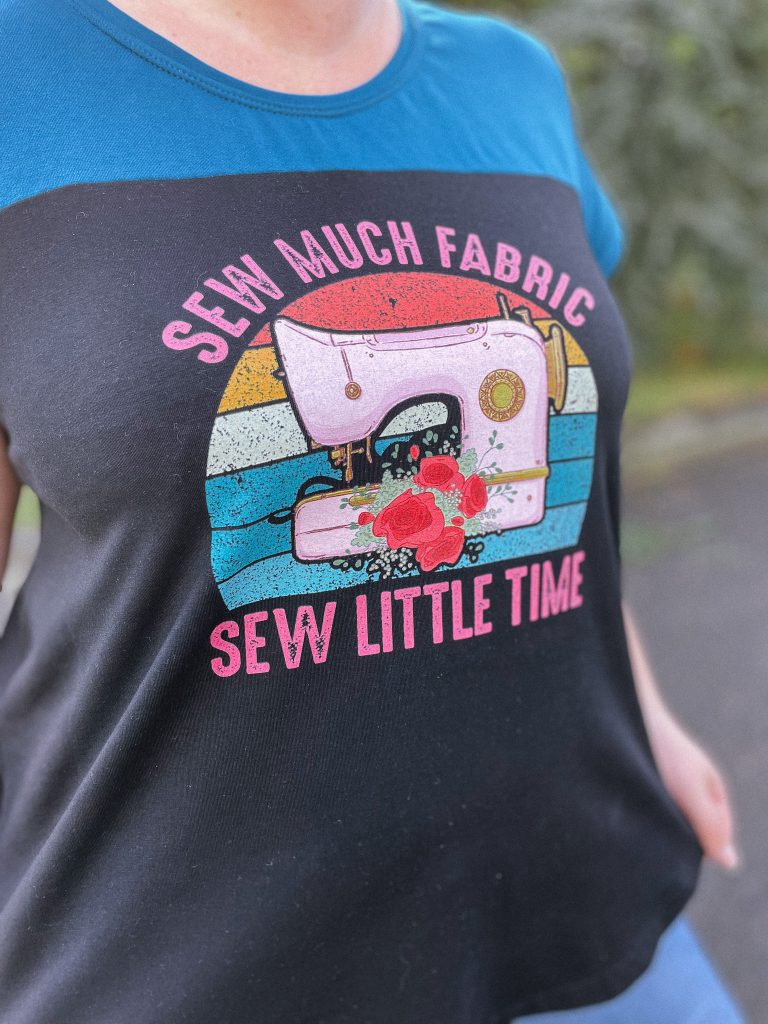
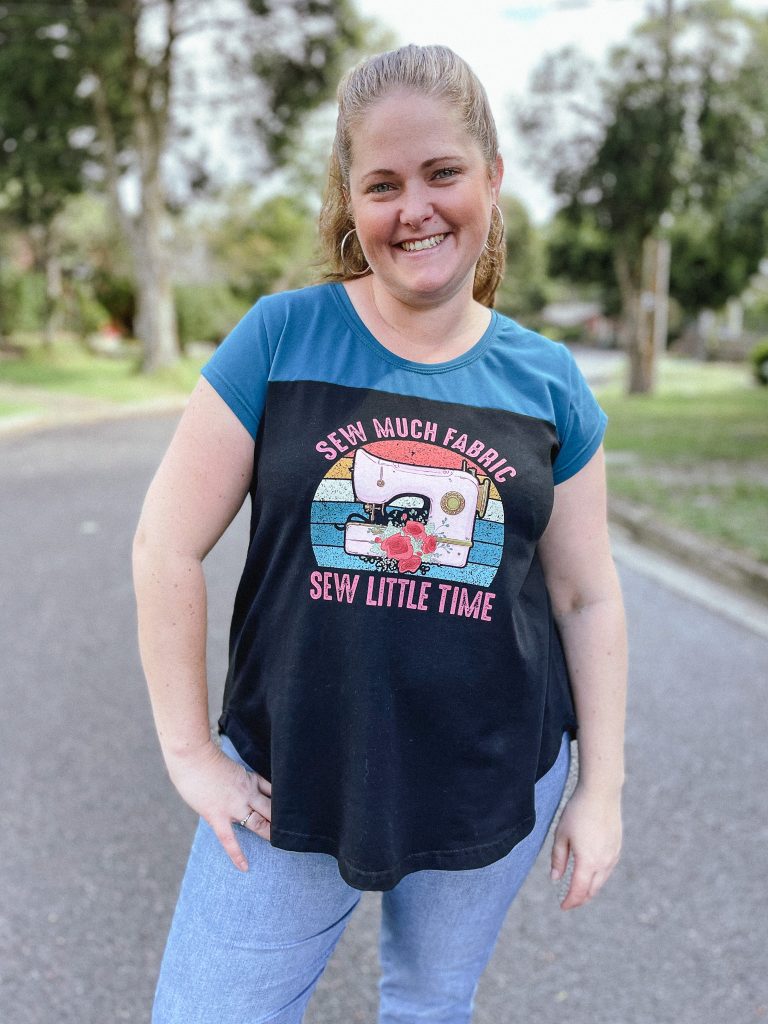
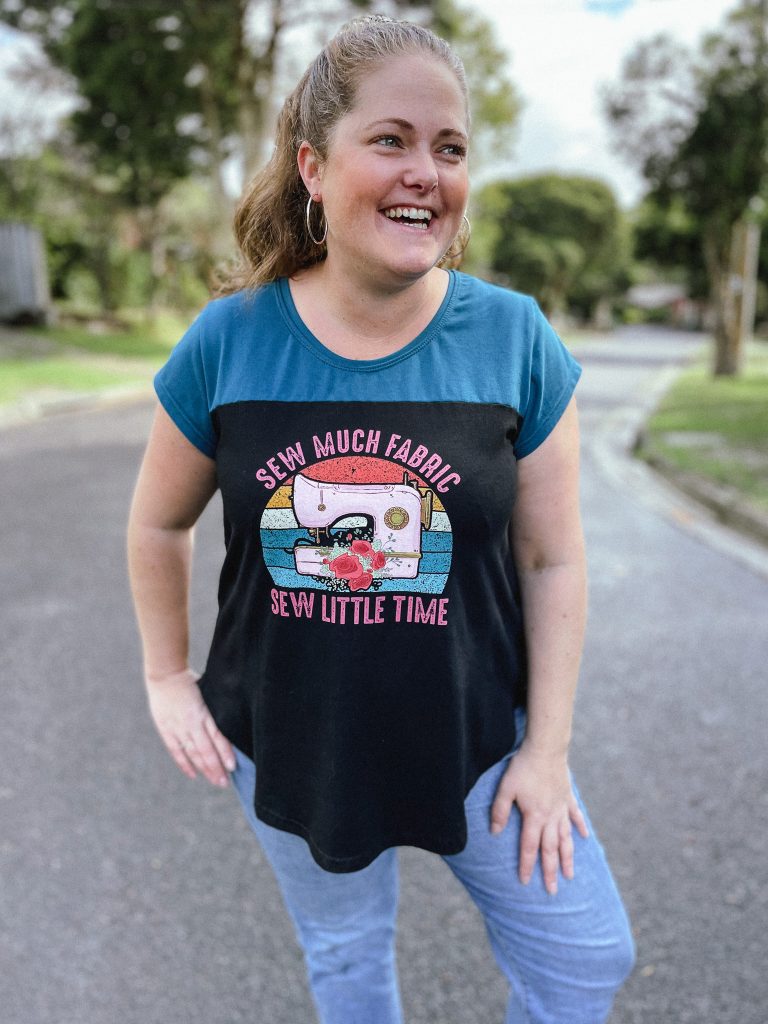
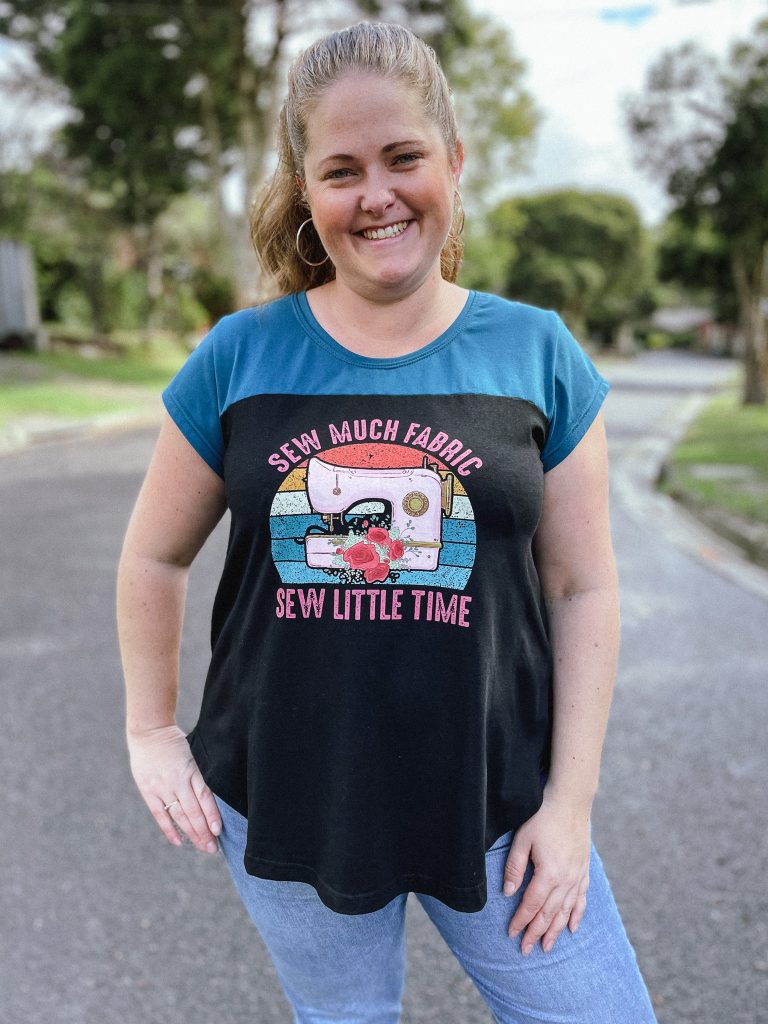
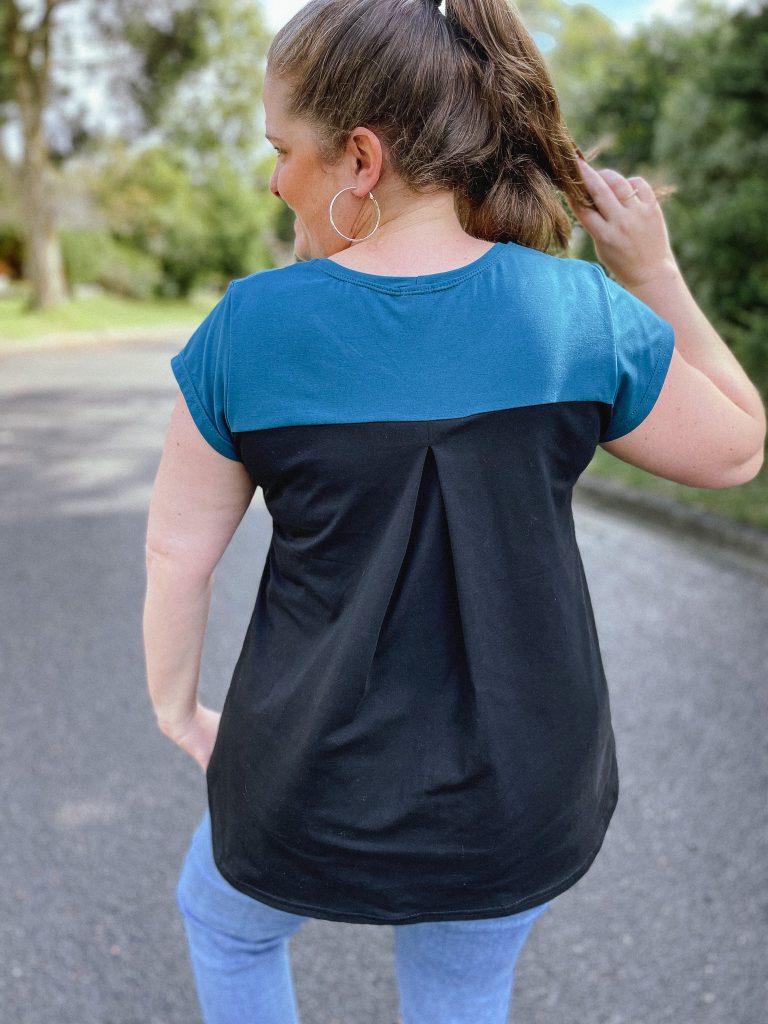
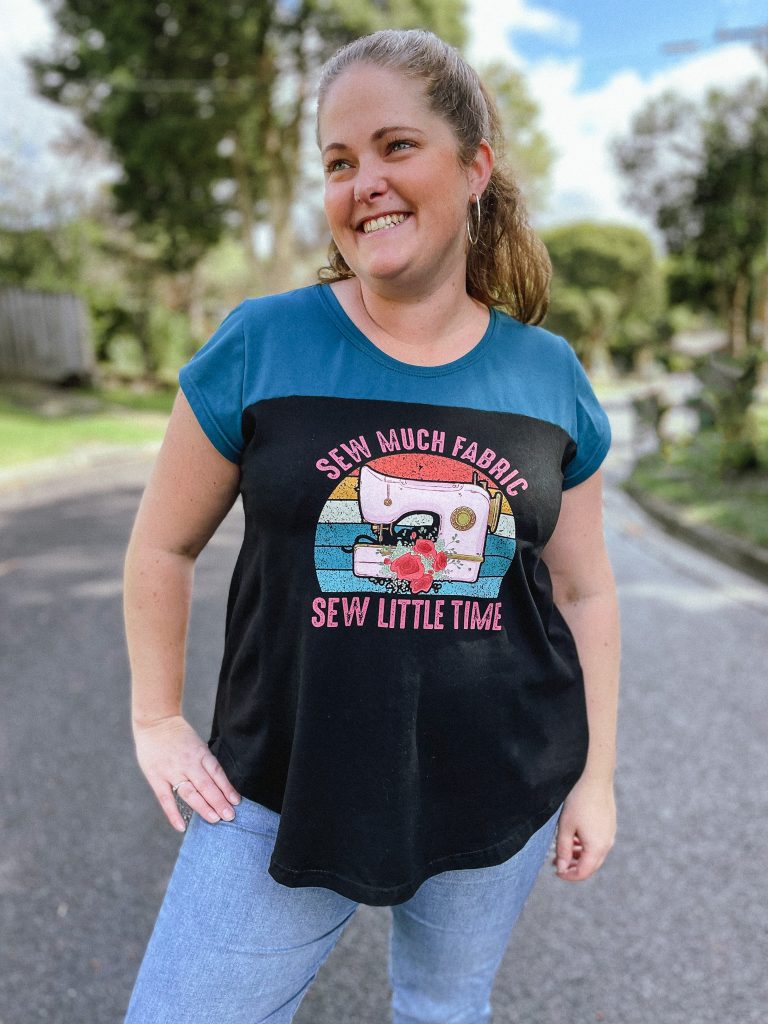
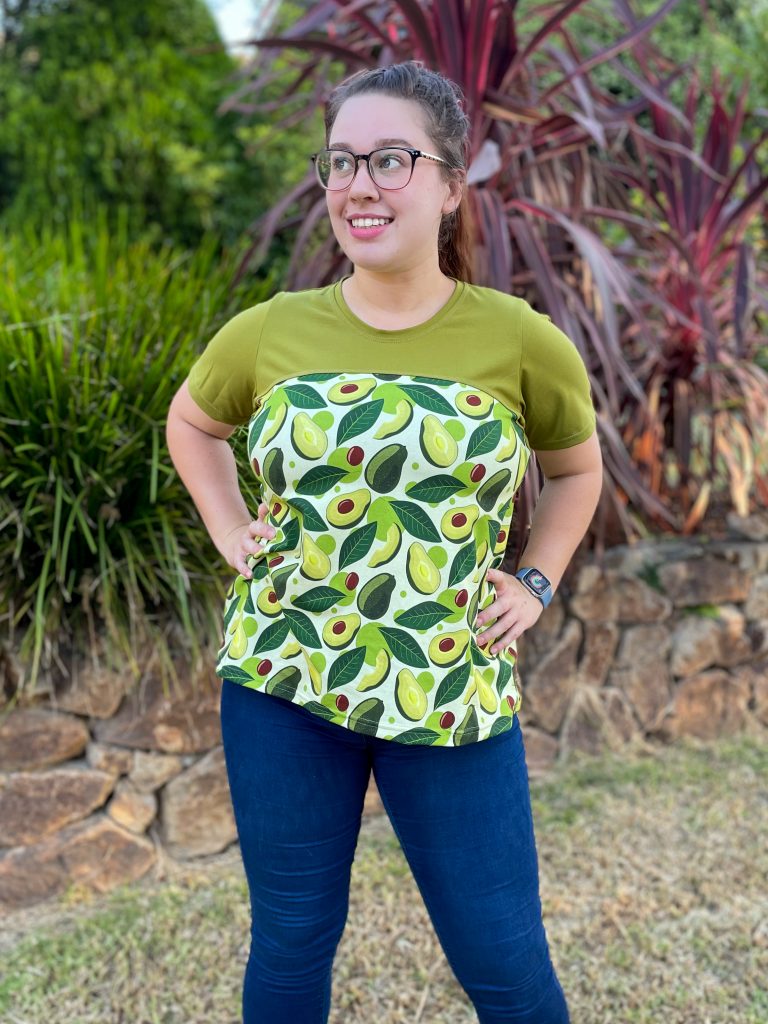
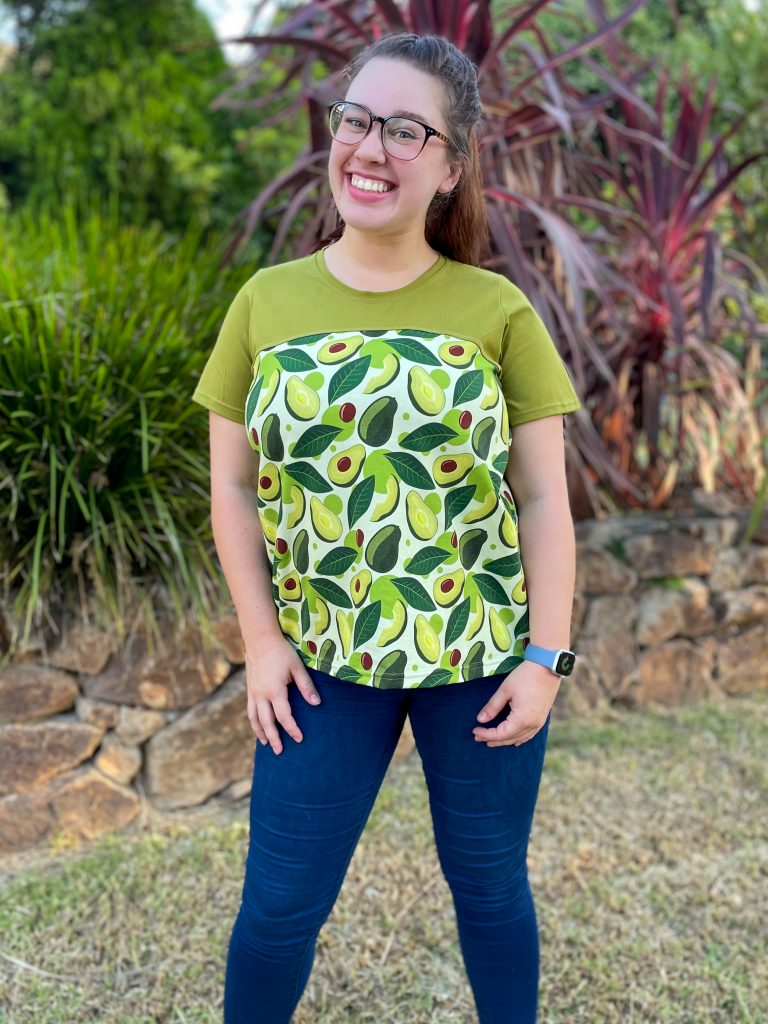
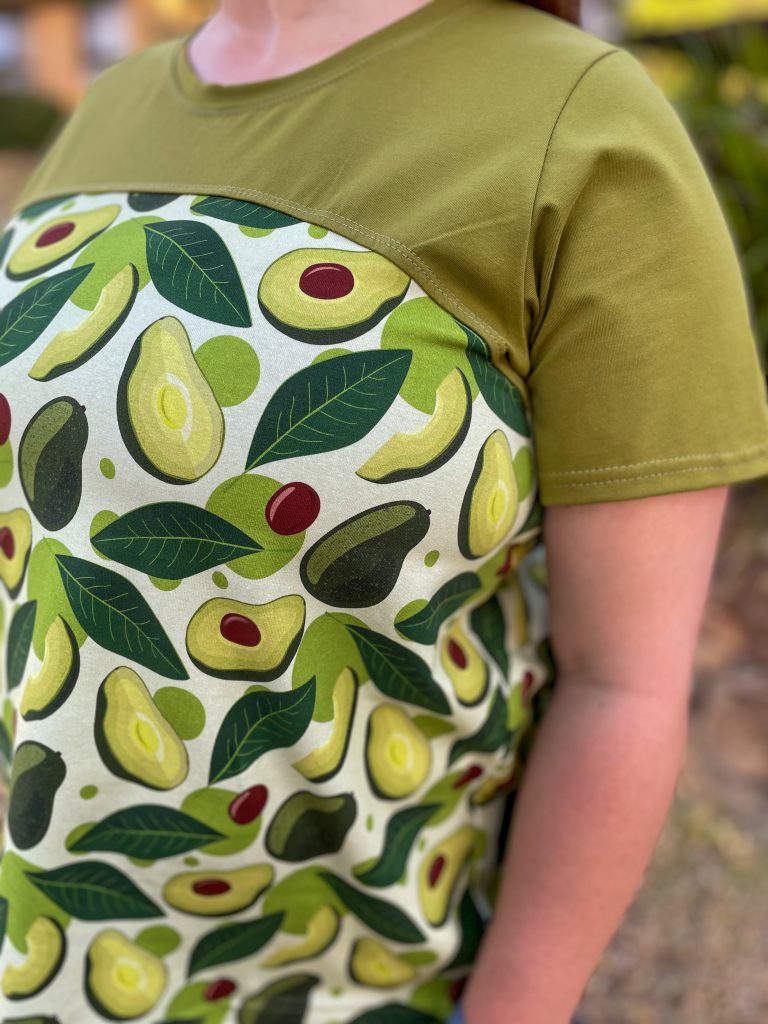
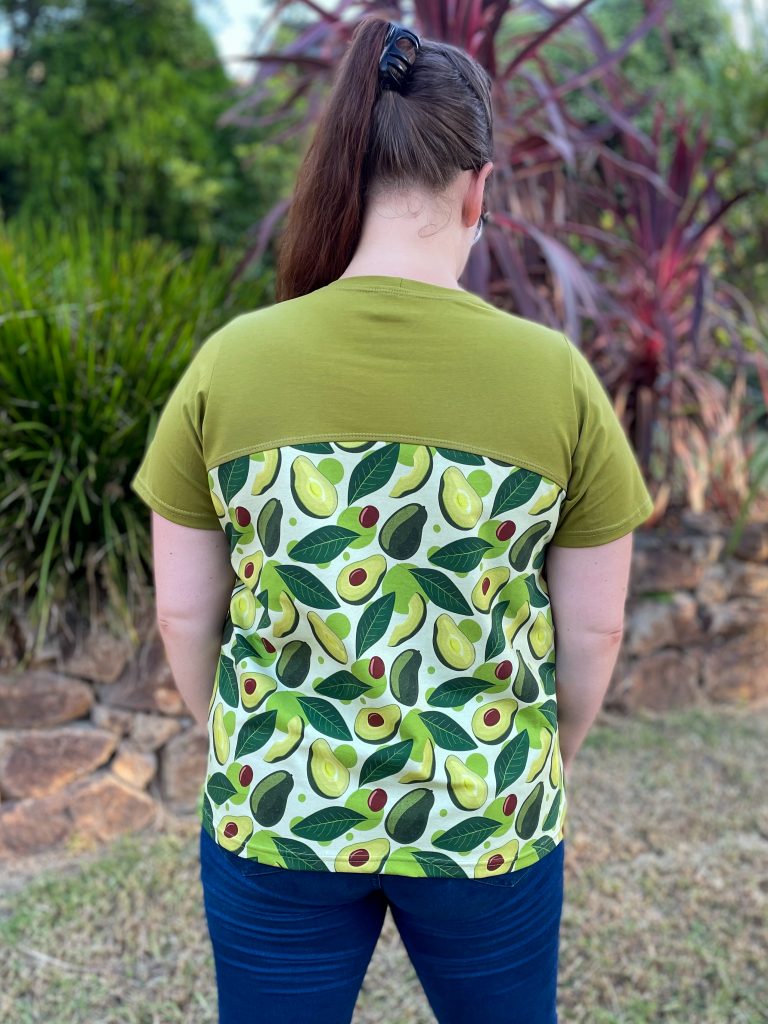
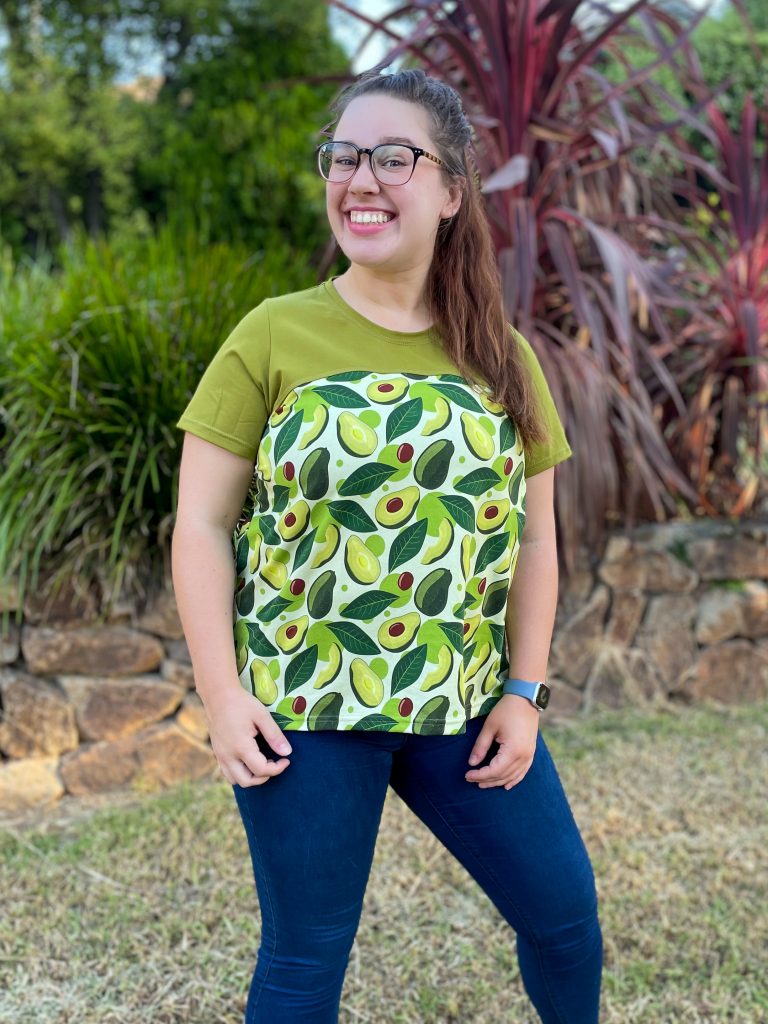
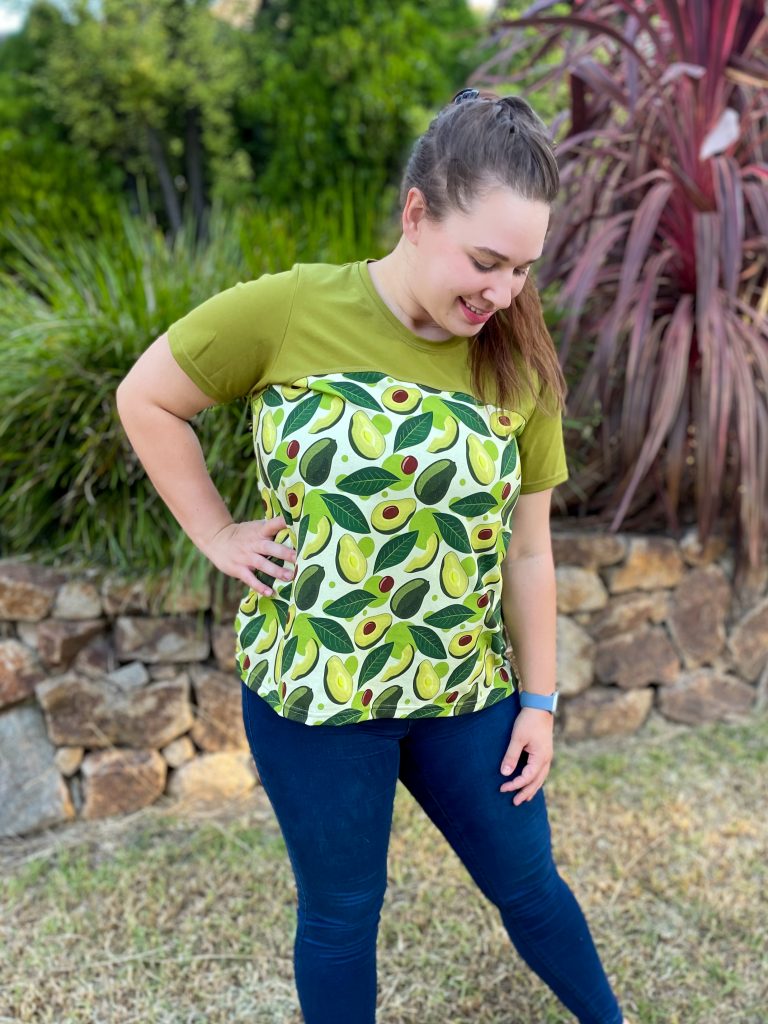
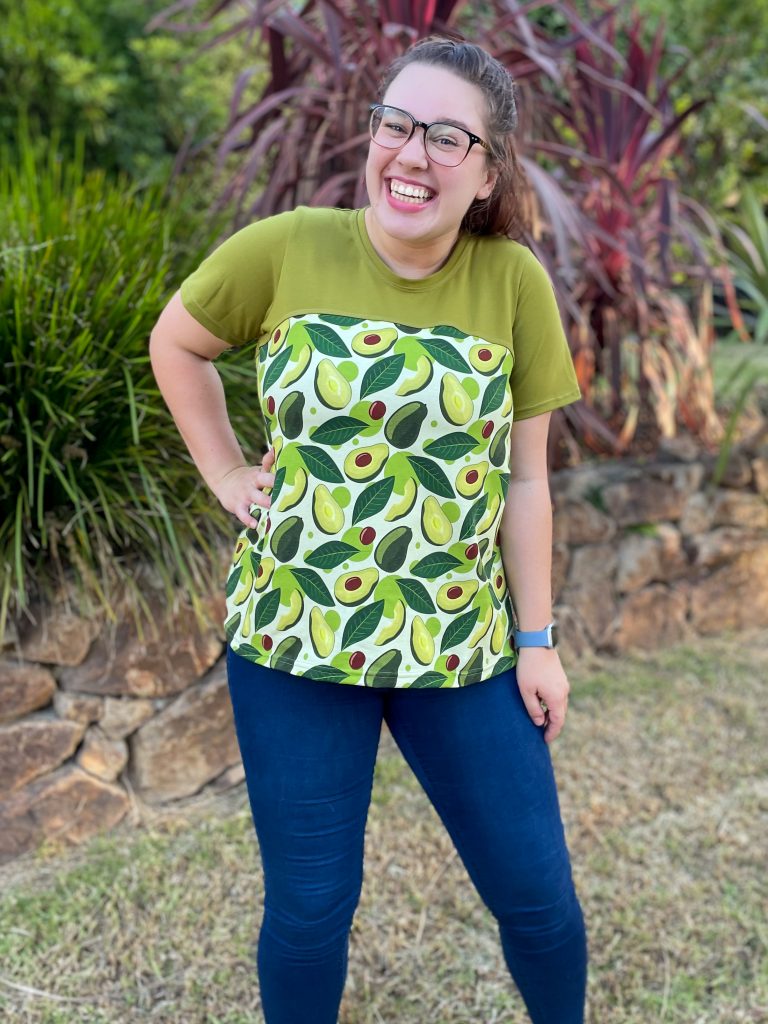
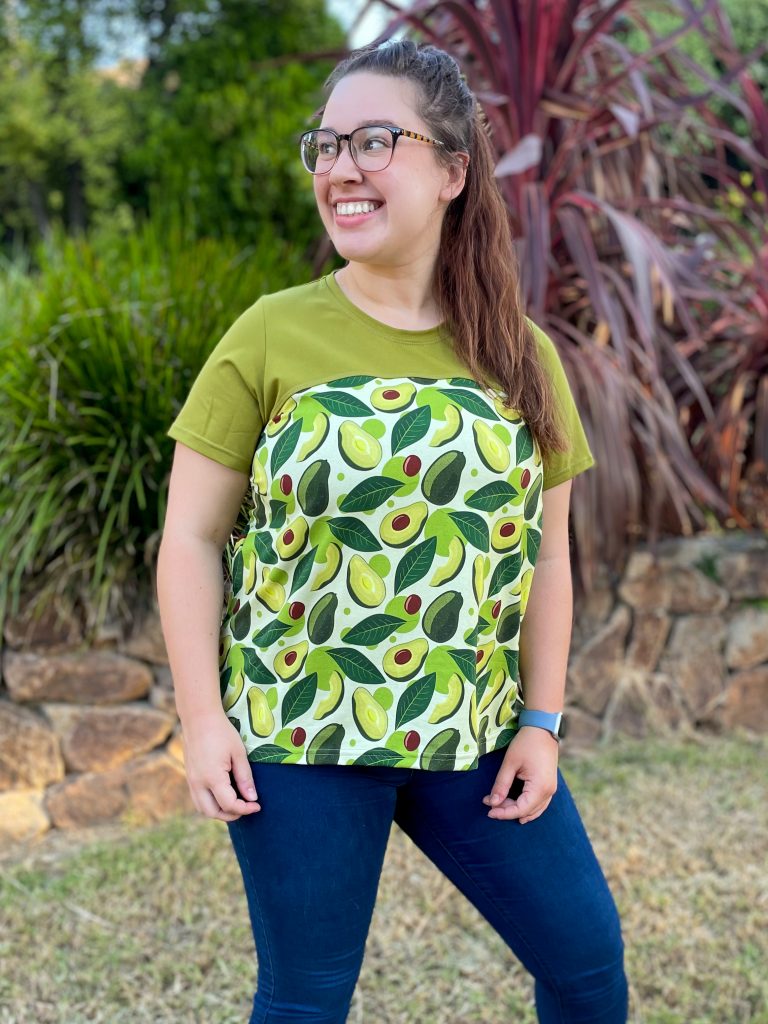
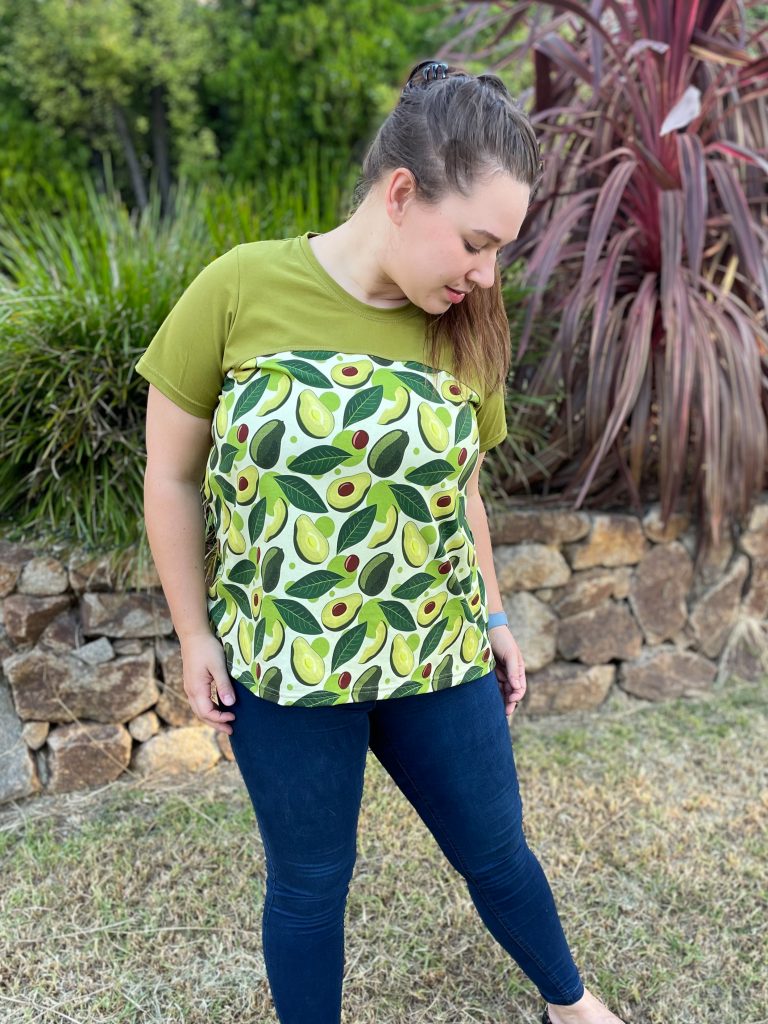
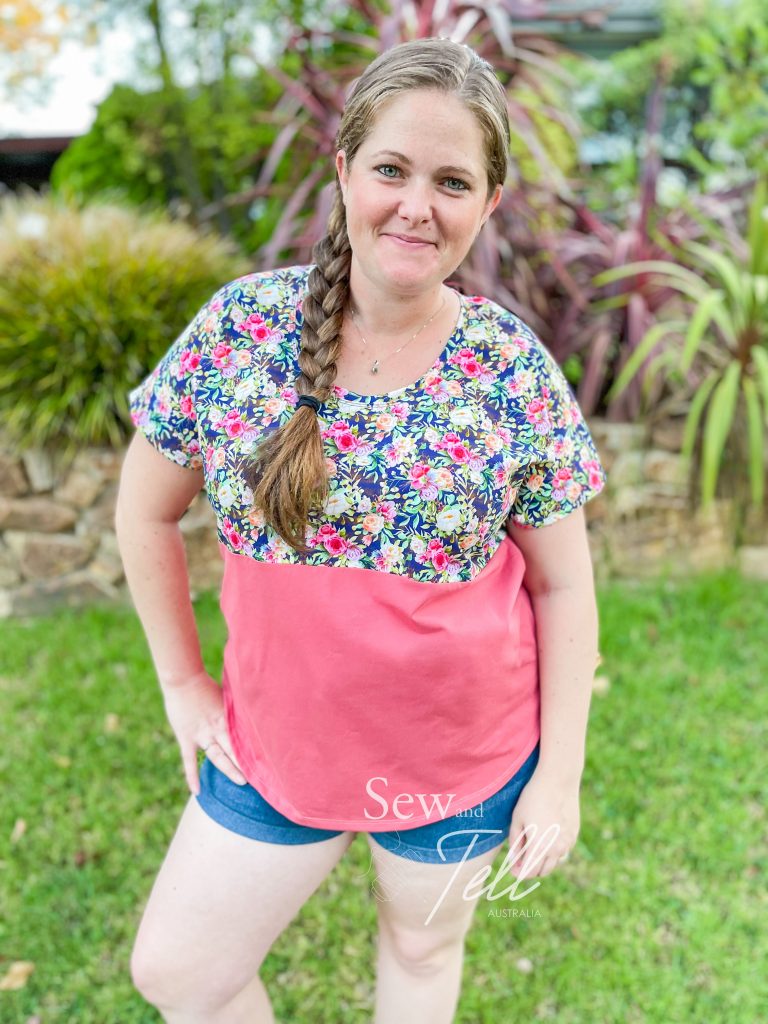
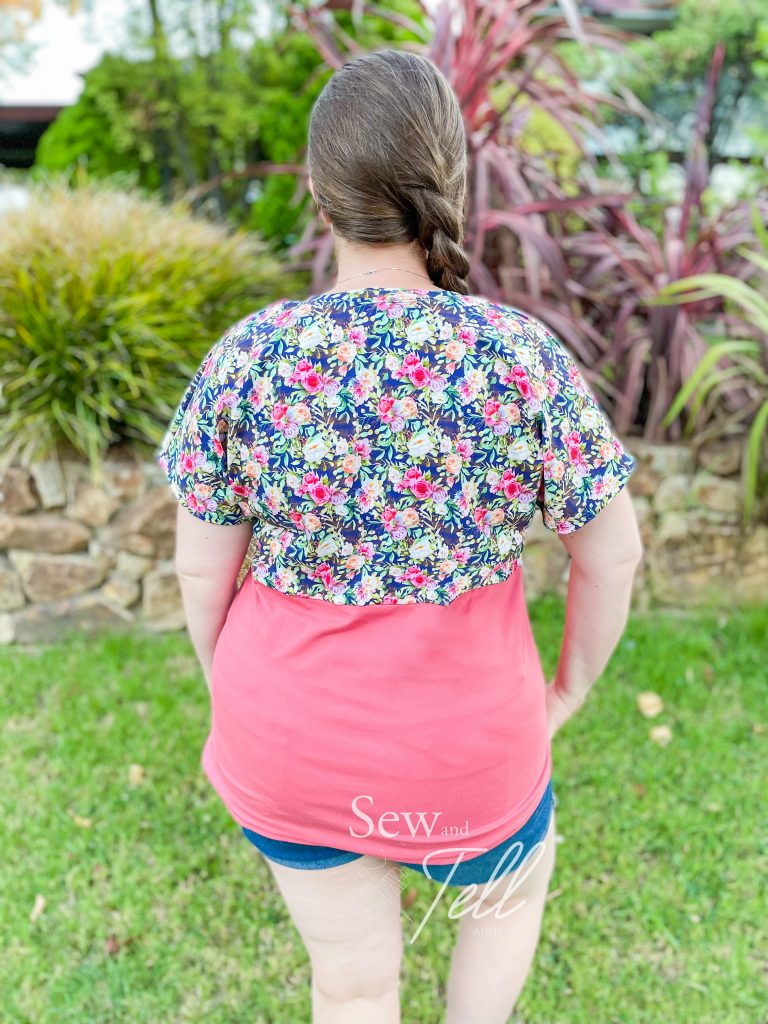
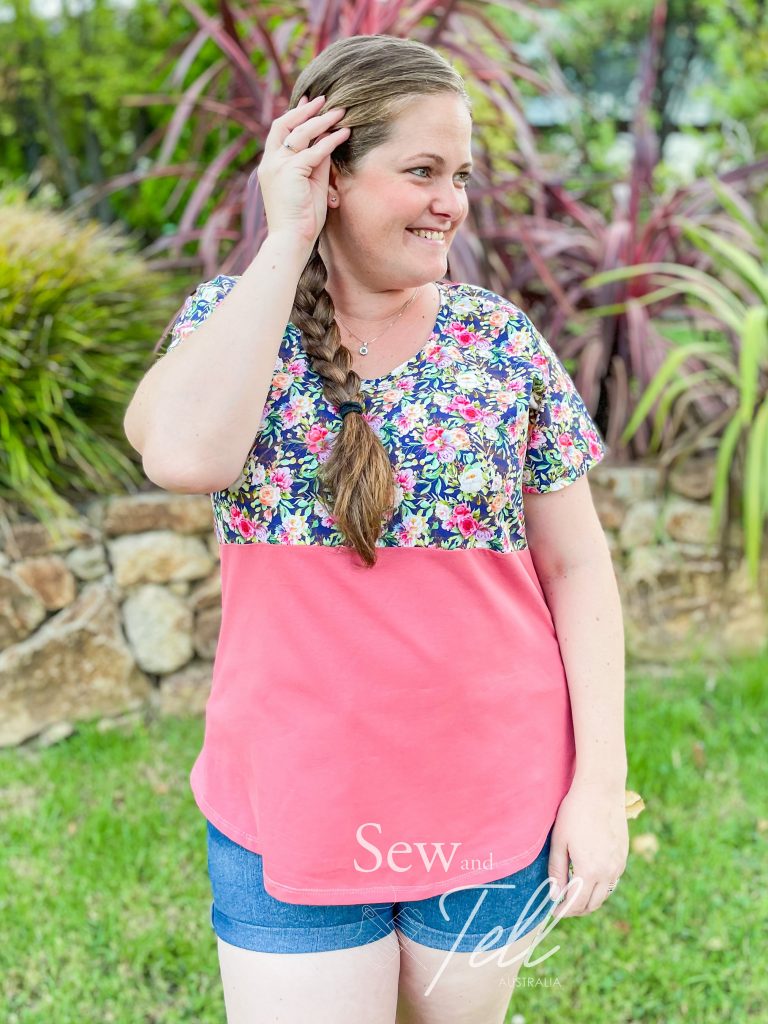
Pattern: Womens Domino Dolman Tee
Designer: Peek a Boo Pattern Shop
Fabrics: Accent fabric – Fabric By Missy Rose, Solid – Sew Unique Fabrics
Measurements: Bust: 45″; Waist: 39″; Hips: 48″
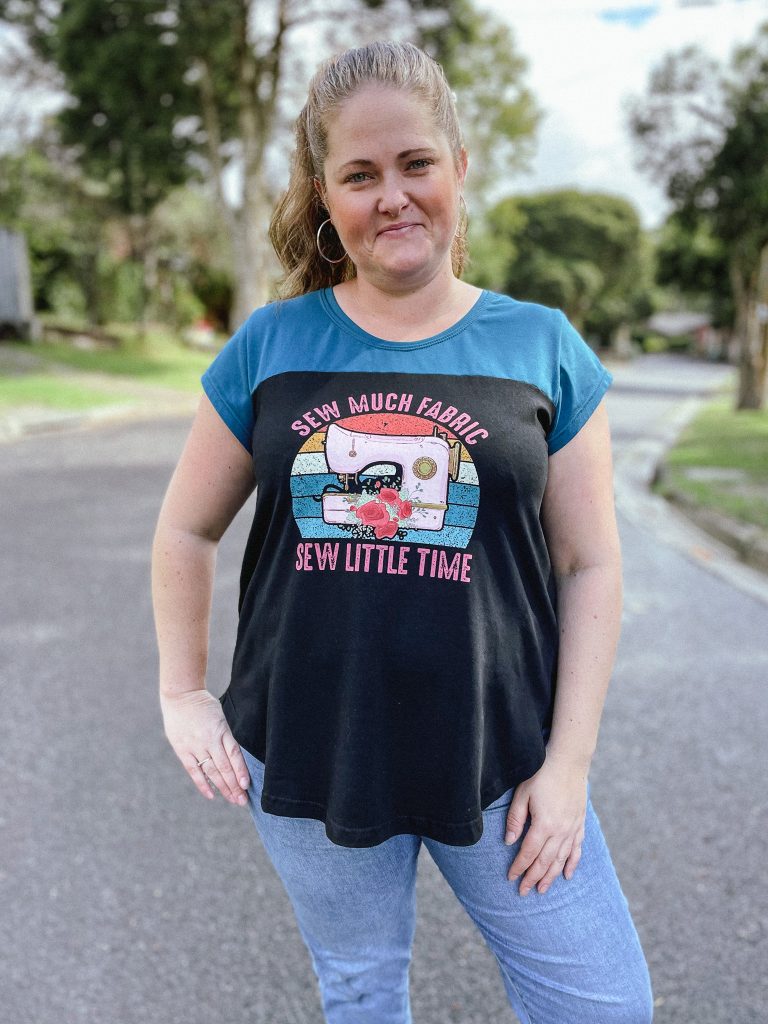
Size made: 2X
Adjustments: Took the sides in a little as it was very roomy
Pros: Such a quick sew! and I love the different colour block options. Nursing Friendly as well
Cons: It was very roomy in the 2X, I would normally make the XL, so will size down for my next one.

Links:
The Wrap Up:
When Amy from Peek a Boo Pattern Shop put the tester call out for this one, I applied straight away. I love a Dolman tee, and the options for this one in terms of colour blocking were super appealing to me.
According to my measurements I fell in the 2X size category, which I made, but to be honest I felt this pattern had quite a lot of ease so it felt very roomy to me. I ended up taking the sides in about an inch on either side which worked well.
It is an incredibly quick pattern to put together, especially with the dolman style sleeve. I can definitely see a few more in my future, it is a great way to mix and match solids and accent fabrics. Also a good way to use up smaller cuts of fabric on the top colour block.
A great essential tee to have in your pattern collection.


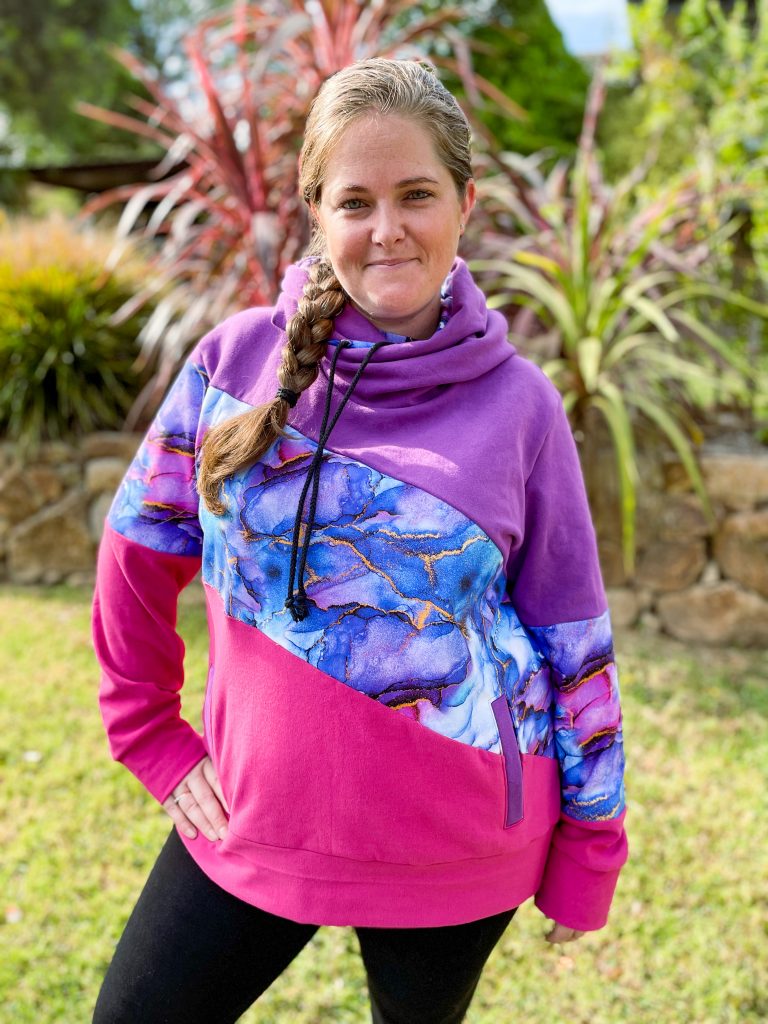
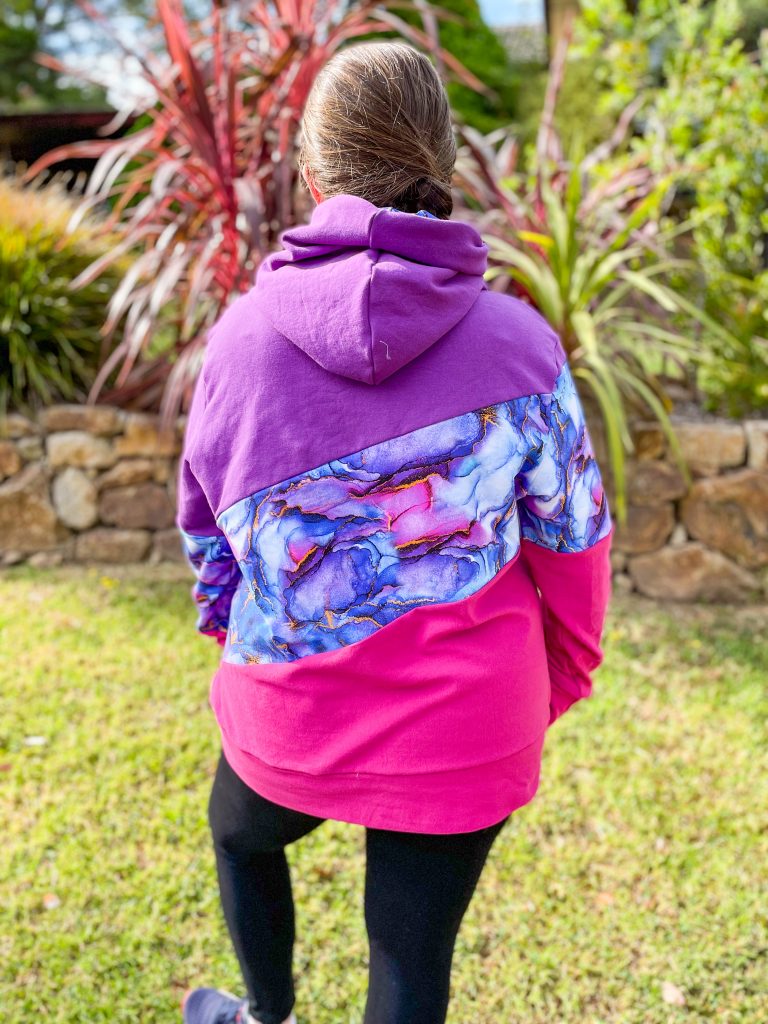
Pattern: Harper Hoodie
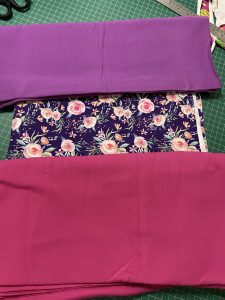
Fabrics: Purple: Cotton Fleece from Sew Unique Fabrics Accent: ‘Artistic Ink’ from Sew Unique Farbics
Pink: Jogging Sweater Knit from Wattle Hill Fabrics
Measurements: Bust: 42.5″; Waist: 39.5″; Hips: 47.5″
Size made: Straight 22. I like my hoodies big and oversized
Adjustments: None
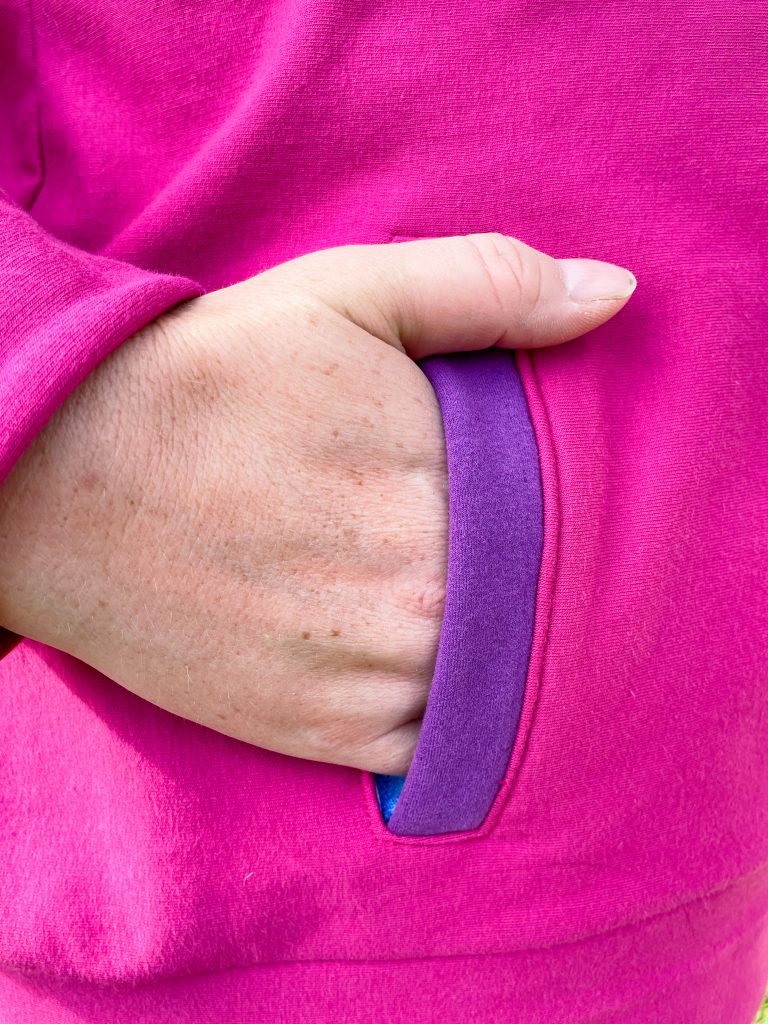
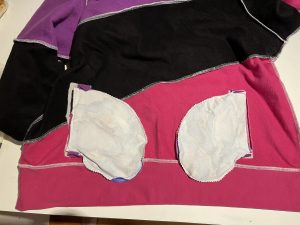
Pros: LOVE the colour blocking on this. It is super comfy to wear and I love the look of the welt pockets.
Cons: I had to unpick the welt part of the pockets 3 times before I got it looking good enough that I was happy with it. I also felt the pocket bags on the inside look a little clunky.

Links:
The Wrap Up:
This brand new hoodie pattern from Sonia Estep is a big winner in my eyes. From the minute I saw it, I knew I would love it and am so glad I got a chance to sew it up. It may be Summer over here in the Southern Hemisphere, but its never too early to start my winter wardrobe. Especially living in Melbourne. We can be in the middle of a heat wave and then next thing you’re freezing and fighting off hail storms! Never a dull moment in Melbourne haha.
I had a few choices for fabrics on this one. As I often do when I’m planning a new project, I got them all out and laid them together to see what combo jumped out at me. I straight away was drawn to the purple and pink combo, and the artistic ink was definitely a front runner.
As the artistic ink is a Cotton Lycra, quite thin, and the purple and pinks are cotton fleece, thick and fluffy, I decided to cut all my artistic ink pieces in black Cotton Fleece as well to ‘back’ each piece. I then treated them as one piece when sewing it together. It is a little bit of a extra tricky step, but well worth it for me.
Once I had decided on the fabrics, the next was choosing a size. In the past I have sewn to ‘my measurements’ and while the garments fit, and looks good, its taken me 3 or 4 hoodies to realise that I actually REALLY like oversized hoodies. Like, I buy RTW mens sized ones cause I want them big and snuggly. So this time I made a size 2-3 up from what my measurements said and its PERFECT.
The process of putting the garment together was quite straight forward, just a few extra steps in the piecing it together. I had to be very careful I made sure all the pieces went together as they should so that the colour blocks would match up. I did put my bottom pieces on upside down to begin with so that was a fun half hour unpicking that. doh!


The next part I had some issues with was the welt pockets. I had not done a welt pocket quite how it was constructed in this pattern and had some problems getting my outer piece even and nestled nicely from the front. One of the sides I unpicked 3 times, and the other side once. I am glad I did, as it was worth it to have it looking good, but it did cause for some swear words haha. I also thought the inside pocket bags were a little odd in terms of how they sit, and if I make another would look to how I could modify to perhaps make a circle through pocket, but for now I might hand stitch them to the inside so they don’t dip below the waistband when weighted down by objects in them.
I had some questions over wether I crossed my hood too much when I first did it, but it works. The designer also commented that the hood is intentionally a more ‘dramatic’ hood crossover than most. The cowl look around the neck when its not up is particularly appealing to me, I think it looks great!
The Harper Hoodies is definitely a staple in my wardrobe now and am looking forward to being able to crack her out A LOT over winter. The pattern is on sale for 50% till Thursday, click on the link below (afflink) to grab your copy.
Gallery: