Knit

  • 7 Myths About Sewing with Stretch Fabrics

    Exploring the world of stretch fabric sewing can lead to endless sewing opportunities. Particularly as stretch fabrics are used to make a large number of the ready-to-wear items that you see in stores. Their comfort and adaptability make them incredibly popular to wear. However, many people are afraid to get started with sewing stretch fabric sewing for fear of making mistakes. 

    Read the 7 myths below to learn why you no longer need to be afraid of sewing with stretch fabrics. You will quickly learn that stretch fabrics aren’t hard, they are just different.

    Myth #1: You Need a Special Sewing Machine

    Reality: There’s a common belief that you need a Serger (otherwise known as an Overlocker) to tackle stretch fabrics. However, this isn’t the case! Your conventional, normal domestic sewing machine is all you need to start sewing with stretch cotton. Getting to understand how your machine works, including what settings and needles to use with stretch fabrics is a game changer!

    Myth #2: Stretch Fabrics Are Too Unpredictable

    Reality: While stretch fabrics are celebrated for their elasticity and adaptability, these characteristics should not be viewed as barriers. With the right skills and knowledge, you can master stretch cotton lycra and create garments that are comfortable, stylish and perfect for the whole family.

    Myth #3: All Stretch Fabrics Are the Same

    Reality: There are an infinite number of styles, colors, and types of stretch fabrics, each with unique properties and applications. Examining various styles, like as interlock, rib knit, and jersey, will significantly boost the range and quality of your work. Understanding the variety of stretch materials is a first step in becoming successful with their use.

    Myth #4: Quality Stretch Fabric is Expensive

    Reality: High quality doesn’t necessarily come with a high price tag. There are plenty of affordable stretch fabric options that don’t skimp on quality. Doing some basic research and with a little fabric know-how, you can uncover the ideal stretch fabric for your project without stretching your budget.

    Myth #5: Sewing with Stretch Fabrics is Only for people who have being sewing for a long time and mastered non stretch fabrics

    Reality: The misunderstanding may deter beginners in particular. However, the reality is that even novices can become excellent stretch fabric makers with the correct guidance and a willingness to learn. The key is to begin with basic methods and work your way up to more complex ones as you gain confidence and skills.

    Myth #6: Stretch Fabrics Stretch Out and Lose Shape Easily

    Reality: A stretch fabric garment’s longevity and ability to maintain its shape are primarily determined by the stitching technique used. Making use of the right stitch types and finishes—such as using a serger for seams or your sewing machine’s proper stretch stitch—guarantees that your items will hold their shape and fit over time.

    Myth #7: You Can’t Achieve Professional Finishes with Stretch Fabrics

    Reality: A common misconception is that garments made from stretch fabric are bound to look homemade. However, techniques like twin needling, coverstitching, and careful topstitching can really boost the finished look of your stretch fabric projects. These finishing touches not only increase durability but also give a professional look to your sewing projects.

    Stretch fabrics open a whole new world of fun and gorgeous sewing projects, all you have to do is start!

    Hopefully by busting these seven myths, I have encouraged you to give stretch fabrics a go and begin to discover the joy of sewing with stretch fabrics.

    Never let mistaken beliefs prevent you from discovering all of the possibilities that your sewing projects might achieve.

    With the right guidance and techniques, the universe of stretch fabrics is yours to explore! 

    What next?

    Do you want to sew stretch fabric more confidently?

    Join a community of like minded sewists who share knowledge, advice and encouragement. All supported by step by step Masterclasses and exclusive content.

  • The Two Faces of Stretch: Manufactured Stretch (Elastane) vs. Inherent Stretch (Natural).

    Stretch and Recovery Explained

    Have you ever slipped into your favorite stretchy pants and marveled at how they effortlessly hug your curves while maintaining their shape?

    Understanding the magic behind stretch fabrics, like those in your beloved leggings, opens up a world of possibilities in the realm of sewing and fashion. Let’s talk about the secrets of stretch and recovery to help guide you through the maze of stretch fabrics with confidence.

    Diving into the world of stretch fabrics, commonly known as knit fabric, is best done when you have a solid understanding of the fundamental concepts of stretch and recovery. These two cornerstones play a pivotal role in determining whether a fabric is suitable for your chosen pattern and how it will conform to your body.

    The Two Faces of Stretch Fabrics:

    Within the category of ‘stretch’, your fabric can be further broken down into one of two sub categories.

    1. Stretch Fabrics with Elastane: The Ultimate Stretch Duo

    This category includes stretch fabrics that owe their stretchiness to elastane fibers, also known as spandex or lycra. Elastane is introduced during the manufacturing process to excellent and controlled stretch, making it the ideal choice for form-fitting and comfortable clothing.

    2. Stretch Fabrics with Inherent Stretch: Naturally Comfortable

    The second category includes stretch fabrics designed for inherent stretch, achieved through specific knitting techniques. Unlike fabrics manufactured with elastane, these fabrics are engineered to have natural mechanical stretch in their structure, offering comfort in diverse applications.

    Think of it as hand knitting – where the yarn is strategically knitted to possess inherent stretch, eliminating the need for added elastane. Both categories boast unique characteristics, catering to various sewing and fashion needs.

    Choosing the Right Fabric for the Project:

    Understanding these two categories is crucial for selecting the right stretch fabric for your sewing and fashion projects. Fabrics with elastane are ideal for garments demanding controlled and substantial stretch, ensuring flexibility and a snug fit.

    On the other hand, fabrics with inherent stretch find applications in various styles, such as sweater knits, cable knits, and even some waffle knits, providing comfort in a myriad of clothing and textile items.

    Beyond Composition: Unraveling the Fabric Mystery:
    Crucially, even if two stretch fabrics share identical compositions – say, 95 percent cotton, 5 percent elastane – several manufacturing factors can lead to variations in stretch percentage and recovery properties. Elements such as knitting structure, fabric weight, spandex quality, tension, finish, weave density, fiber quality, and pre-shrinking processes all play roles in determining how fabrics behave.

    Ready to Dive Deeper into the World of Stretch Fabrics?

    Join me in my Conquer Stretch Sewing Course if this look into the finer points of stretch and recovery has sparked your interest and you’re ready to become an expert sewer of stretch materials. Explore these fabric secrets and others, giving you the confidence and information you need to sew all your future stretch projects with ease.

  • Pattern Review of the Diana Dress & Top

    Pattern: Diana Dress & Top
    Designer: Ellie & Mac Patterns
    Fabrics: Bamboo Lycra from The Telarie
    Skill level: Beginner
    Size made: 2XL/3XL
    Pros: I adore this flattering top and dress. It is so beautiful to wear and has some great options.
    Cons: Sometimes a lined top annoys me as it uses more fabric.

    Sewing Serendipity: The Delightful Dance of Fabric and Pattern

    As soon as I saw this pattern release, I knew I had to make one. Or as it currently stands, three! haha.

    For starters, this pattern is named after one of my good sewing friends, Diana from @eloiseandezra. If you don’t already follow her on insta, definitely check her out. She also shares lots of fun tips and tricks on her YouTube channel.

    I also really liked that there were quite a few options to choose from. There are multiple skirt lengths and tiered options as well as the peplum top, which is the 3 types I have made. It also has a couple of necklines, including the square neckline, which is a big fave of mine. I’ve made two with the square neckline and one with a low scoop. On the Square neckline you can also add some ruching at the front centre to make a cute sweetheart neckline.

    The sleeves were another big draw card for me as there were so many options!! I loved the 3/4 shirred sleeve and also I am a sucker for a flutter. Shirring is a lot of fun and has such a great effect. If you’re new to shirring or not sure how to do it, I cover how to shir in one of the Master Classes in my membership, The Sewing Corner.

    I am always a bit hesitant to do knit patterns that are lined as its extra fabric to cut out and use, but I didn’t mind so much for this make. There really isn’t any other ‘neat’ way to get a square neckline either without lining or doing some kind of facing. And I do NOT like facing on a knit garment haha. So lining is the lesser of 2 evils for my fave neckline! It shows how to include elastic in the neckline for extra stability as well which is nice. My Knit Confidence course covers elastics in knits if you need some support with this technique.

    Two of the versions I have made have been with The Telarie Bamboo Lycra and they are SO lovely and flowy. The quality of the material is gorgeous and I just love the prints I chose. 

    I would not hesitate to try this one out, its especially nice in the more flowly fabrics like Bamboo Lycra, Modal, Rayon Spandex and a Viscose Elastane. Try it out and tag me in your makes!

    FYI. This pattern is on sale for 50% off for the month of November 2023. Grab it now!

    What next?

    Stop wasting fabric and time on projects that don't fit right. 

    Learn to sew with confidence and let me guide you to more sewing success.

  • My Favourite Tres Belle Hack – Pattern Review!

    Pattern: Tres Belle Dress with Willow Wrap Flutter Sleeves
    Designer: Ellie & Mac (Tres Belle), Love Notions (Willow Wrap)
    Fabrics: Viscose Jersey from Wattle Hill Fabrics
    Skill level: Beginner
    Size made: 2XL
    Adjustments: I used the flutter sleeves from the Willow Wrap and mashed them straight into the Tres Belle Bodice
    Pros: I’ve done this mash a couple of times and it NEVER fails to impress me. It is light, breezy and super flattering.
    Cons: The binding on the neckline can be a little intimidating, but take it slow and you should have no problems.

    Romance in Every Stitch: Mastering the Tres Belle Dress with a Flutter Sleeve Hack

    So, I guess the first question I ask is, can you ever have too many beautiful dresses?

    Answer, NO!

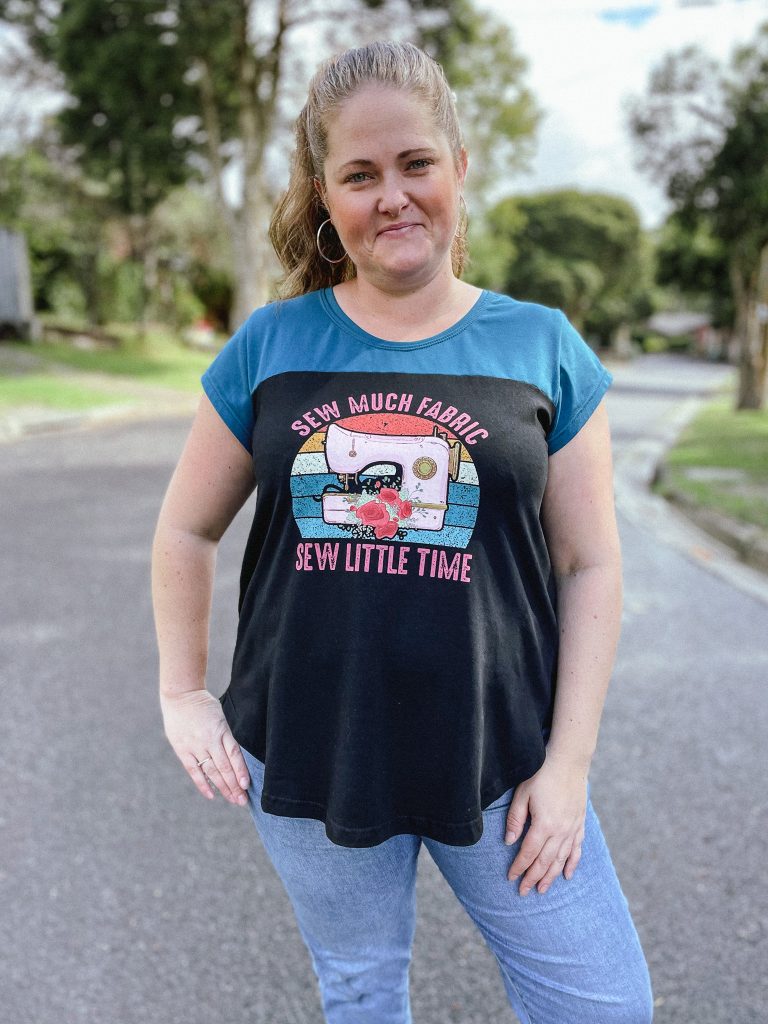
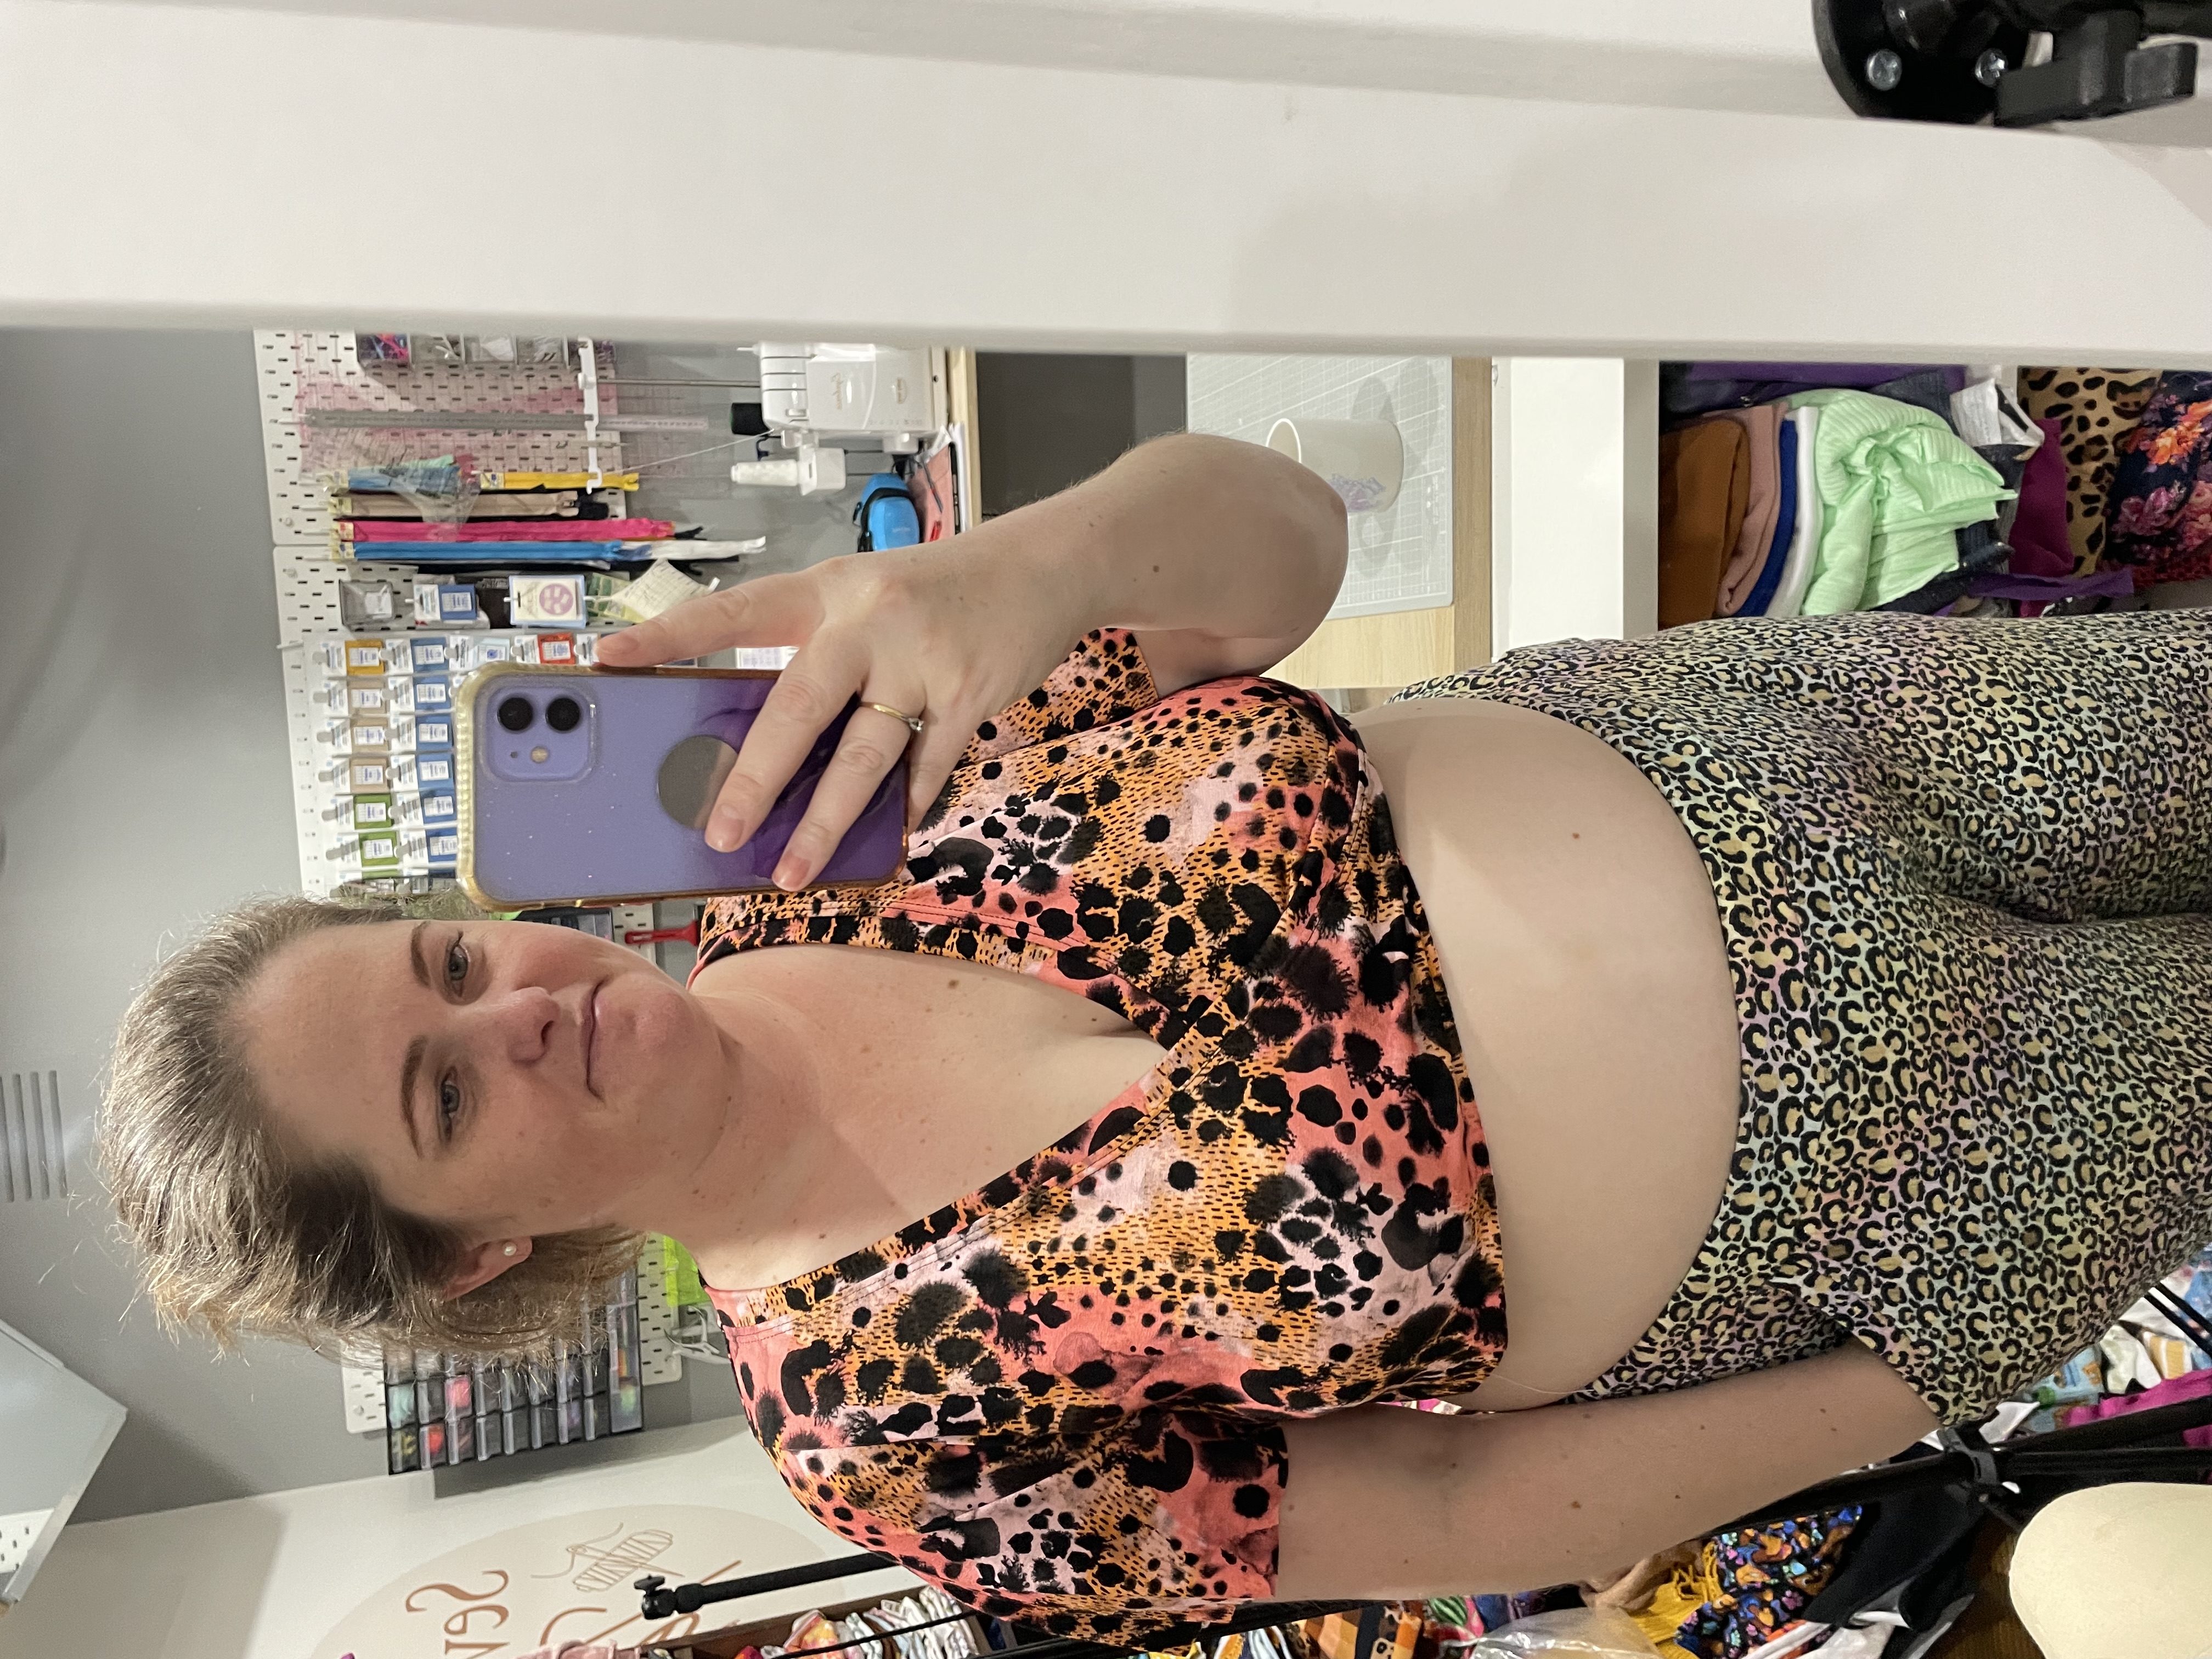
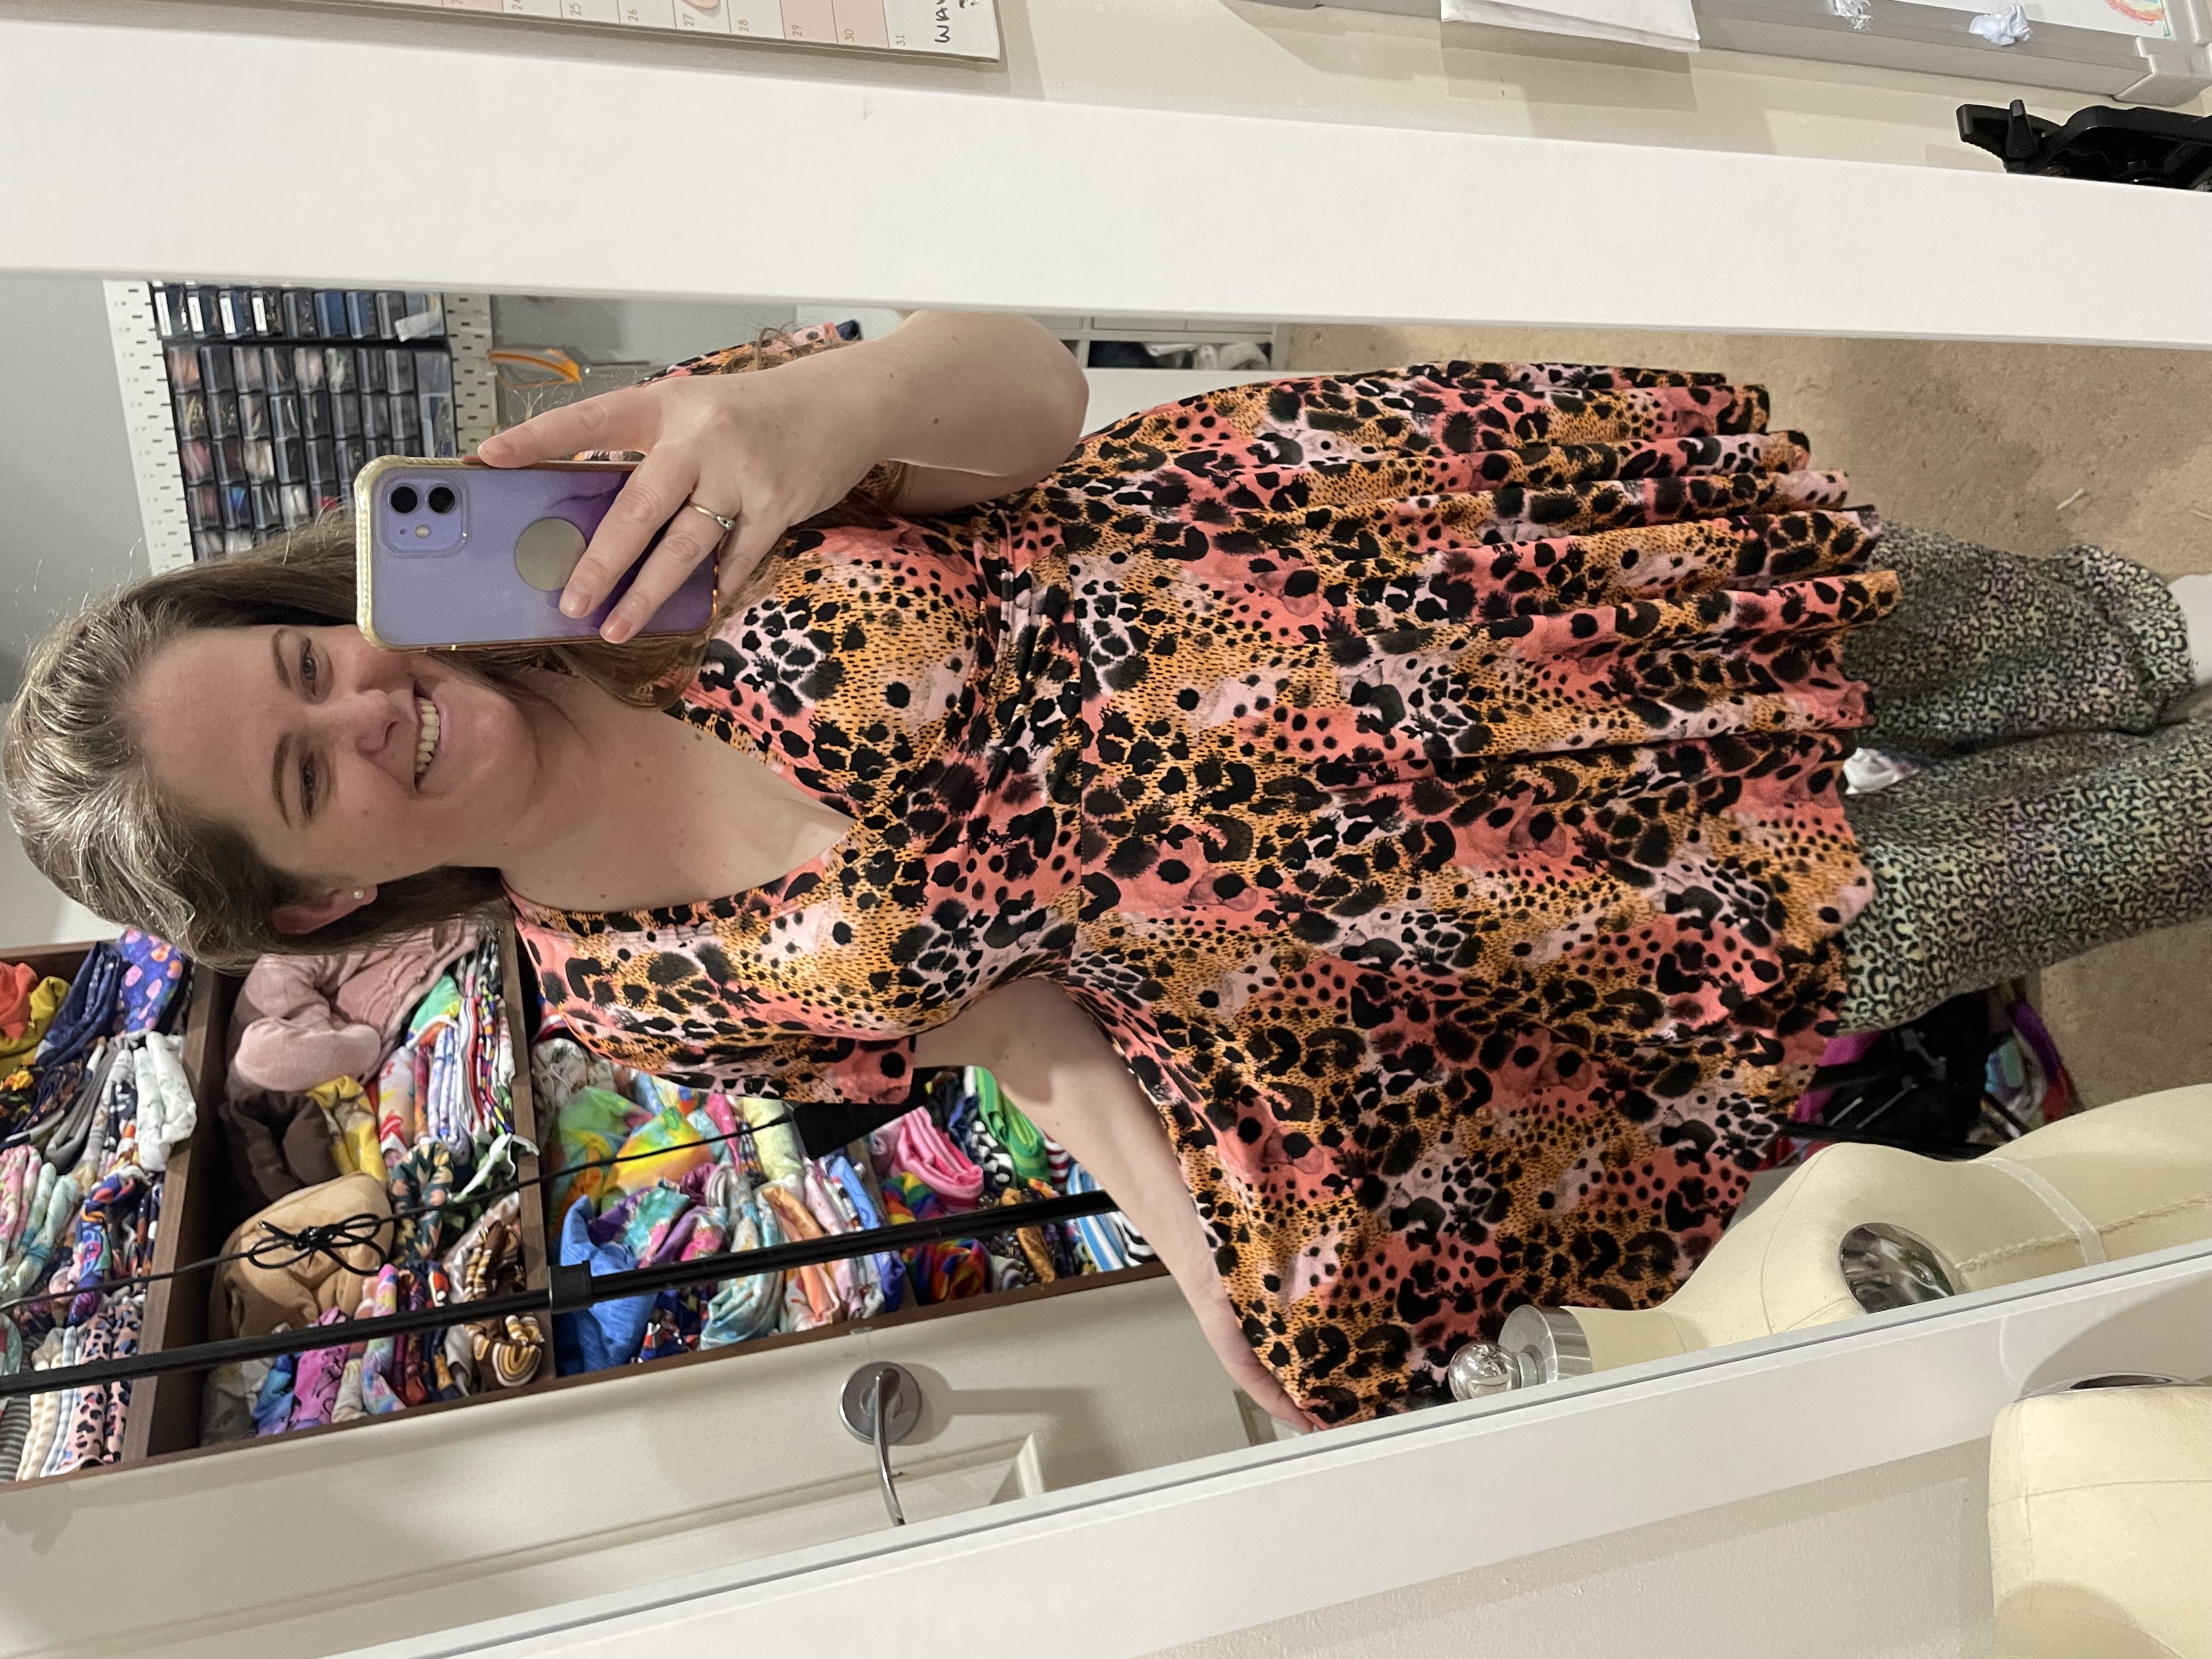
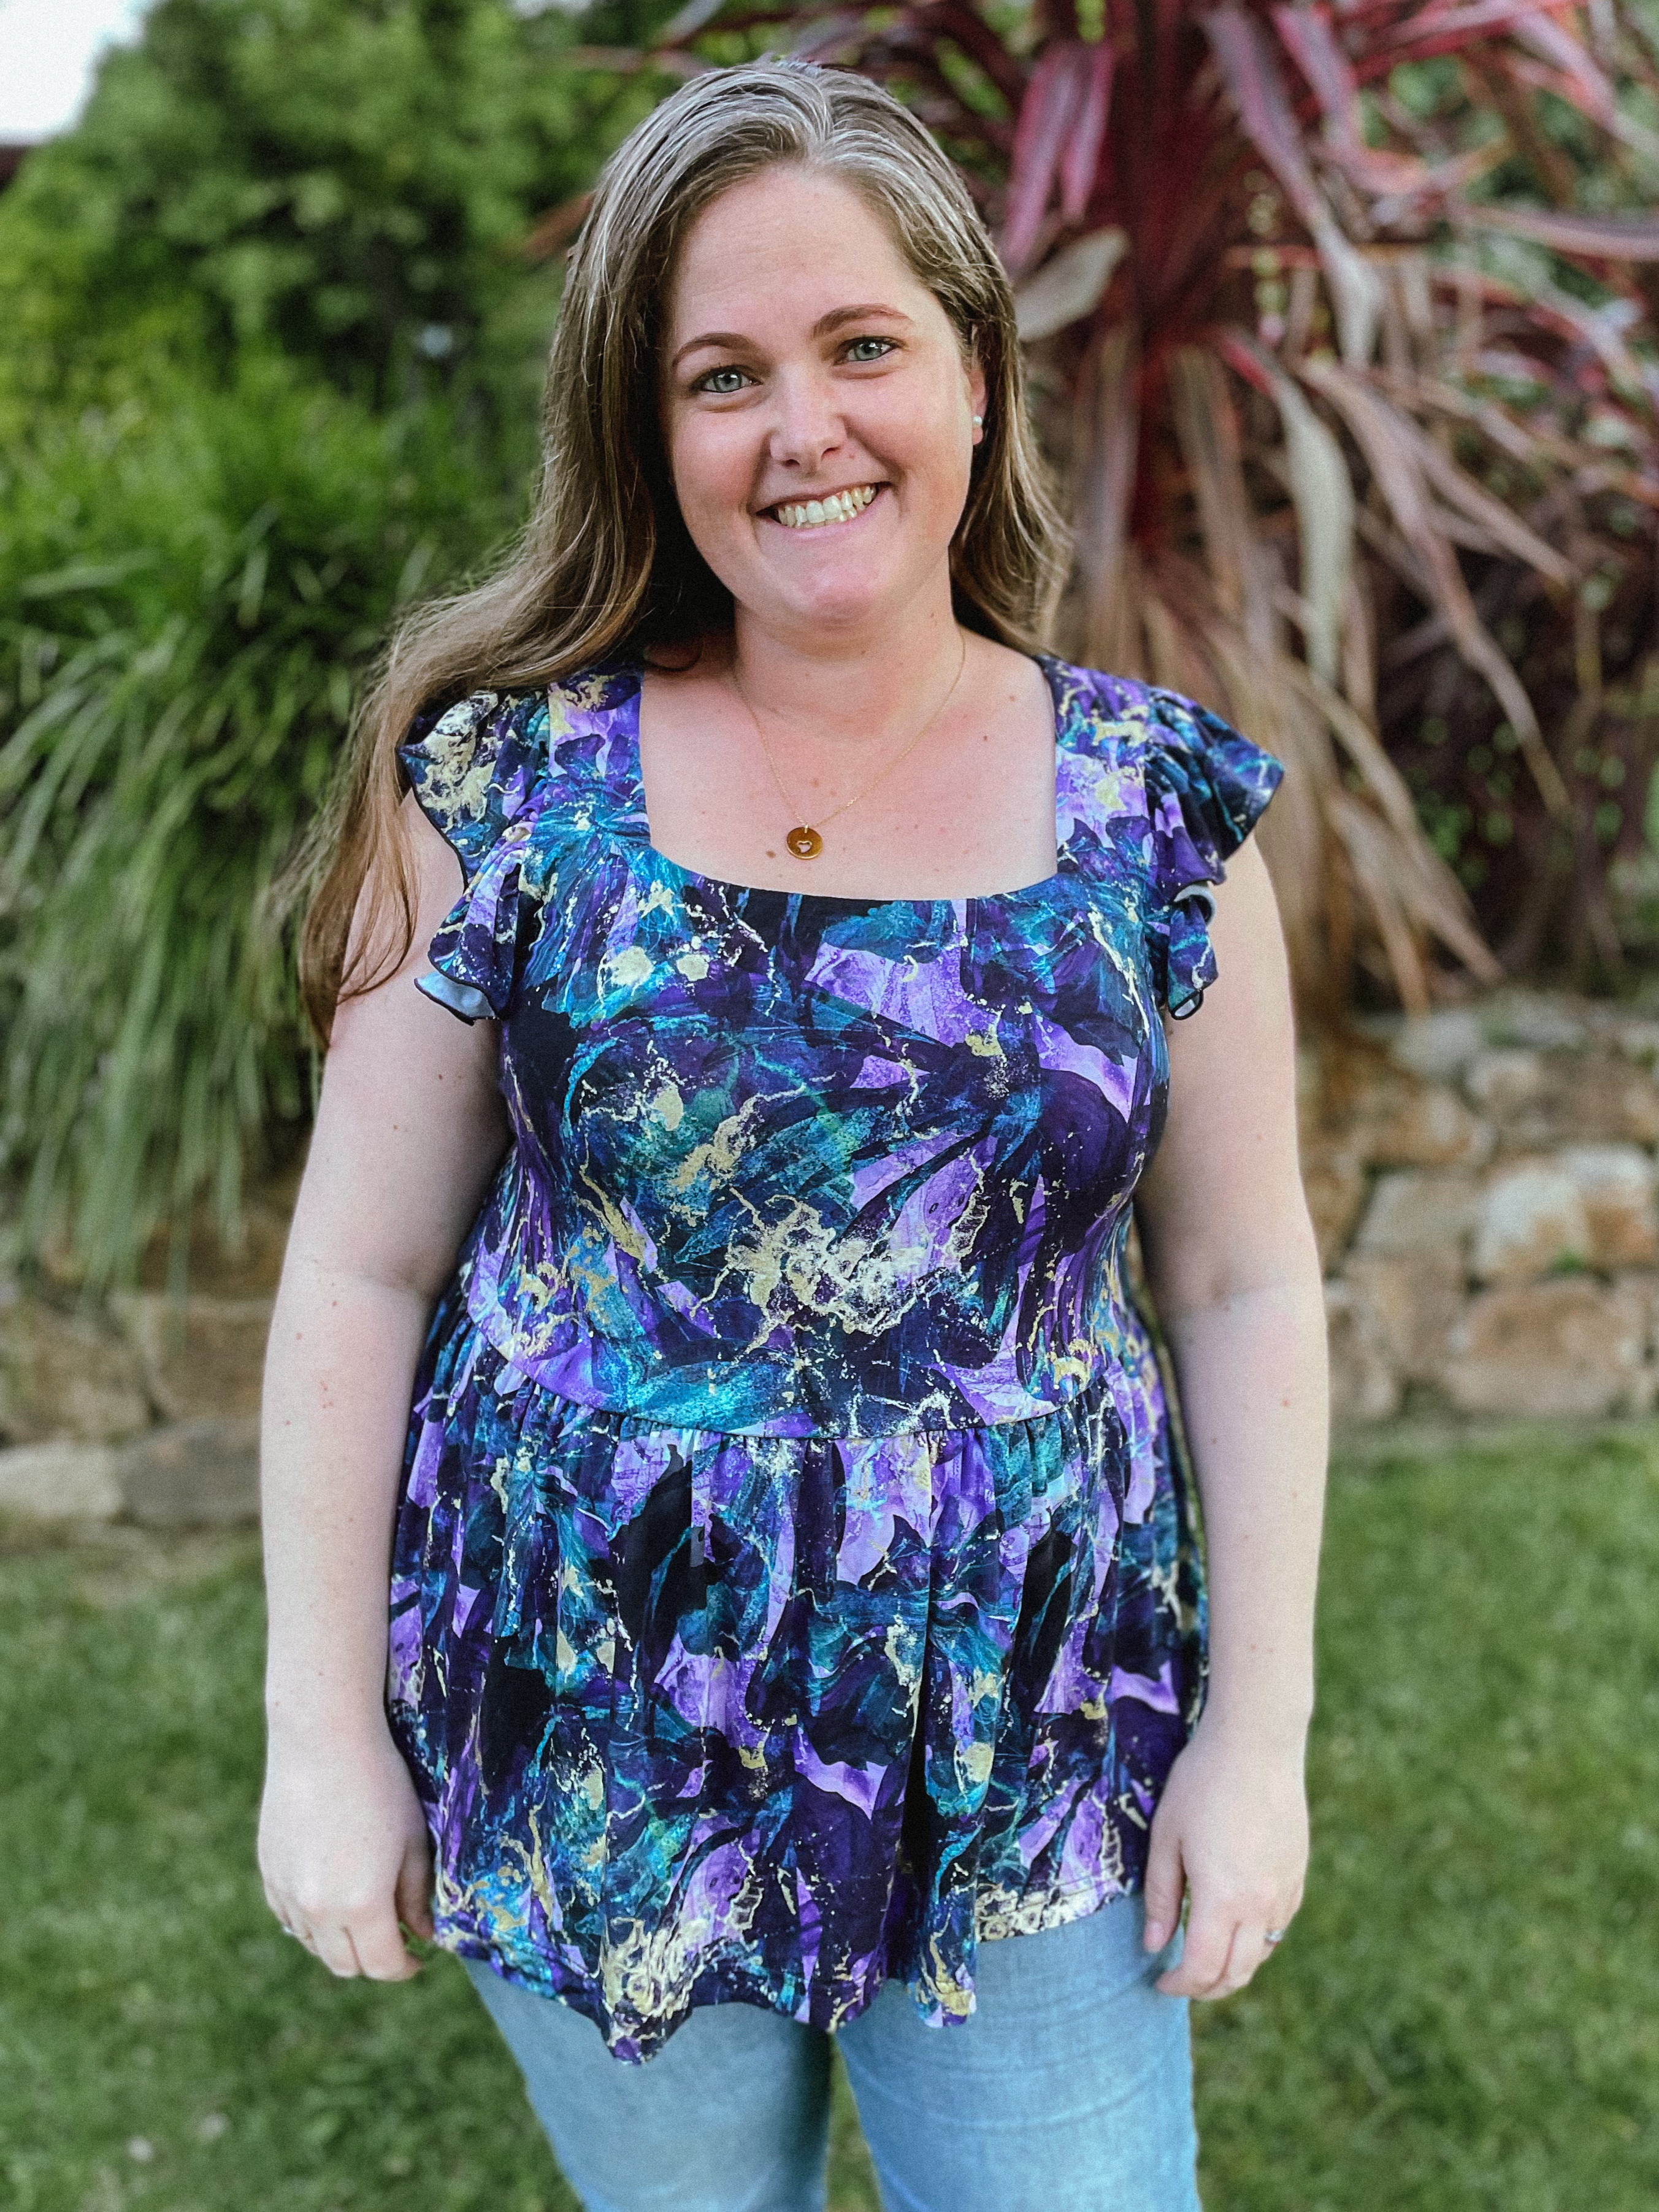
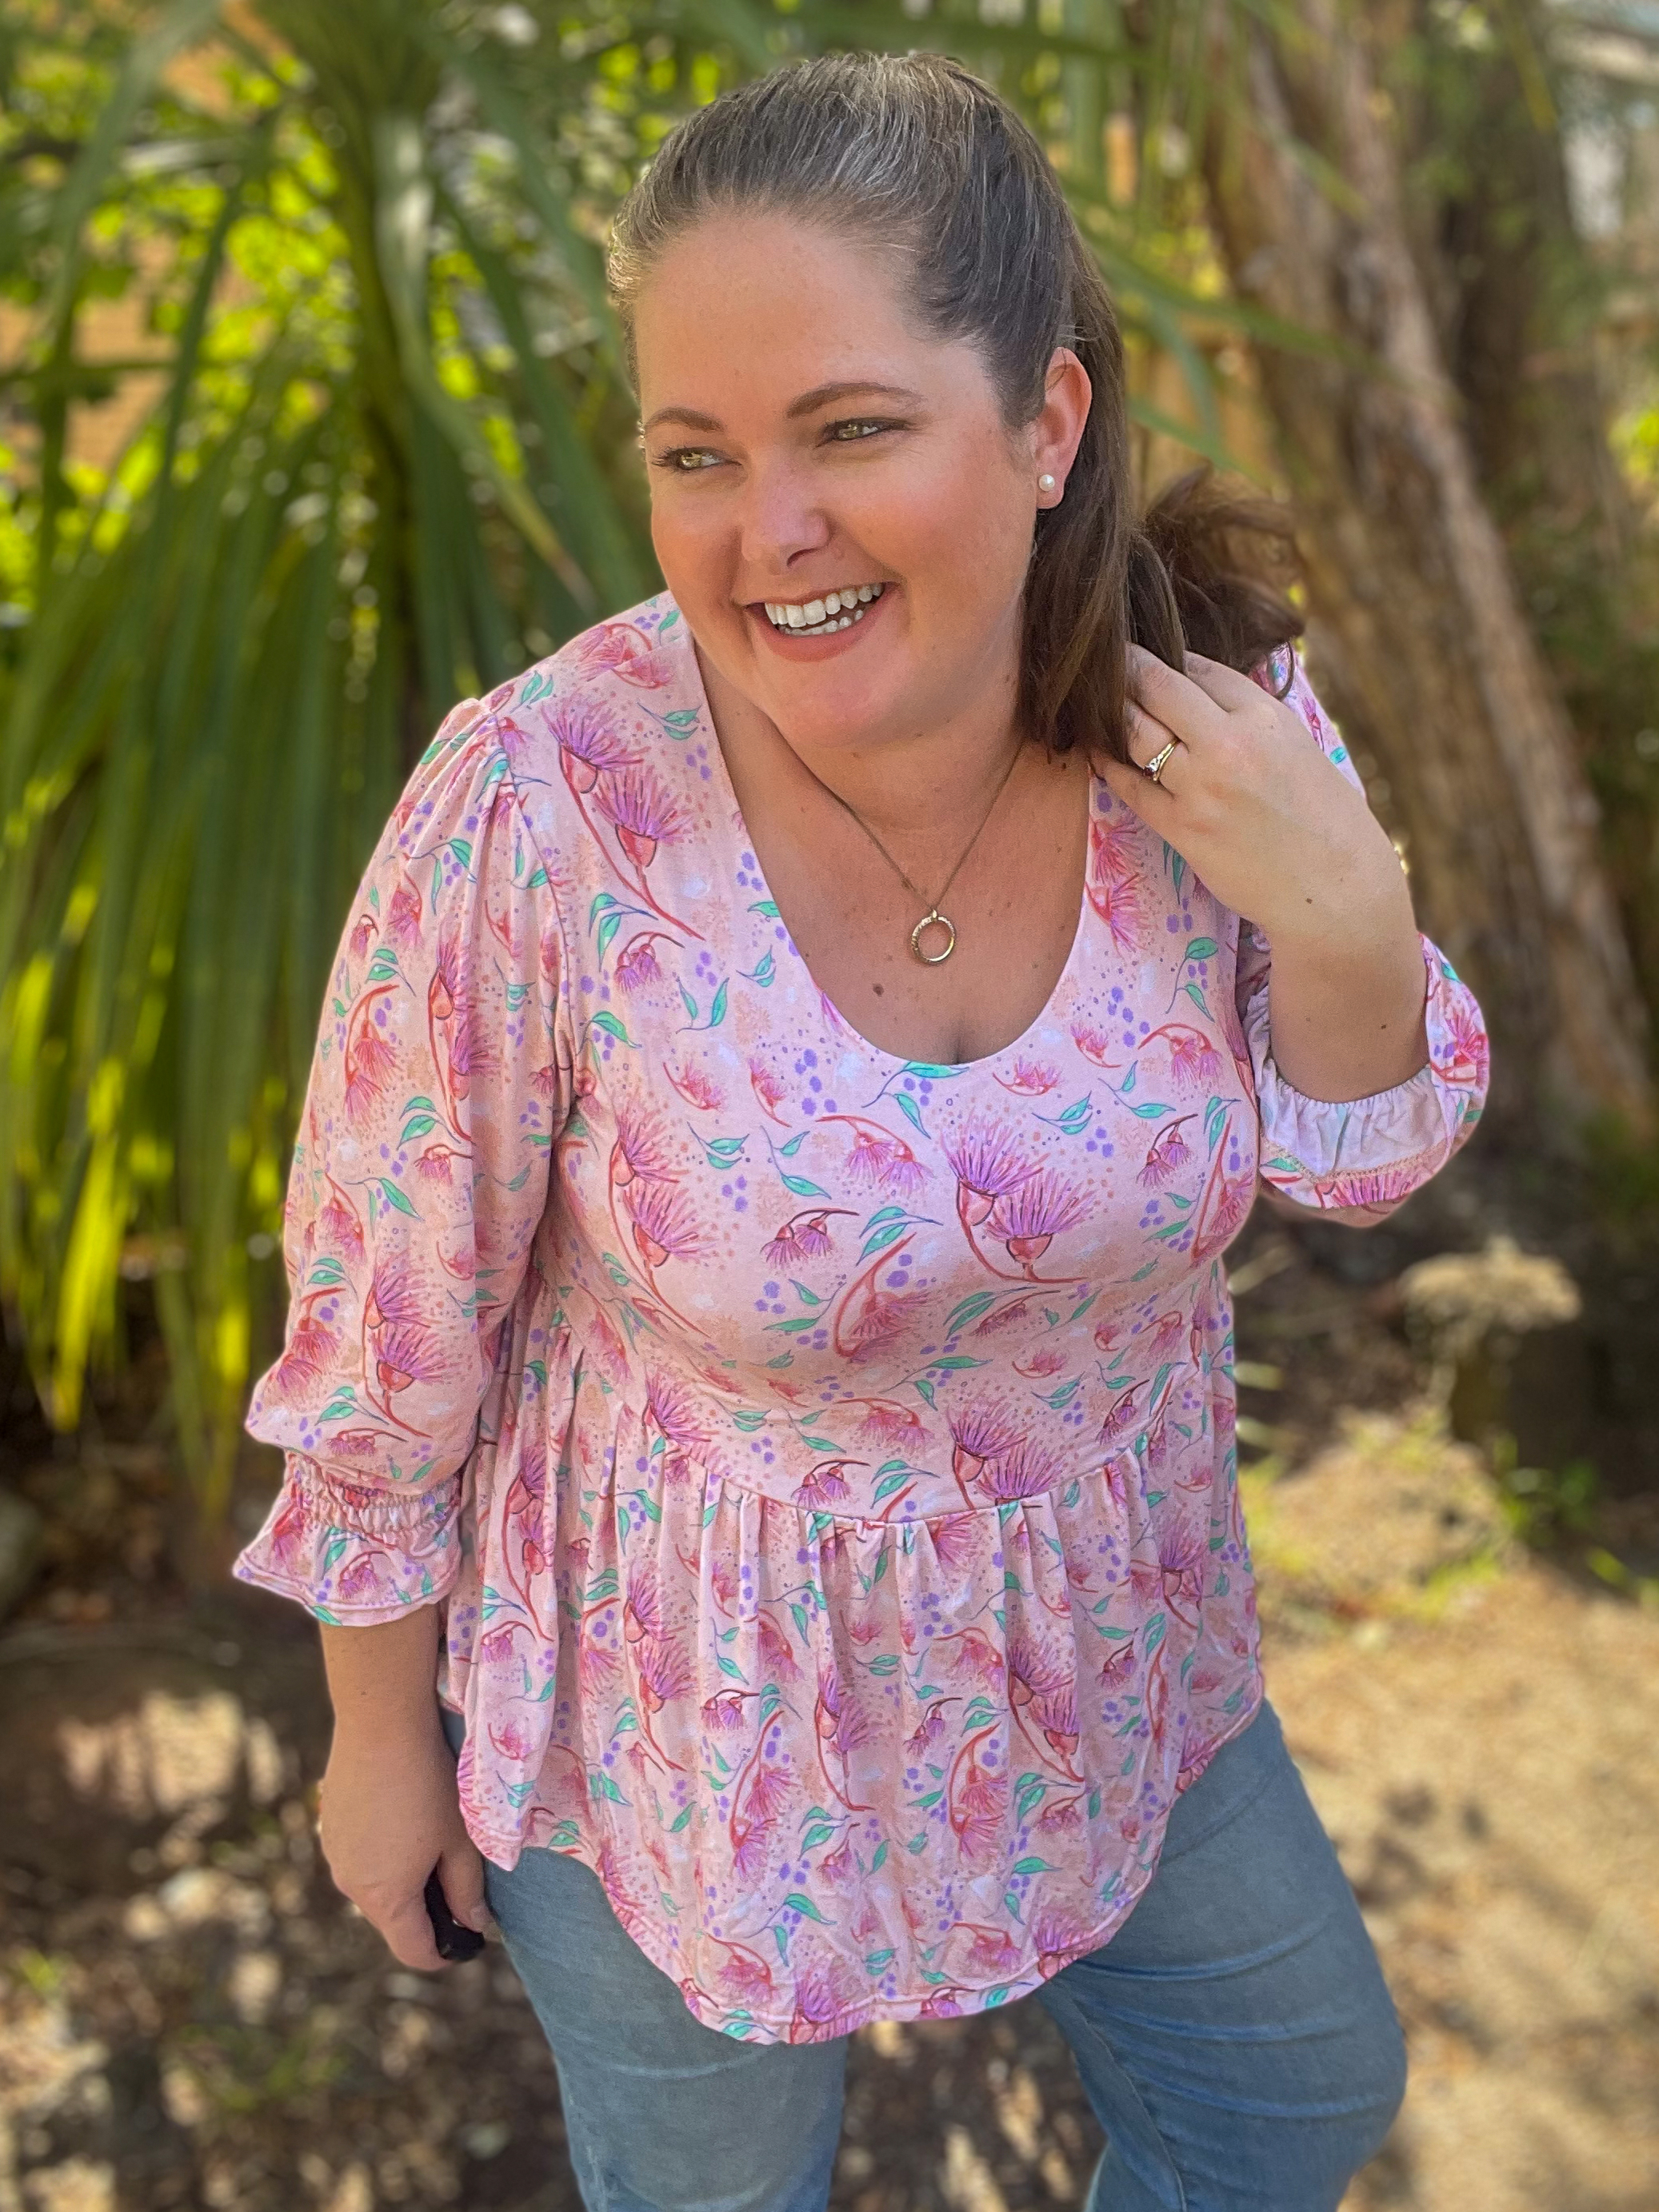
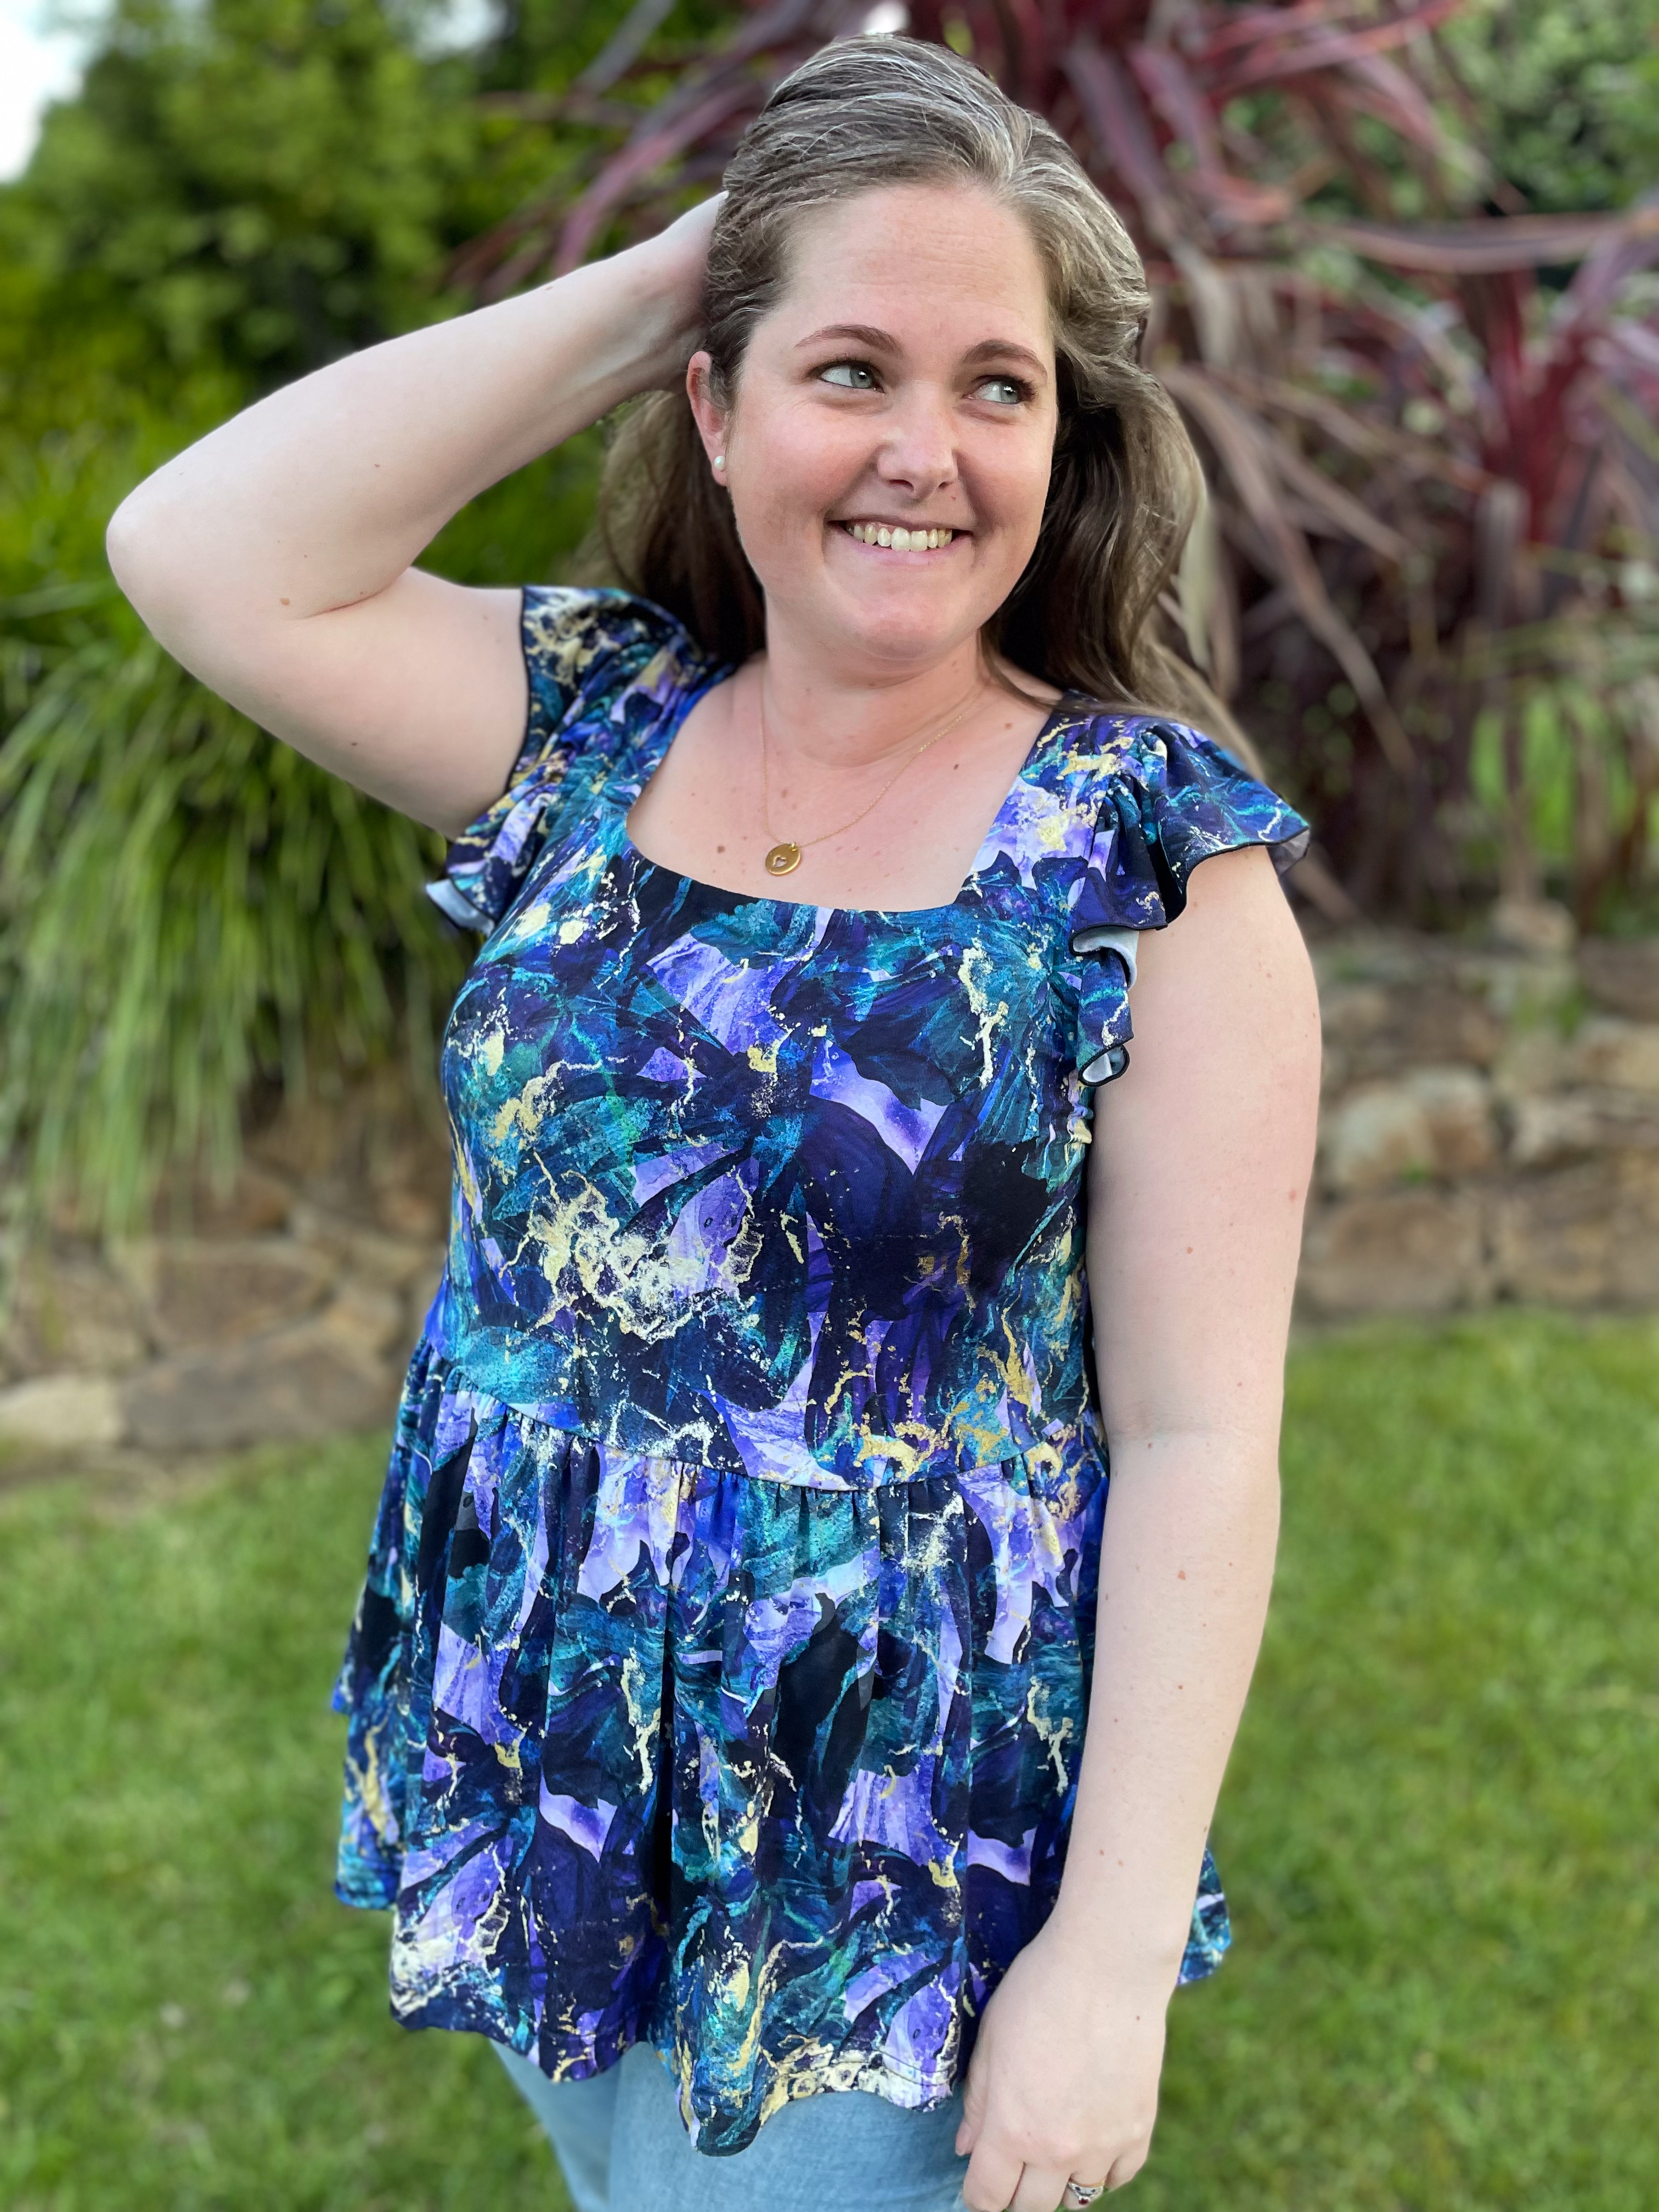
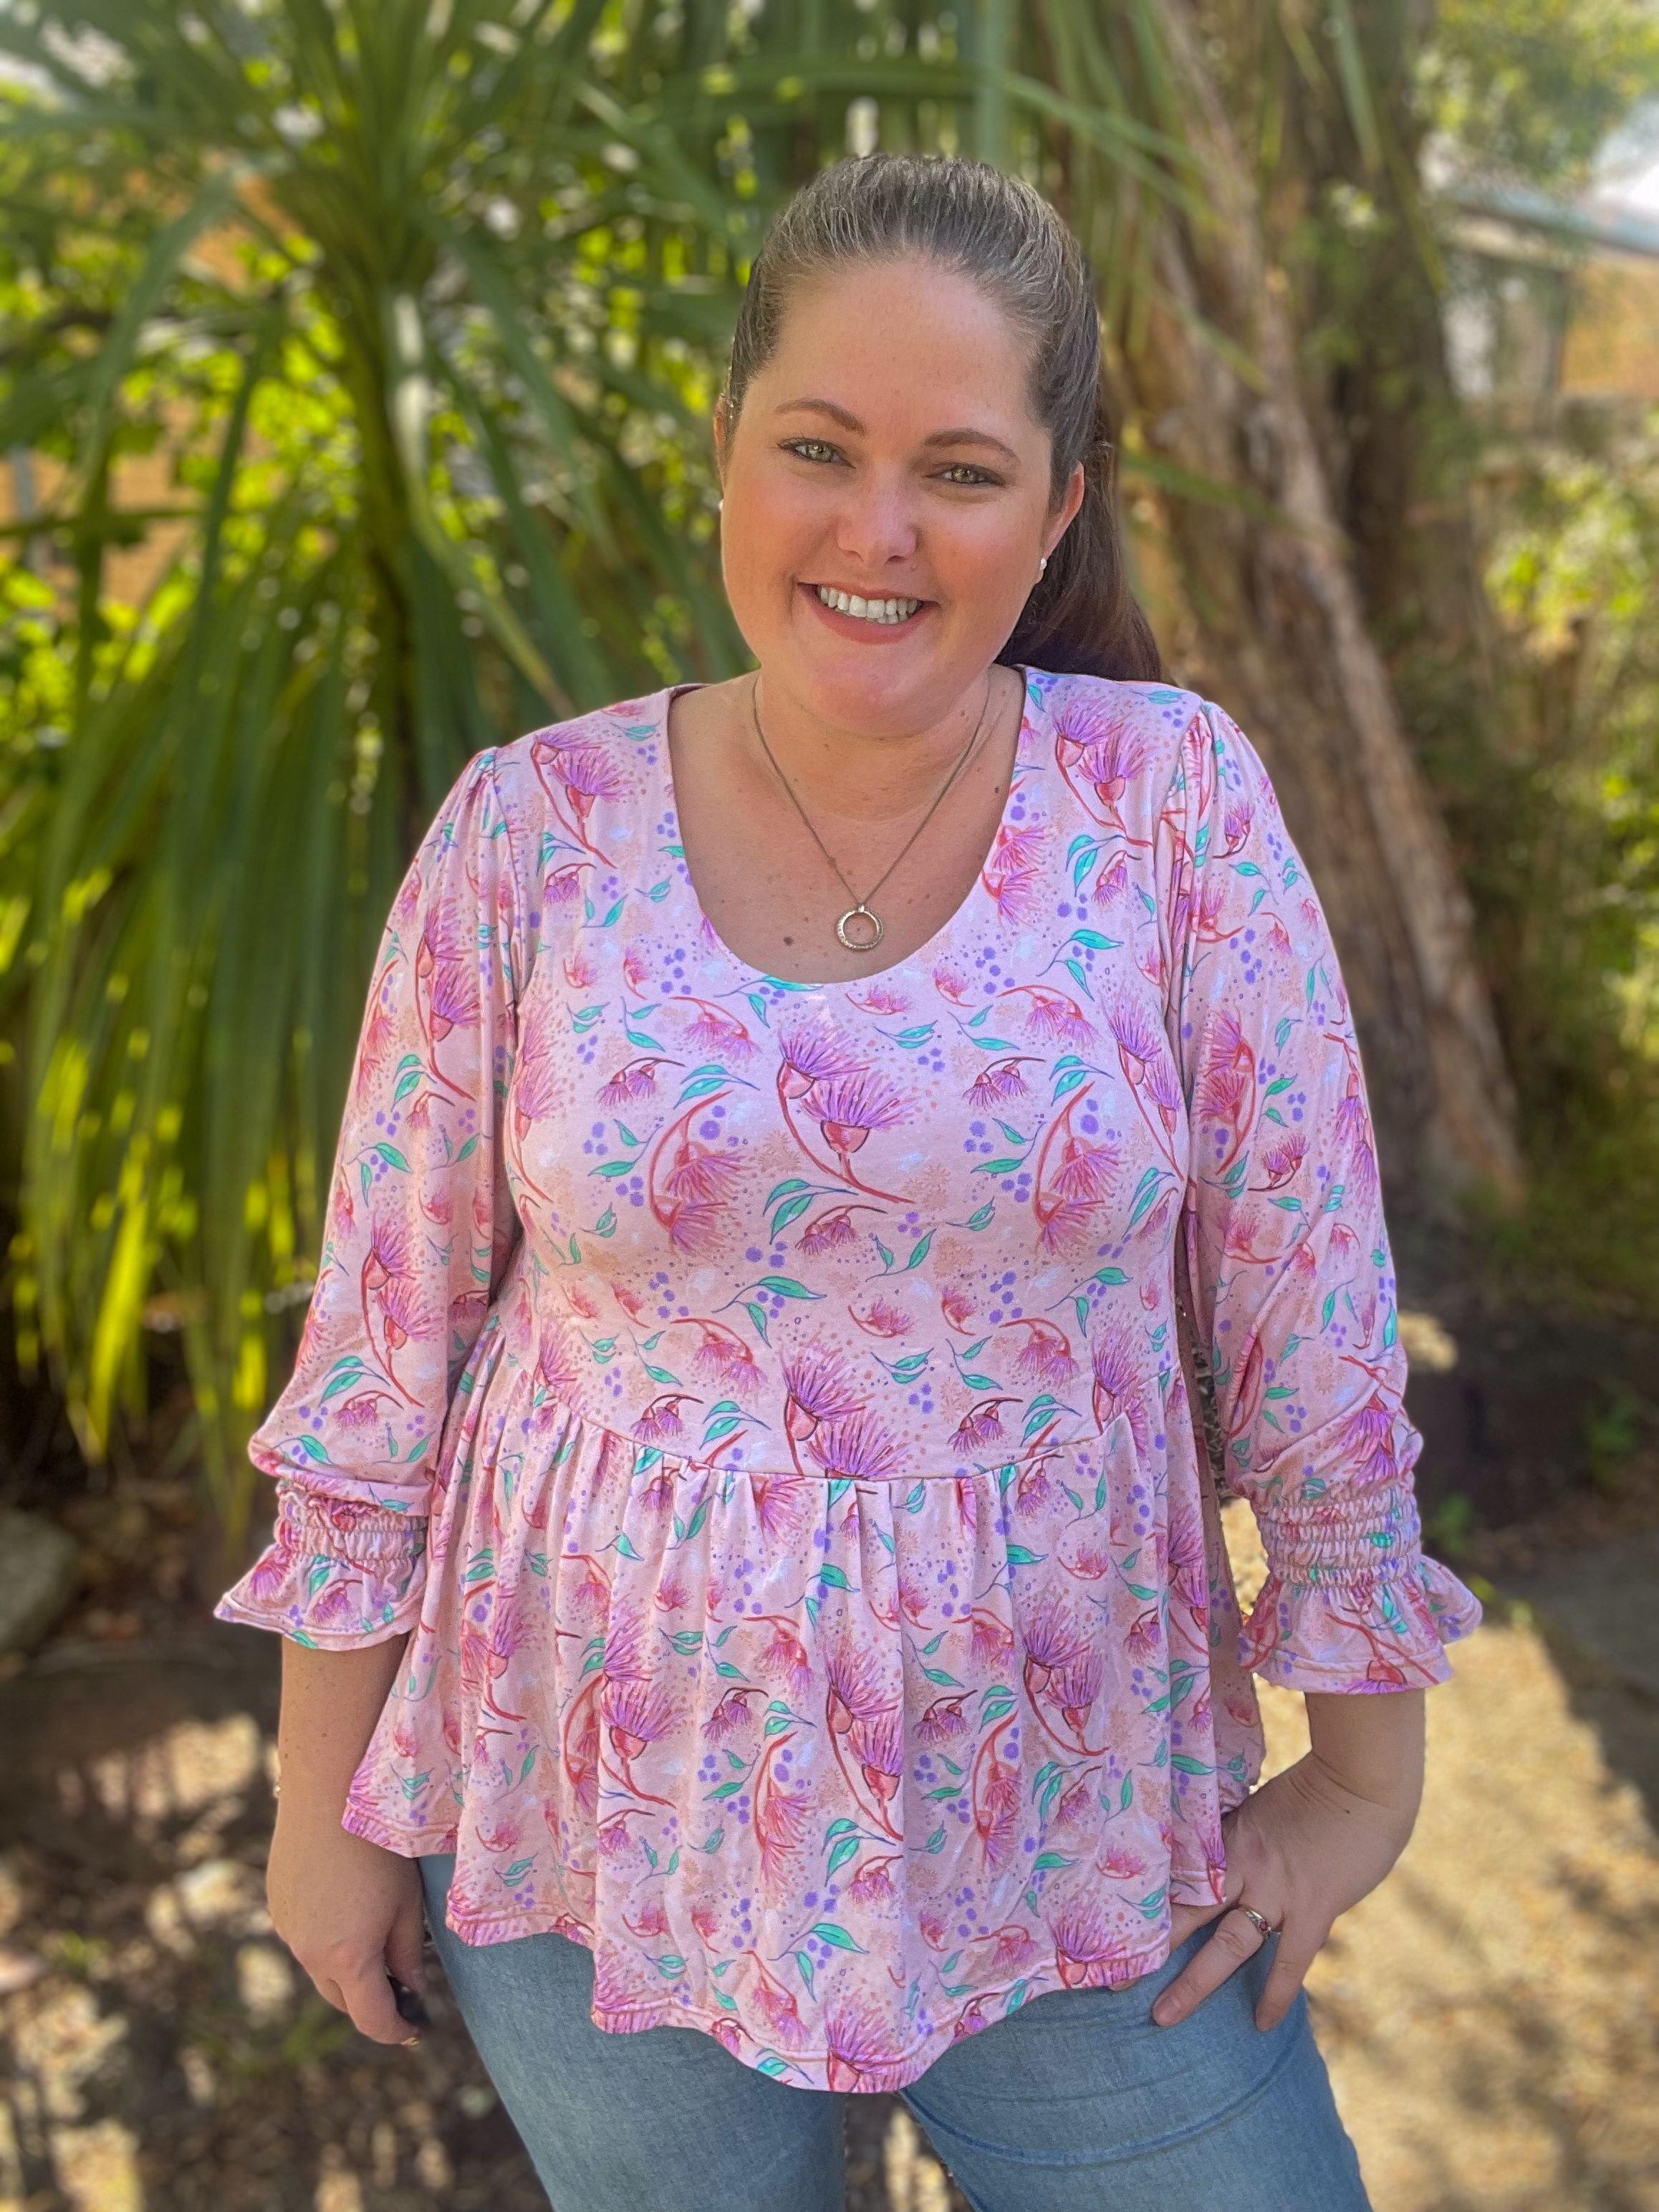
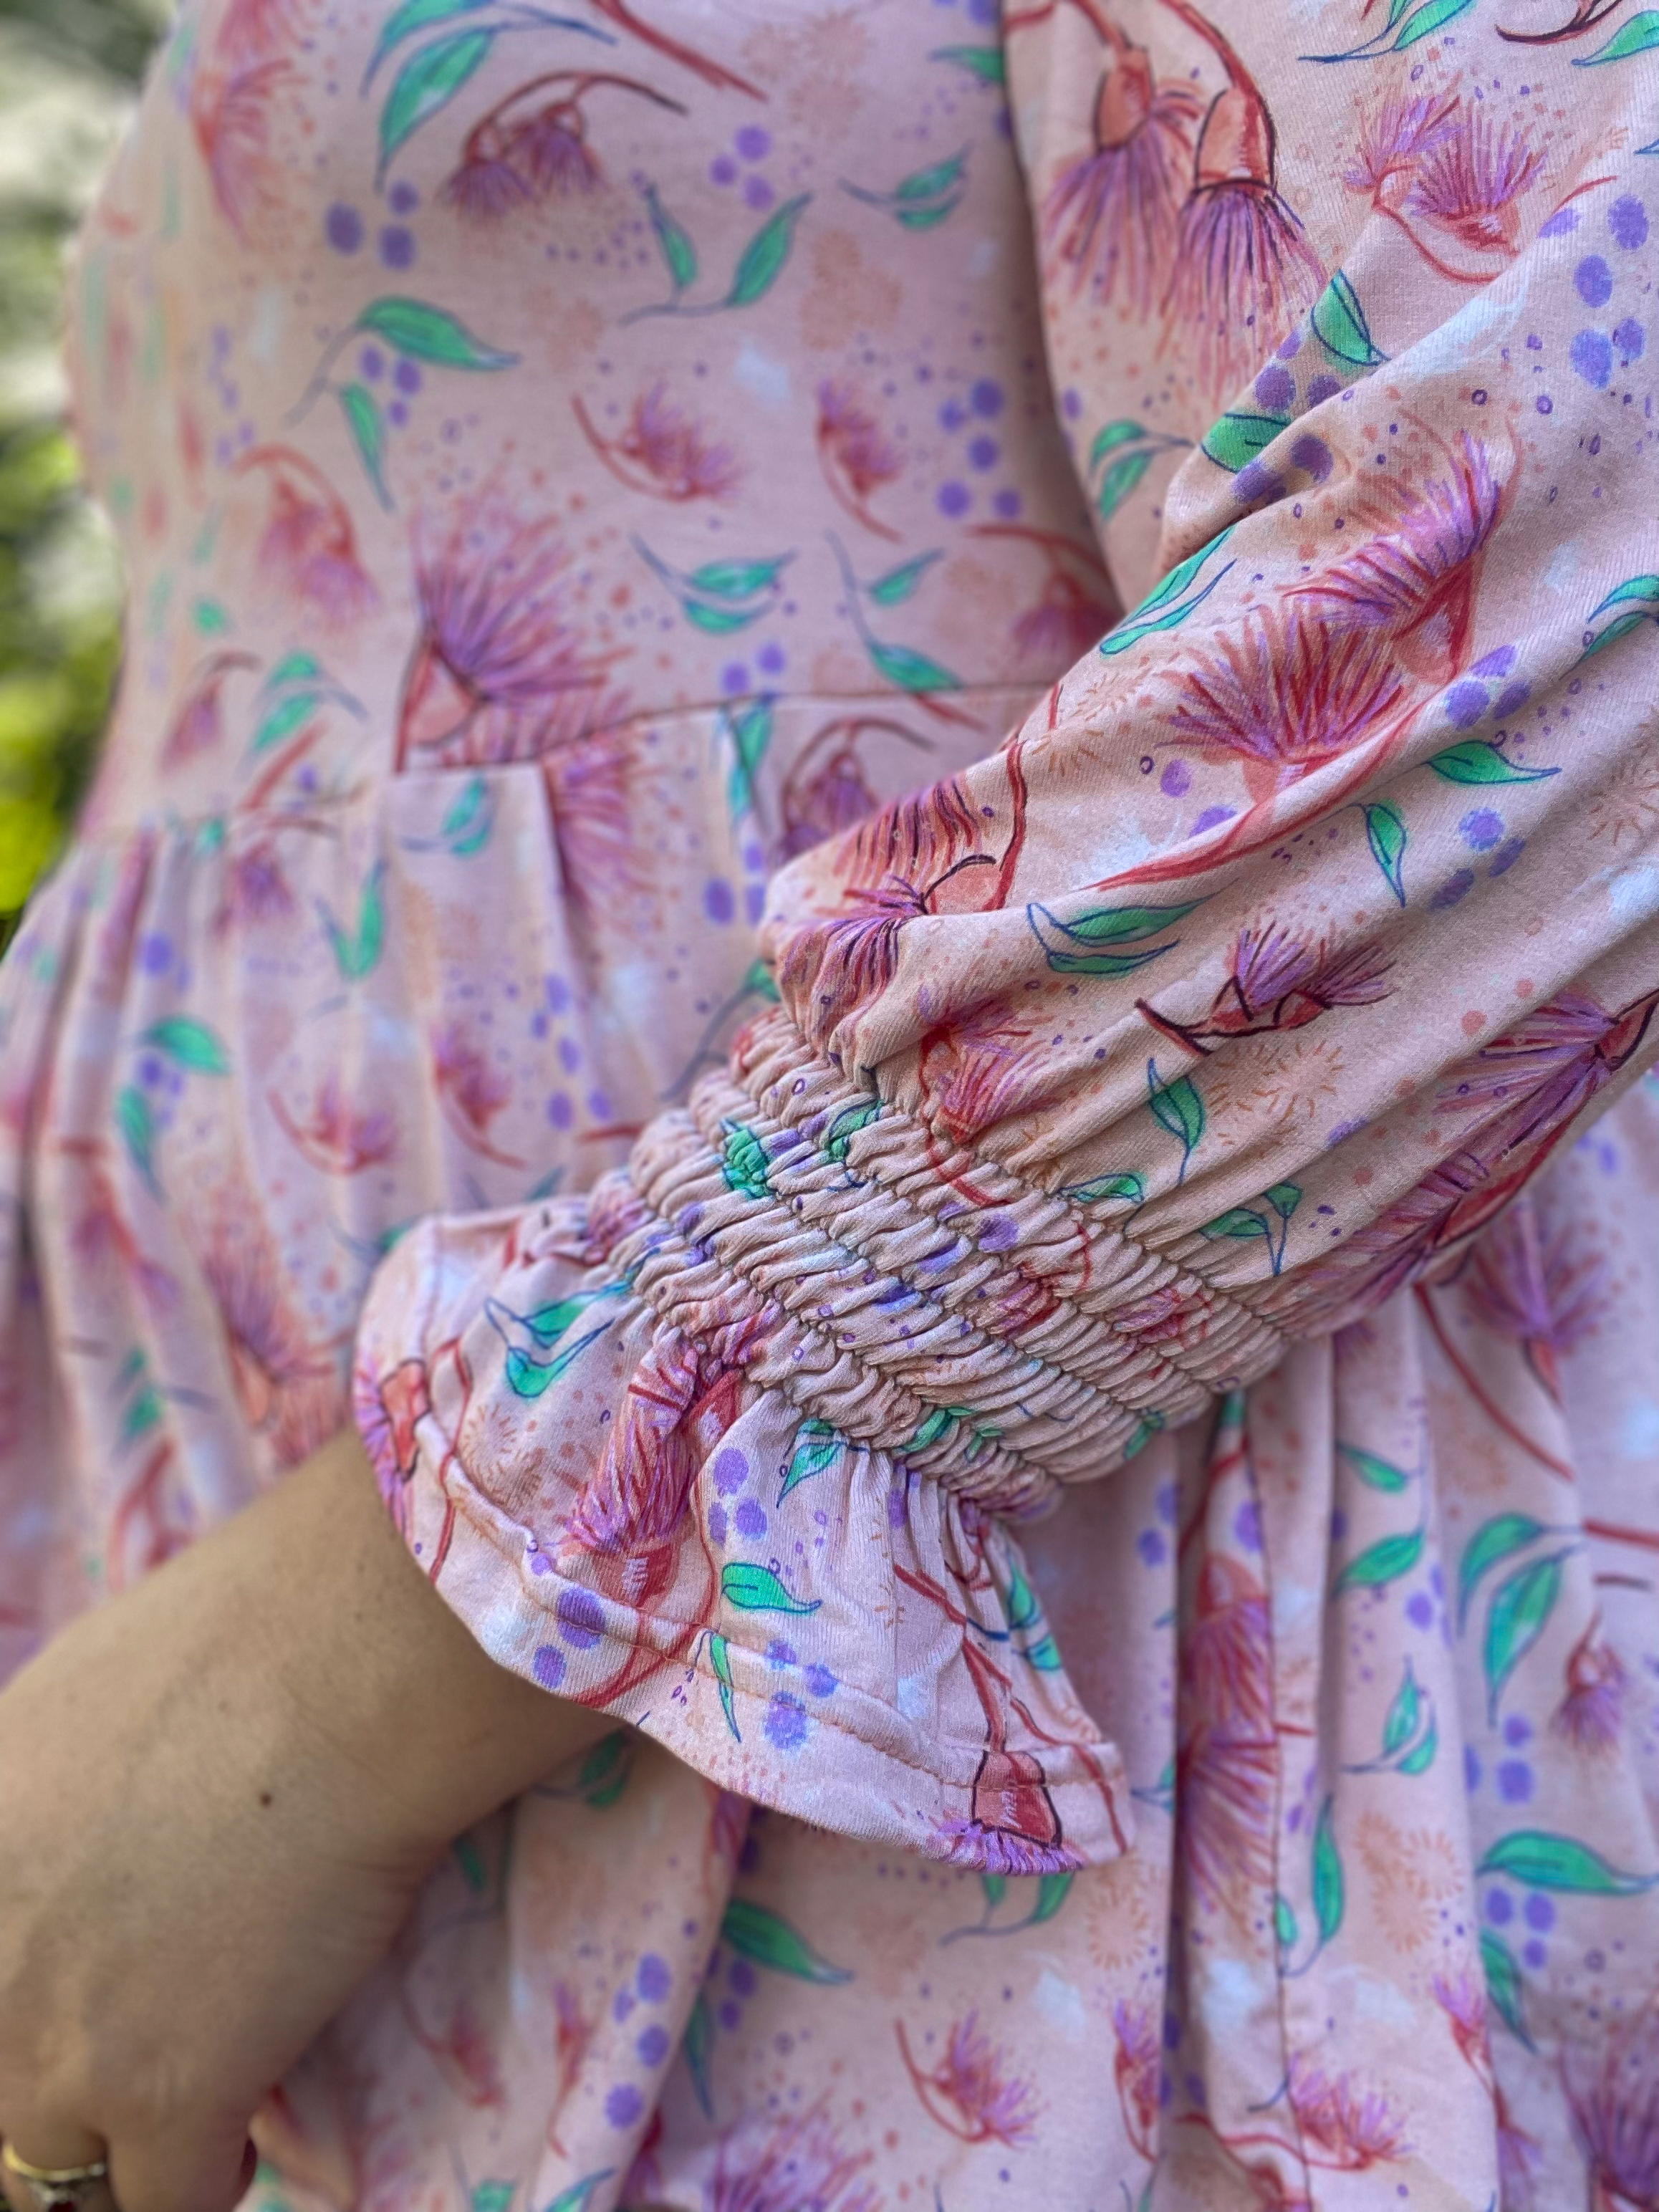
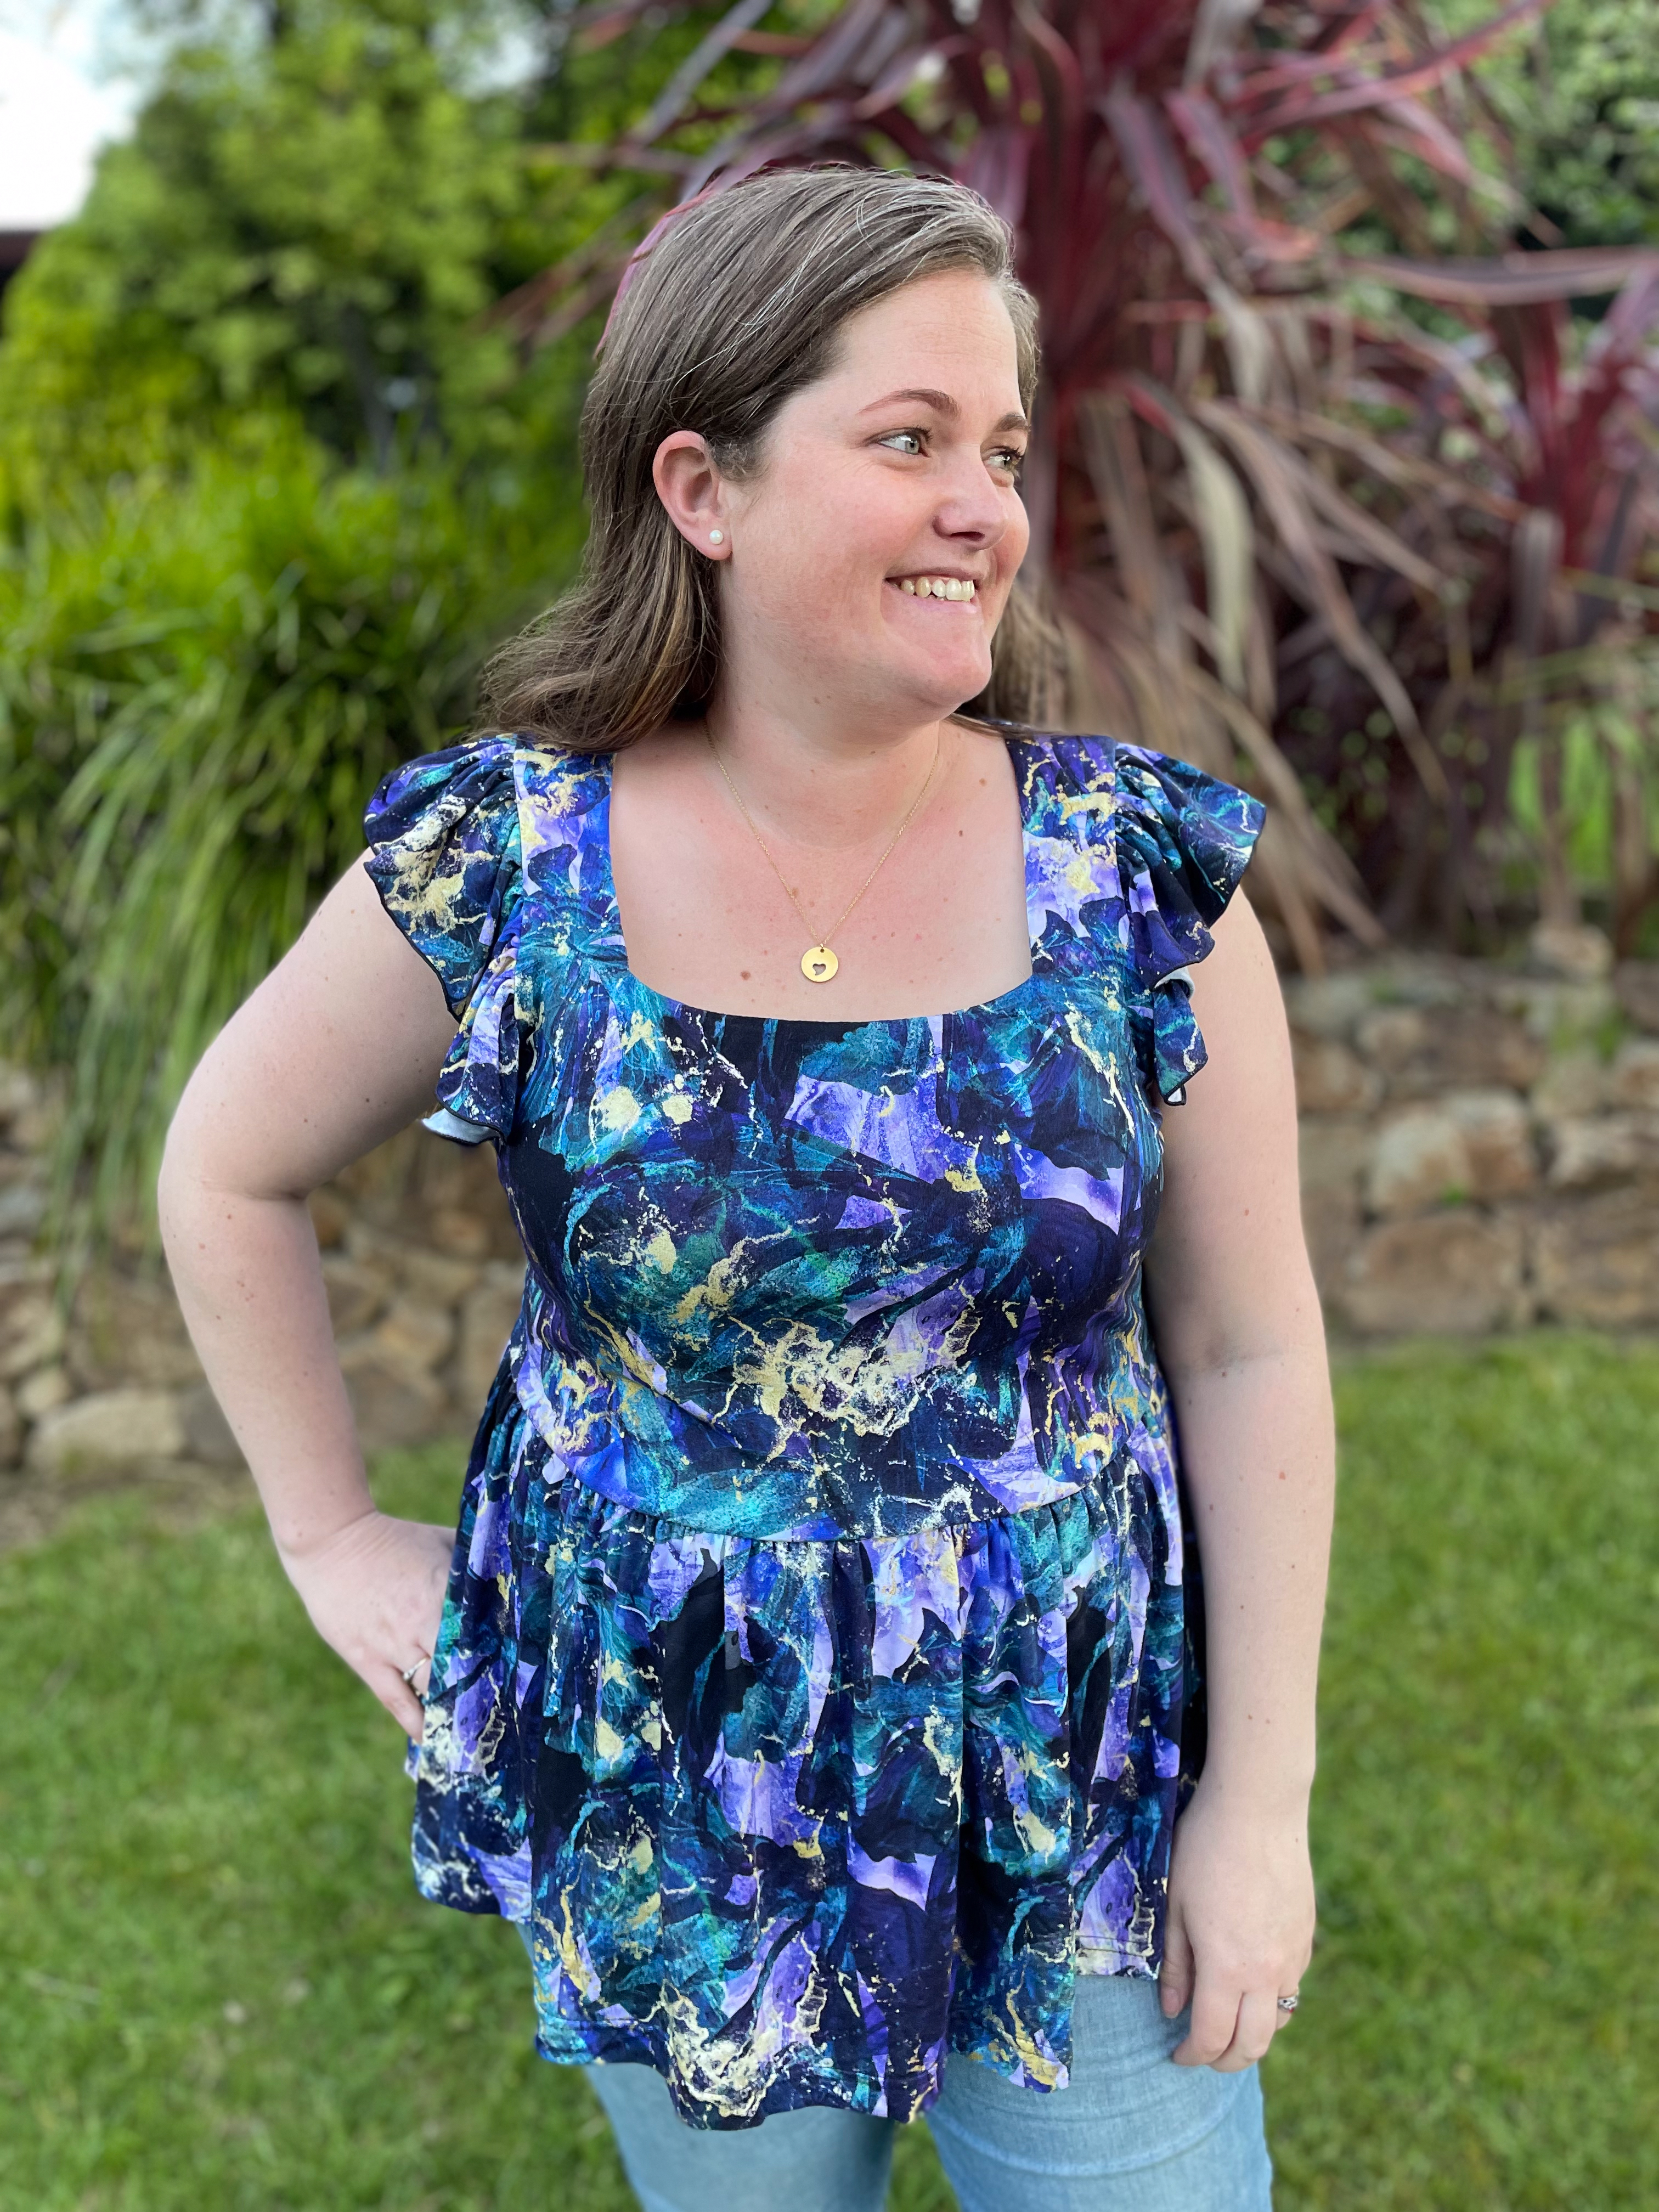
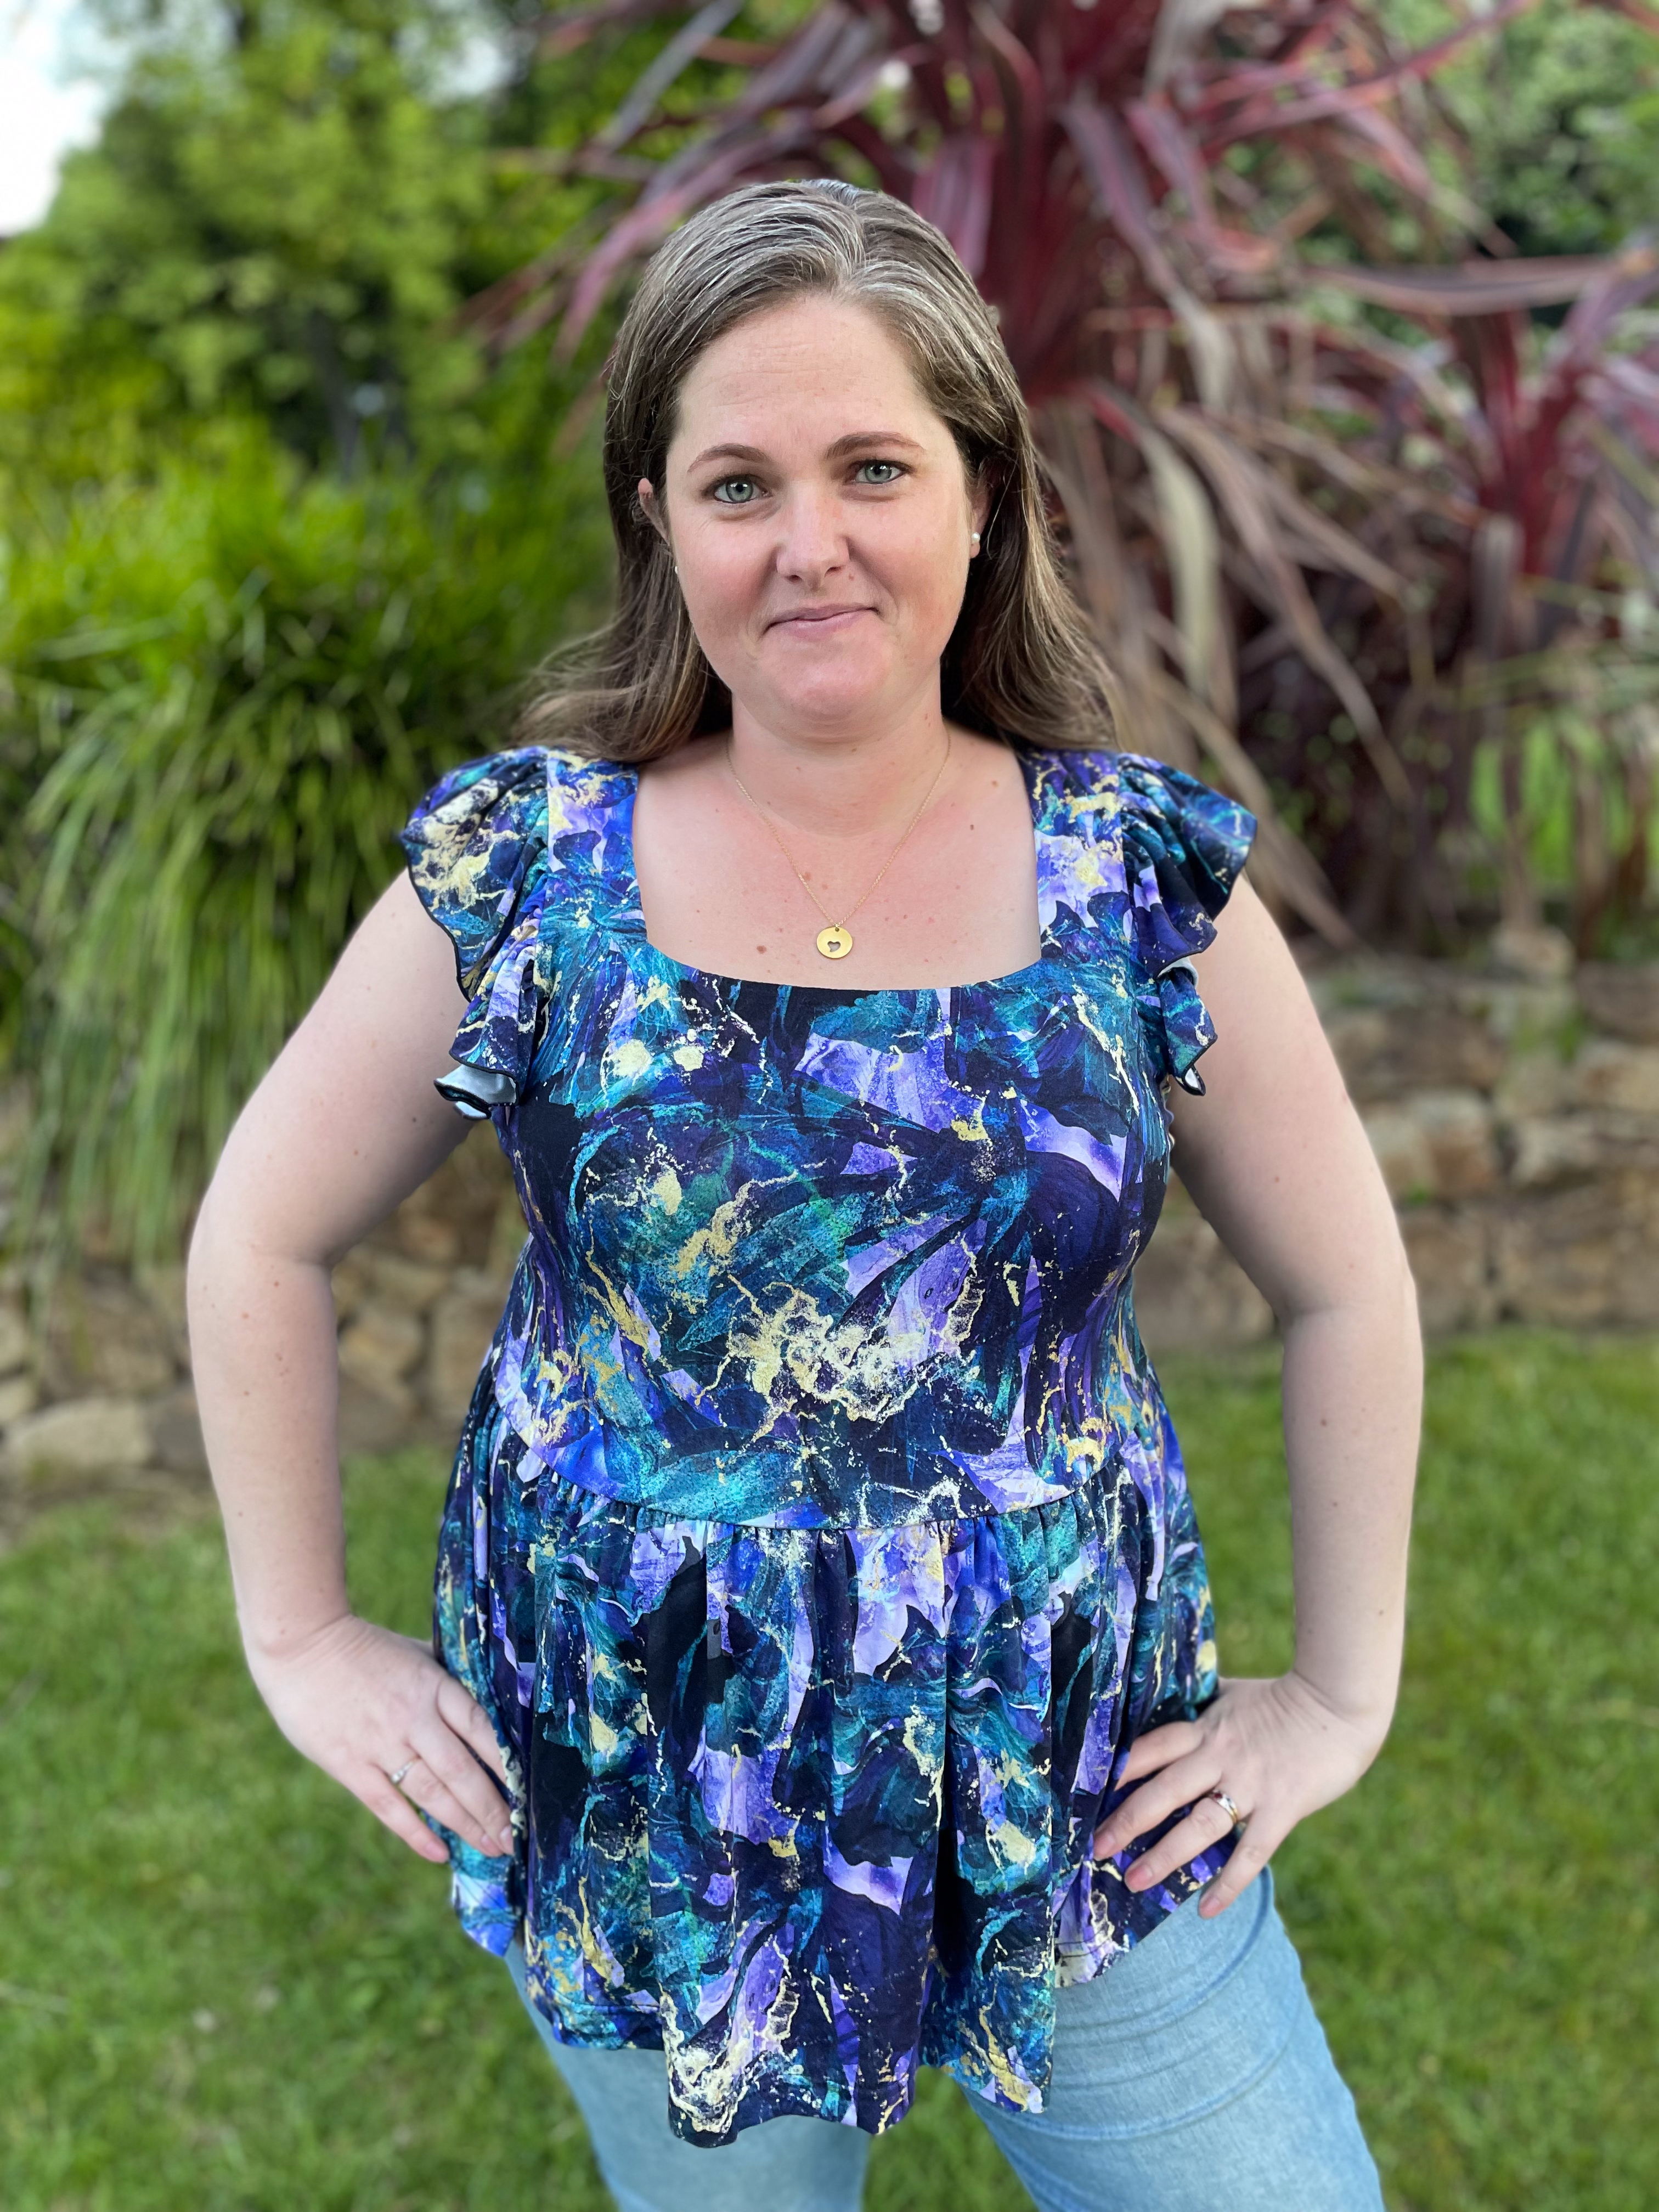
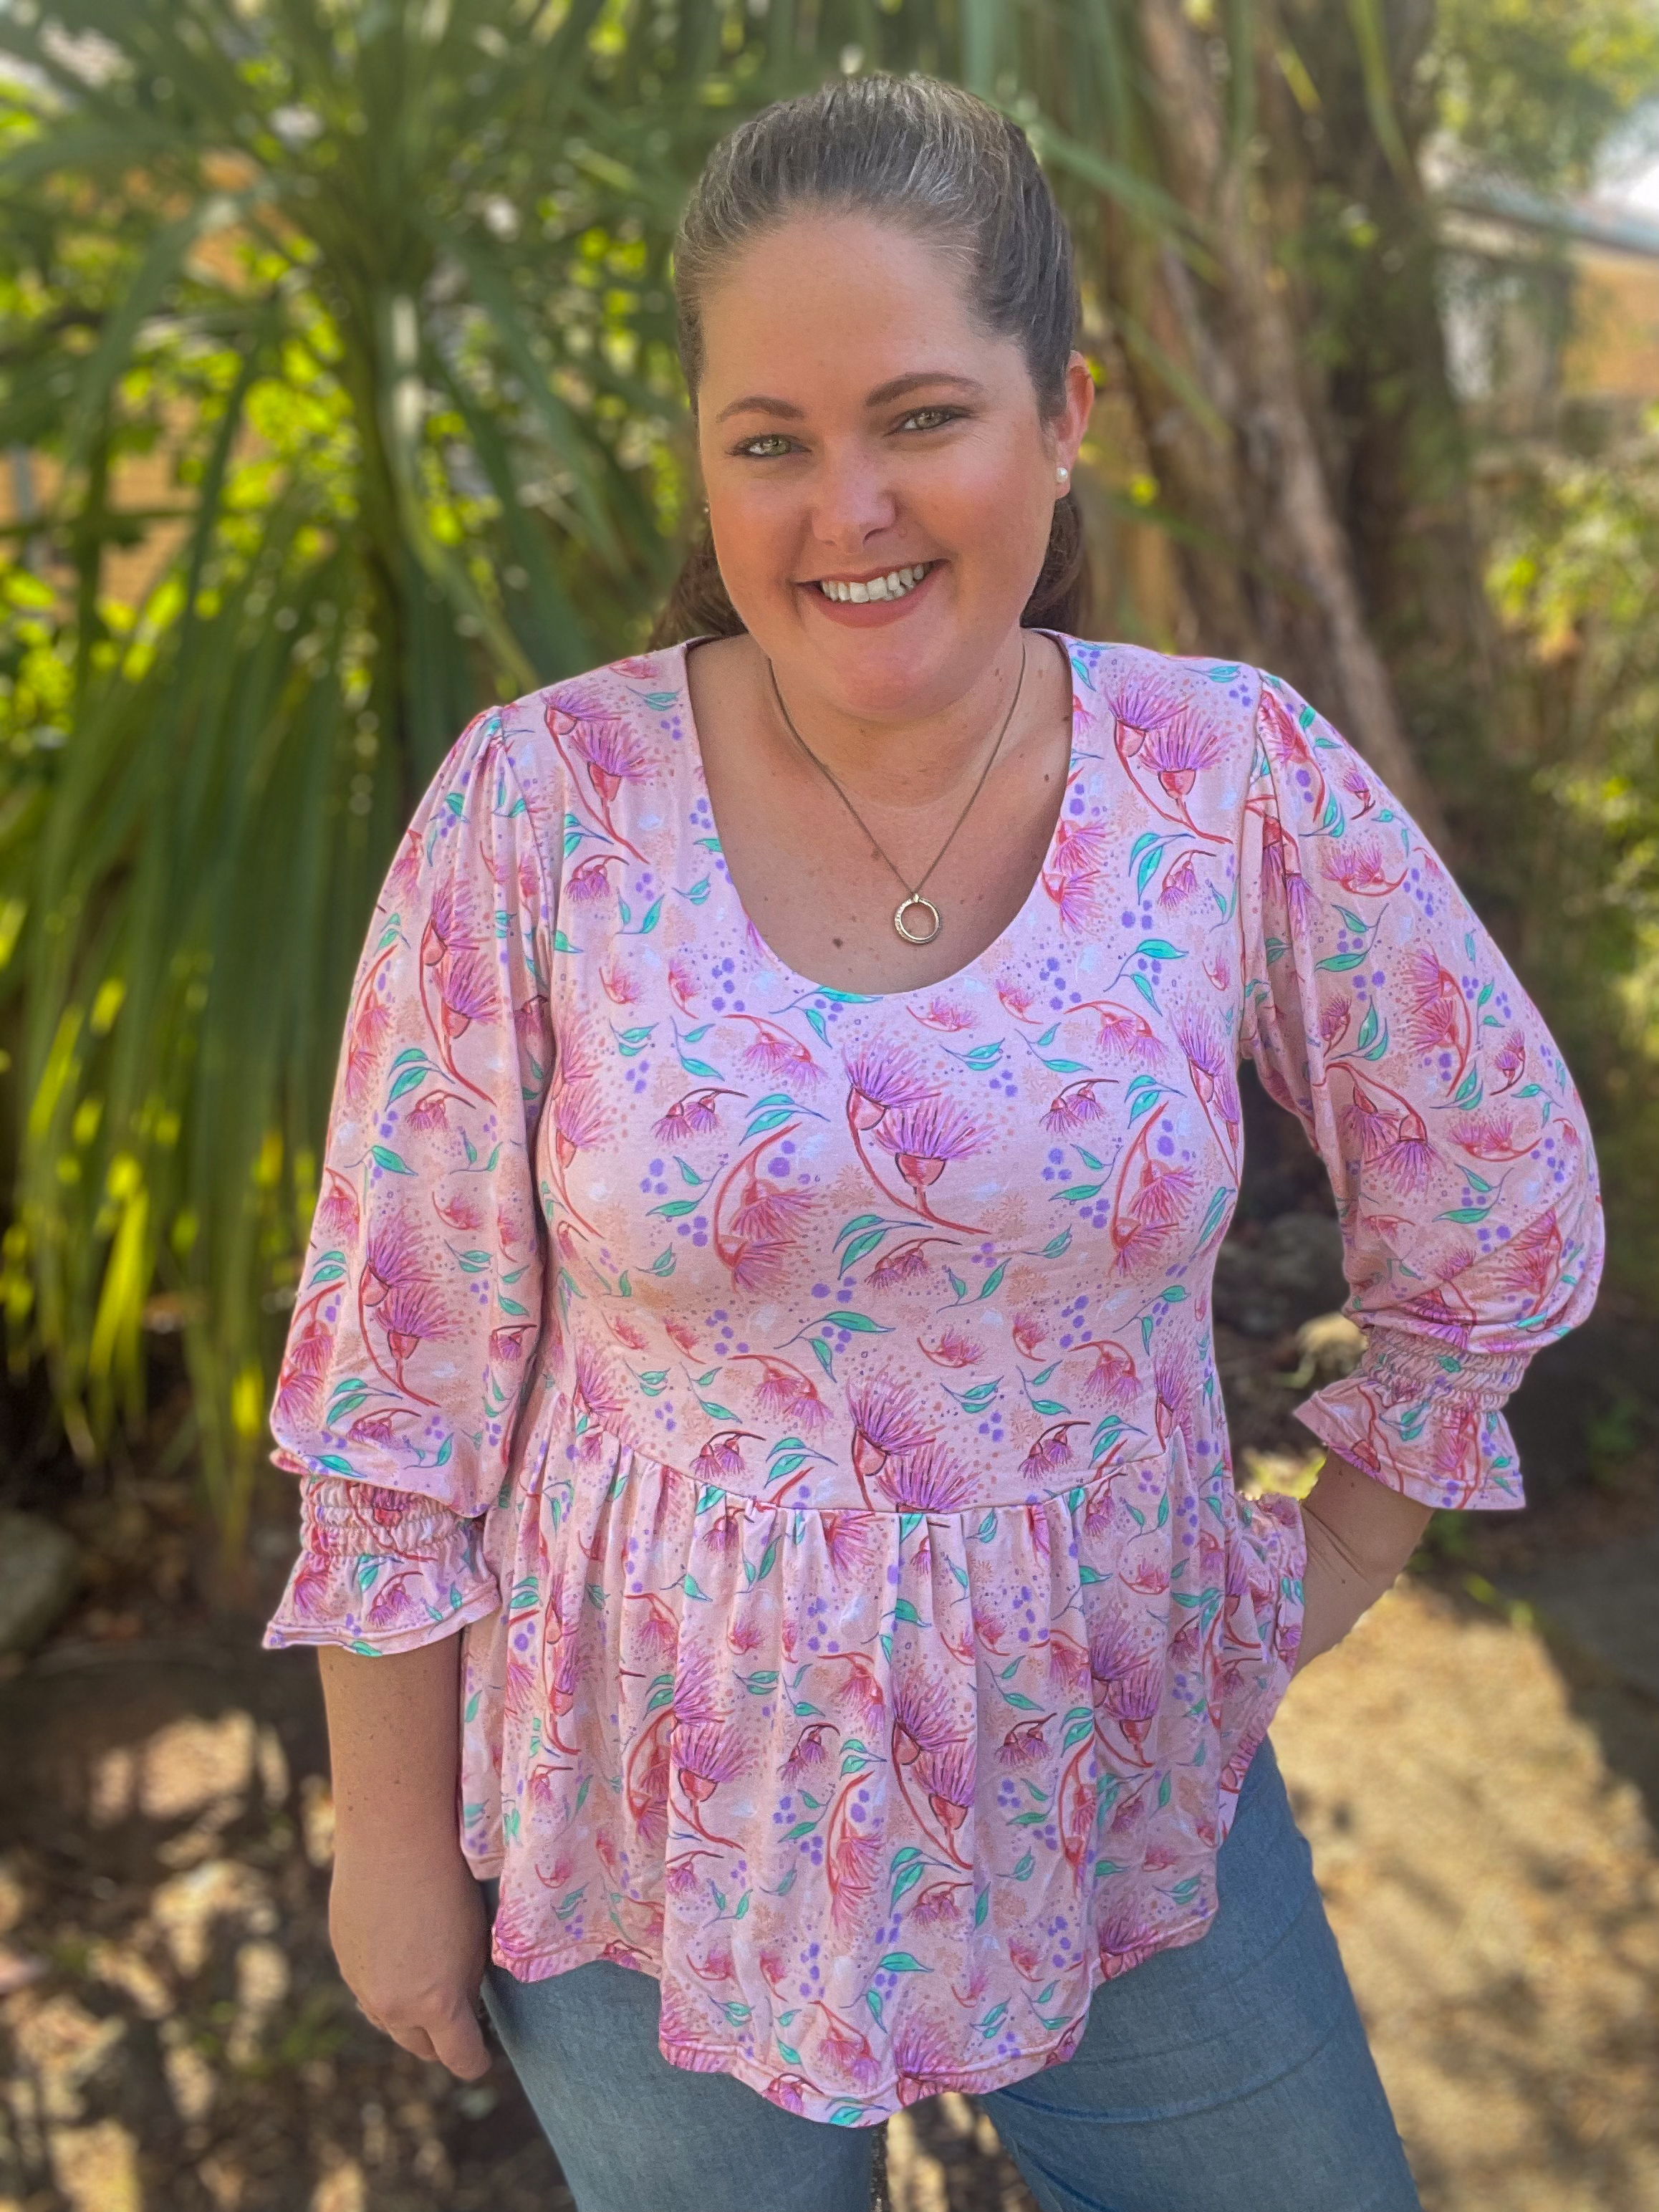
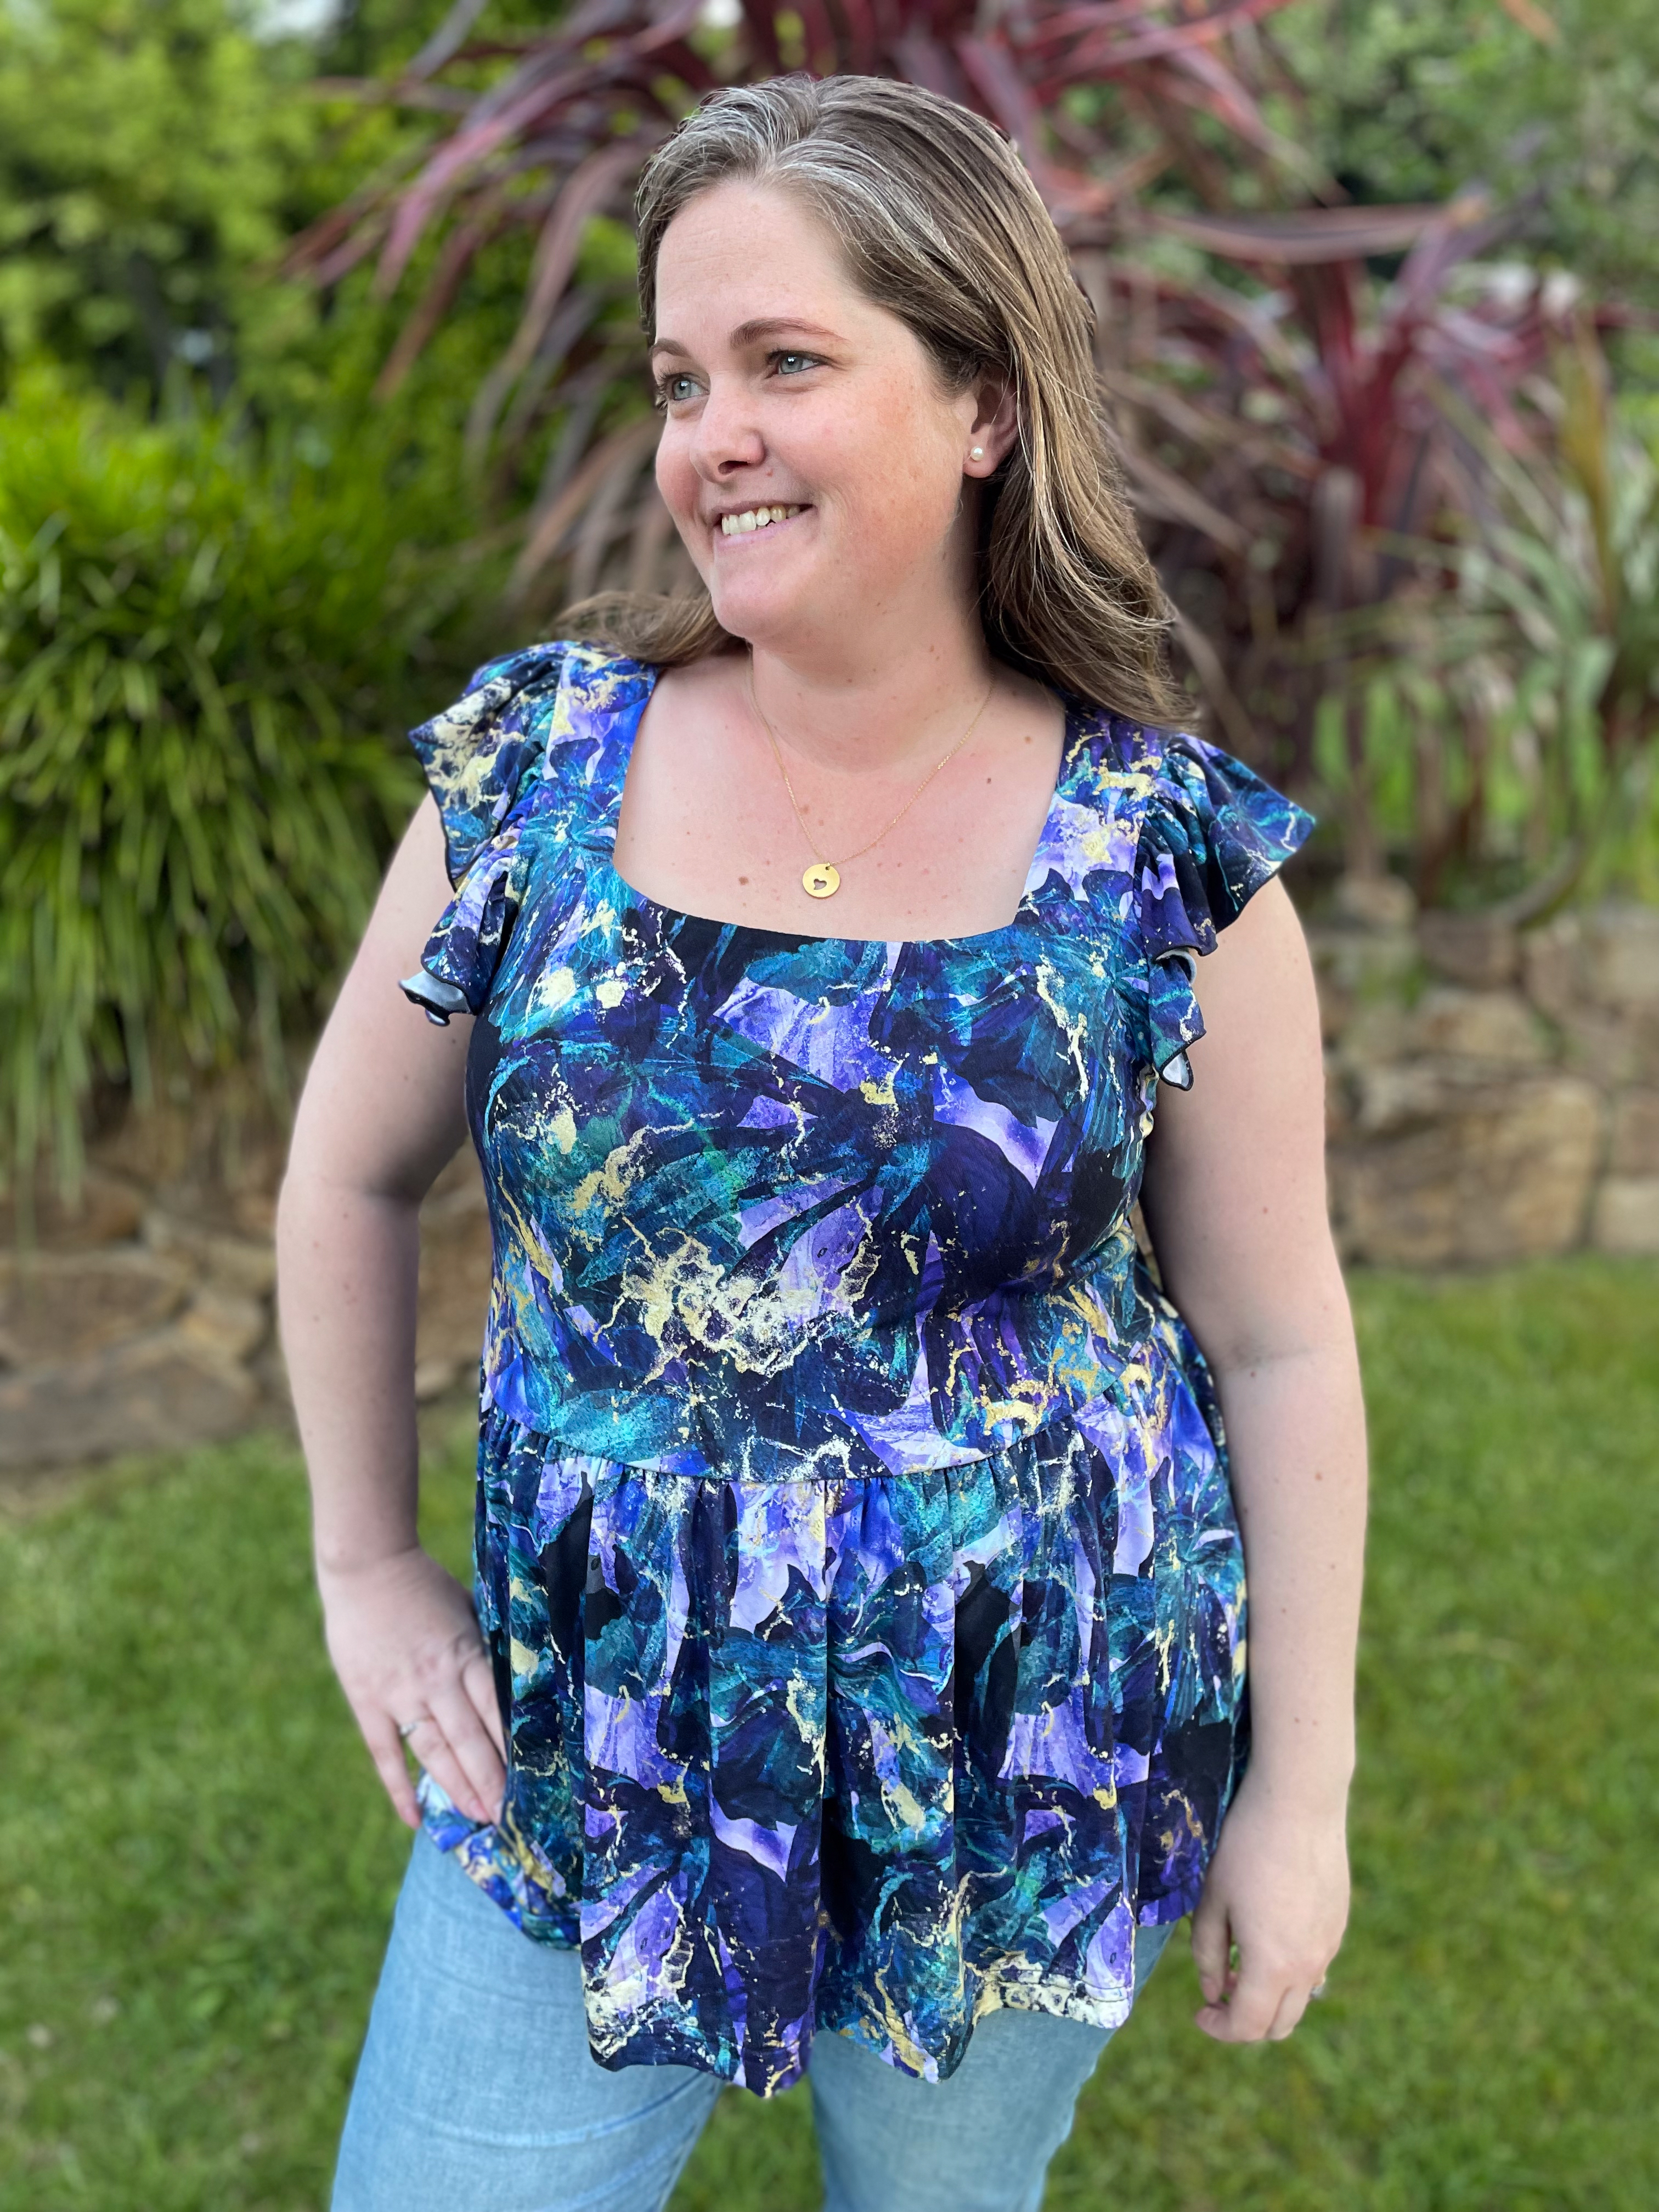
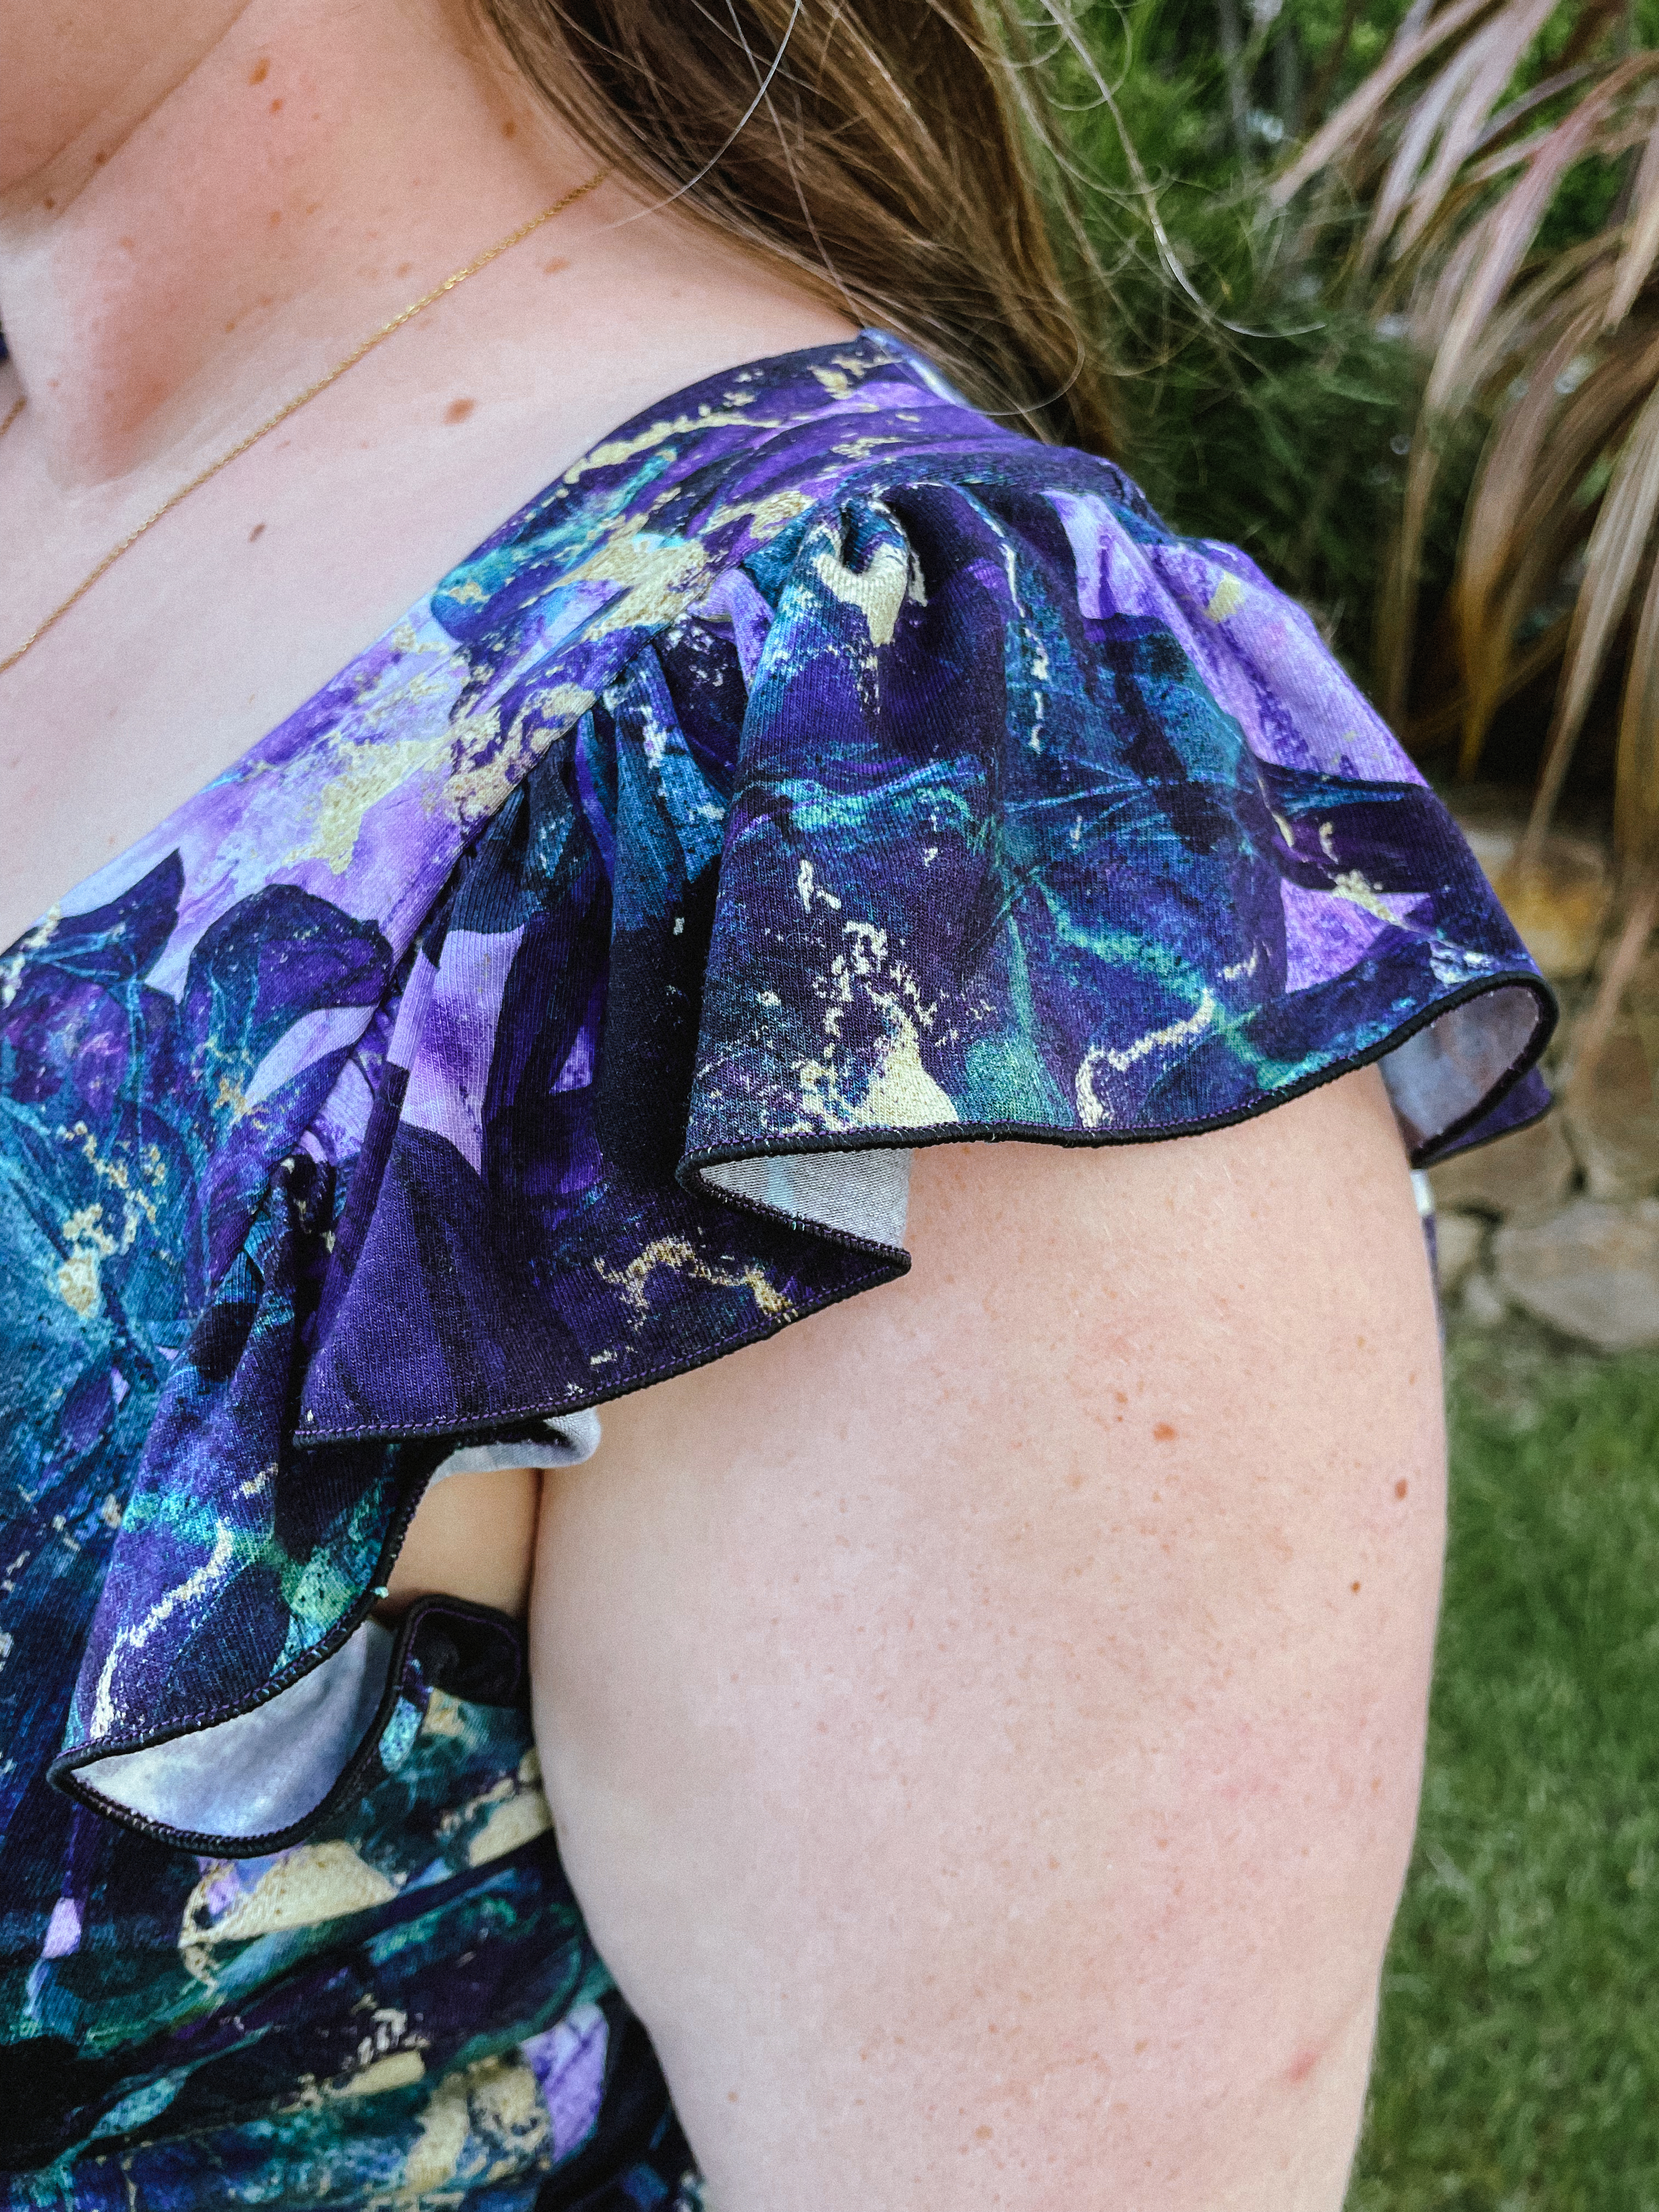
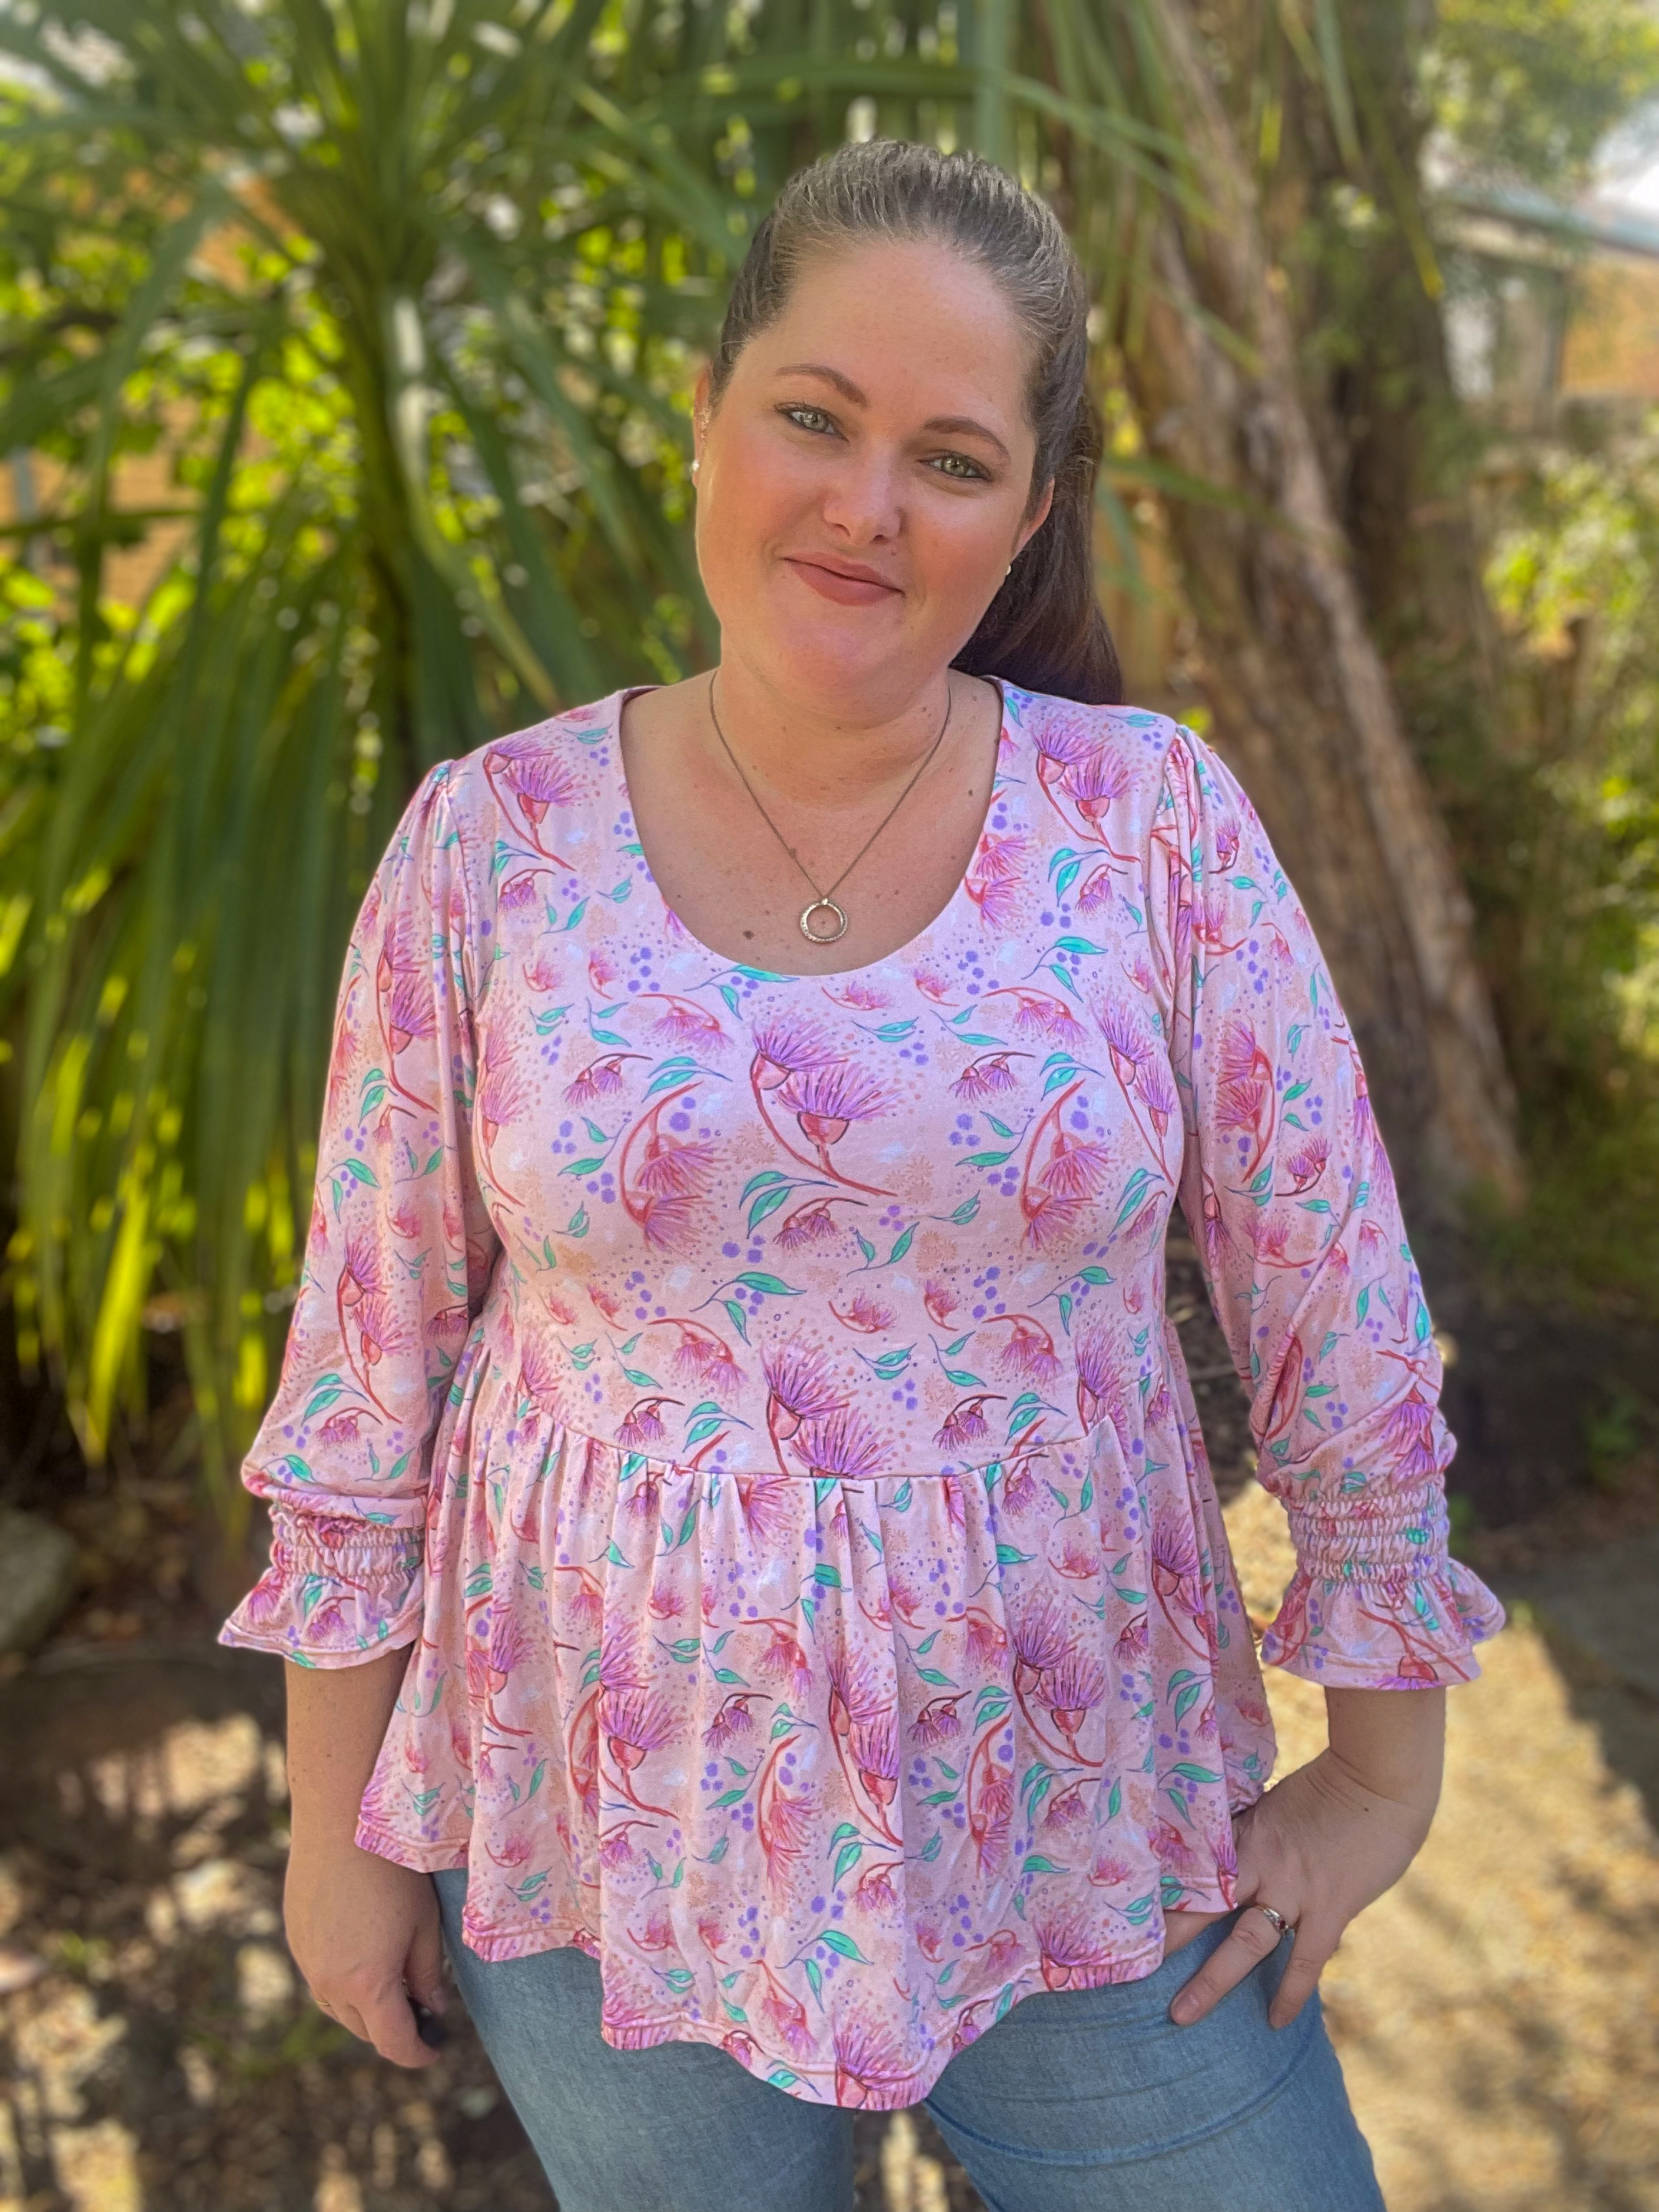
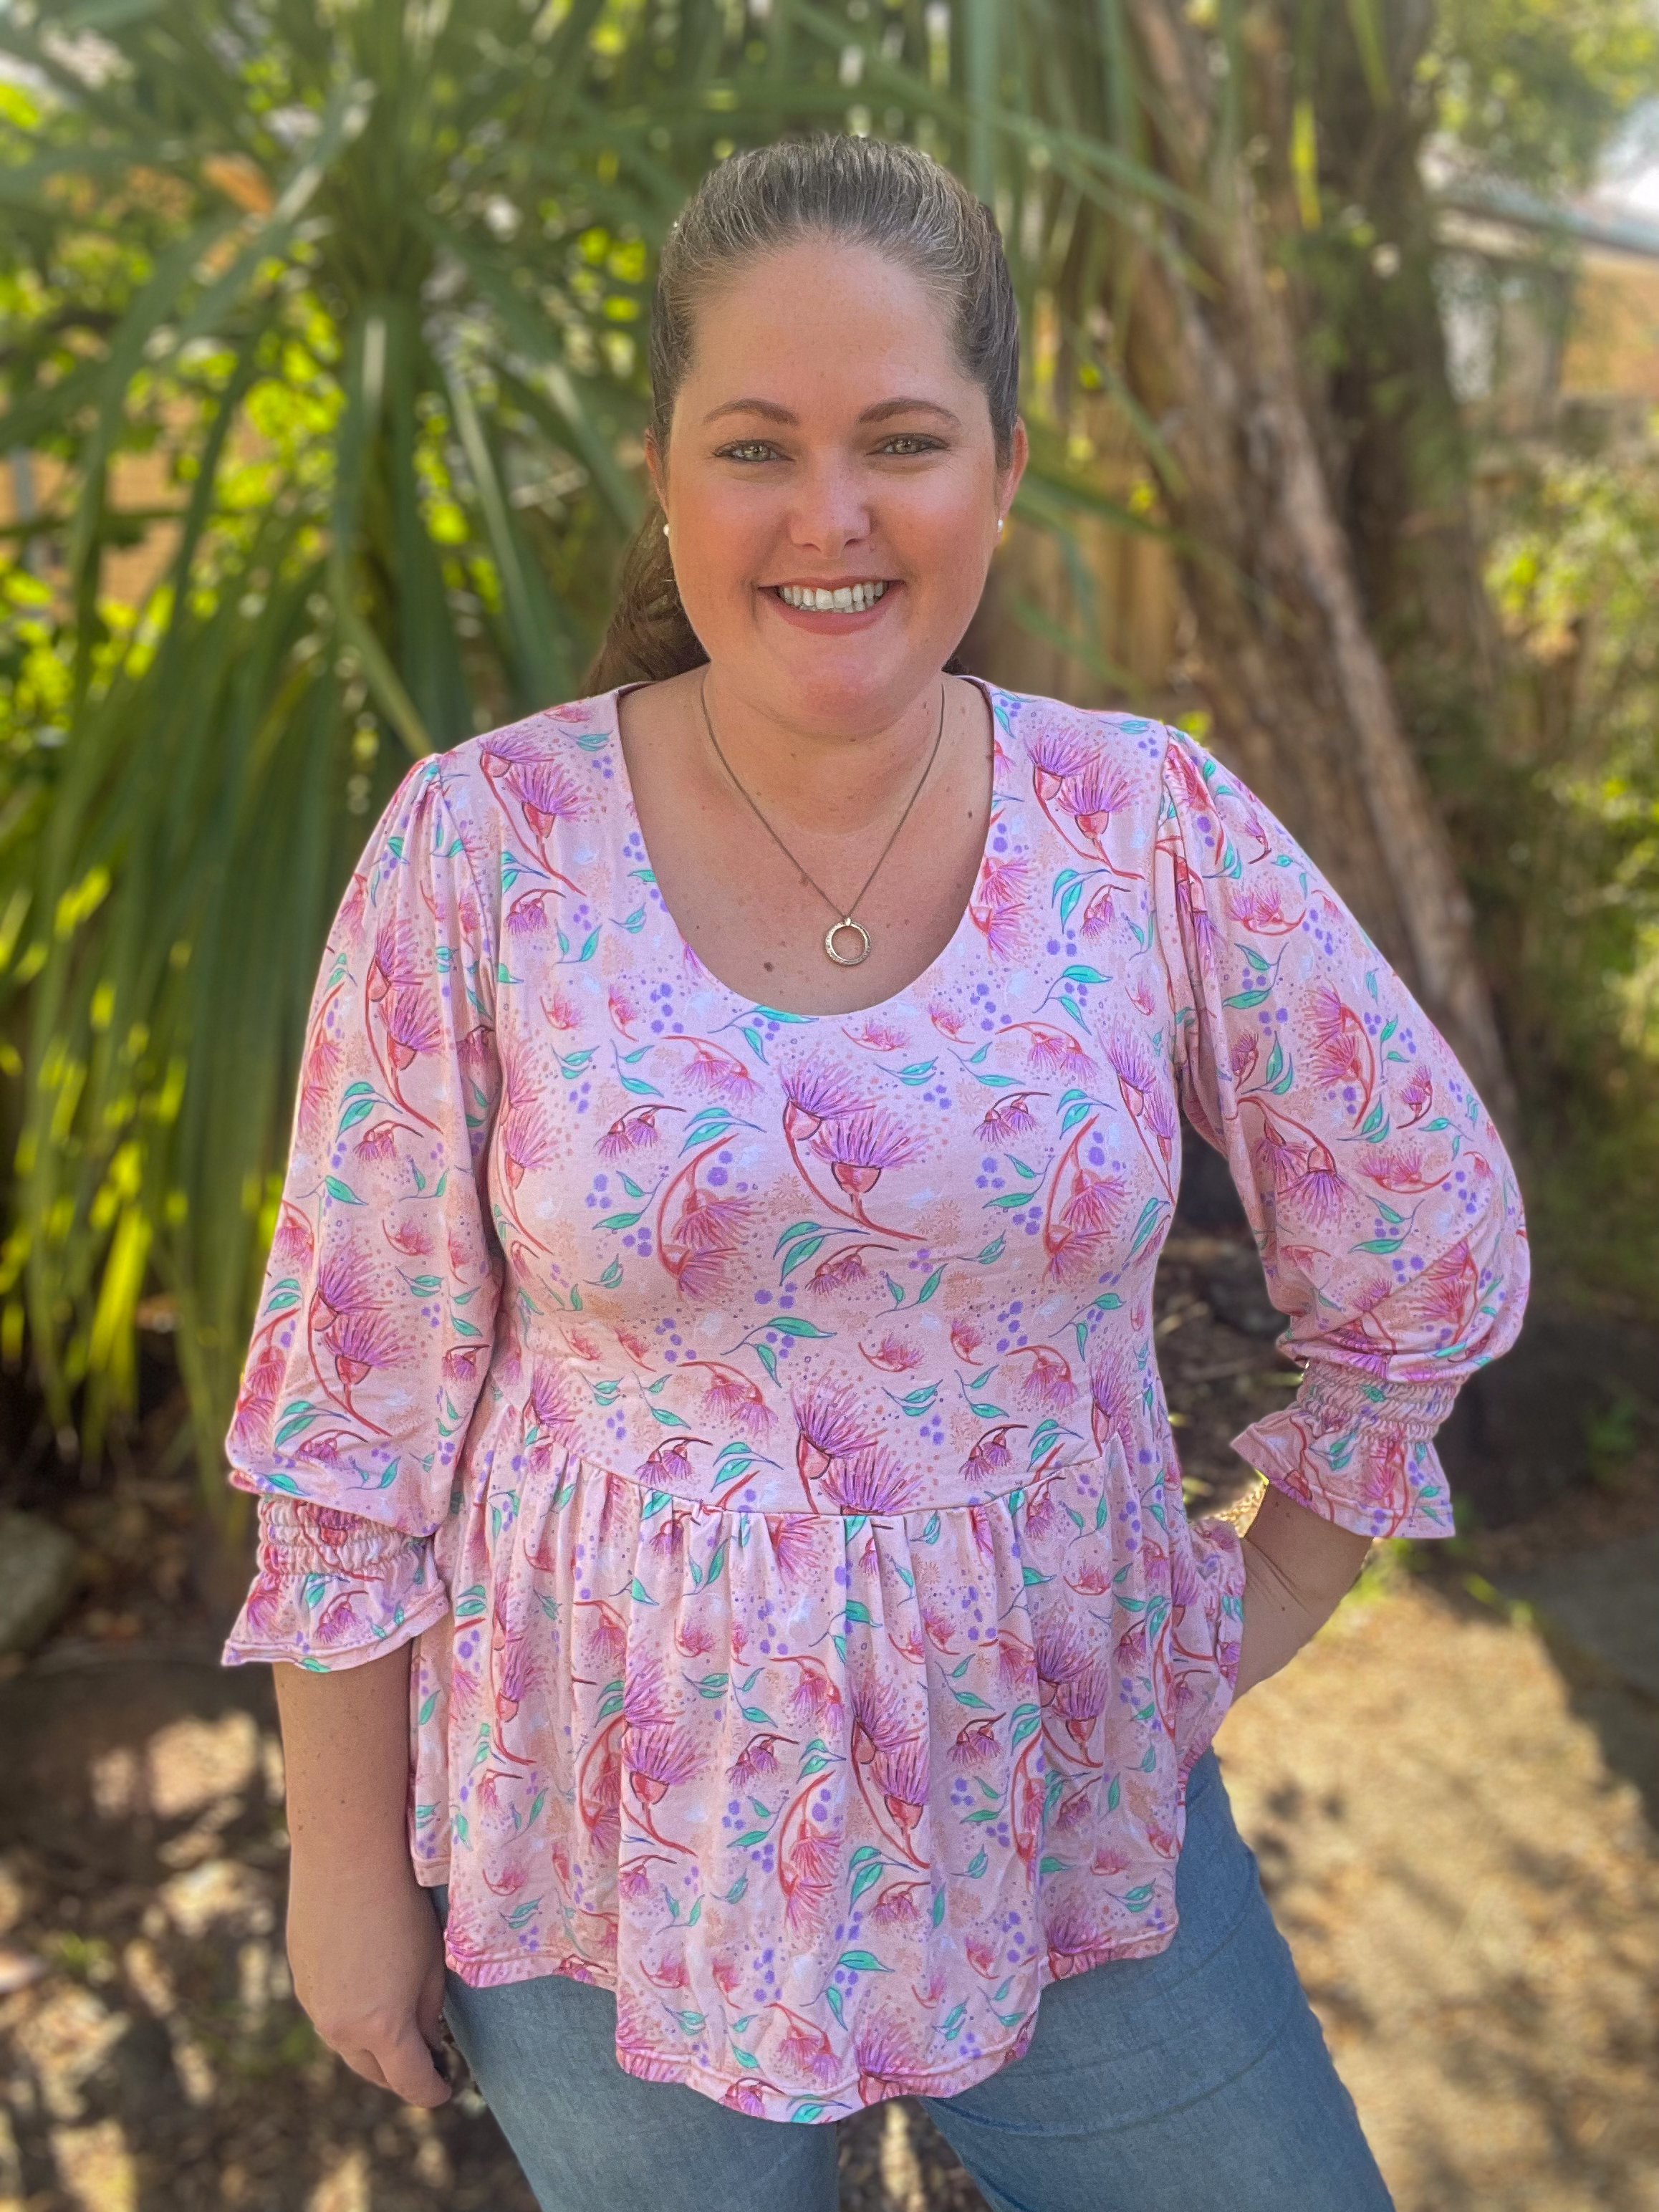
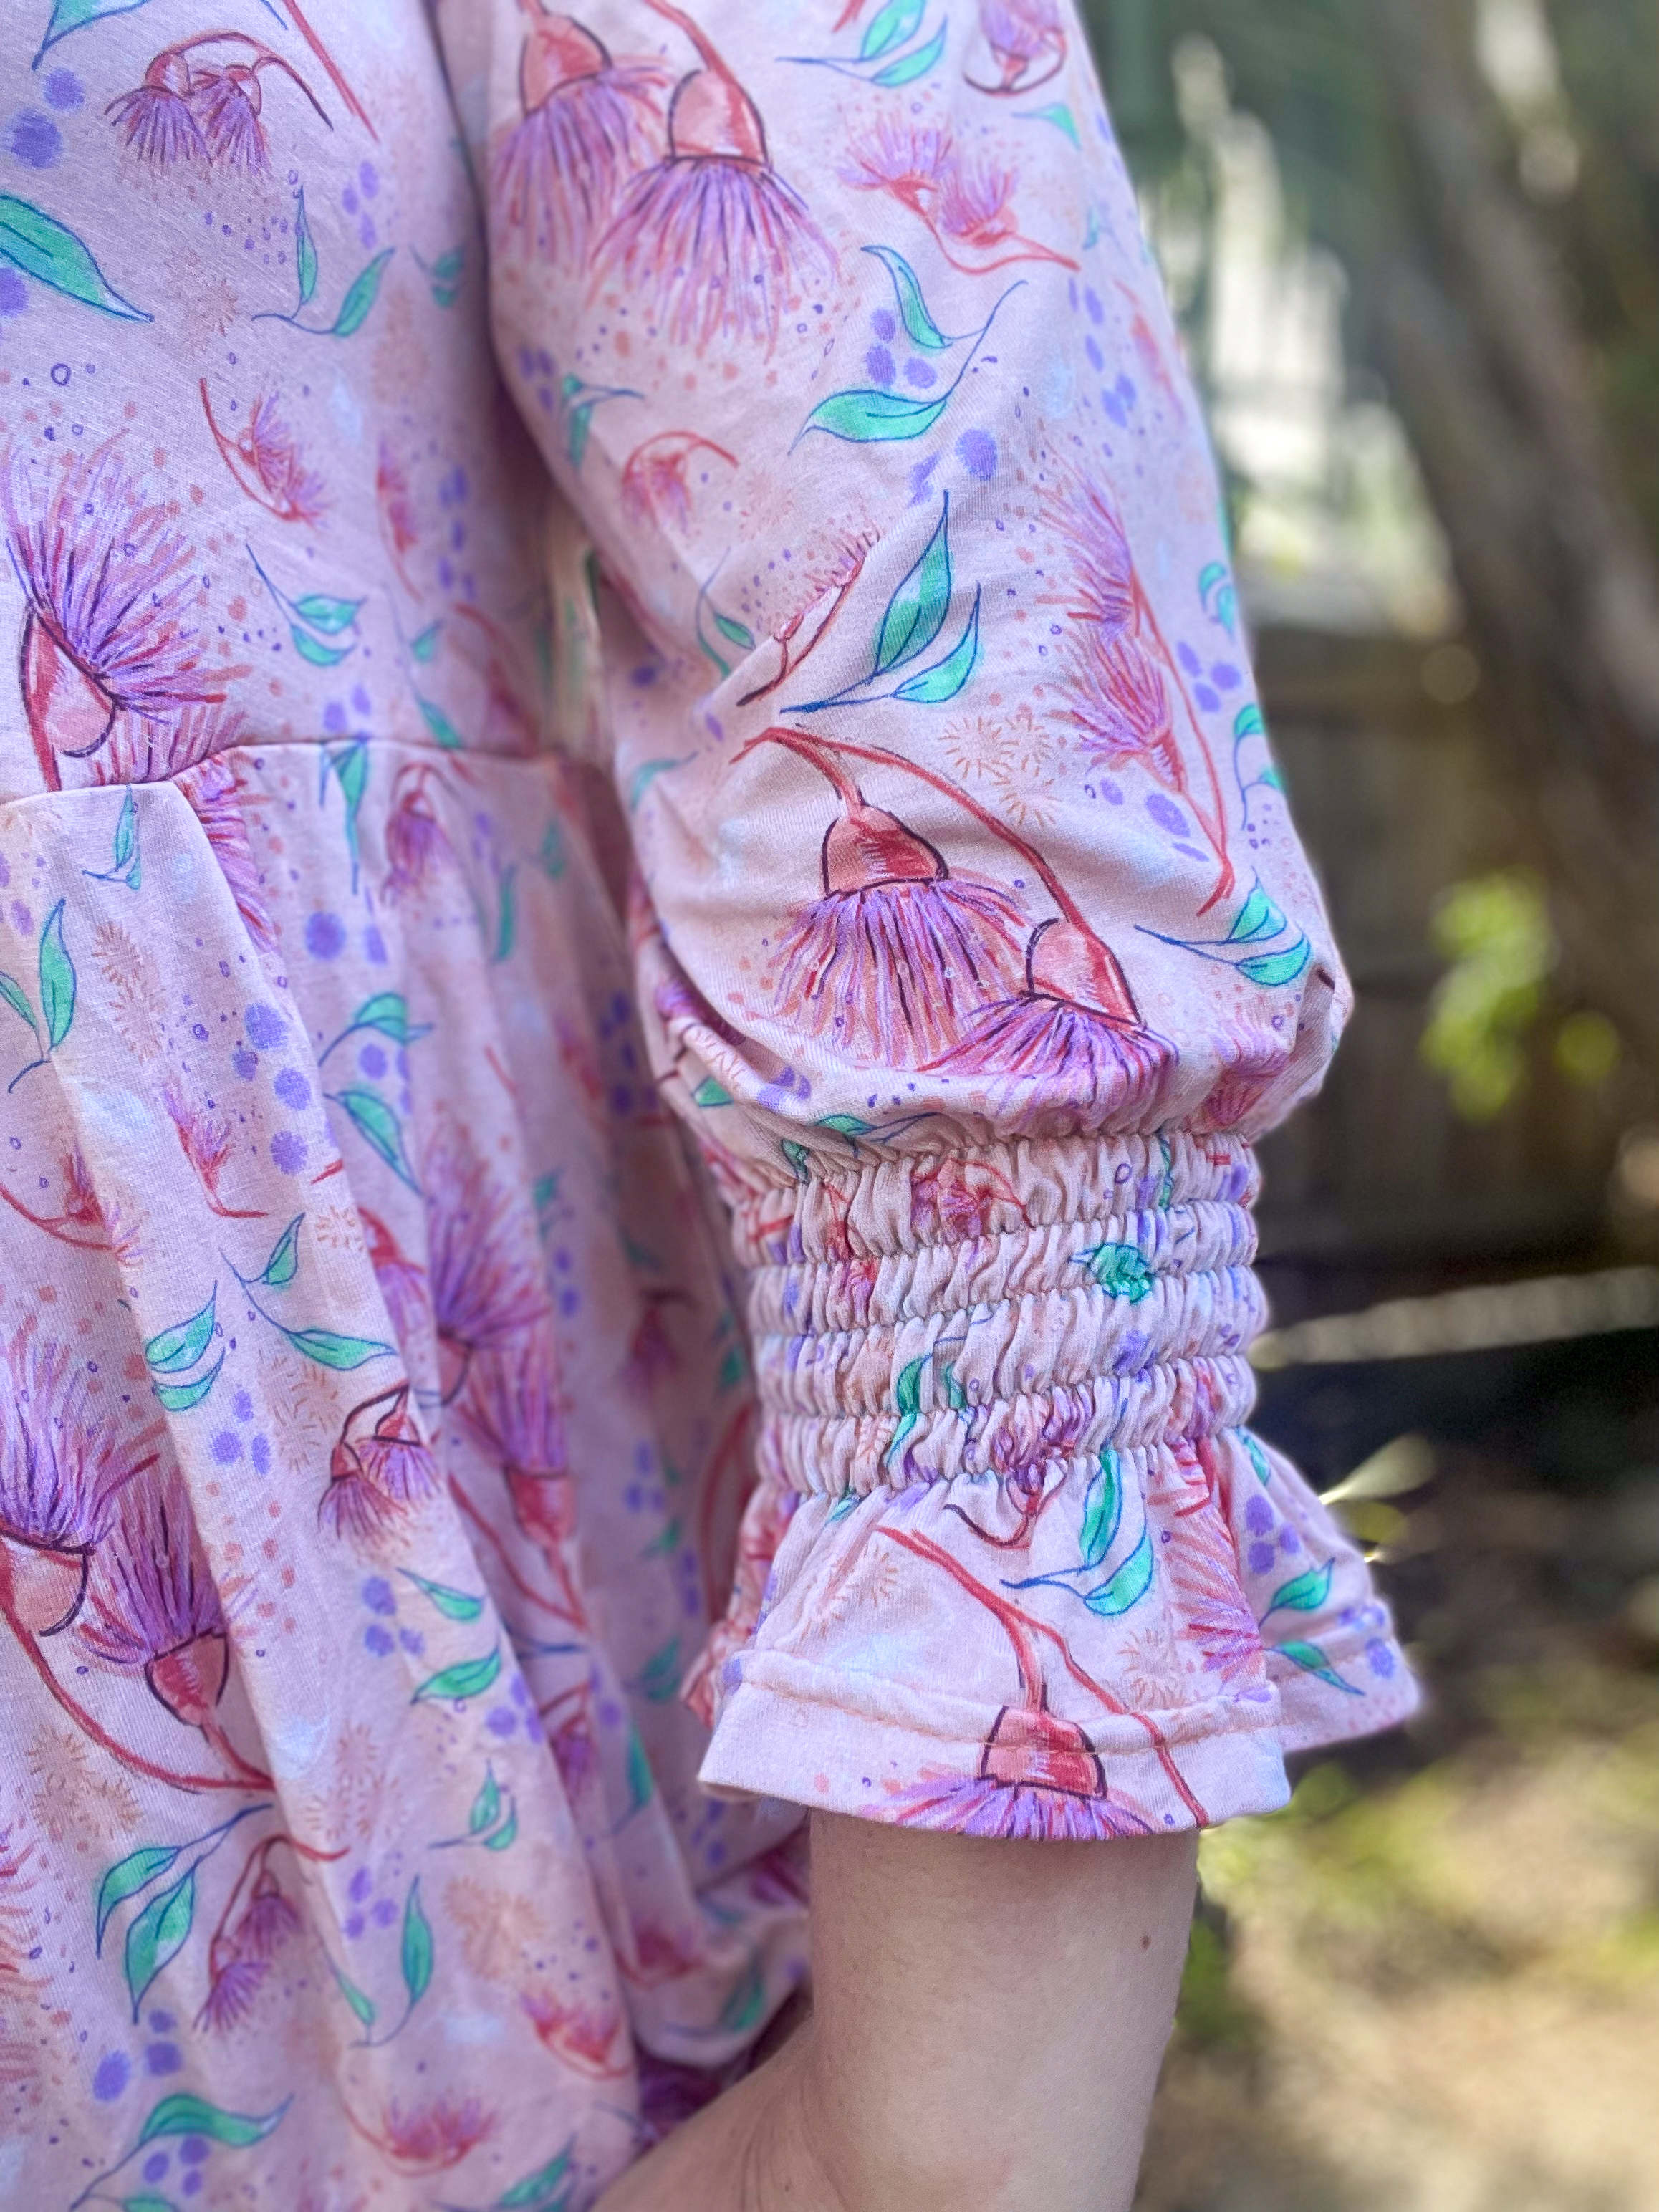
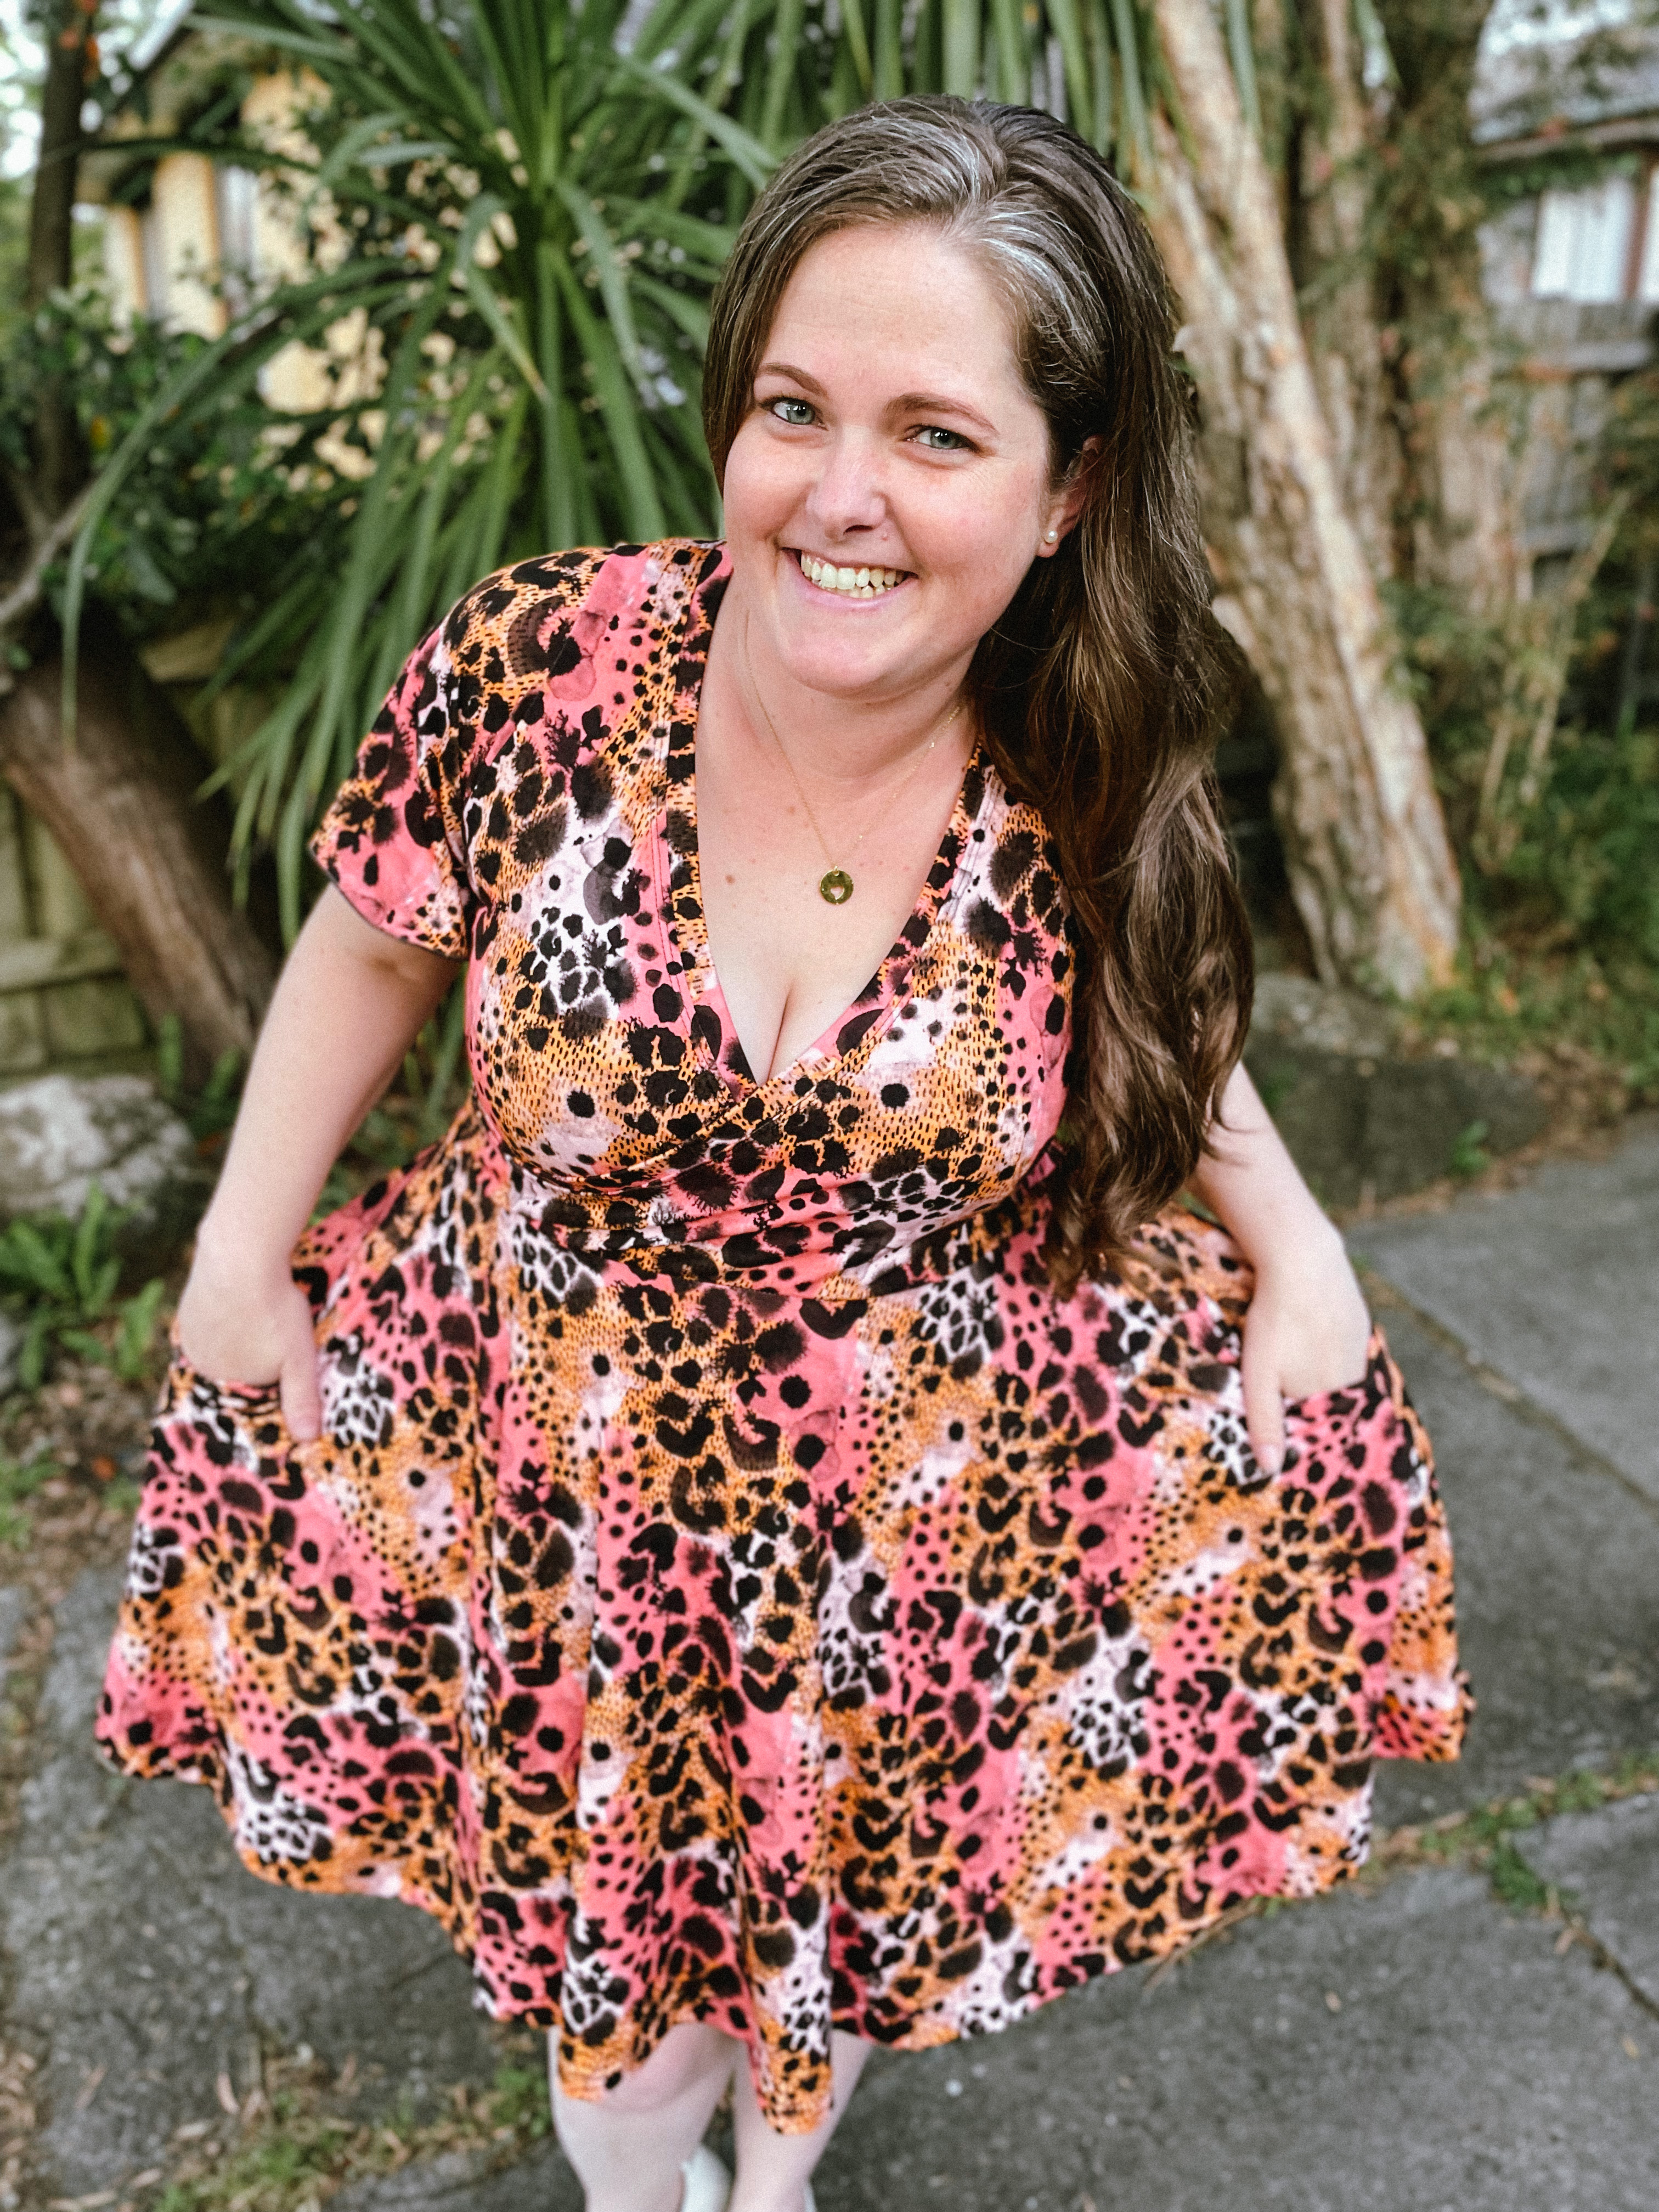
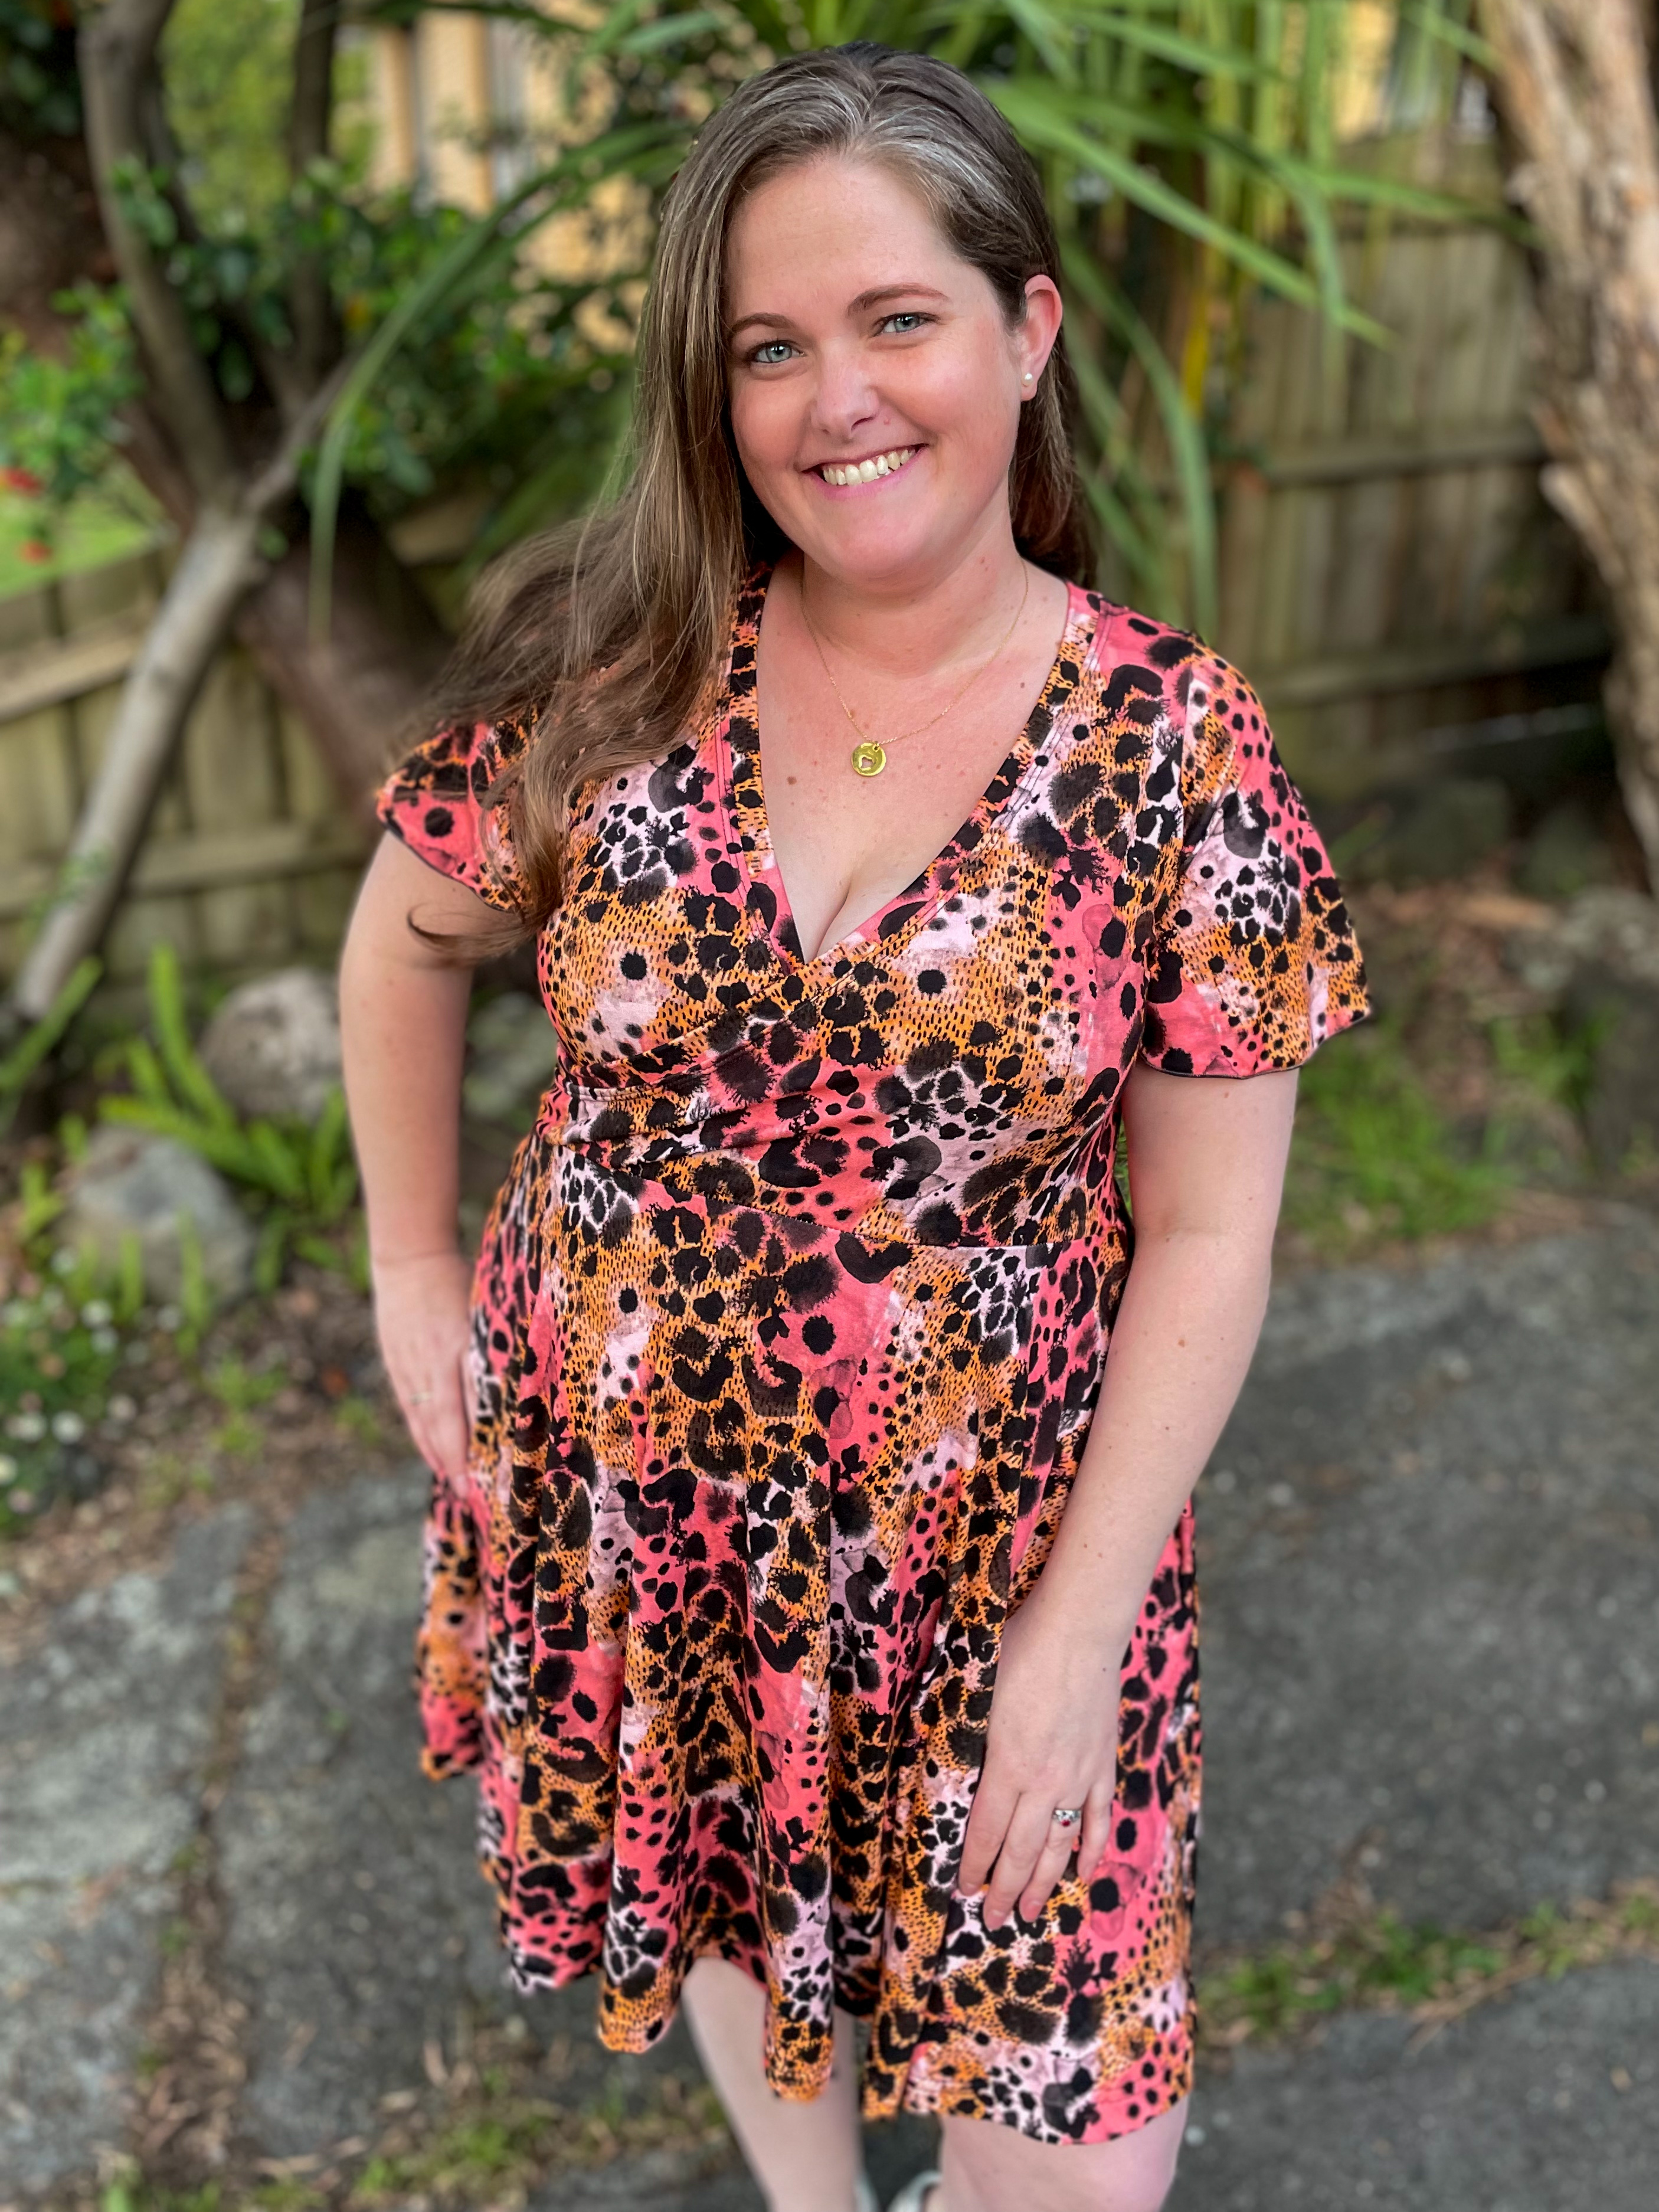
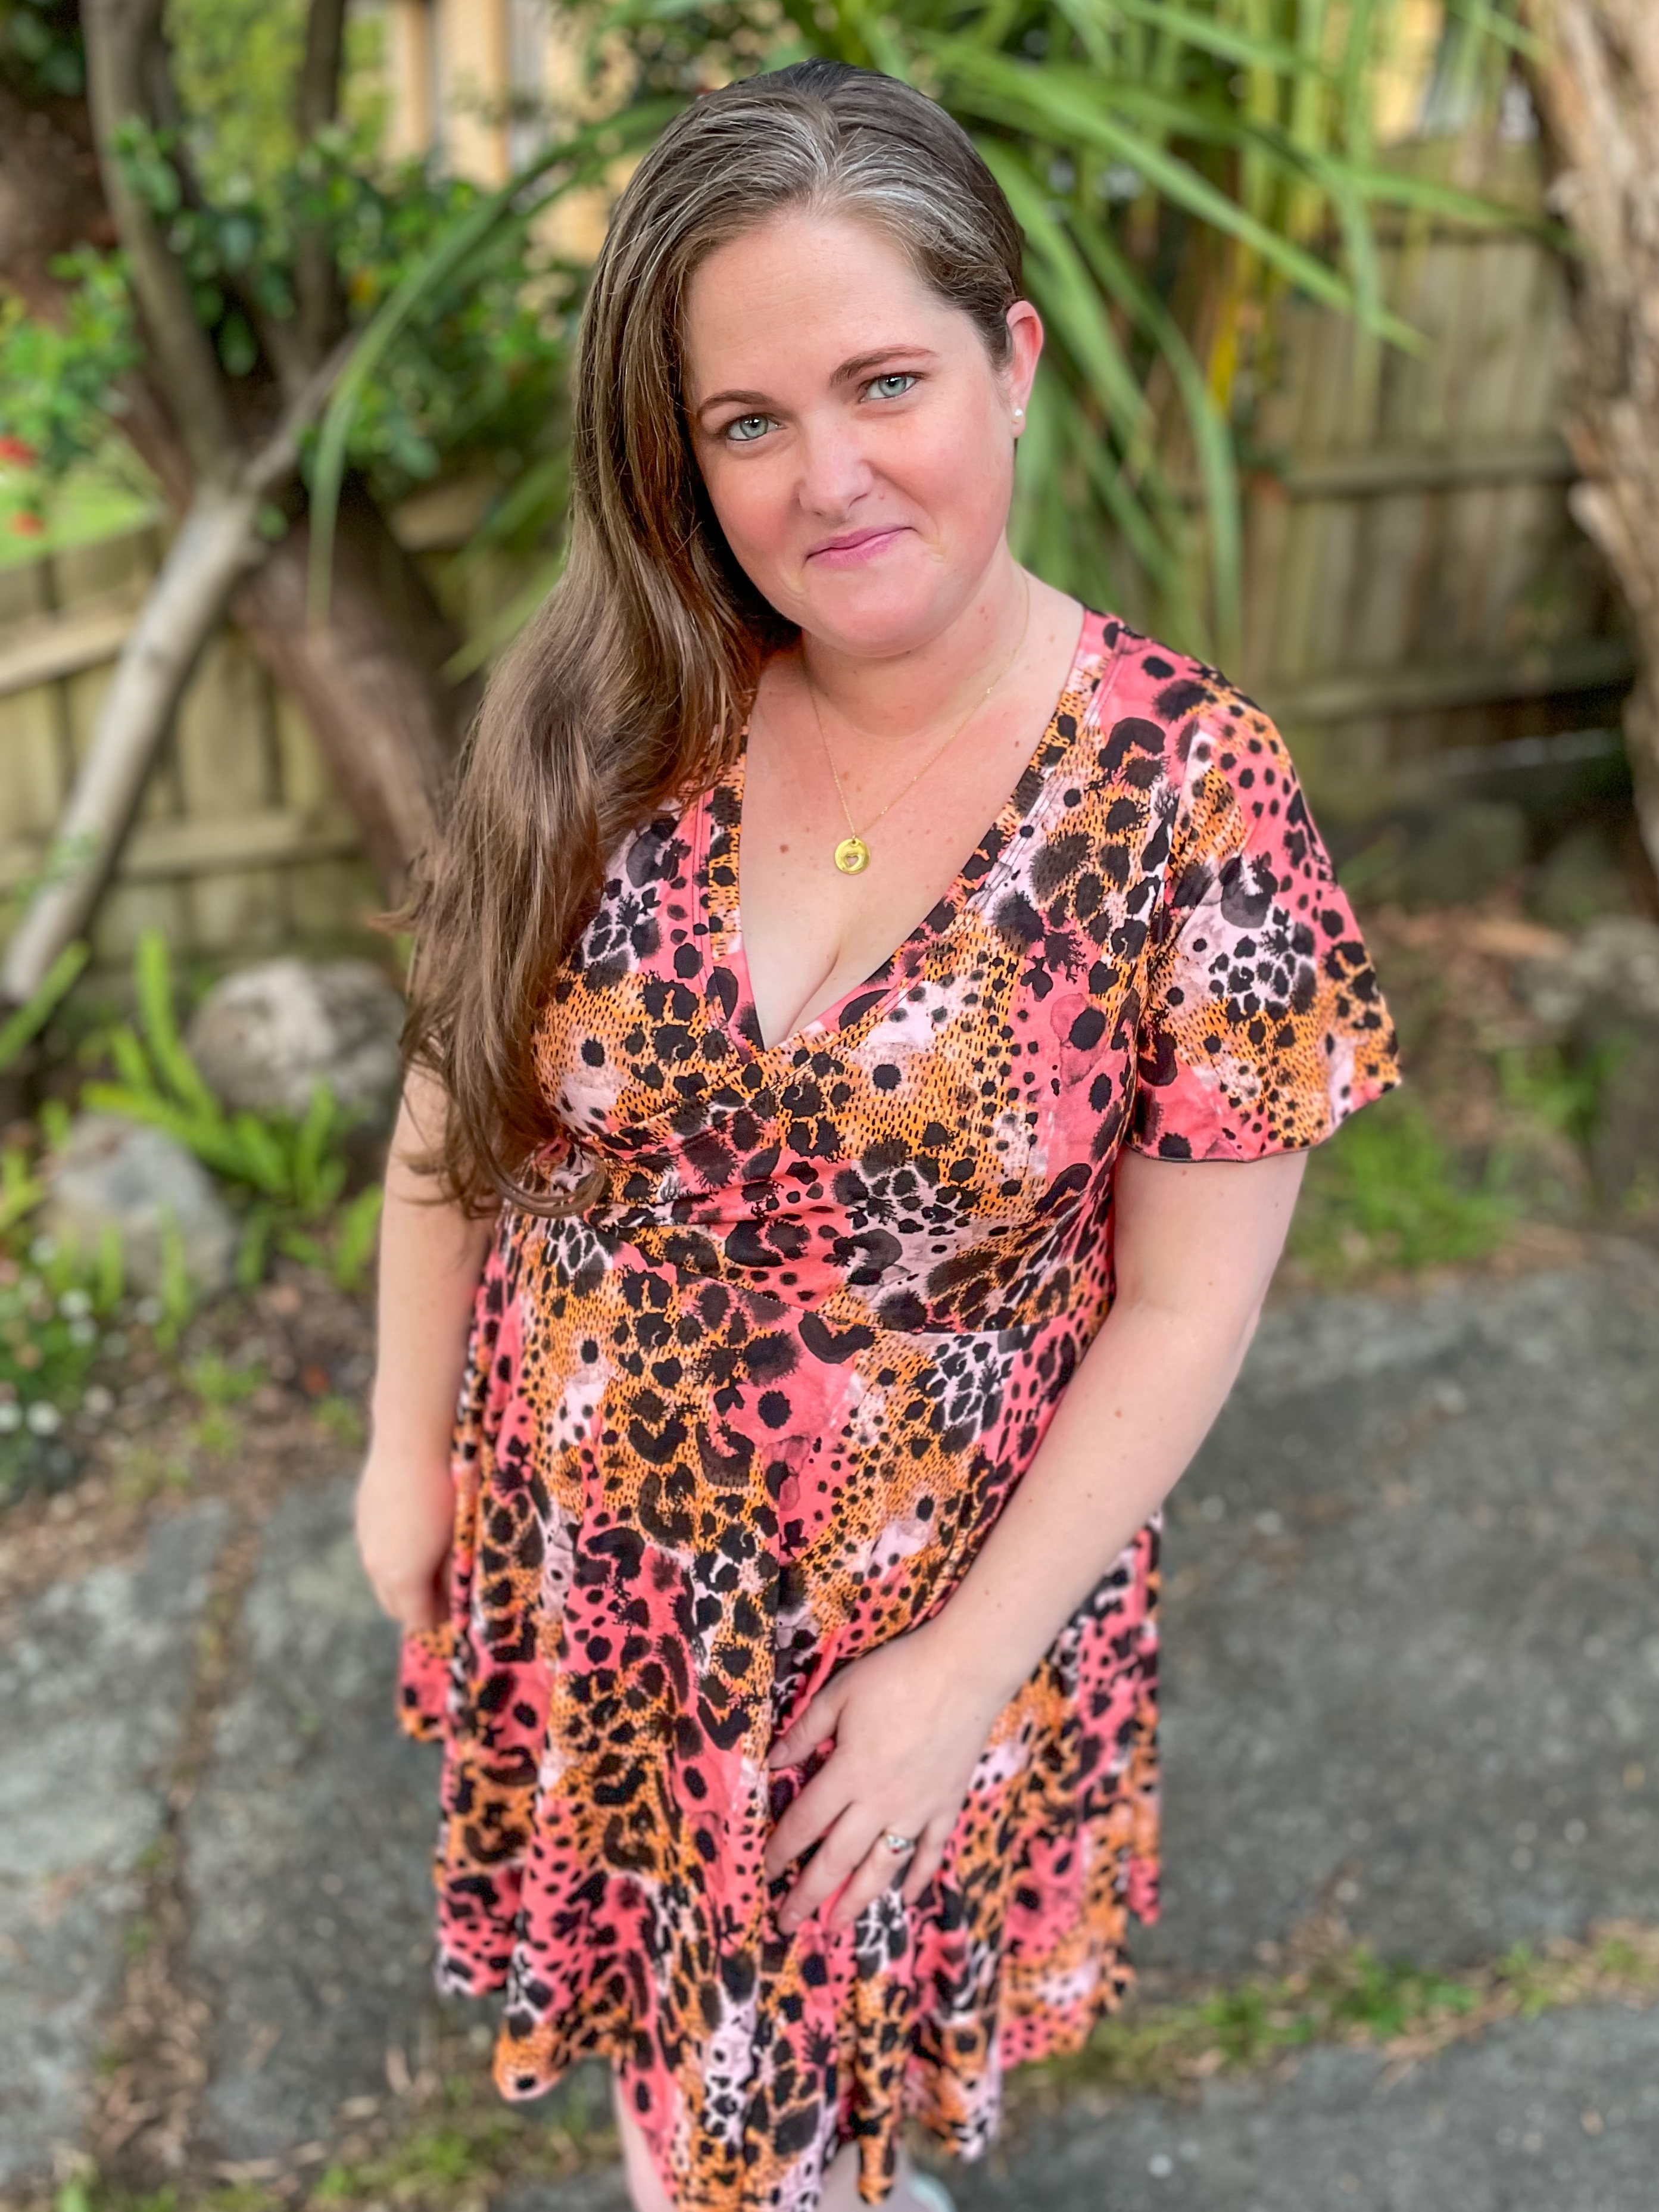
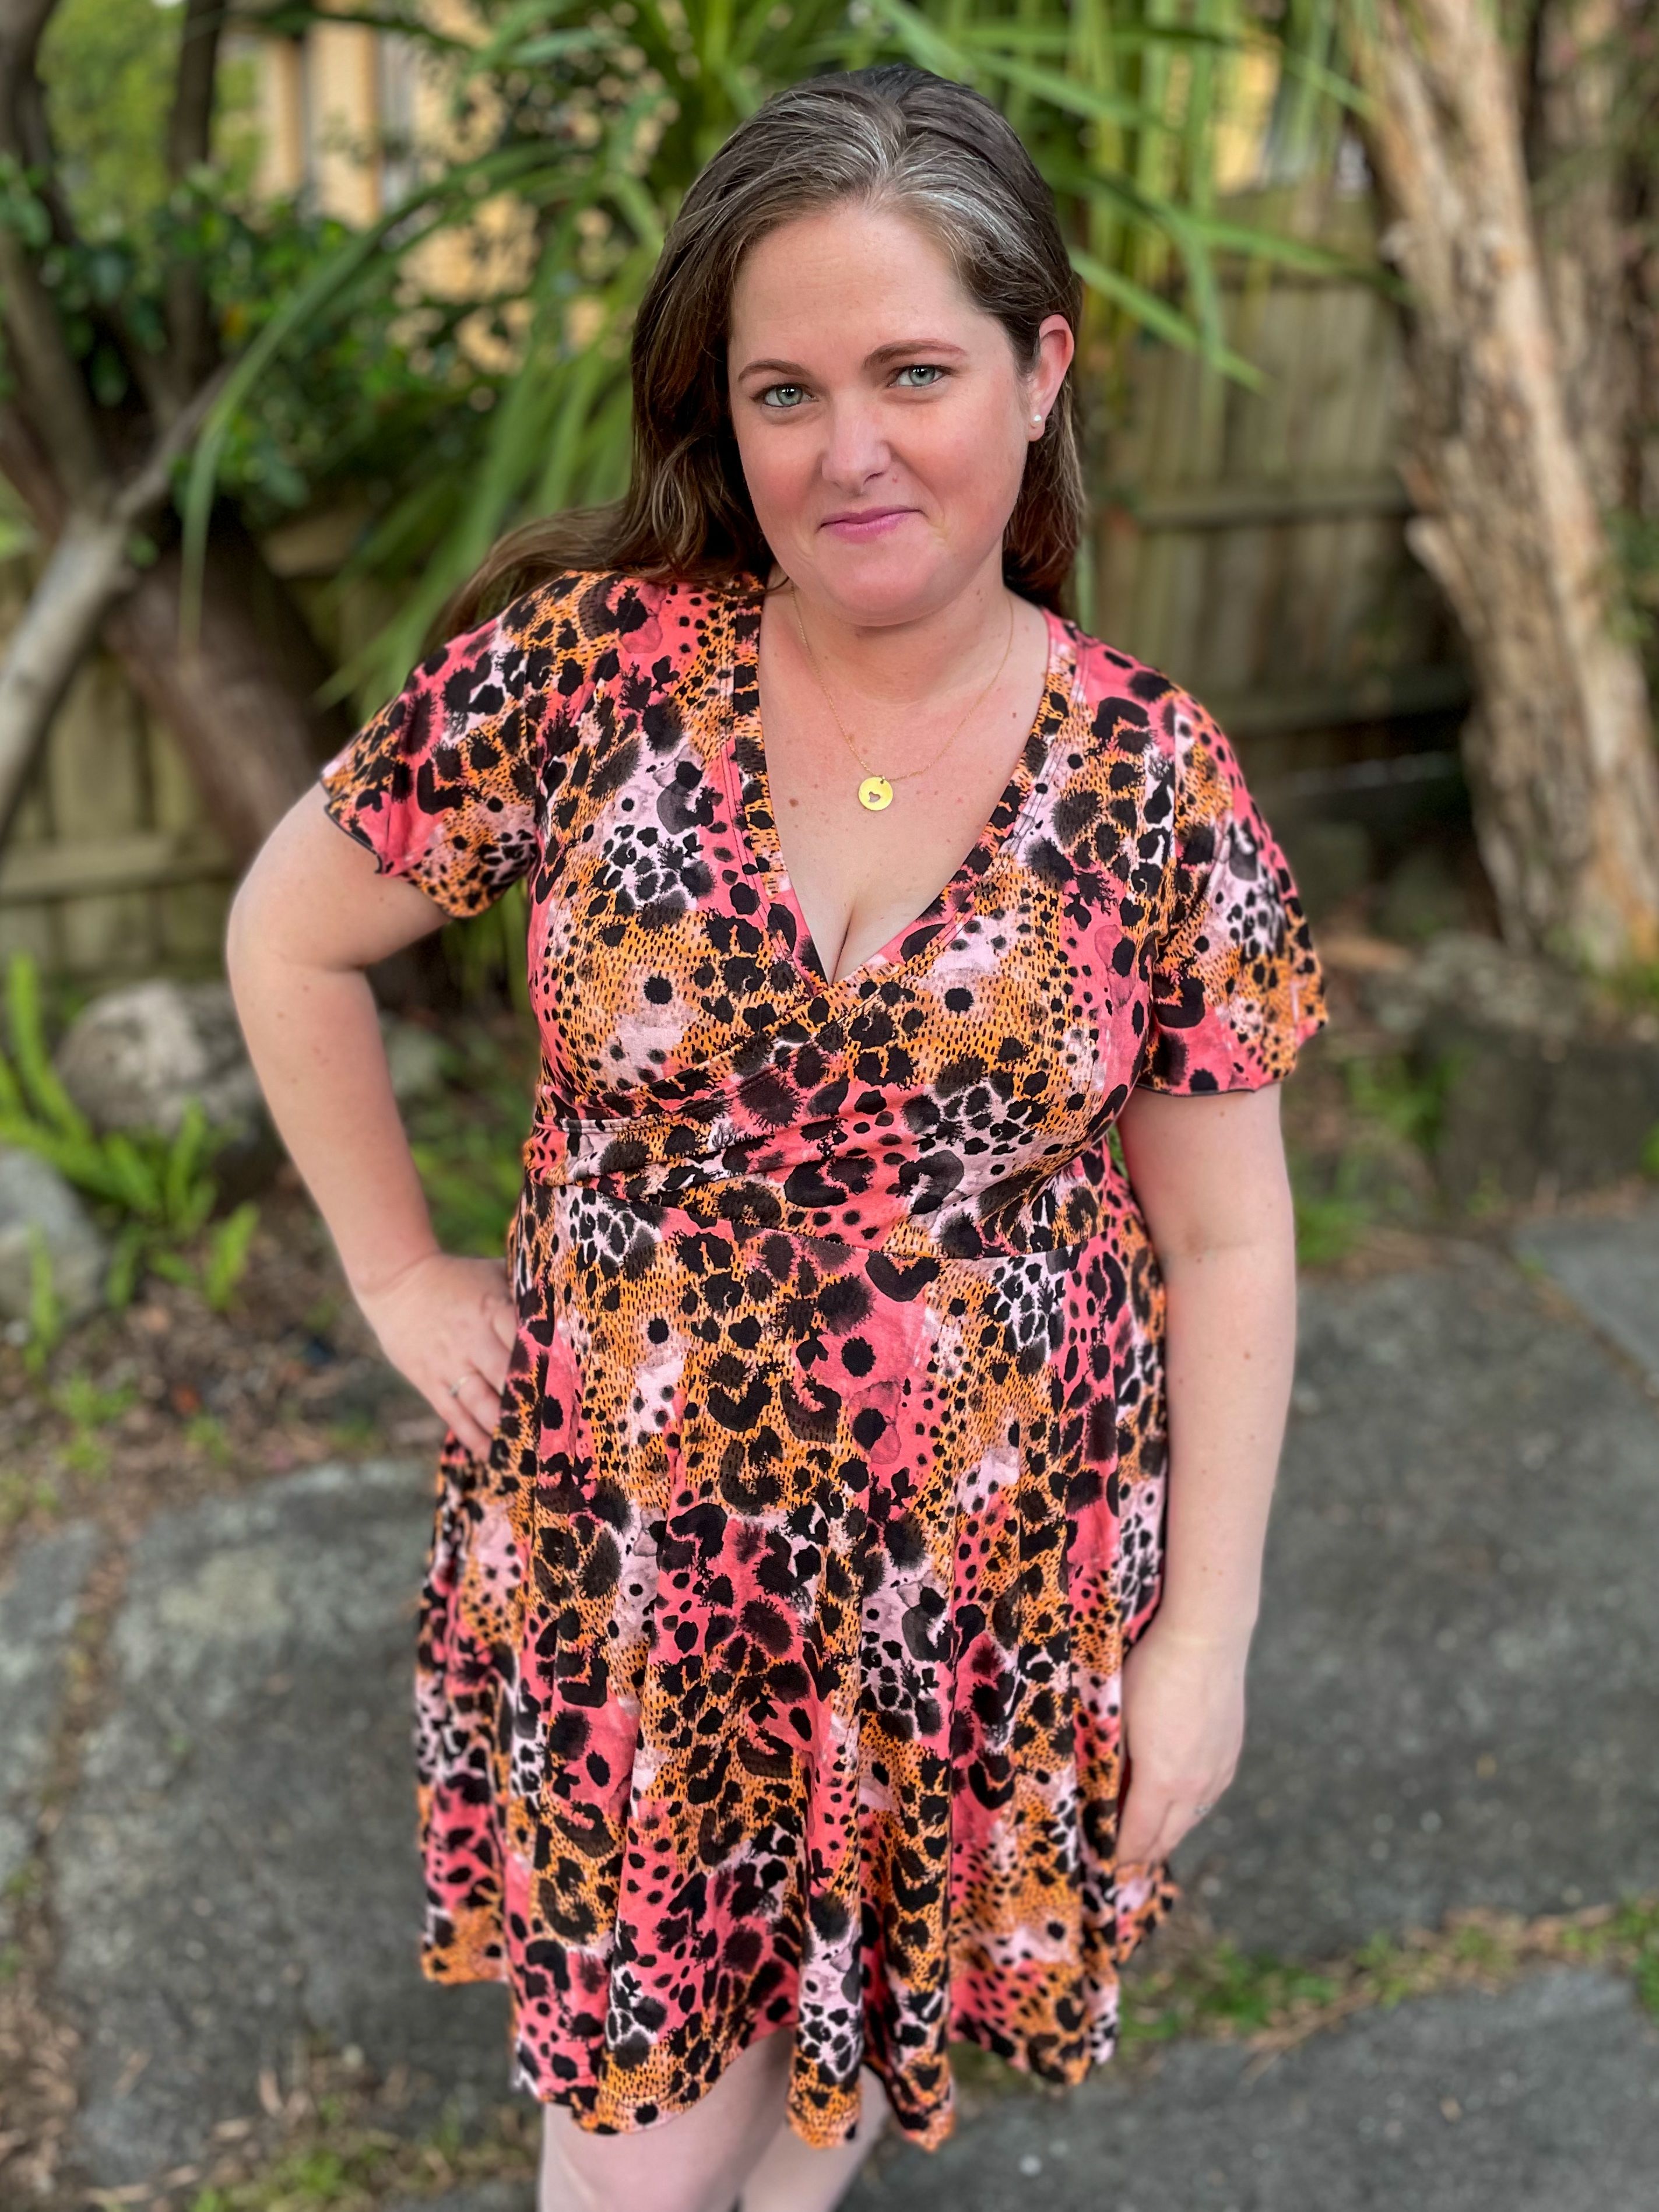
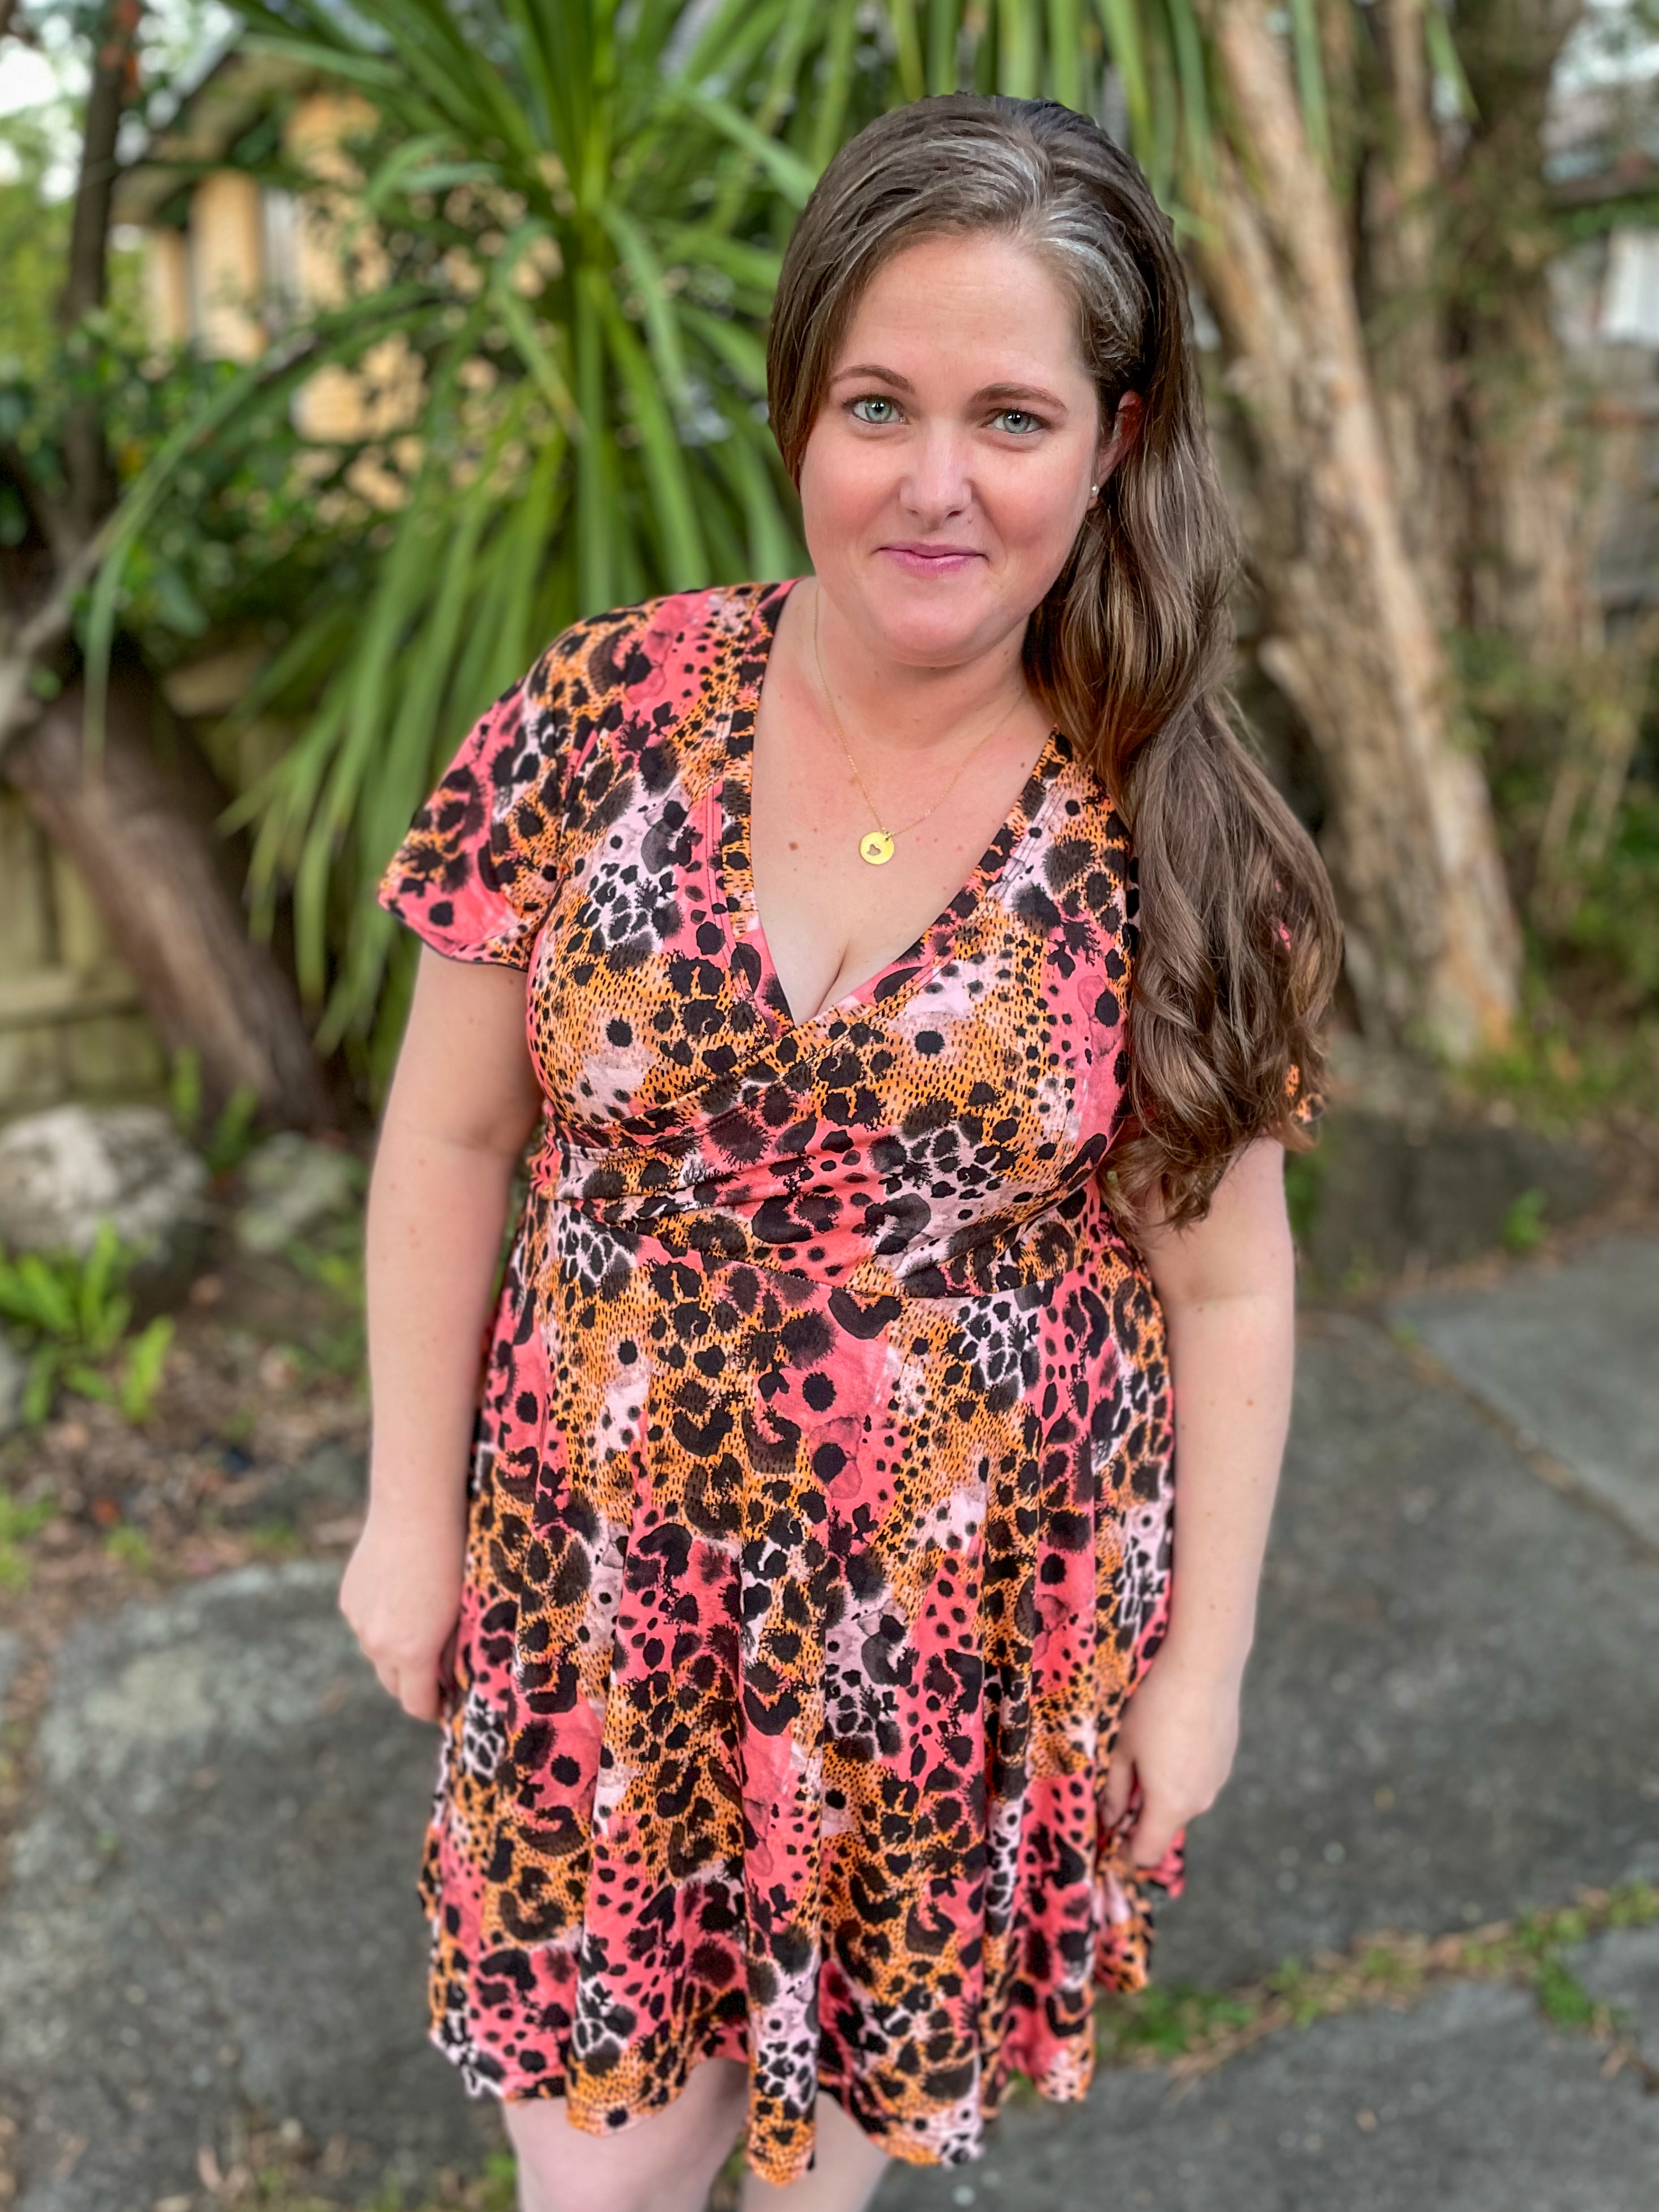
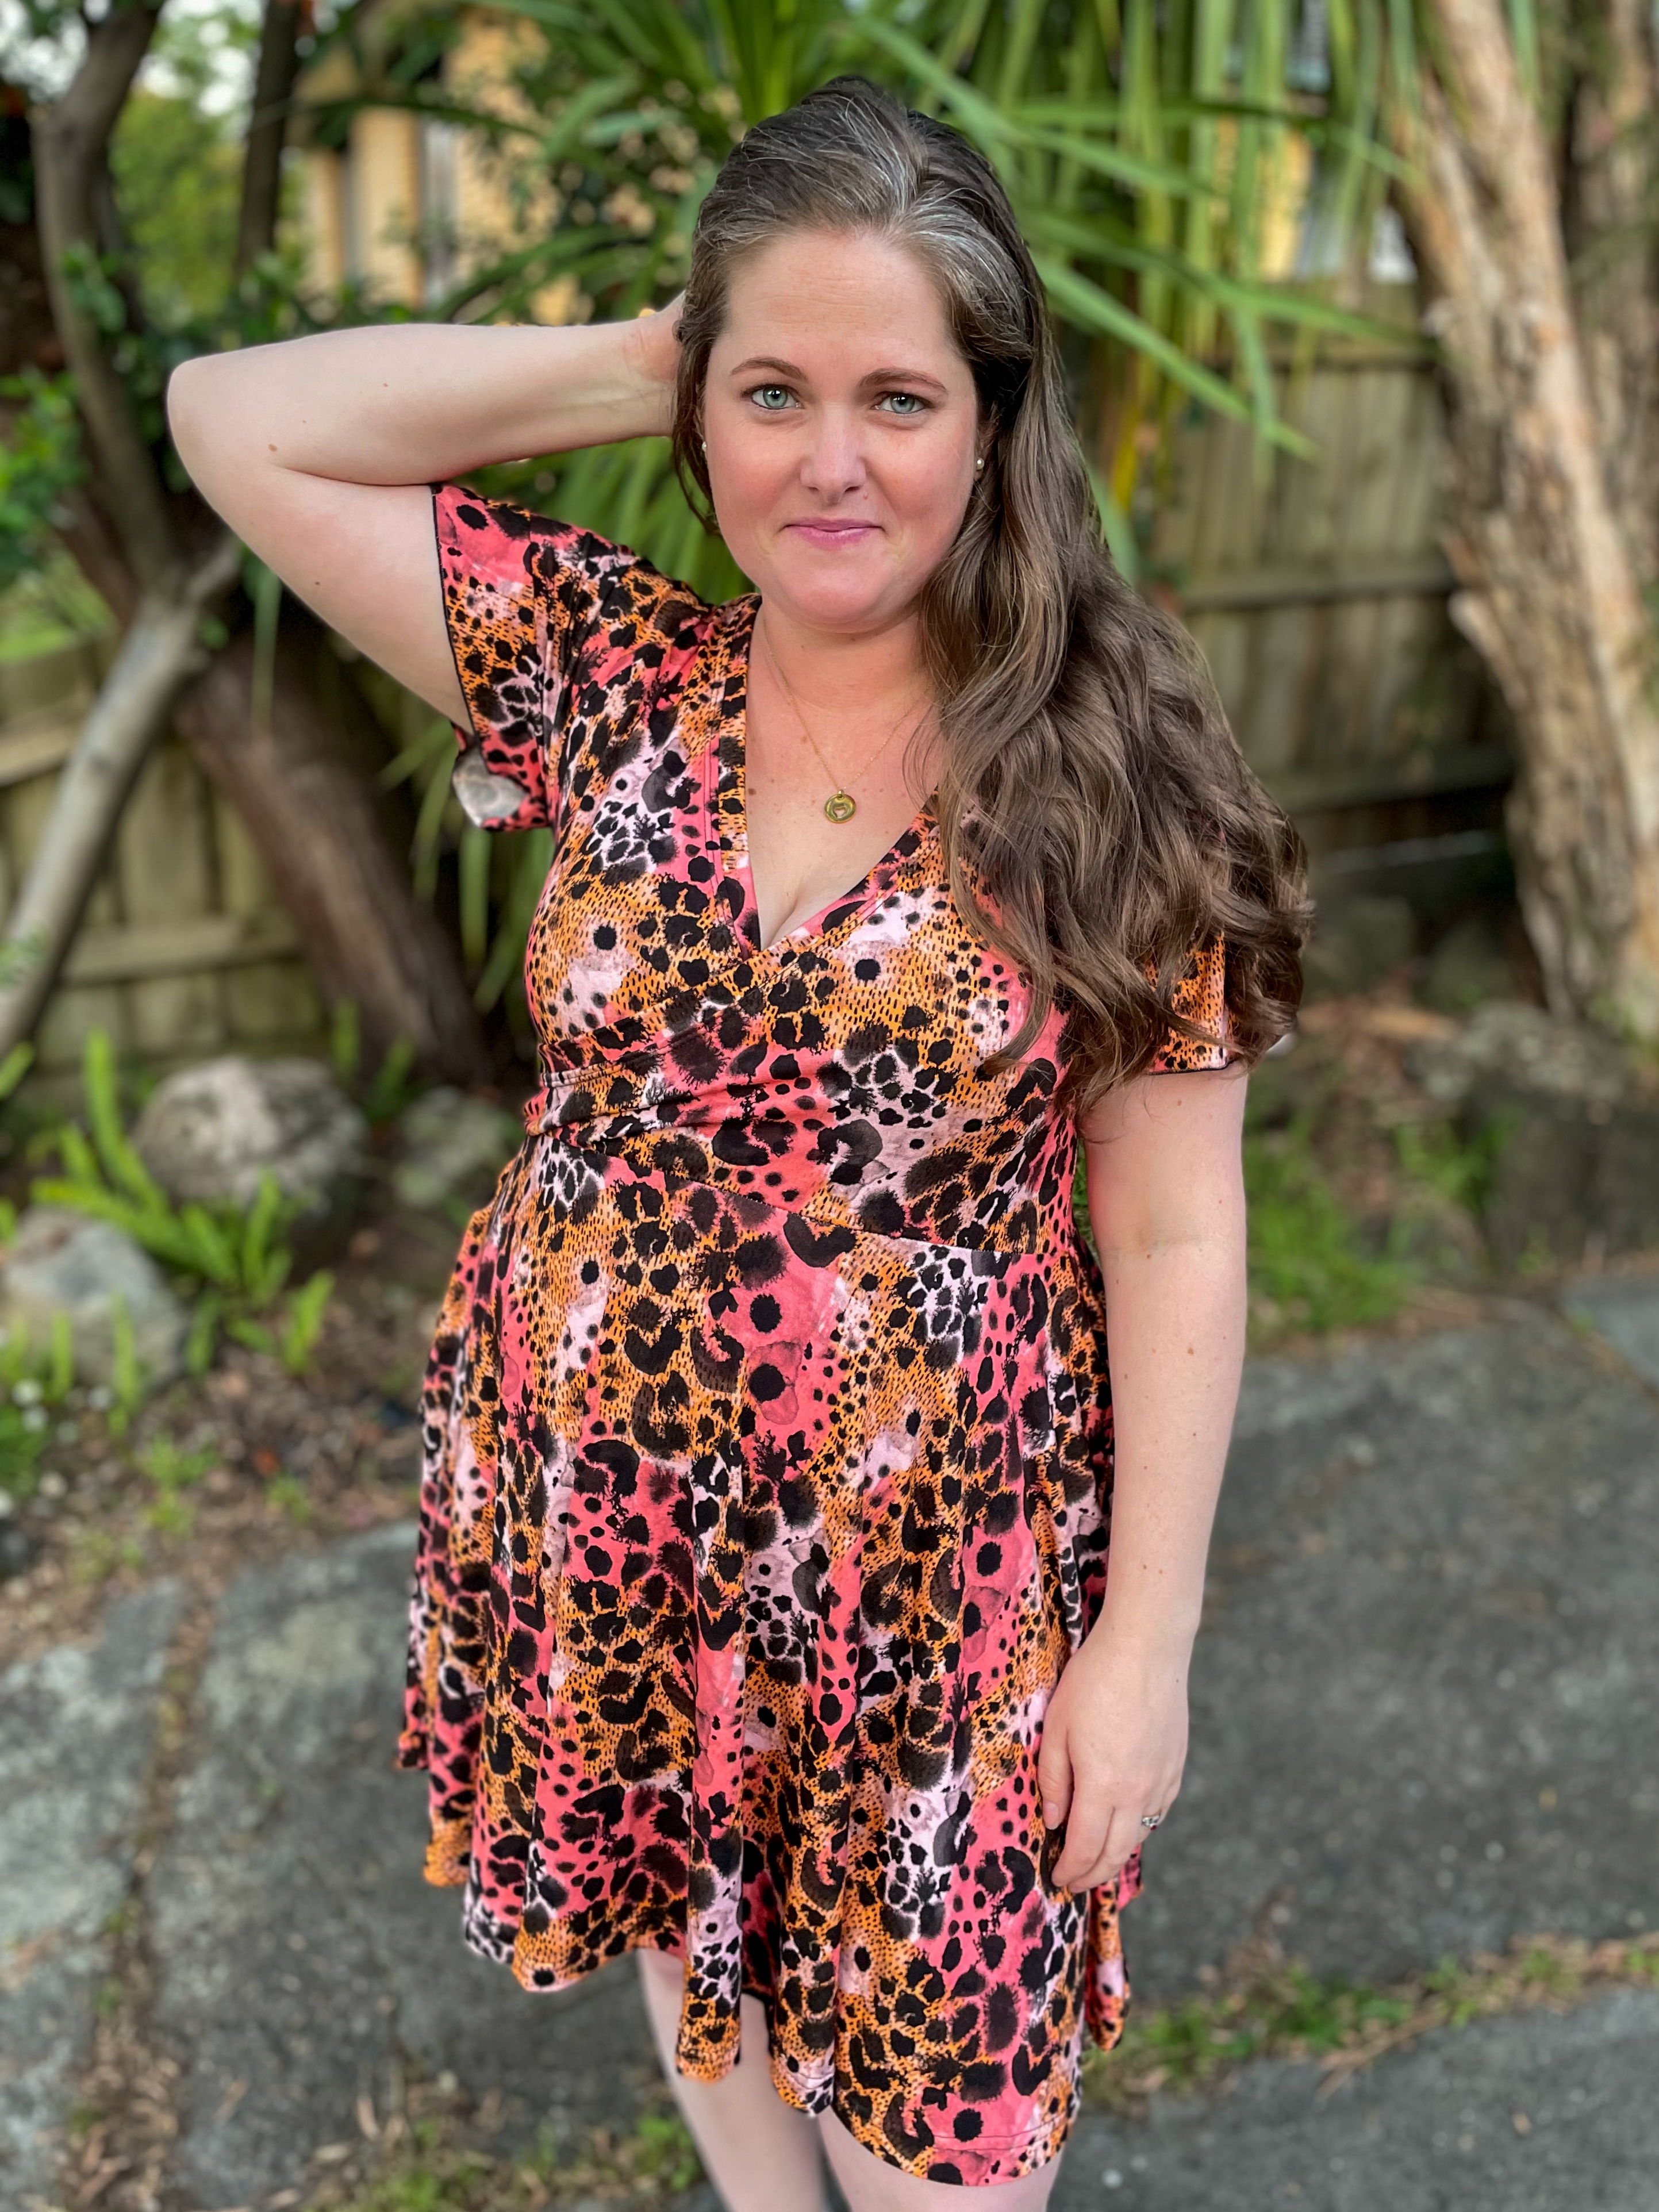
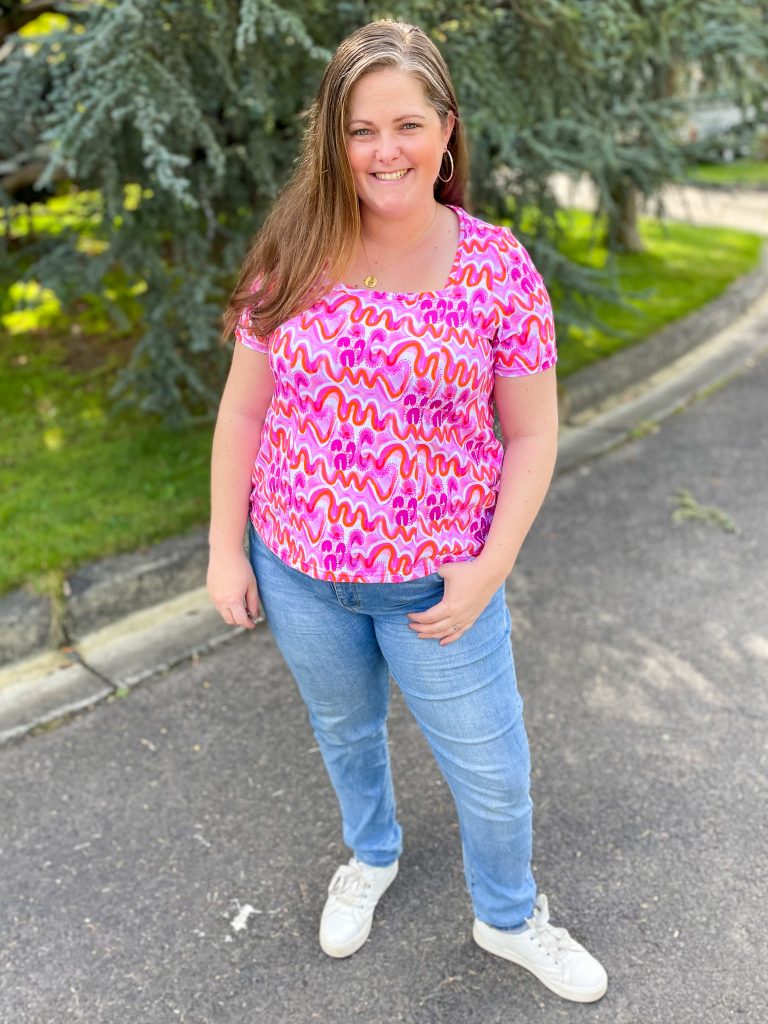
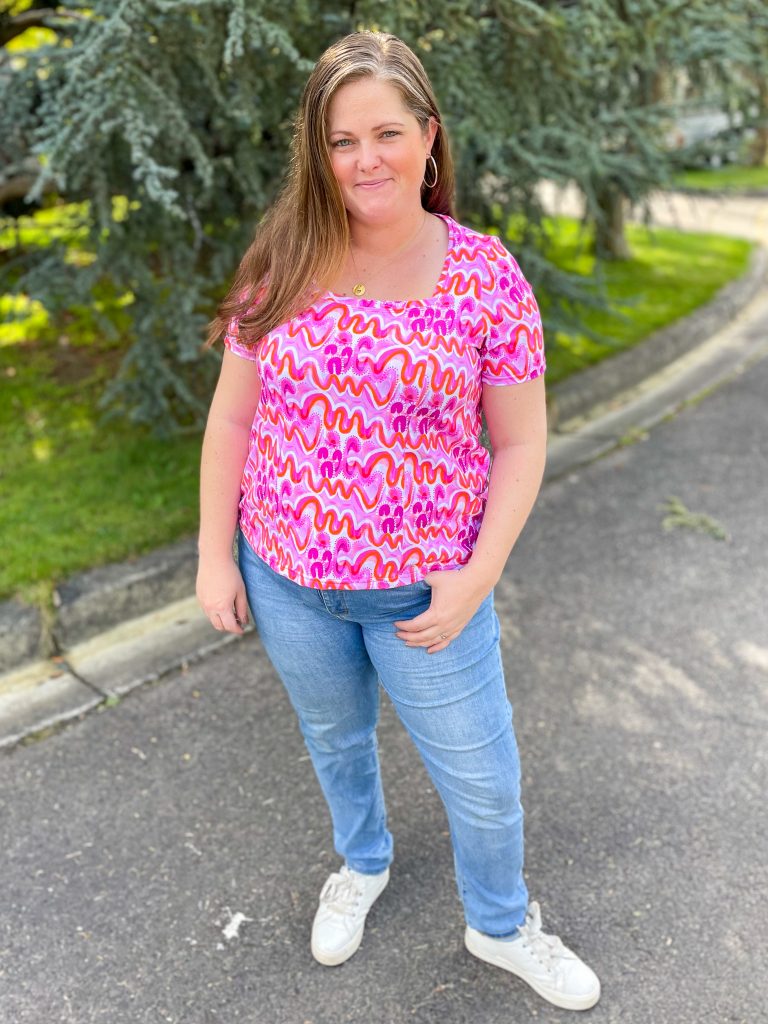
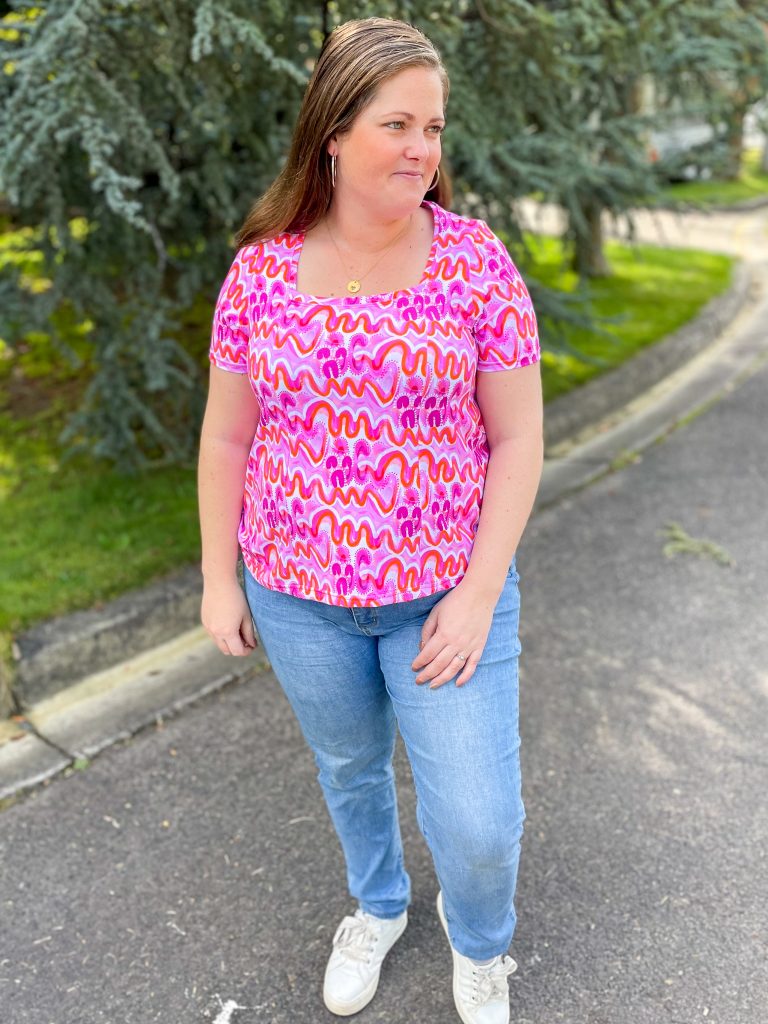
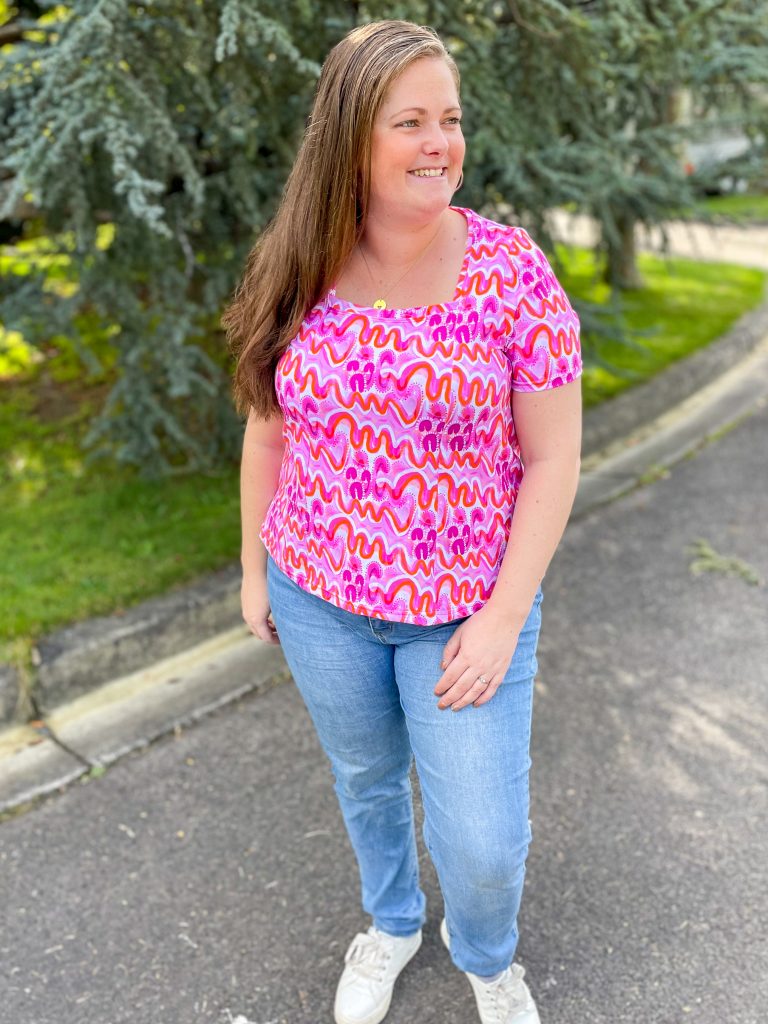
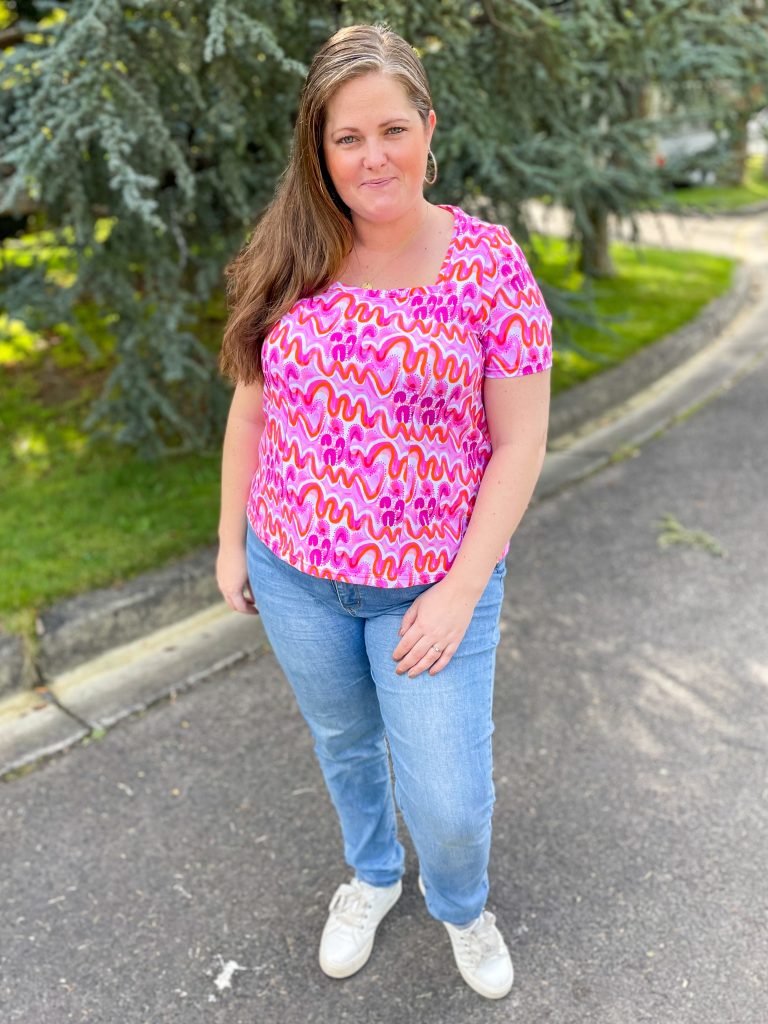
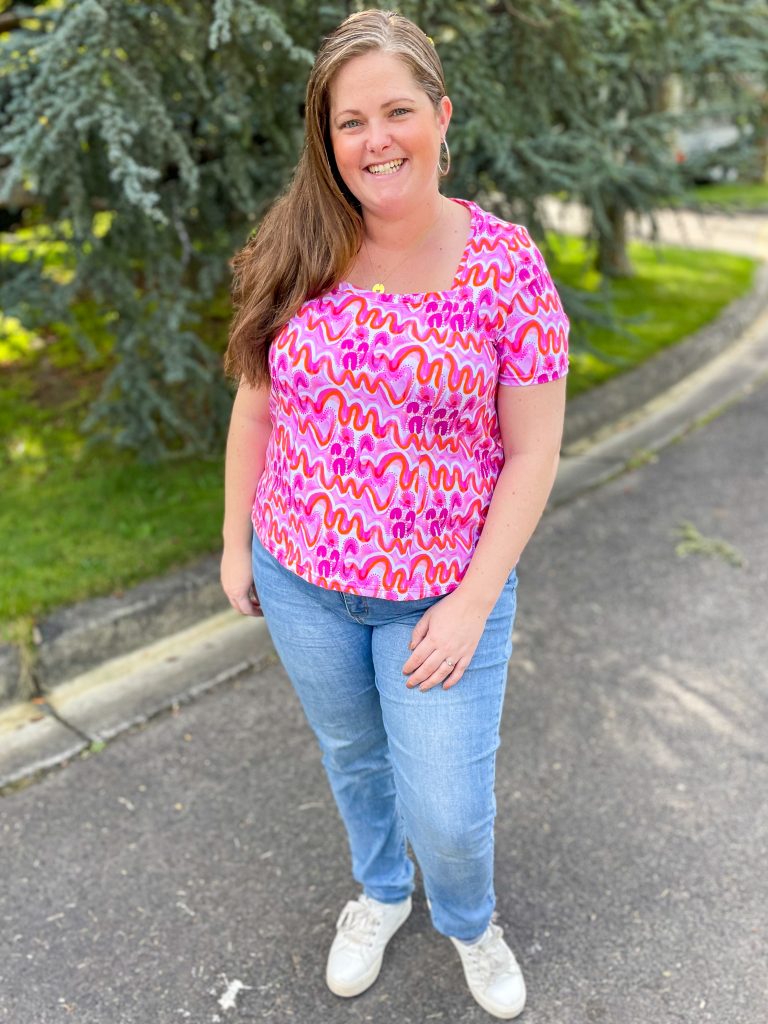
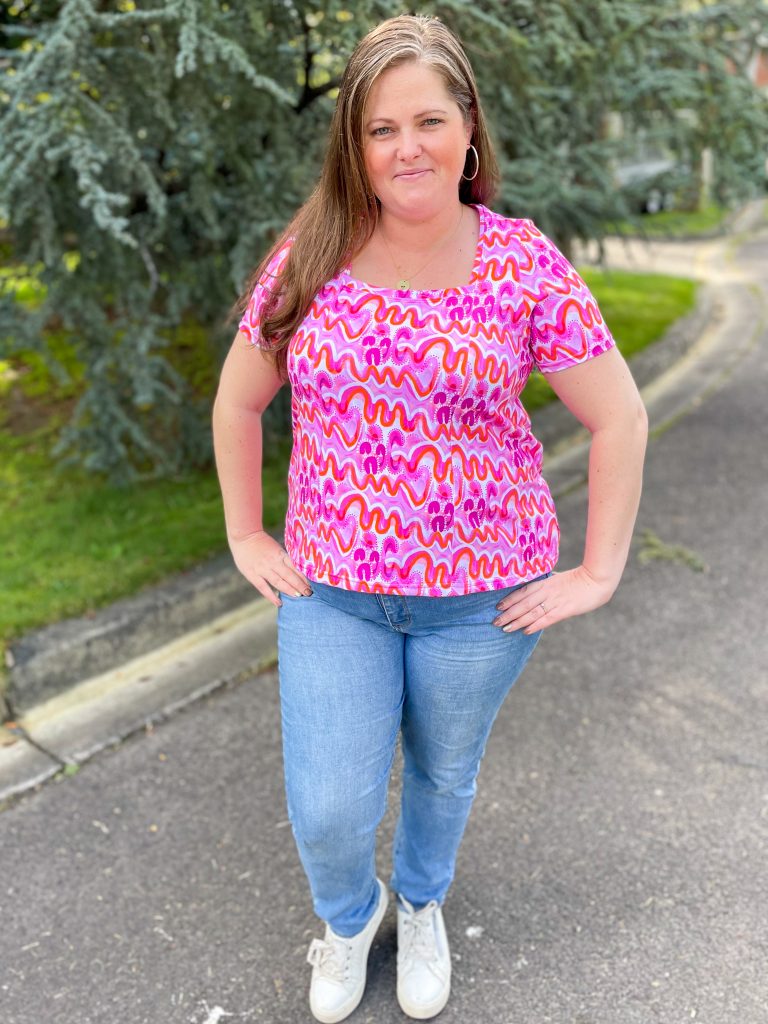
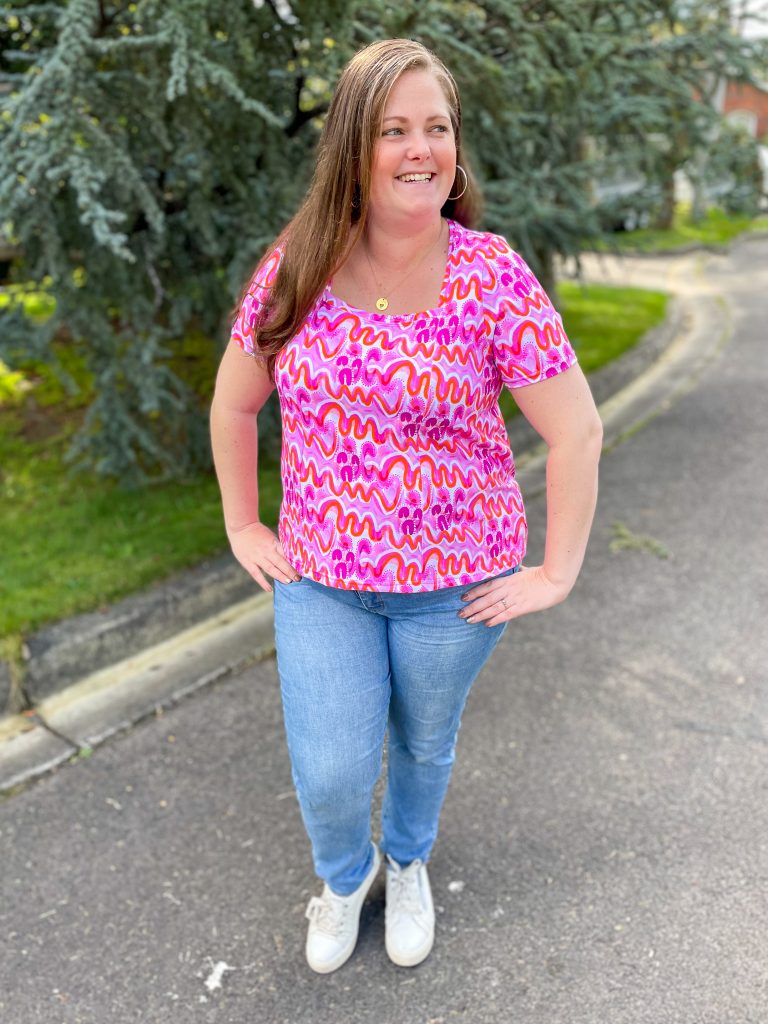
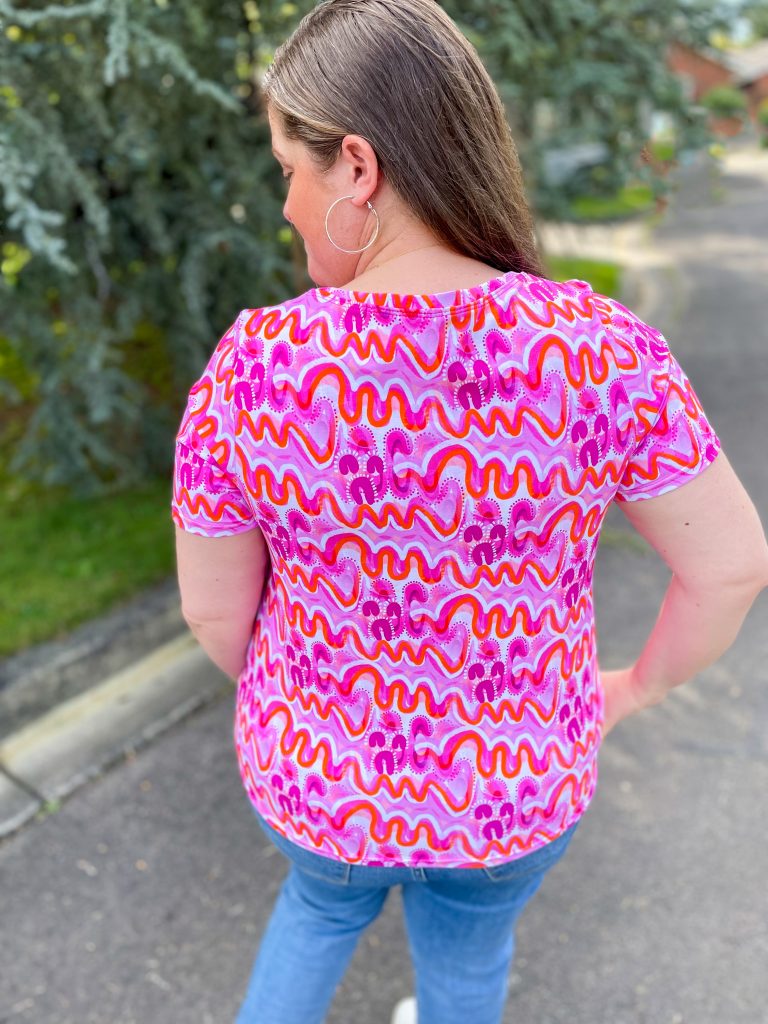
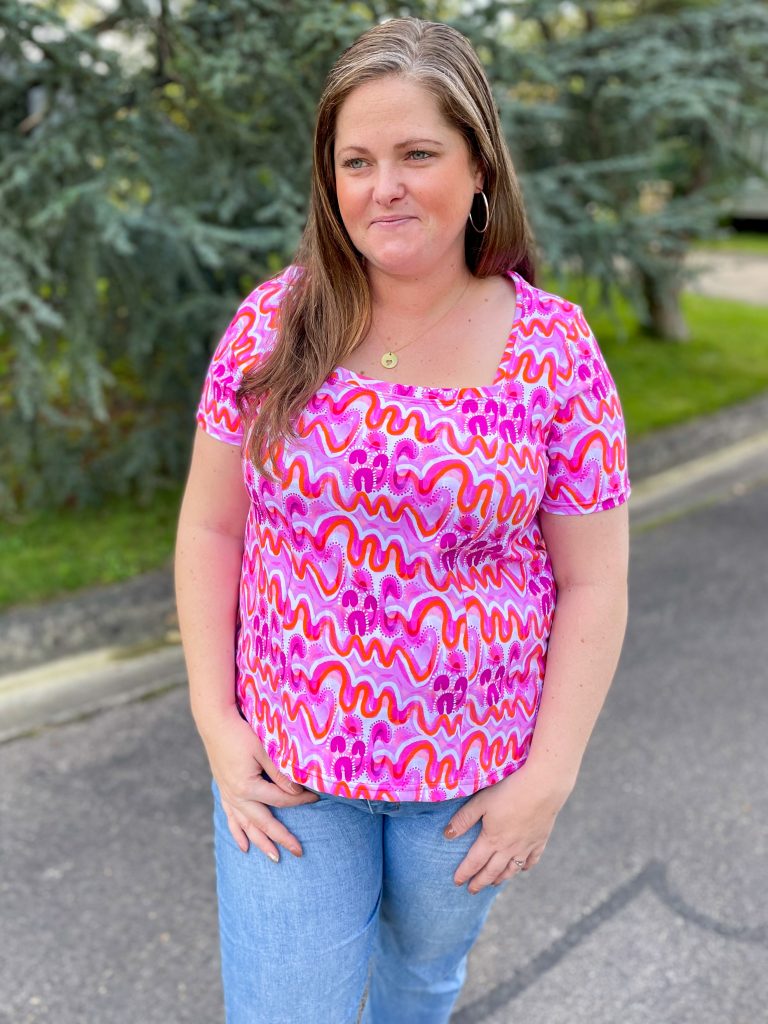
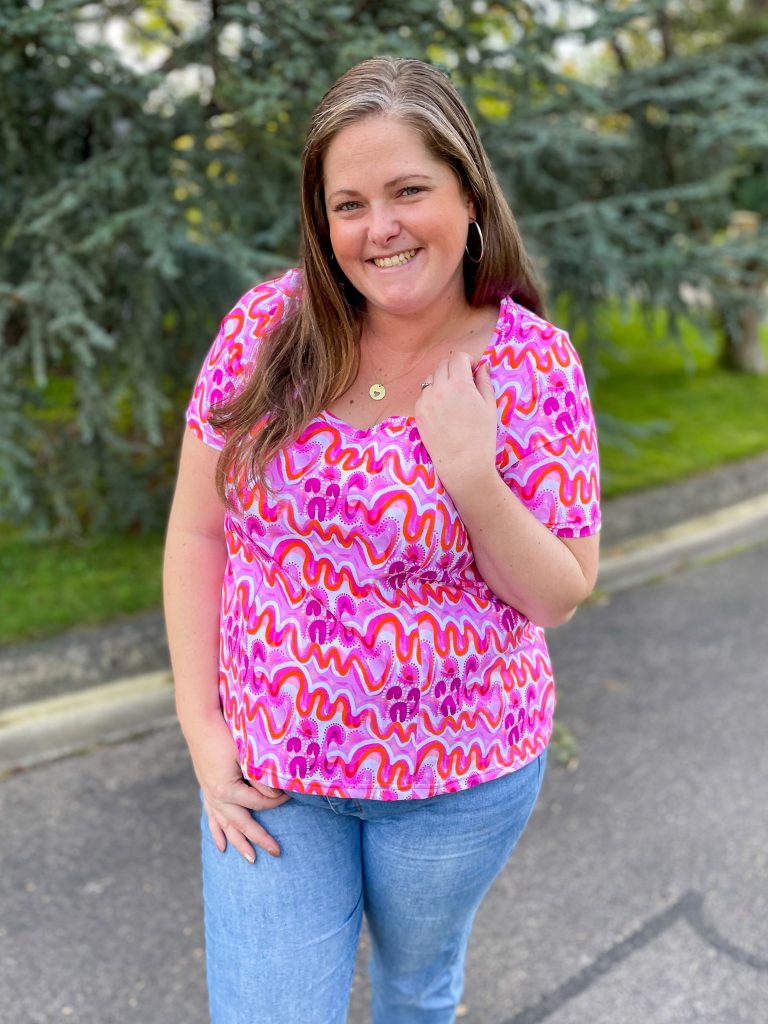
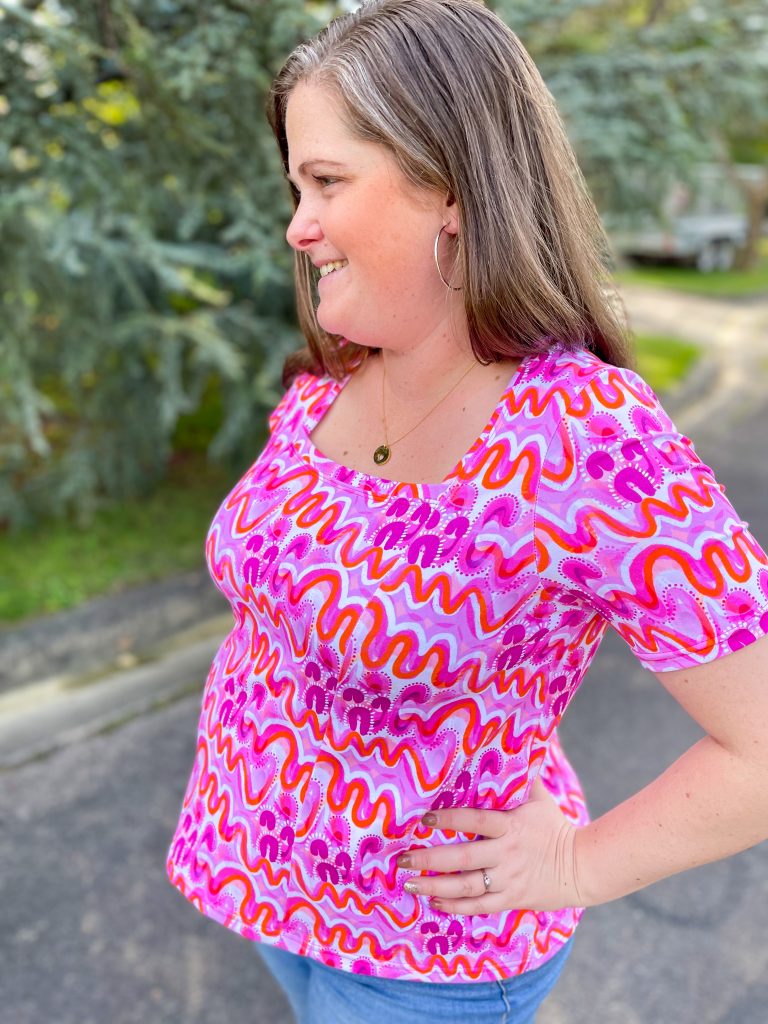
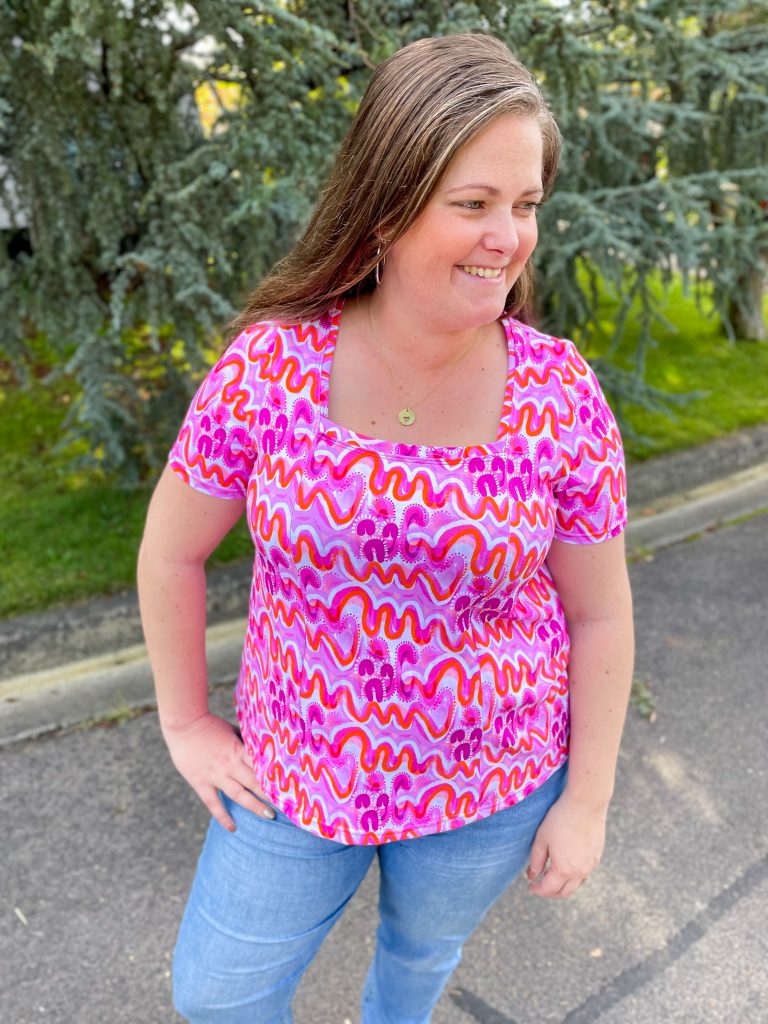
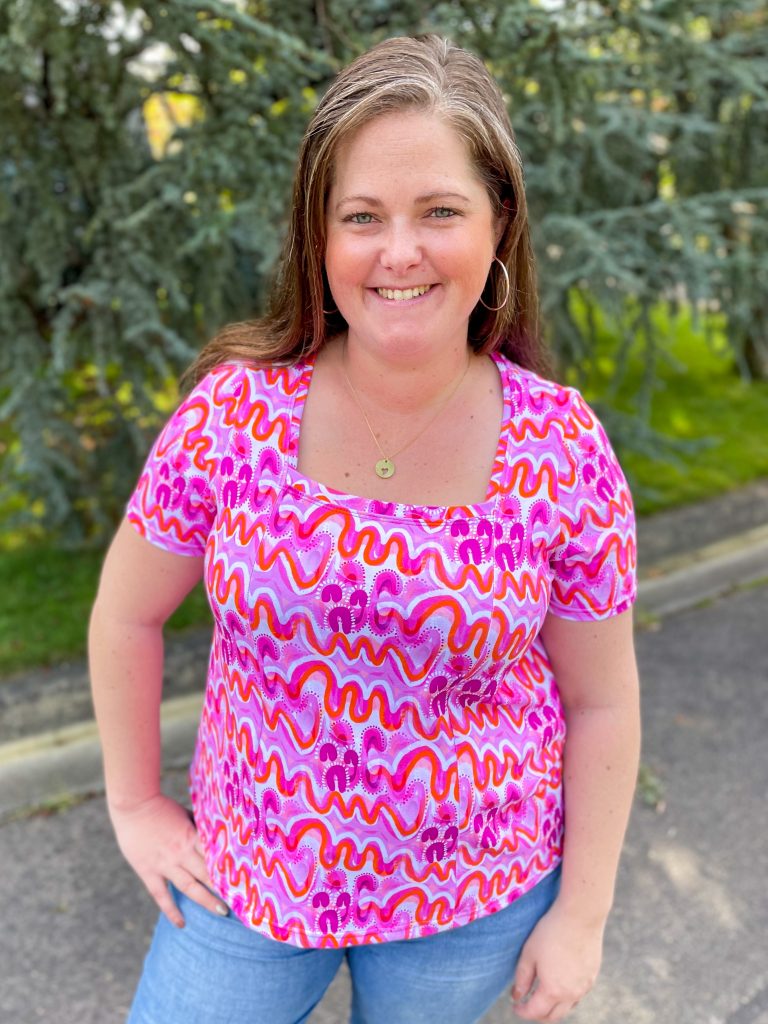
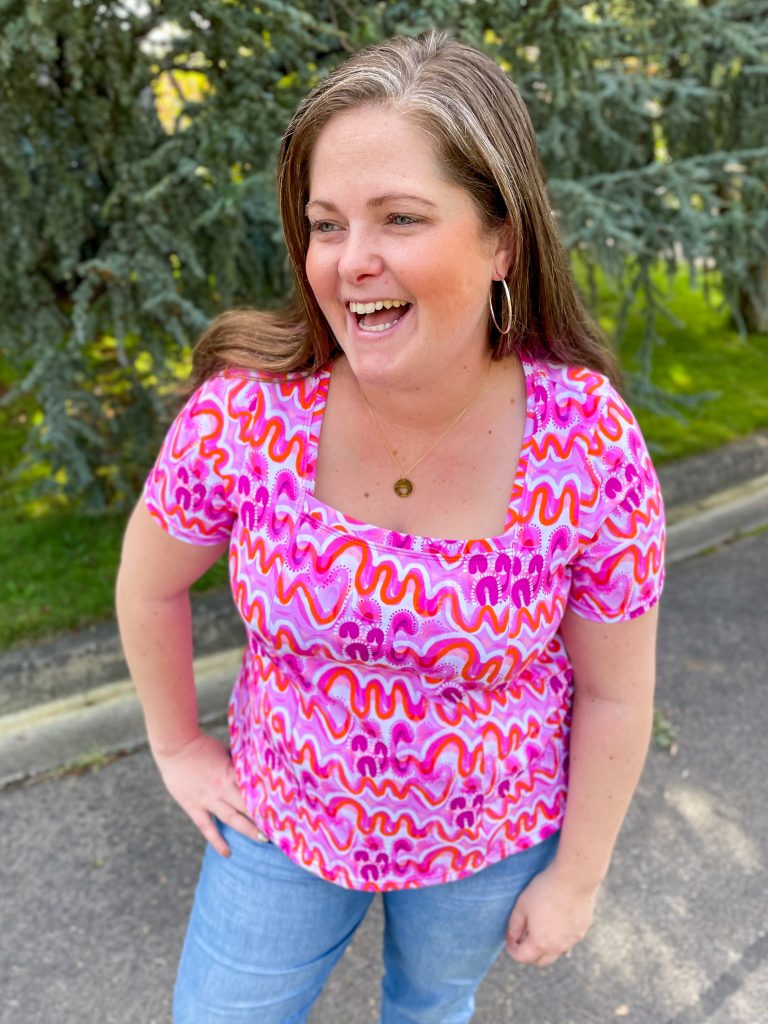
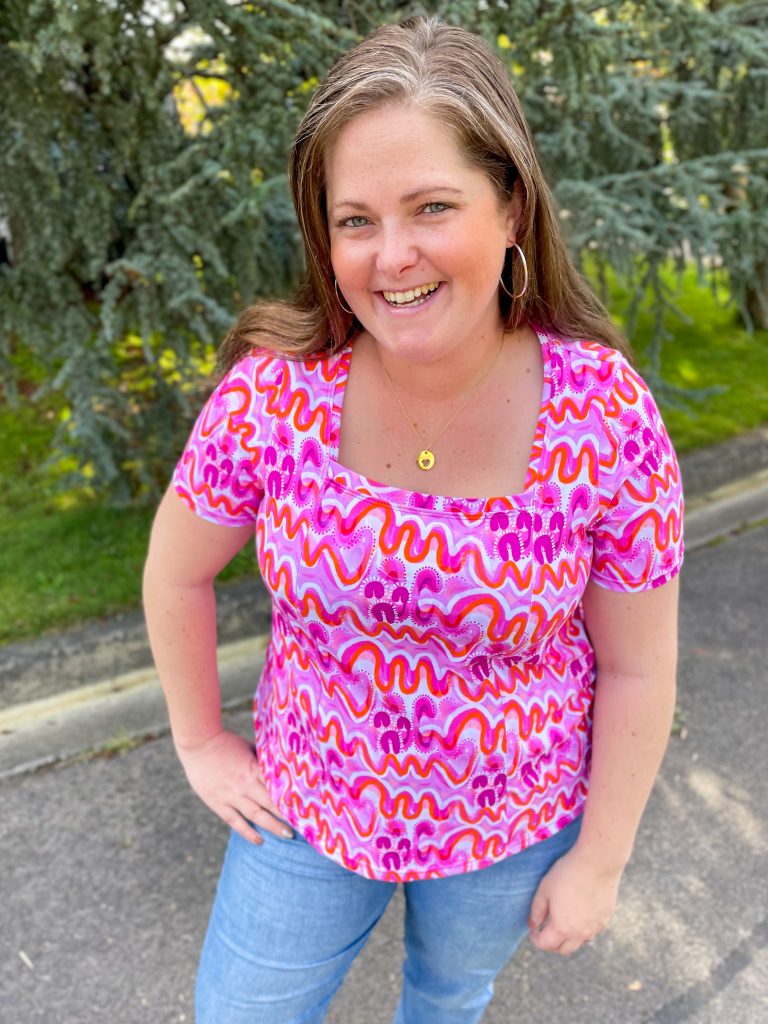
    I think this is the 3rd or 4th Tres Belle I have made and at least the 2nd or 3rd I’ve made with the Willow Flutter Sleeve hack. I just love the romanticism of the flutter and softness it brings. I find that using soft fabrics such as Modal’s, Viscose Jersey, Bamboo Lycra and Rayon Jersey/Lycra’s work best if you want a really soft look, while something like a 220gsm Cotton Lycra/Elastane will have slightly more structure to it. 

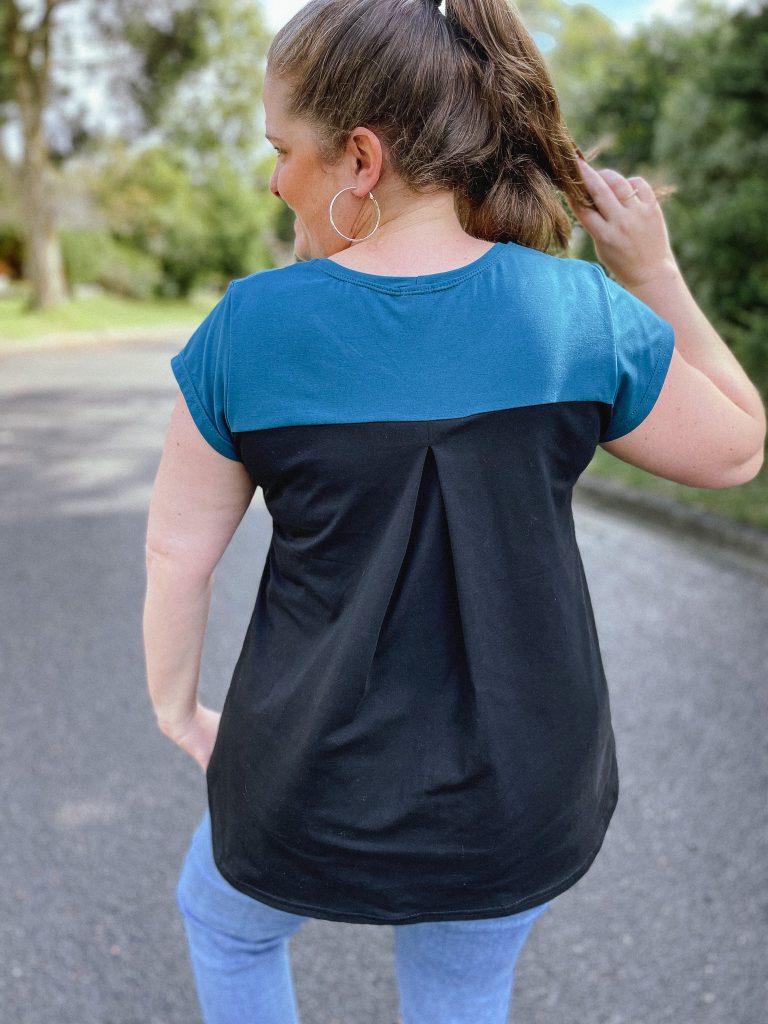
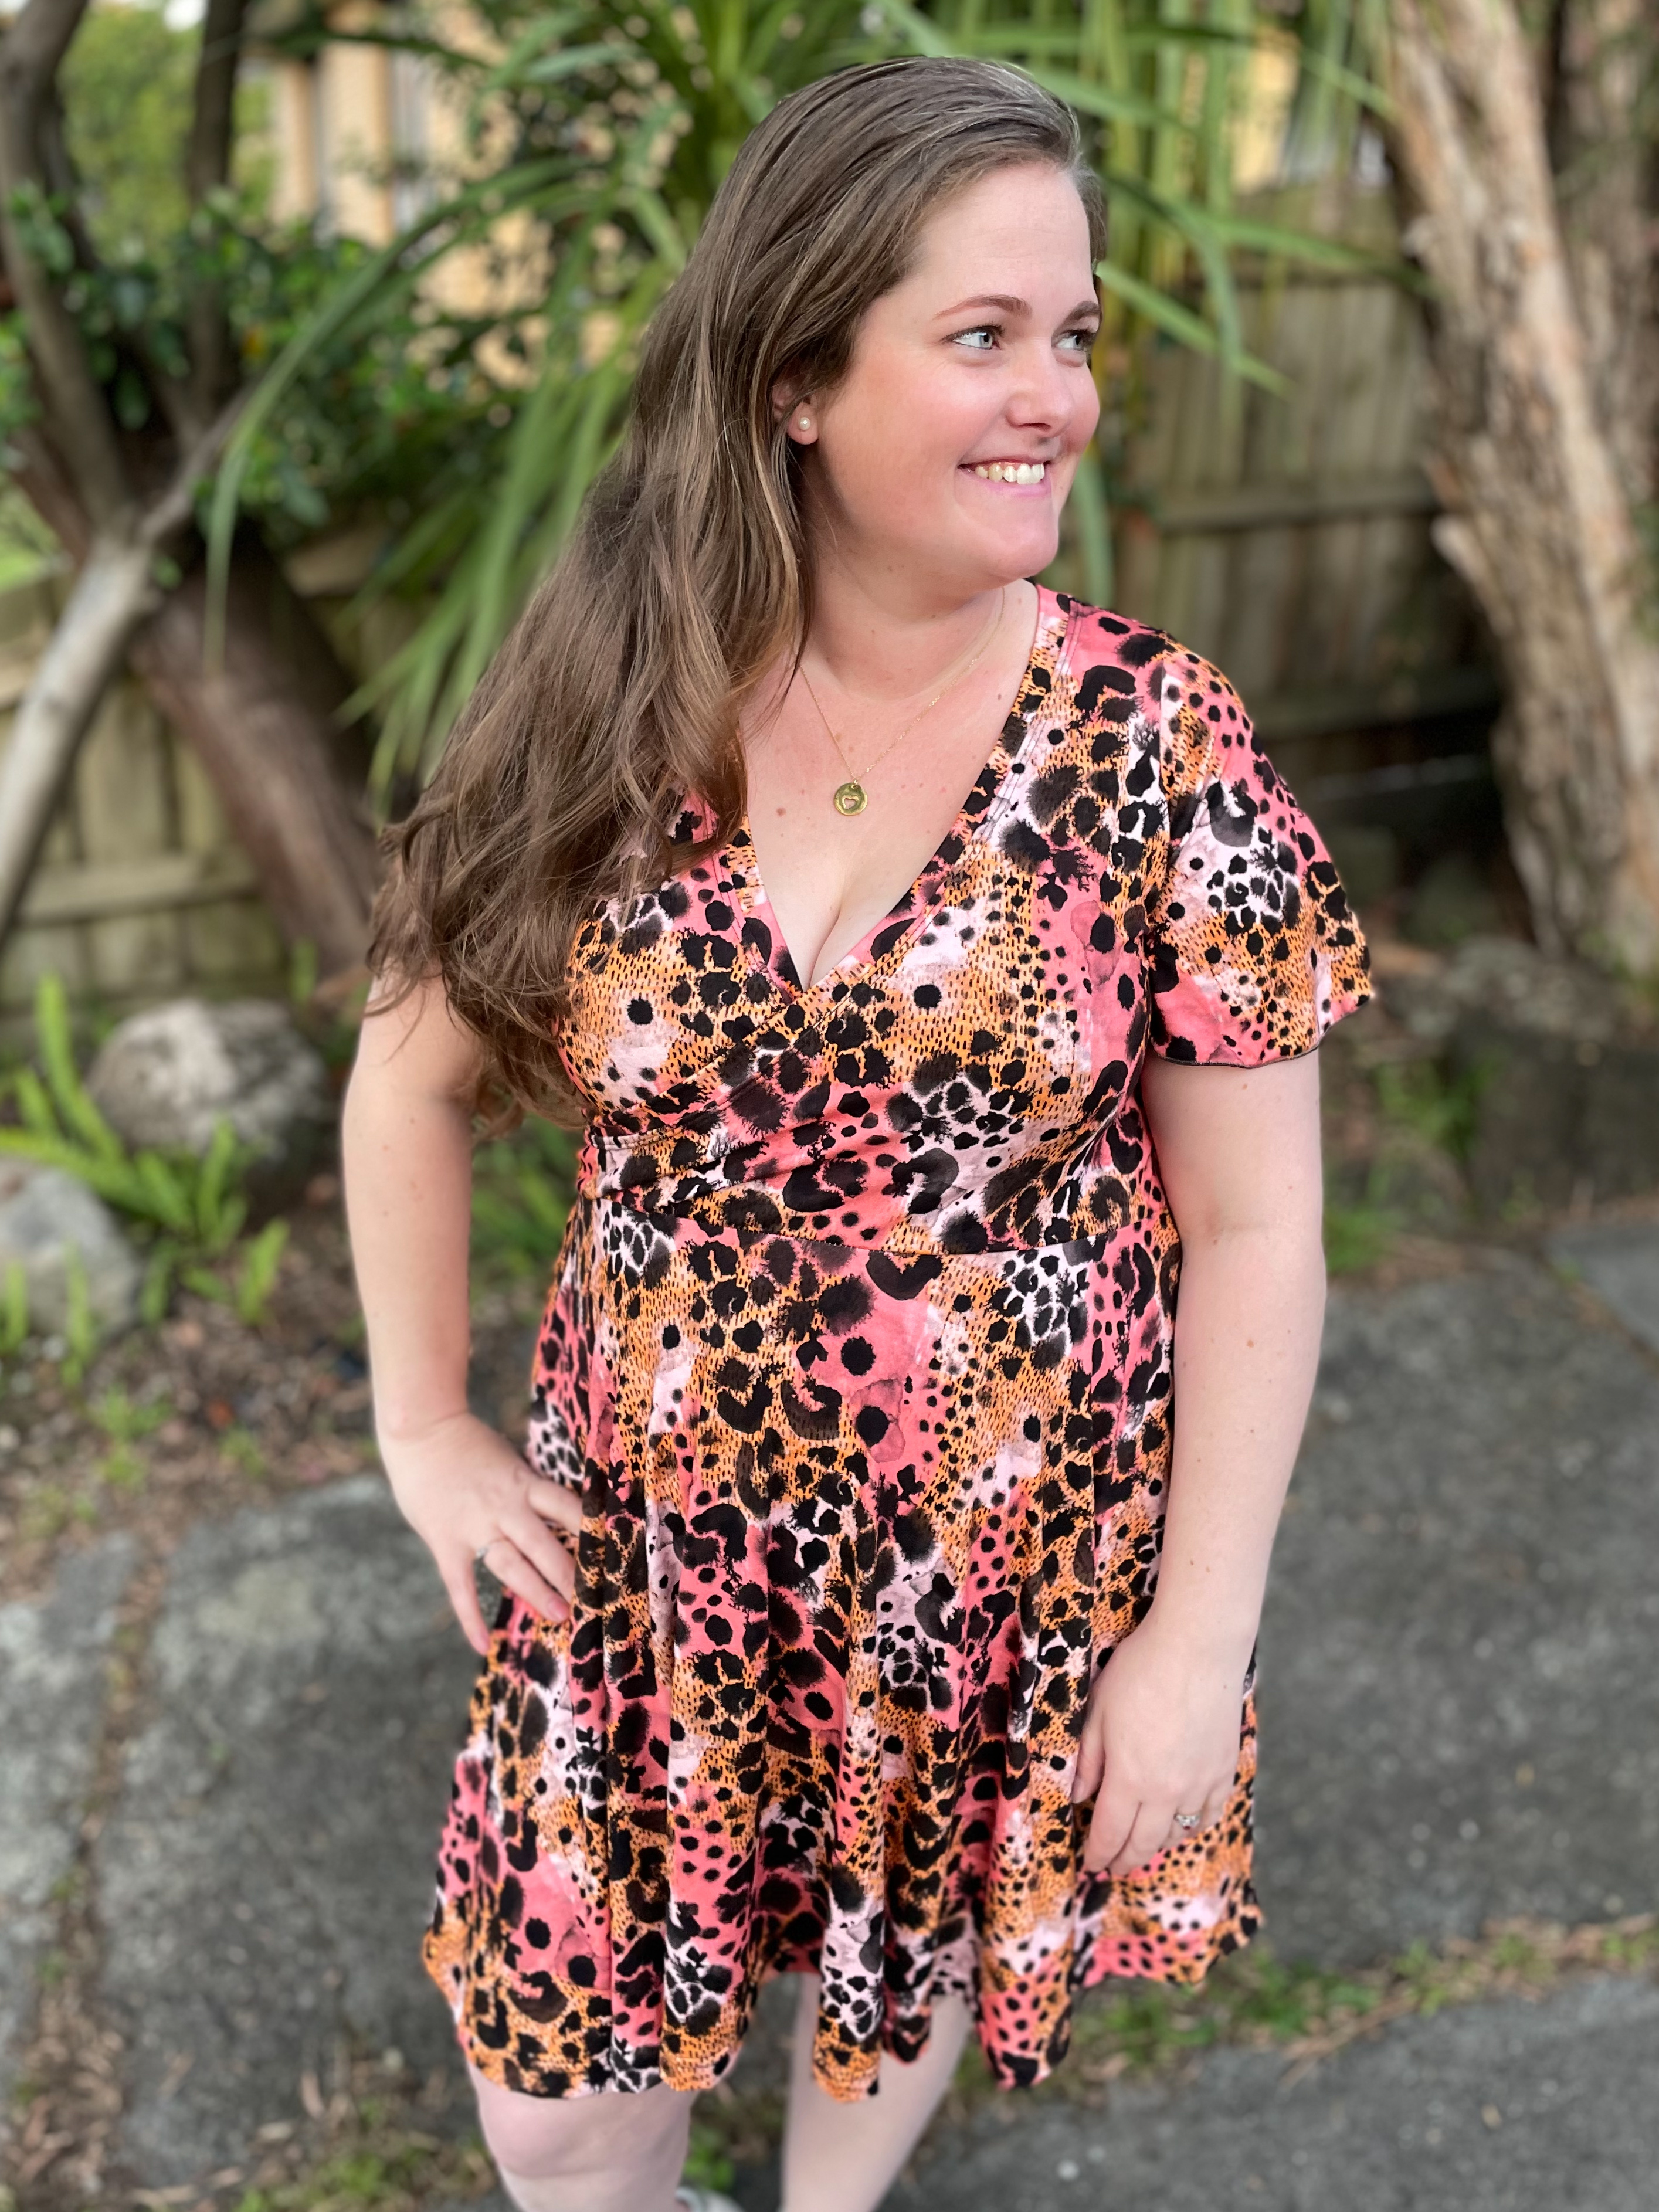
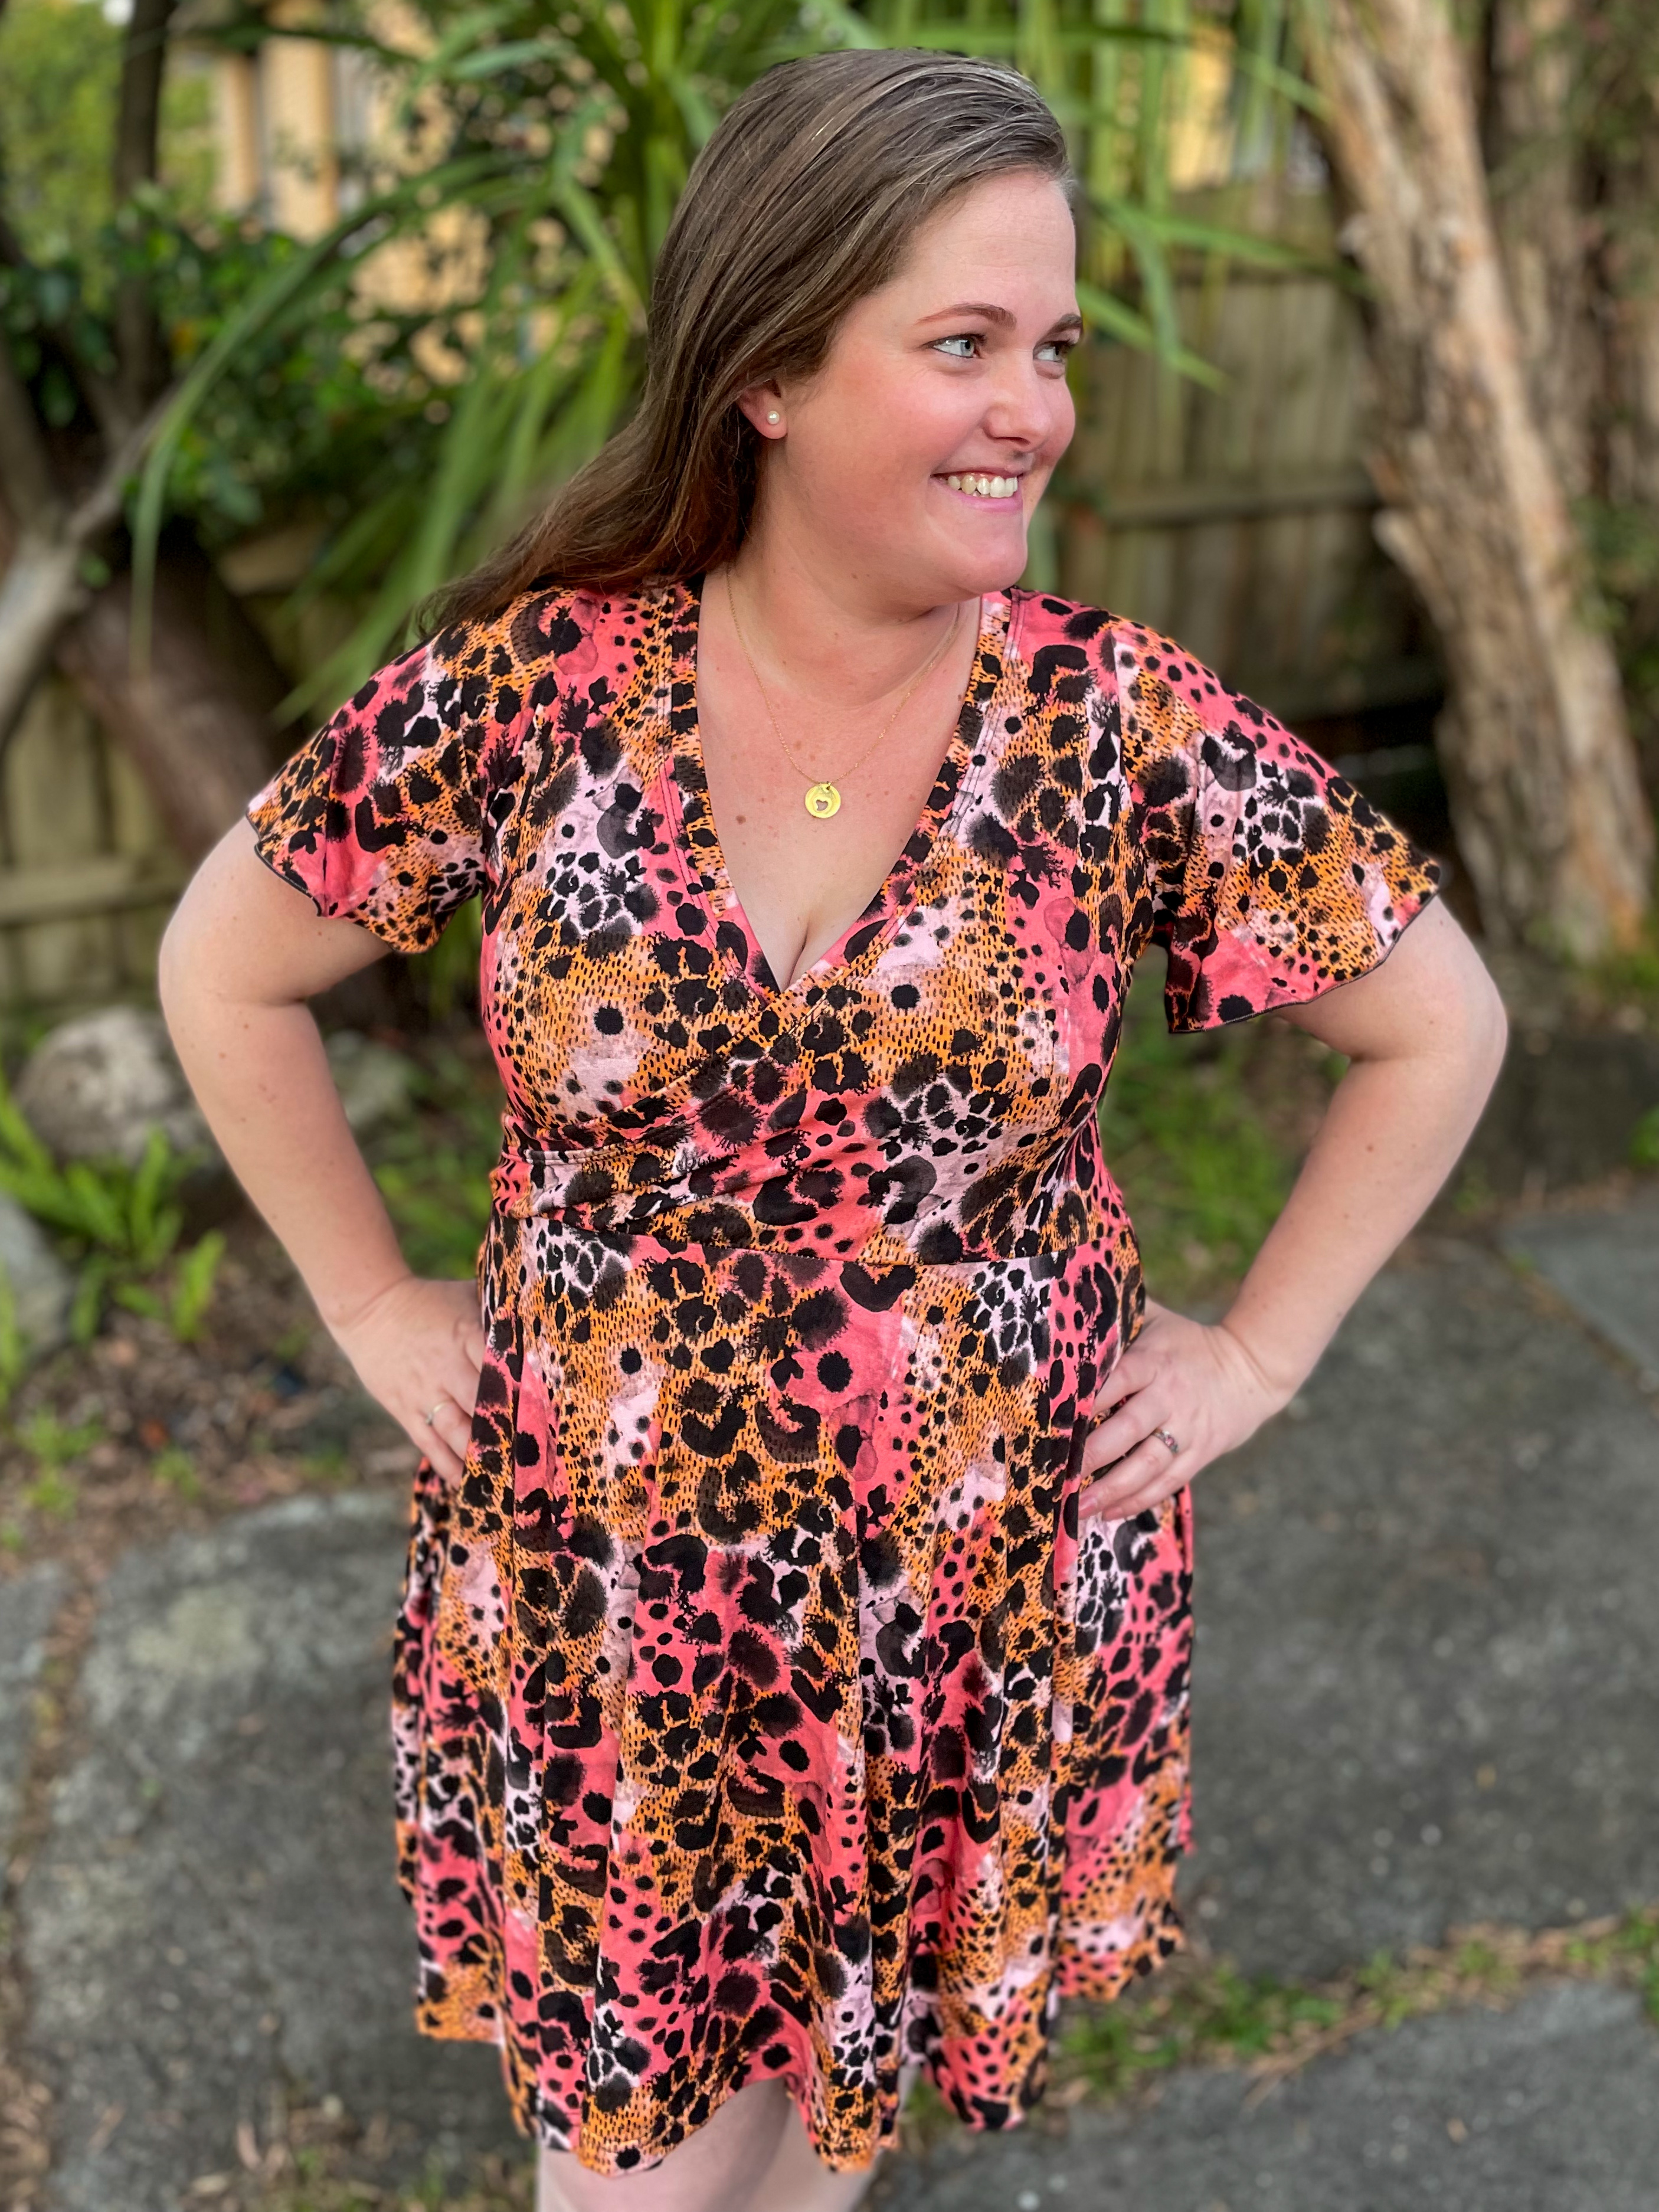
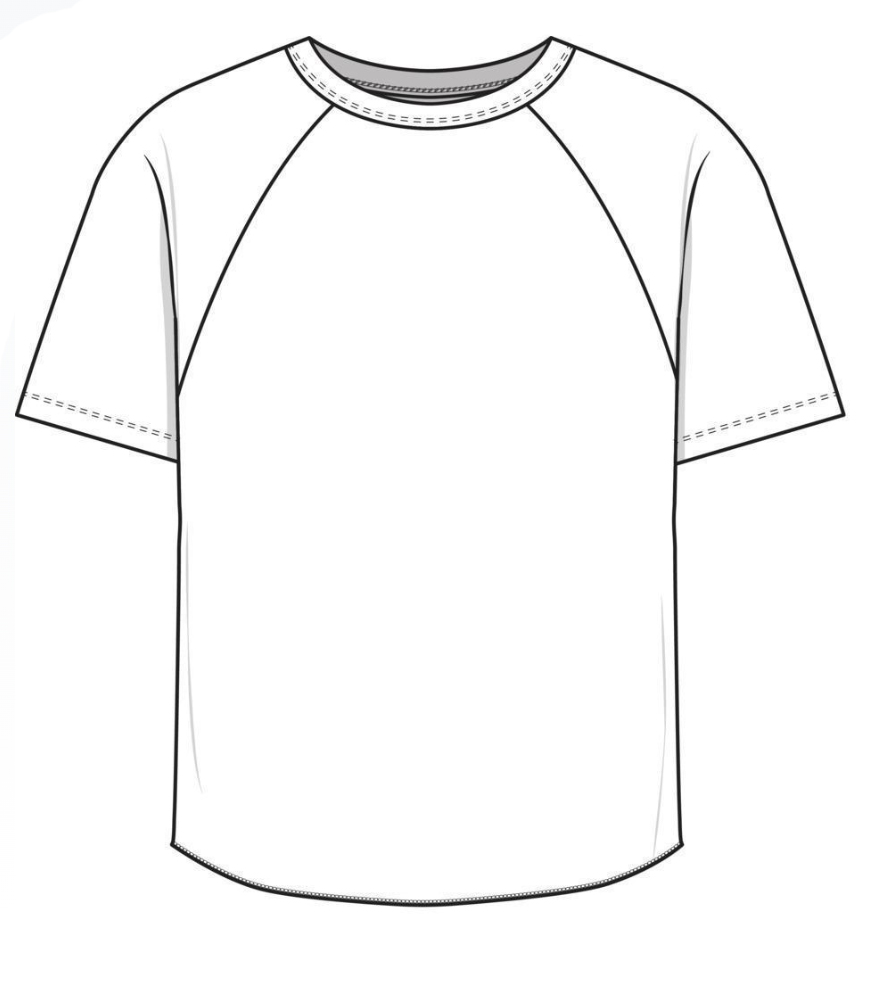
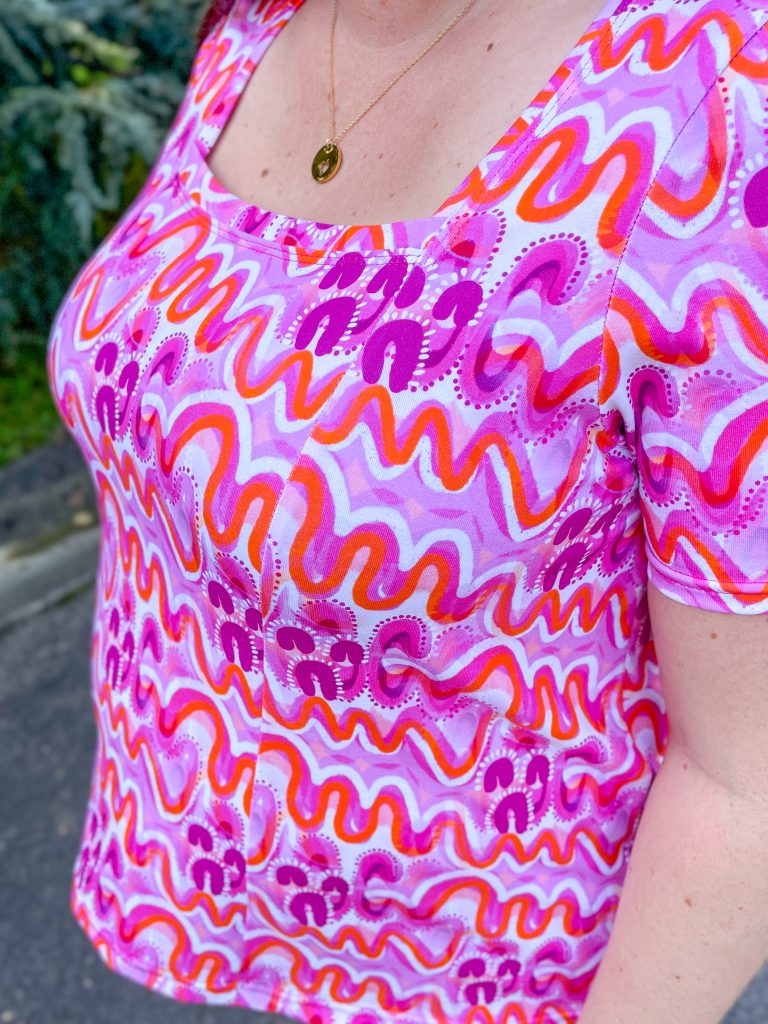
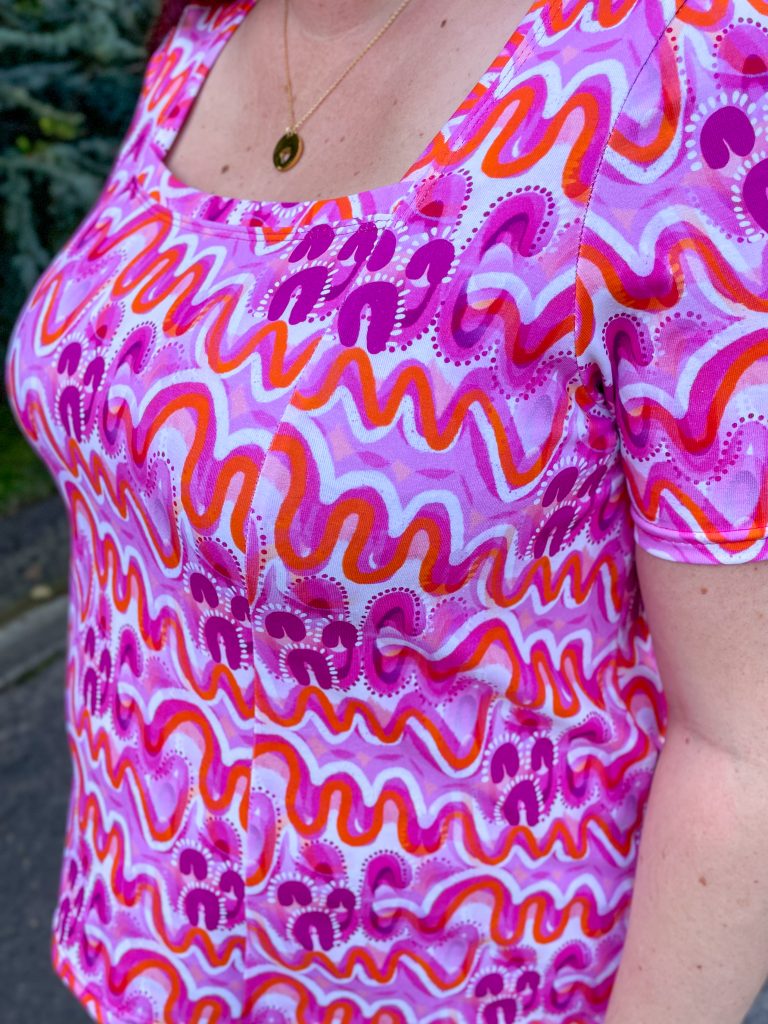
    In terms of the hack, its a pretty straight hack. I used the sleeves from the Willow Wrap and put them straight onto the Tres Belle armcyes at the same size. For example, my armcye was an XL, so I cut the XL flutter sleeve on the Willow Wrap and it fit in nicely.

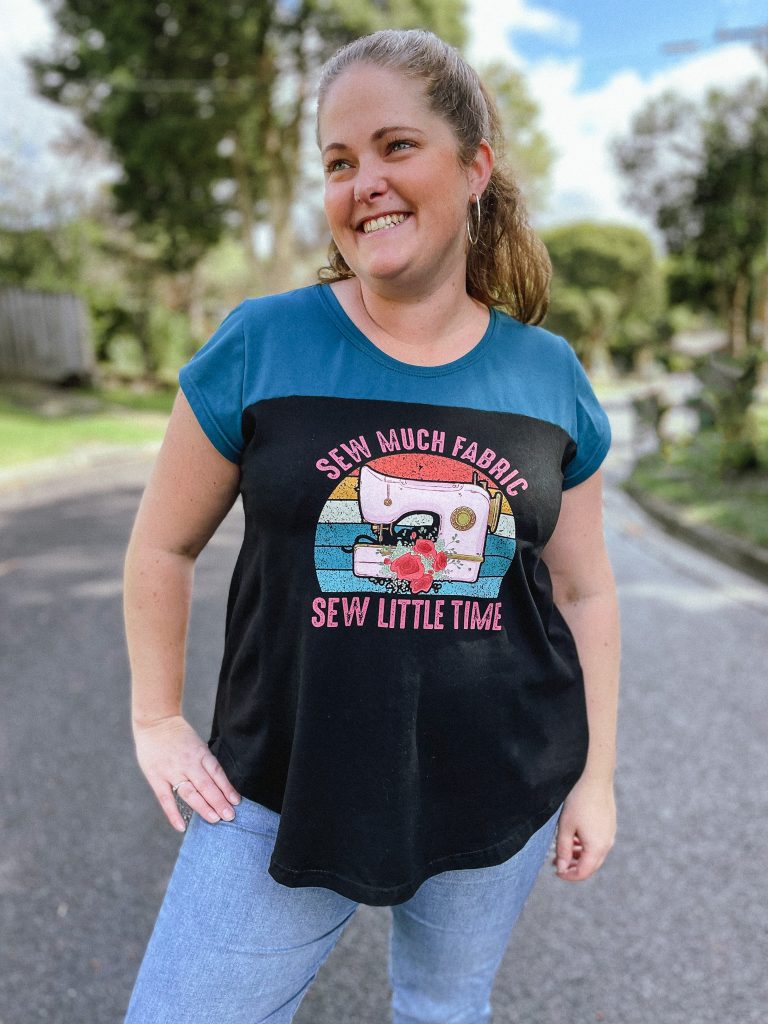
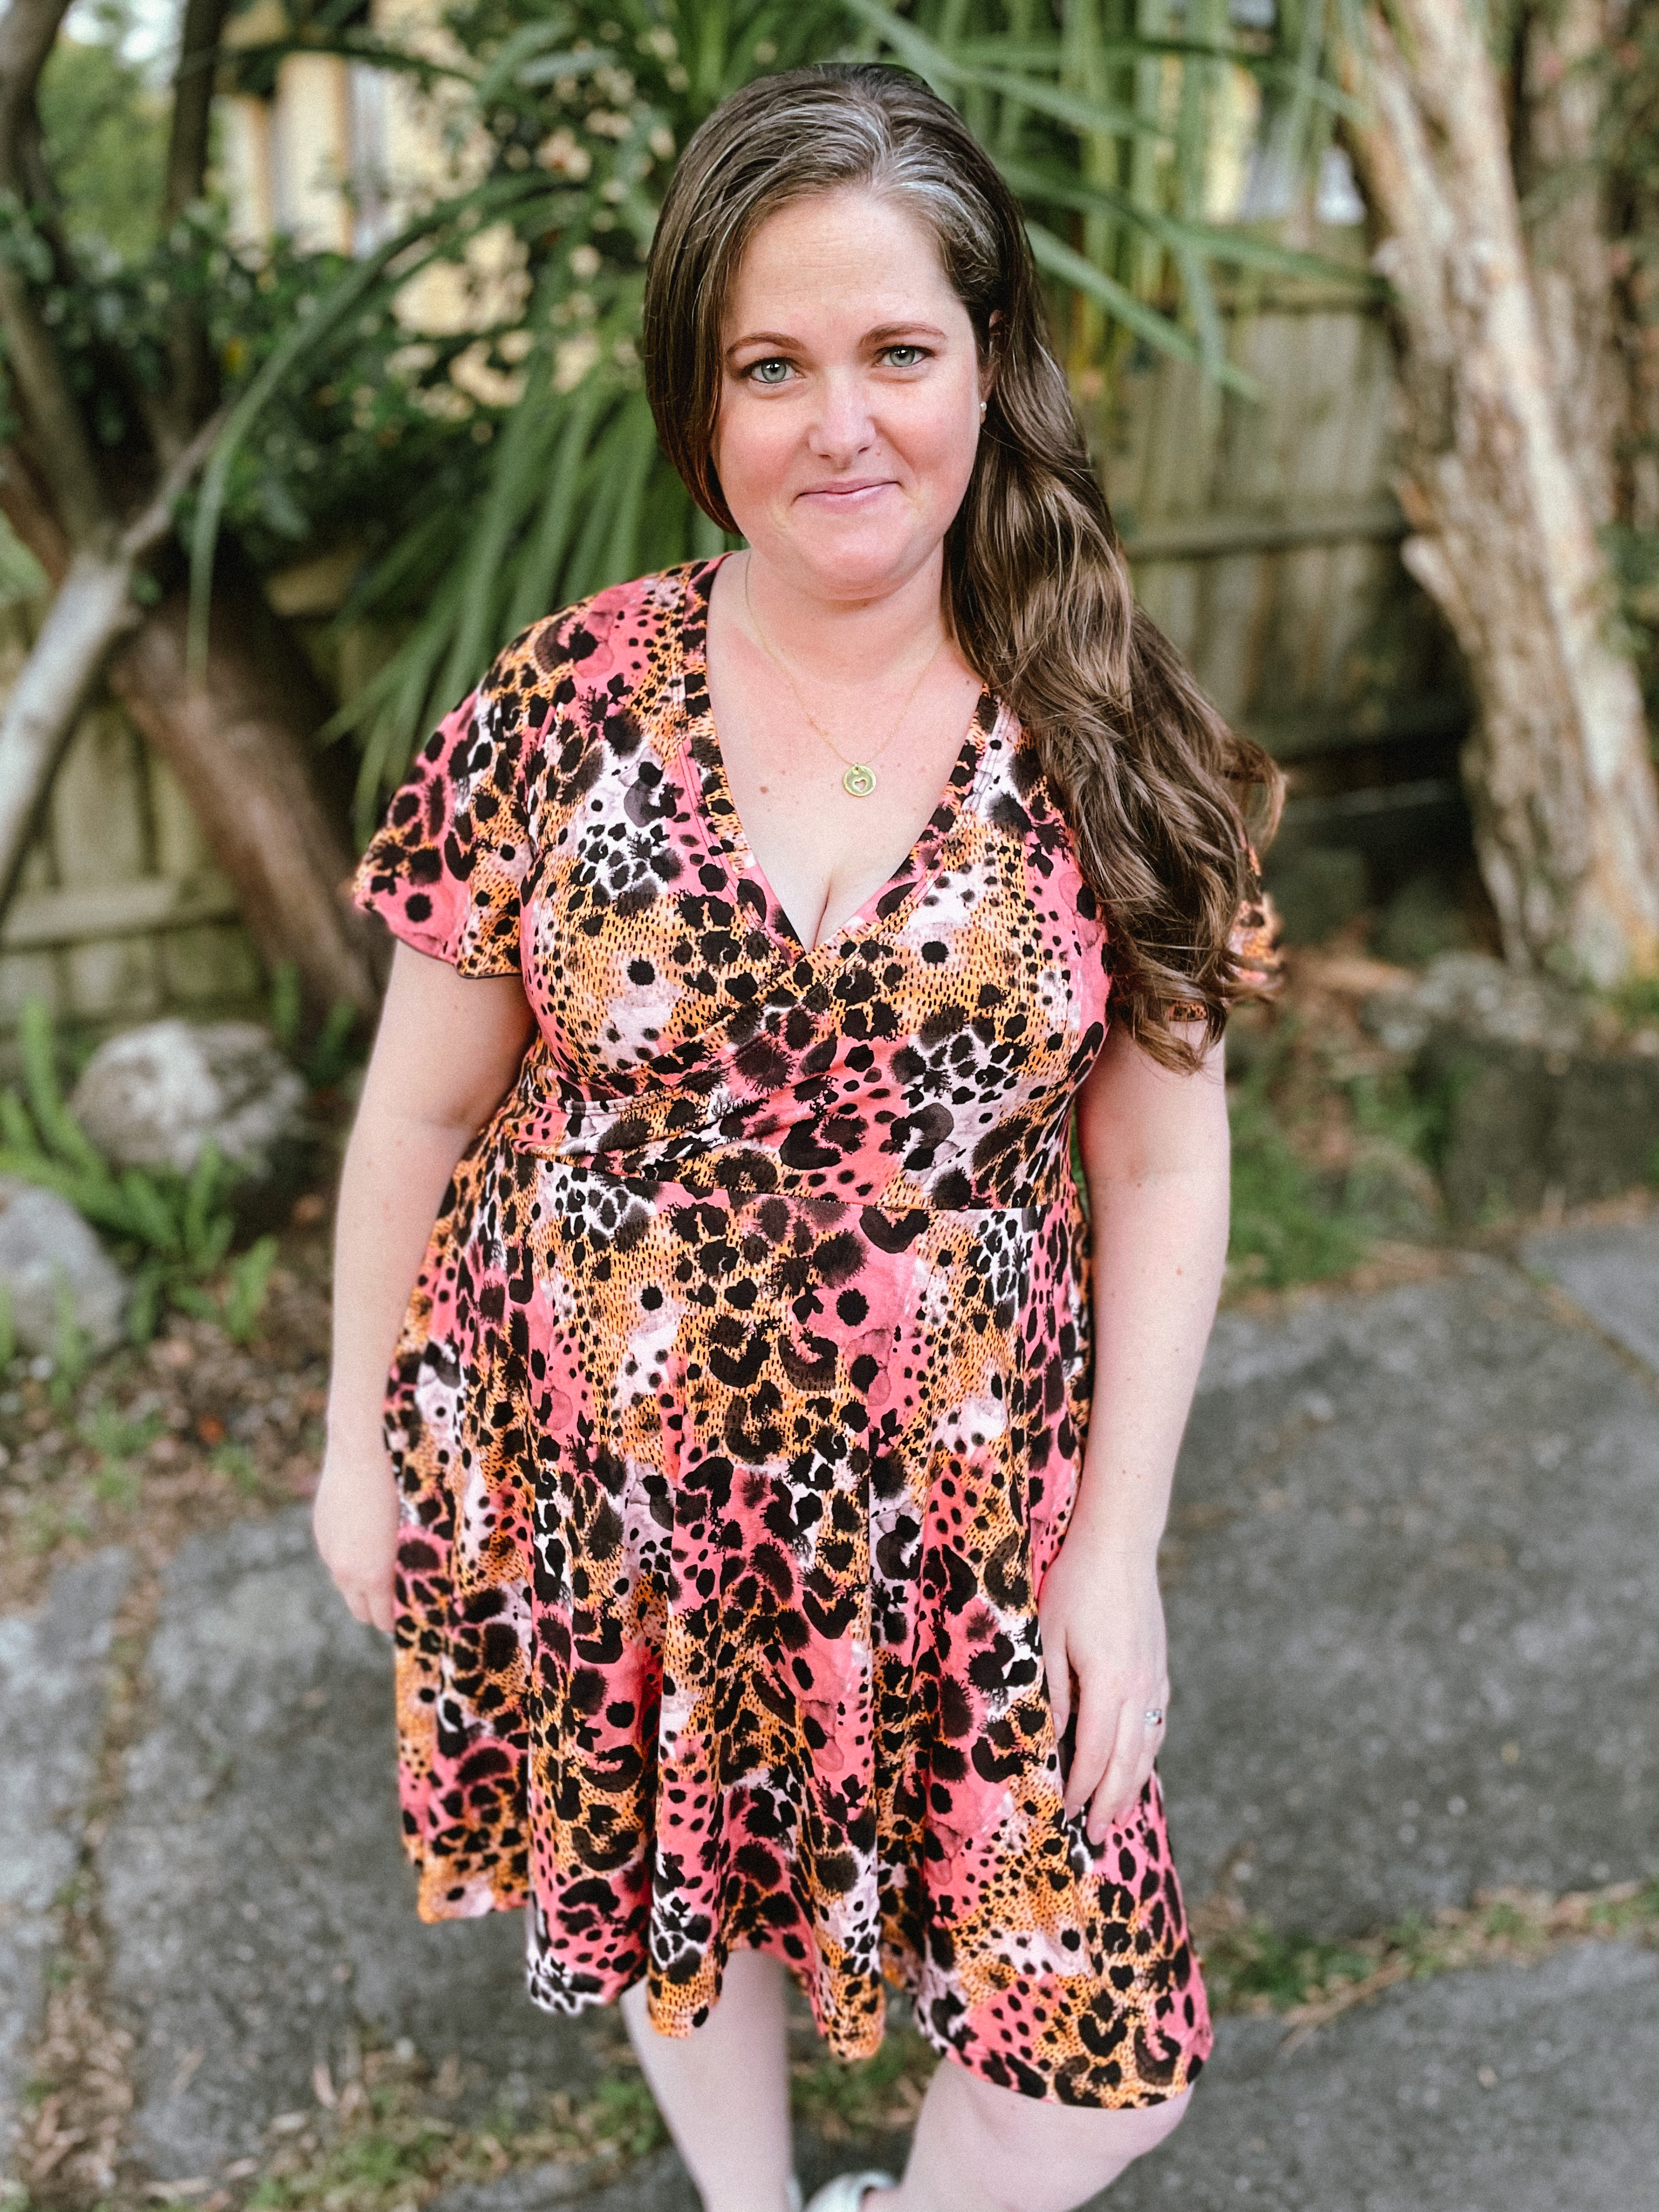
    Of course the other staple that is always in any dress I make, is pockets! I just can’t imagine having dresses without pockets now haha. 

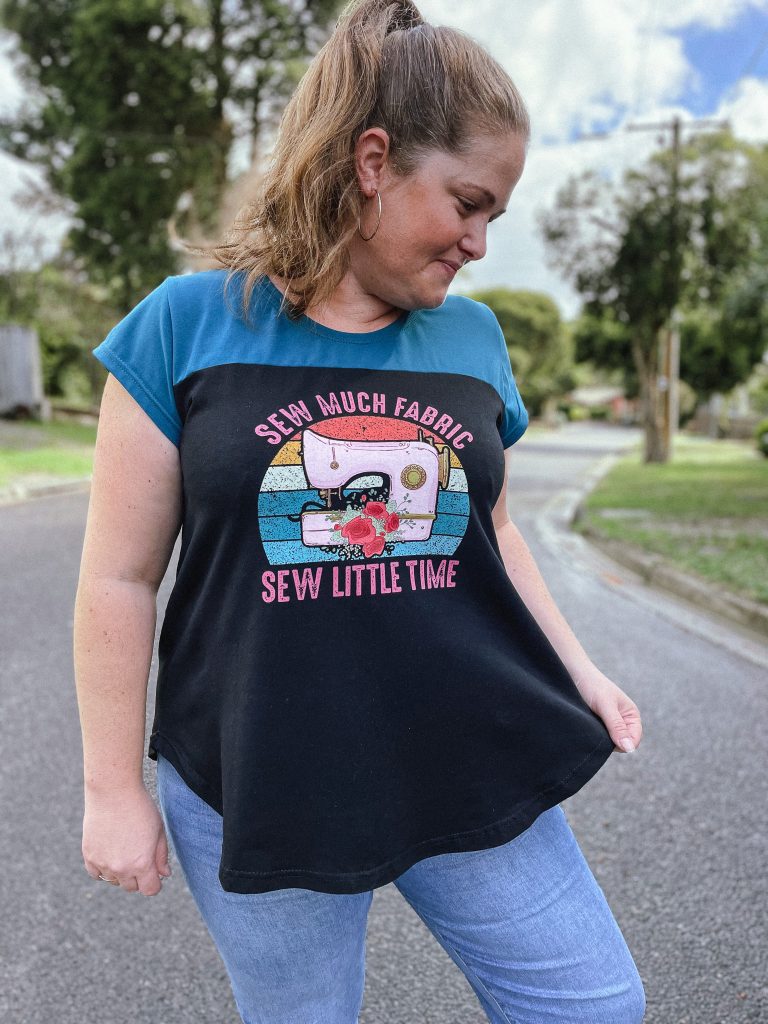
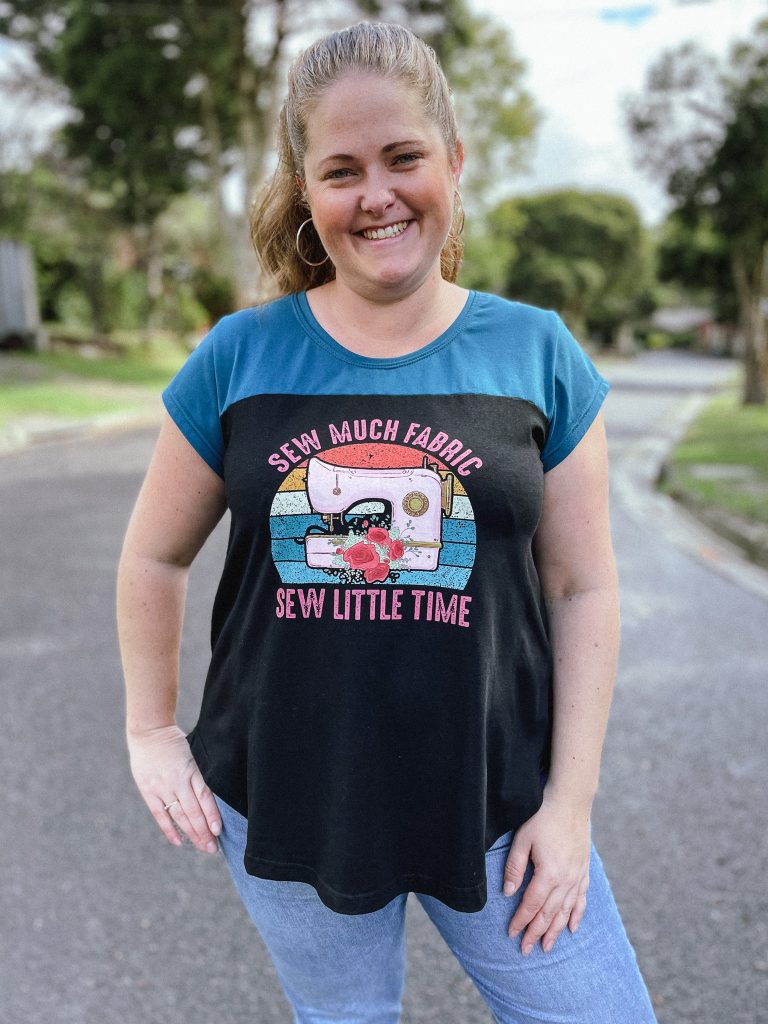
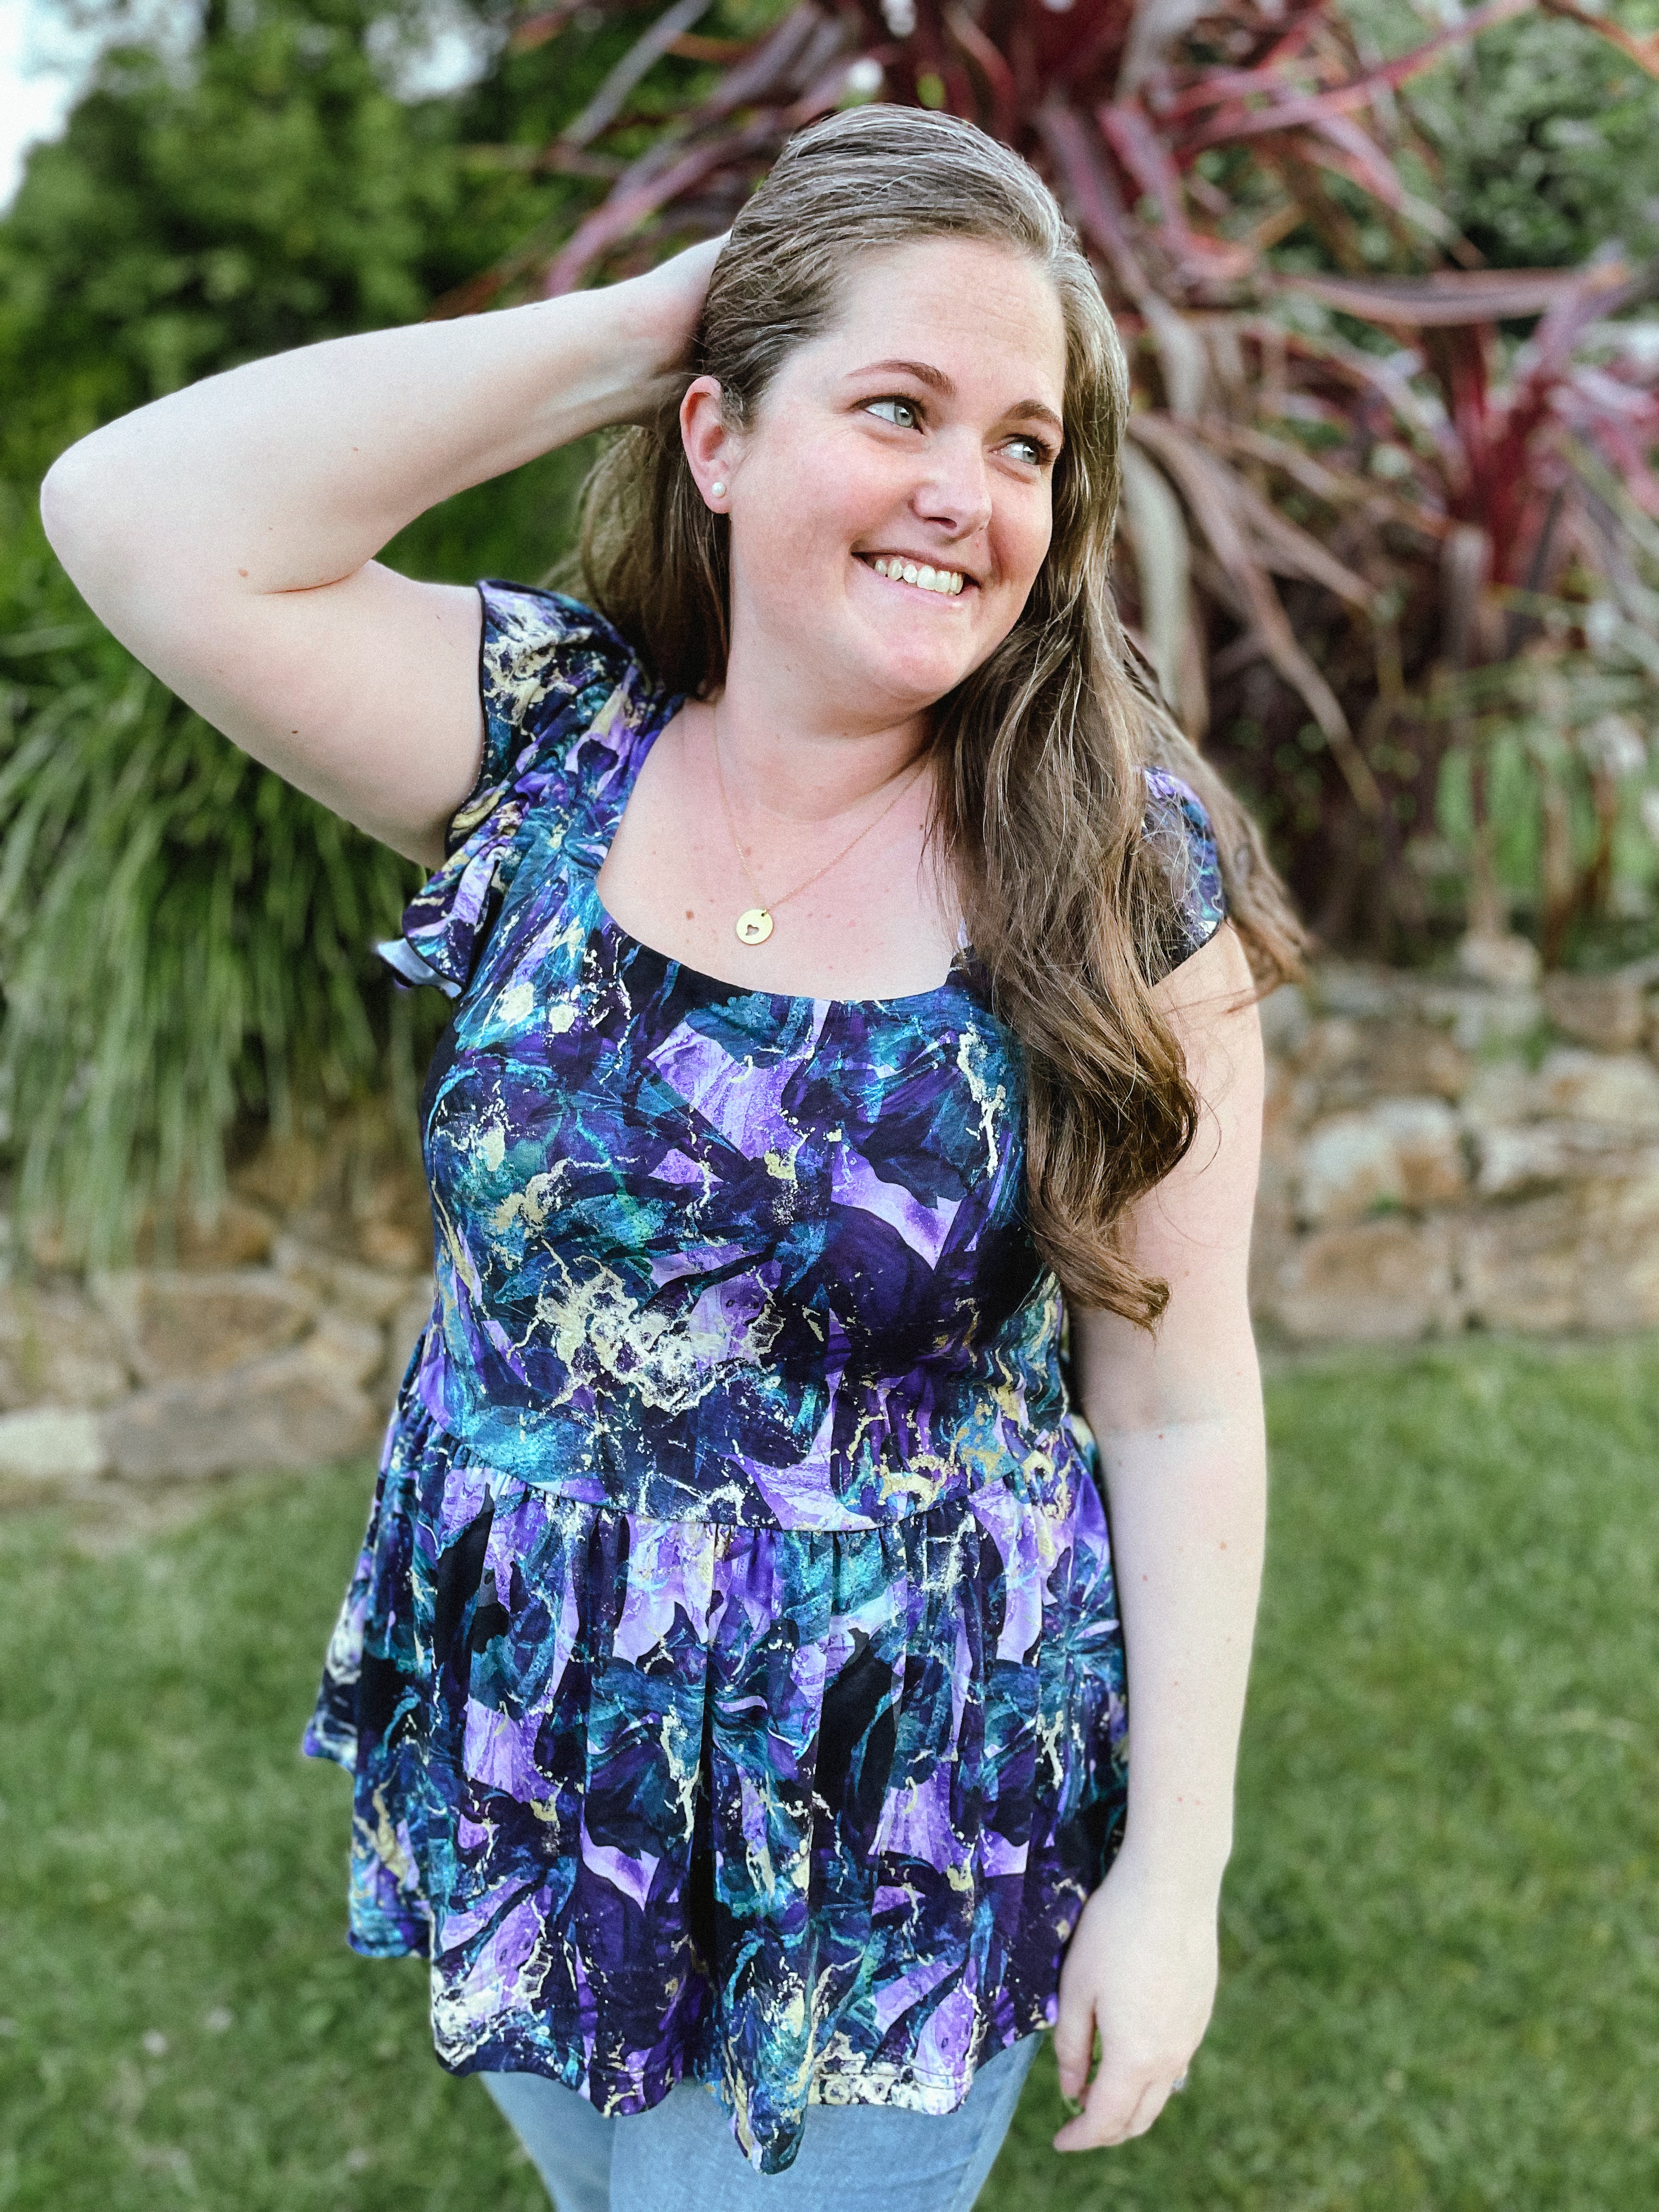
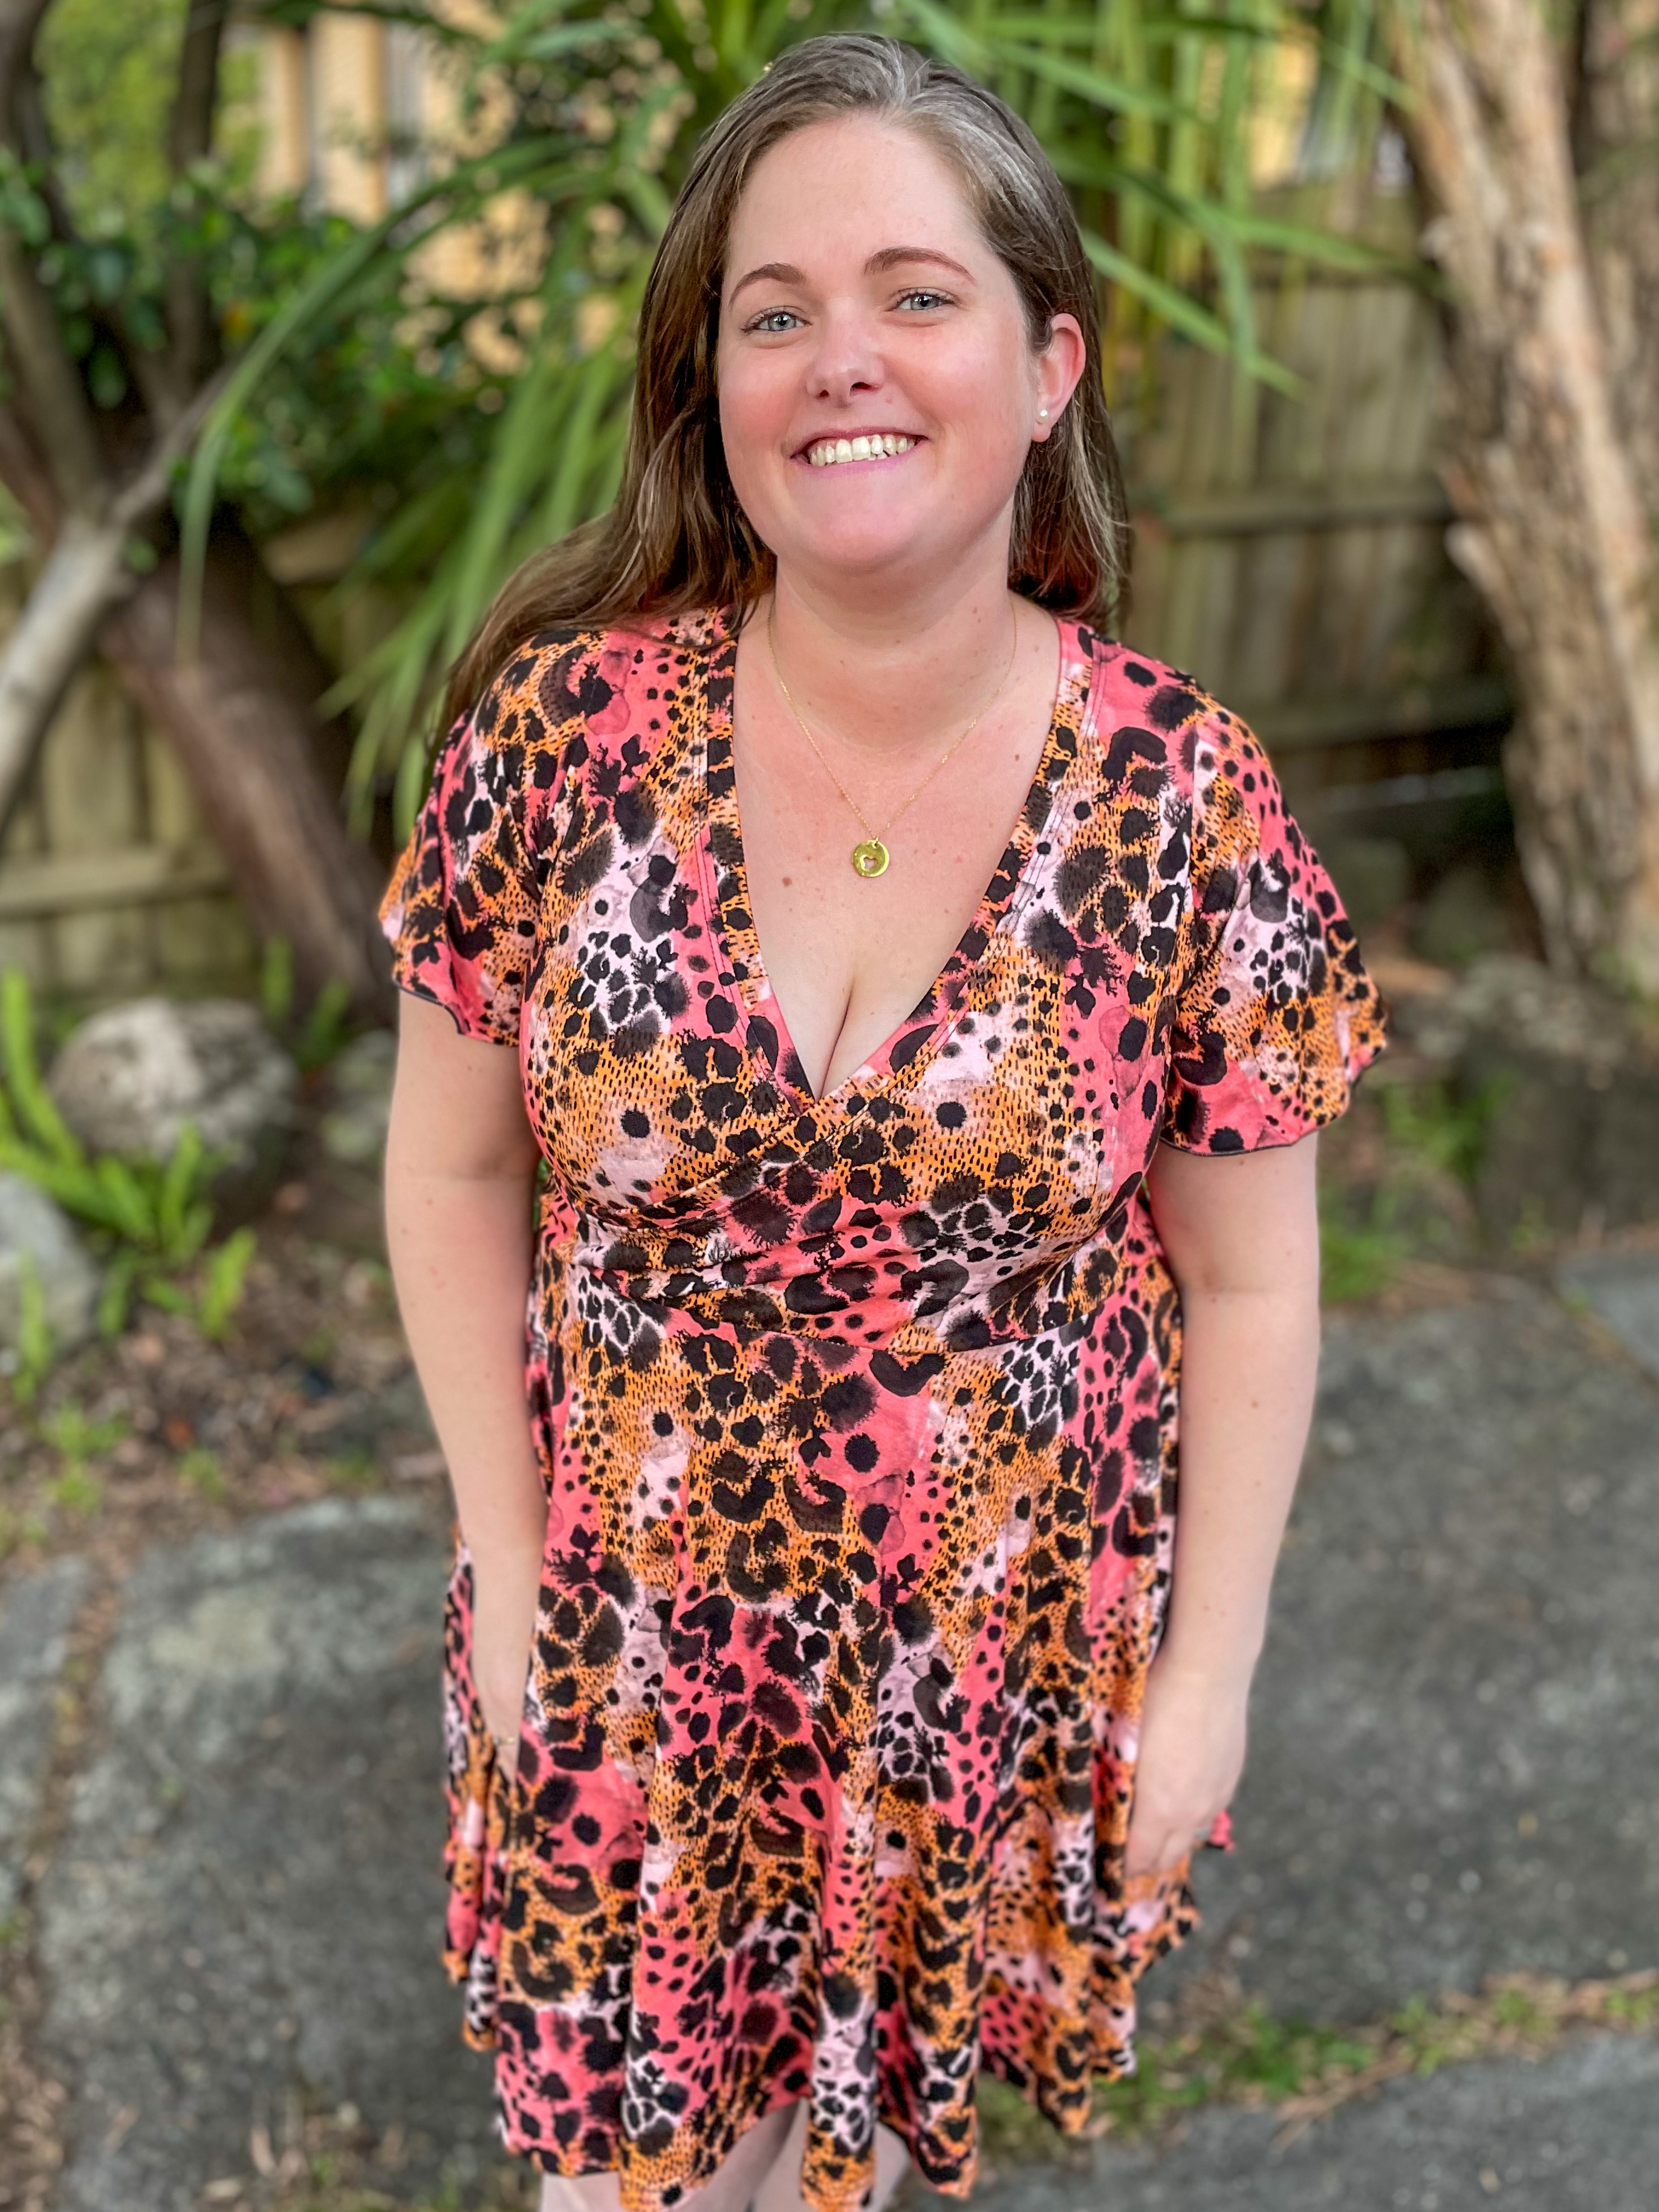
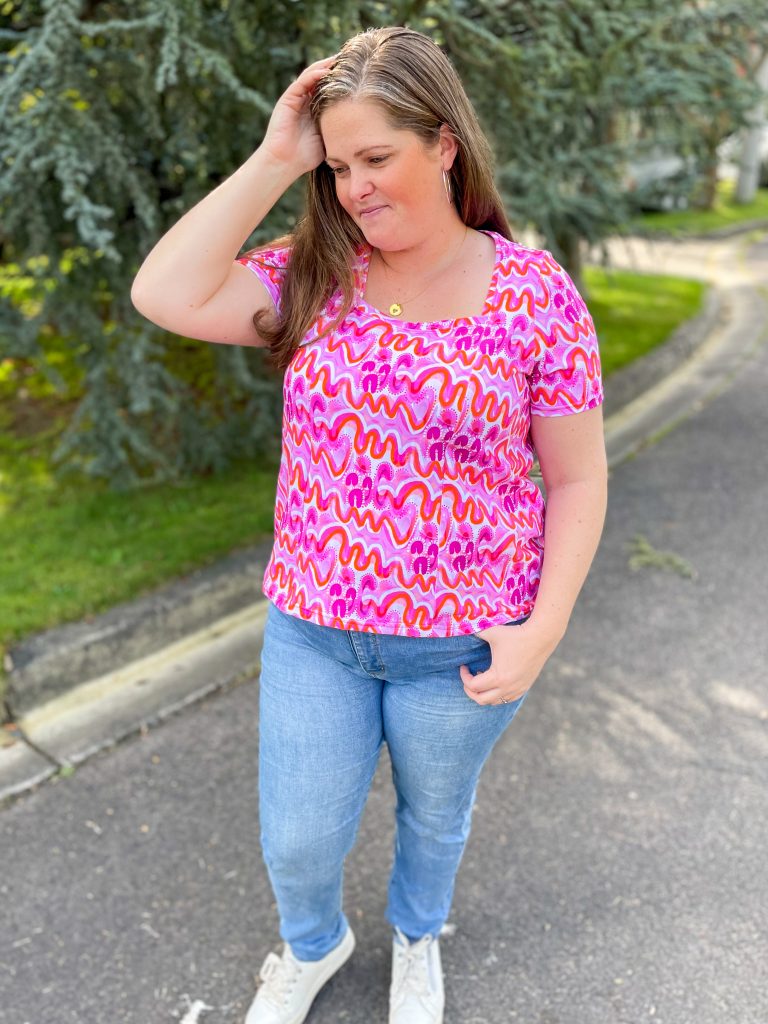
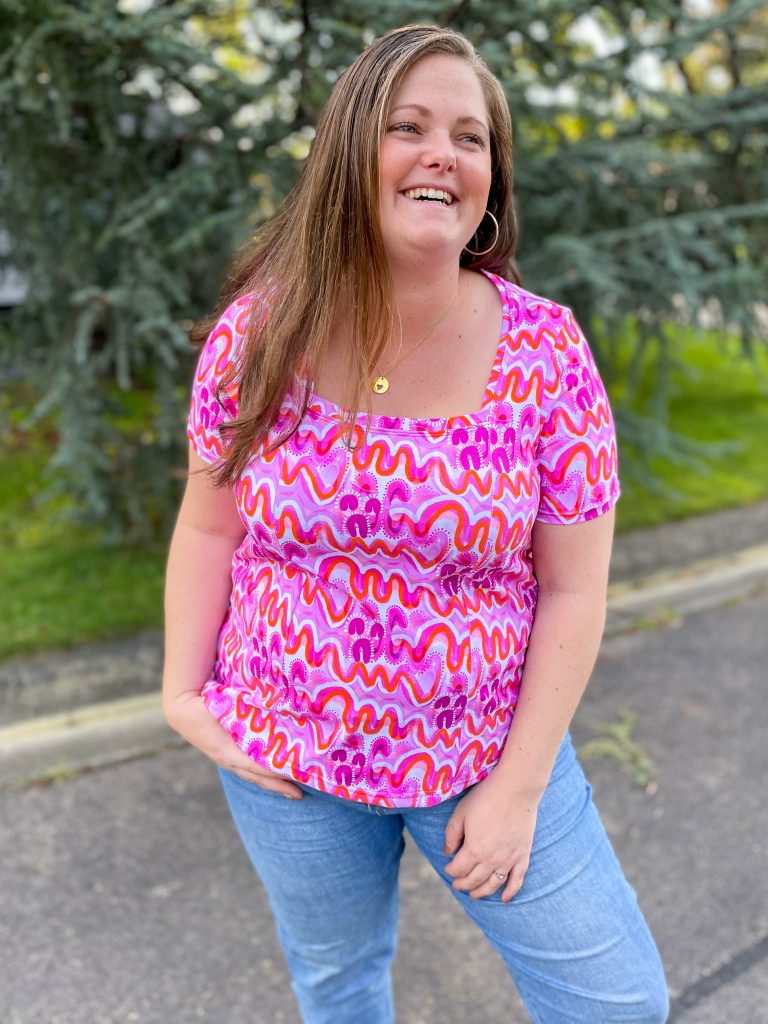
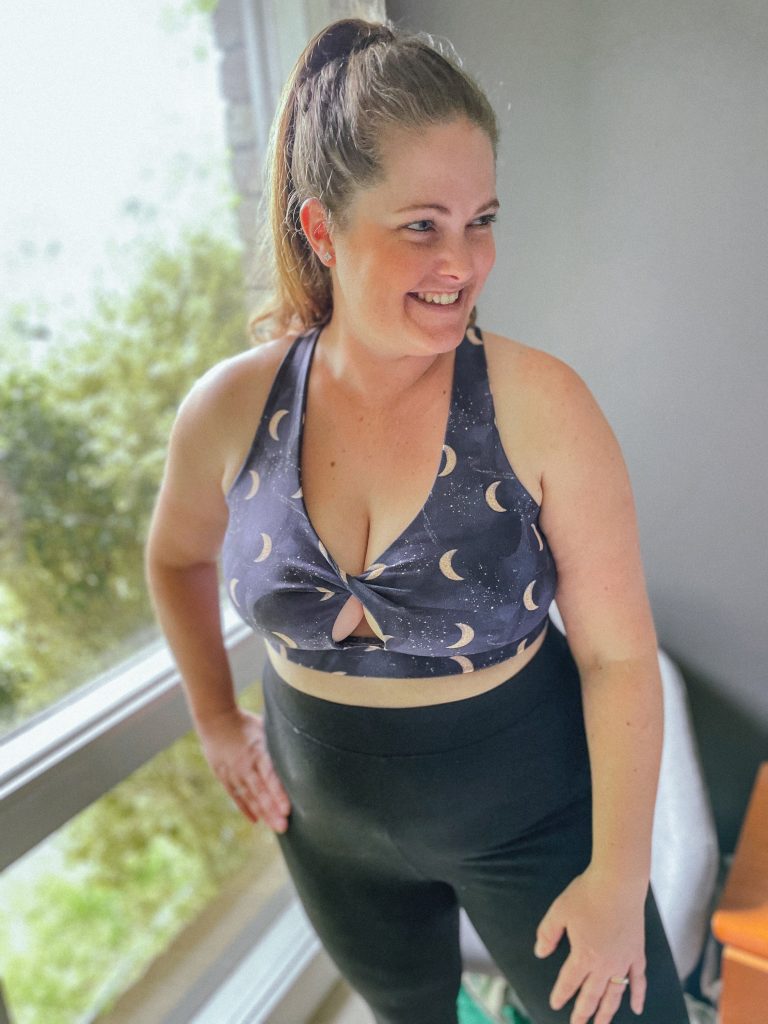
    I think one of my favourite things about this style of dress is the cross over front that flares from under the bust, helping to skim over my tummy, which is the area of my body I am most self conscious about. I am working on accepting myself as I am, but being able to make clothes that help me feel more confident is definitely part of that process.

    I hope this review has inspired you to explore the fluttering elegance and comfort of the Tres Belle with the Willow Sleeve hack. It’s such a joy to create garments that not only look beautiful but also make you feel confident and comfortable in your skin. If you’re looking to enhance your knit fabric sewing skills further, take a look at my free guide, ‘Improve Your Knit Sewing in 30 Minutes or Less’, and start making your sewing journey even more rewarding. 

    Use code ‘sewwithmegan10″ on any Love Notions Pattern for an extra 10% off.

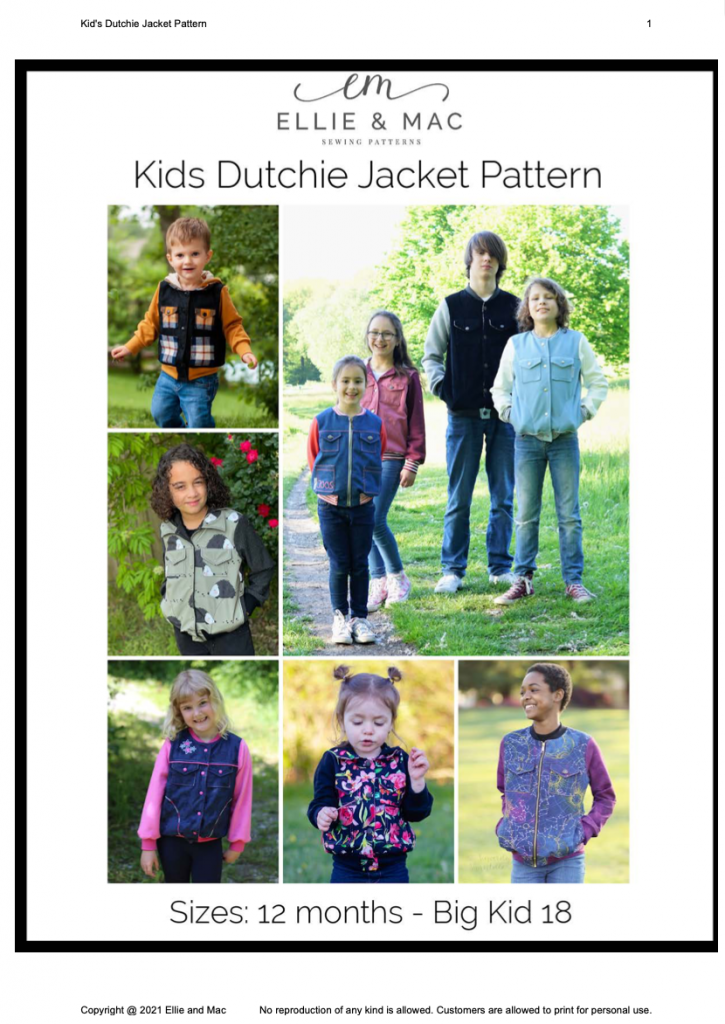
    Ellie & Mac also have 50% off ALL patterns during November 2023. Grab it while it’s on sale!
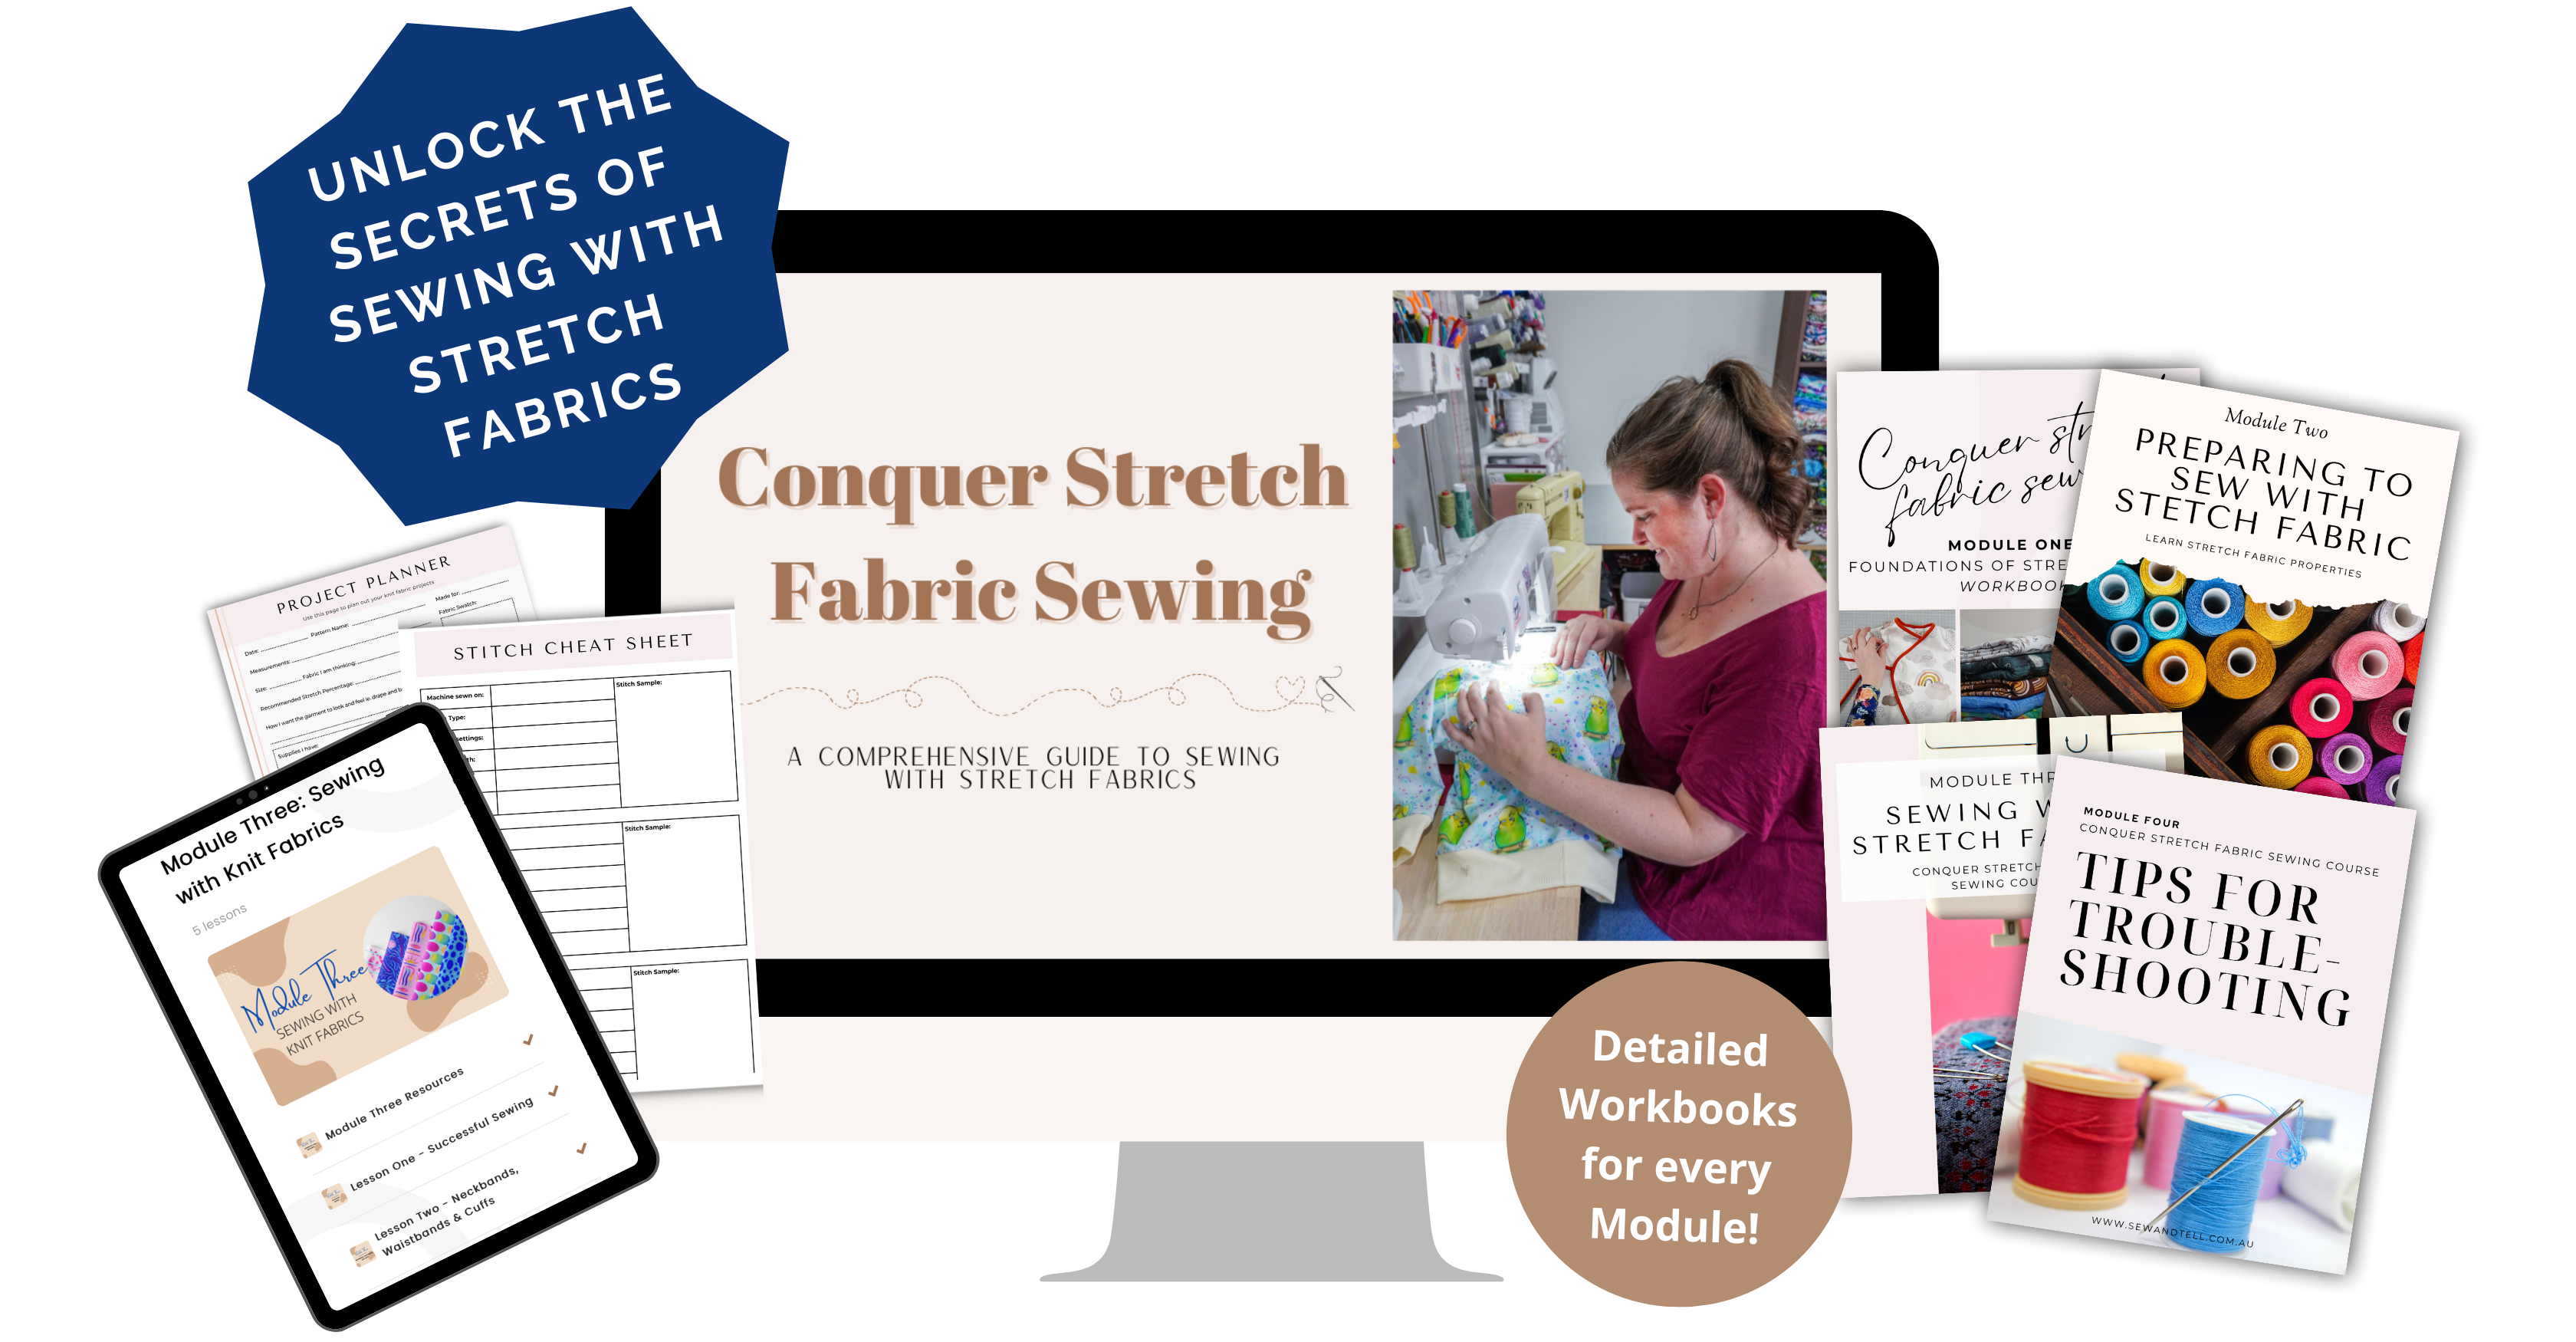
    What next?

    Stop wasting fabric and time on projects that don't fit right. 

    Learn to sew with confidence and let me guide you to more sewing success.

  • Video Tutorial of Bear Hug Wrap Romper

    Pattern: Bear Hug Wrap Romper
    Designer: Peek A Boo Patterns
    Fabrics: Cotton Lycra from Wattle Hill
    Size made: 3 months & 12 months
    Adjustments: None
    Pros: This is a really cute little wrap romper for your babies. Perfect as a baby shower gift.
    Cons: None

    Effortless Baby Dressing: A Dive into the Bear Hug Wrap Romper Pattern!

    There’s something innately charming about dressing up babies; their outfits are like pint-sized versions of adult clothes, filled with cuteness overload. However, the practicality of baby outfits is just as crucial, if not more so, than their aesthetic appeal. That’s where the Bear Hug Wrap Romper pattern shines bright.

    This pattern effortlessly combines style with functionality. The wrap design not only adds a touch of elegance but also ensures a quick dressing process – a must during those late night changes or with a wriggly baby.

    The rompers’ variety is another plus. It offers short and long sleeves, making it adaptable to different seasons and climates. The optional fold over cuffs is good for those bubbas who scratch themselves, protecting their hands and face. I also like the options of both cuffs or footies, ensuring your little ones remain snug as a bug.

    I also think an important feature of babywear is ease of use in getting to the nappy/diaper. If you choose to add the inseam snap placket, it eliminates the hassle of fully undressing the baby, saving both time and effort.

    I would say the most difficult part of the wrap is the binding. It can be quite tricky, however I suggest going slow and using something like double sided washaway tape to help keep it in place while you sew. Have a look at the tutorial I filmed below for additional tips and tricks.

    I highly recommend for those sewing for their little ones or even as a thoughtful handmade gift for expecting friends and family!

    Step-by-Step Tutorial: Sewing the Adorable Bear Hug Wrap Romper for Your Little One!

    What next?

    Stop wasting fabric and time on projects that don't fit right. 

    Learn to sew with confidence and let me guide you to more sewing success.

  • Sensational Sleeves: Five Key Sleeve Styles and What They Mean

    Have you ever seen a type of sleeve mentioned and not known what it meant? Or looked like? In this article we delve into 5 different common sleeve styles and what they mean. You no longer have to wonder the difference between Raglan, Dolman or Set in as you will be able to instantly picture the style they are talking about.

    Now let’s take a look!

    Sleeveless:

    Sleeveless designs speak to minimalism and uninhibited movement. By foregoing sleeves altogether, they create open armholes that showcase shoulders and grant unmatched ease of motion. This style has historical roots in warm climates and societies that prioritized practicality. From the simplest tank tops to the most intricate evening gowns, sleeveless styles continue to provide a blank canvas for creative experimentation in neckline design, accessories, and layering.
    My Favourite Sleeveless Patterns:

    Set-In Sleeves

    Set-in sleeves are probably one of the most common types of sleeves and seen in many ready to wear garments. In knit garments such as t-shirts and polos, they are fairly easily sewn in, however in some woven garments you need to ‘ease’ them into the arm hole.  Their history dates back to the Victorian era, where they symbolized sophistication and grace. In today’s context, there are many variations of the set in sleeve such as capped, puff, petal & bishop. They are a stylish and great addition to many garments.
    My Favourite Set in Sleeve Patterns:

    Dolman Sleeves

    Dolman sleeves introduce a drapey and relaxed silhouette. Seamlessly integrating with the garment body, they often extend to the waist or hip, offering comfort and a touch of artistic flair. With origins in the Ottoman Empire and popularized in the 19th century, dolman sleeves continue to embody a fusion of comfort and exotic charm. They shine in casual ensembles, giving a bohemian vibe to tops, tunics, and dresses while providing ample room for fabric experimentation.
    My Favourite Dolman Sleeve Patterns:

    Raglan Sleeves

    Raglan sleeves combine sportiness and style. Defined by a diagonal seam from neckline to underarm, they offer a generous shoulder fit and great arm motion. With historical origins tied to Lord Raglan’s military coat, this style gained prominence for its functional design and comfort, making it a go-to for sports attire. In modern times, raglan sleeves find their place in casual fashion, athletic wear, and outerwear, providing a relaxed fit suitable for various activities.
    My Favourite Raglan Sleeve Patterns:

    Flutter Sleeves

    Flutter sleeves bring a touch of whimsy and grace to any garment. Characterized by their loose, flouncy design, they create an enchanting fluttering effect around the arms. Historically, they evoke femininity and romanticism, gaining popularity in the late 19th and early 20th centuries. In contemporary fashion, flutter sleeves infuse dresses, blouses, and children’s wear with playful elegance, evoking a carefree aura and allowing for effortless movement. I am a big fan of the flutter sleeve.
    My Favourite Flutter Sleeve Patterns:

    Hopefully this gives you a better idea as to which sleeve means what next time you see a sleeve term you are unfamiliar with.

    Be bold and adventurous and try some new styles to see if they work for you. Many knit patterns come with a few different sleeve variations so I encourage you to give them a try. Sleeves are a great way to change the look of a garment without changing the pattern if you know the pattern fits you well.

    Have a little fun with some sensational sleeves!

  • Pattern Review of The Lenox Top and Dress

    Pattern: Lenox
    Designer: Love Notions
    Fabrics: Cotton Lycra from The Telarie
    Skill level: Beginner
    Measurements: Bust: 45″; Waist 40″; Hips 47″
    Size made: XL graded to 2XL
    Adjustments: None
    Pros: I love a square neckline on a garment and I love the way this one is constructed.
    Cons: No pockets, but fairly easy to add. Also, make sure you read the instructions on how to construct the neckband and MAKE SURE you mark the notches on the neckband.

    The Wrap Up

    Anything with a square neckline I am super keen to try out as I think it really suits my shape. I was curious about this pattern as generally when you have a square neckline the garment needs to be fully lined to achieve the corners of the square across the front, however this one is done with bands. If I can avoid fully lining I generally do as it is additional fabric I don’t always want to have to use. I also really liked the princess style of the front seams, which is why you can achieve the neckband the way it is.

    Essentially the neck band is done with 2 neckbands pieces, laid over the top of eachother to create the neckline. It’s not just for the square neckline either, the Lenox also has a really cute sweetheart neckline version. I’m yet to try that one, but I think it looks pretty cute also.

    One downfall for me on this pattern is that it doesn’t have pockets on the dress version. However, they are pretty simple to add and you can take the pockets from something like the Sybil Skirt Collection and easily add them to this dress. In fact, you could really mash any of the skirts from the Sybil Skirt Collection if you wanted to change it up and make it your own. I also talk about how to add inseam pockets in my review of the Willow Wrap Dress.

    All in all I think this pattern is well worth having in your collection. Watch my YouTube review to get my construction tips on how to get your neckband looking beautiful and I think you will be very happy with this pattern.

    Use code Megan10 to get an additional 10% off when you purchase this pattern.

    What next?

    Sewing Made Easy: Step-by-Step Tutorials for Beginners - Start Your Journey Now

    Learn to sew with confidence and let me guide you to more sewing success.

  • Pattern Review of the Tessa Twist

    Pattern: Tessa Twist Sports Bar
    Designer: Made for Mermaids
    Fabrics: Sports Performance from Clover & Co. Fabrics
    Skill level: Beginner
    Measurements: Bust: 45″; Waist 39.5″
    Size made: Orange
    Adjustments: None
    Pros: I love this fun tank/crop. The twist adds interest and if you make it from swim material, you can use it as a bikini top.
    Cons: The bottom band is a little fiddly, but if you sew slow and pin/clip lots, you should be fine.

    The Wrap Up

    I was a tester for this one and when I first saw the tested call come up, I jumped at the chance as I loved the twist in the front. 

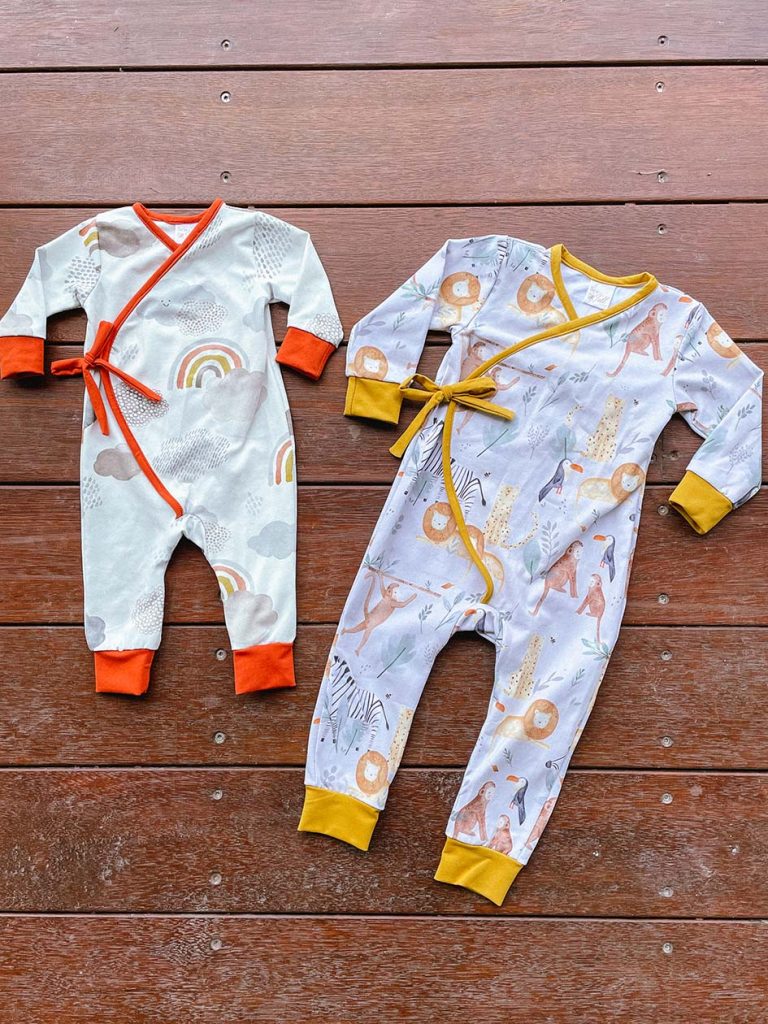
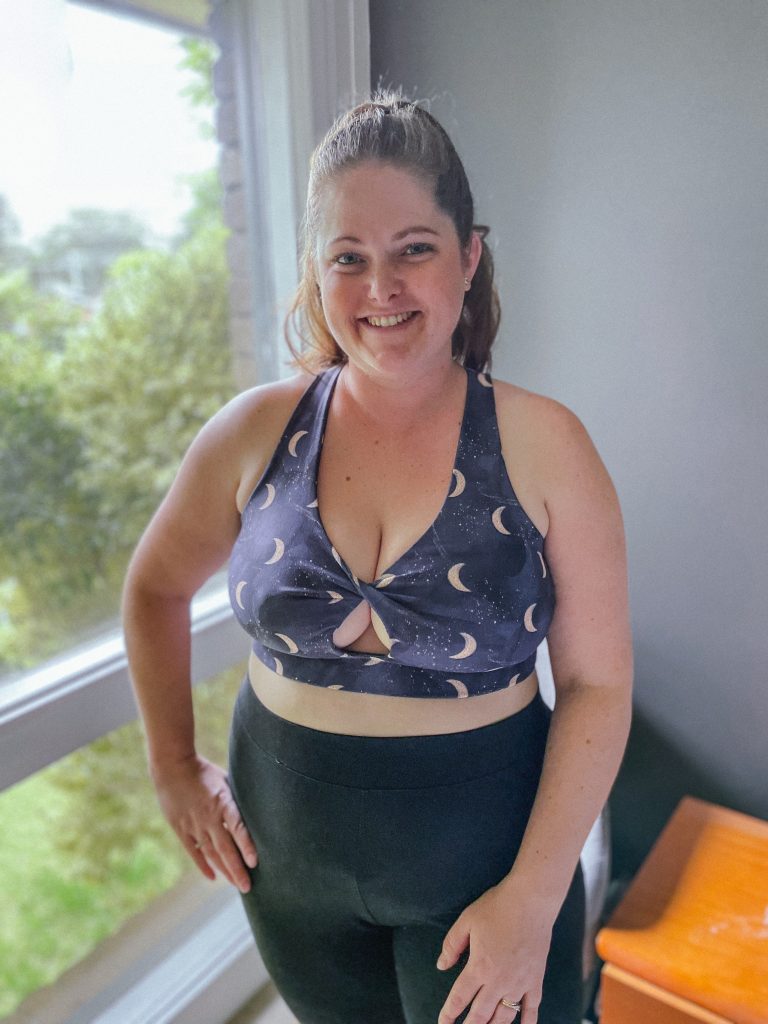
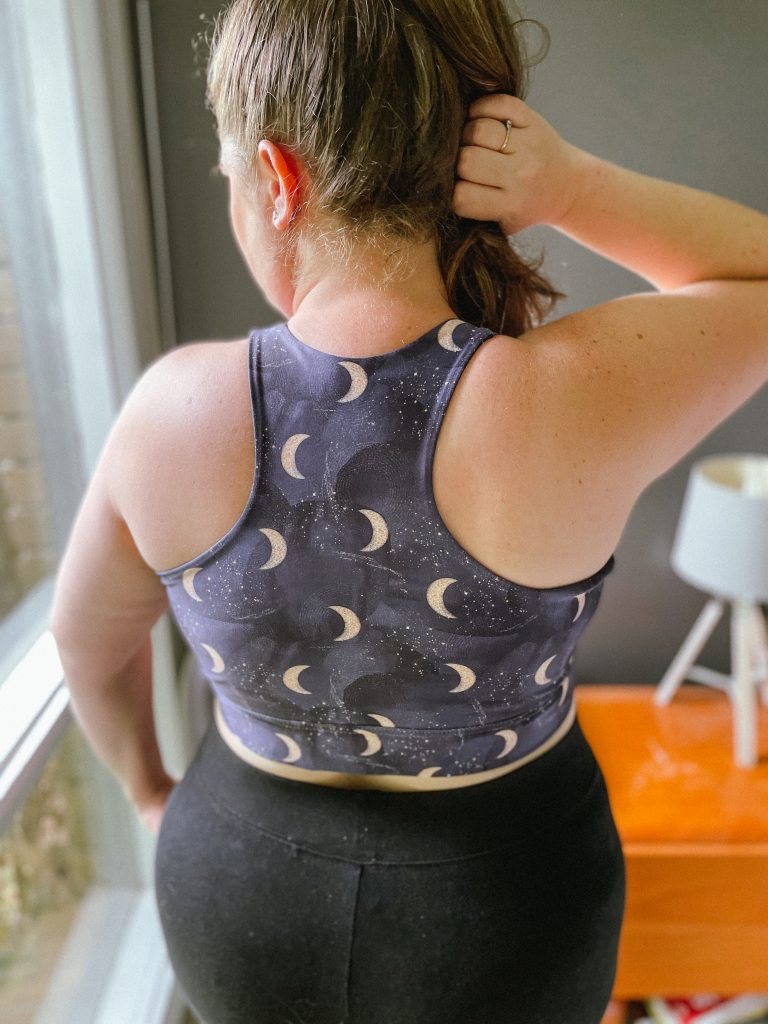
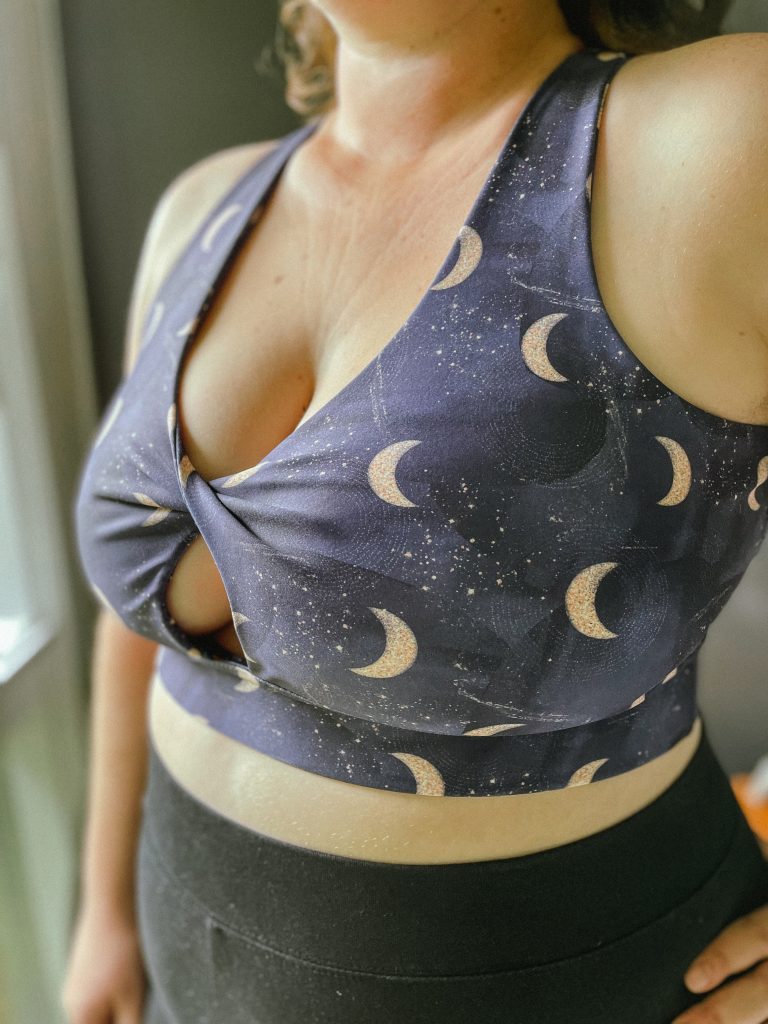
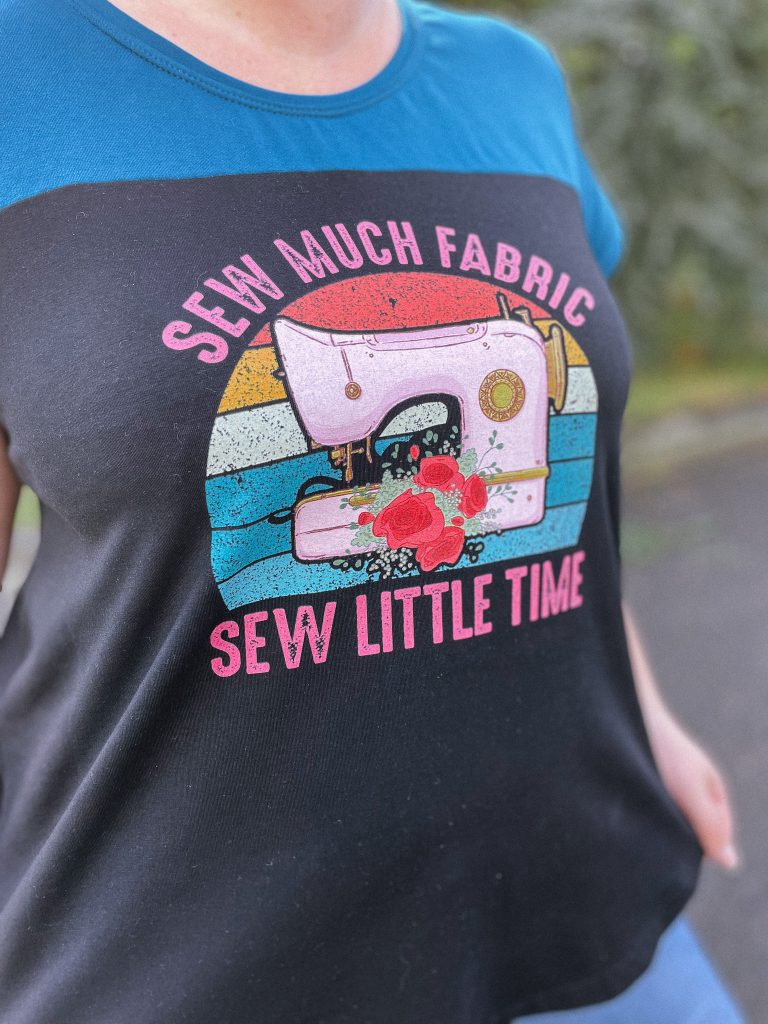
    I ended up doing both the pretest and the full test. My first version I mucked up my cutting by not cutting a mirrored pair, but in the end I didn’t mind having the white on the other side as I thought it added contrast. There were a few tester photos that did a contrasting tank as well.

    I made a size Orange which I felt was a good fit for me. My breasts felt supported and like I wasn’t going to fall out, I didn’t have any side ‘boob’ and the back was comfortable. My only note would be that the recommended elastic length for the sports band version was too big for me. I ended up opening up the side and taking out about 4″ of elastic to get a nicer fit for my under bust. 

    My final version I also added power mesh in the inner layer which I think worked really well. There are instructions for adding foam cups if you wanted to also.

    The construction can a take a little to get your head around, but having the photos to check really help. I think as long as you go slow and check against the pictures regularly, it’s a fairly easy sew.

    What next?

    Stop wasting fabric and time on projects that don't fit right. 

    Learn to sew with confidence and let me guide you to more sewing success.

  • Pattern Review of the Ivy Colourblock Tee

    Pattern: Ivy Colorblocked Tee
    Designer: Sinclair Patterns
    Fabrics: Cotton Lycra Solids and Panels from Rubyjam Fabrics
    Skill level: Beginner
    Measurements: Bust: 45″; Waist 39.5″; Hips 47″
    Size made: 18
    Adjustments: None
    Pros: I love the yoke and color blocking on this one, it makes for such a flattering fit.
    Cons: None

    The Wrap Up

    This month in The Sewing Corner, I had the pleasure of sewing up the Ivy Colorblocked Tee from Sinclair Patterns, and I have to say, I’m pretty pleased with how it turned out!

    First of all, I have to comment on the pattern itself. Sinclair Patterns is known for their well-drafted and thorough patterns, and the Ivy Tee is no exception. The instructions are clear and easy to follow, plus the pattern includes a wide range of sizes which I always appreciate.

    As for the design of the Ivy Tee, I love the colorblocking! It’s such a fun and modern twist on a classic tee, and it allows you to play around with different fabric combinations. I went with a darker teal solid on top and utilised one of Rubyjam’s jamPODs (Panels On Demand) for the lower section, and I’m really happy with how it turned out.

    You can have a lot of fun using different colour combos as well as integrating pattern prints to either the yoke or bottom colour block. If you like to matchy match, there is the kids version, the Ivyberry, that you can play around with too.

    As I mentioned above, this is the tutorial I filmed for The Sewing Corner this month, so if you need help sewing this pattern up come and join in the community of The Sewing Corner. Rubyjam is the sponsor this month so you not only get the tutorial, you get an exclusive discount only available to Sewing Corner members of 15% off their Panels on Demand. They have over 1000 to choose from now, make sure you check them out!

    If you’re not sure about the on going monthly subscription of The Sewing Corner, you can also purchase this course on it’s own, check out the link HERE to find out more. 

    What next?

    Find the confidence you've been lacking

    Learn to enjoy sewing and have confidence in the garments you make.

  • Updated Pattern Review of the Dutchie Jacket

    Pattern: Kids Dutchie Jacket
    Designer: Ellie & Mac
    Fabrics: Black French Terry from Rubyjam Fabrics and Buffalo Plaid Flannel from Spotlight
    Skill level: Intermediate
    Measurements: Chest: 21″; Waist 20.5″; Hips 21″
    Size made: 3
    Adjustments: Hacked their instructions on the welt pocket.
    Pros:Love this jacket cause you can mix woven in the bodice with knit for the sleeves.
    Cons: I found the instructions a little confusing. Definitely read each step before progressing. 

    The Wrap Up

    I’ve actually made this jacket for Jemma before (which you can read here) and while I loved it, I found the instructions a little heavy to follow. To be honest, some of it is that because I am such a competent sewist I tend to assume what the next step will be and go ahead with what I logically think will work, but sometimes patterns need to be done in a certain way for all the elements to work, so it doesn’t always work in my favour to jump the gun!

    As I mentioned in my last review, I wasn’t a huge fan of the visible stitching lines on the front welt pocket, so this time I was determined to alter them out. I cut out all the pieces and ended up having a think about it overnight and came up with a pretty good solution I think.

    I filmed it all to show how I did, you can see it all in the YouTube video below. 

    It is definitely a great pattern all in all, I just recommend you take your time while sewing it and you will get great results.

    How to eliminate the visible stitching lines on the welt pocket, plus short review.

    What next?

    Need help with your sewing? 

    Learn to sew with confidence and let me guide you to more sewing success.