Pattern Review of the Sabrina Slims

Learn to Sew
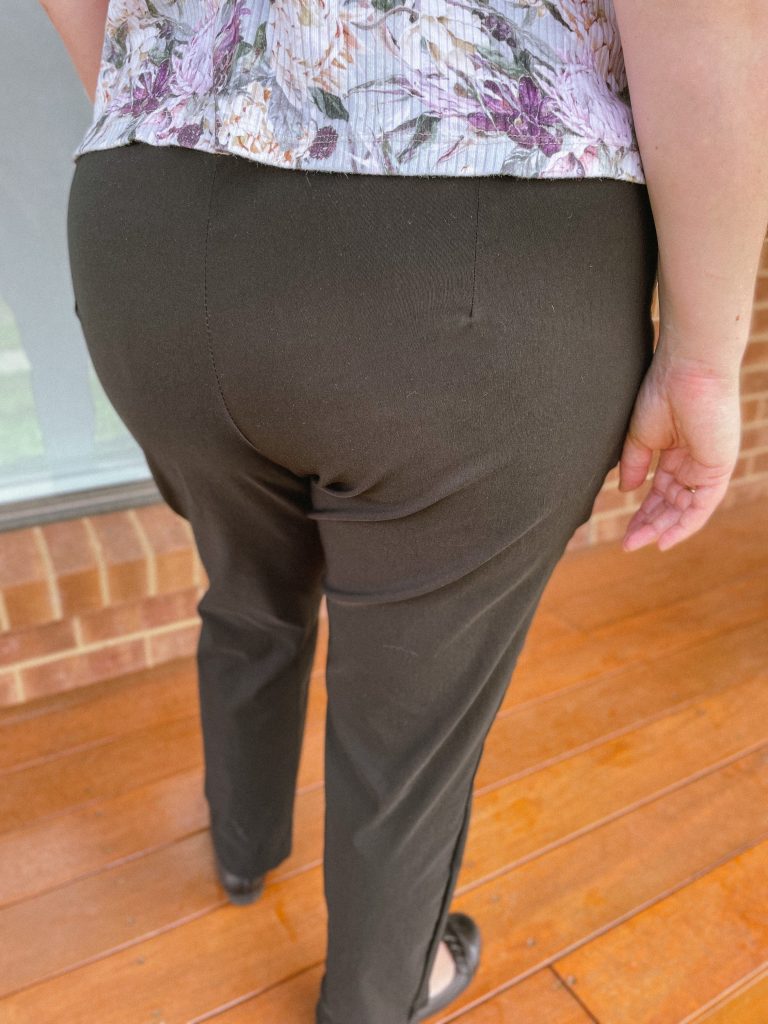
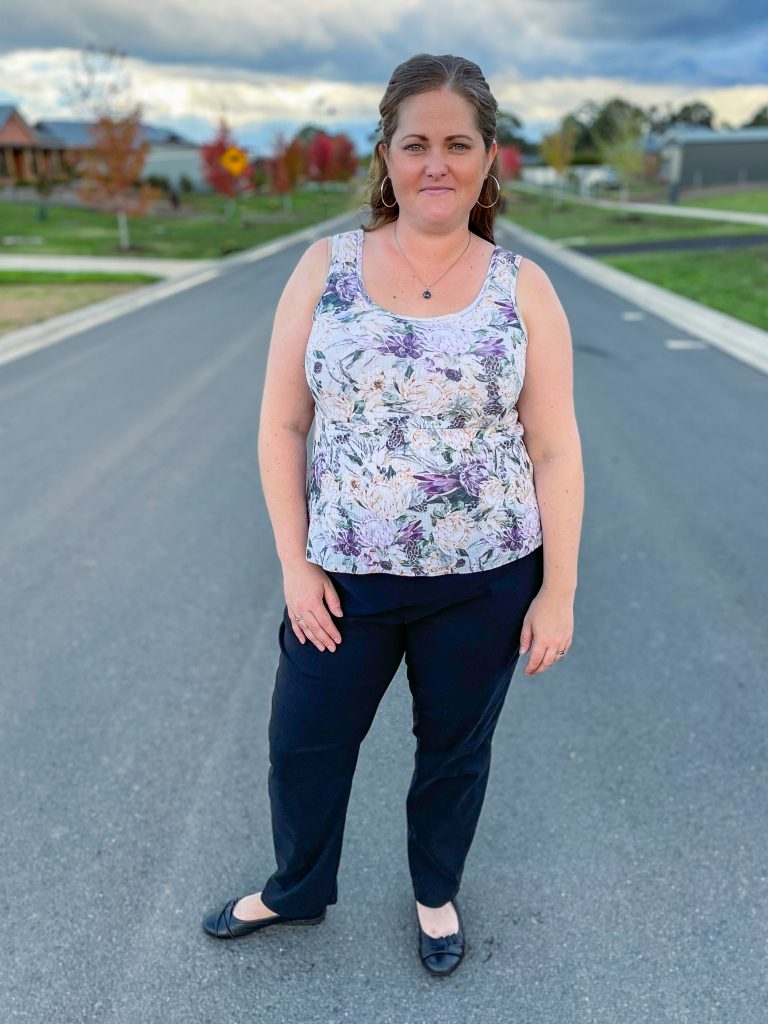


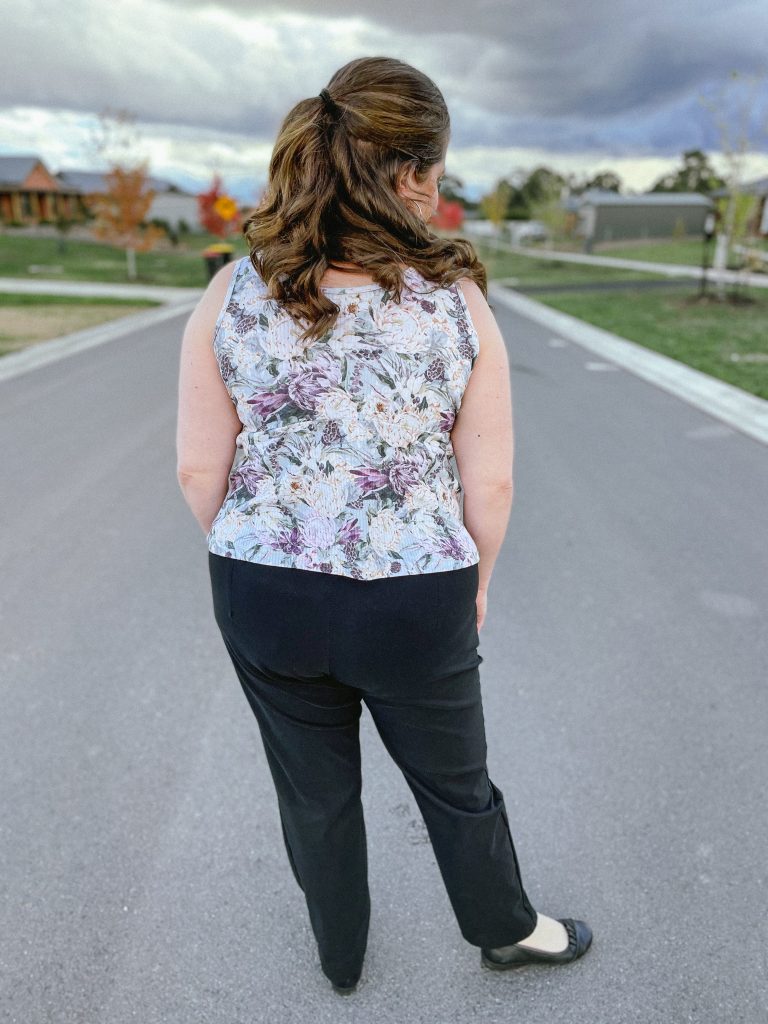
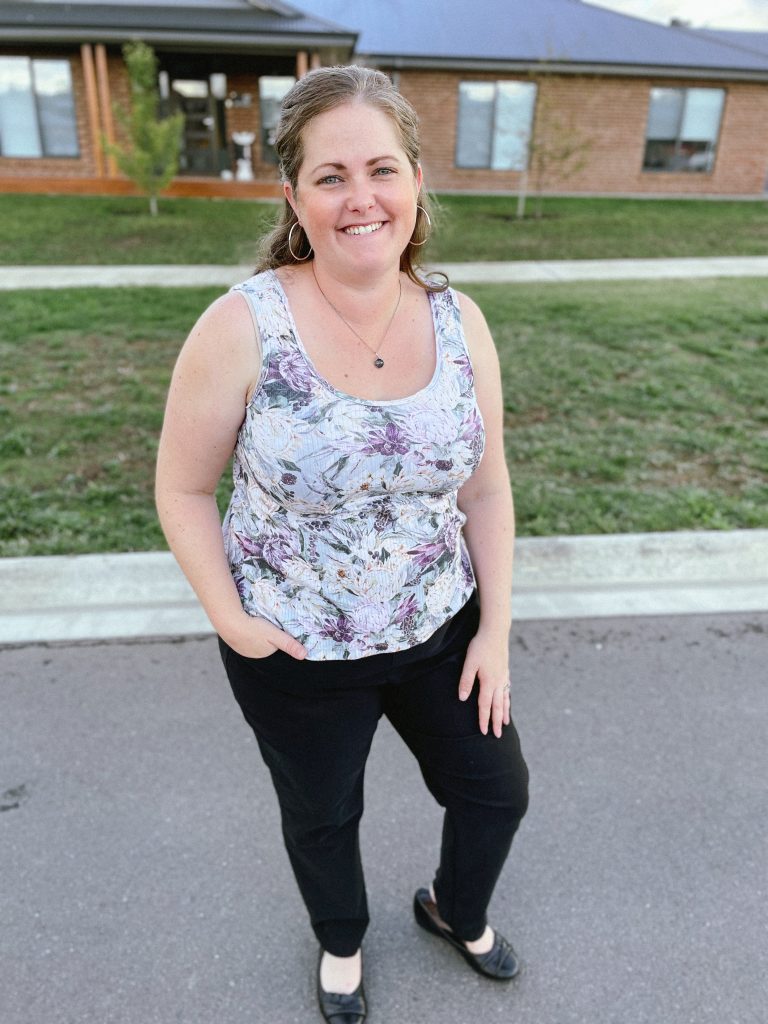
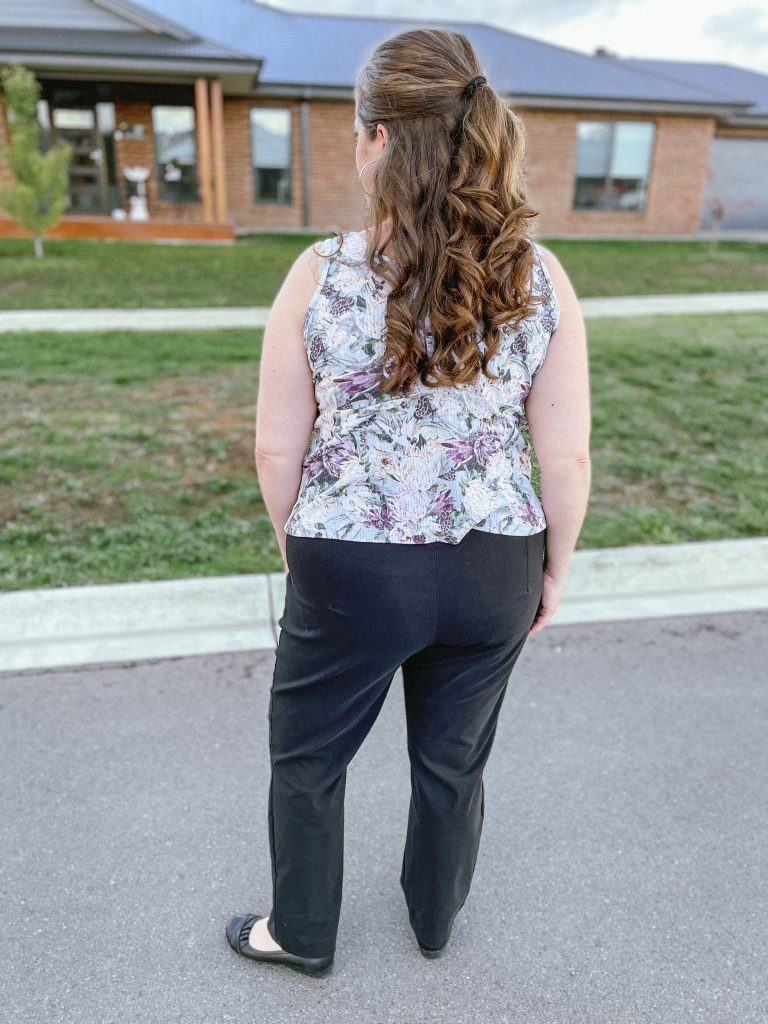

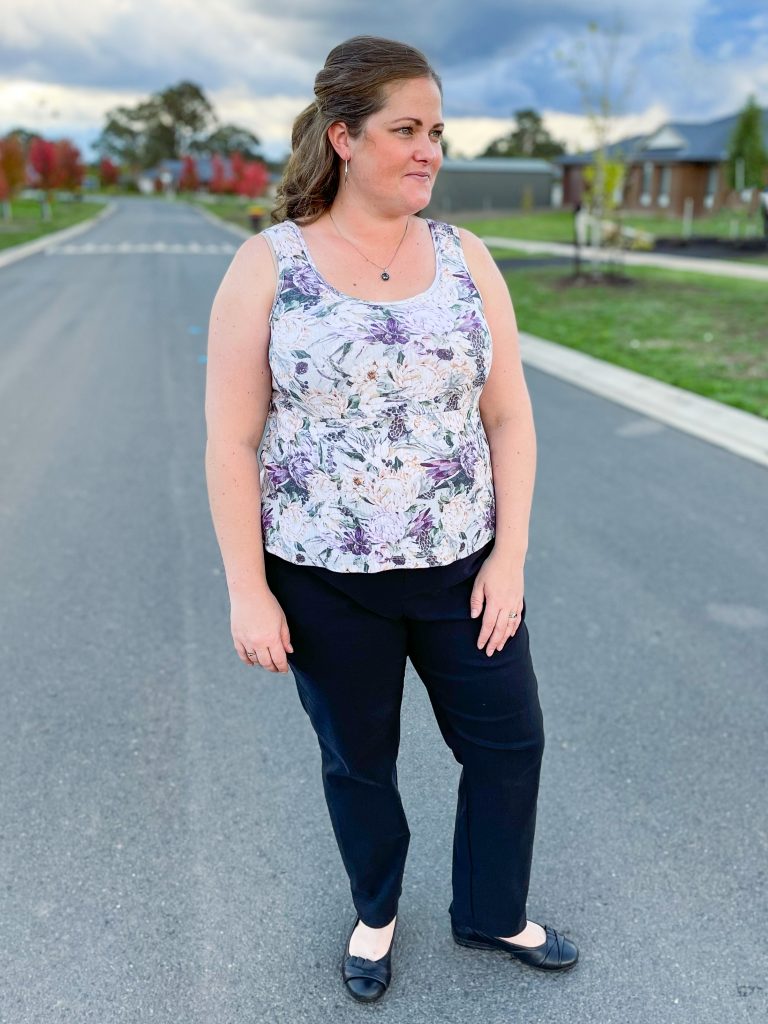
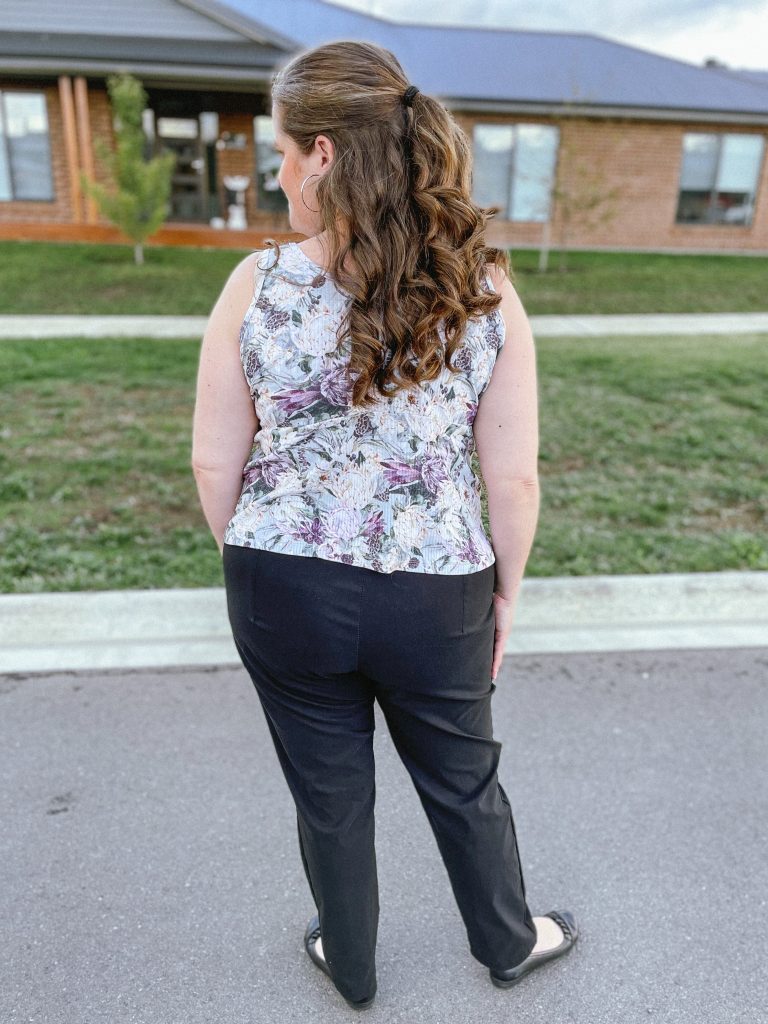
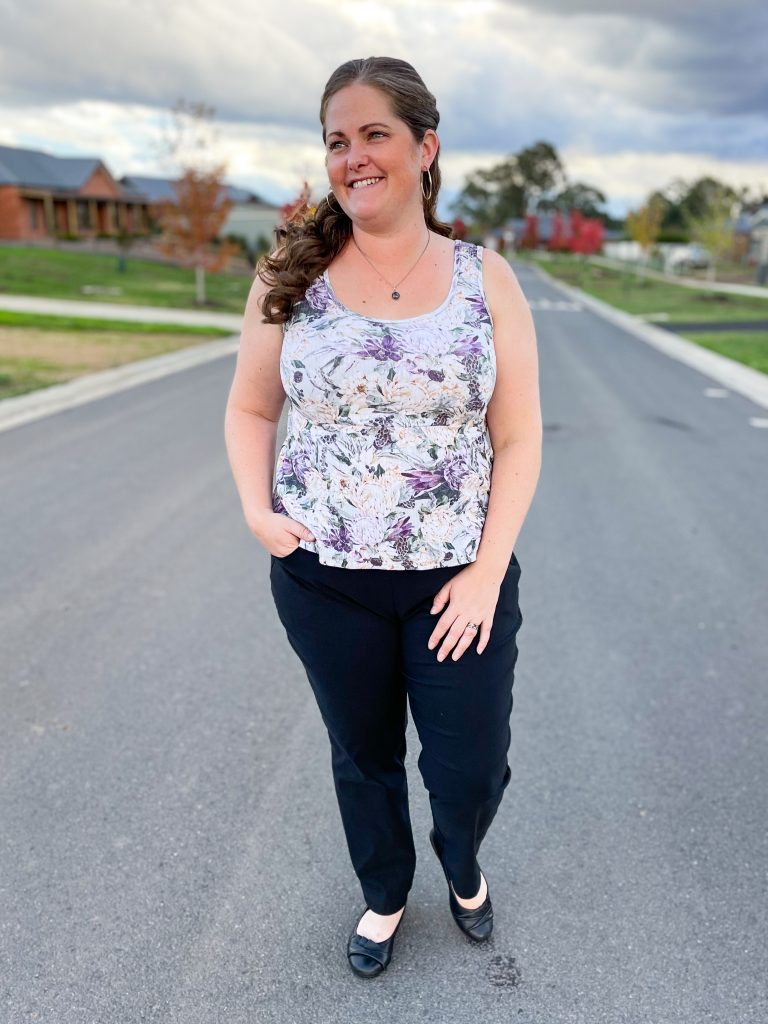
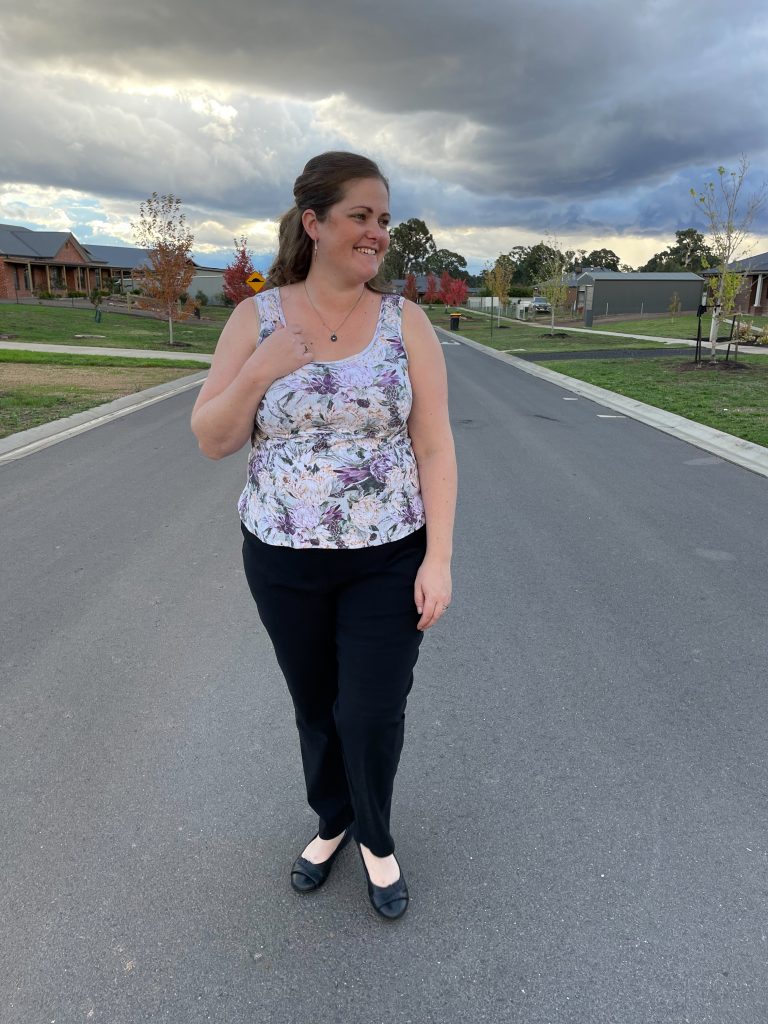
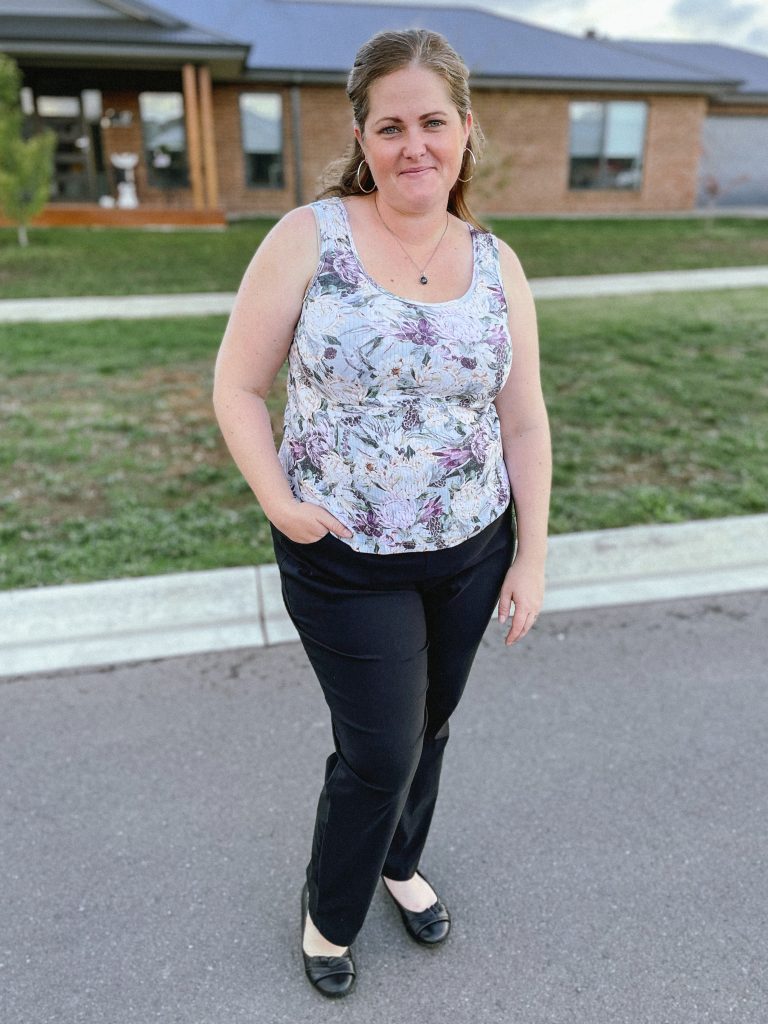
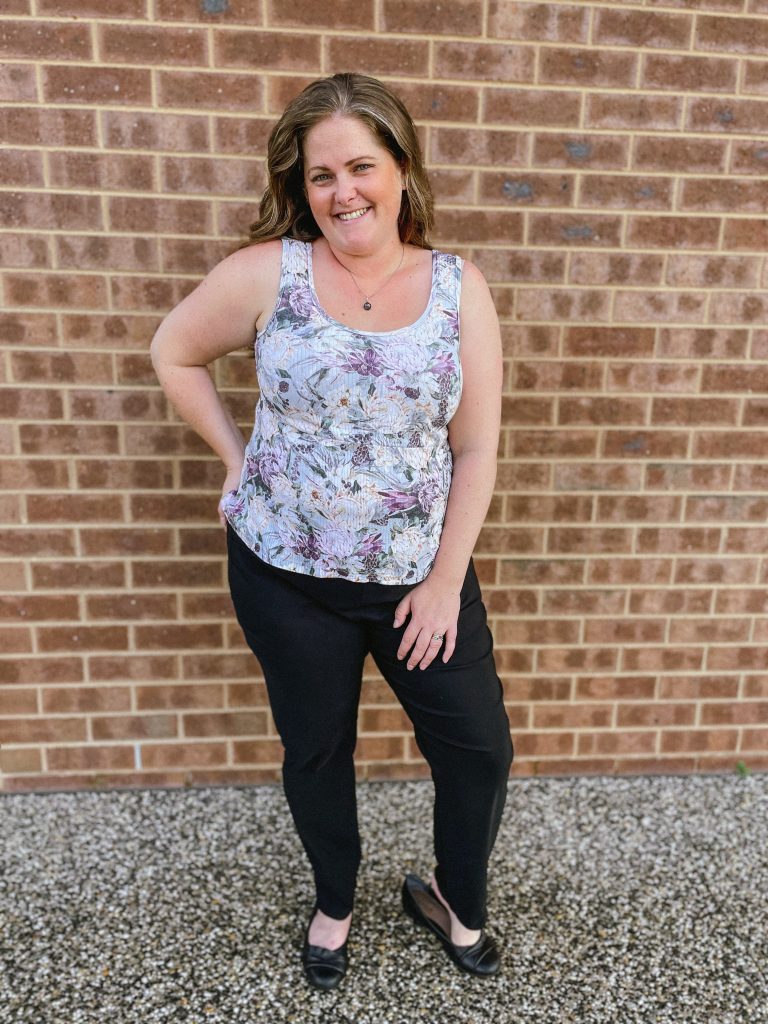

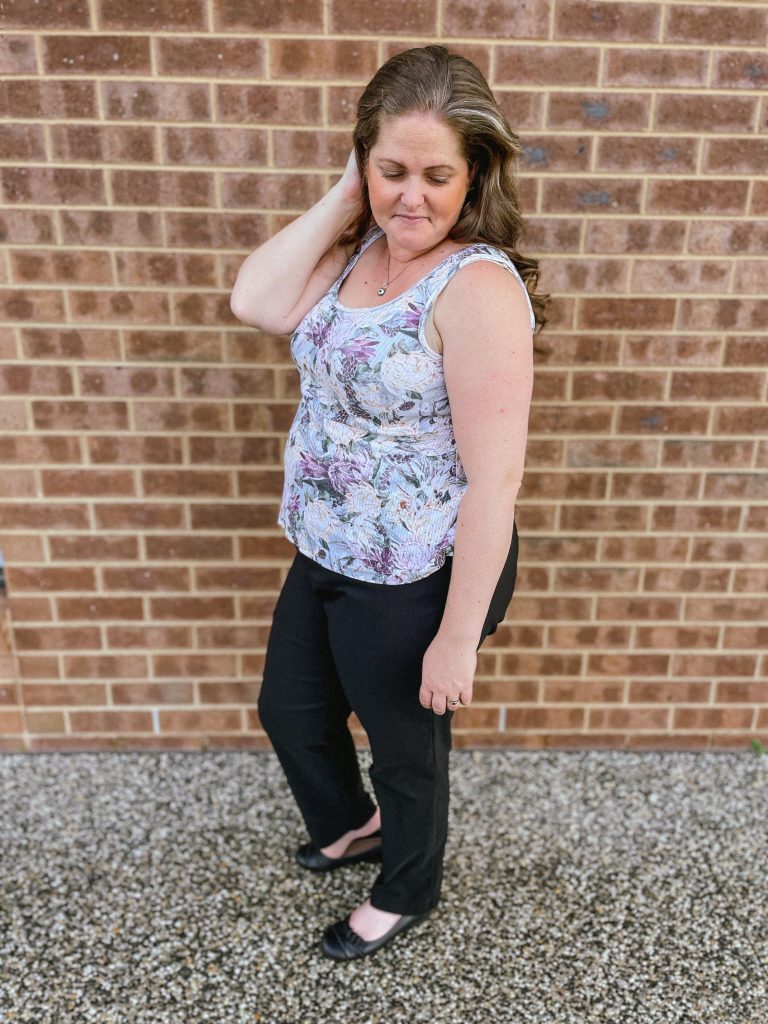
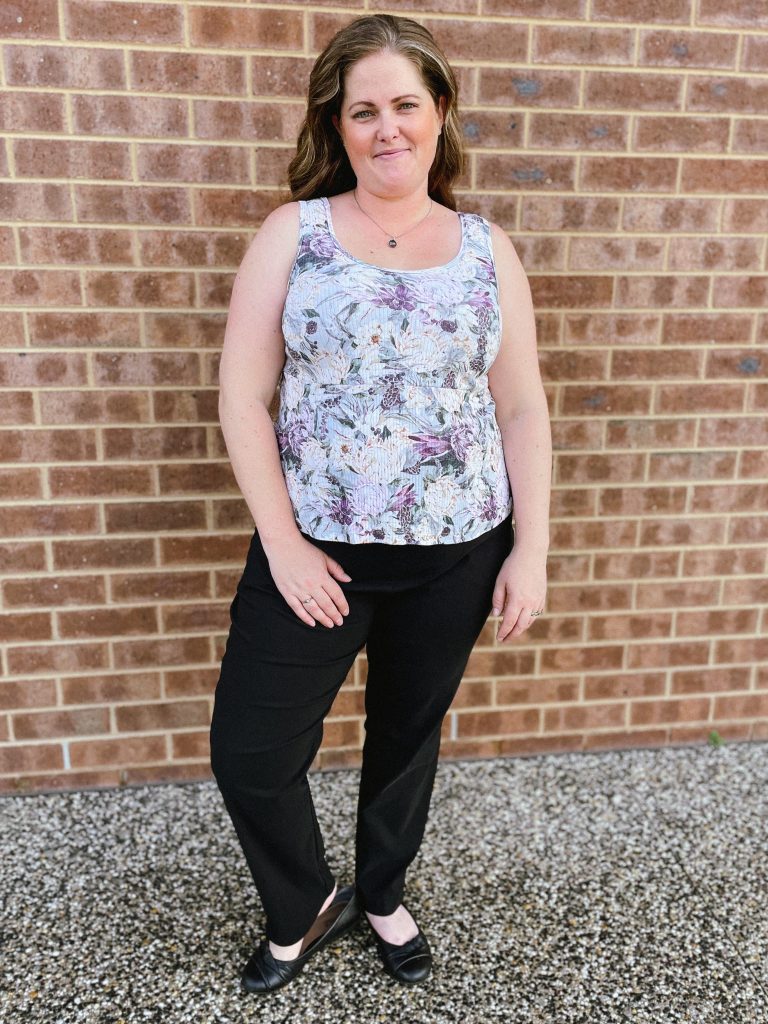
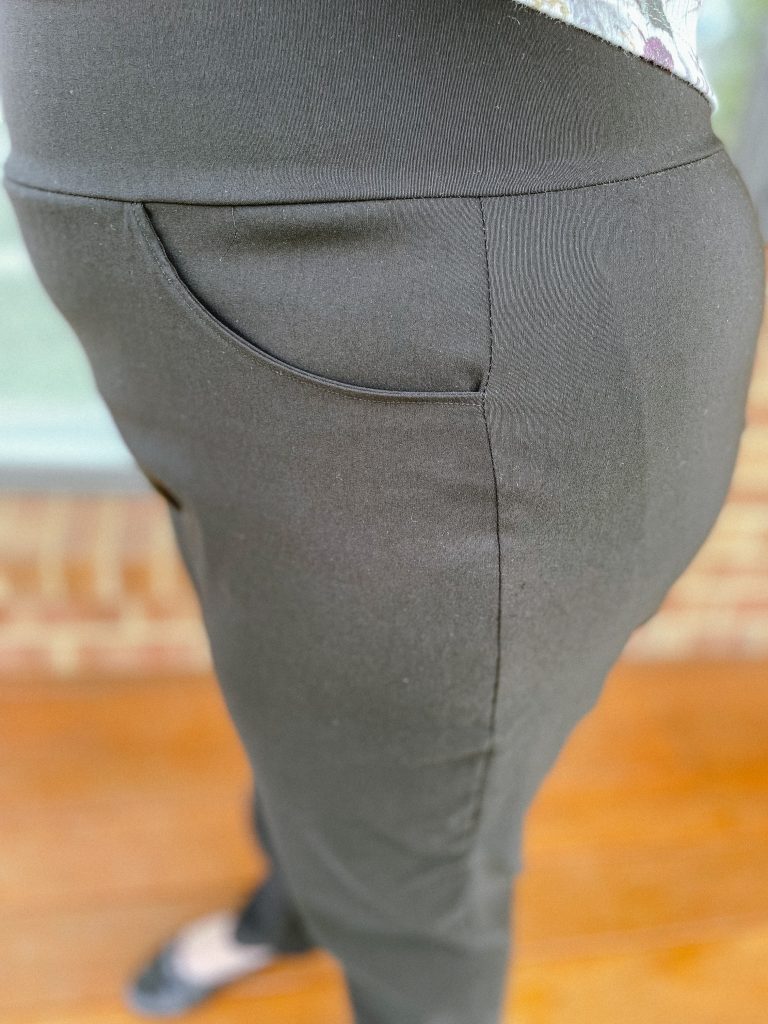
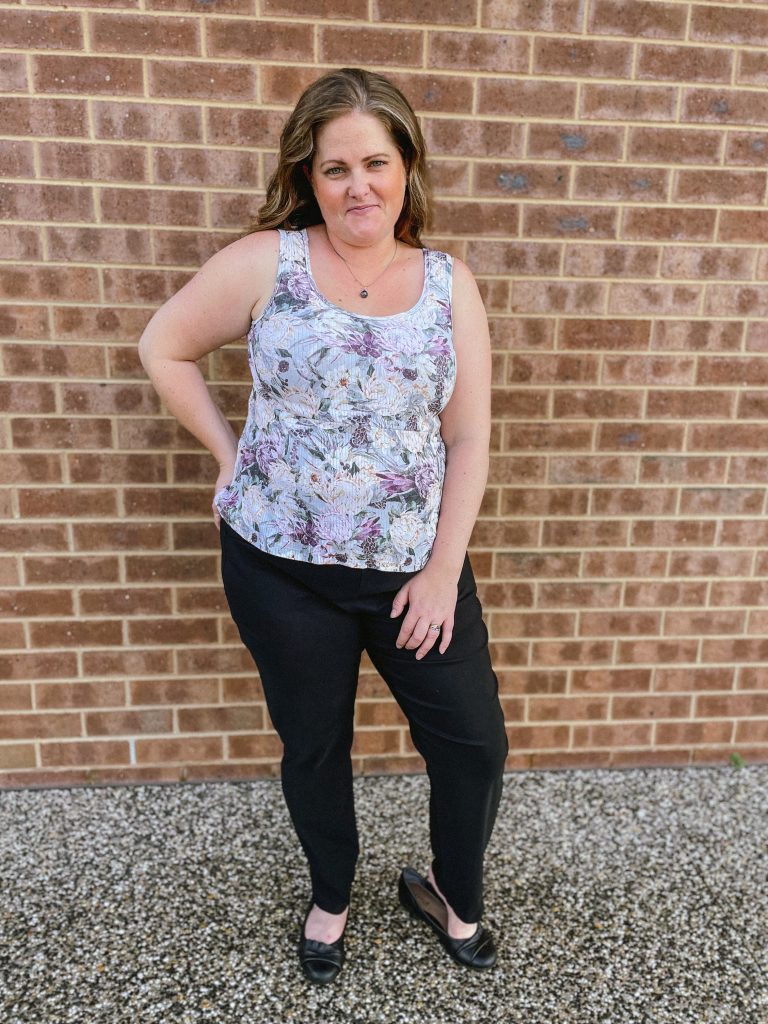
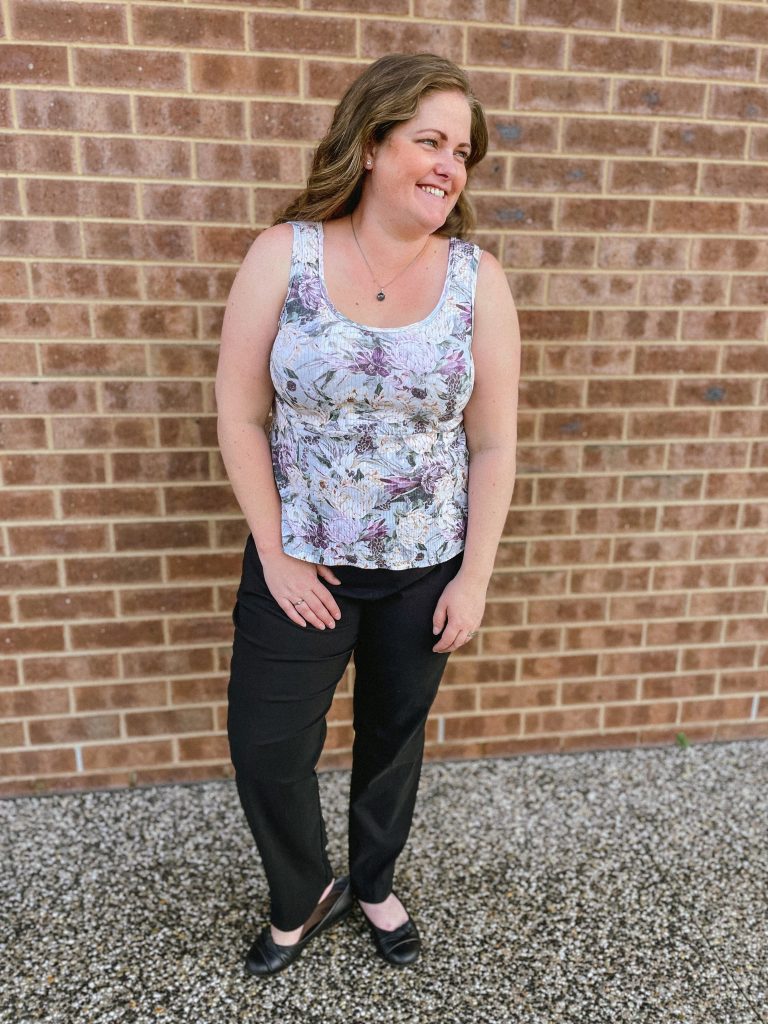
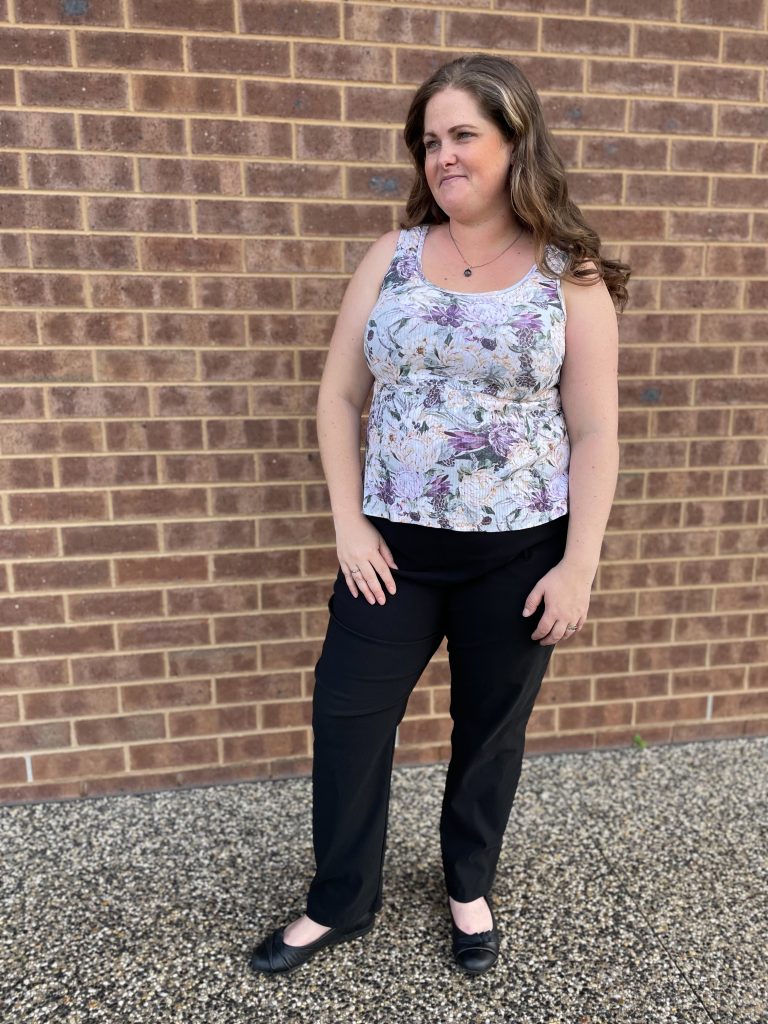

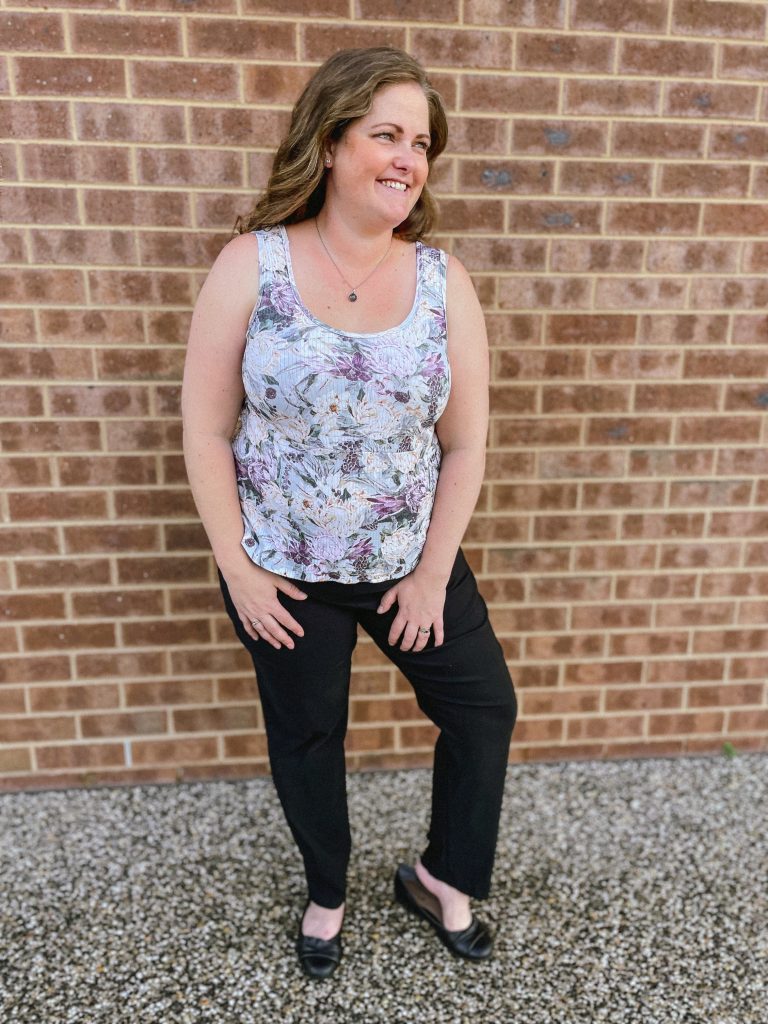

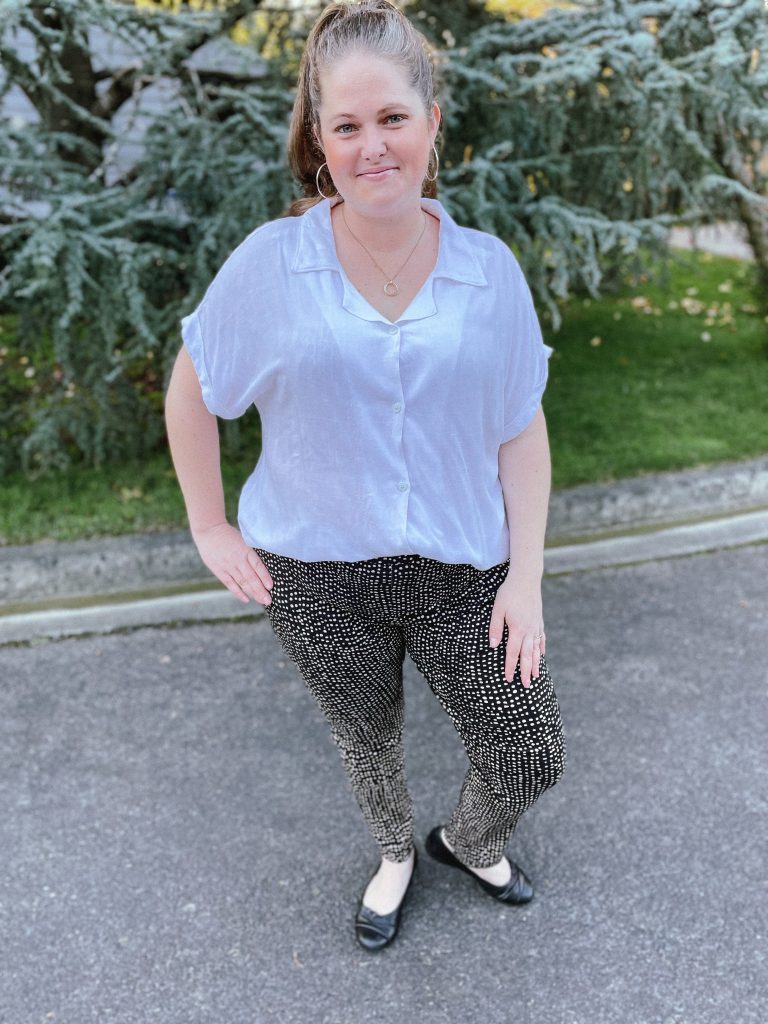
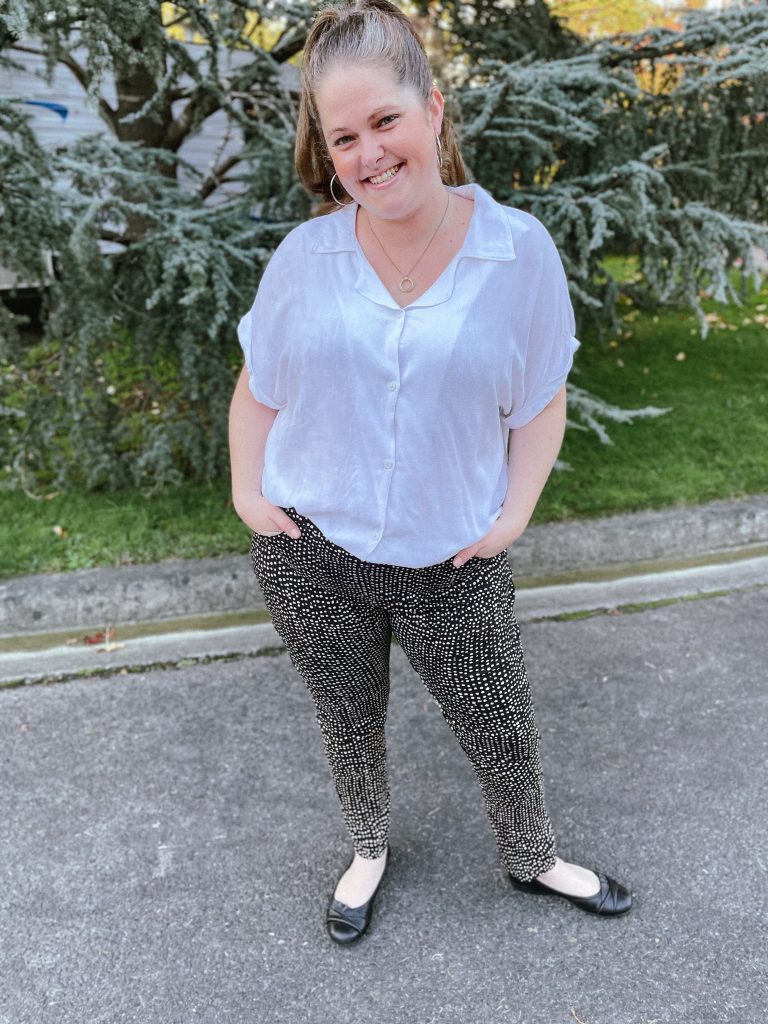
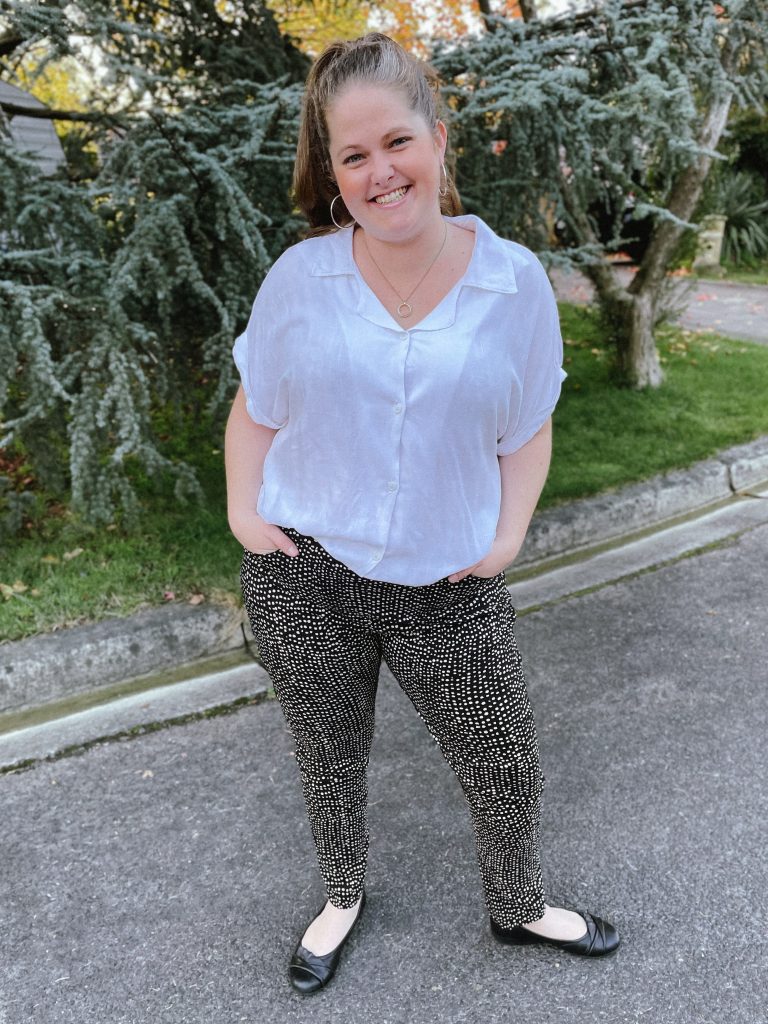
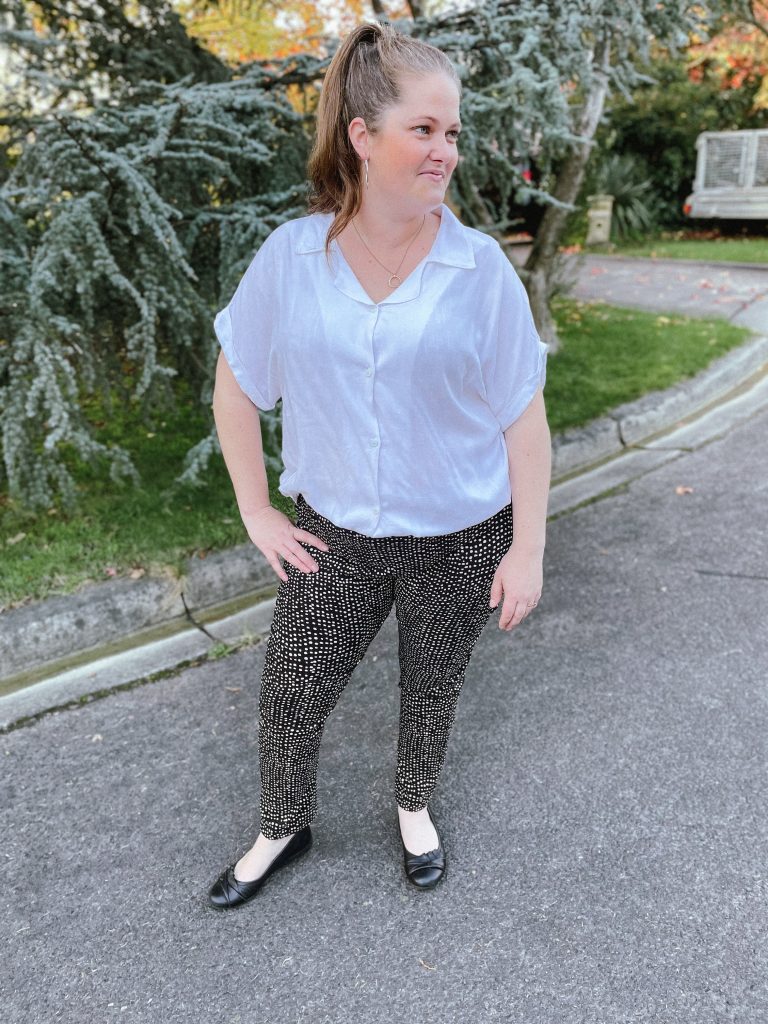
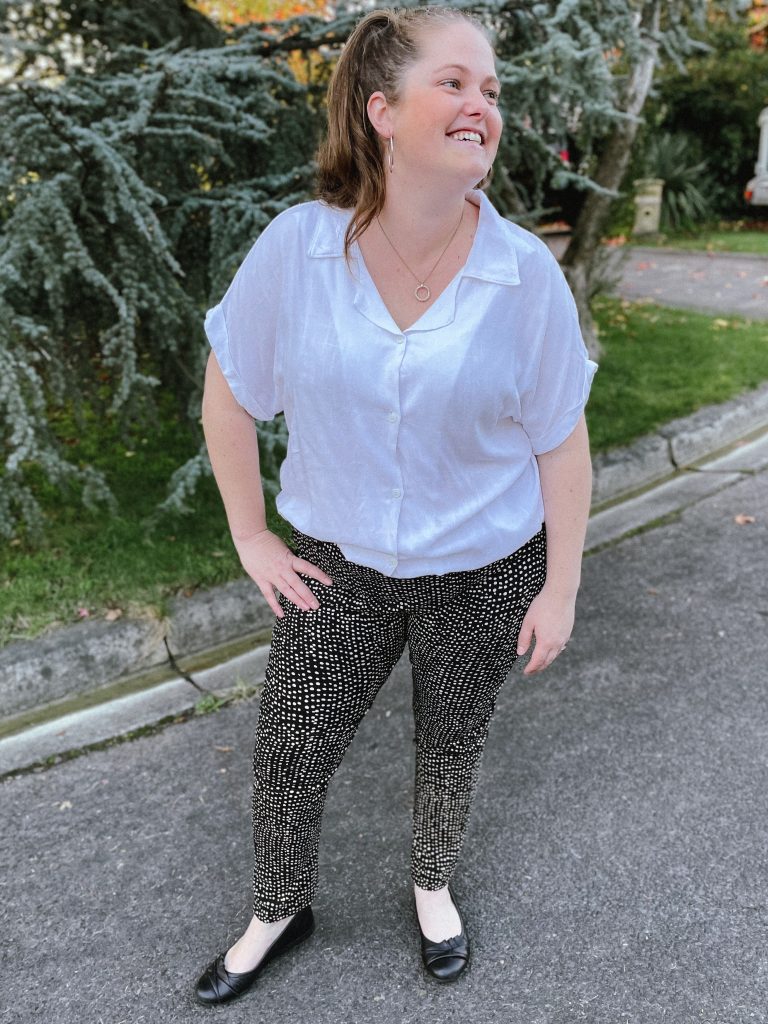
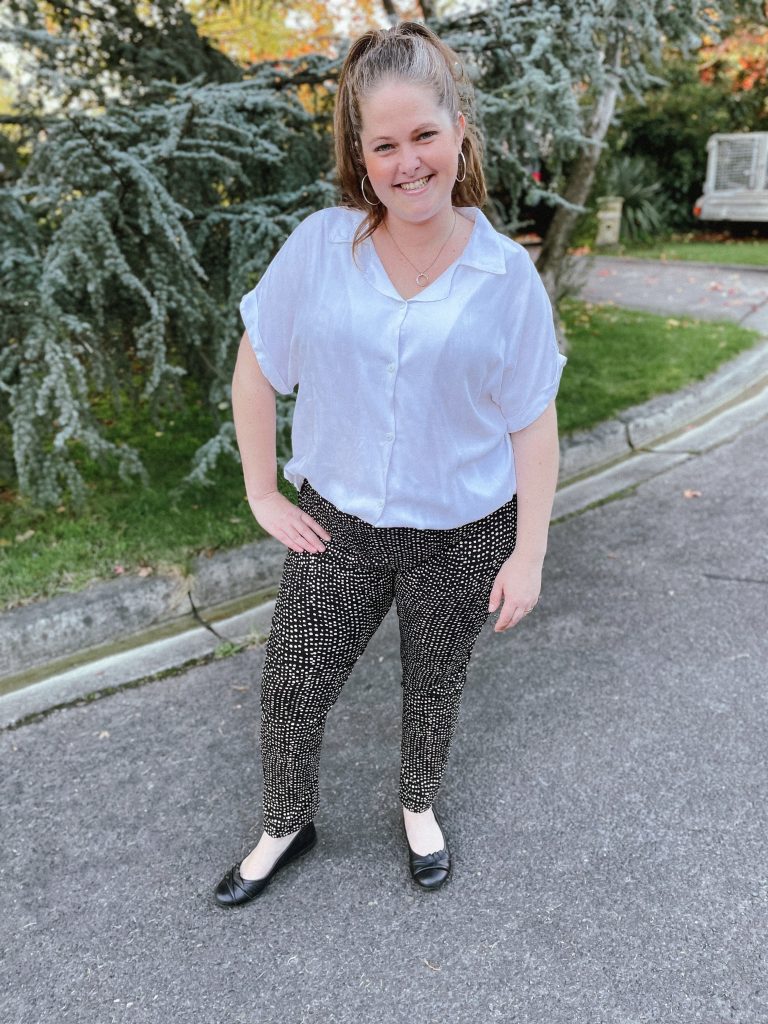
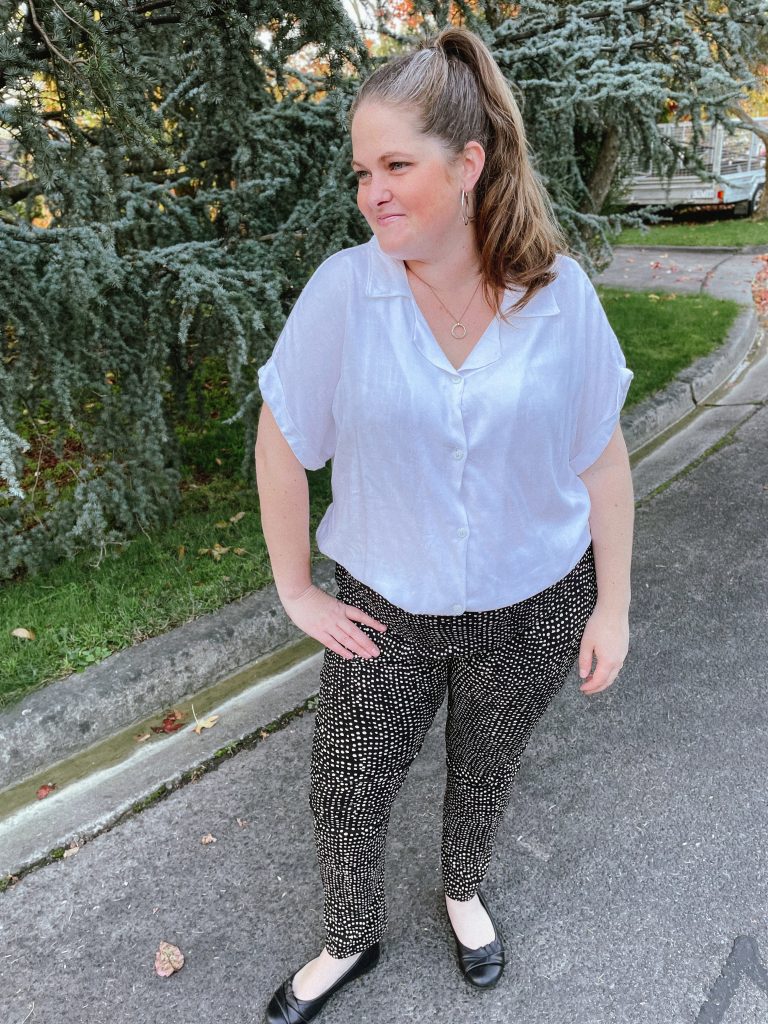
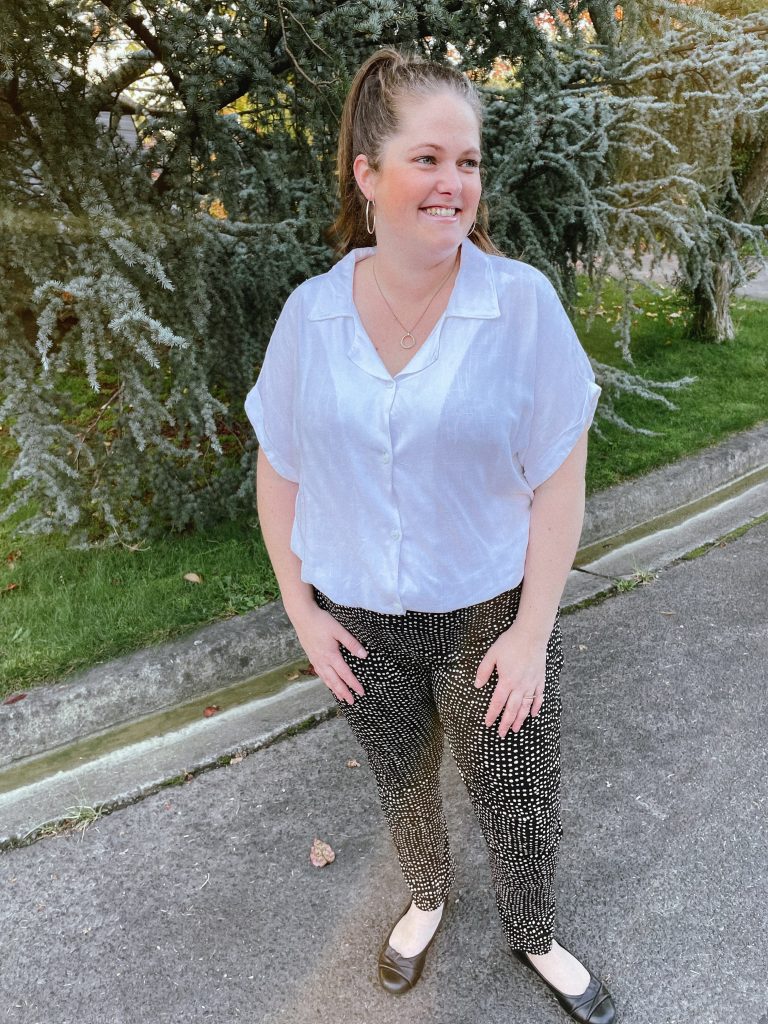
 I’m not sure I’ve ever been so happy with a pair of pants straight off the bat. The toile/muslin I made was so well fitting, I knew that when I cut into my fashion fabric they would be a win.
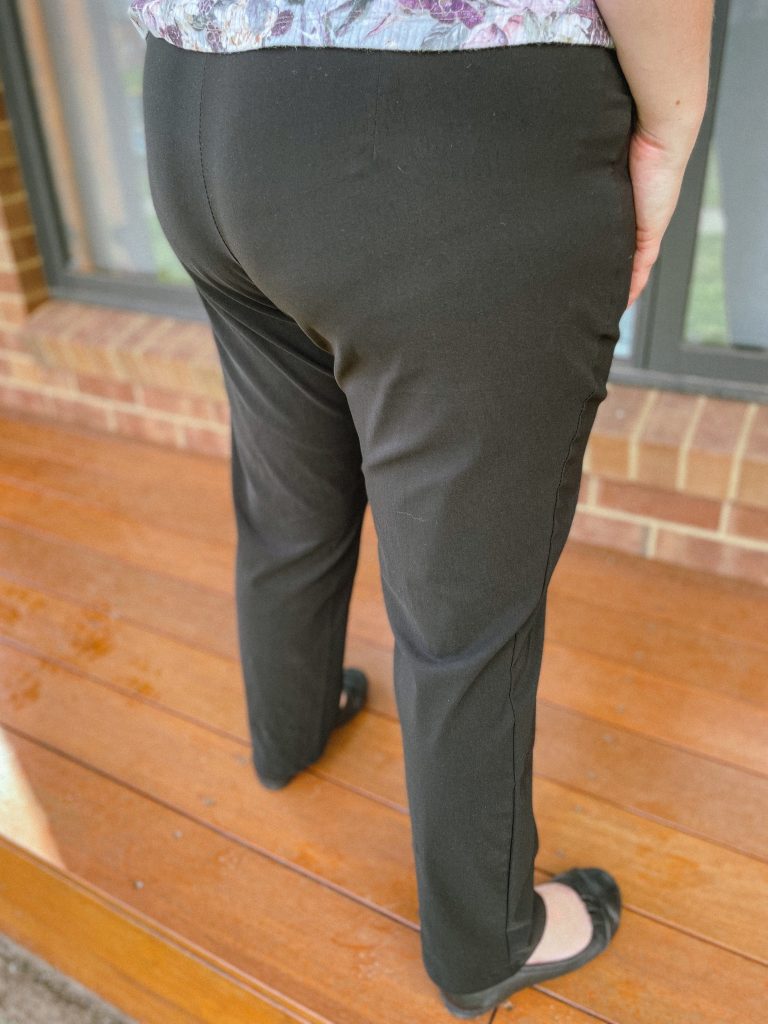
My biggest piece of advice for making these pants would be to make sure you read the fitting advice included in the pattern. According to my measurements, I should have made a size 20, but I know I would have had to make so many adjustments and likely would have ended up really frustrated. After reading all the advice on fitting however, I knew that I needed to use the Full Belly Adjusted pieces and was able to use the size 16, and got such a great fit.
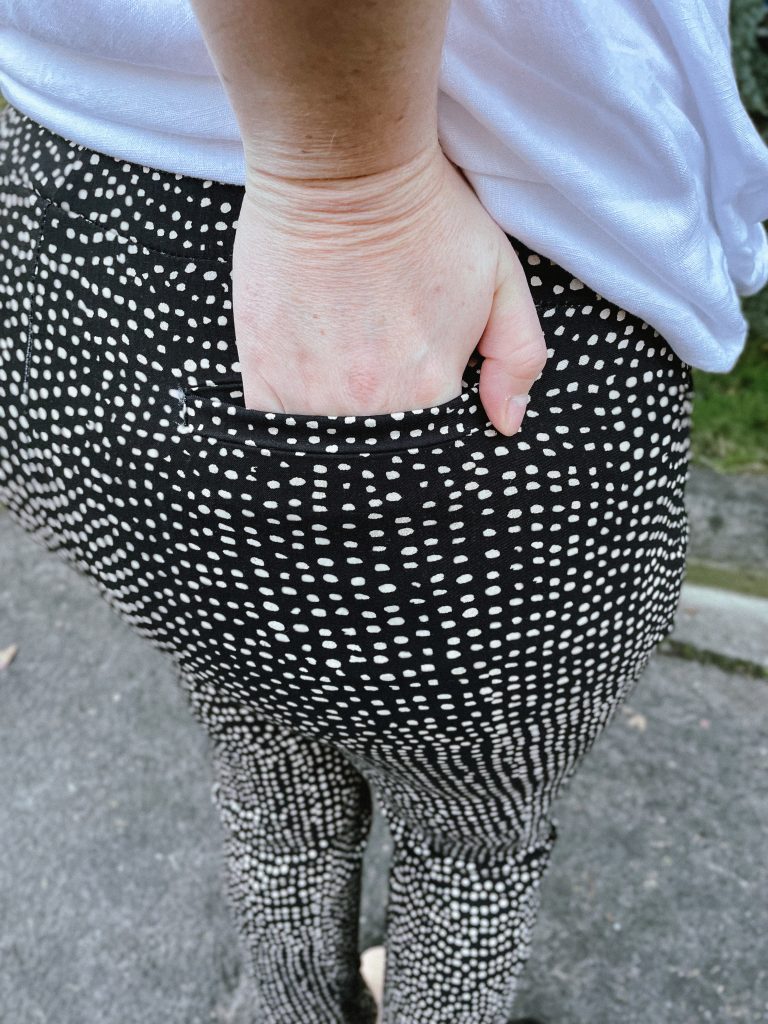
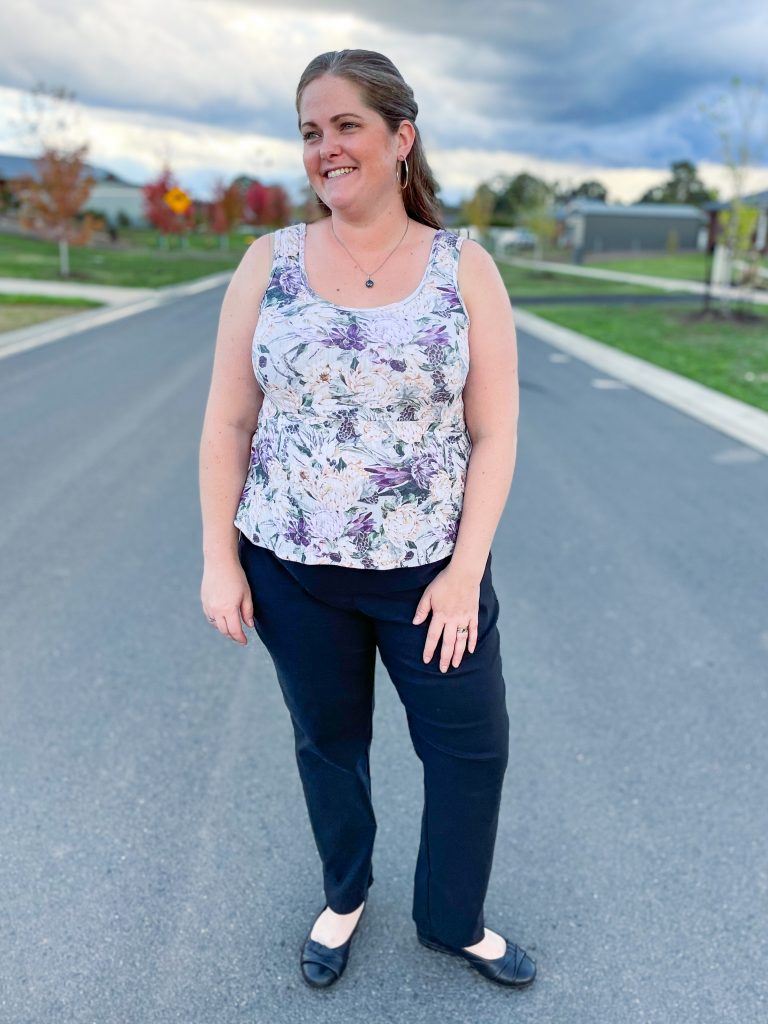
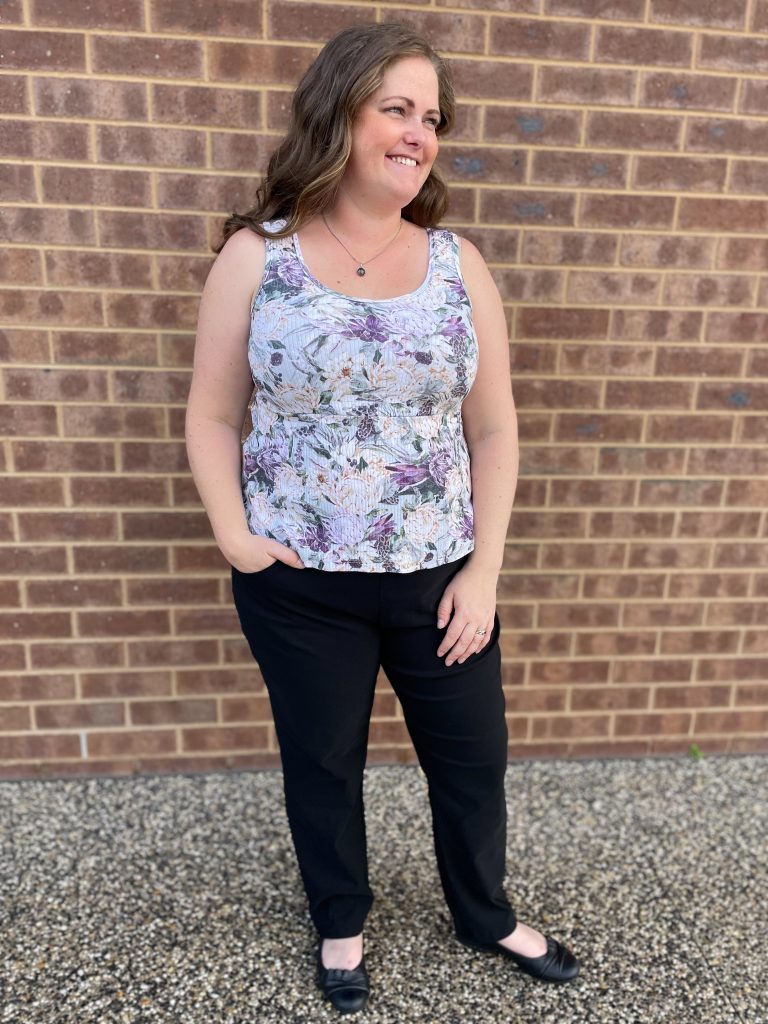
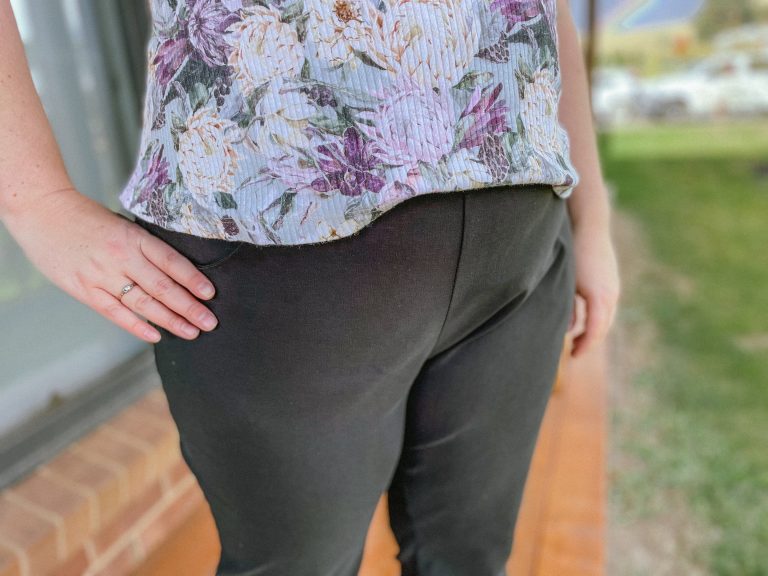
 The other bonus about the duet trousers is that they come with a pants fitting workbook that is great for helping to work out what any creases in your pants may mean.
As well as the workbook, Love Notions have released a Duet trouser course with this re-release, meaning its easier than ever to get help in getting your perfect fitting trousers.
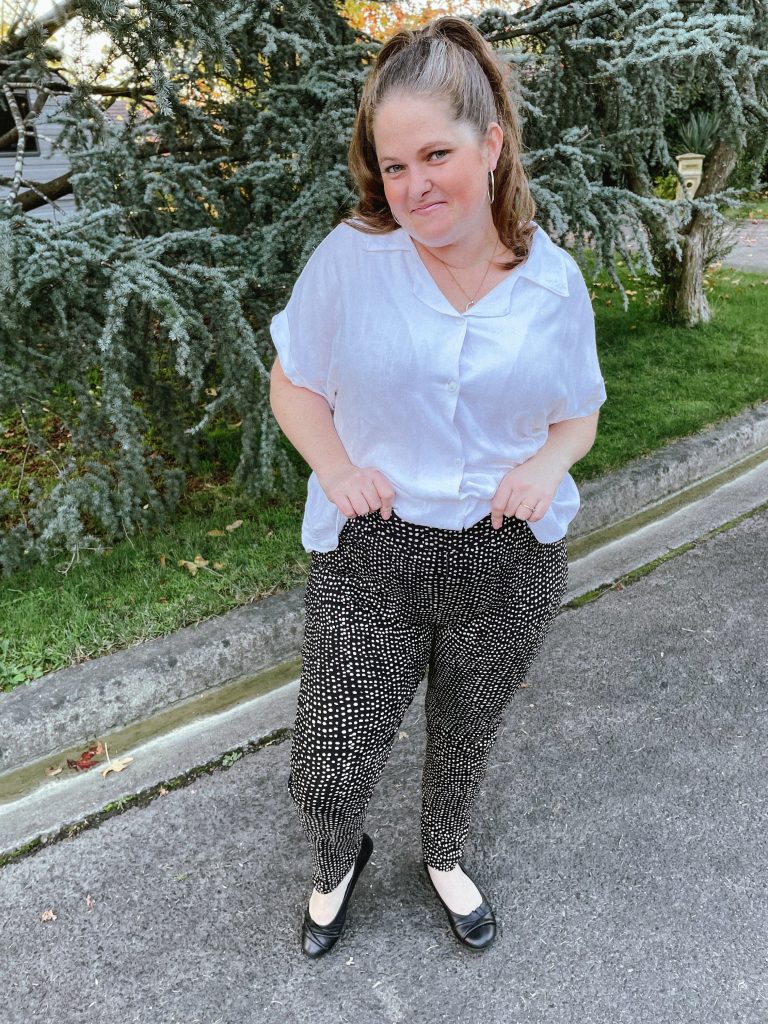
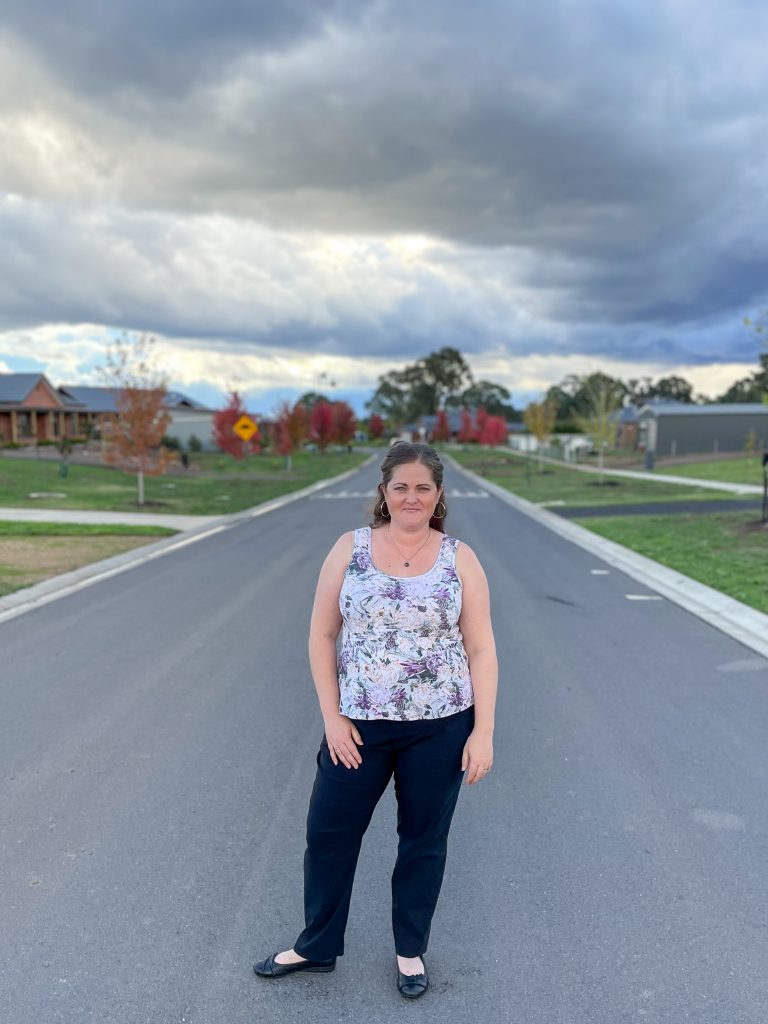
This will certainly not be my last pair I make, it is so nice to have a pair of slacks that not only look good, they feel good to wear as well.
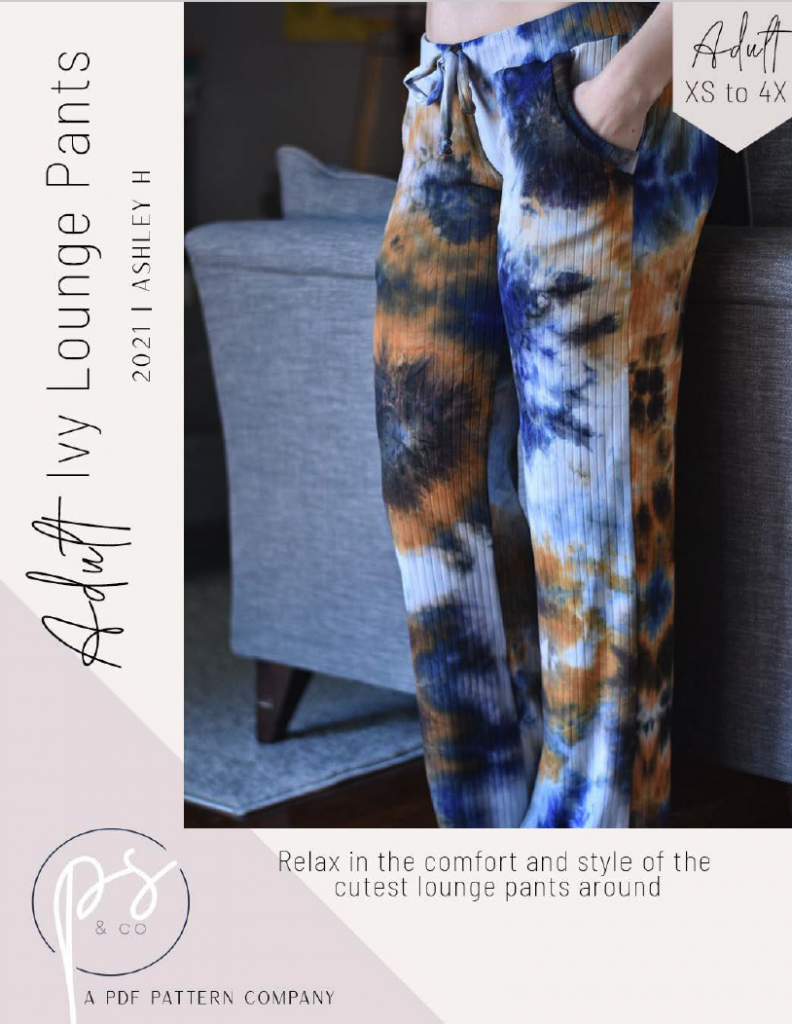
Pattern: Ivy Lounge Pants
Designer: Petite Stitchery & Co
Fabrics: Lounge Rib from Clover & Co
Measurements: Waist 39″; Hips 48″
Size made: 1XL
Adjustments: None
Pros: These are SO comfortable!! Also a really quick make and have a maternity option.
Cons: I didn’t love that there wasn’t a shorten/lengthen line through the crotch, which is where most adjustments need to be made.

Links:
The Wrap Up:
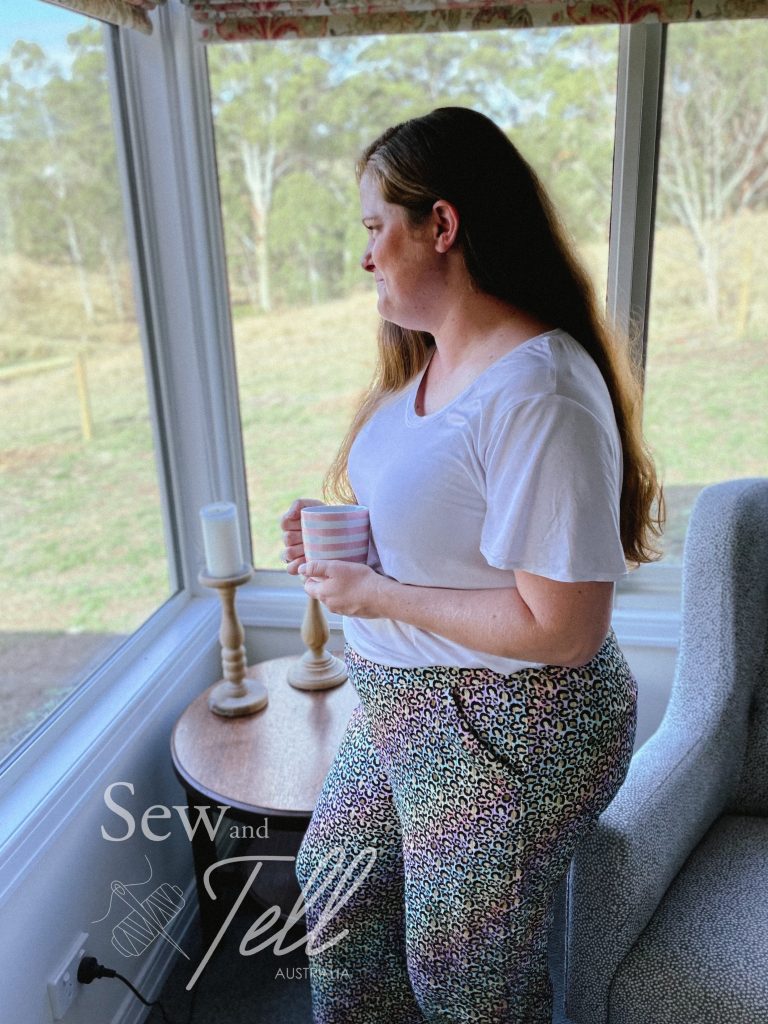
When I say these pants are comfy, I can’t even begin to explain HOW comfy they are. Since I made them a week ago, I’ve barely taken them off when I’ve been at home (and even out at some places hehe).
The first pair I made were a toile from some cheap ponte style knit from spotlight to see how I liked the fit. I was surprised I could make these without having to make my usual 1.5″-2″ lengthen in the rise for comfort and they still feel amazing. According to my measurements I was at the top end of a XXL, which my toile was, but I decided while they were still a good fit, I would size up for my proper pair as they were ever so slightly tight. Being a relaxed style track or jogger pant, I really wanted them to be looser fit, especially over my waist and lower tummy. I made the high waisted version which I can pull up to just above my belly button and its not constricting or uncomfortable.


I think a lot has to do with the fabric I used as well. I am a huge fan of lounge rib, it is so soft and luscious, its like having my legs wrapped in fluffy clouds. Clover and Co is one of my fave fabric suppliers to get printed lounge rib from as I love the quality and the range of designs is also really fabulous. Well worth a look. I have quite a few of their printed lounge rib designs and will be making my kids a bunch of long sleeve tees for winter from them.
So all in all, I will definitely be making more of these. I want to make some from French terry for Winter as my track pants that I will likely live in for the next few months haha.
Gallery:


Pattern: 22 – Drawstring Leggings
Designer: Brindle & Twig
Fabrics: Milk & Cookies – Wattle Hill Fabrics; Lounge Rib – Clover & Co Fabrics
Skill: Beginner
Materials & Notions: Meant for knit fabrics
Machines: Overlock machine / Serger – If you don’t own one, you can use a small zig-zag stitch in place of the serged seam.
The Wrap Up:
The number 22 pattern from Brindle & Twig, the Drawstring Leggings, is a super cute and very easy pattern meant for medium weight knit fabrics. It comes in sizes preemie – 6T and is a great Unisex pattern. See the video tutorial below that goes through step by step how to put this pattern together. A great staple for those cooler months.