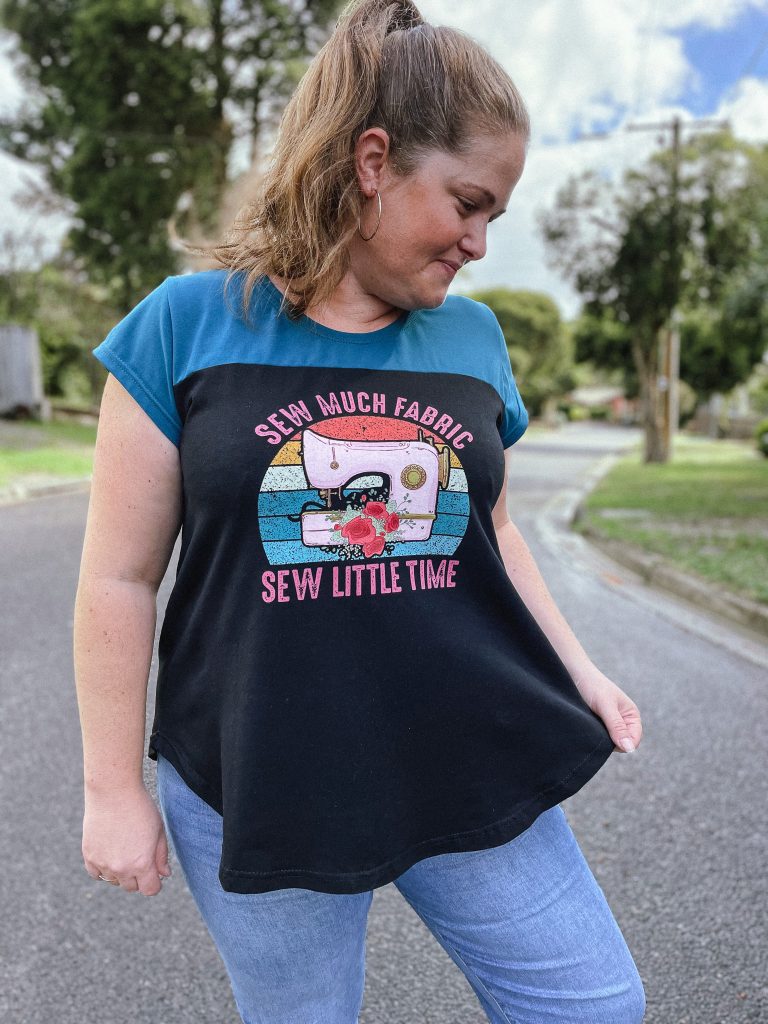
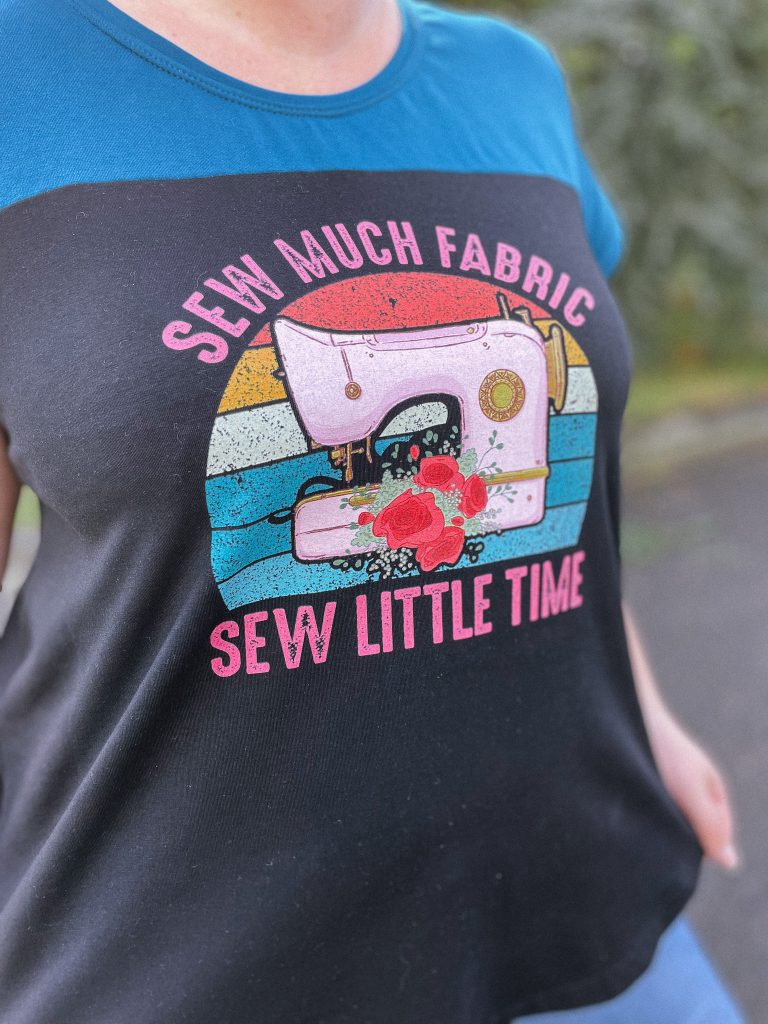
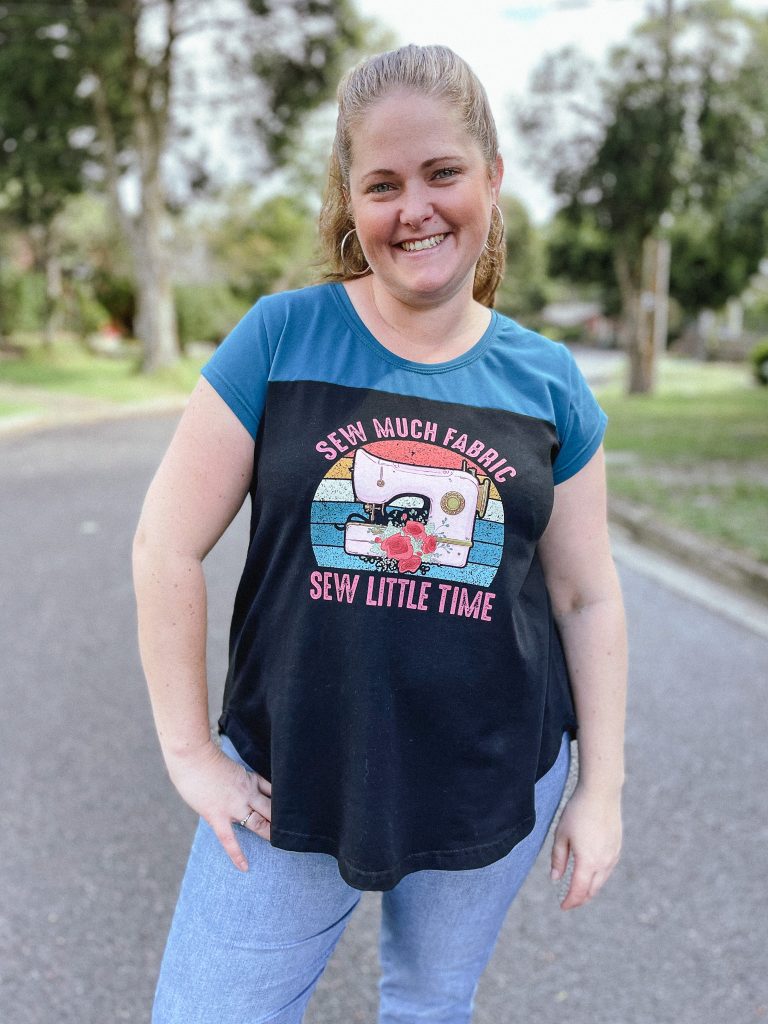
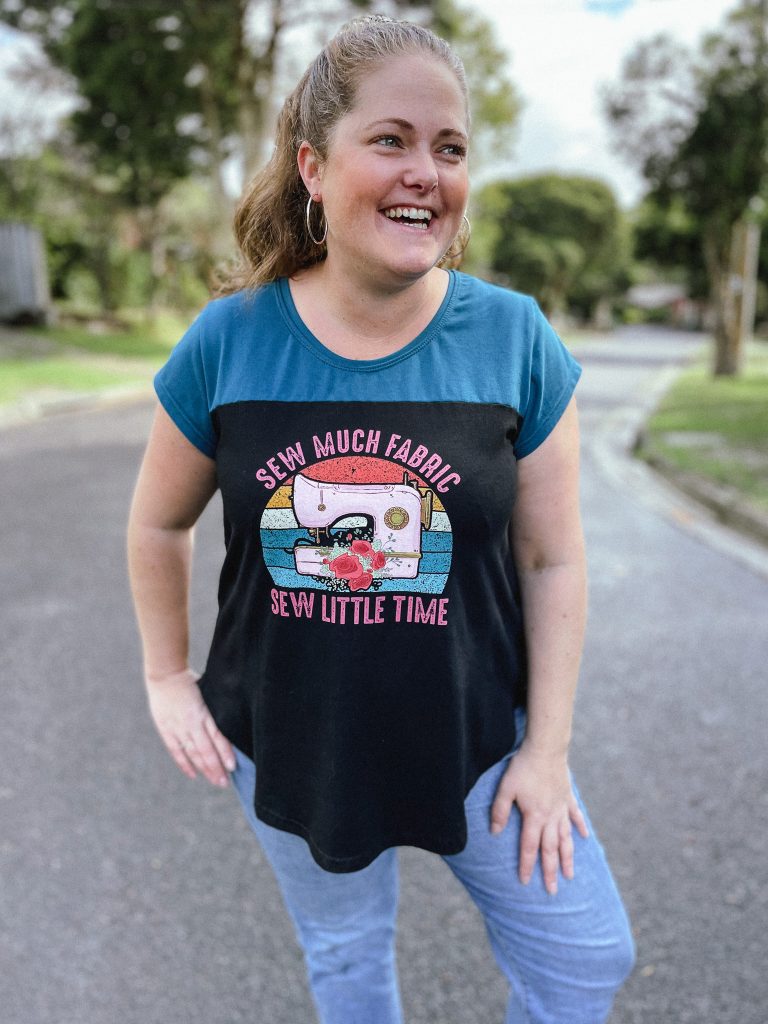
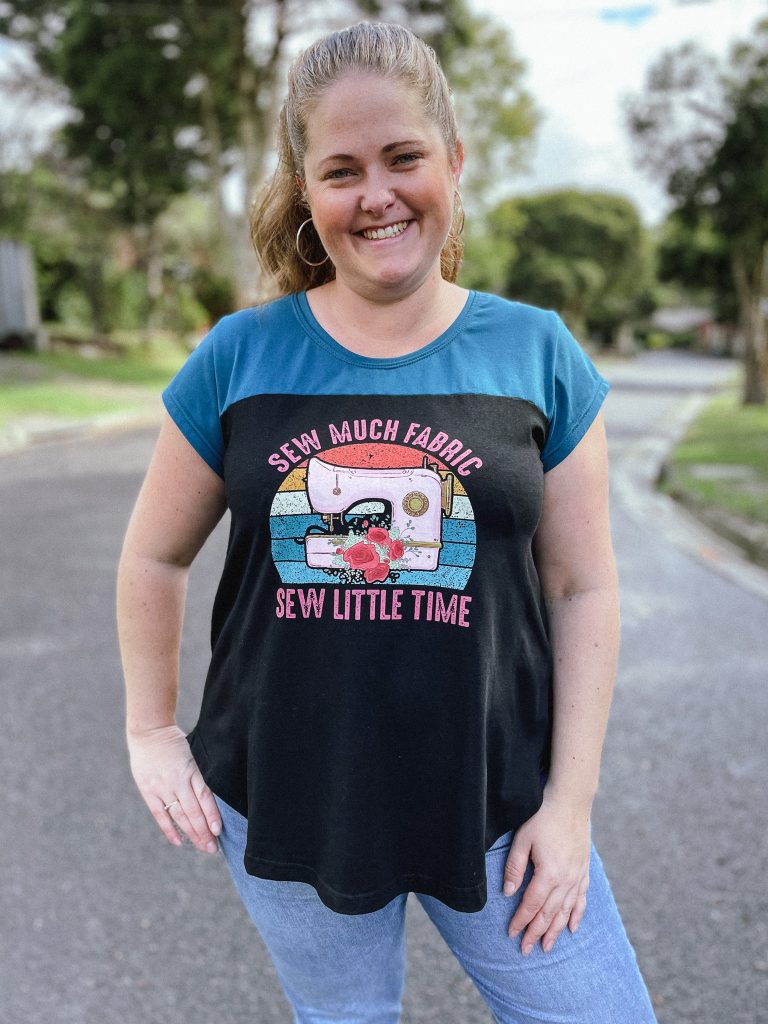
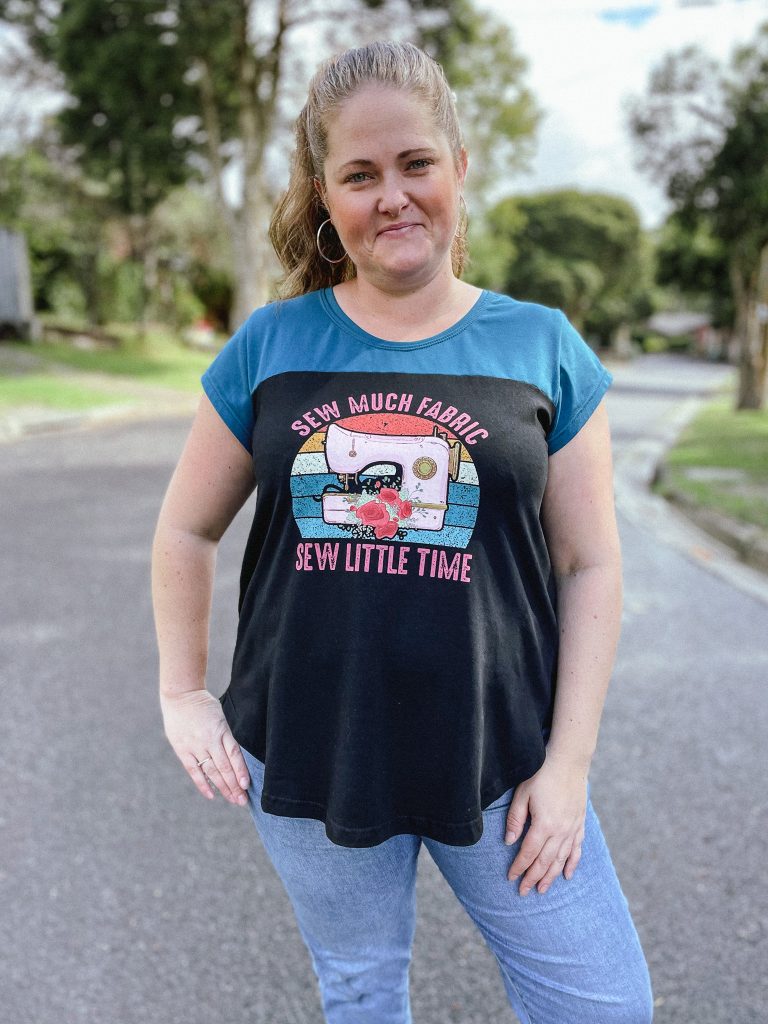
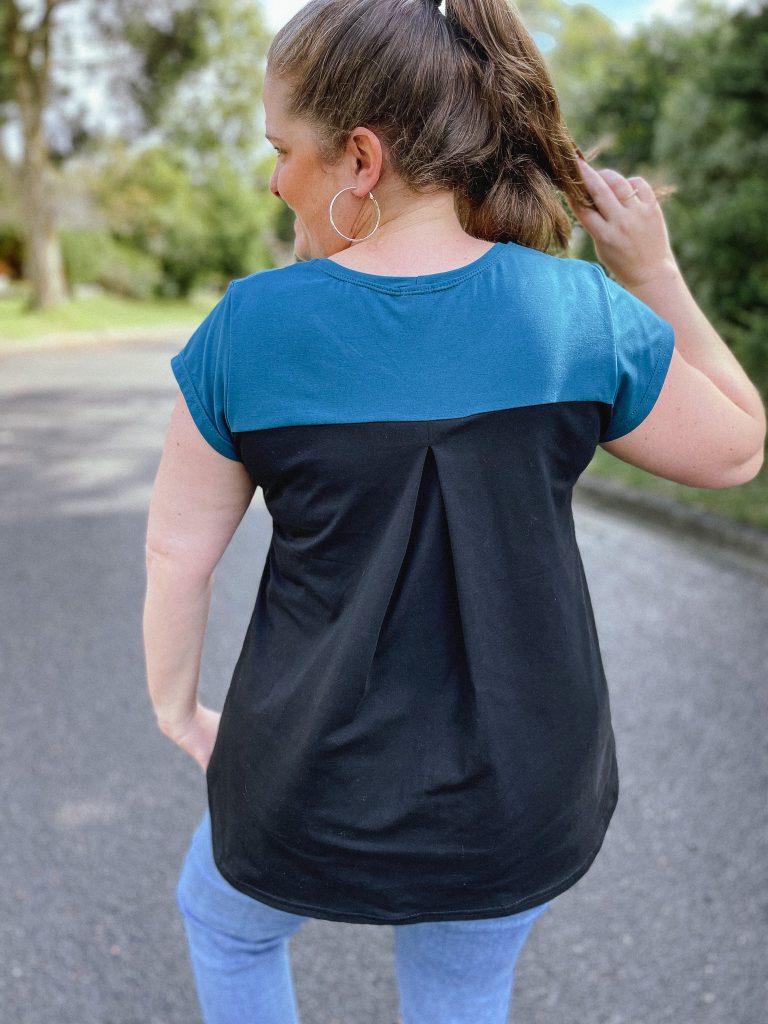
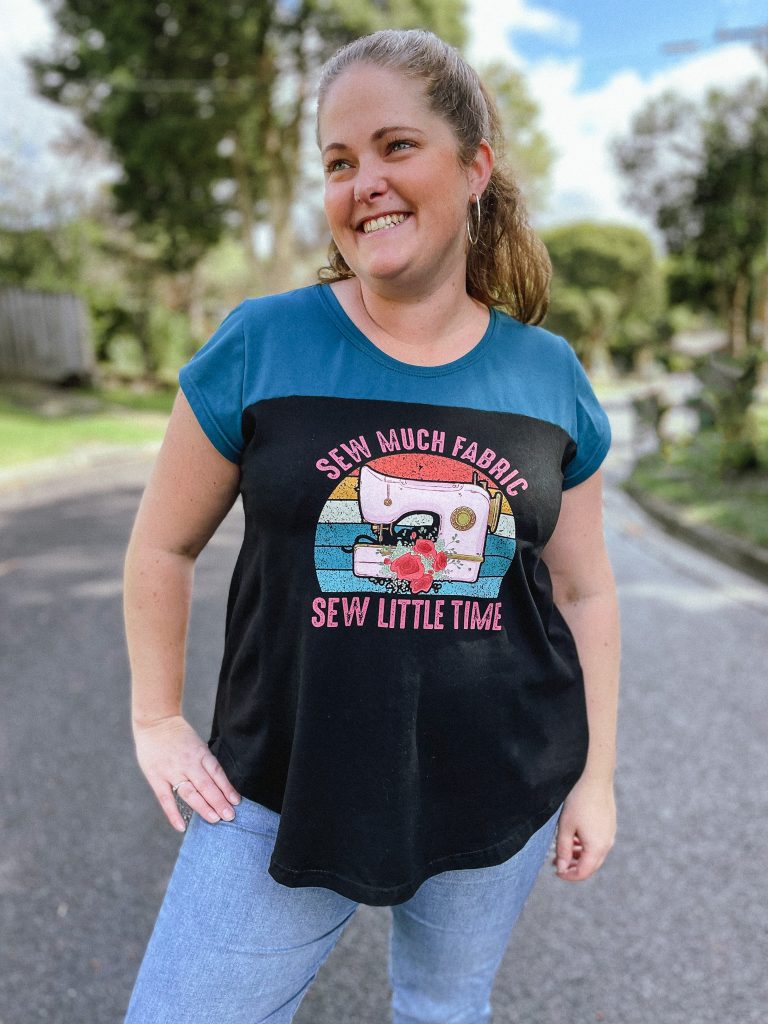
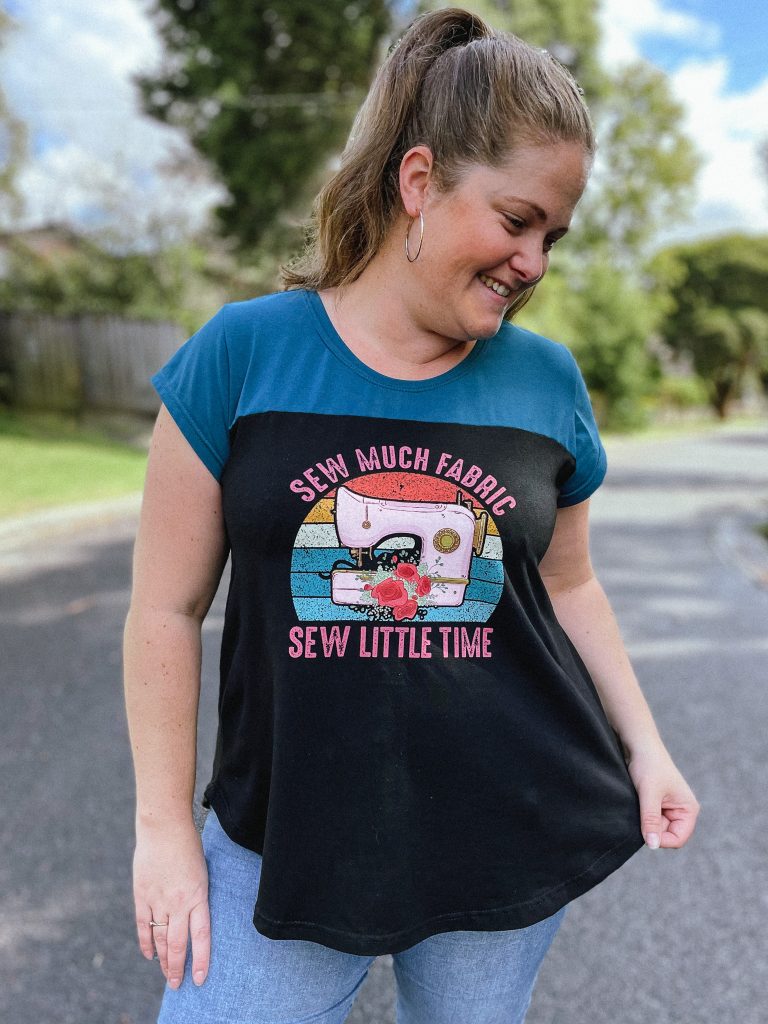
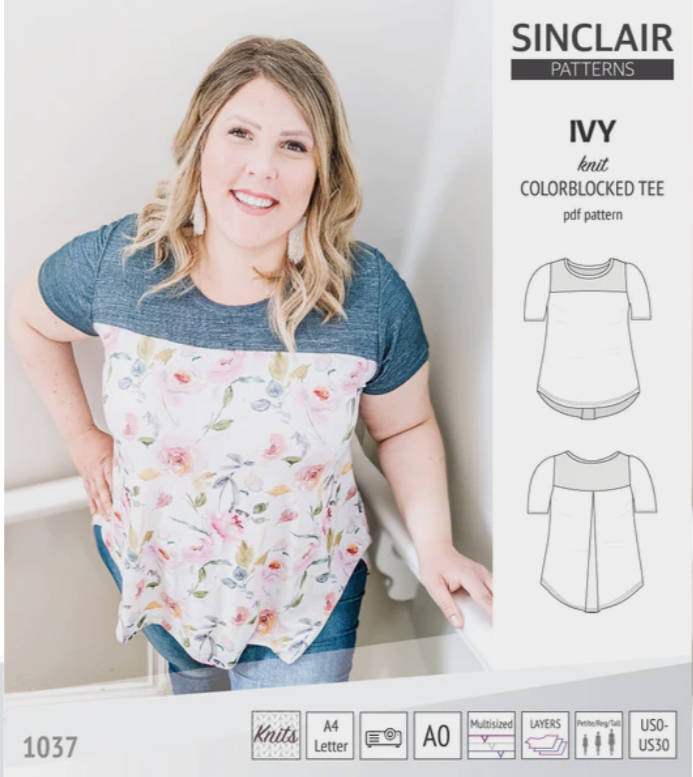
Pattern Review of the Ivy Colourblock Tee
Learn to Sew

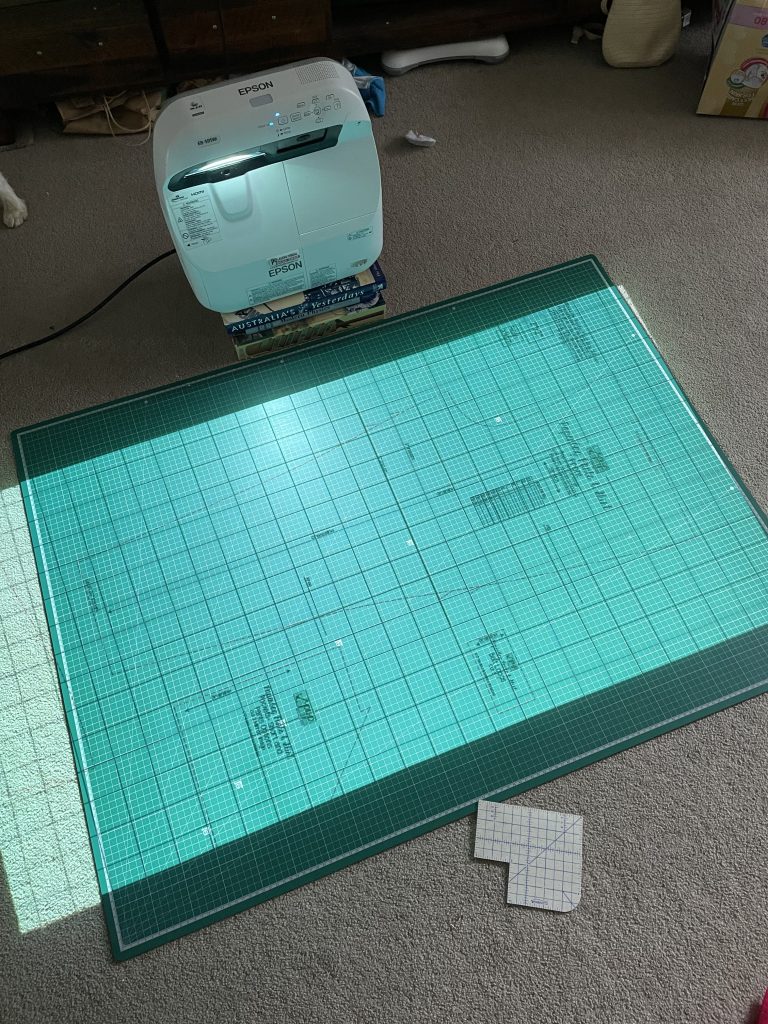
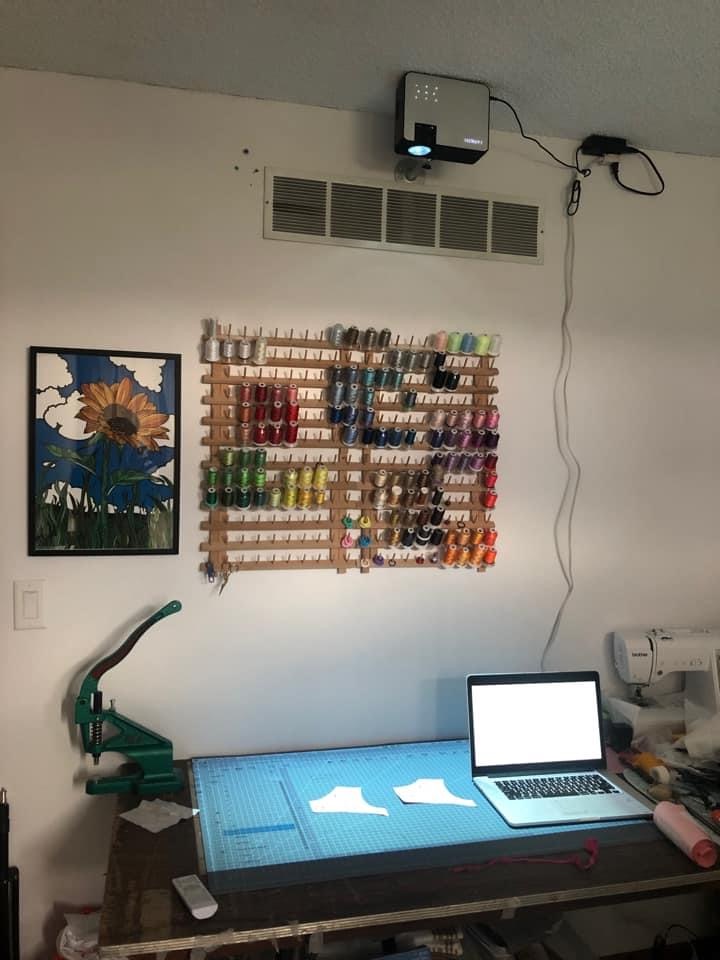


I definitely feel this is a hugely positive step in pattern making and designing, I am excited to be at the forefront of this exciting new development.
To watch my video overview, click the play button below. Otherwise, I’ll see you in the projector world! 