Pattern Review of the Ivy Colourblock Tee
Learn to Sew


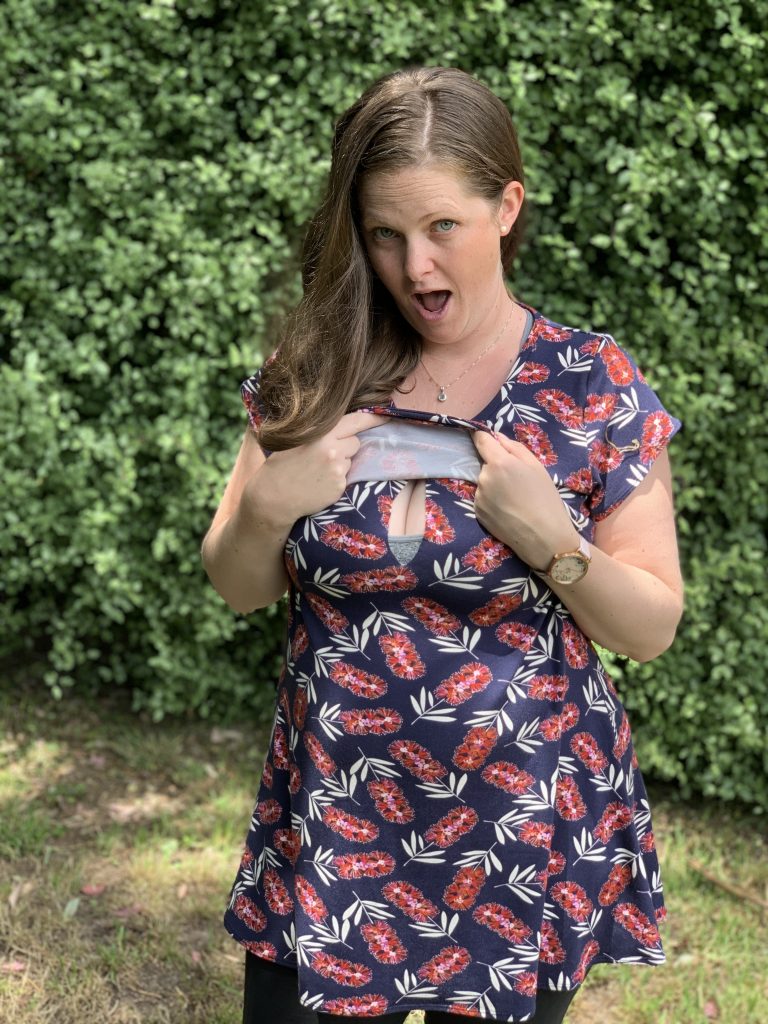

 I think this was one of the first patterns I ever tried of Peek a Boo as it had the nursing option and I loved it straight away.
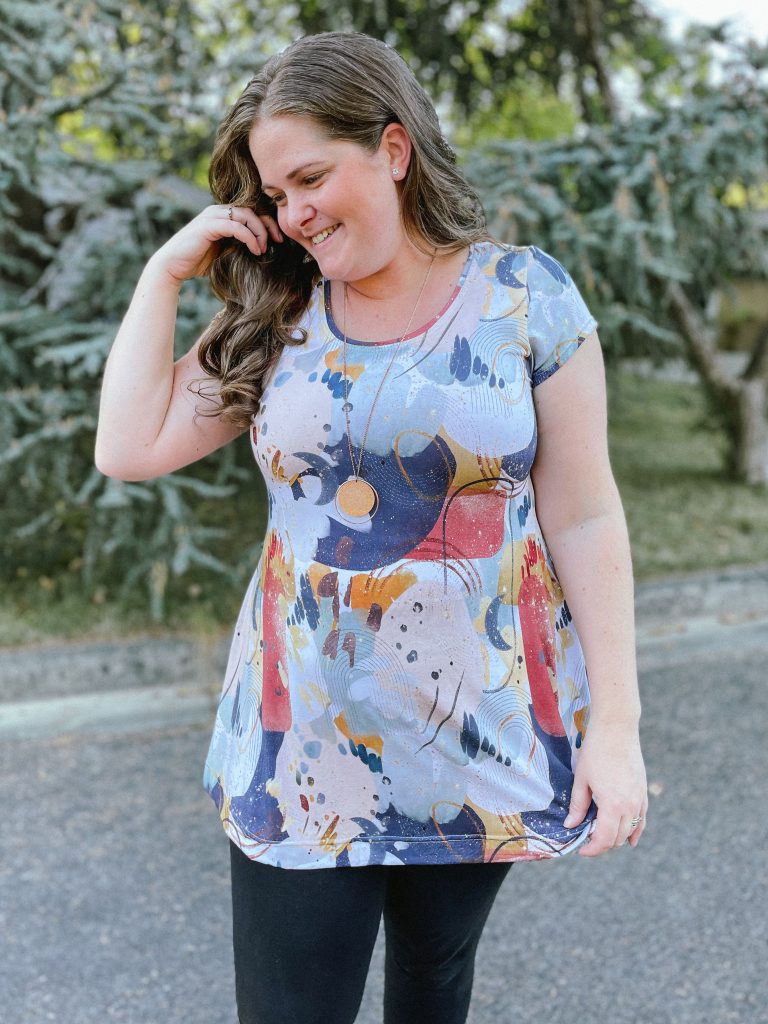
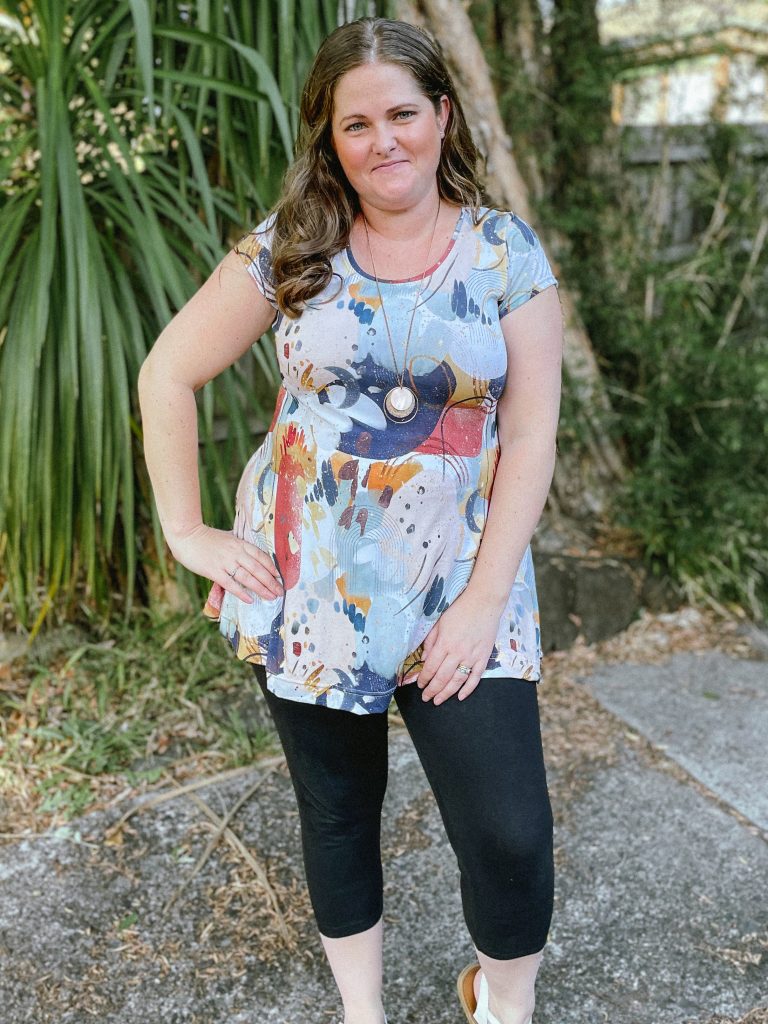
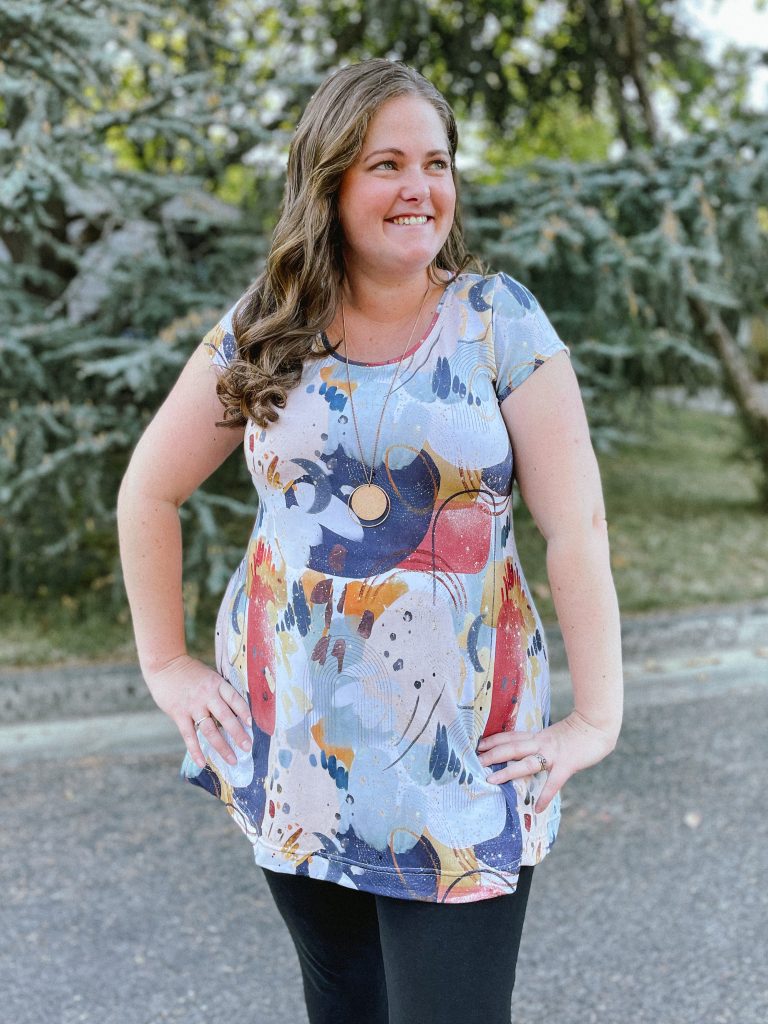
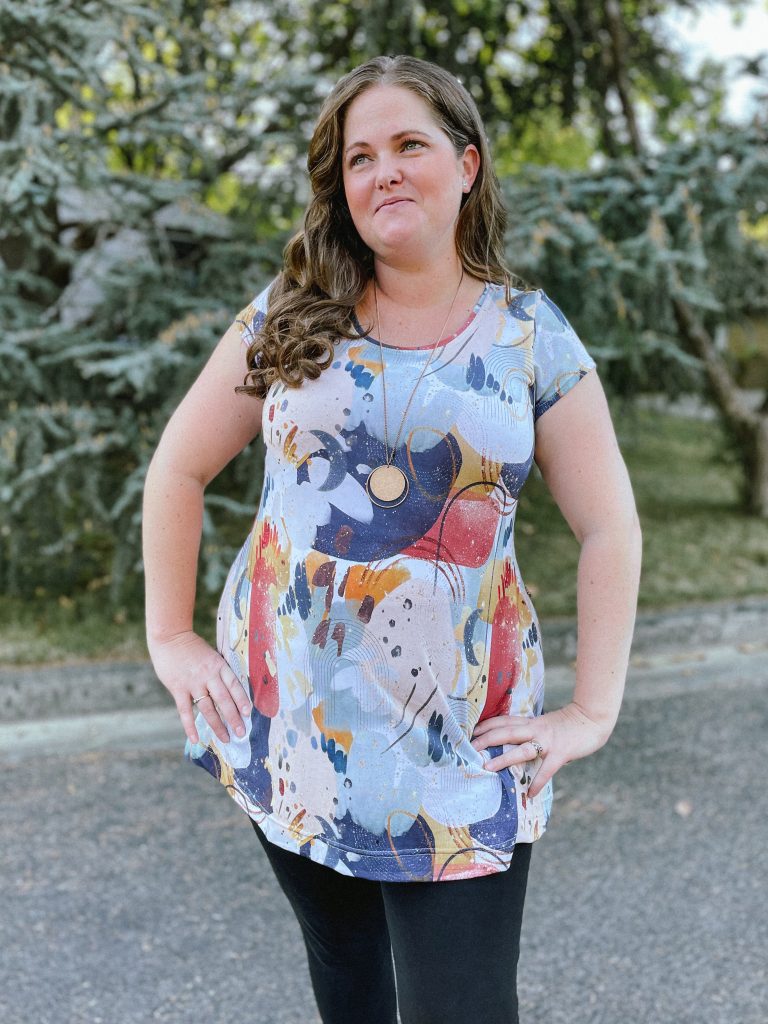
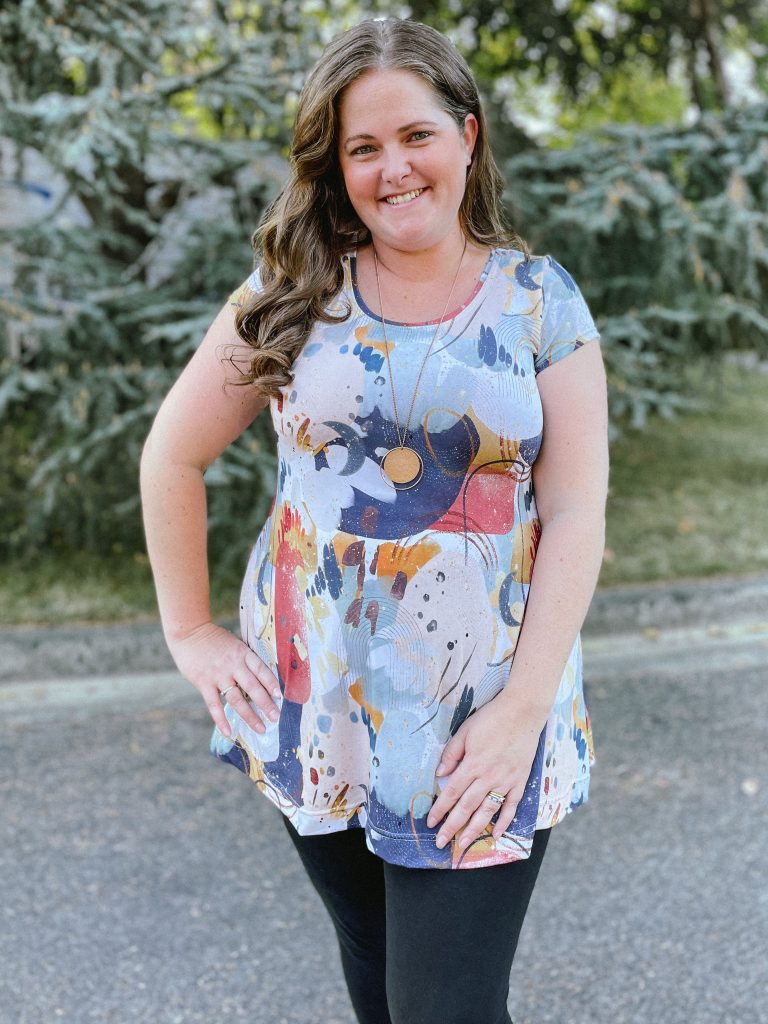
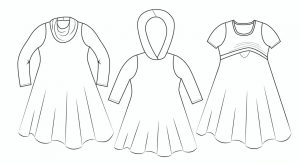
The fit and flare style really suits me and I love that their are a couple of different neckline options. Especially over the fringe months, I really enjoy a cowl neck for that little bit of added warmth, without having to carry a scarf around.
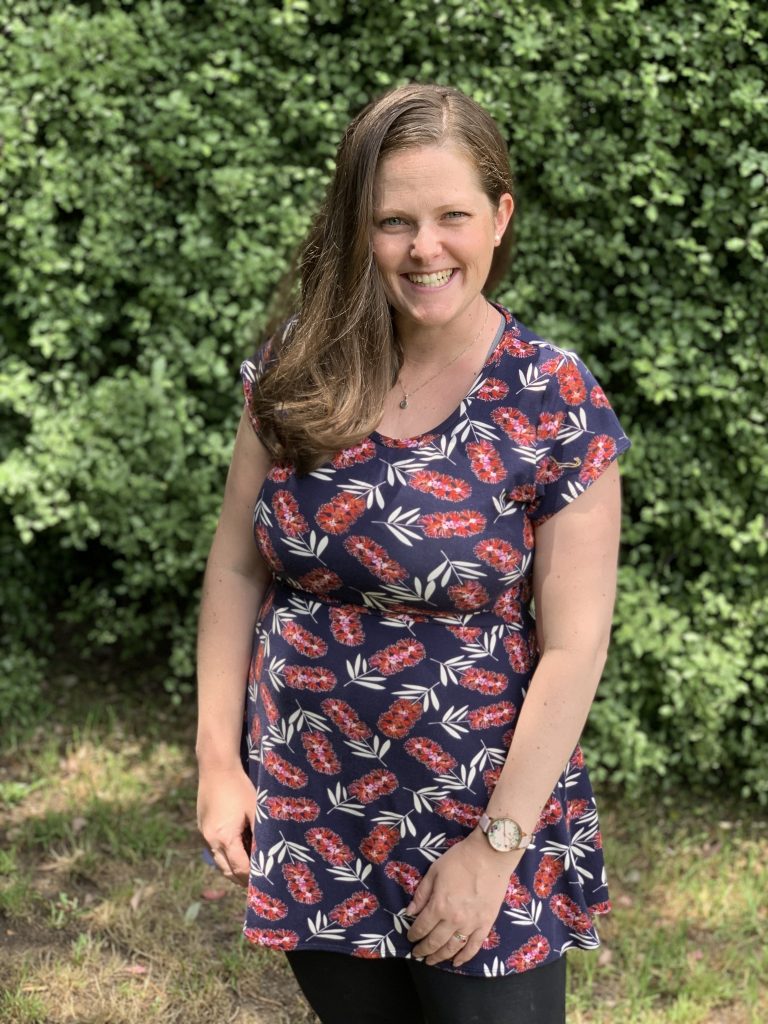
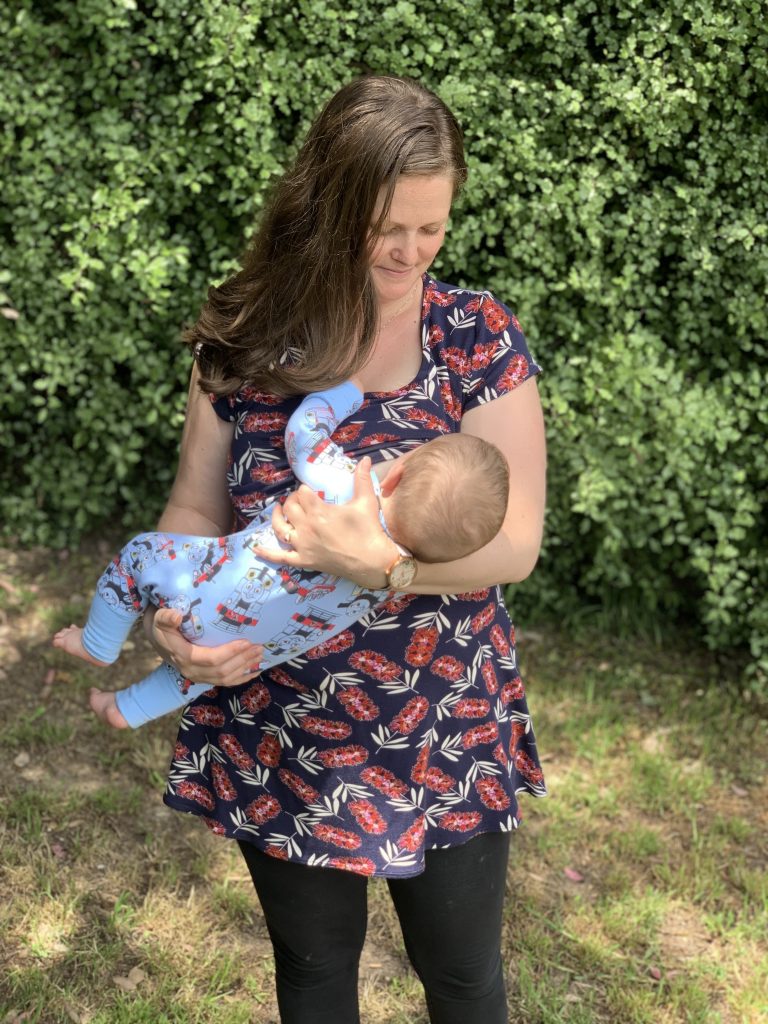
Like I mentioned as well, this has the option of nursing which is so nice to see. When I was feeding my son I had such limited choices in Ready to Wear clothing and it was kind of what sparked me to really give clothes for myself another go, so to be able to make stylish feeding friendly tops was amazing!
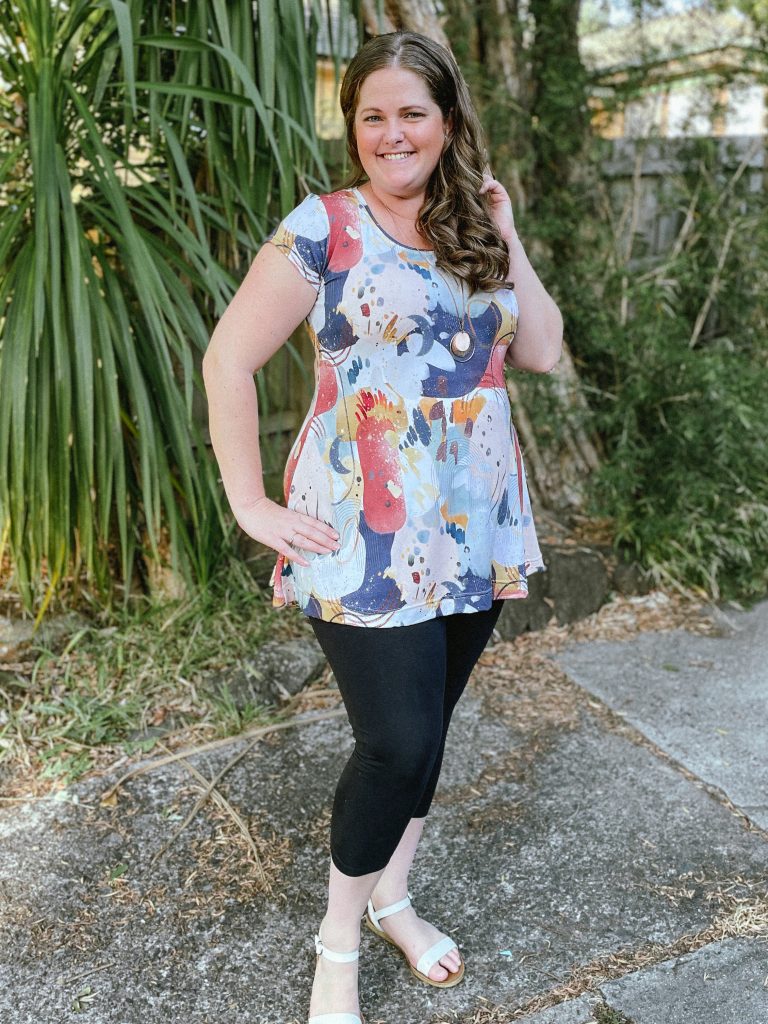
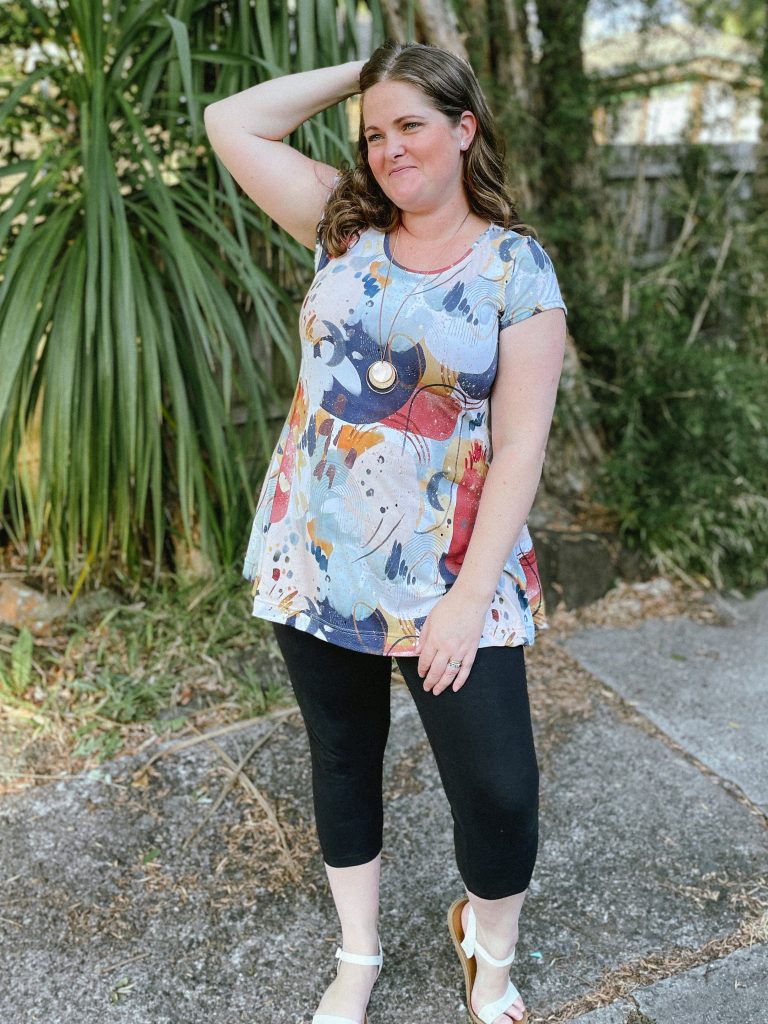
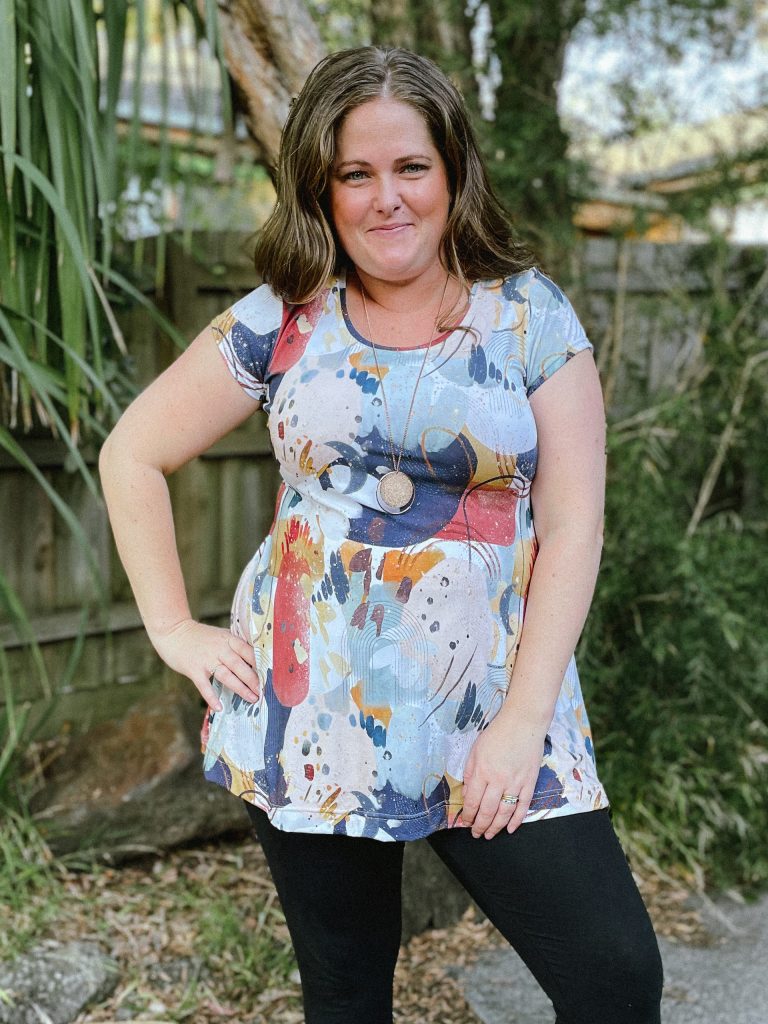
The fabric I made my latest from is a pre order I did with Clover and Co in Bamboo Lycra. I like that this fabric design and pattern can be paired well with both leggings and jeans, making it easy to dress up or down. Put a little crop jacket it with it and a pair of heels if you’re going out, or straight cut jeans and a pair of white sneakers and you’re day ready.
I 1000000% will be getting more of Clover’s bamboo lycra as well. It is DIVINE!!! SO soft and drapey to wear. I want all the bamboo lycra now.
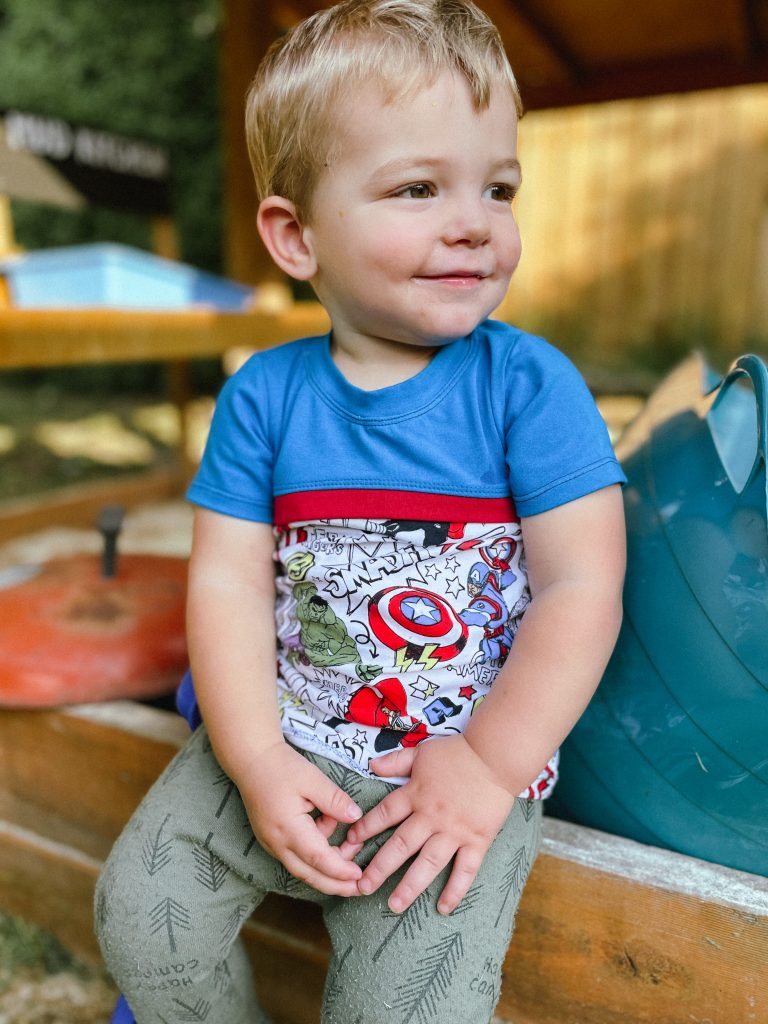
I love the kids discoverer tee. Its such a great, simple pattern with great colour blocking. It’s one of my go to patterns when making the kids basics.
Recently, I’ve been adding a little contrast knit binding at the front colour blocking, just to give the pattern a little something-something and I really think it jazzes it up a little. The best thing is, its really EASY to do! In this blog, I’ll walk you through all the steps you need to take to add your own contrast binding. If you haven’t already, grab the pattern here:


Let’s get started!
The first thing you need to do is cut out all your pattern pieces as per instructed in the pattern. You should have the front top piece, back top piece, 2 bodice pieces (front and back), sleeves, neckband and the optional cuff and waistband pieces if thats what you are doing, as shown below. (I chose not to do those pieces and will hem my sleeves and tee so they are not pictured)

Once you have cut those pieces, you are going to take one of the bodice pieces and measure how wide it is across the top. I’m making the 2T and its about 12 inches from side to side.

You are now going to cut a piece of knit fabric that is going to be your binding. You want this to be about an inch longer than what you measured the top of your bodice piece to be anything from a 1-2 inches in width. For this tee I cut mine 2 inches wide, but I think I actually prefer the original knit binding I did on the black and grey tee which I’m pretty sure was only 1 inch wide. You just need to take into account that you are going to loose about 1/4 of an inch or more when sewing it on.
I used a clear quilting ruler to cut mine which made it really easy to mark out the 2 inches width and the length I wanted of 13 inches long.

Once you’ve cut your knit binding piece, fold it in half, wrong sides together and give it a press if you like. Then you are going to pin/clip it along the top of the bodice piece, raw edges together. It should look like the image below.
Baste the binding piece to the bodice piece with a long straight stitch on your sewing machine.

Now lay your top front piece on top of the bodice and knit binding piece, aligning the raw edges so the knit binding piece is sandwiched between the bodice and the top front bodice piece. The edges of the binding will stick out at the sides but thats ok, we’ll trim them after. Pin/clip in place and serge them together.

Flip the front bodice piece up and press the seam toward the top. Top stitch the seam in place using your preferred top stitching method. I have used a cover-stitch but a stretch stitch or twin needle on a normal machine will look nice as well.

Trim the sides to neaten up your front bodice piece.

Tadah! You can now continue with the instructions as indicated in the pattern.

As I mentioned above, have a try with different widths until you get the width of knit binding you are happy with. I think adding the binding gives this tee such a snazzy look and helps give it a little extra something!
Thanks for reading, I really hope it helped you add your own knit binding to your kids discoverer tee. Tag me on instagram with your makes, I’d love to see them! @sewandtellau
Gallery:


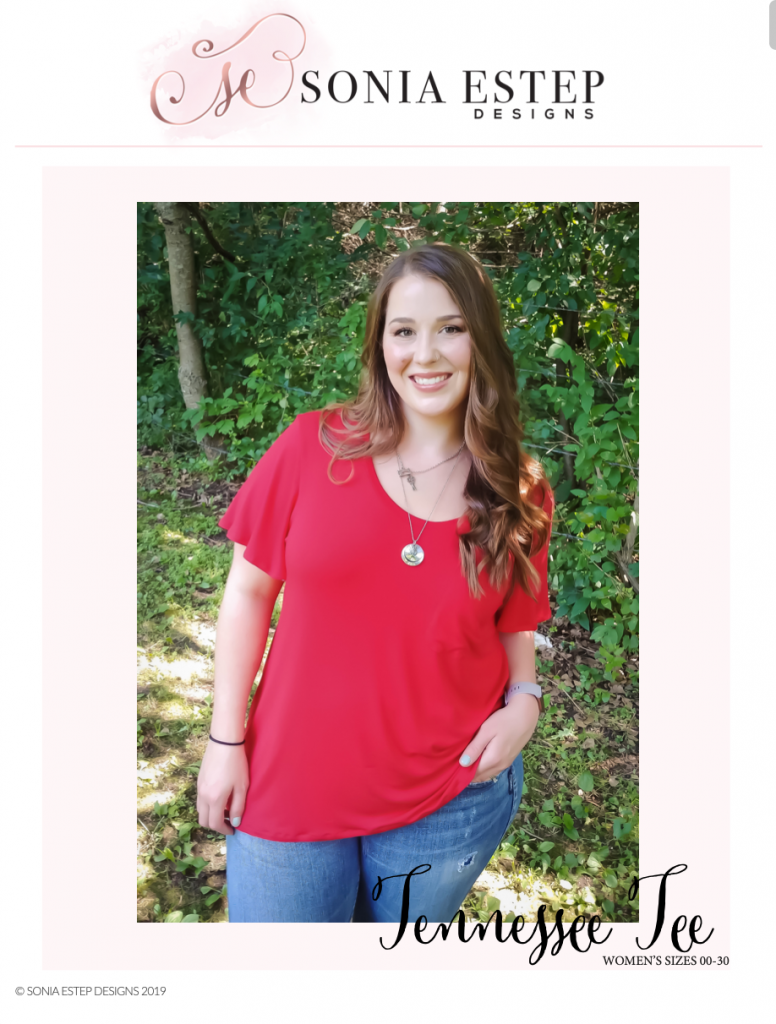
Pattern: Tennessee Tee
Designer: Sonia Estep Designs
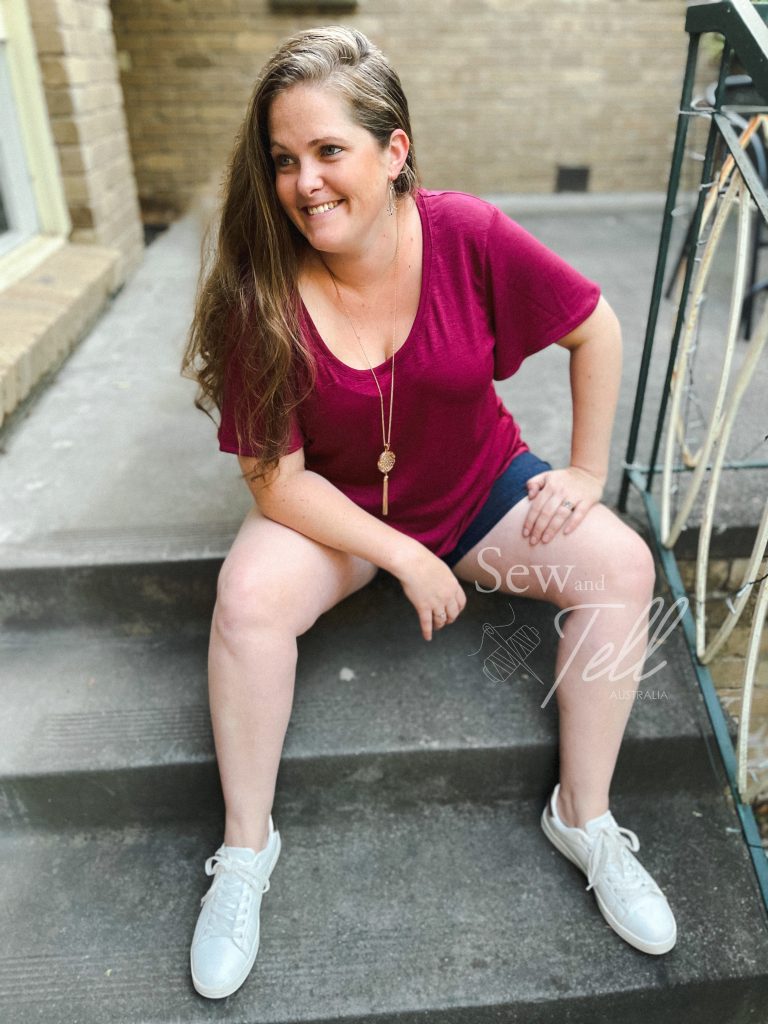
Fabrics: Viscose Slub – Lush Fabrics
Measurements: Bust: 45″; Waist: 39″; Hips: 48″
Size made: 18 graded to 20 hips
Adjustments: Grading between sizes
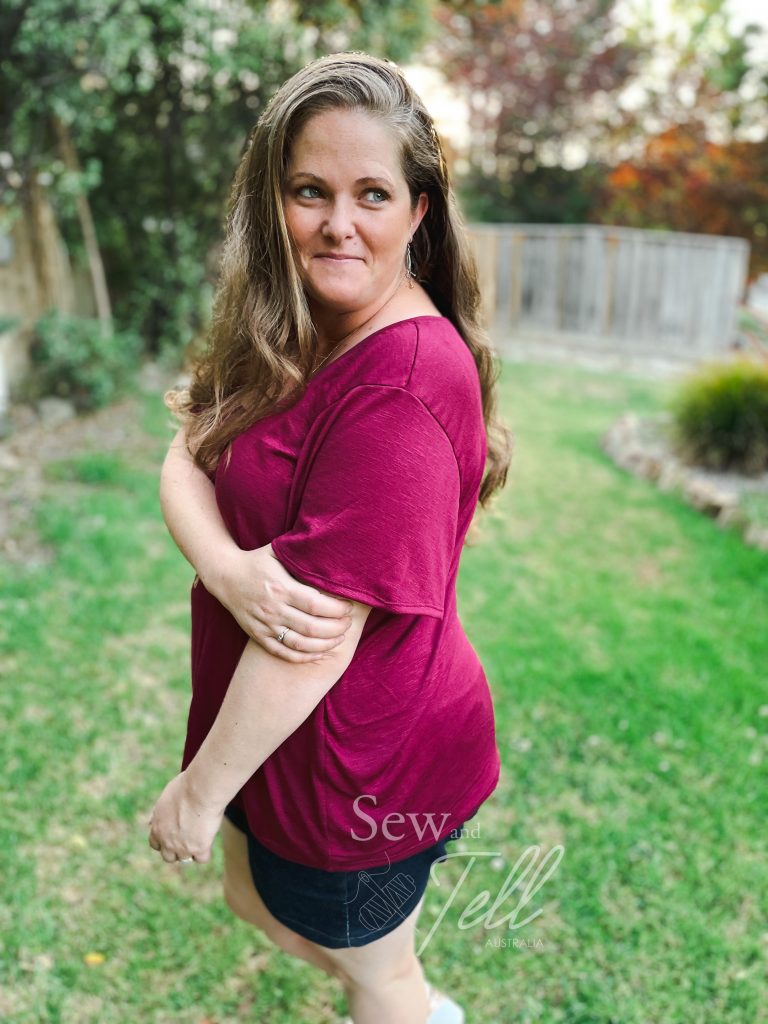
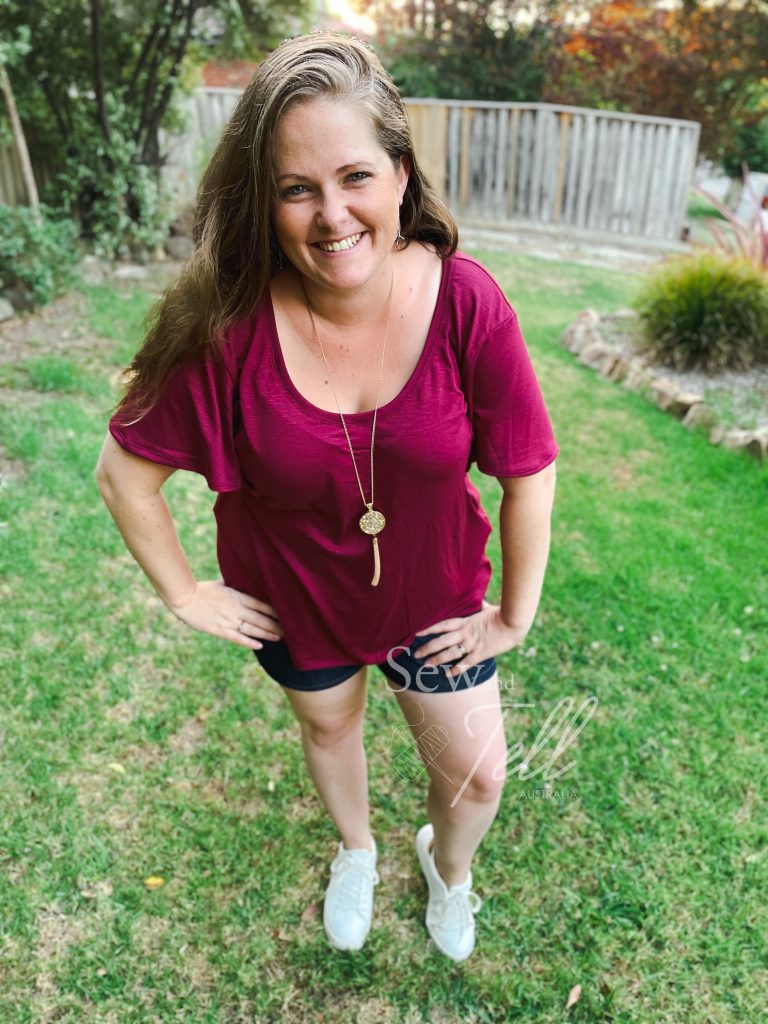
Pros: I really love the relaxed style of this and the flutter sleeves.
Cons: I think I’ll make a size 16 and grade out to a 20 next time, its quite big up top for me.

Links:
The Wrap Up:
I was asked to sew this one up as part of Sonia Estep Designs Hello Monday promotion, and I can see it fast becoming one of my go to tee patterns.
Relaxed fits are generally my style, so this suits me perfect. However it does seem to have quite a fair bit of ease built in, so I think I will size down in the next one I make. Possibly a size 16 up top graded to a 20 at my hips.
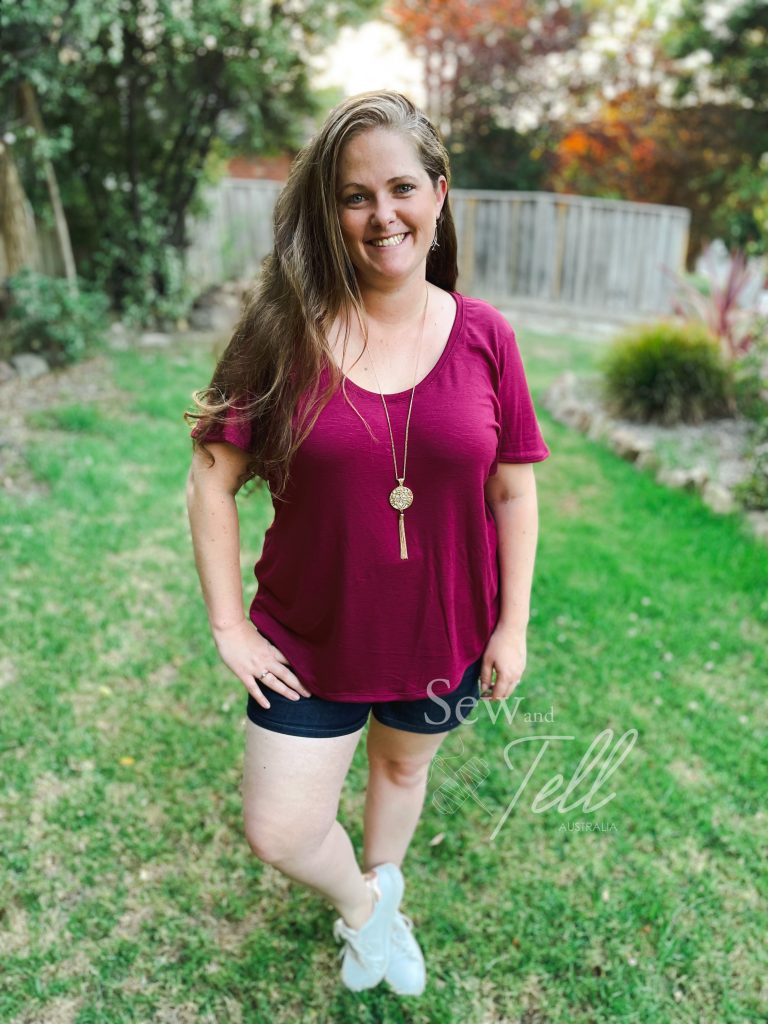
I have had this Burgundy/Red Wine Viscose Slub from Lush fabrics Australia in my stash for a while with a tee pattern make in mind and I can say I think it was the perfect pairing. I have realised I am not a huge fan of polyester fabrics in general as I get quite hot in them, but being a roomy style, it isn’t too bad. The drape works really well with the flutter sleeves and I tend to favour scoop necklines as it compliments my décolletage.
I would highly recommend grabbing this to add to your basics collection, especially while its on sale Monday 14th February 2022.
Gallery:


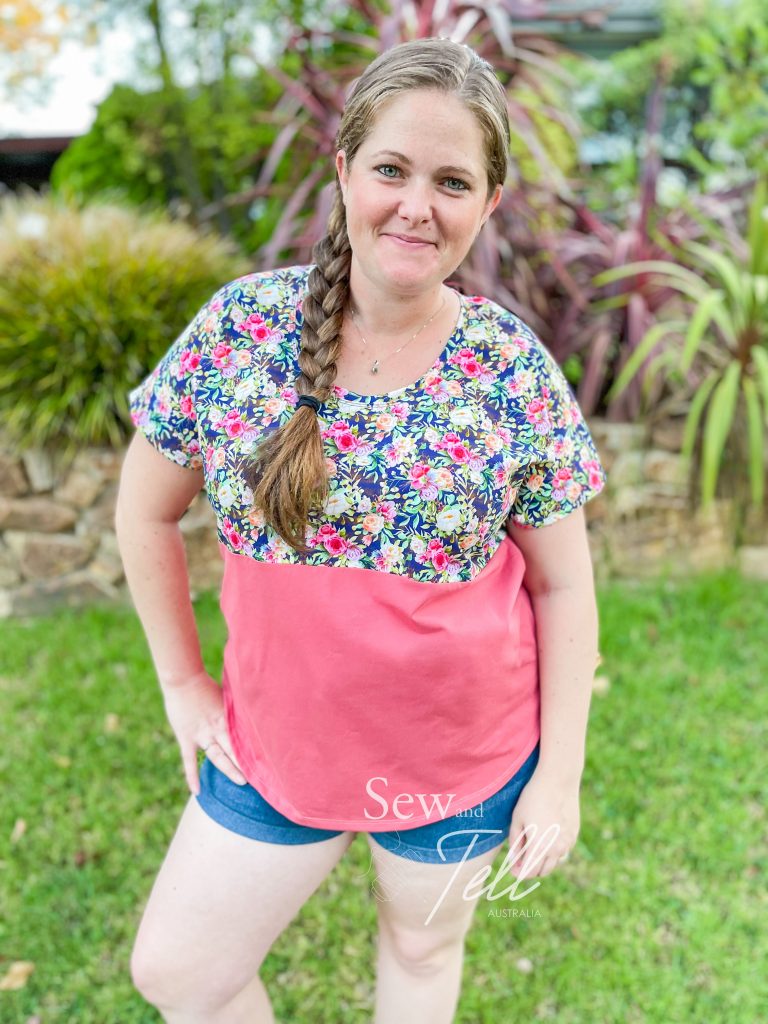
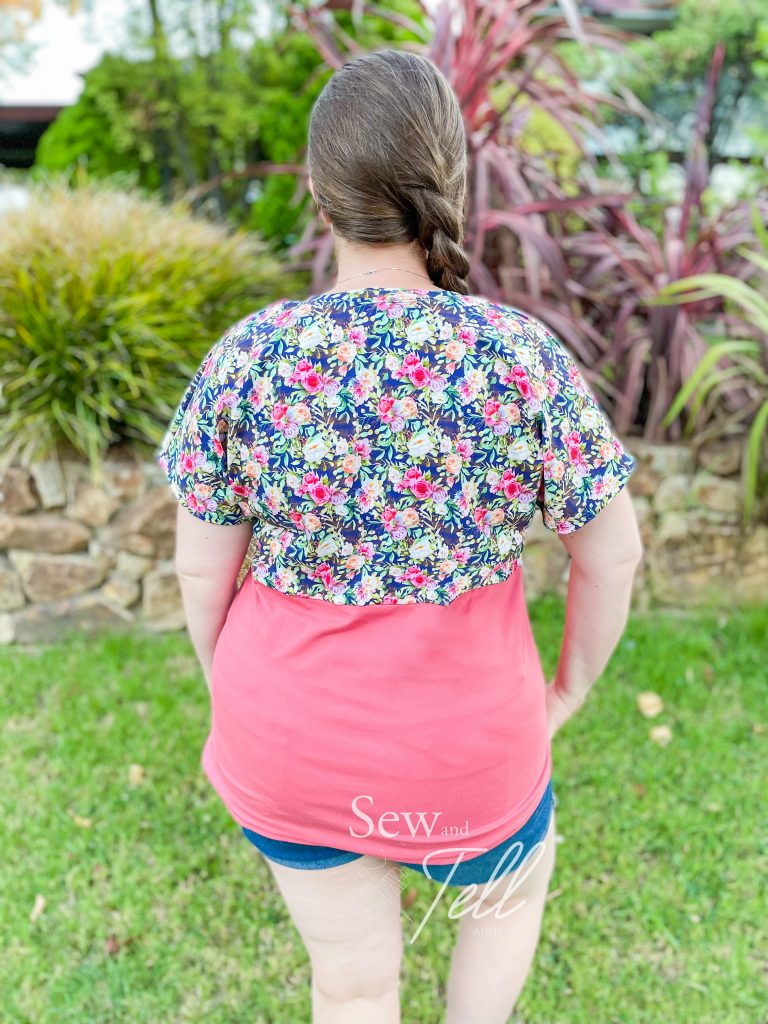
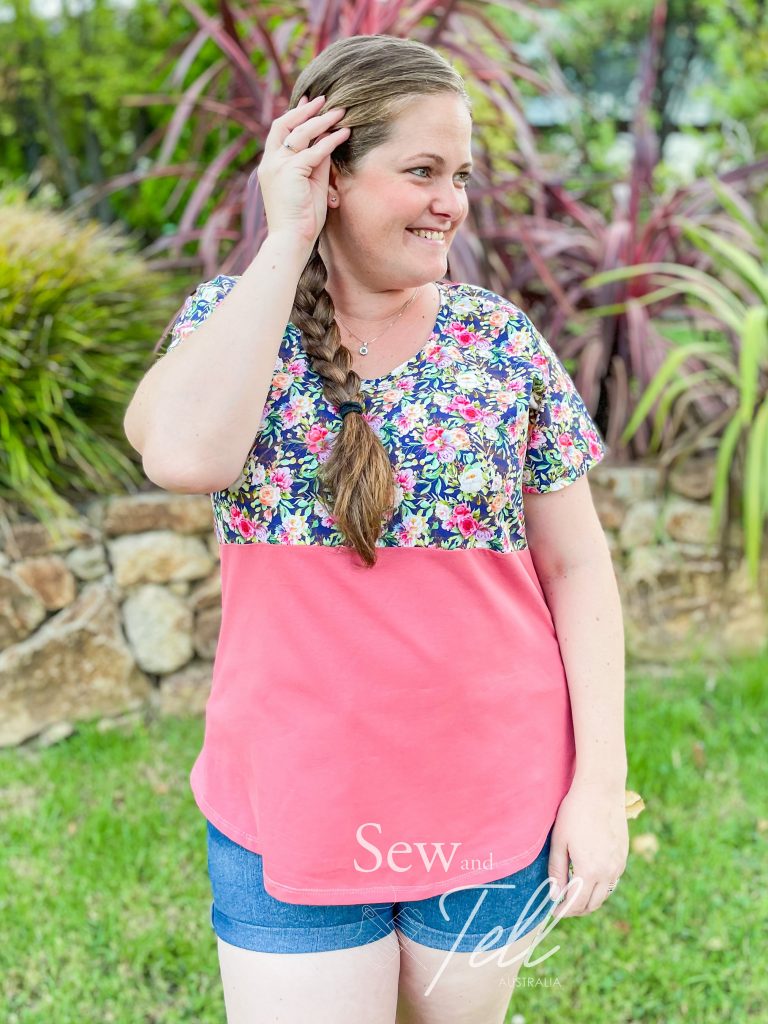
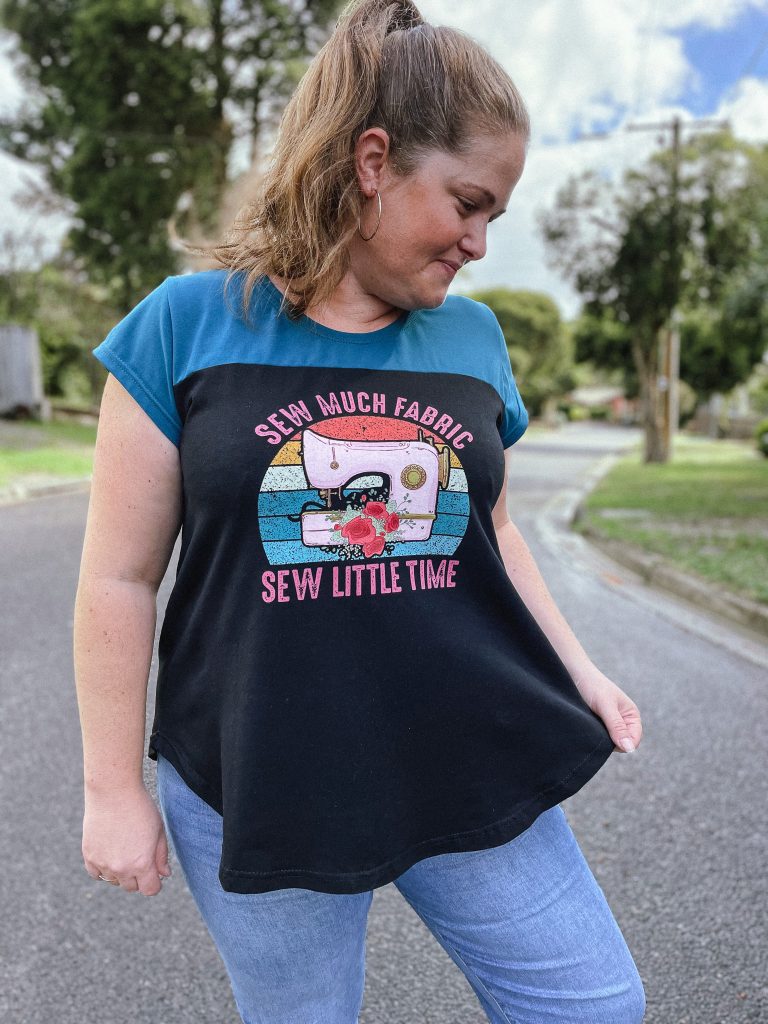
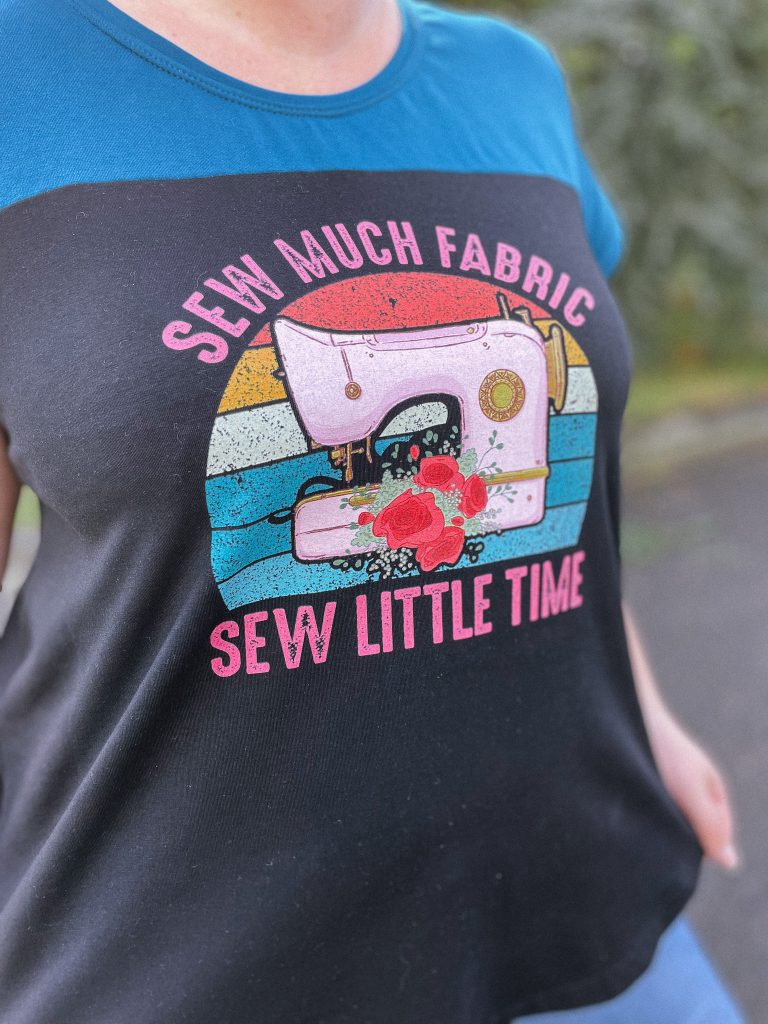
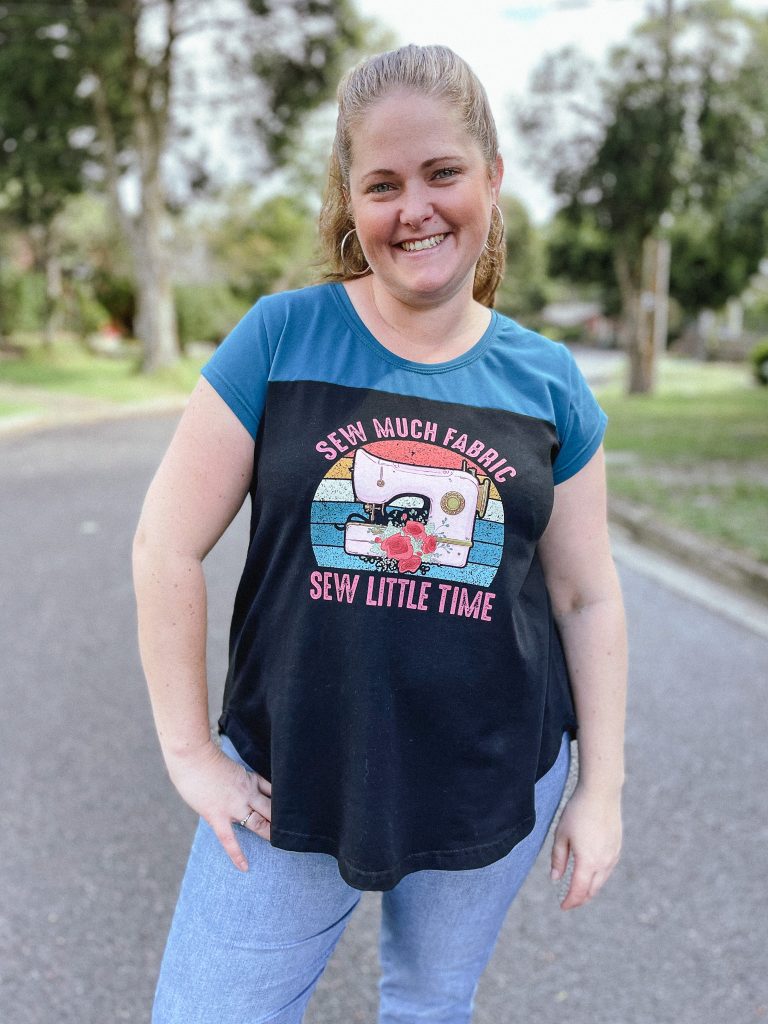
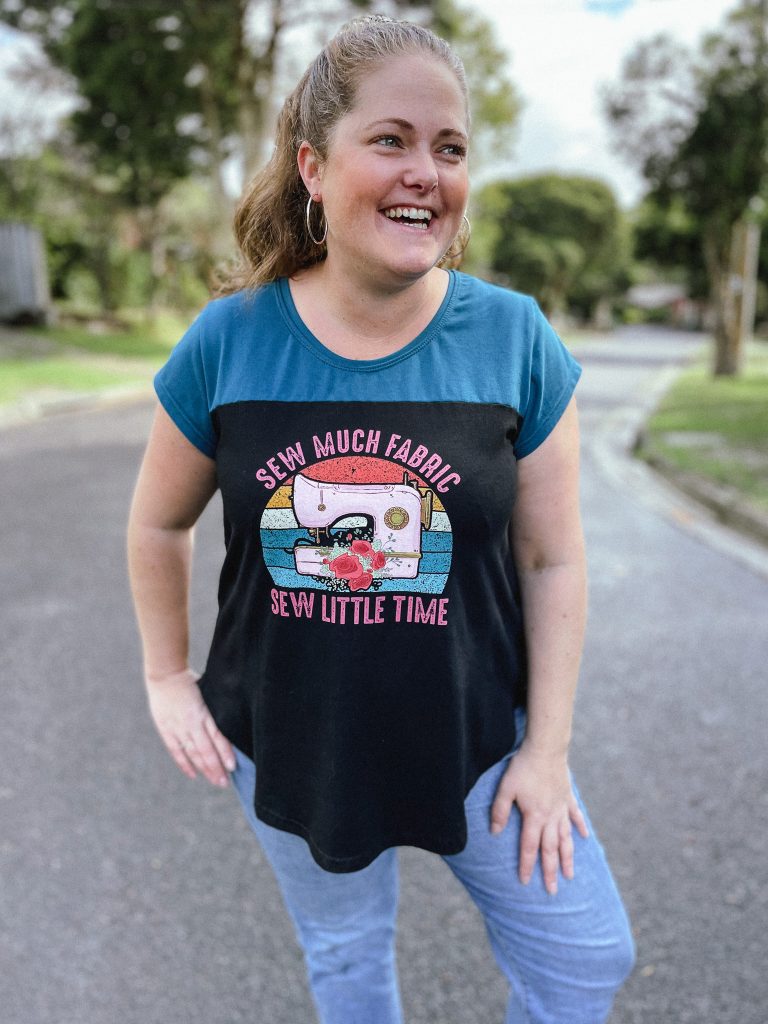
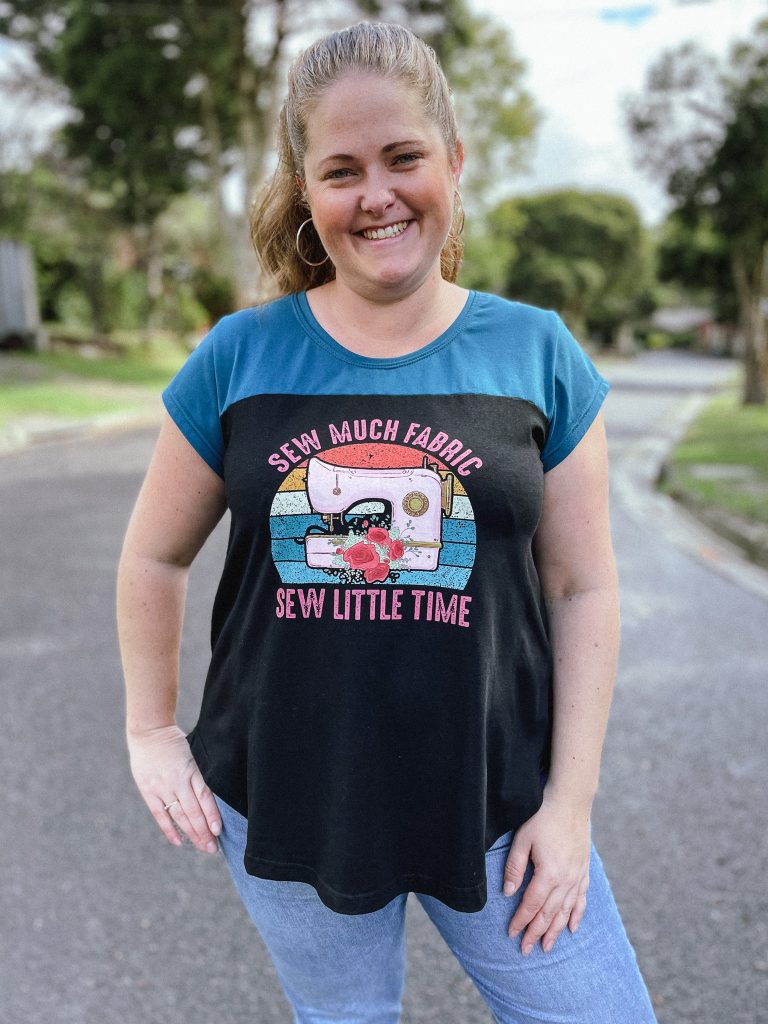
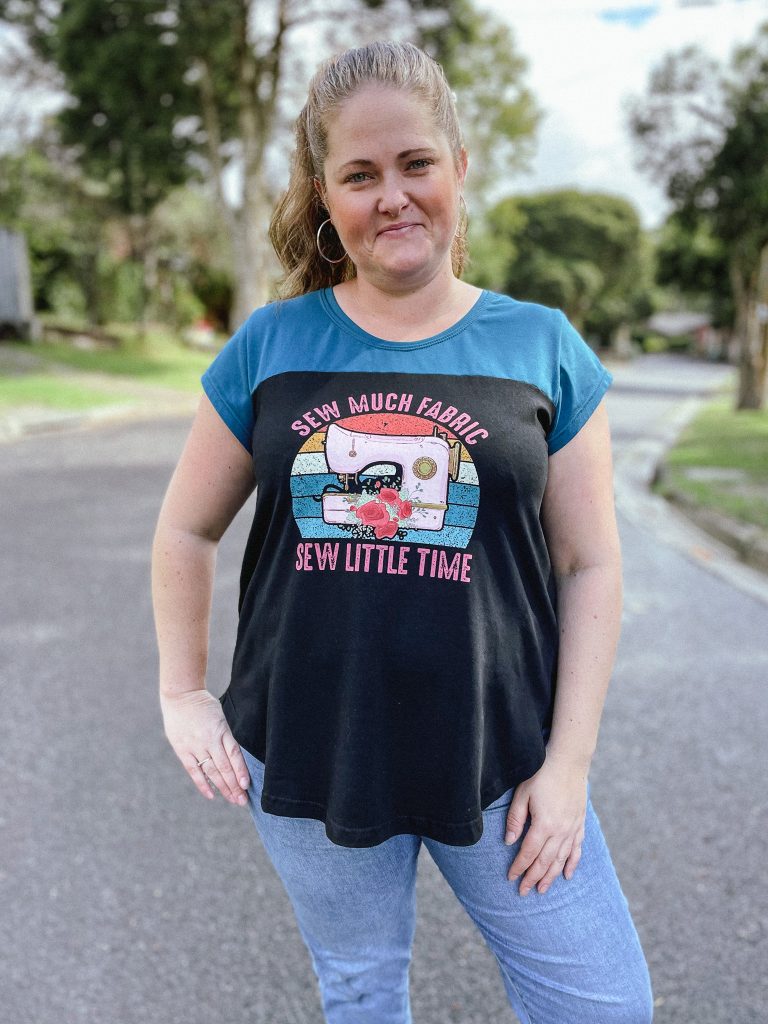
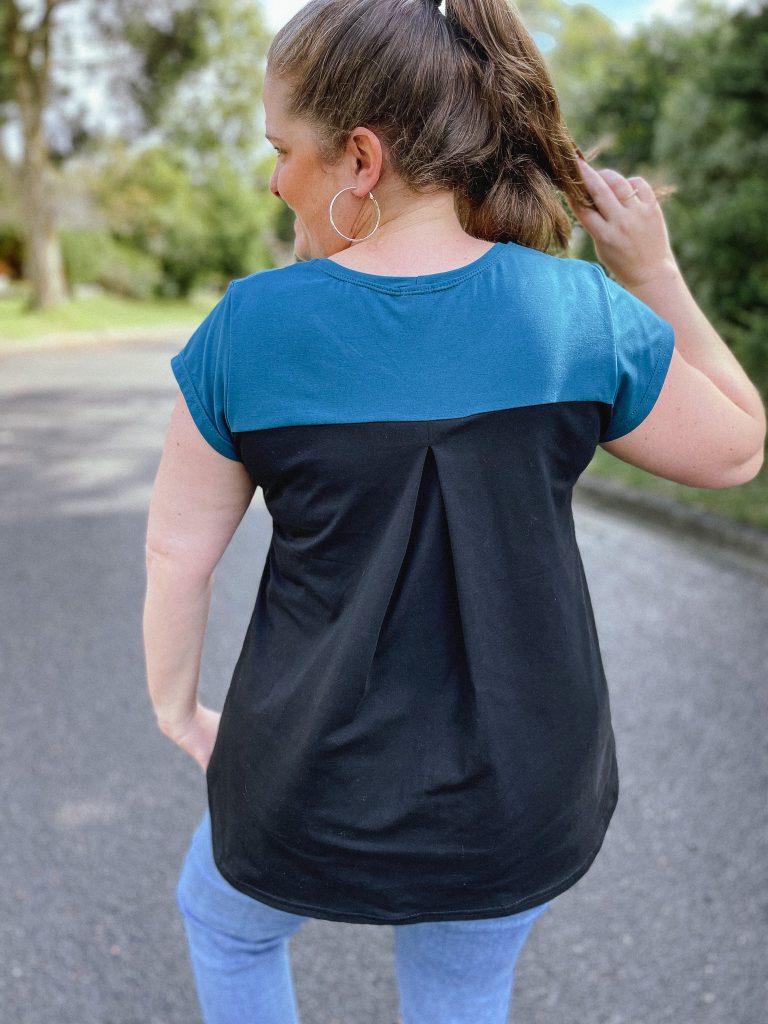
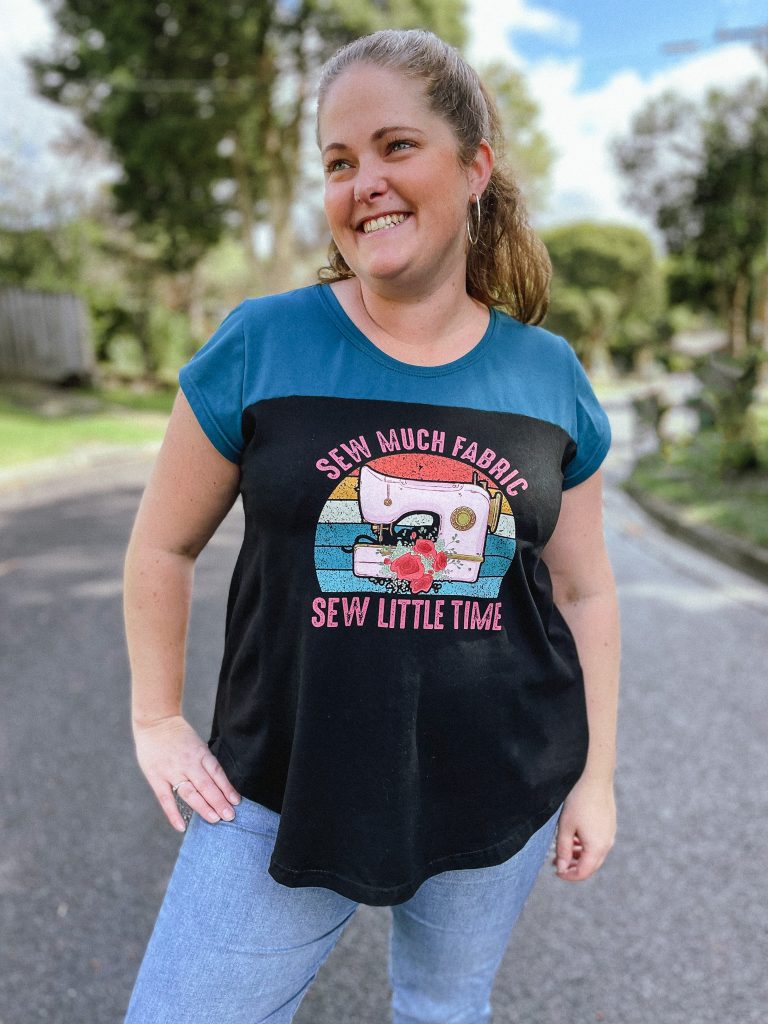
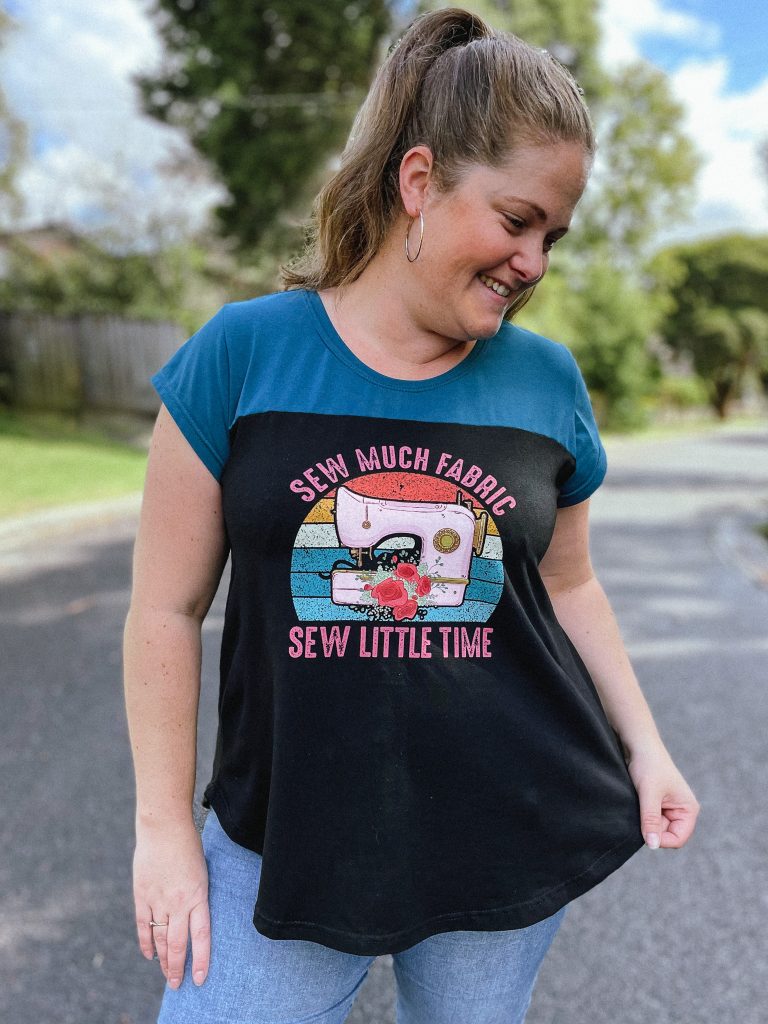
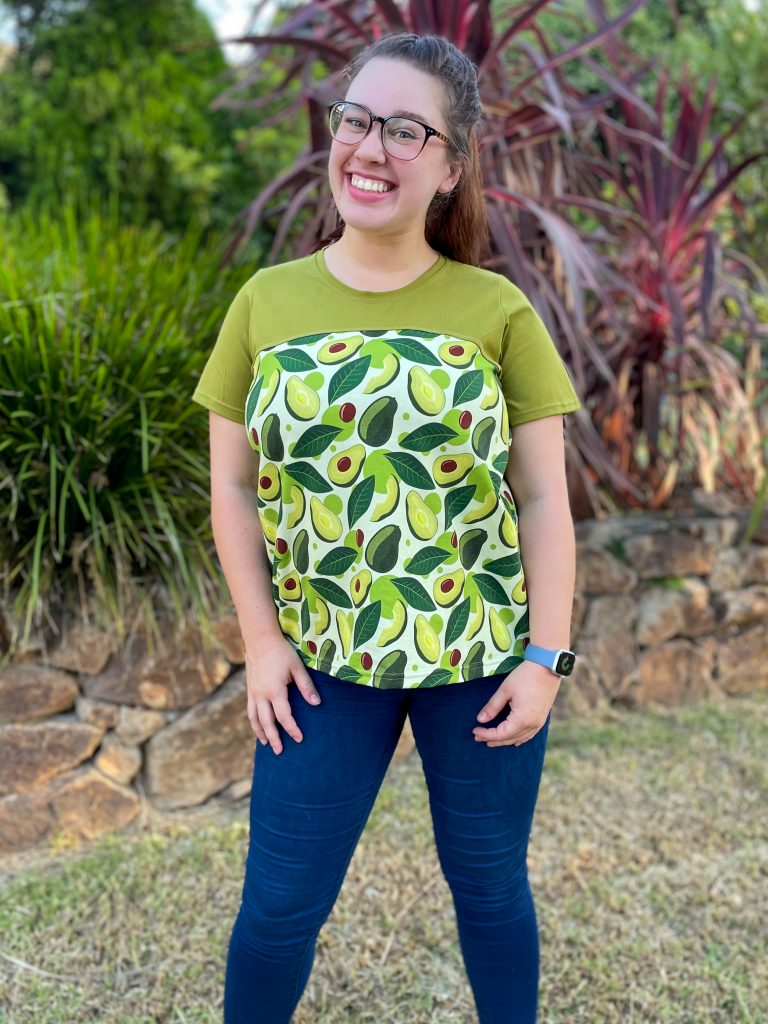
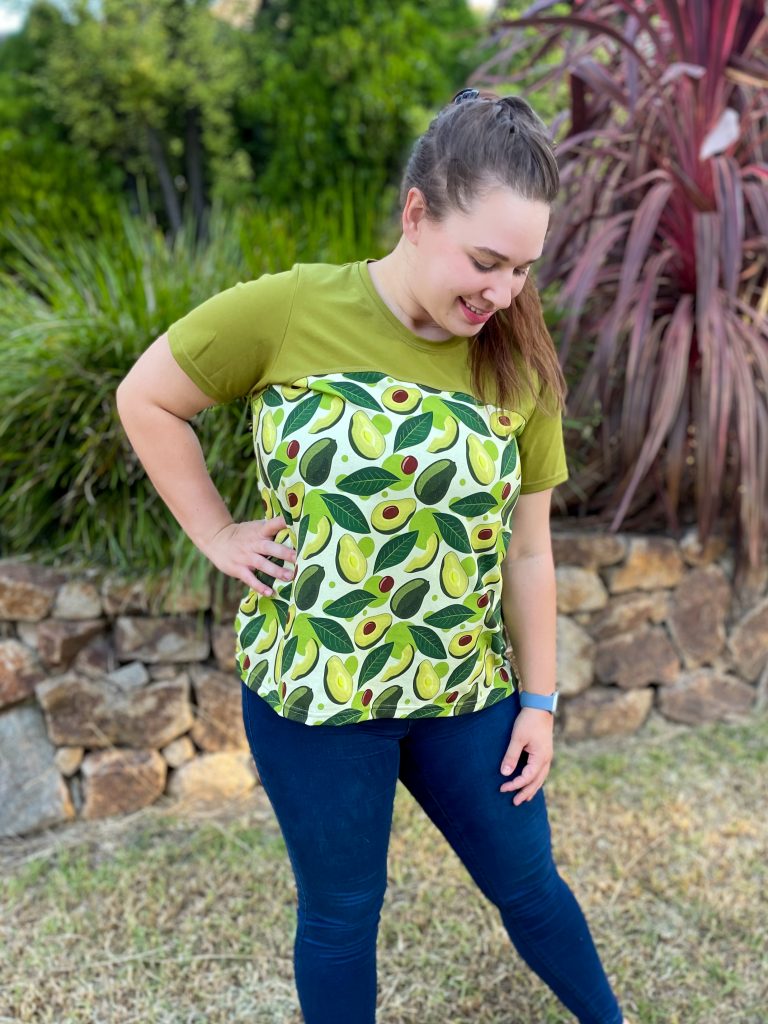
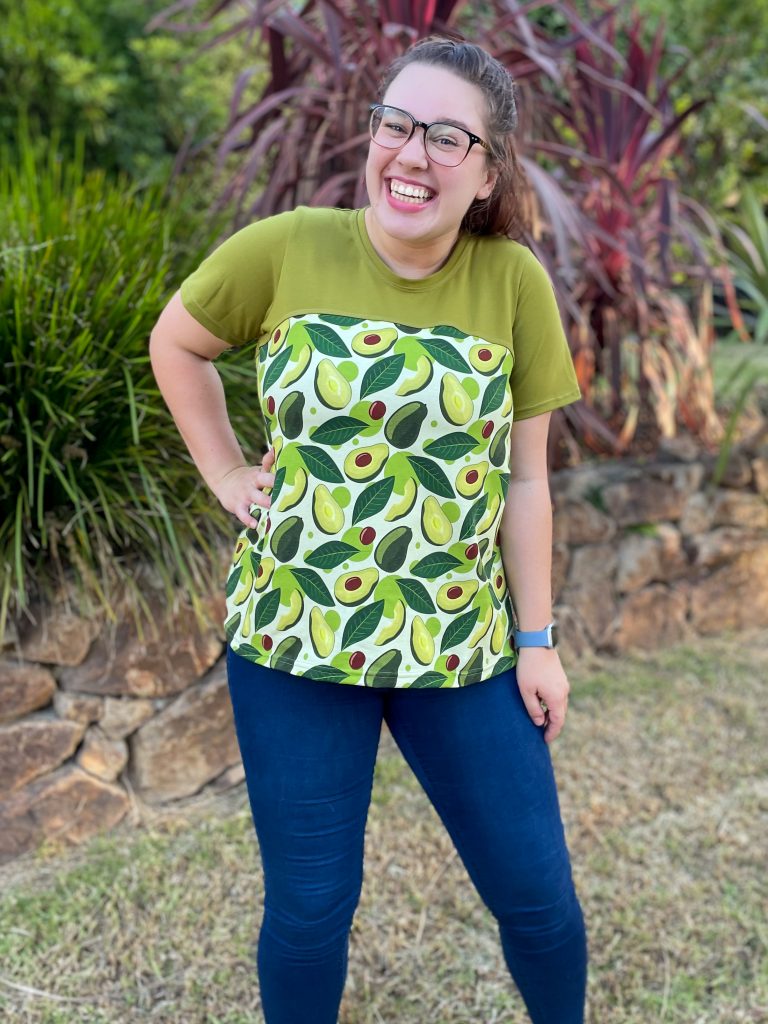
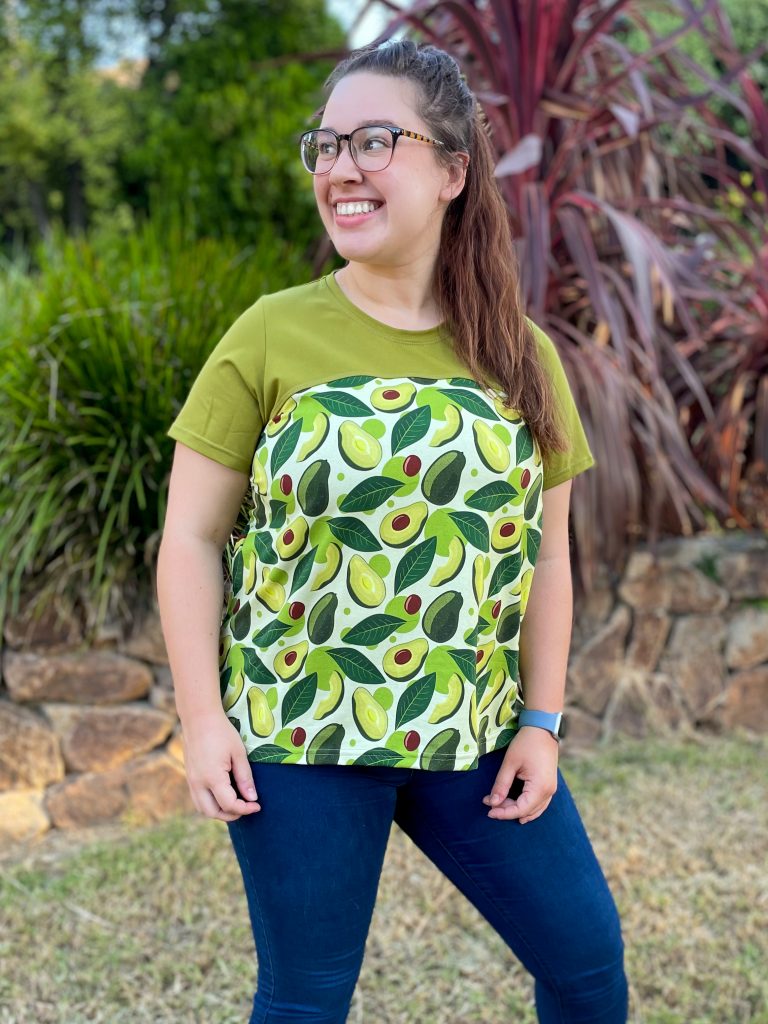
Pattern: Womens Domino Dolman Tee
Designer: Peek a Boo Pattern Shop
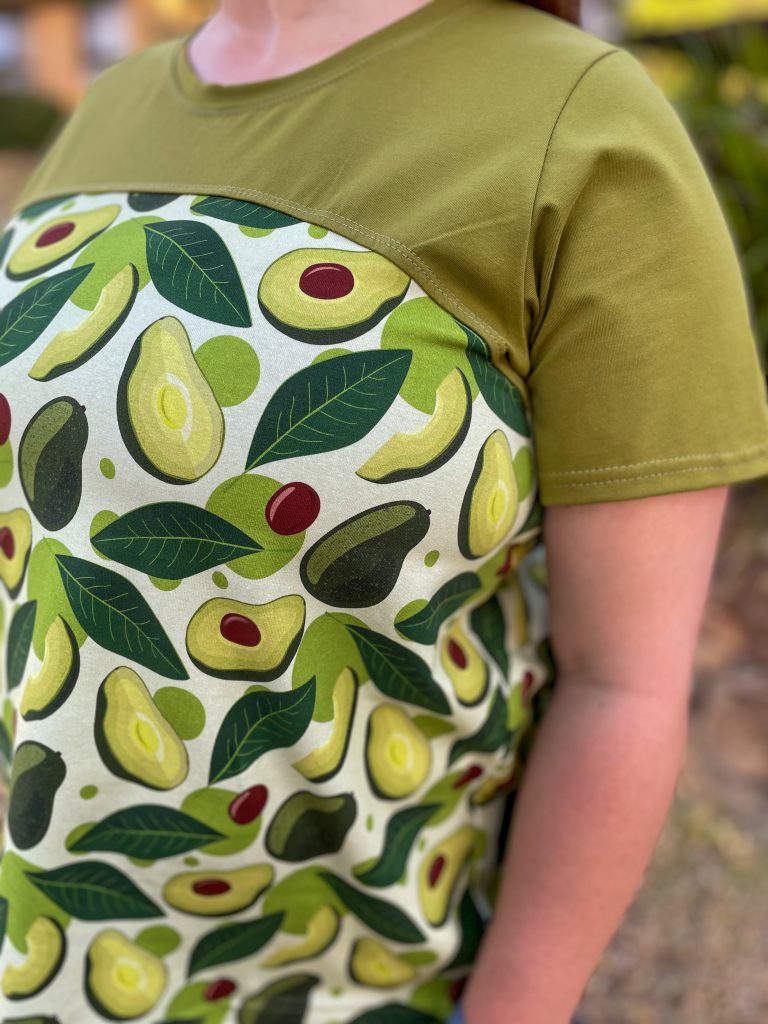
Fabrics: Accent fabric – Fabric By Missy Rose, Solid – Sew Unique Fabrics
Measurements: Bust: 45″; Waist: 39″; Hips: 48″
Size made: 2X
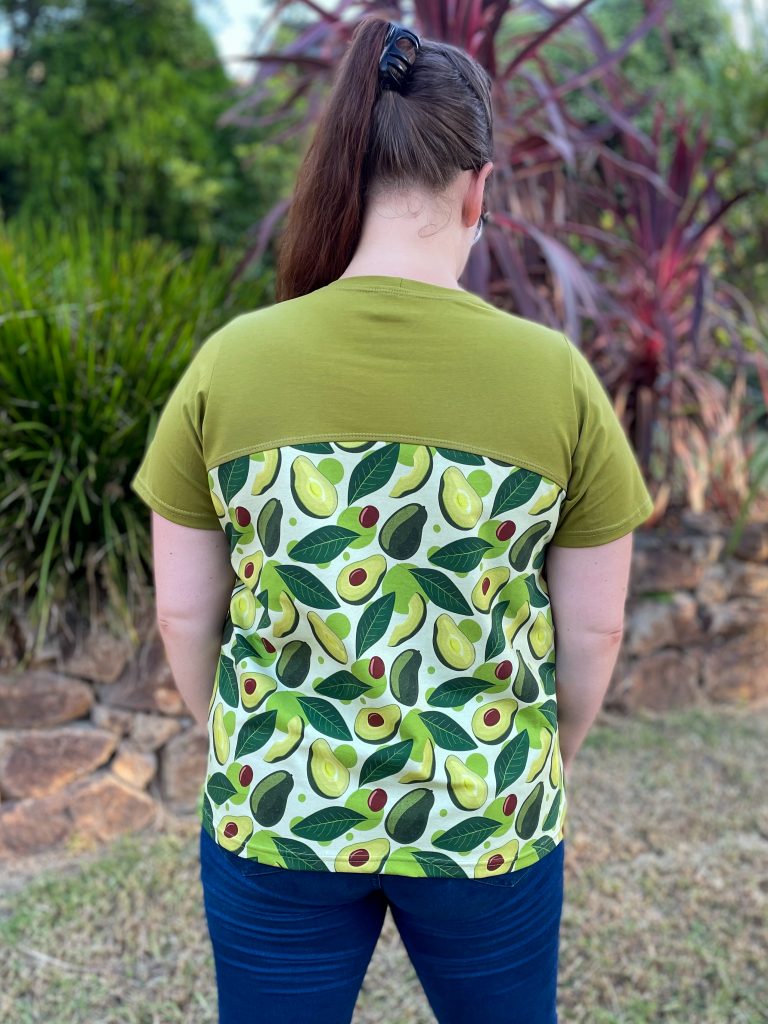
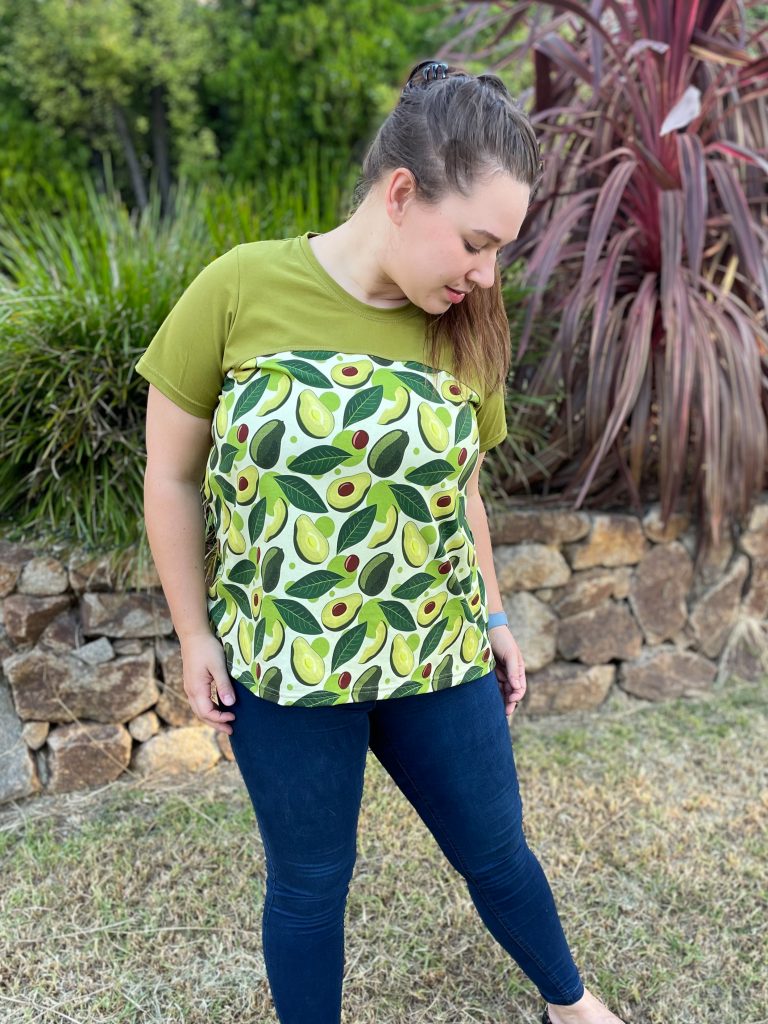
Adjustments: Took the sides in a little as it was very roomy
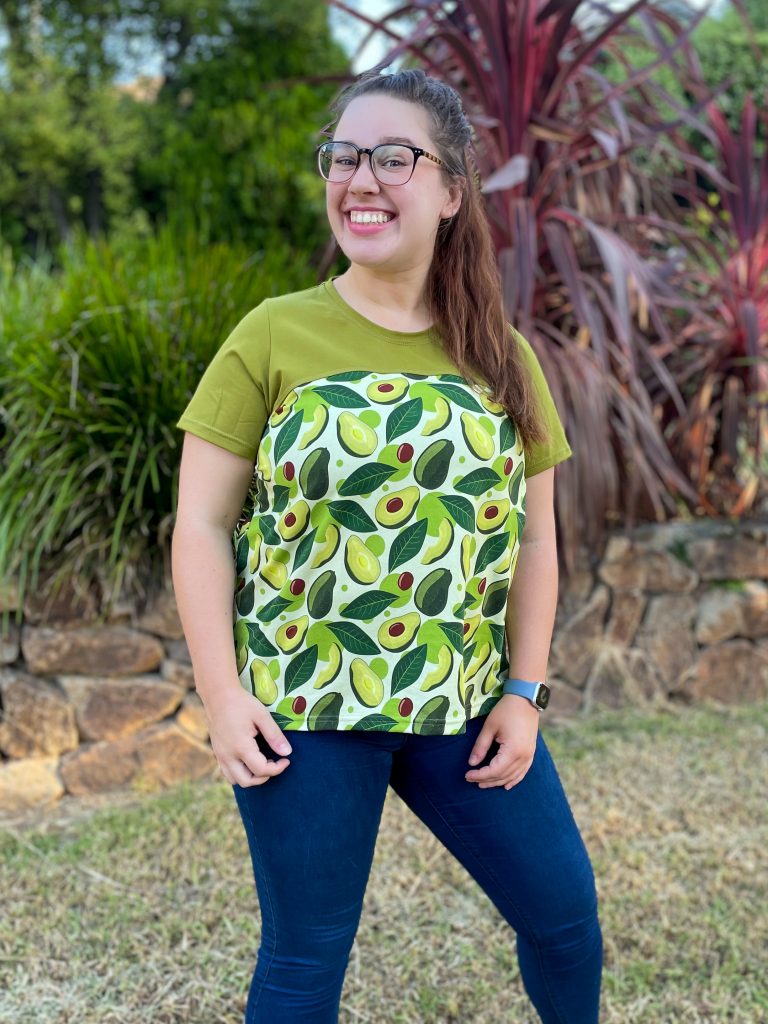
Pros: Such a quick sew! and I love the different colour block options. Nursing Friendly as well
Cons: It was very roomy in the 2X, I would normally make the XL, so will size down for my next one.

Links:
The Wrap Up:
When Amy from Peek a Boo Pattern Shop put the tester call out for this one, I applied straight away. I love a Dolman tee, and the options for this one in terms of colour blocking were super appealing to me.
According to my measurements I fell in the 2X size category, which I made, but to be honest I felt this pattern had quite a lot of ease so it felt very roomy to me. I ended up taking the sides in about an inch on either side which worked well.
It is an incredibly quick pattern to put together, especially with the dolman style sleeve. I can definitely see a few more in my future, it is a great way to mix and match solids and accent fabrics. Also a good way to use up smaller cuts of fabric on the top colour block.
A great essential tee to have in your pattern collection.