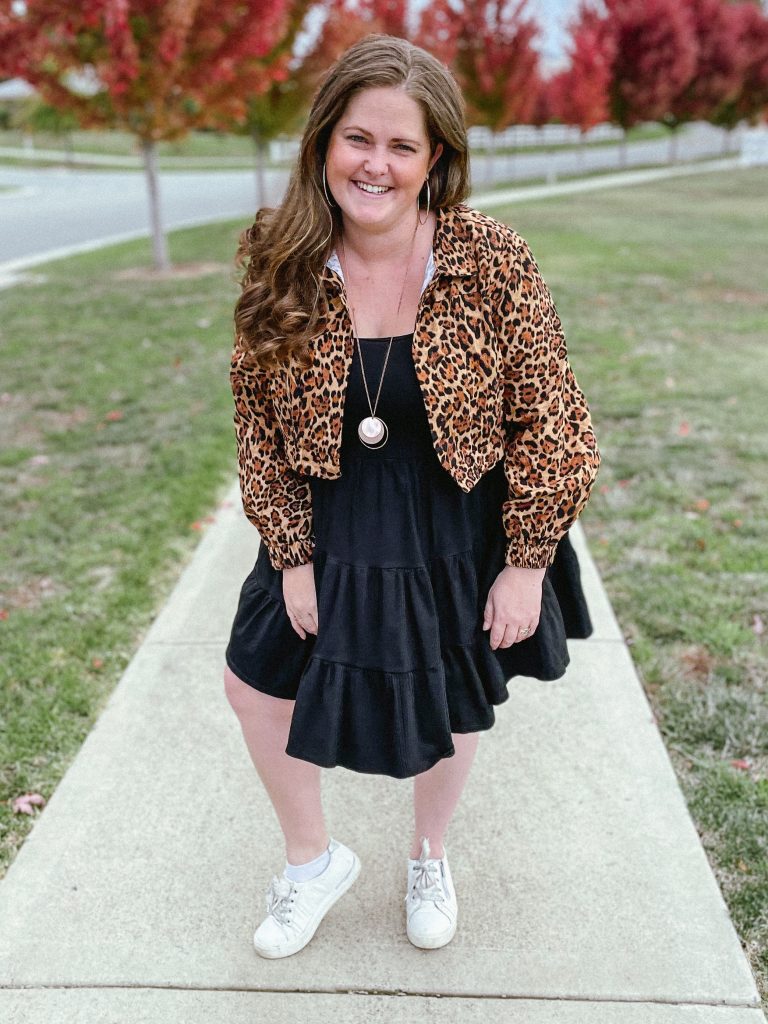
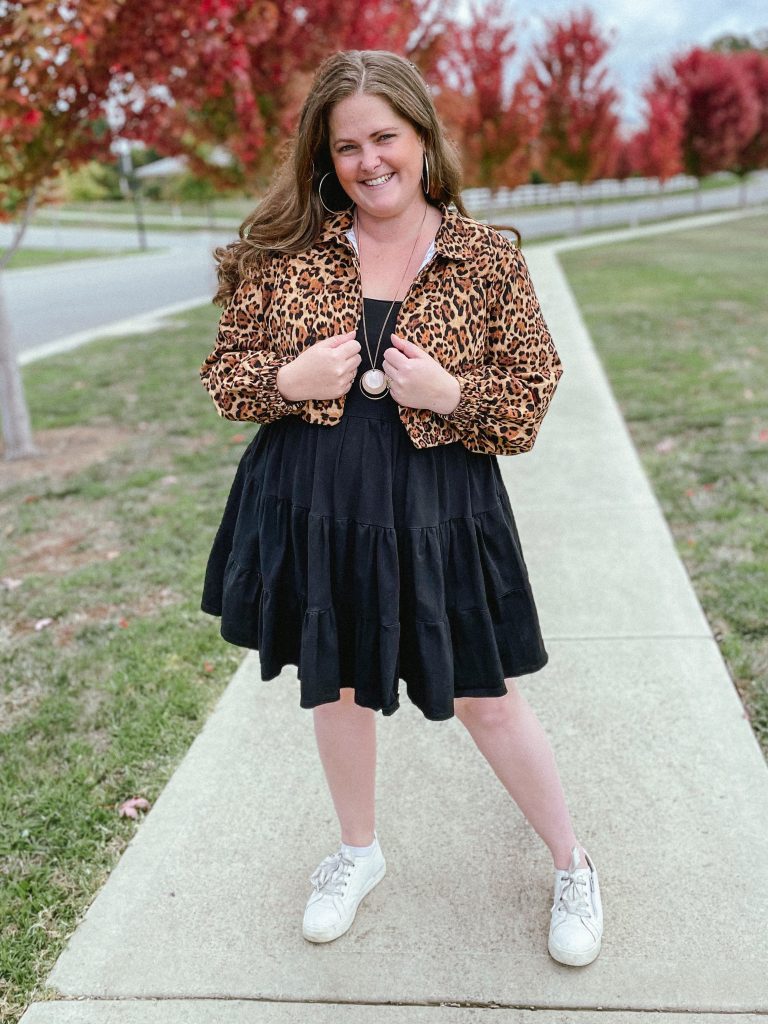
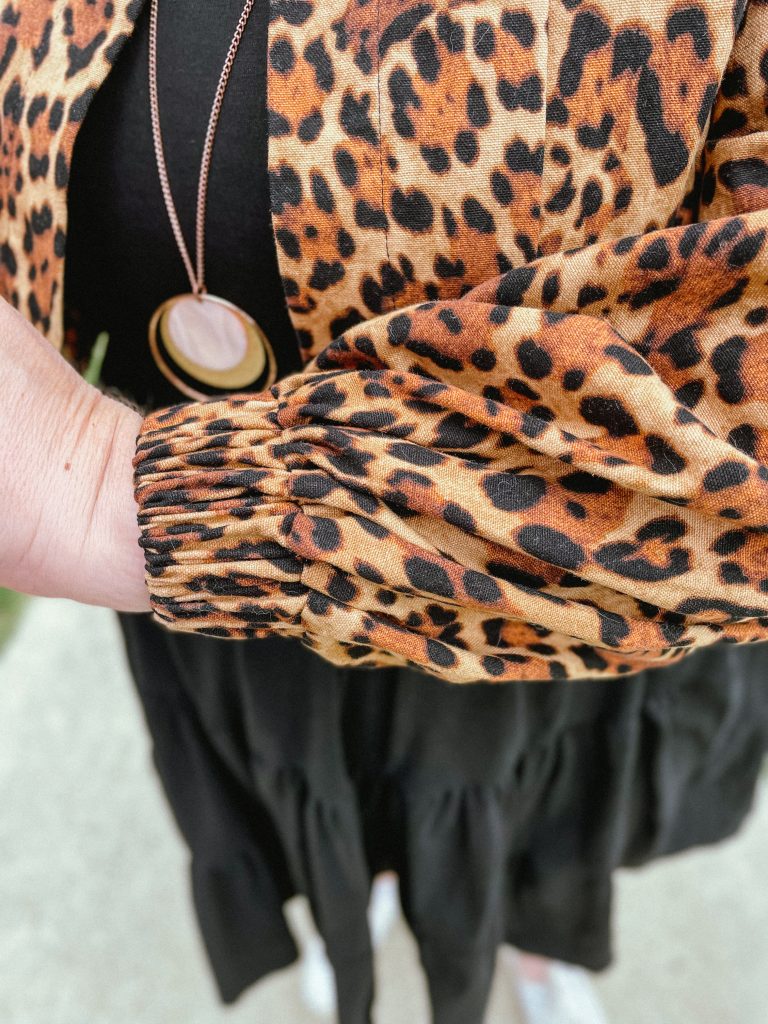
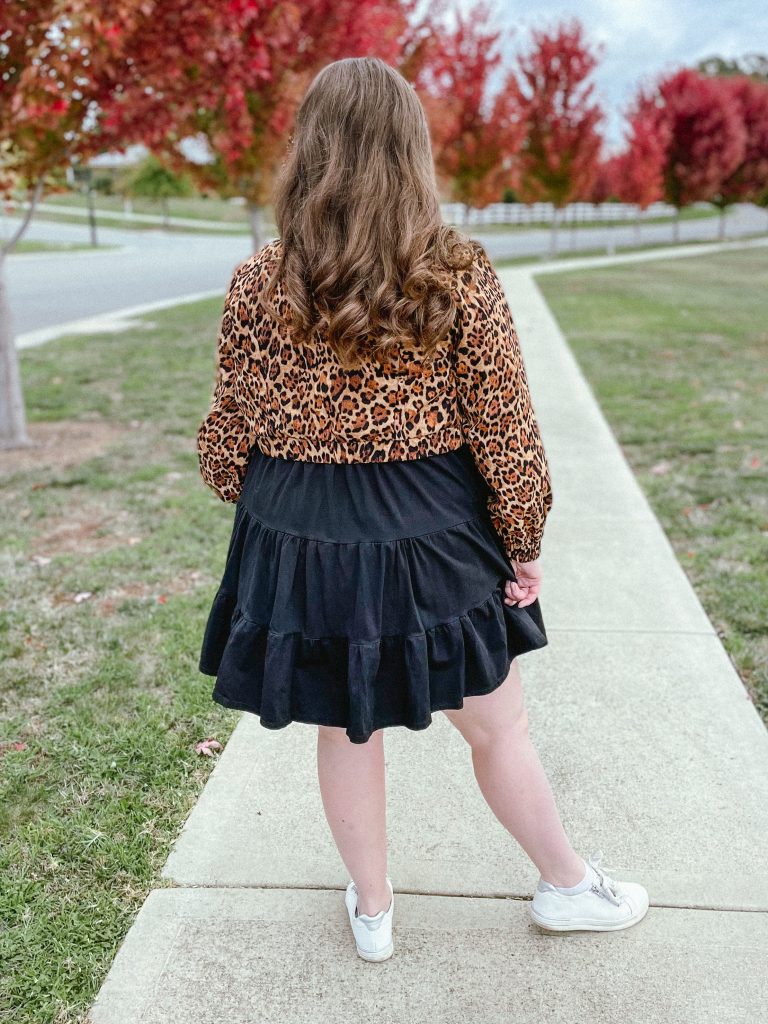
Sensational Sleeves: Five Key Sleeve Styles and What They Mean


Learn to Sew
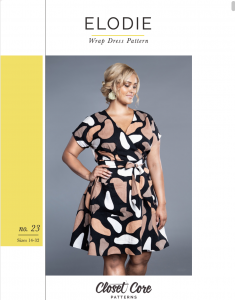
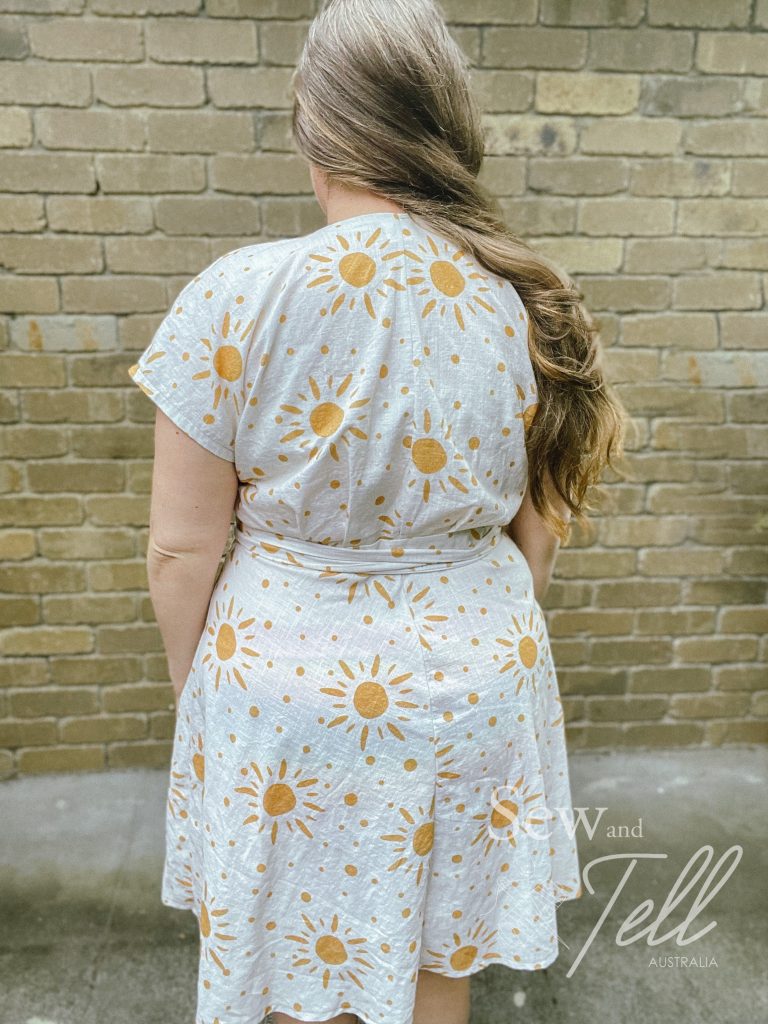
Pattern: Elodie Wrap Dress
Designer: Closet Core Patterns
Fabrics: Linen blend from Spotlight
Measurements: Bust: 44″; Waist 39″; Hips 48″
Size made: 16 graded to 20
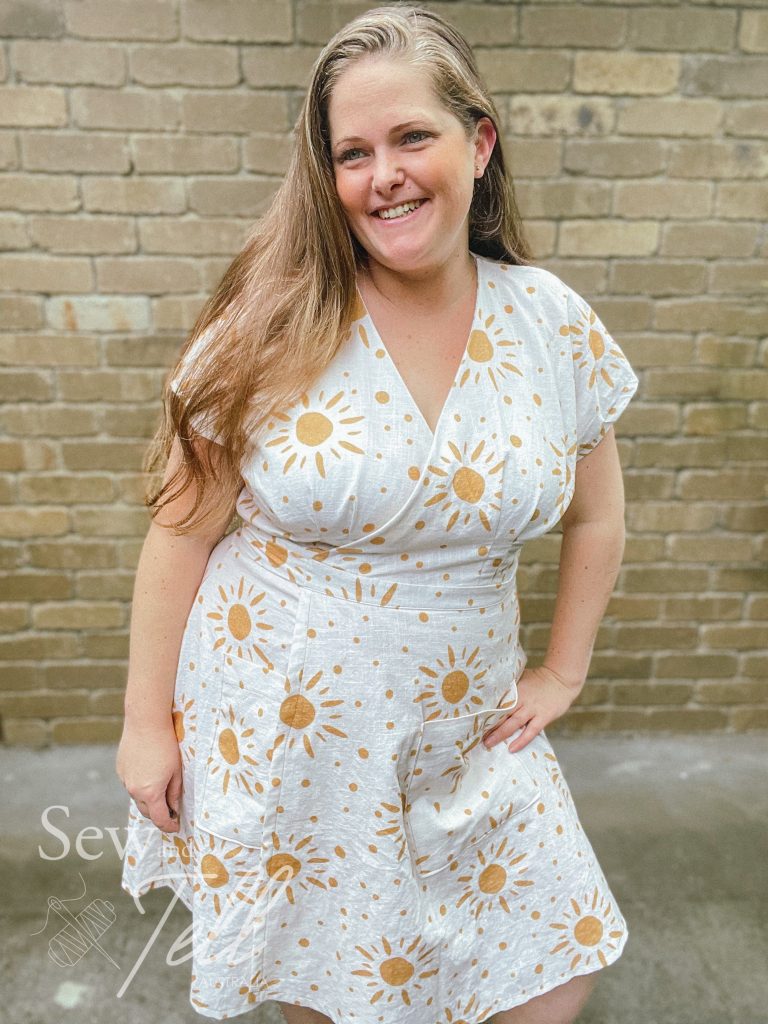
Adjustments: Took an inch out of each shoulder seam and shaped the back
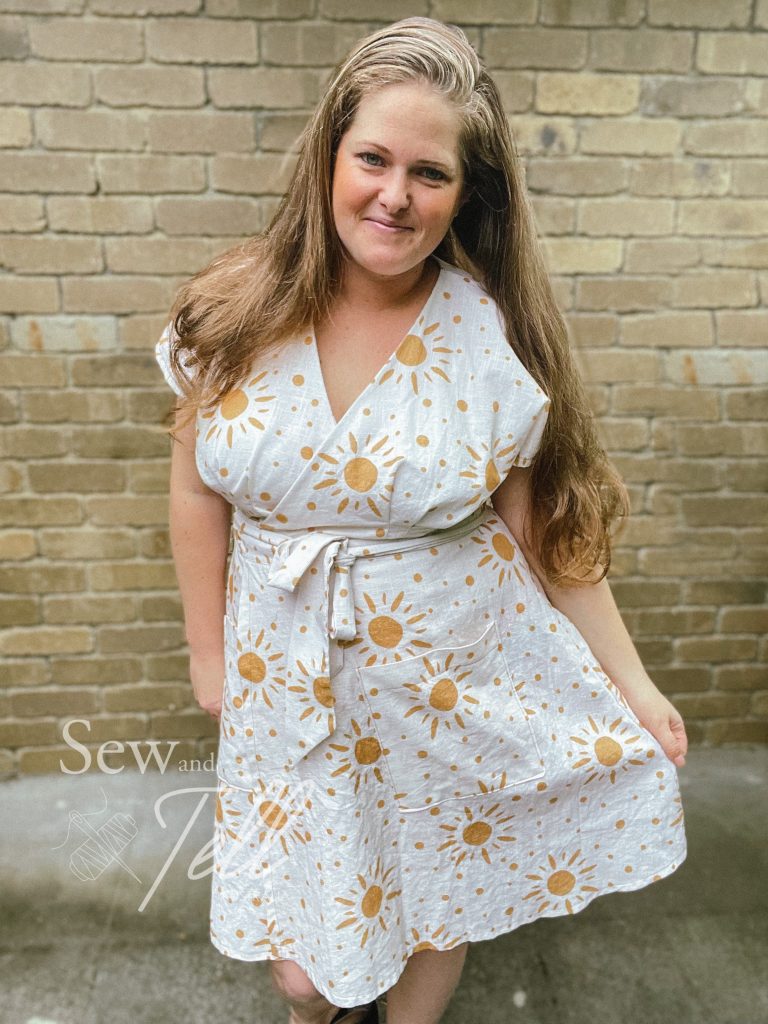
Pros: Love the loose flowyness of this dress, as well as the wrap neckline
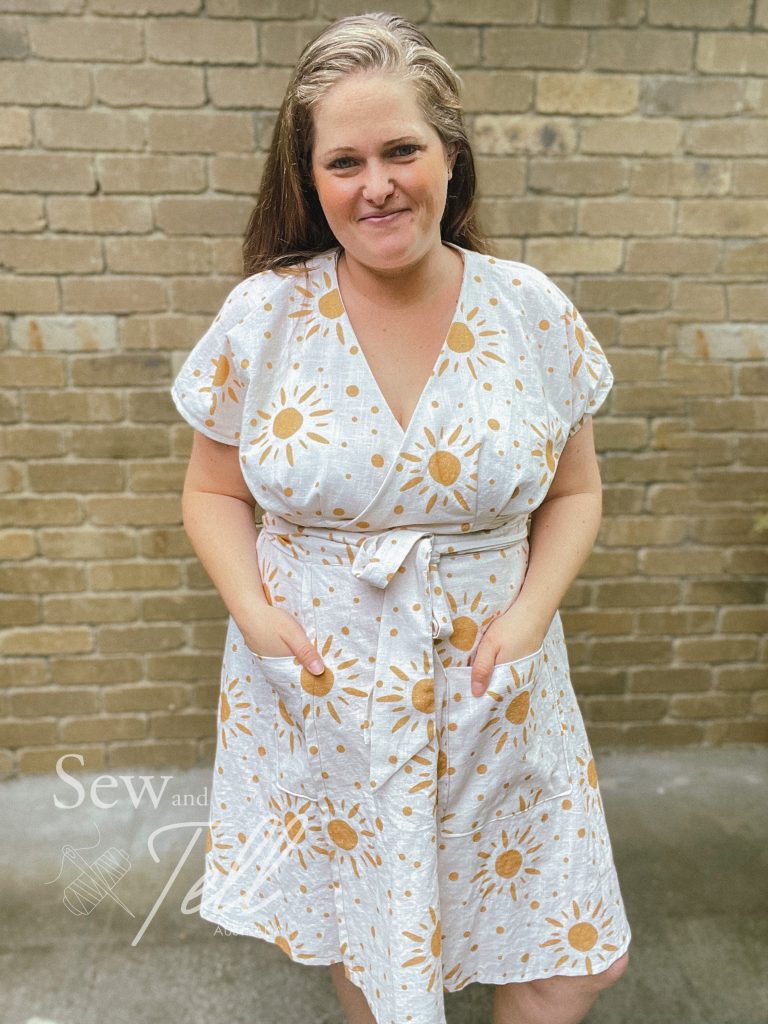
Cons: I had trouble fitting the neckline with my boobs. I also misunderstood the instructions for the wrap tie part.

Links:
The Wrap Up:
I bought this pattern quite a while ago with grand plans to make it for summer and never got around to sewing one up. So naturally I decide halfway through Autumn that it is the right time to finally get one done. haha
This pattern is designed for woven fabrics and I chose a beautiful linen blend from Spotlight to try. This is quite a fabric hungry pattern so I think I ended up buying 3.5m for my dress and I closely followed the cutting guide so I didn’t run out of fabric. The linen worked well but I’d love to try it in a twill as well.
This was my first time sewing a Closet Core pattern, despite owning a few of Heathers patterns, and I must say I’m pretty impressed. While they don’t have projector files, they do have A0 files that are layered so I was able to use those effectively.
Being a curvier body, I used their 14-32 pattern range which is based off a curvier block and I think its a size D cup for breasts which suits my body better. I sewed up a 16 graded to an 18 at the waist and hips which was great for the waist and hips, but I had some issues with the cross over section not sitting properly over my boobs so I ended up taking an inch out of each shoulder seam and at the back neckline which helped correct it mostly.
I did really love the pleats under the bust and at the back, I think they are a really nice feature and help give the bodice shape for the bust without using darts. Thats the first time I’ve used a pattern like that and I thought it was really effective. I do think I probably need more ‘space’ for my boobs, so I will have to research how to achieve that with this style.
I also had some issues with the hole for the tie area. I don’t think I read the instructions properly to begin with and when it came time to open up the hole in the waistband to pull the tie through, I had a world of trouble as I had done it wrong. But, with my trusty unpicker and a little bit of creative sewing, I got it to work and it doesn’t look half bad either.
I will definitely make this pattern again, I will just have to pay closer attention to the tie area for a cleaner finish next time.
Gallery:


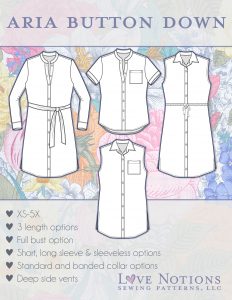
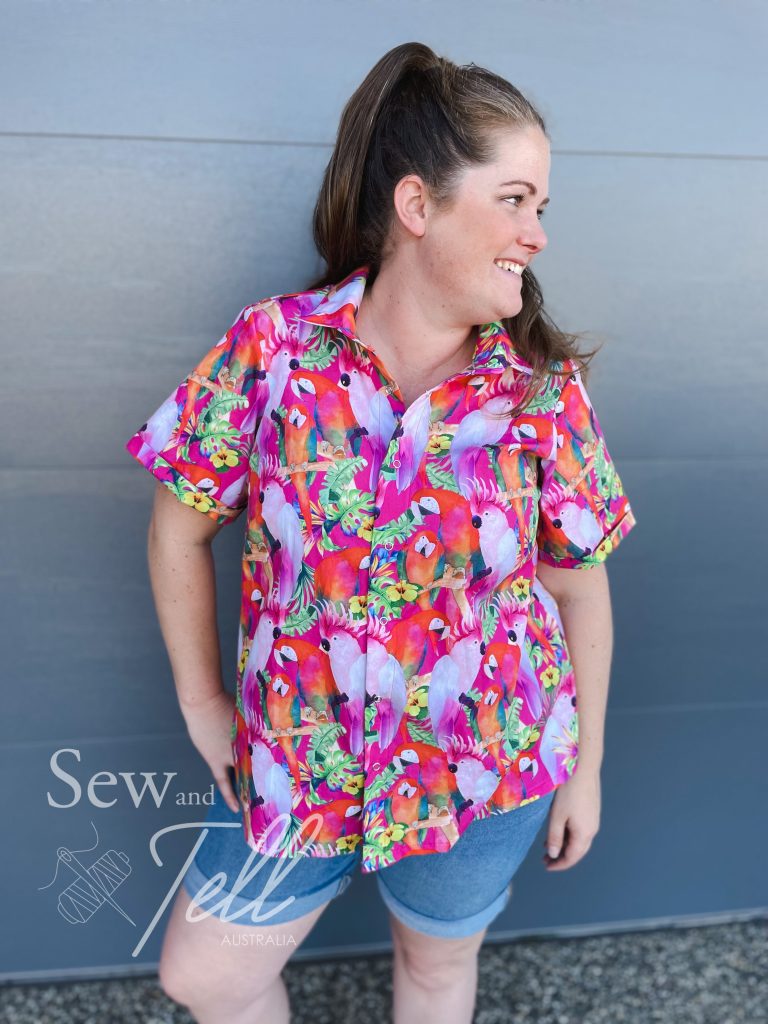
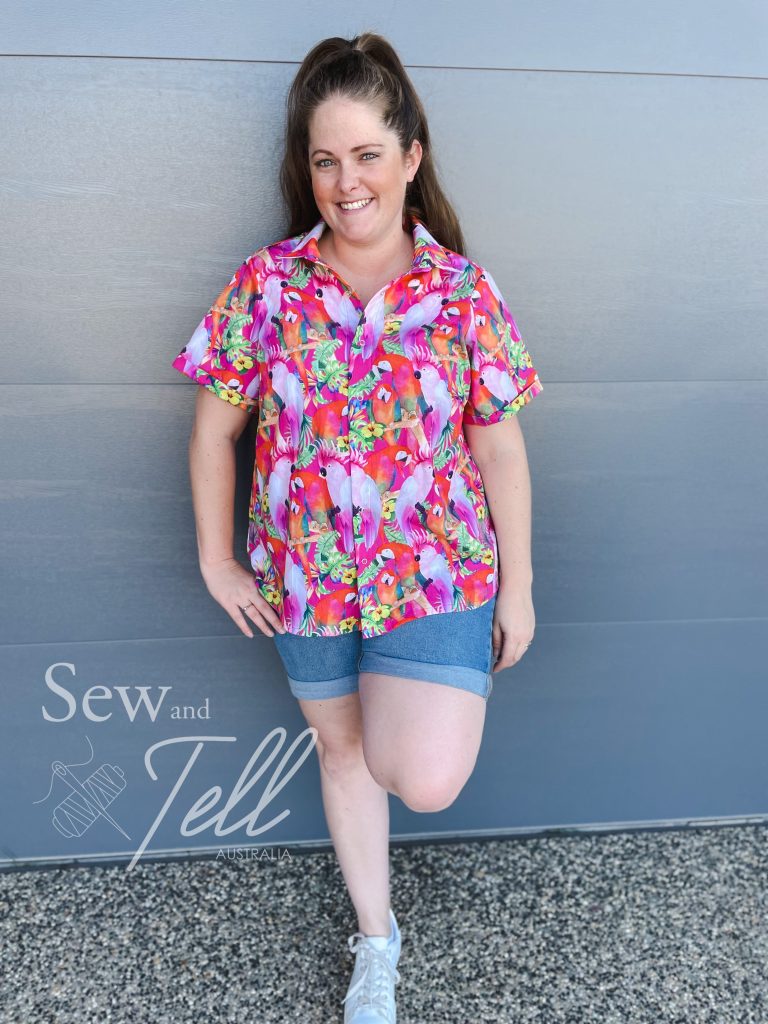
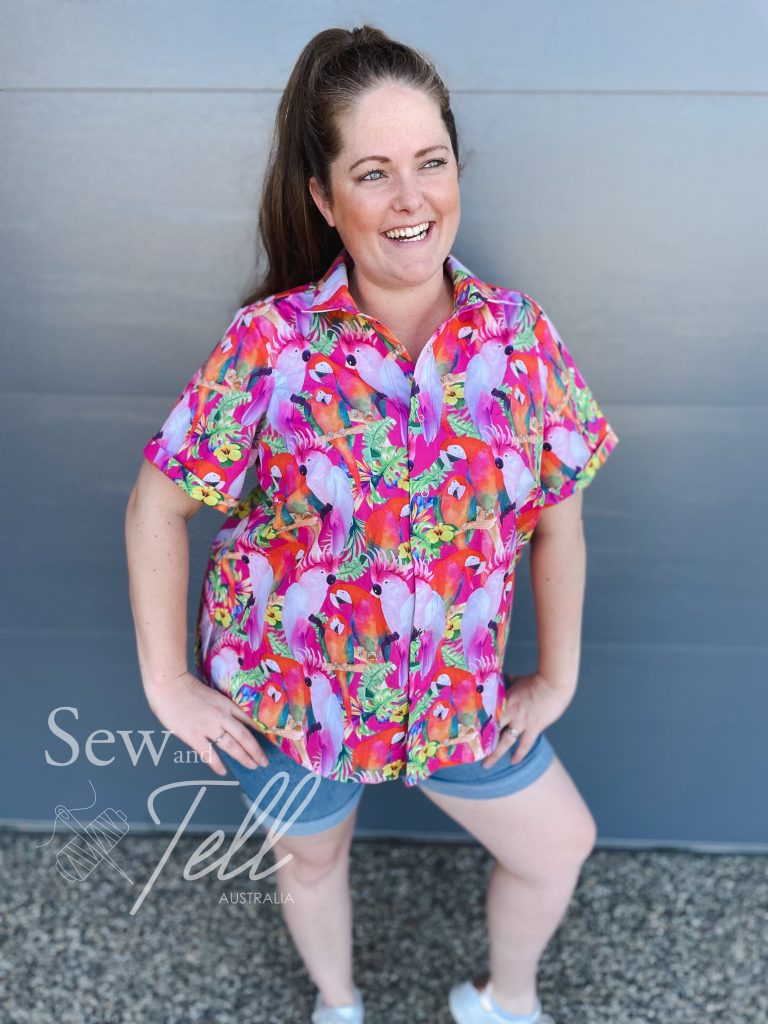
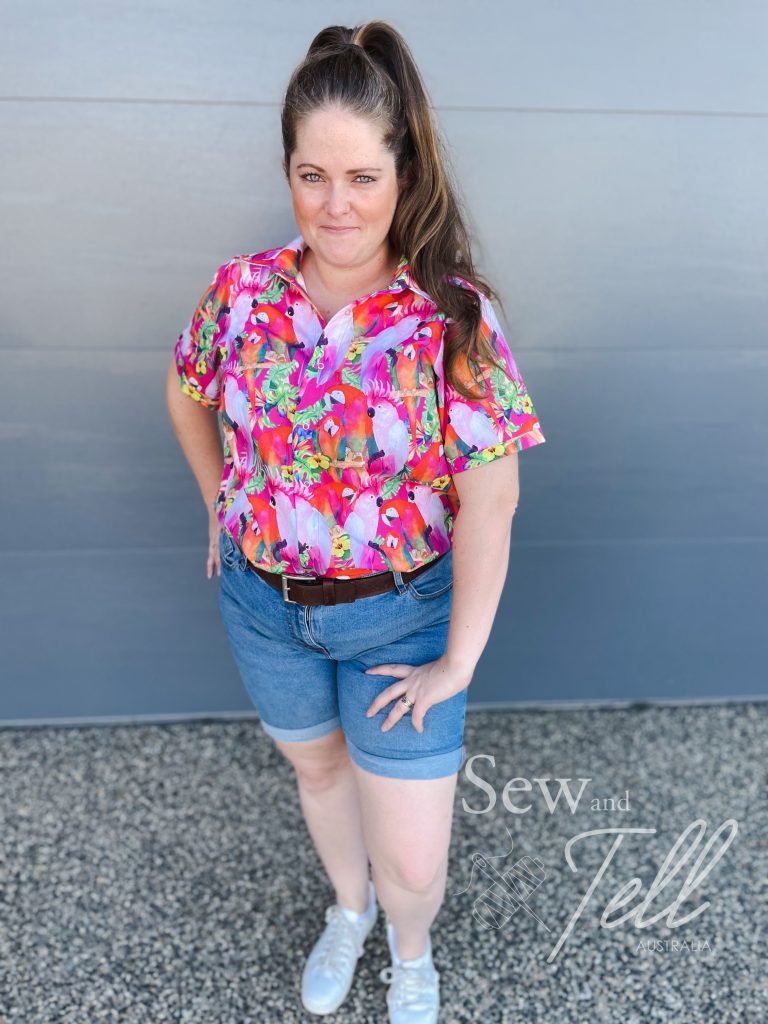
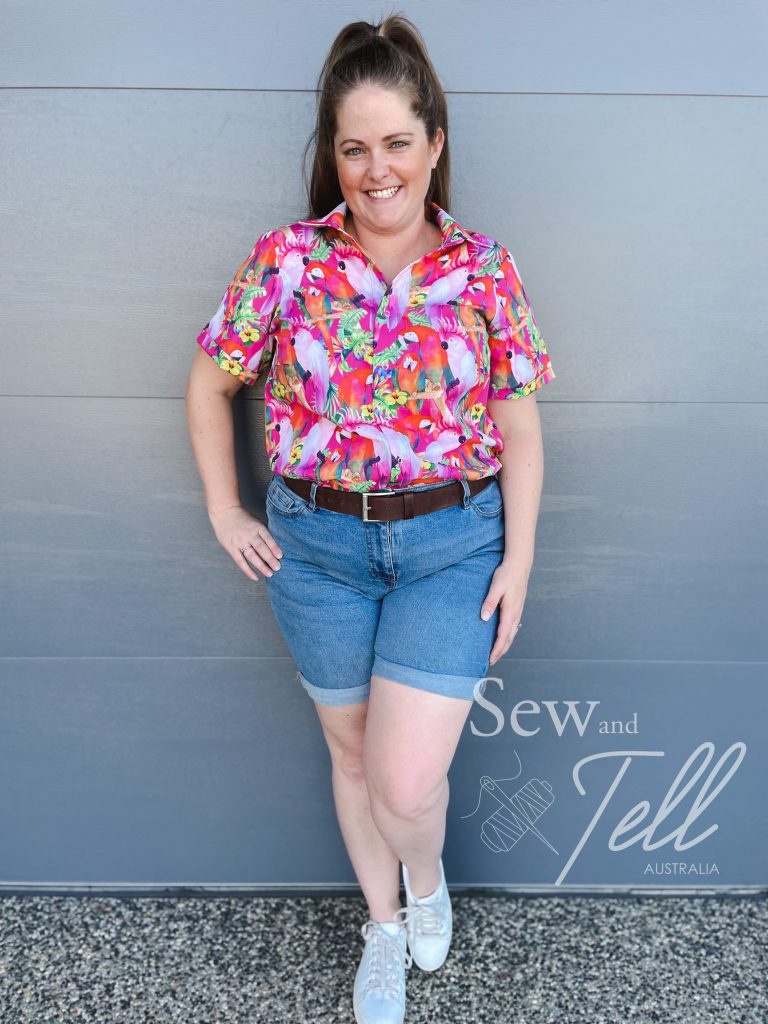
Pattern: Aria Button Down
Designer: Love Notions
Fabrics: Spotlight
Measurements: Bust: 44″; Waist 39″; Hips 48″
Size made: XL Full bust piece
Adjustments: None
Pros: Love Notions are one of my FAVOURITE pattern companies for larger busted women. The inclusion of full bust pieces already done is SUCH an advantage. The collar was SO easy!
Cons: None really, its a great pattern for a button down shirt.
Links:
The Wrap Up:
I know I have a lot of favourite pattern companies, haha, but honestly, Love Notions really are amazing for affordable, easy to follow pdf patterns that are quite size inclusive. They also include full bust pieces already adjusted for bigger busted ladies like myself which is SO helpful!
So when they had a call out for a new pattern recently, I put my hand up straight away as I knew it would be another winner. I don’t wear a lot of button down shirts, but I enjoy making them for my husband and son, so I liked the idea of getting to join in the shirt fun.
The Aria button down has a number of different options, including shirt, tunic and dress length, as well as long, short or sleeveless options. You can also choose between a traditional collar or a mandarin collar. I made the shirt length with short sleeve and traditional collar. I have to say their method for doing the collar was one of the easiest I’ve ever done. I have had some troubles in the past getting the collar stand piece to line up flush with the button panel, but on this one it fit beautifully and I was so pleased with the final collar result.
I was away with family when I made this one and my family thought my fabric choice was a little out there but I absolutely LOVE it. It’s a cotton poplin from Spotlight which sewed up really well and I think the pink is so bright and fun. I also love the Australian birds on it.
So all in all another fab pattern from Love Notions. They have also included an on demand course for how to sew this one for anyone thats a little unsure. For the week of release the pattern is included in the cost of the course ($25USD) and never expires, so you can watch it as many times as you need. Check out the links above for more details.
Gallery:


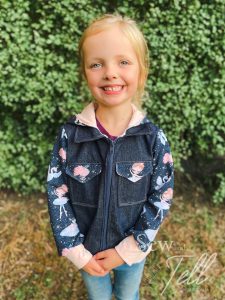
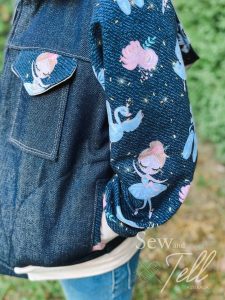
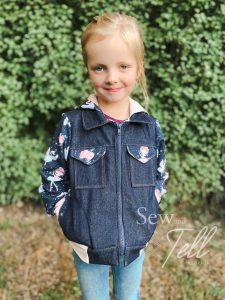
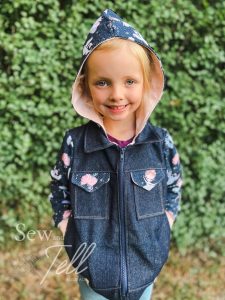
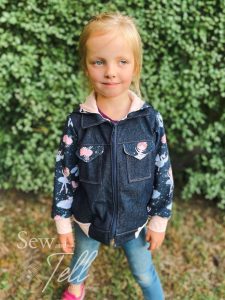
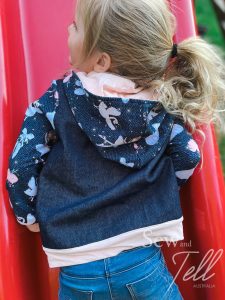
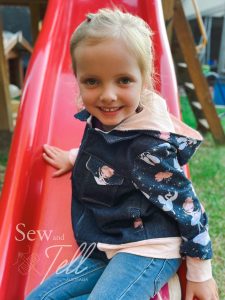
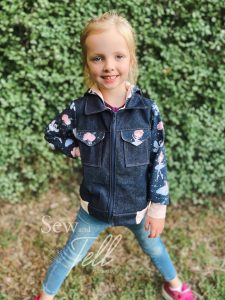
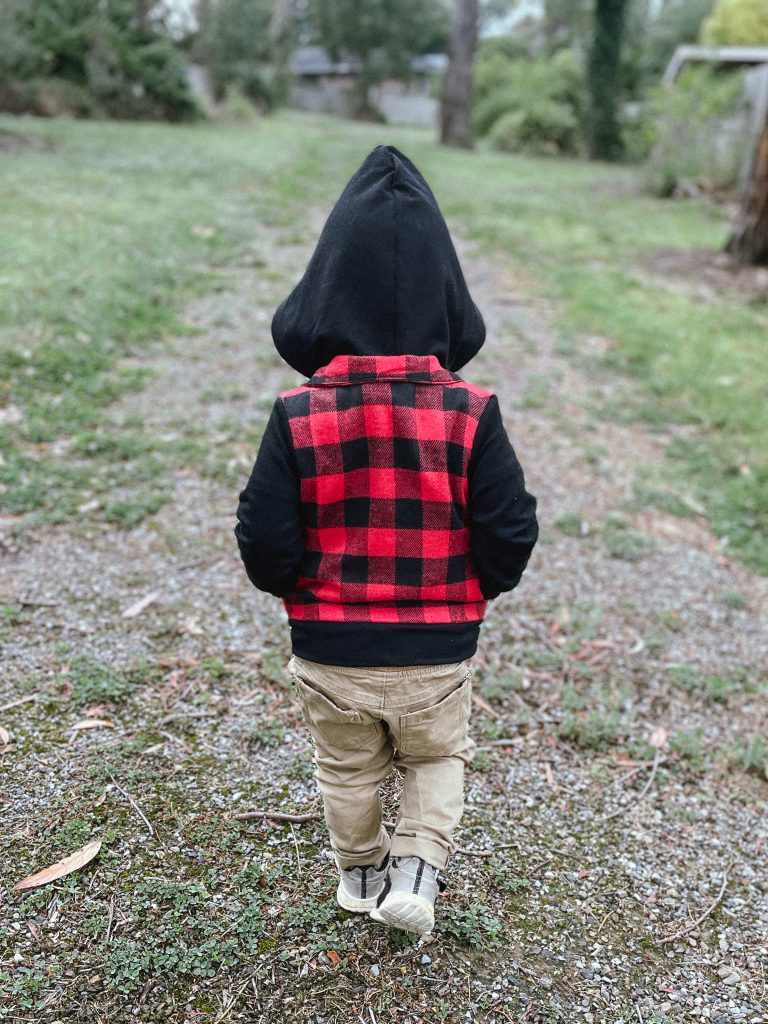
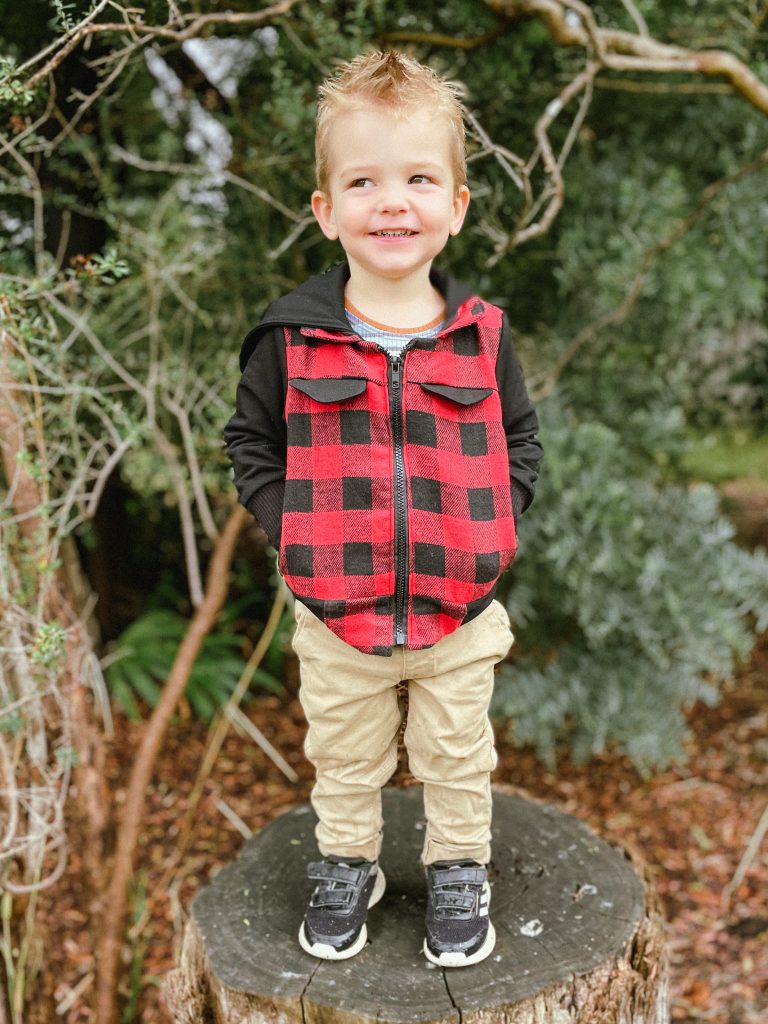
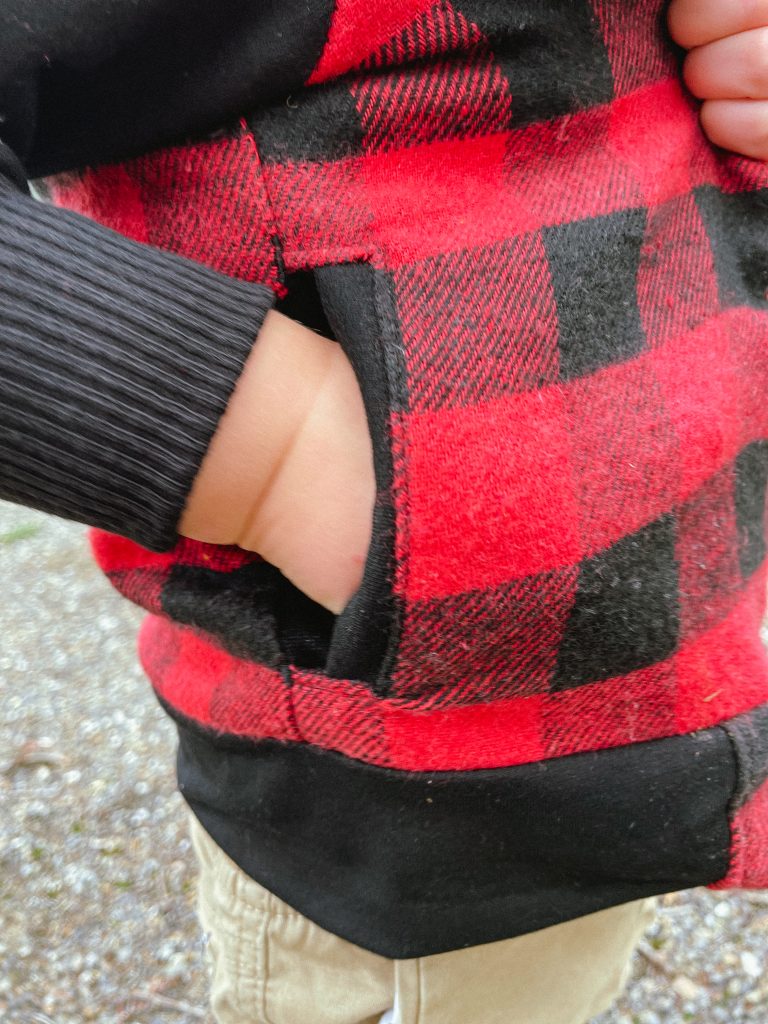
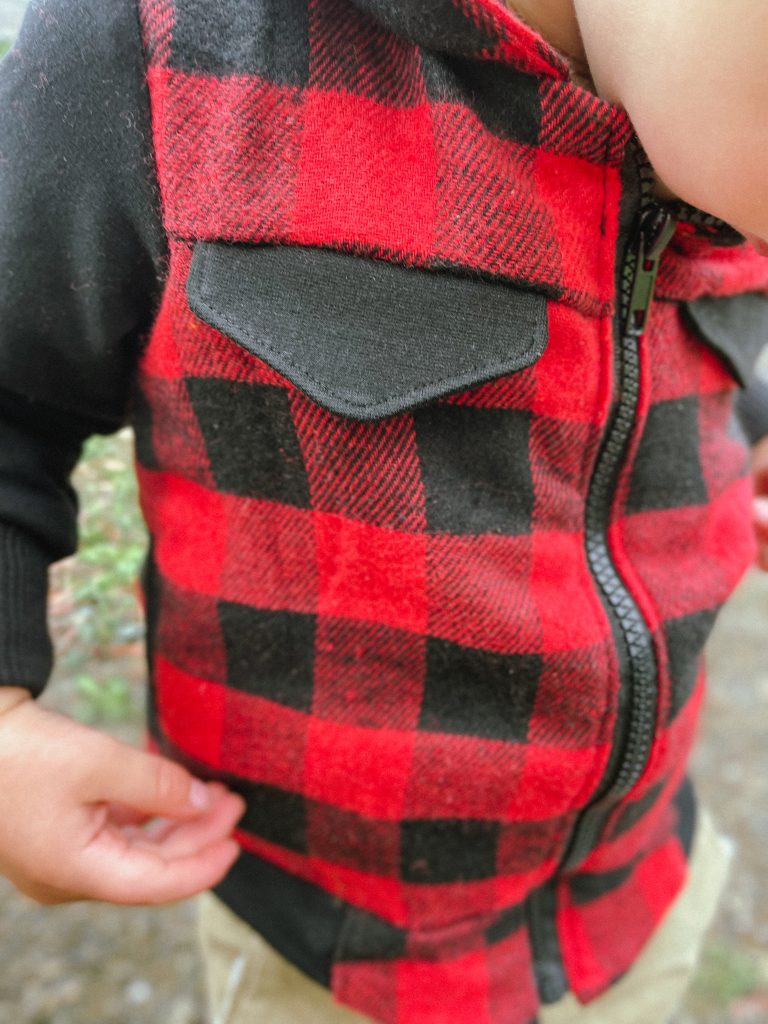
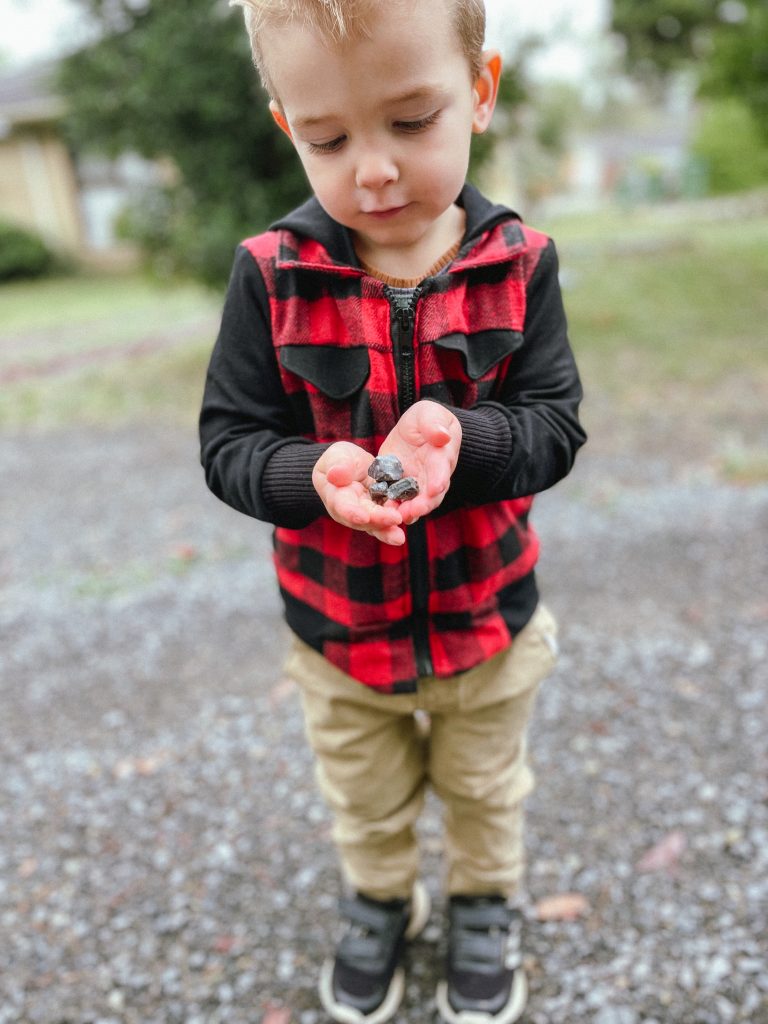
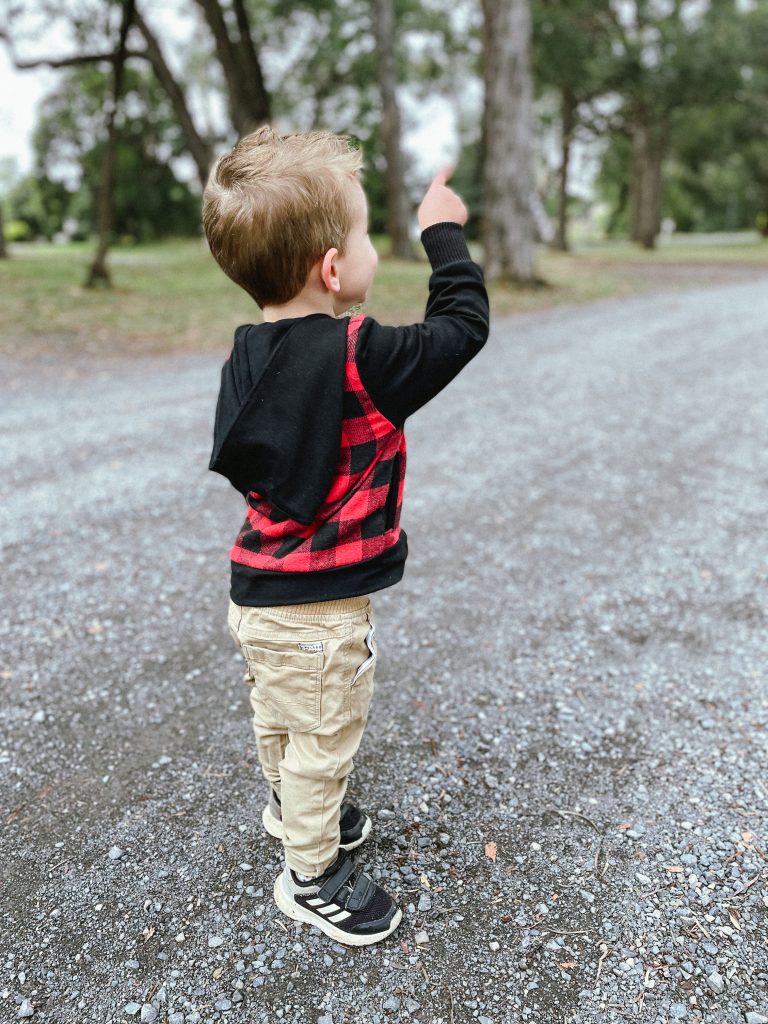
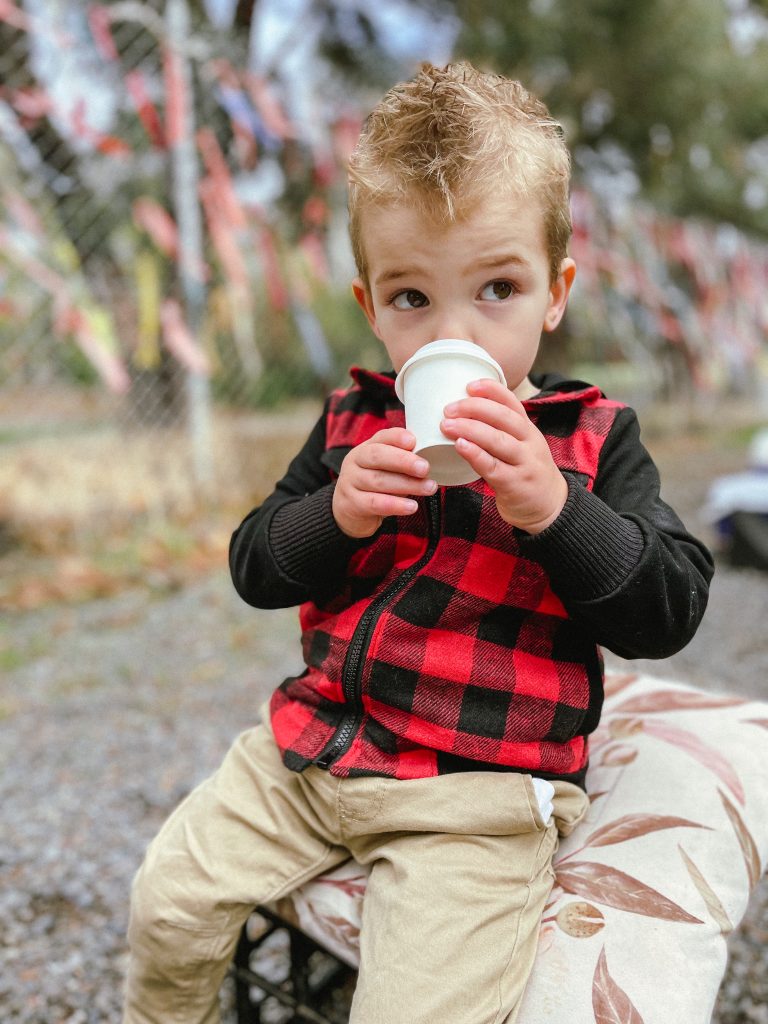
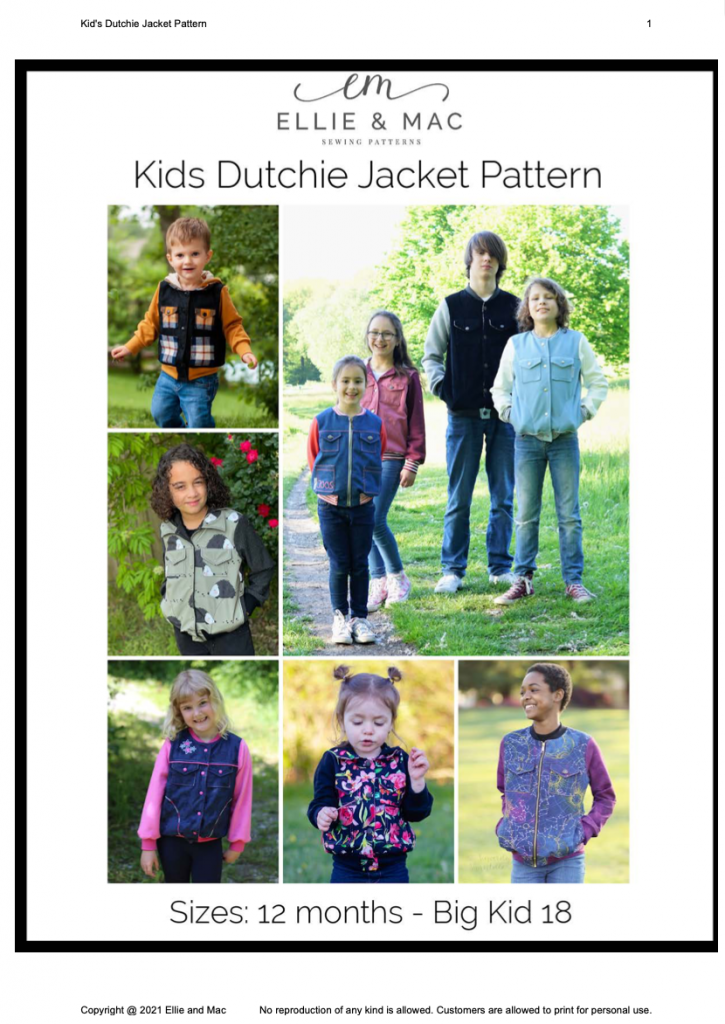
Pattern: Kids Dutchie Jacket
Designer: Ellie & Mac
Fabrics: Denim – Spotlight. Accent ballerina French Terry – Sew Unique Fabrics
Measurements: Chest: 22″
Size made: 7
Adjustments: None
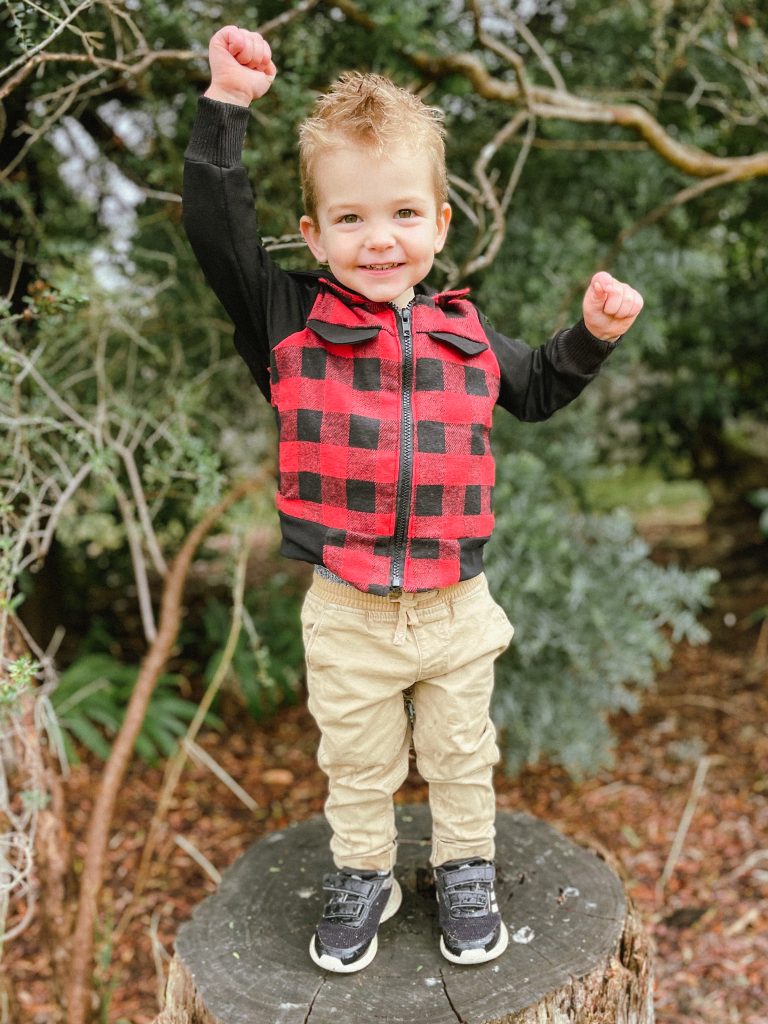
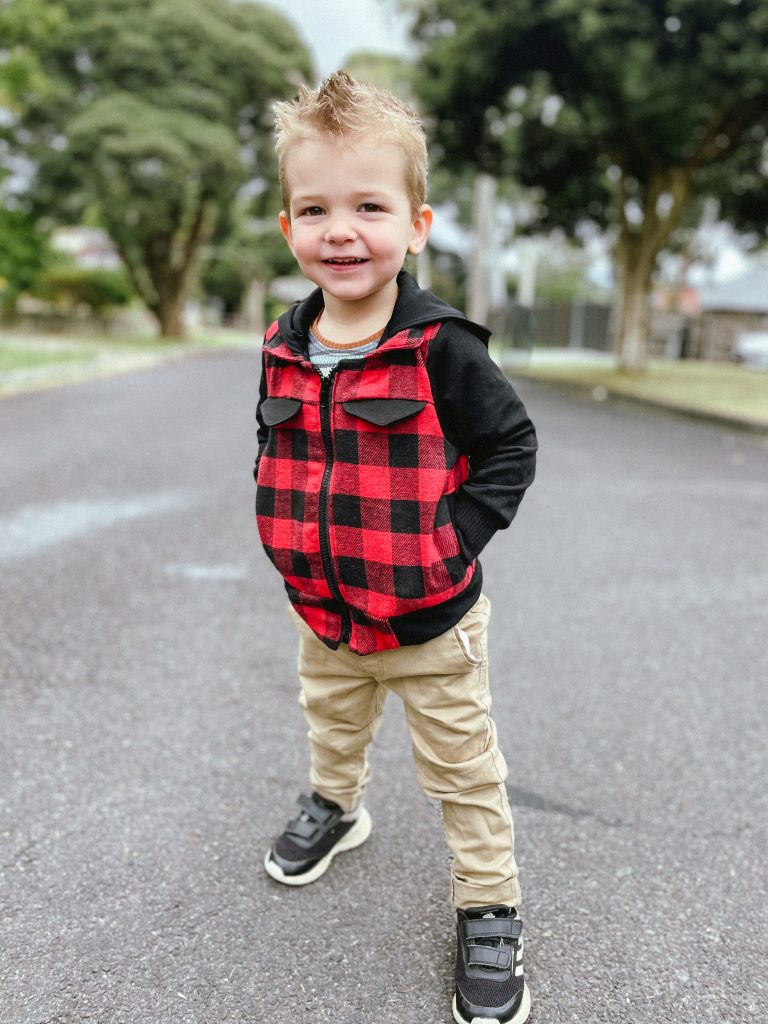
Pros: This is a super cute jacket that I liked could be made with either snaps or a zip. I also liked that you can use a woven for the main body and mix it up with knit for the sleeves.
Cons: I had A LOT of trouble with the lining pieces. This was a combo of me not reading the pieces correctly and I felt the instructions weren’t super clear that there should be an additional lining piece for the welt pocket version.
Links:
The Wrap Up:
I have wanted to make Jemma a denim jacket for quite some time, so when I saw that the kids dutchie jacket was on sale with Ellie & Mac, I thought it was a great opportunity to give it a go.
One of the things I really liked about the dutchie jacket was the ability to mix and match woven fabrics with knits, which gave me the chance to use some of my heavier weight wovens like denim and drill. I had also received a half metre piece of the Ballerinas on denim in French Terry in a Sew Unique Fab bag, so it really was a match made in heaven!
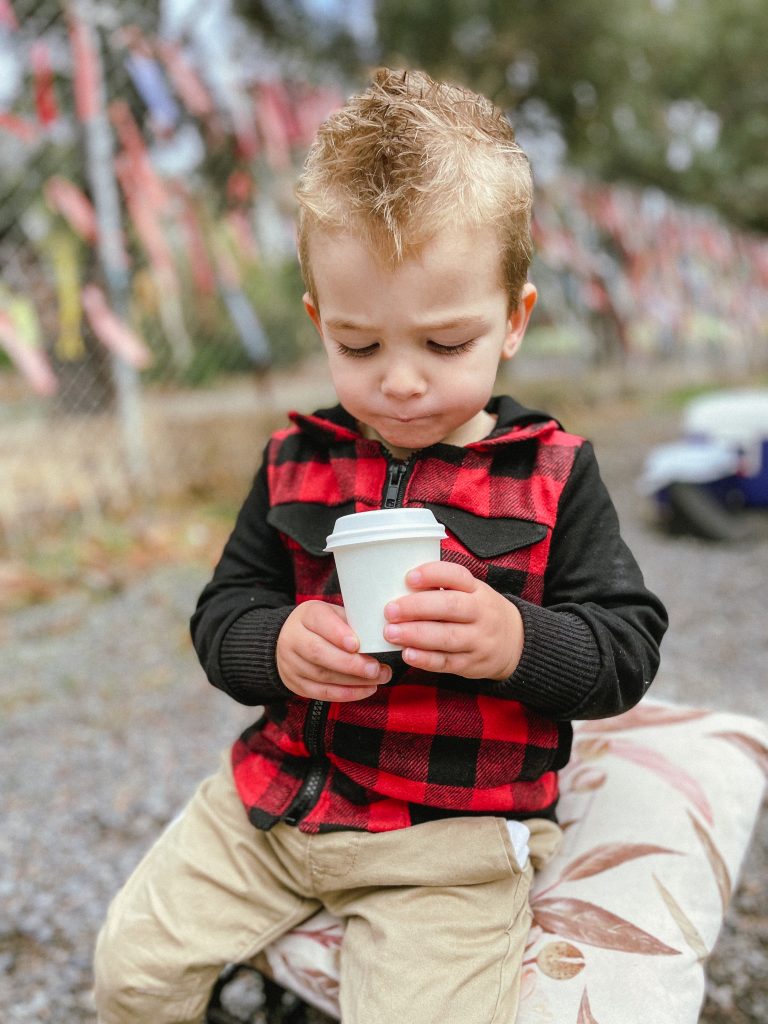
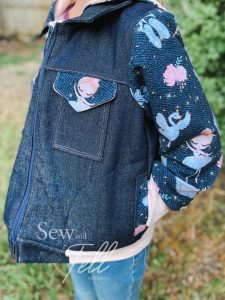
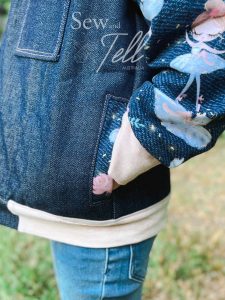
There are a few pocket options on this pattern, I opted to do the welt inseam pockets and the breast patch pockets which I felt looked super stylish.
Now I had A LOT of troubles with my welt pockets. Well, not the welt pockets per say, they came up really well, but I felt the instructions weren’t super clear that there is an ADDITIONAL liner piece when doing the welt pocket version. I ended up using my outer liner piece instead of the welt pocket liner piece, which caused me a world of pain later haha.


I ended up having to do some heavy modifications to make the liner in the jacket work, which I felt if you were a beginner and made the same mistake as me, you may have wanted to give up. So my big tip is to make sure if you make the welt pocket version that you cut BOTH lining pieces!
Other than my mistake with the liner, this jacket came together pretty well and I am super pleased with the final result. I made it in a size 7 which is 1 to 2 sizes bigger than Jemma normally wears so I can get some extra milage out of it.
The Dutchie jacket is on sale this week, 11-18th April, for only $2USD, so its worth grabbing to have in your pattern stash. Especially with its generous sizing up to big kid 18.
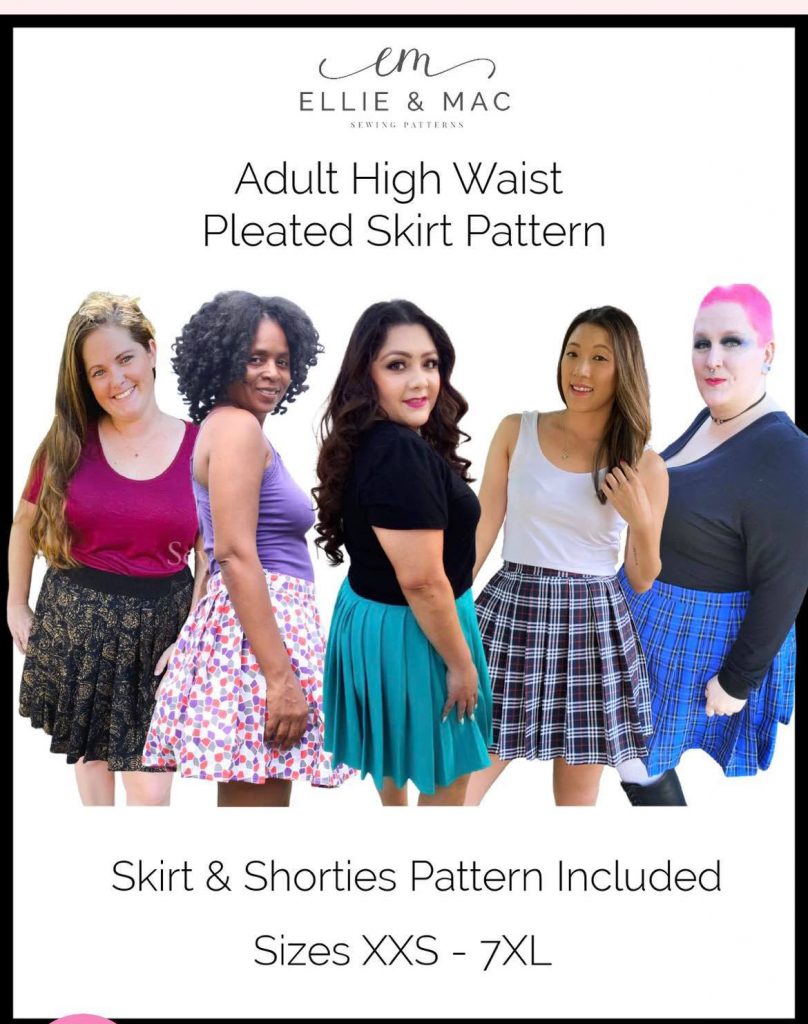
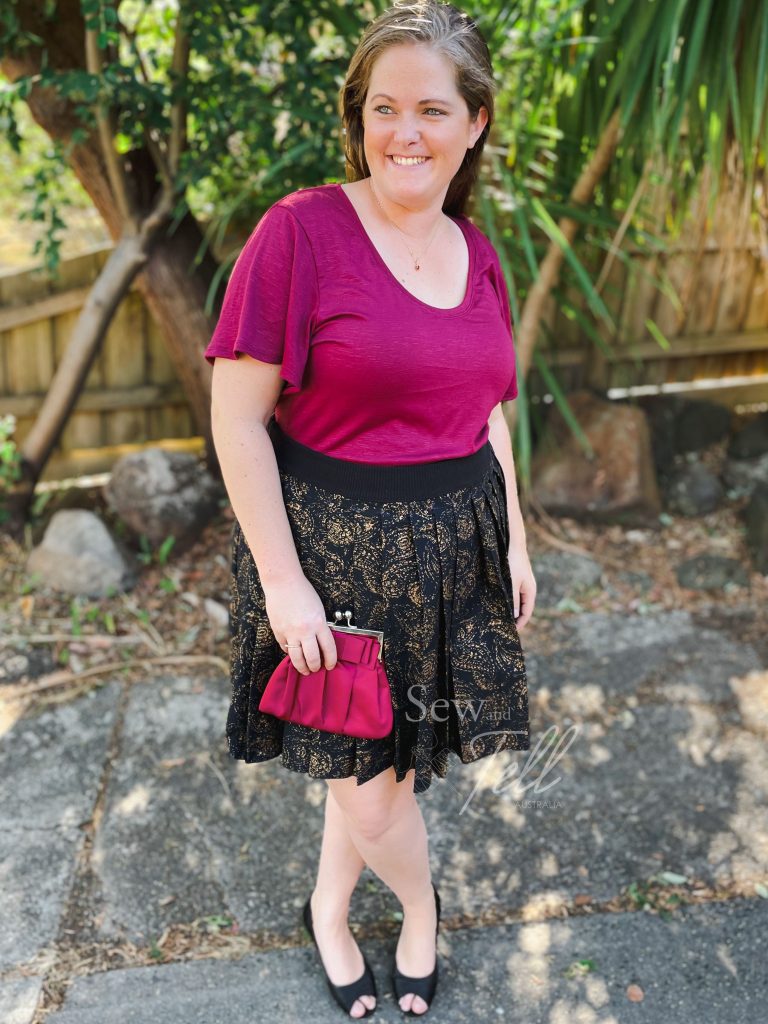
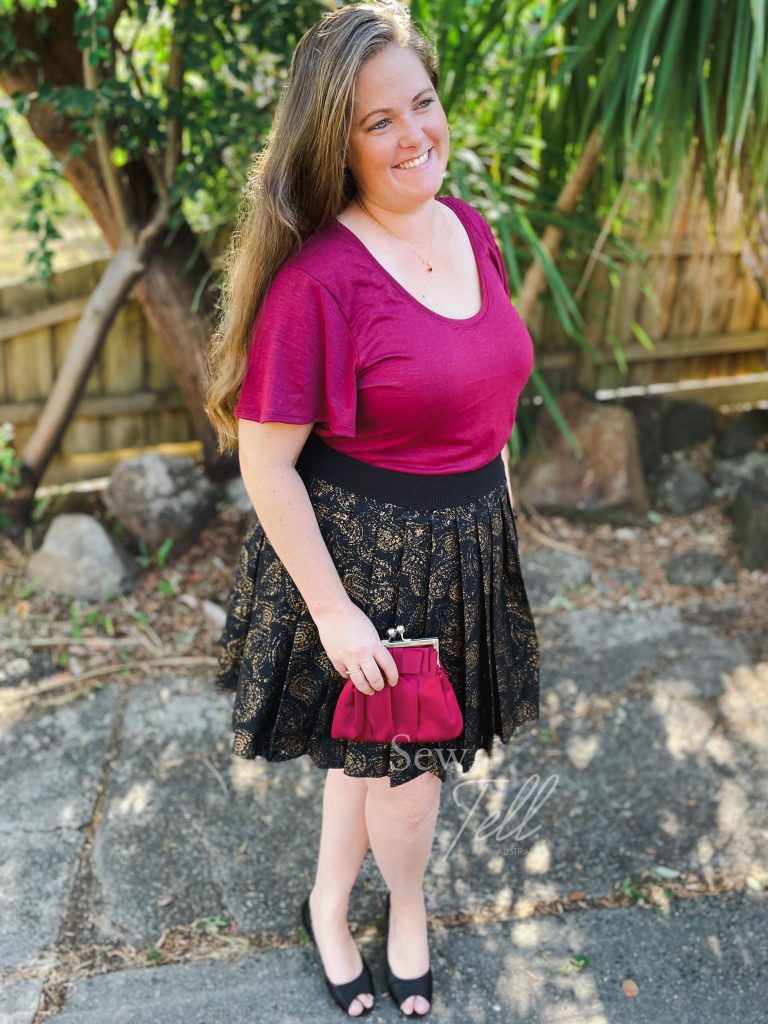
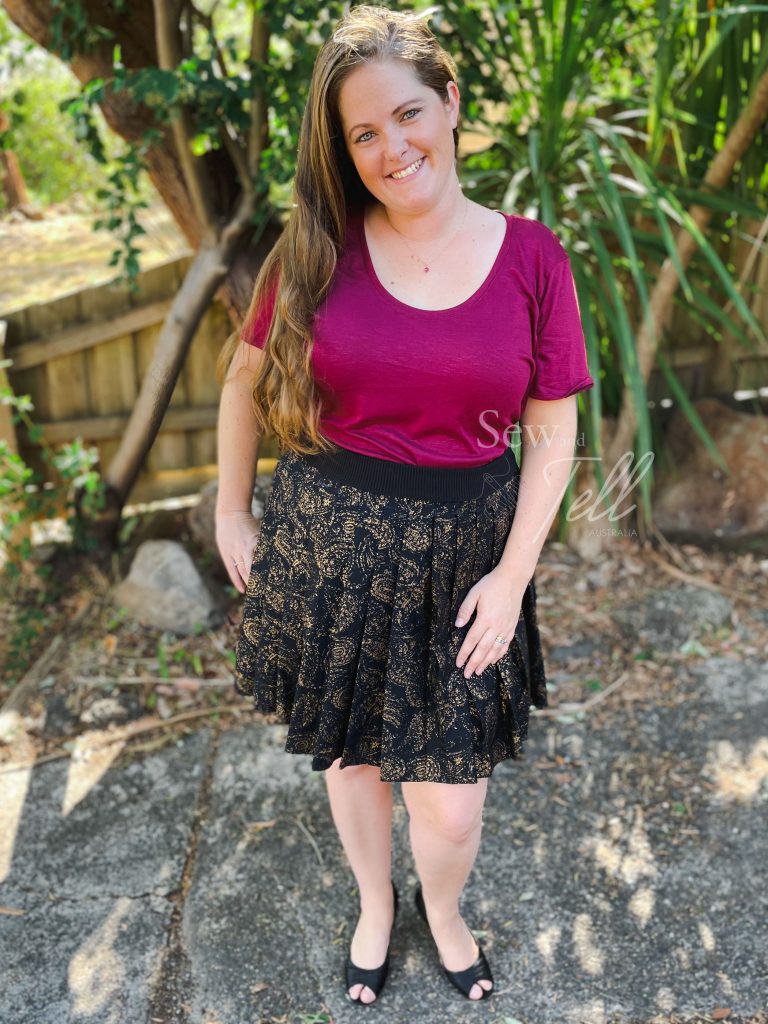
Pattern: High Waisted Pleated Skirt
Designer: Ellie & Mac Patterns
Fabrics: Woven Cotton Poplin & black ribbing
Measurements: Waist: 39″; Hips: 49″
Size made: 2XL
Adjustments: None
Pros: I like the dressiness of this skirt and how by changing the fabric could really change up wether you are making it dressy or casual.
Cons: There is a lot of work in this one with the pleats. I wouldn’t say its difficult, its just finicky and time consuming.
Links:
The Wrap Up:
This pattern went through a couple of changes through the testing process, which is partly what the test process is, to iron any kinks in the size grading and instructions.
The original skirt was to made from knit fabric, but the first test group had issues, so when it got to my group for testing, it had changed to a woven or structured knit. I had a lot of trouble with my fit version, which I think was partly to do with the style (the pleats were sewn down a lot further creating less room in the hips) and I also think I didn’t sew the right size for me.

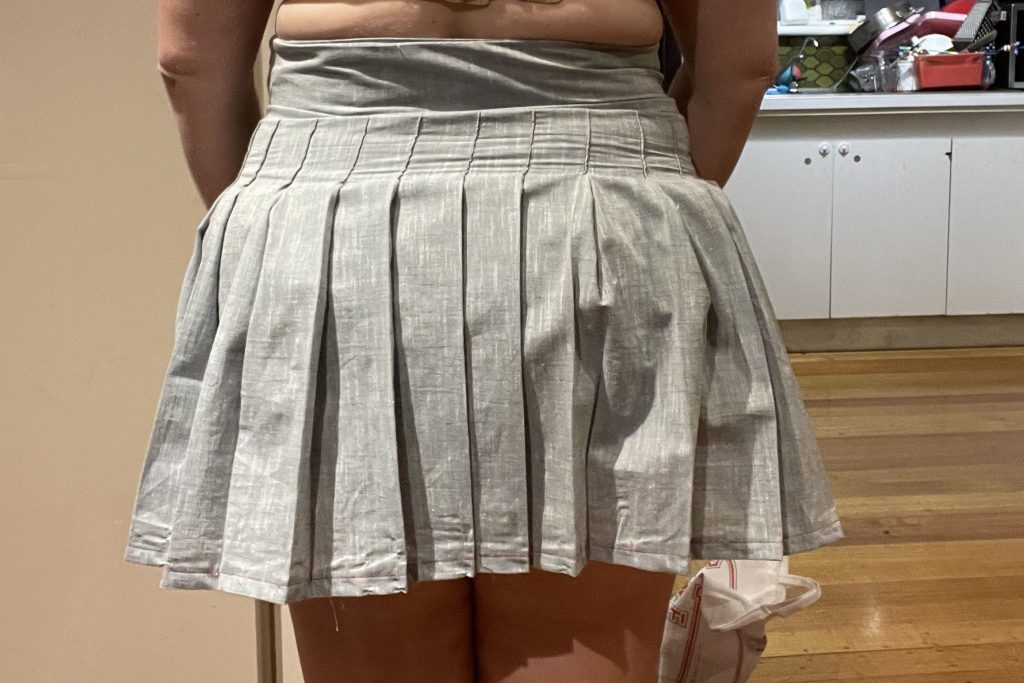
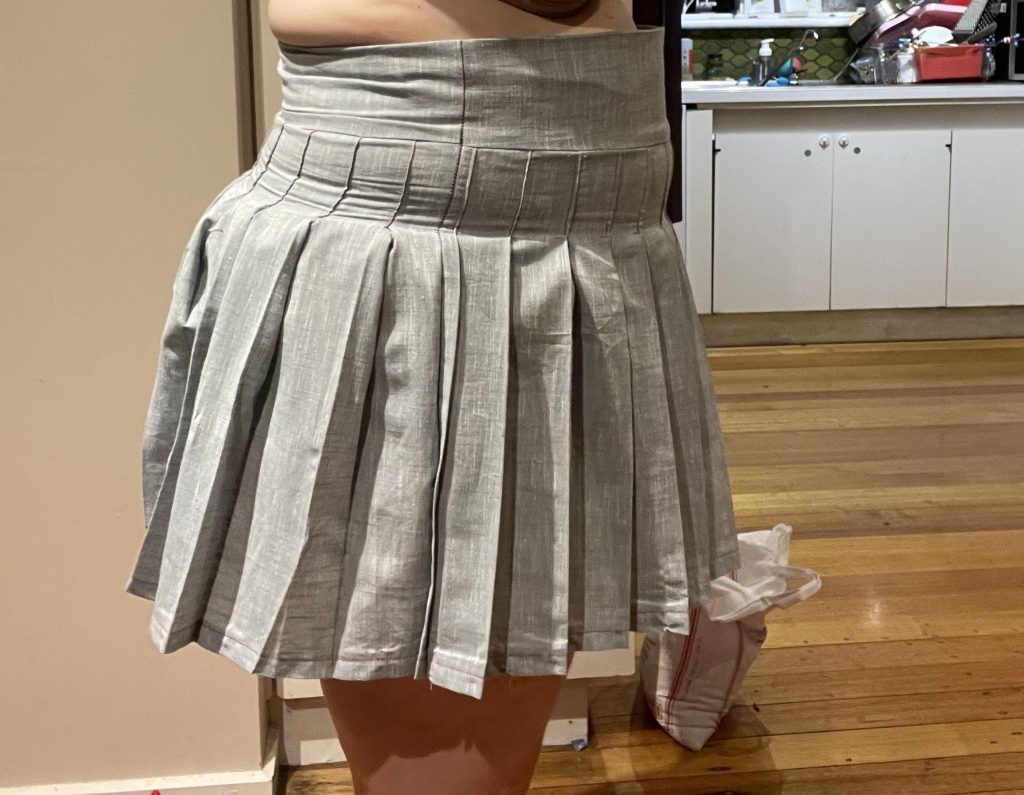
It bunched at the hips and non contoured waistband sat funny on my waist. It was not a flattering look! I was a little scared to see what the final version would come out as, but a few additional changes were made and I think they made a big difference. The main difference was incorporating the option for a ribbed waistband option to help with the waistband issues.
I had initially picked out some cute grapefruit fabric to make my final from, but pleated skirts are incredibly fabric hungry and I didn’t have enough. I did however have some stylish black and gold cotton poplin that I got from a friend who was de-stashing and it was perfect.
While pleats are time consuming, I actually find it quite cathartic and satisfying watching them come together. It’s ‘slow’ sewing, but requires more skill and attention to detail, which I think is good to have a few of those projects every now and then. Especially if you’re a fast and dirty sewer like I am haha.
I think the final skirt came up quite good and when I paired it with my new Tennessee Tee in a deep red/Burgundy, it really popped. Throw in a pair of black kitten heels and I was already for my Valentines date of salmon and rice with my husband and kids at 5.30 before I ran off to work haha. Glamorous Valentines for us for sure 😉
Gallery:


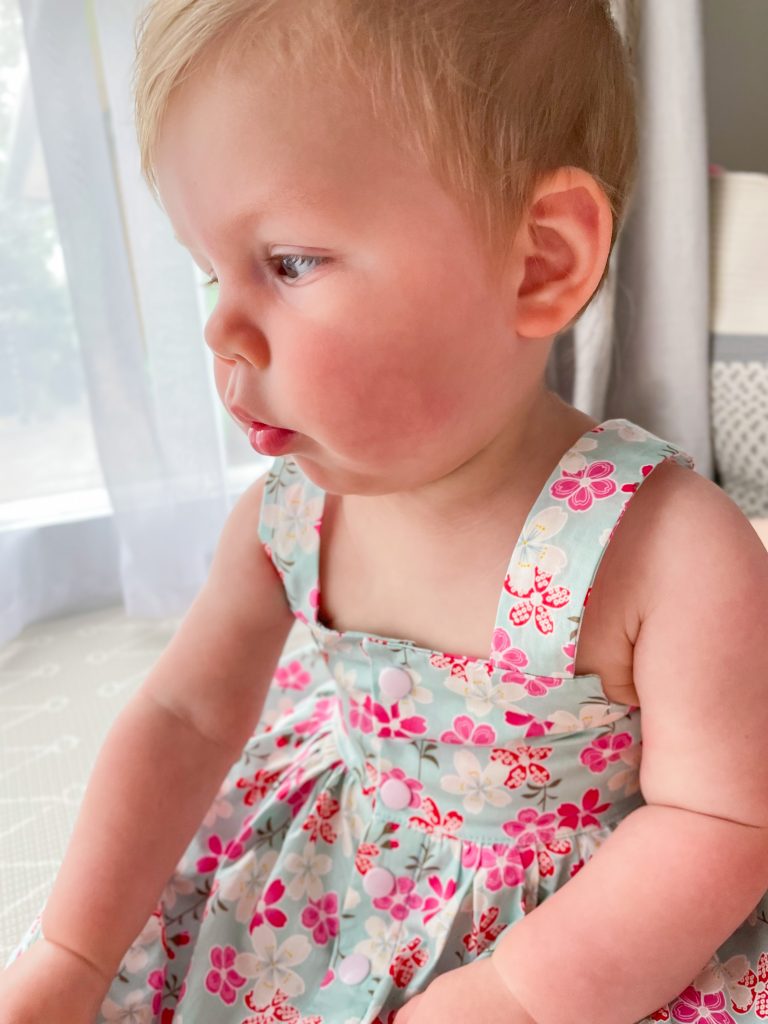
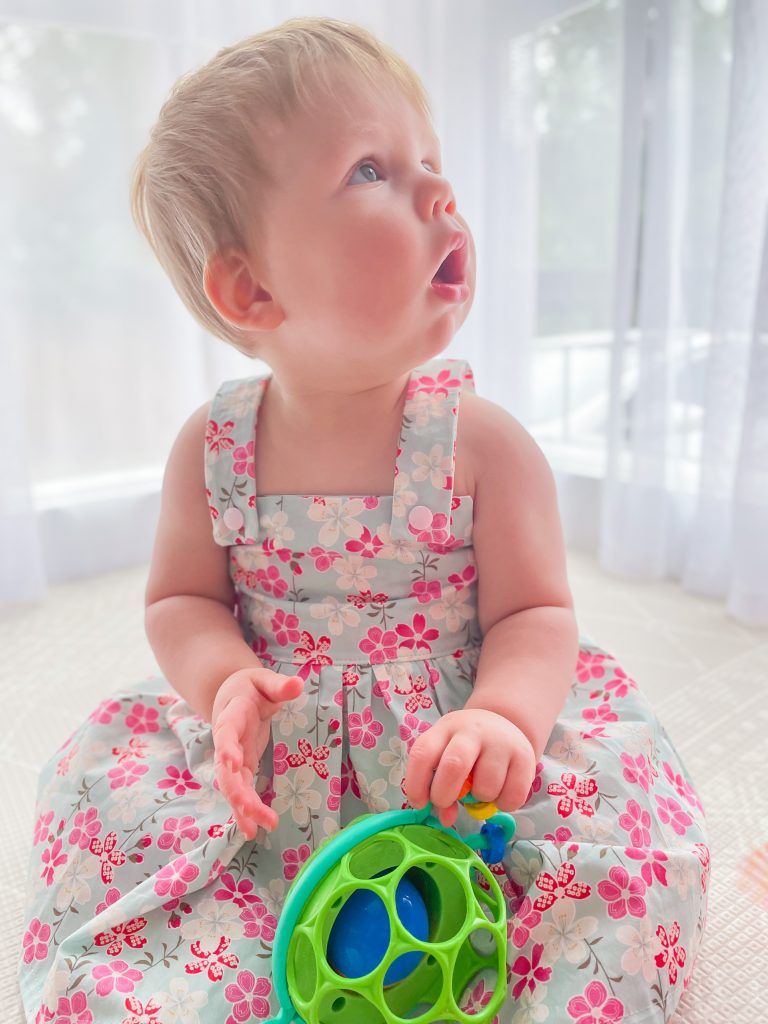
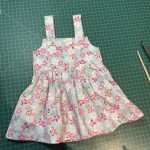
Pattern: Back to Front (BTF) Dress/Romper
Designer: Tadah Patterns
Fabrics: Cotton Poplin – I think from Spotlight, have had a LONG time
Measurements: Chest: 46cm; Waist: 47cm; Height: 77cm
Size made: 00 chest graded to 0 height
Pros: Really simple construction, can be worn both ways.
Cons: Size was a little tight on my models, may want to consider sizing up.


The Wrap Up:
This was my first time testing for Tadah. As a long time lover of there patterns, it really was quite an honour to get a chance to help owner Lauren to test this latest pattern.
I put my hand up to test the 00 size as I was going to be using my friends little girl as my model. When I got her measurements she ended up fitting in the 00 size for chest but 0 for length, so I ended up grading to suit.
The version I tested was a little long in the short straps which I know was fixed in the final pattern, which is why its so important for designers to get a variety of models in the test phase, to iron out any of these little issues.
I chose to use a cute floral woven I’ve had in my stash forever and it turned out so cute. I did the most simple version as I was running a bit short on time to get my fit photos in. I was able to use my friends little girl for fit photos, but on the day didn’t get to do any styled shots. As there weren’t any major changes to the final version, I was able to use my fit garment for the final photos but changed models to my neighbour as she was available the day I could take the pics. Lucky the are the same size 🙈.

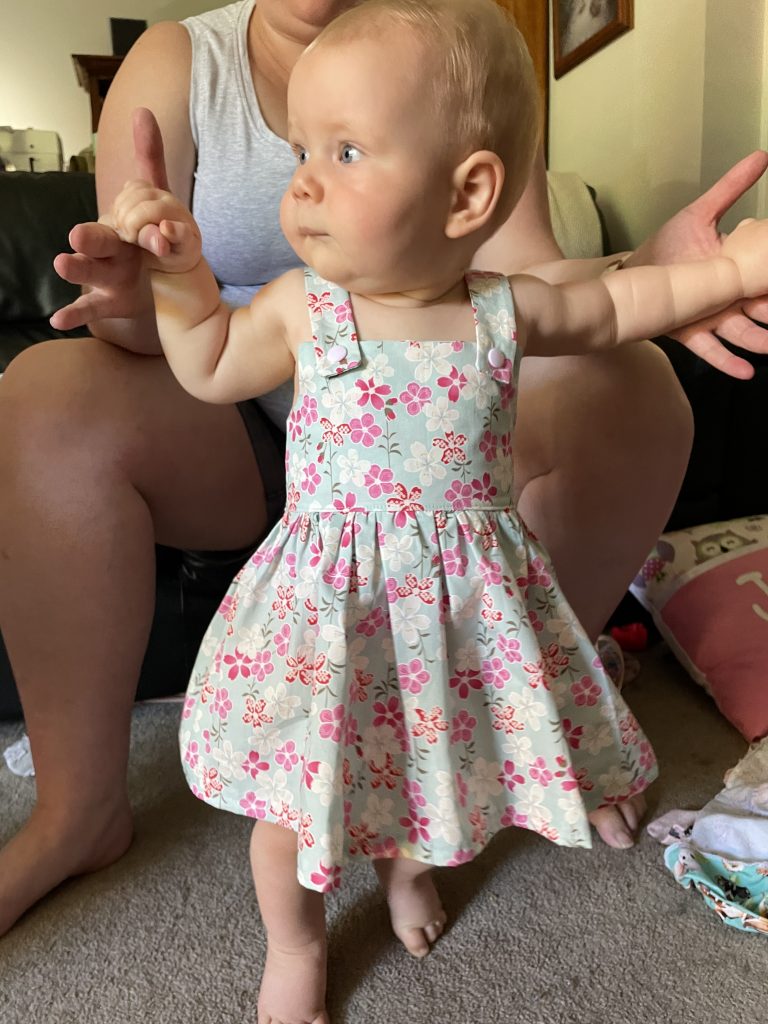

I love the versatility of this pattern being that it can be worn both ways and still look super stylish and cute. It also has quite an easy construction designed with beginners in mind, so definitely give this a go if you’re new to sewing and want something easy. Lauren also has a really helpful Facebook Group that you can join for extra help or advice if you get stuck.
I have a few more of these planned now, I want to try the ruffles and I think they would make a great baby gift.
This pattern is on sale to celebrate its release so jump on the link below and grab it while its discounted. Tag me in your make so I can see your cute version as well!
Links: