Month: December 2022

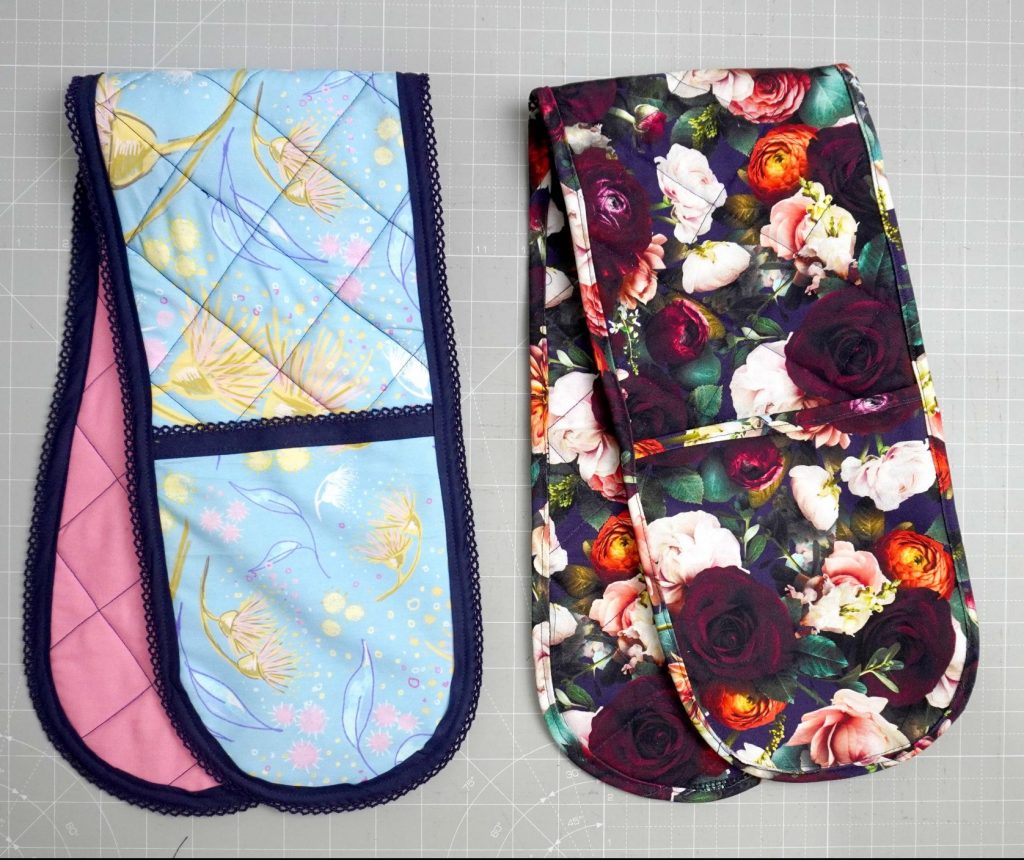
  • Free Tutorial: Double Oven Mitts with FREE pattern

    If you’re looking for an easy last minute gift, try this free and easy double oven mitt pattern.

    To get the pattern pieces for free, sign up to my newsletter and I will send you the A4 print at home, A0 and Projector file.

    I was recently looking through my woven stash and remembered I had 2 really beautiful prints from Clover & Co. Fabrics that I wanted to do something with. 

    With Christmas upon us, I thought I would make a cute and practical oven mitt as gifts.

    You can either trace out your existing oven mitts and copy them or if you sign up to my newsletter, I have created A4 print at home, A0 and Projector files to use. 

    I highly recommend using natural fibres for these such as Cotton, being that it will be used around hot areas. Clover and Co. Fabrics have a great range of cotton wovens, I’ll link them here if you’d like to check them out.

    How to sew: Sewing Instructions

    Materials list:

    • – .5m of woven cotton fabric. Quilting cotton, cotton poplin, canvas, drill.
    • . 4m of Thermal/insulated wadding.
    • – Matching thread
    • – Fabric pen/chalk
    • – Scissors/Rotary Cutter
    • – Safety Pins
    • – Pin/Clips
    • – 2.3m self made matching or store bought, minimum 10mm wide double fold binding.

    Step 1:

    Cut out all materials that you need. 

    You should have 2 outer pieces either in matching fabric or you can have a different colour on the bottom. 2 x pair of mitts and an inner piece from insulated/thermal wadding. I used Insulbright from Spotlight.

    Step 2:

    Place your two mitten pairs with wrong sides together. 

    Then cut some binding, either store bought or if you’ve made your own, and pin across the top, straight raw edge. 

    Your straight raw edges should be sandwiched between the binding.

    Sew the binding to the mittens and put them aside.

    Step 3:

    Draw the quilting lines onto the bottom side of your oven mitts. 

    I generally use a quilting ruler to be able to use the 45* angle on it and a fabric pen or tailors chalk.

    Draw lines 2″ apart, across the whole piece, and then cross them the other way to get your quilted look.

    Step 4:

    • – Take your 3 main pieces and layer them so you have the top piece (blue floral) on the bottom, with the right side out/down. Then your thermal/insulated piece (follow manufacturer’s instructions to put the thermal side so it will be on the bottom of the mitt when using it if applicable). Finish with your bottom piece (pink) right side out.
    •  
    • – You then want to put some safety pins through the 3 layers to try and stabilise it while you sew the quilted pattern. 

    More is more in this instance, so don’t be afraid to add a couple of extra. Mine moved a bit too much with only 5 pins.

    Step 5:

    Take your time quilting. The fabric moves a fair bit so it can be good to take your time.

    Follow the lines both ways until you have a lovely quilted pattern. 

    Don’t worry if your fabric has moved a little, we will neaten it up next.

    Step 6:

    Trim your main pieces so that all the raw edges are basically back aligned with each other. This will help when it comes to binding. 

    Step 7:

    Lay your mitten pieces onto your main piece, matching the rounded ends. 

    May need to trim your mitten pieces slightly to fit if you also trimmed your main piece in the previous step.

    Pin/Clip in place and sew all the way around the mitt, close to the raw edge.

    You’re almost done!

    Step 8:

    Cover the outer raw edges of your mitts with the binding. 

    You should basically be sandwiching the oven mitt between the double faced binding and clip/pin as you go. I find it easier to clip in this instance.

    Step 9:

    Sew all the way around.

    I like to sew from the top, but you can sew from the bottom. Just make sure you ‘catch’ the binding from both sides to ensure it won’t come off.

    Enjoy your new oven mitt!

    Don’t forget to tell everyone you made this beautiful handmade gift and tag me, @sewandtellau and @cloverandcofabrics so we can see your beautiful makes as well!

    The one I made from canvas is called the Gayle print and I made my own binding using the Simplicity Bias Tape Maker.

    If you’d like to give this pattern a go yourself, make sure you sign up to my newsletter and you will get the A4 print at home, A0 copyshop and Projector friendly files. 

    Happy making!

    What next?

    Stop wasting fabric and time on projects that don't fit right. 

    Learn to sew with confidence and let me guide you to more sewing success.

  • My favourite Teacher Gift

    Pattern: Cool Time Lunch Bag
    Designer: Waves & Wild
    Fabrics: Floral Cotton Canvas from Clover & Co. Fabrics
    Abstract Drill & Insulated lining from Spotlight
    Black PUL from GreenBeans Au
    Hardware: Zips & Pulls from Dreamy Bag Hardware
    Skill level:
    Intermediate
    Pros: This is a GREAT gift for anyone really. Don’t forget to make one for yourself as well!
    Cons: It can be a little tricky to get all the layers together without shifting.

    It’s that time of year. The crazy time where back in November we had planned hand made gifts for all the people we like and by now, we only like about 3 people. haha.

    Last year I made these for my daughters 3, yes THREE, Kinder teachers and they were a hit, so I was back again this year to make them for her Prep teachers.

    She was in a split teaching class so again this year so I had more than one gift to make, but thankfully I’ve gotten pretty good at them by now. I am thrilled with how they turned out and I’m hoping the teachers are pretty wrapped as well.

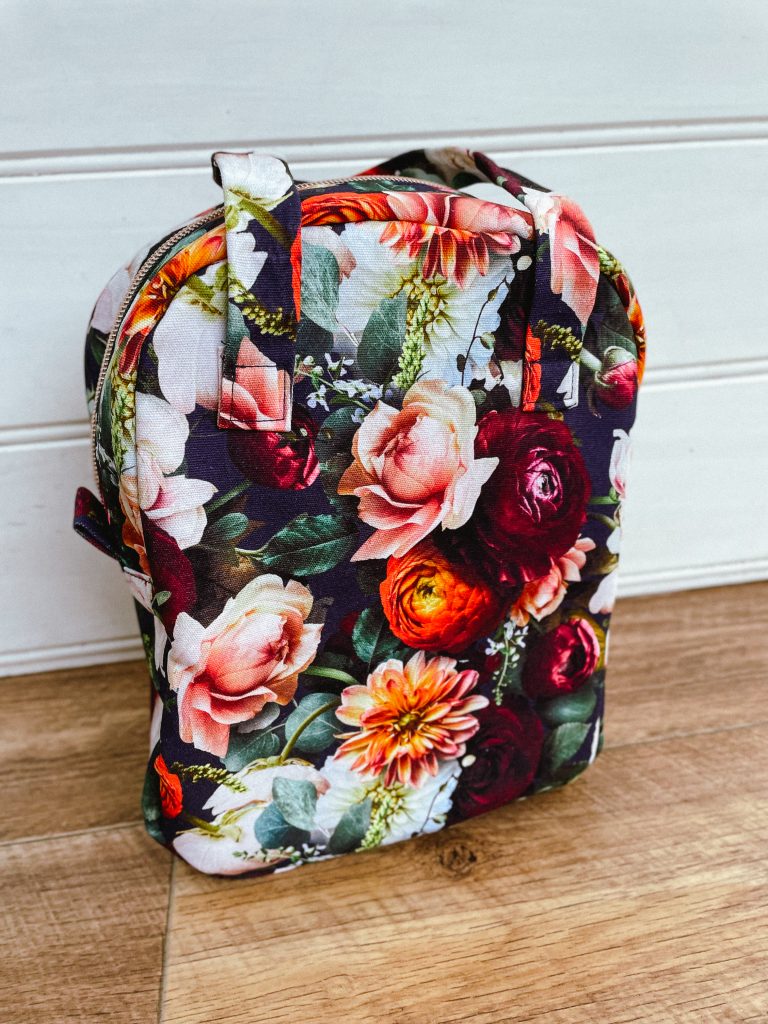
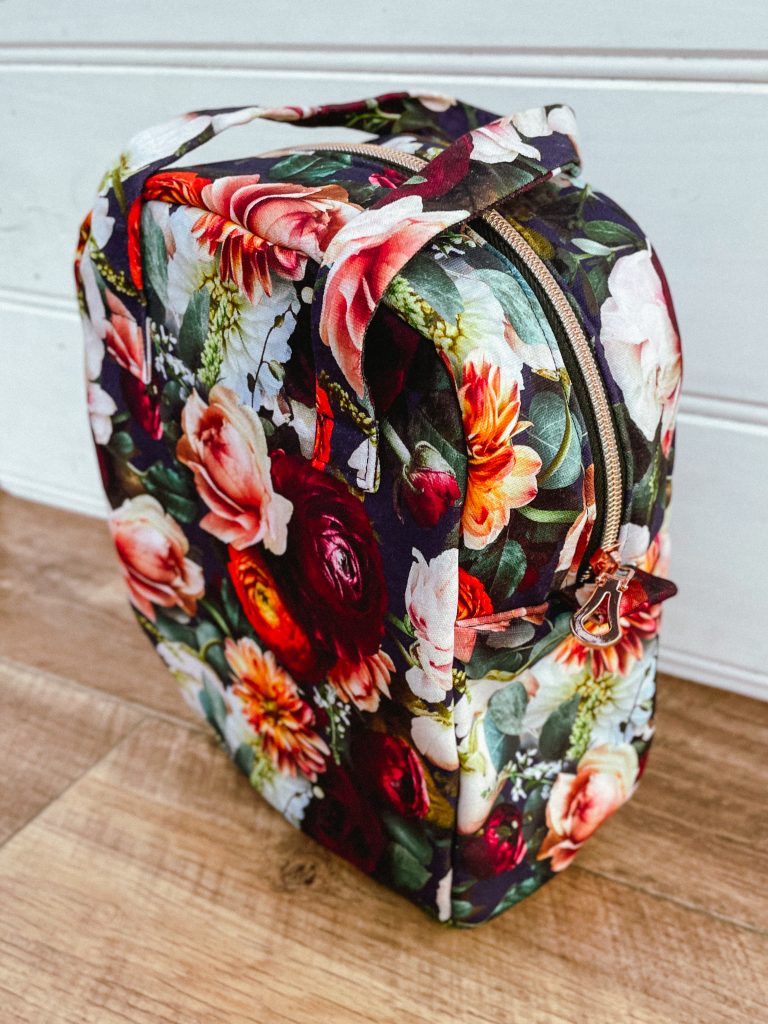
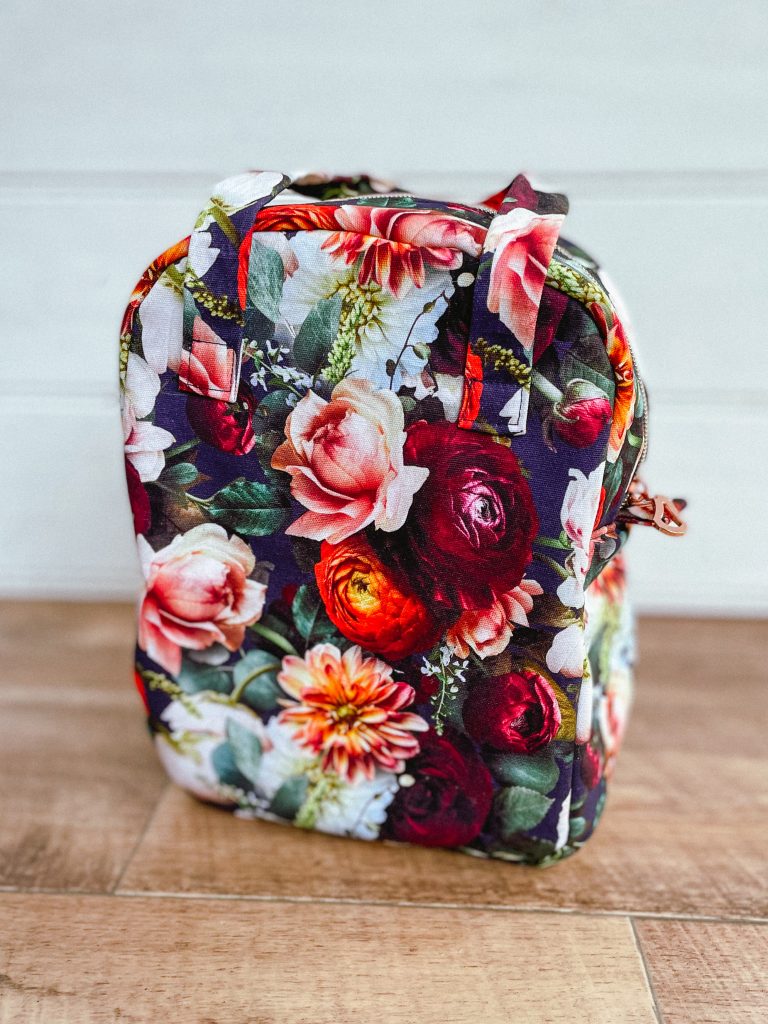
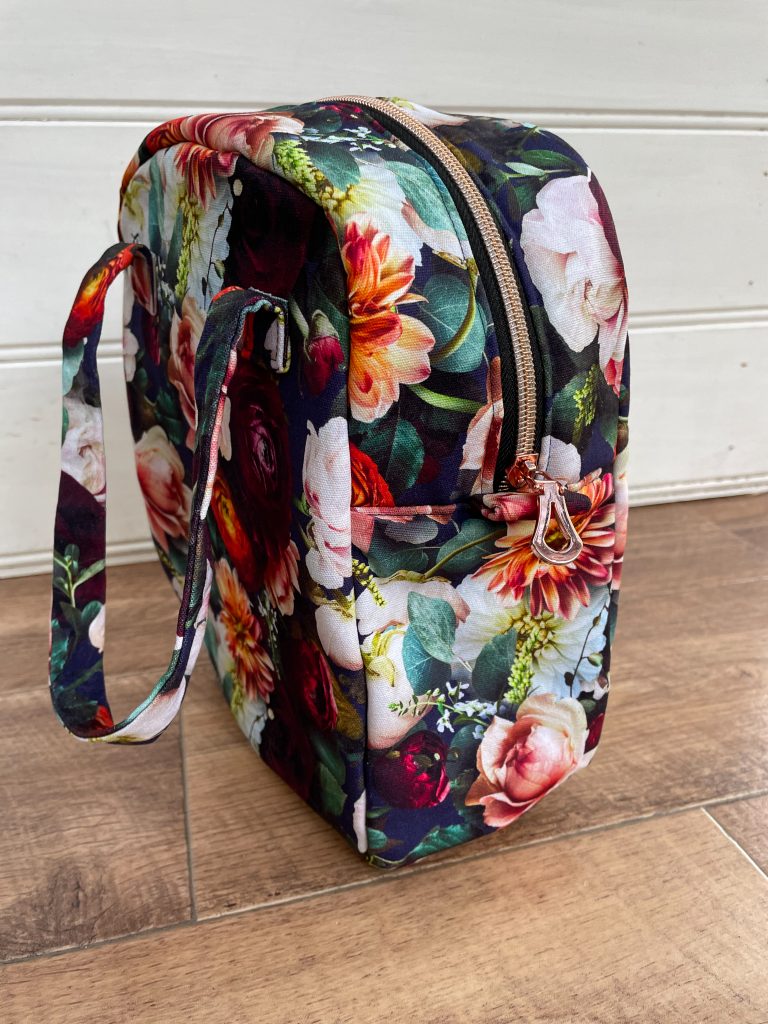
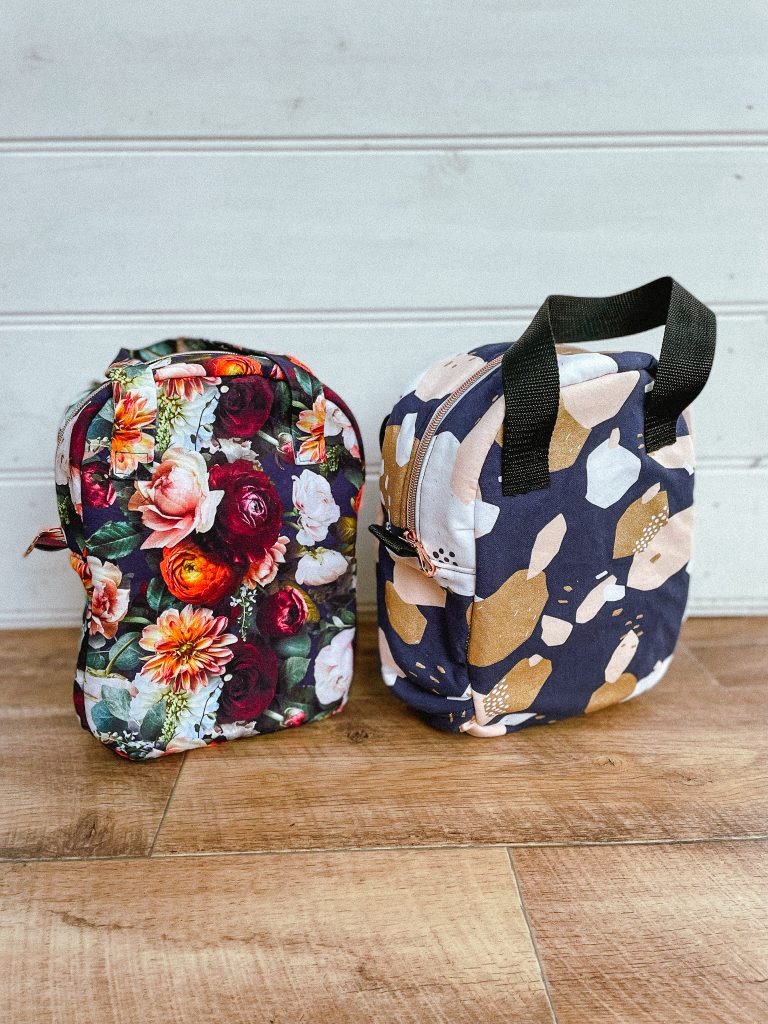
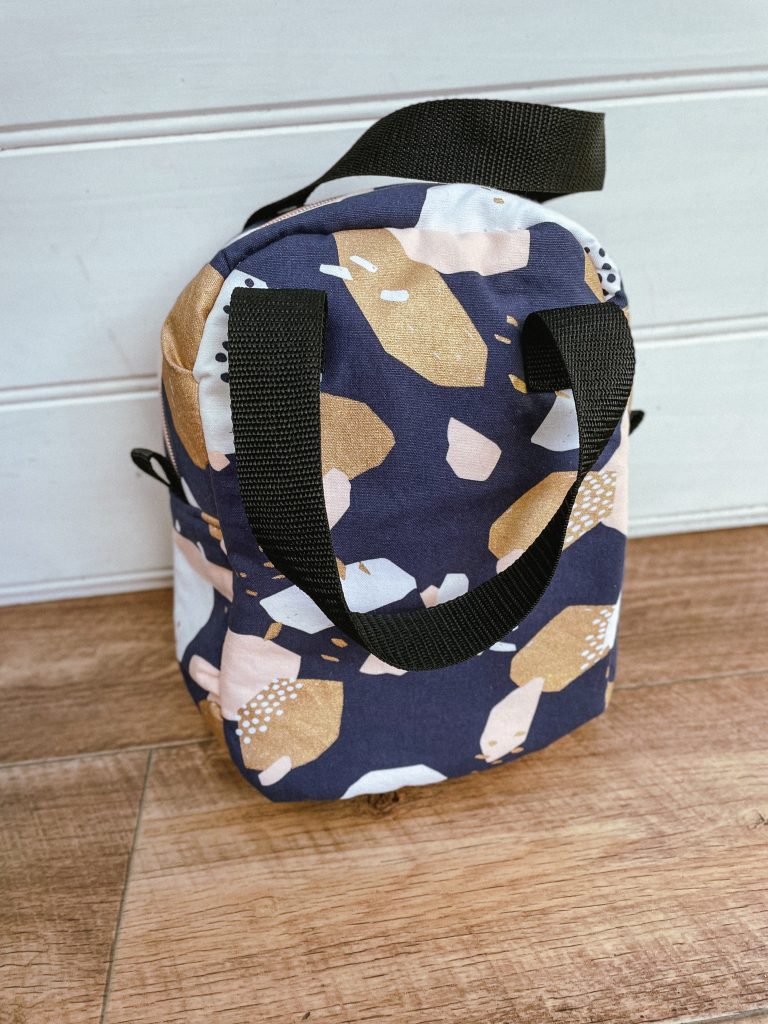
    I used a GORGEOUS cotton canvas floral from Clover and Co. Fabrics as well as a funky abstract drill from Spotlight. Both were very easy to work with, however like with any woven they can fray if not finished correctly, which is something to be aware of when sewing. You can either bind the inside seams to enclose them or I ran my outer pieces through my overlocker to neaten up the edges and keep them nice when I sewed it together.

    The lunch bags have an insulted liner so they can used as warm/cool bags and I also line mine with a PUL (water resistant lining) to help with any spillages and make it easier to wipe clean if anything leaks.

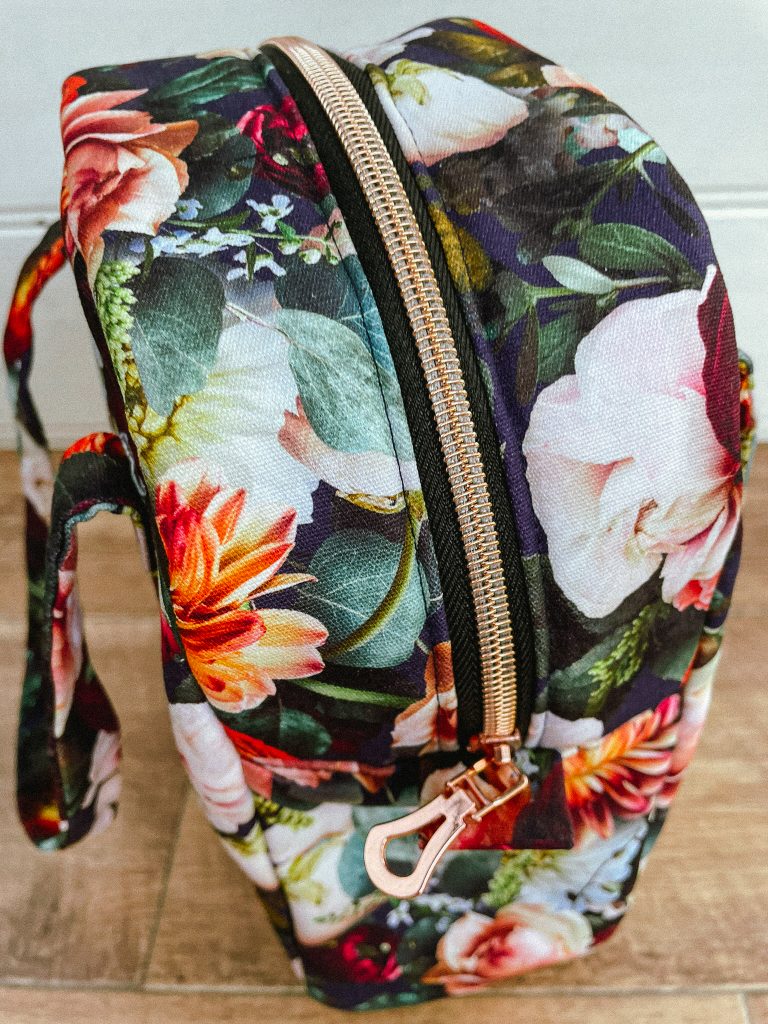
    The hardware I used was from my fave bag company Dreamy Bag Hardware. I decided the Rose Gold on both was SO pretty.

    These are such cool gifts when they come together so I encourage you to give them a go. I am super happy with the results and will probably start making next years teacher one now so I will have it finished intime without rushing hahaha.

    Your next step

    Discover the love of sewing clothes you and your family will be proud to wear.

    If you are ready to take the next step in your sewing journey and save time, become a better sewist and craft a beautiful wardrobe, enroll in my member community today.

  • Pattern Review of the Everyday Overalls

    Pattern: Everyday Overalls
    Designer: Tadah Patterns
    Fabrics: Cotton Canvas from Clover & Co. Fabrics
    Skill level: Beginner
    Measurements: Chest: 21″; Waist 20.5″; Hips 21″
    Size made: 2
    Adjustments: None
    Pros: This is an absolute staple for your kids wardrobe. It is perfectly unisex and has both a long and short version.
    Cons: None

    The Review:

    This pattern could not have come at a more perfect time, as I can see they are going to be a massive staple in our house. I used to have a different woven overalls pattern I loved, but once I moved to projectors, I could no longer use it as it didn’t have layers. So when Lauren from Tadah said she was releasing her own version, I very much did a happy dance. 

    I love the extended size range on these also. They start at a 0000 and go all the way up to a teen 14, which is so helpful. I highly recommend buying the bundle so you can get all 3, the babies, kids and teens. 

    I made 3 versions in the testing phase, and Ted gave them a really good go of playing in them and they really held up well in play time. The name of Everyday Overalls is perfect cause I think we’ll live in them almost everyday over Summer haha.

    I do have a pair there that I’m making Jemma out of a gorgeous Corduroy, but I just didn’t get them done in time of writing this. Hopefully you’ll see them on my socials ASAP. There is even an adorable Pinafore version which I think is also a cute option for girls. The V back is also perfection, it comes up SO well!

    Tadah have also released their own hardware which is perfect for these overalls, so make sure you jump on and check that out as well.

    It’s a huge thumbs up from me on this pattern, I can’t wait to make many many more!

    Your next step

    Discover the love of sewing clothes you and your family will be proud to wear.

    If you are ready to take the next step in your sewing journey and save time, become a better sewist and craft a beautiful wardrobe, enroll in my member community today.

  • Say Hello to the latest Love Notions Brand Ambassador!

    Get ready for more Love Notions pattern love in 2023

    I am beyond thrilled to announce that I have been asked to join the extremely talented International group of Ambassadors at Love Notions Patterns for 2023.

    I have been a fan of Love Notions for quite some time, so it was an easy yes when they approached me to join the team. Not only because their current ambassador team is full of extremely talented seamstresses, but also because I think they make well drafted patterns that are inclusive of sizes and larger busts.

    I have lots of Love Notion upcoming sews planned to celebrate this new partnership, I am looking forward to sharing those with you all over the coming weeks. 

    A perk of following both me, Sew & Tell Australia, and Love Notions is that I am able to give you an extra 10% off their patterns year round! I love that I can offer that to my loyal followers. 

    The code will change every quarter so be sure to always check through my socials to get the most up to date code, or you can always send me a msg on either Instagram, Facebook or Email.