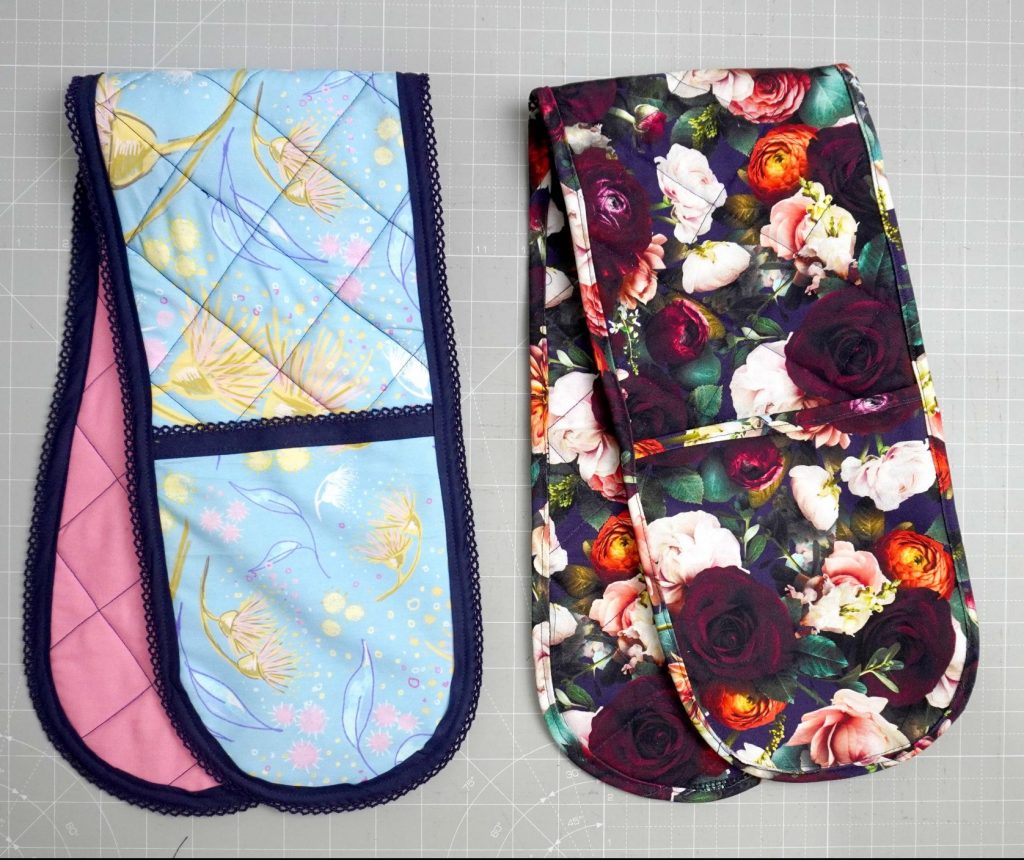
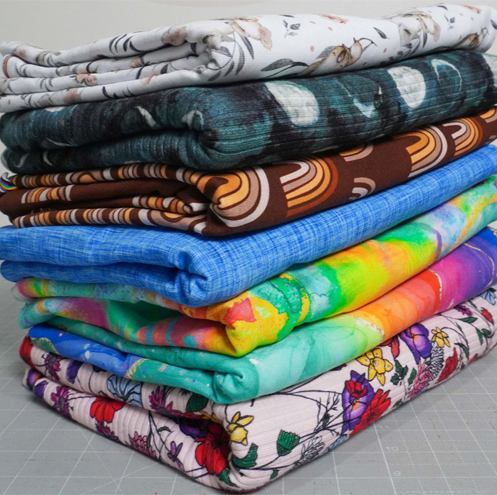
I was recently looking through my woven stash and remembered I had 2 really beautiful prints from Clover & Co. Fabrics that I wanted to do something with.
With Christmas upon us, I thought I would make a cute and practical oven mitt as gifts.
You can either trace out your existing oven mitts and copy them or if you sign up to my newsletter, I have created A4 print at home, A0 and Projector files to use.
I highly recommend using natural fibres for these such as Cotton, being that it will be used around hot areas. Clover and Co. Fabrics have a great range of cotton wovens, I’ll link them here if you’d like to check them out.
– 2.3m self made matching or store bought, minimum 10mm wide double fold binding.
Step 1:
Cut out all materials that you need.
You should have 2 outer pieces either in matching fabric or you can have a different colour on the bottom. 2 x pair of mitts and an inner piece from insulated/thermal wadding. I used Insulbright from Spotlight.
Step 2:
Place your two mitten pairs with wrong sides together.
Then cut some binding, either store bought or if you’ve made your own, and pin across the top, straight raw edge.
Your straight raw edges should be sandwiched between the binding.
Sew the binding to the mittens and put them aside.
Step 3:
Draw the quilting lines onto the bottom side of your oven mitts.
I generally use a quilting ruler to be able to use the 45* angle on it and a fabric pen or tailors chalk.
Draw lines 2″ apart, across the whole piece, and then cross them the other way to get your quilted look.
Step 4:
– Take your 3 main pieces and layer them so you have the top piece (blue floral) on the bottom, with the right side out/down. Then your thermal/insulated piece (follow manufacturer’s instructions to put the thermal side so it will be on the bottom of the mitt when using it if applicable). Finish with your bottom piece (pink) right side out.
– You then want to put some safety pins through the 3 layers to try and stabilise it while you sew the quilted pattern.
More is more in this instance, so don’t be afraid to add a couple of extra. Mine moved a bit too much with only 5 pins.
Step 5:
Take your time quilting. The fabric moves a fair bit so it can be good to take your time.
Follow the lines both ways until you have a lovely quilted pattern.
Don’t worry if your fabric has moved a little, we will neaten it up next.
Step 6:
Trim your main pieces so that all the raw edges are basically back aligned with each other. This will help when it comes to binding.
Step 7:
Lay your mitten pieces onto your main piece, matching the rounded ends.
May need to trim your mitten pieces slightly to fit if you also trimmed your main piece in the previous step.
Pin/Clip in place and sew all the way around the mitt, close to the raw edge.
You’re almost done!
Step 8:
Cover the outer raw edges of your mitts with the binding.
You should basically be sandwiching the oven mitt between the double faced binding and clip/pin as you go. I find it easier to clip in this instance.
Step 9:
Sew all the way around.
I like to sew from the top, but you can sew from the bottom. Just make sure you ‘catch’ the binding from both sides to ensure it won’t come off.
Enjoy your new oven mitt!
Don’t forget to tell everyone you made this beautiful handmade gift and tag me, @sewandtellau and @cloverandcofabrics so we can see your beautiful makes as well!
The one I made from canvas is called the Gayle print and I made my own binding using the Simplicity Bias Tape Maker.
If you’d like to give this pattern a go yourself, make sure you sign up to my newsletter and you will get the A4 print at home, A0 copyshop and Projector friendly files.
Enrol in our Conquer Stretch Fabric Sewing Course before 15th April 2024 and you can join our first ever Sewing Bootcamp! Be guided through 4 stretch sewing modules with weekly calls and exclusive online sewing community.