Month: November 2023

  • Using Siser Easyweed HTV to Up-cycle a Jacket

    I love making clothes for my kids, it’s one of my greatest joys. However, I’m sure most would agree, kids grow like weeds and it feels like as soon as I make a beautiful garment for them, I blink and then they have outgrown it!

    This is where I love hand-me-downs. I find with handmade, they are generally so well made and with much higher quality materials than Fast Fashion/Ready To Wear, that there is still so much wear left in these beautiful garments.

    Giving New Life to Old Makes

    I made this jacket for my son in May last year (you can read my review here) and I absolutely loved it. When he grew out of it, I was so sad!

    It still has a lot of wear left in it and I wanted to pass it on to a friend who I knew would give it the same love we did. I did want to personalise it for her and her son as well though, and I thought using the Siser Easyweed HTV and Siser Brick 600 would be a perfect pairing. 

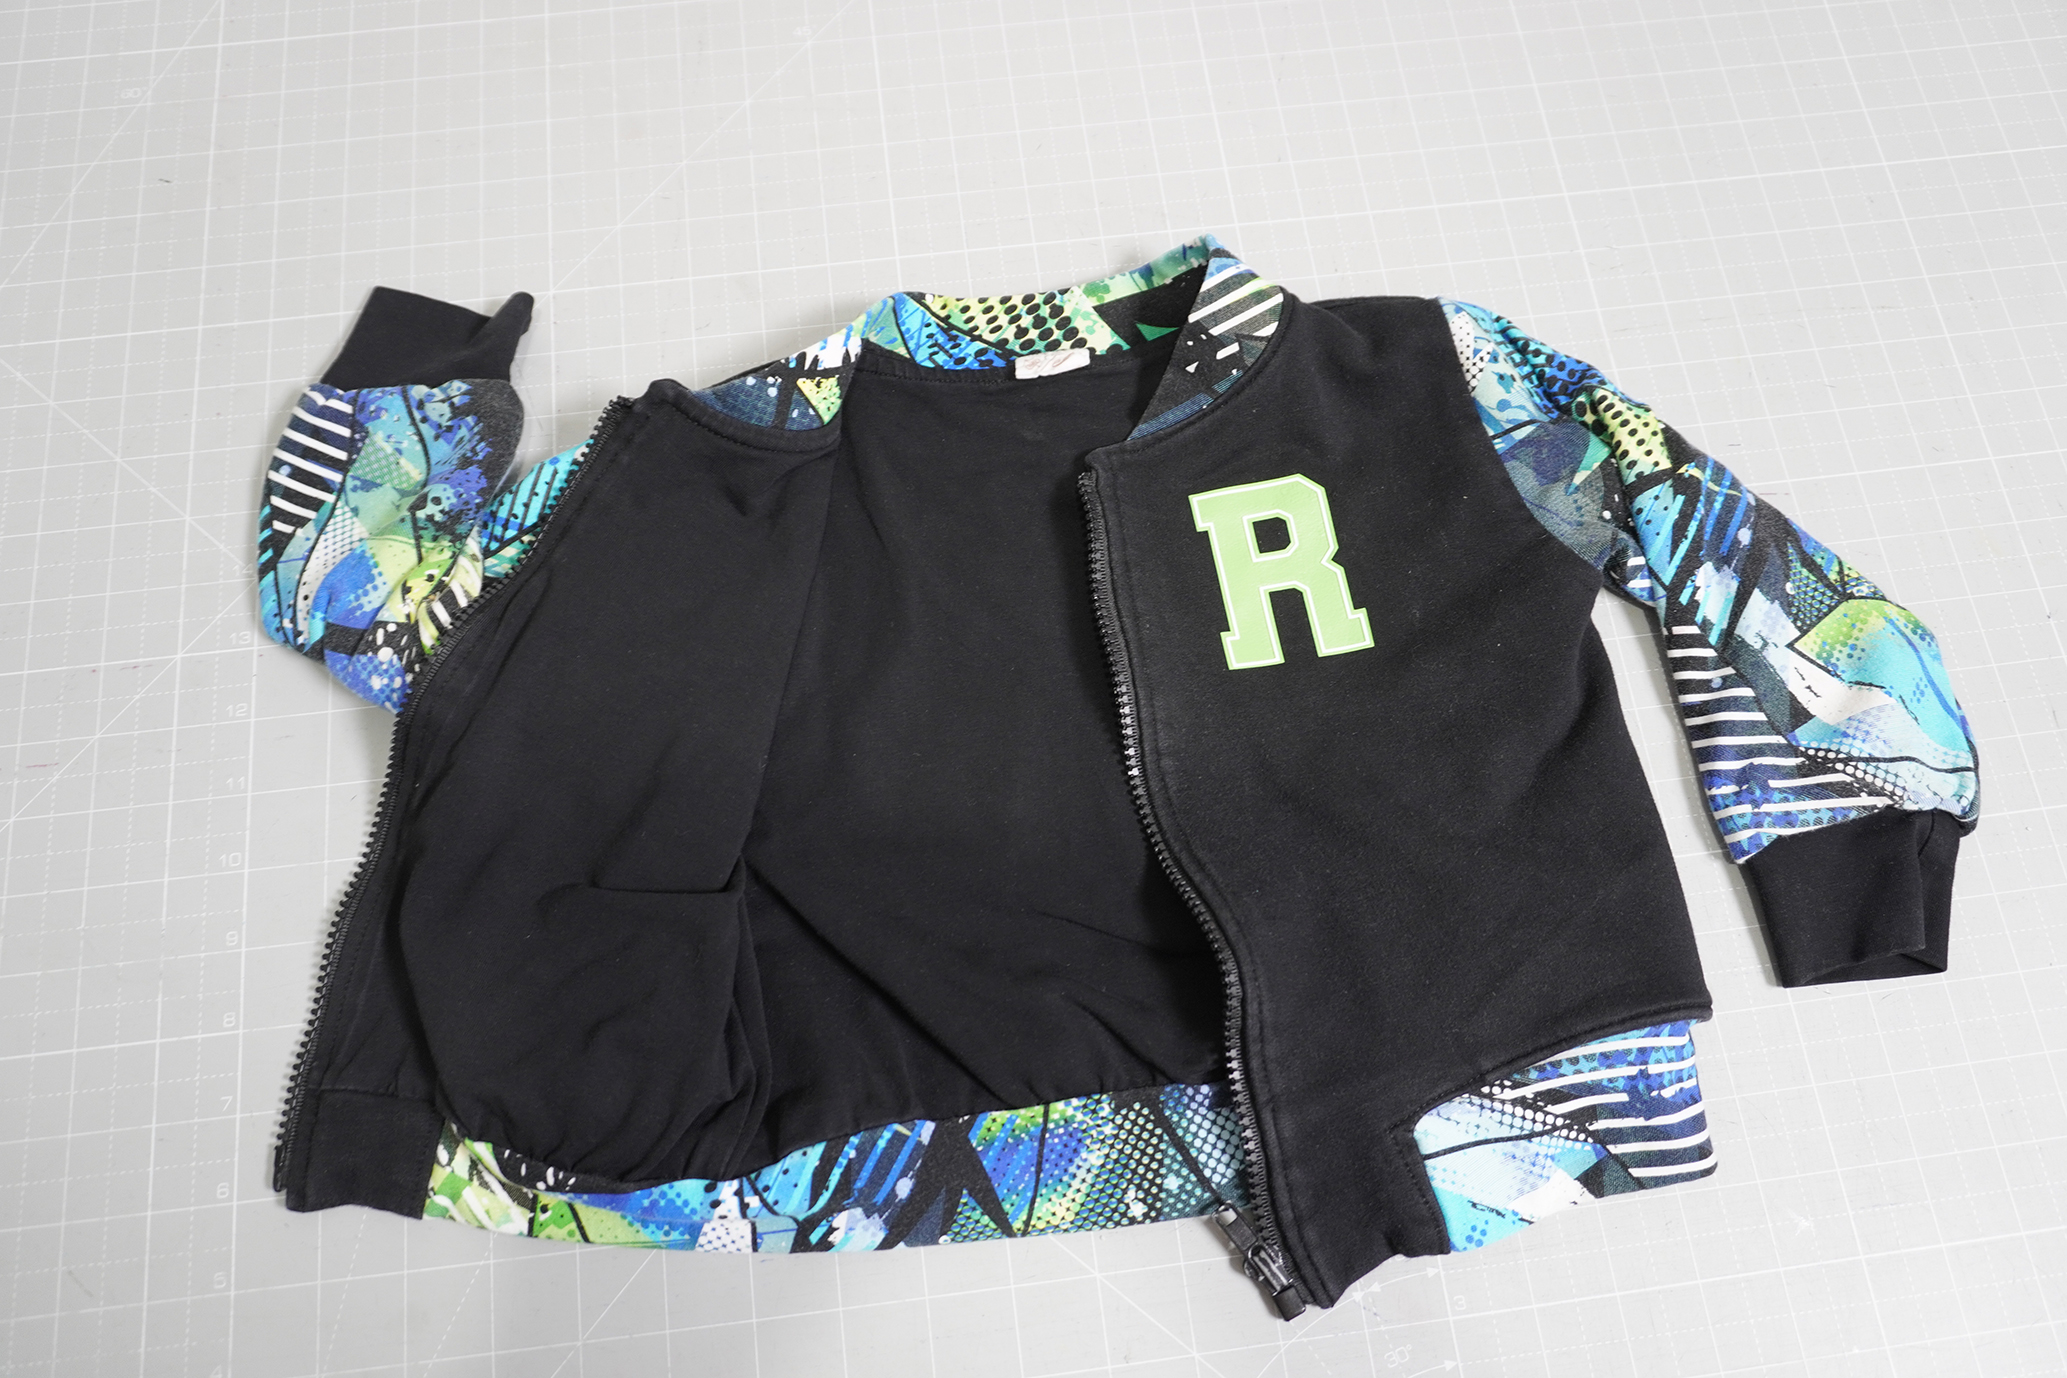
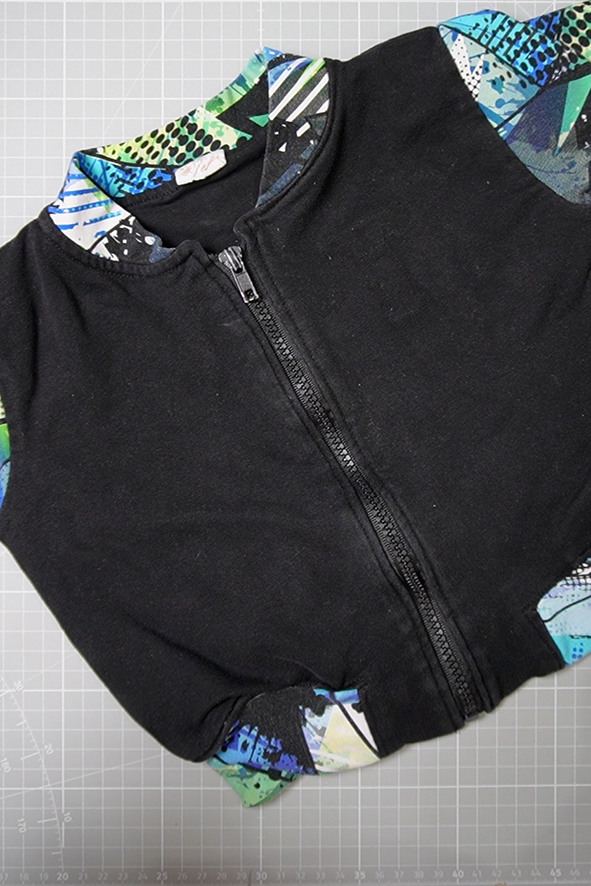
    I started by unpicking the T from the front. I was really careful and made sure I used a sharp unpick/seam ripper so I would get a clean cut with the threads.

    I then found a font that I liked on dafont.com called Varsity (you can find it here) to create the new Letter. Using Leonardo Design Studio, I was able to Type the letter and use the Build Contours tool to create the offset.

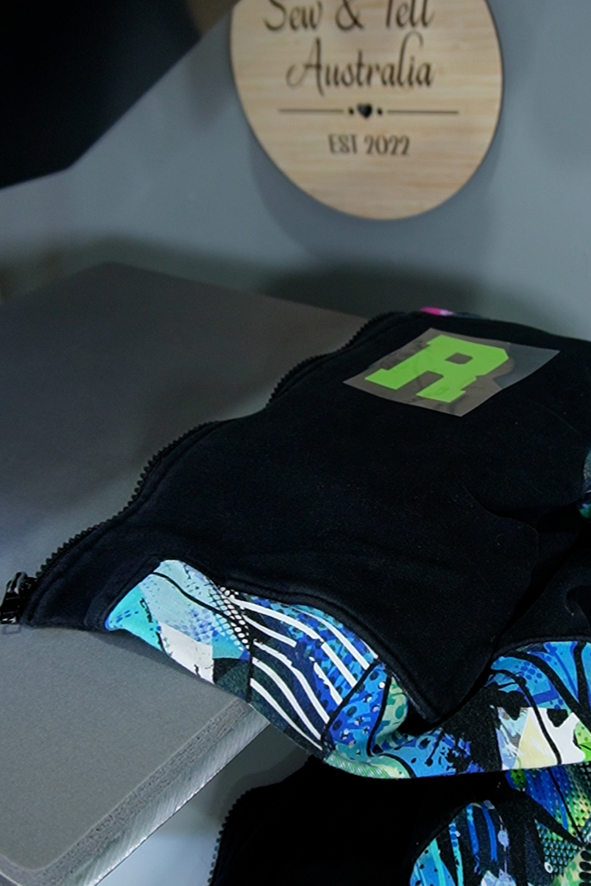
    Once I cut the design using my Siser Juliet Cutter, it was an absolute dream weeding the letters. Siser Heat Transfer Vinyl (HTV) is honestly some of the best vinyl I’ve ever worked with. I find it is generally much better value than some of the other big names in the market.

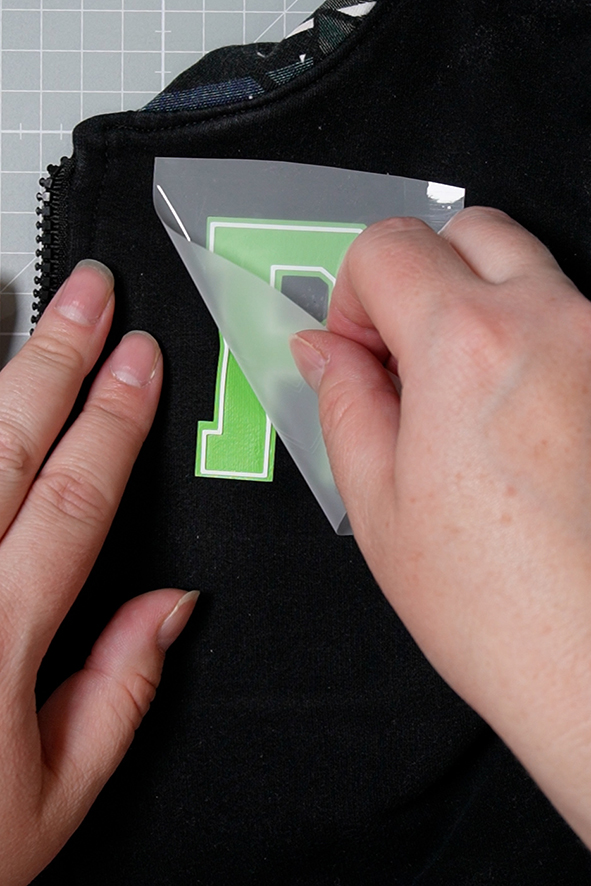
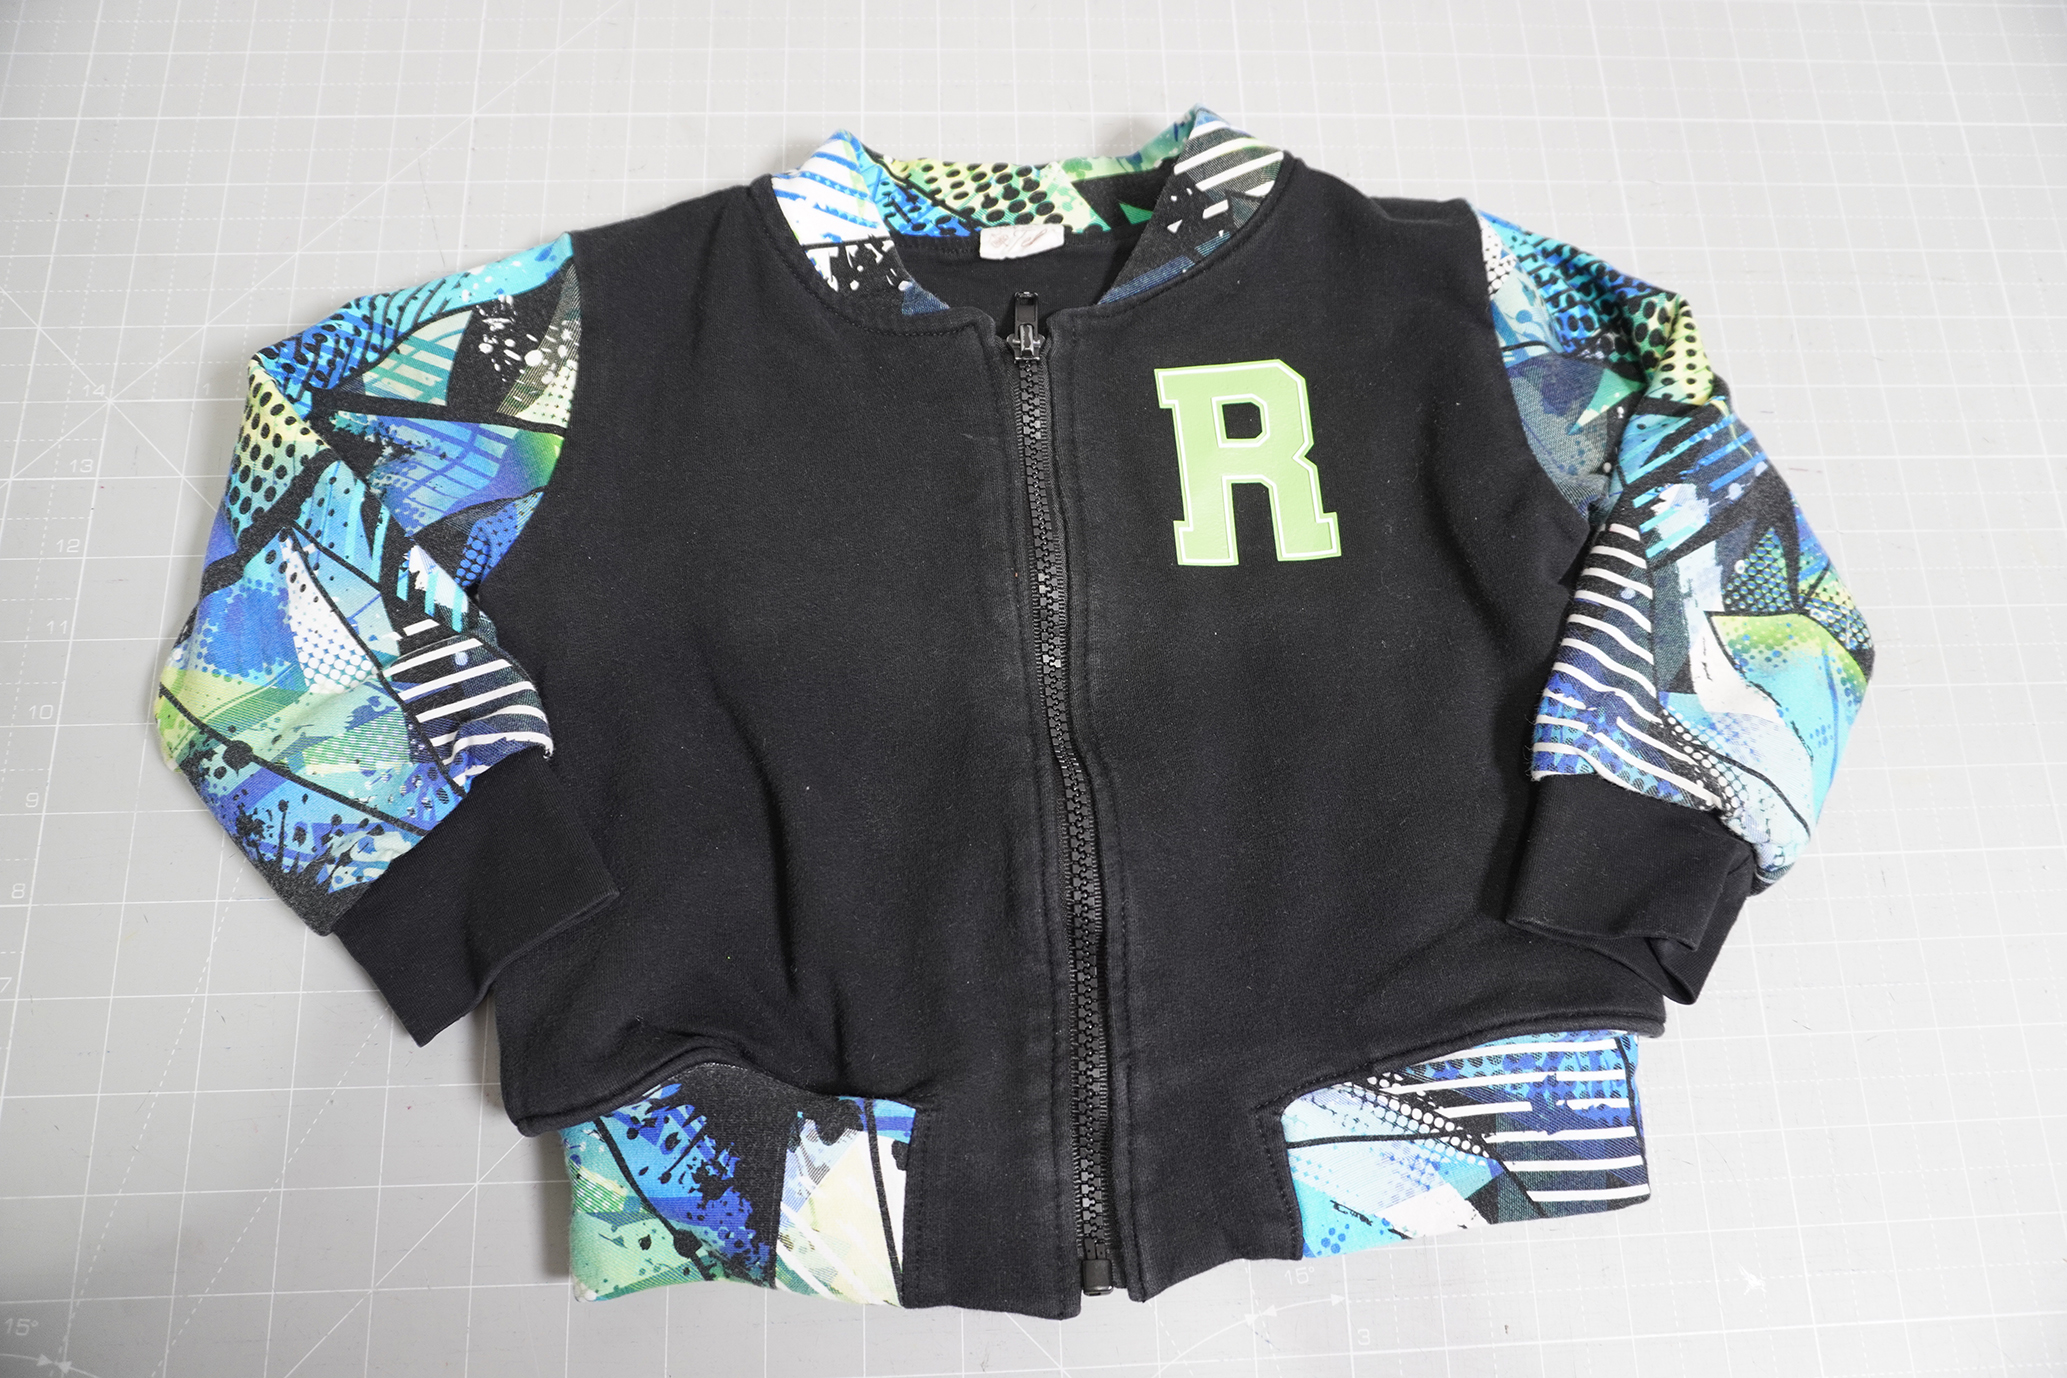
    The final step was using my Siser Heat Press to attach the design. I ended up using some extra folded over fabric to place under the jacket so I could raise the jacket front to get a clean adhesion and also not effect the zip. Something I’m really learning about HTV is that pressure matters when adhering your designs. I can not believe the difference I notice in how well the design sticks and wears over time when I use a quality heat press and have adequate pressure.

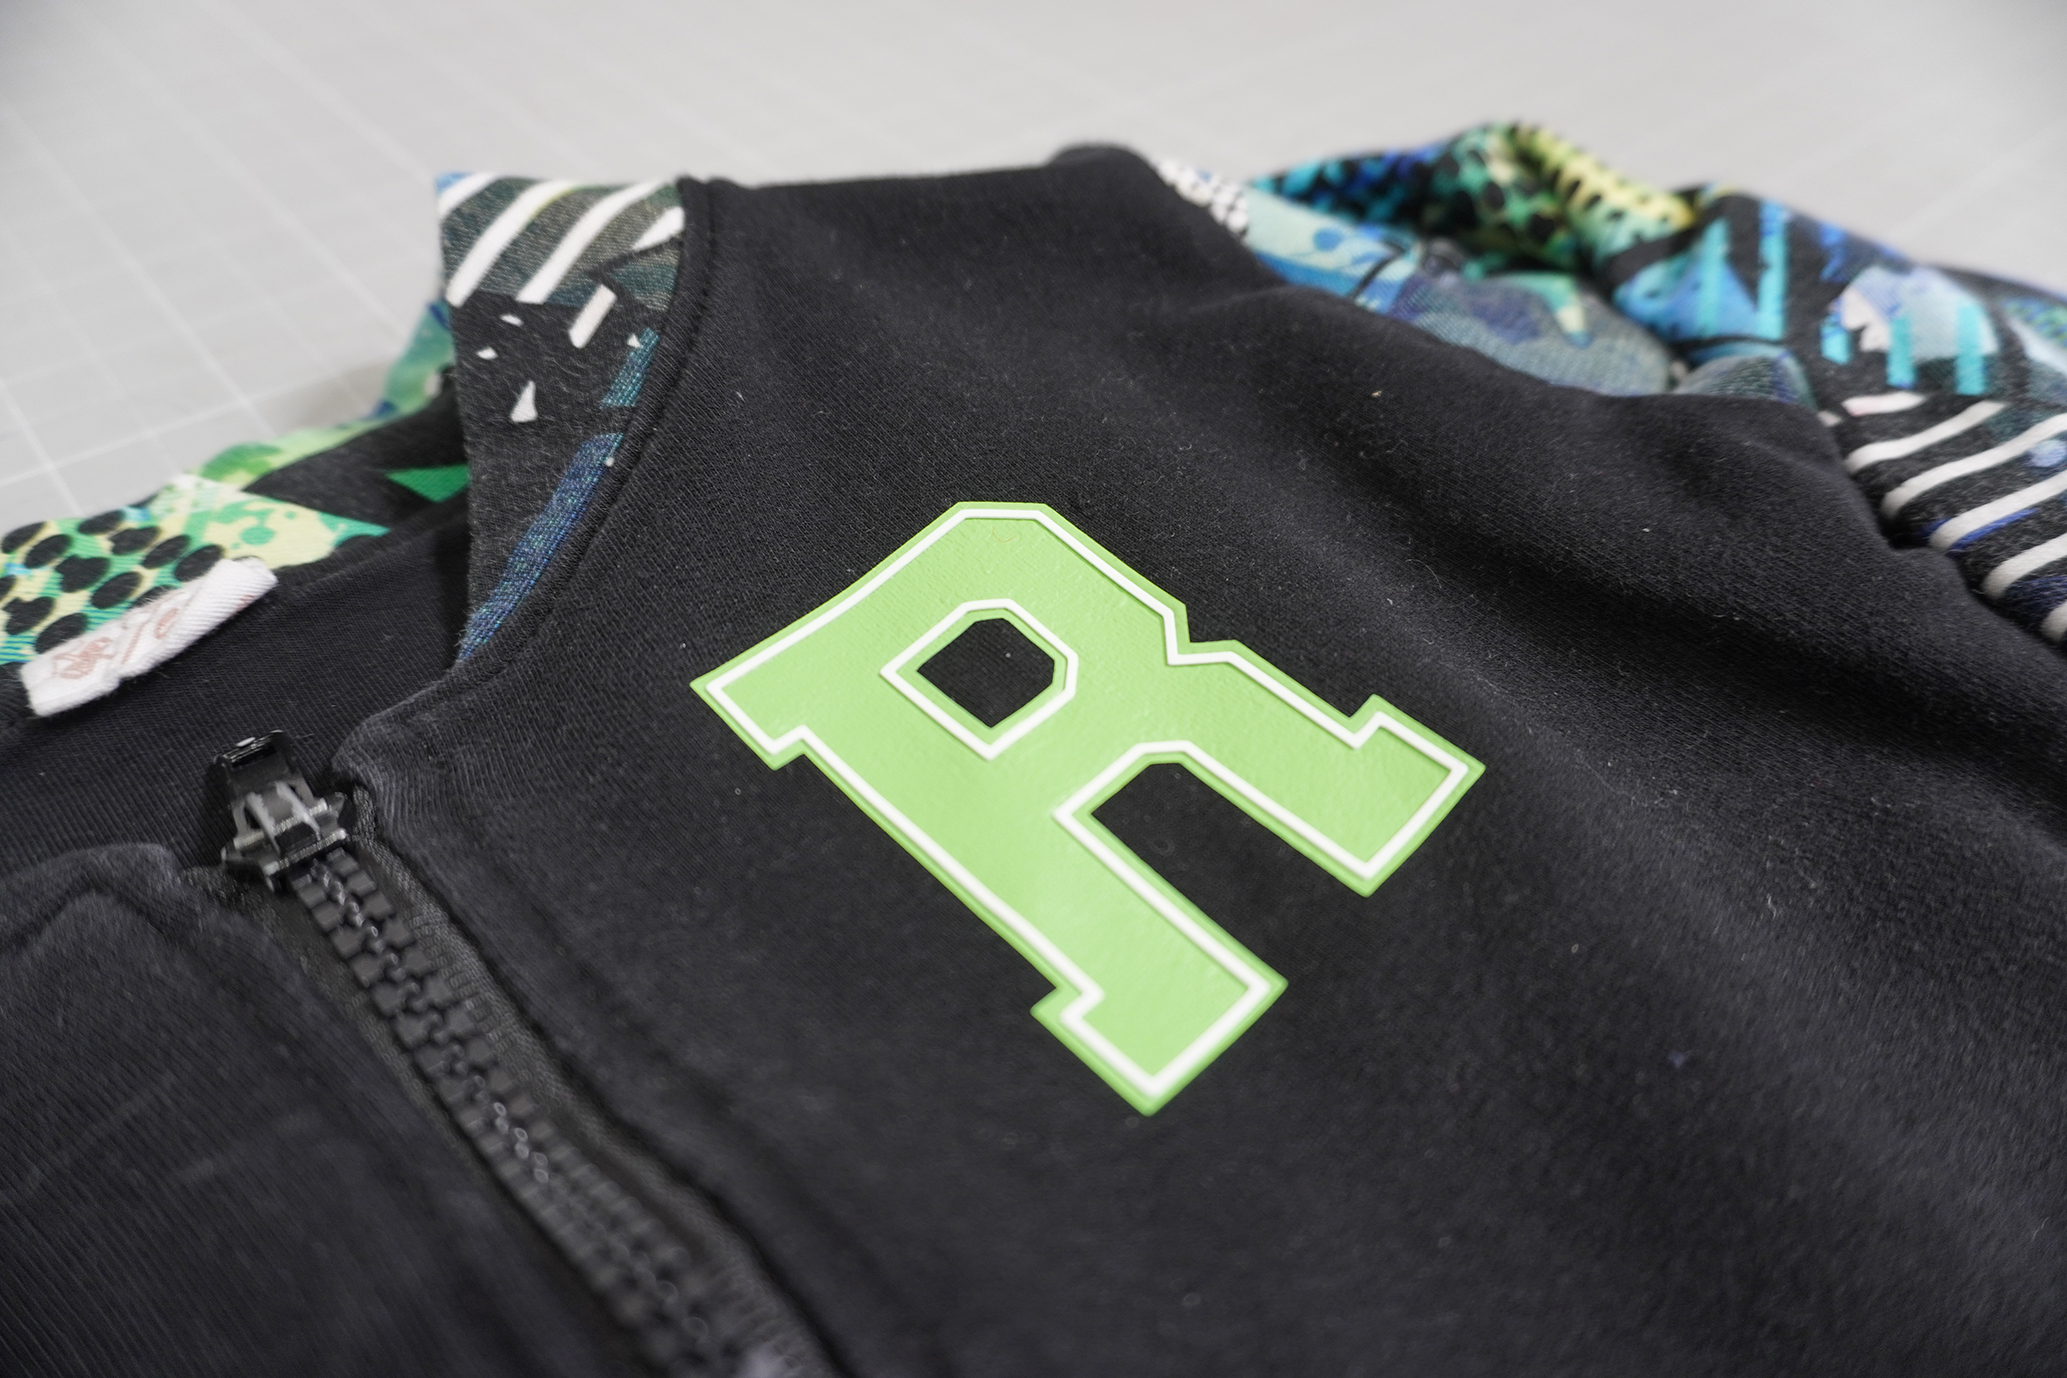
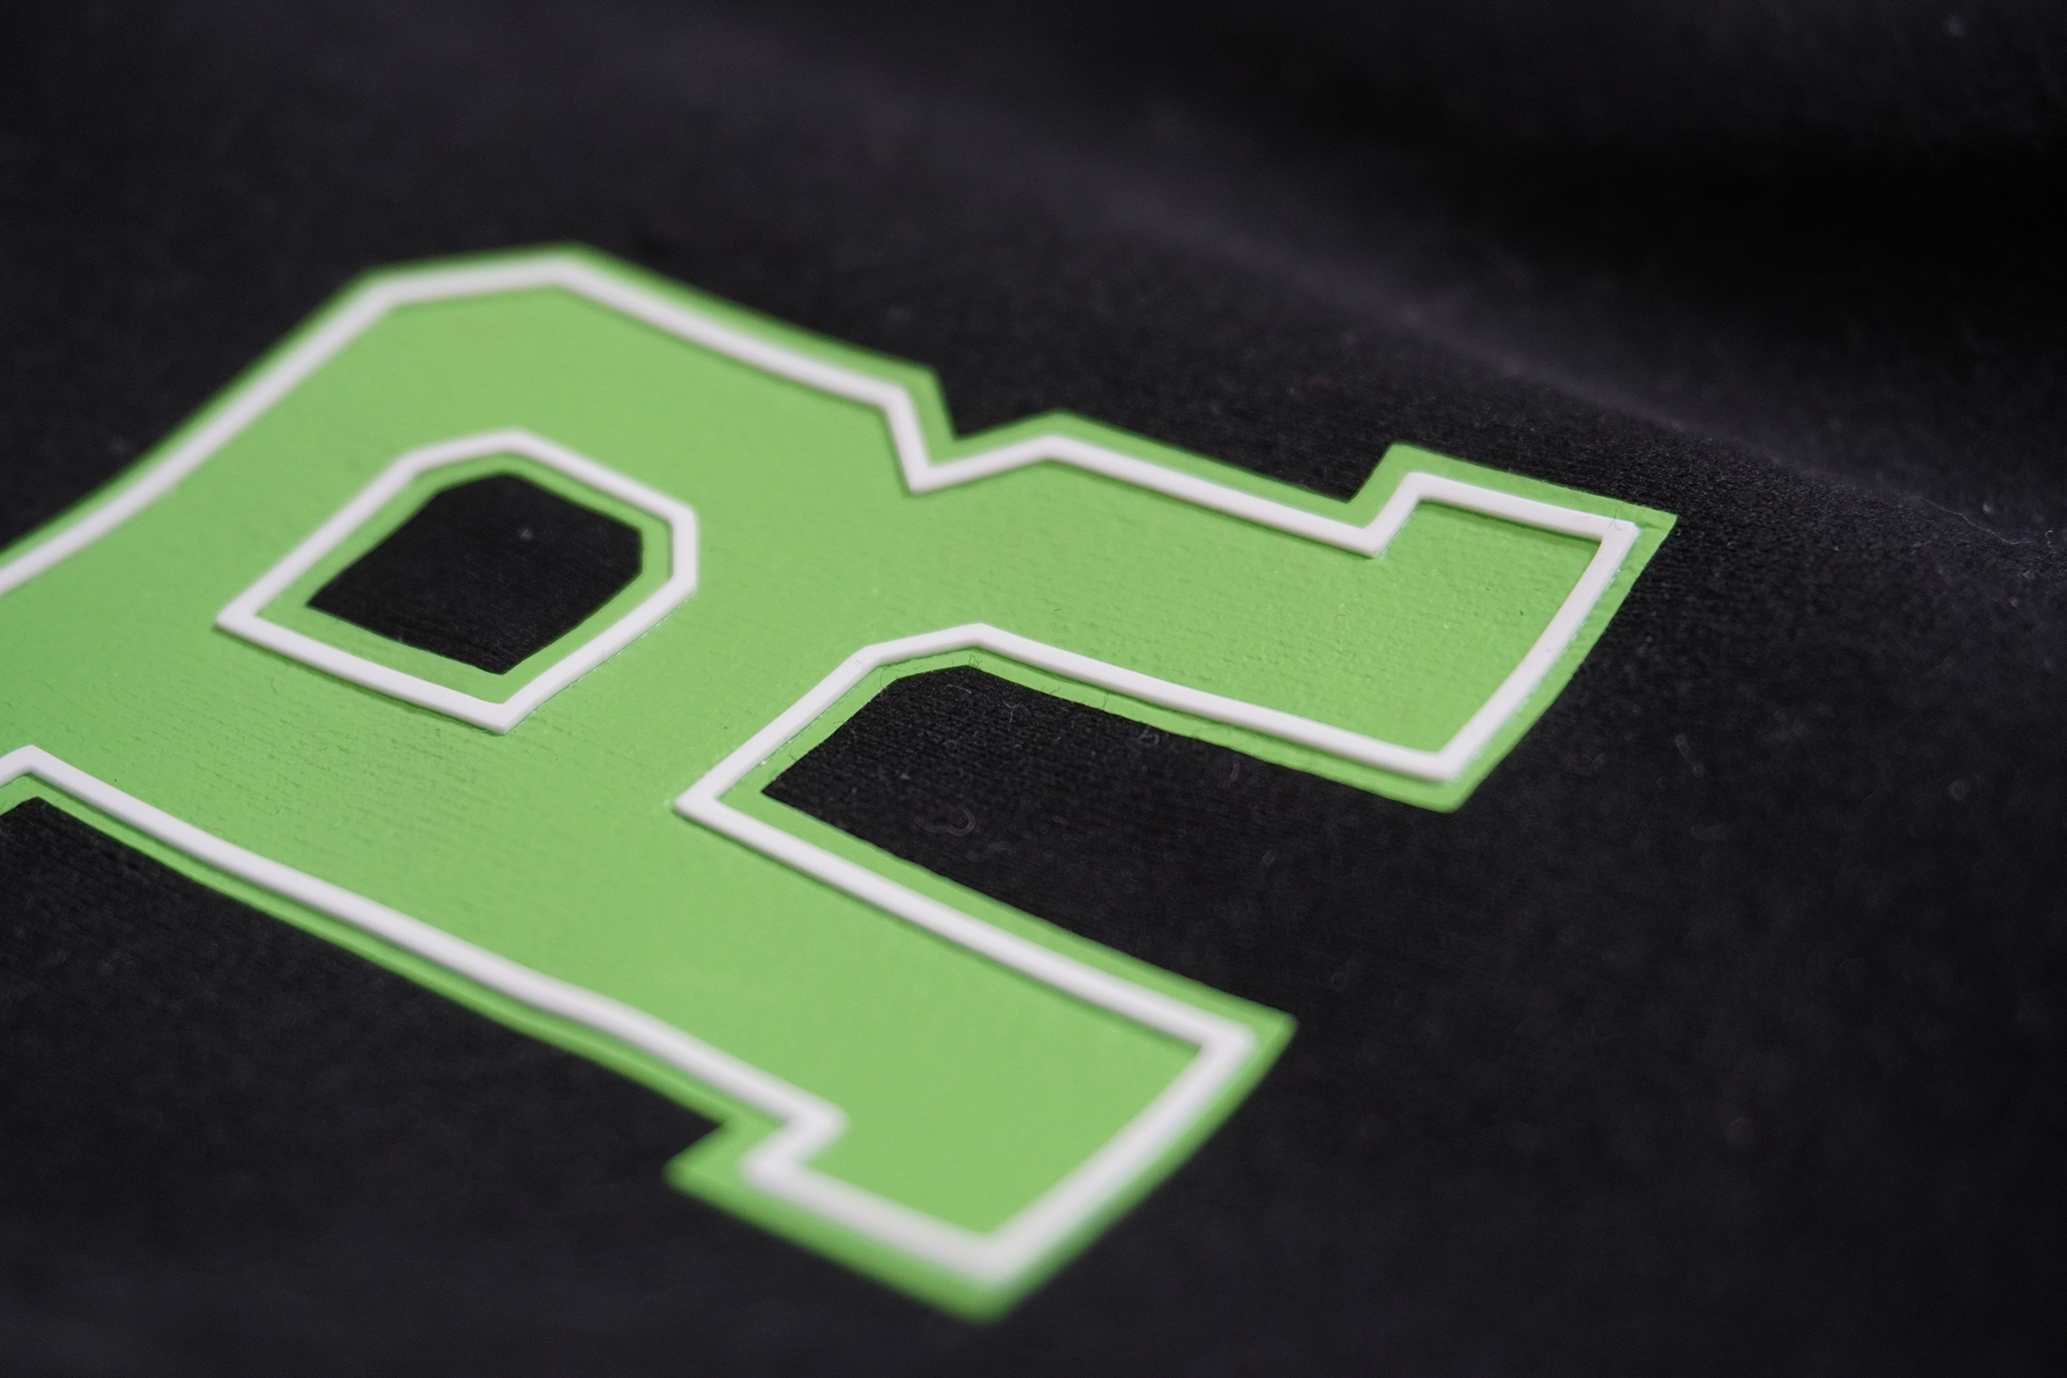
    Once the Siser Brick 600 had cooled (it is a cool peel), I was able to take a look at my final design. I LOVE IT!!

    I can’t wait to see this off to my friend and see her son enjoy this jacket as much as my son has. 

  • Pattern Review of the Diana Dress & Top

    Pattern: Diana Dress & Top
    Designer: Ellie & Mac Patterns
    Fabrics: Bamboo Lycra from The Telarie
    Skill level: Beginner
    Size made: 2XL/3XL
    Pros: I adore this flattering top and dress. It is so beautiful to wear and has some great options.
    Cons: Sometimes a lined top annoys me as it uses more fabric.

    Sewing Serendipity: The Delightful Dance of Fabric and Pattern

    As soon as I saw this pattern release, I knew I had to make one. Or as it currently stands, three! haha.

    For starters, this pattern is named after one of my good sewing friends, Diana from @eloiseandezra. If you don’t already follow her on insta, definitely check her out. She also shares lots of fun tips and tricks on her YouTube channel.

    I also really liked that there were quite a few options to choose from. There are multiple skirt lengths and tiered options as well as the peplum top, which is the 3 types I have made. It also has a couple of necklines, including the square neckline, which is a big fave of mine. I’ve made two with the square neckline and one with a low scoop. On the Square neckline you can also add some ruching at the front centre to make a cute sweetheart neckline.

    The sleeves were another big draw card for me as there were so many options!! I loved the 3/4 shirred sleeve and also I am a sucker for a flutter. Shirring is a lot of fun and has such a great effect. If you’re new to shirring or not sure how to do it, I cover how to shir in one of the Master Classes in my membership, The Sewing Corner.

    I am always a bit hesitant to do knit patterns that are lined as its extra fabric to cut out and use, but I didn’t mind so much for this make. There really isn’t any other ‘neat’ way to get a square neckline either without lining or doing some kind of facing. And I do NOT like facing on a knit garment haha. So lining is the lesser of 2 evils for my fave neckline! It shows how to include elastic in the neckline for extra stability as well which is nice. My Knit Confidence course covers elastics in knits if you need some support with this technique.

    Two of the versions I have made have been with The Telarie Bamboo Lycra and they are SO lovely and flowy. The quality of the material is gorgeous and I just love the prints I chose. 

    I would not hesitate to try this one out, its especially nice in the more flowly fabrics like Bamboo Lycra, Modal, Rayon Spandex and a Viscose Elastane. Try it out and tag me in your makes!

    FYI. This pattern is on sale for 50% off for the month of November 2023. Grab it now!

    What next?

    Stop wasting fabric and time on projects that don't fit right. 

    Learn to sew with confidence and let me guide you to more sewing success.

  • Introducing Sewcial Moments with Megan, your creative sewing chat!

    In this creative sewing chat, host Megan from Sew & Tell Australia shares exciting news about her brand new course Knit Confidence: Essential Skills to sewing Stretch, Heat Vinyl Transfer Collaboration with Siser Australia and New Zealand, recent fabric hauls, and some irresistible sales. 💥🧵

  • My Favourite Tres Belle Hack – Pattern Review!

    Pattern: Tres Belle Dress with Willow Wrap Flutter Sleeves
    Designer: Ellie & Mac (Tres Belle), Love Notions (Willow Wrap)
    Fabrics: Viscose Jersey from Wattle Hill Fabrics
    Skill level: Beginner
    Size made: 2XL
    Adjustments: I used the flutter sleeves from the Willow Wrap and mashed them straight into the Tres Belle Bodice
    Pros: I’ve done this mash a couple of times and it NEVER fails to impress me. It is light, breezy and super flattering.
    Cons: The binding on the neckline can be a little intimidating, but take it slow and you should have no problems.

    Romance in Every Stitch: Mastering the Tres Belle Dress with a Flutter Sleeve Hack

    So, I guess the first question I ask is, can you ever have too many beautiful dresses?

    Answer, NO!

    I think this is the 3rd or 4th Tres Belle I have made and at least the 2nd or 3rd I’ve made with the Willow Flutter Sleeve hack. I just love the romanticism of the flutter and softness it brings. I find that using soft fabrics such as Modal’s, Viscose Jersey, Bamboo Lycra and Rayon Jersey/Lycra’s work best if you want a really soft look, while something like a 220gsm Cotton Lycra/Elastane will have slightly more structure to it. 

    In terms of the hack, its a pretty straight hack. I used the sleeves from the Willow Wrap and put them straight onto the Tres Belle armcyes at the same size. For example, my armcye was an XL, so I cut the XL flutter sleeve on the Willow Wrap and it fit in nicely.

    Of course the other staple that is always in any dress I make, is pockets! I just can’t imagine having dresses without pockets now haha. 

    I think one of my favourite things about this style of dress is the cross over front that flares from under the bust, helping to skim over my tummy, which is the area of my body I am most self conscious about. I am working on accepting myself as I am, but being able to make clothes that help me feel more confident is definitely part of that process.

    I hope this review has inspired you to explore the fluttering elegance and comfort of the Tres Belle with the Willow Sleeve hack. It’s such a joy to create garments that not only look beautiful but also make you feel confident and comfortable in your skin. If you’re looking to enhance your knit fabric sewing skills further, take a look at my free guide, ‘Improve Your Knit Sewing in 30 Minutes or Less’, and start making your sewing journey even more rewarding. 

    Use code ‘sewwithmegan10″ on any Love Notions Pattern for an extra 10% off.

    Ellie & Mac also have 50% off ALL patterns during November 2023. Grab it while it’s on sale!

    What next?

    Stop wasting fabric and time on projects that don't fit right. 

    Learn to sew with confidence and let me guide you to more sewing success.

  • The 3 Mistakes You’re Probably Making With Knit Fabrics

    Knit fabrics can be a double-edged sword. They offer comfort and flexibility but can be tricky to master. So, let’s cut through the confusion and talk about three common mistakes you might be making when sewing with knit fabrics—and how to fix them.

    Mistake 1: Neglecting to Pre-Wash Your Fabric

    The Problem:
    Skipping the pre-wash can lead to a world of regret. Imagine putting hours into a project only to have it shrink or warp after its first wash. It’s the stuff of sewing nightmares.

    The Fix:
    Always pre-wash your fabric in the same way you intend to wash the finished garment. This sets the stage for a project that’ll last, helping you get rid of any shrinkage or unwanted chemicals before you even start cutting.

    Mistake 2: Using the Wrong Stitch

    The Problem:
    If you’re using a straight stitch for your knit projects, you’re setting yourself up for failure. Straight stitches don’t stretch, which means they can pop and unravel.

    The Fix:
    Swap that straight stitch for something with give. Consider using a zigzag stitch or a lightning stitch. If you’re looking for a more professional finish, a twin needle can work wonders.


    Mistake 3: Over stretching While Sewing

    The Problem:
    Over stretching can happen when you’re either pulling the fabric through the machine or your machine settings are off. The result? Unflattering wavy seams.

    The Fix:
    A walking foot, also known as an even feed foot, can be a game changer here, or simply adjusting the pressure on your presser foot. Always remember, let the machine do the work. You’re there to guide, not to pull.

    So there you have it—three mistakes you can easily avoid to elevate your knit sewing projects. Keep learning, keep experimenting, and don’t forget to check out my guide “Improve Your Knit Sewing in 30 Minutes or Less” for more tips and techniques.

    Happy sewing!
    Megan