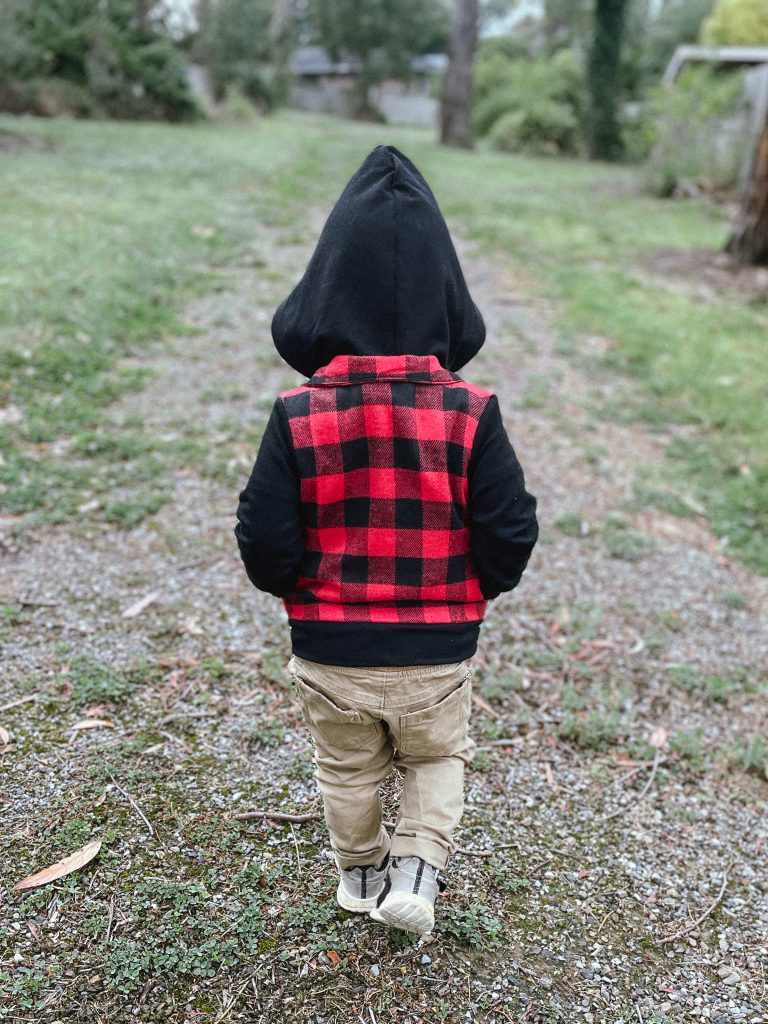
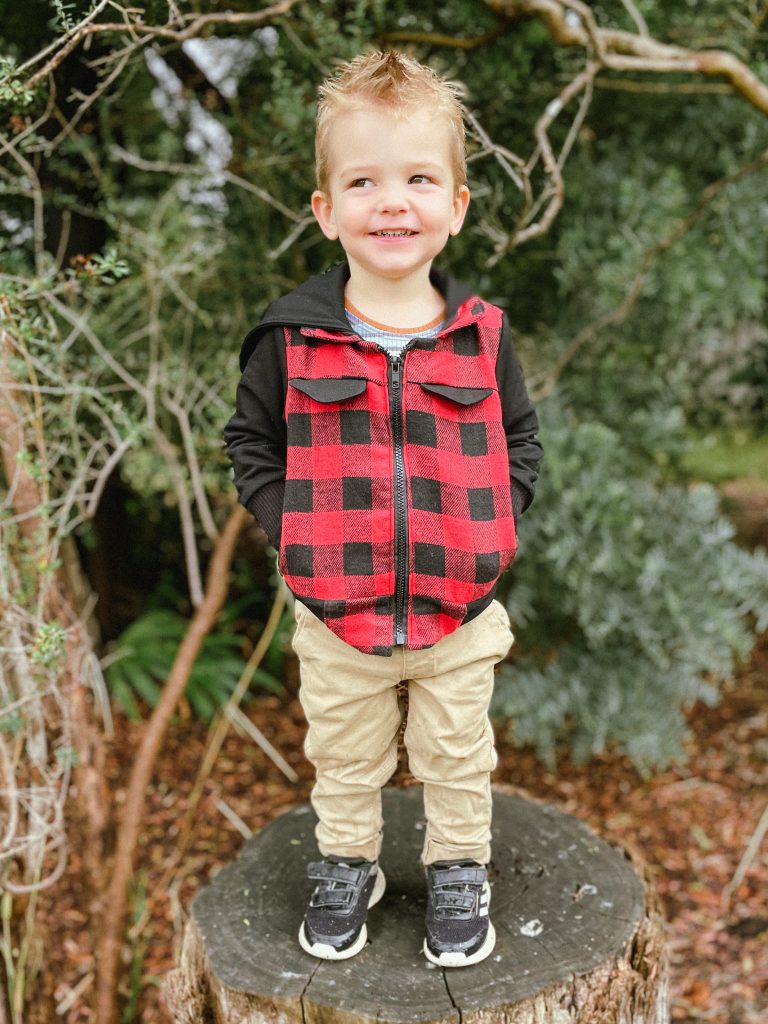
Updated Pattern Review of the Dutchie Jacket


Learn to Sew
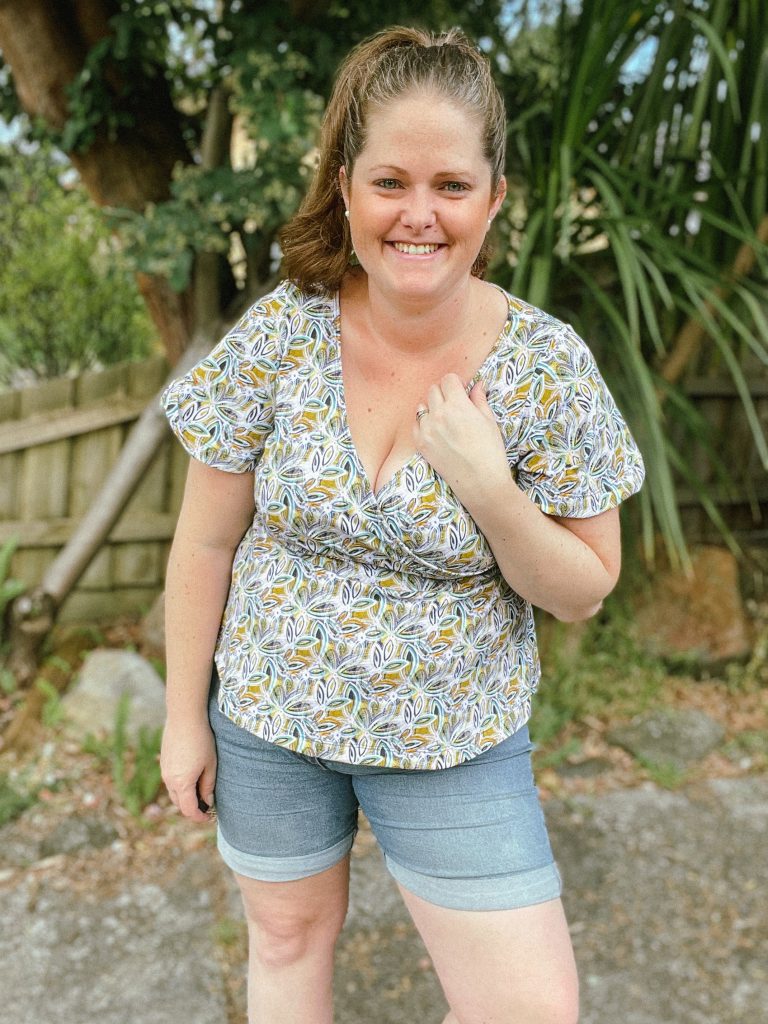
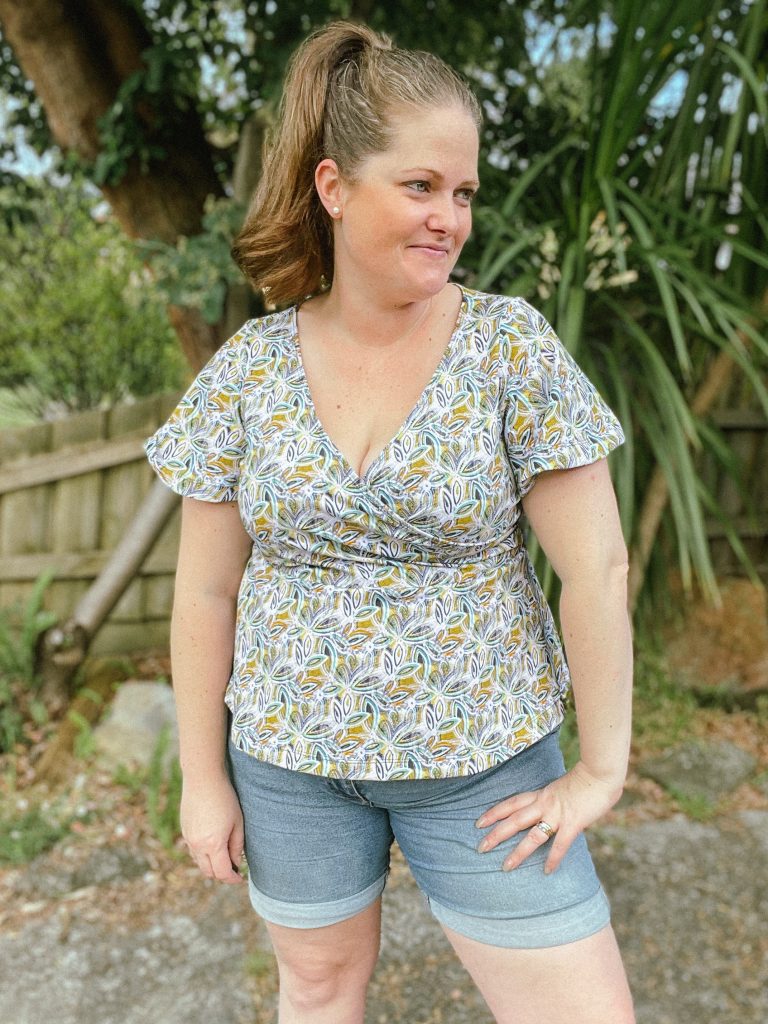
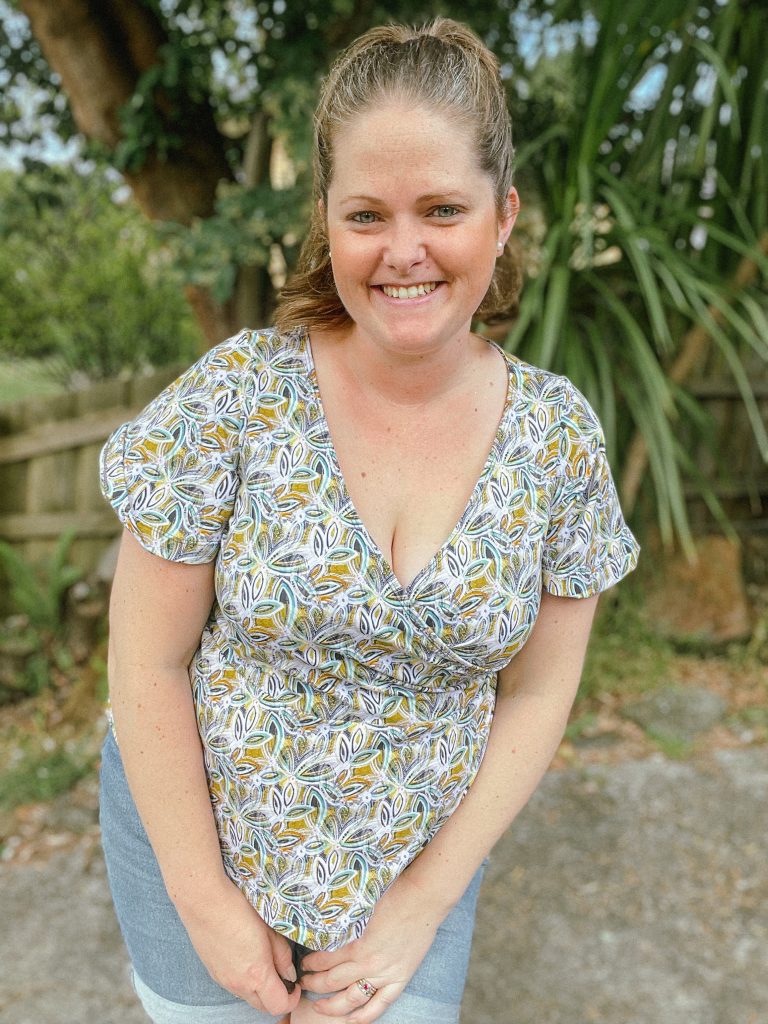
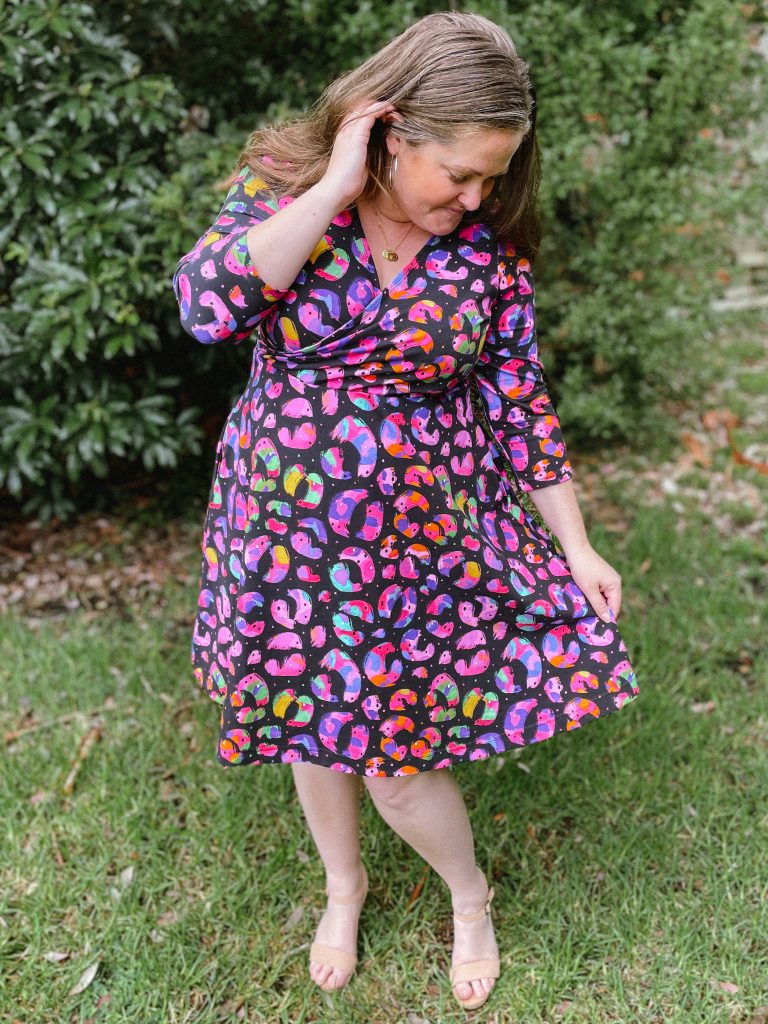
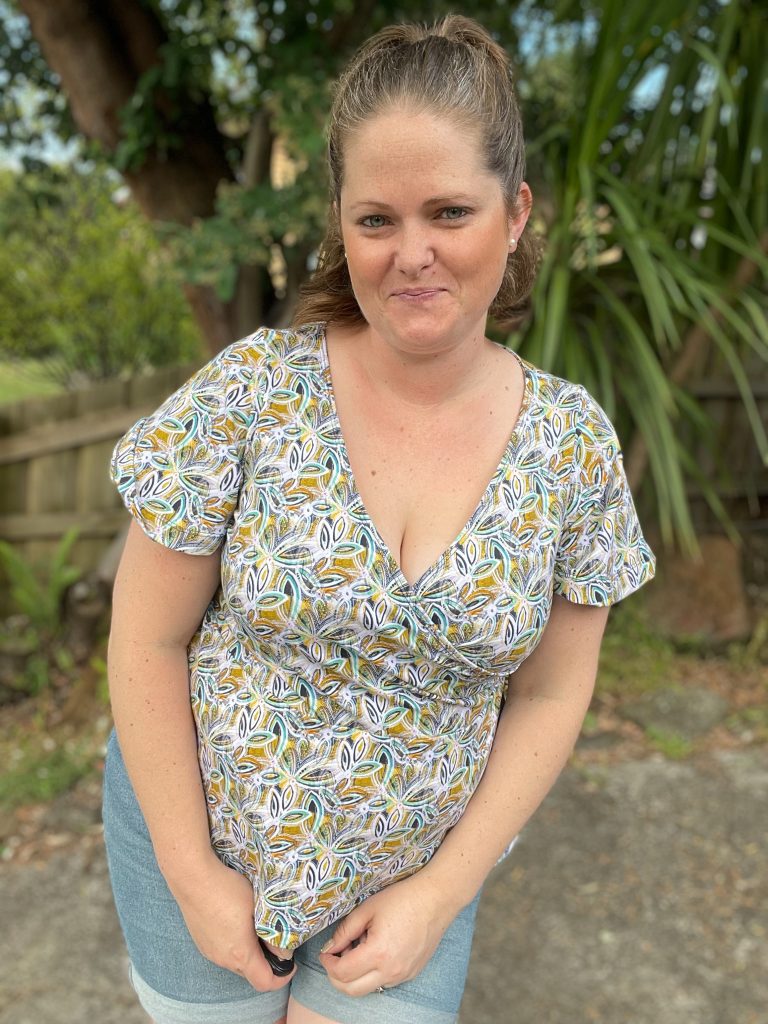
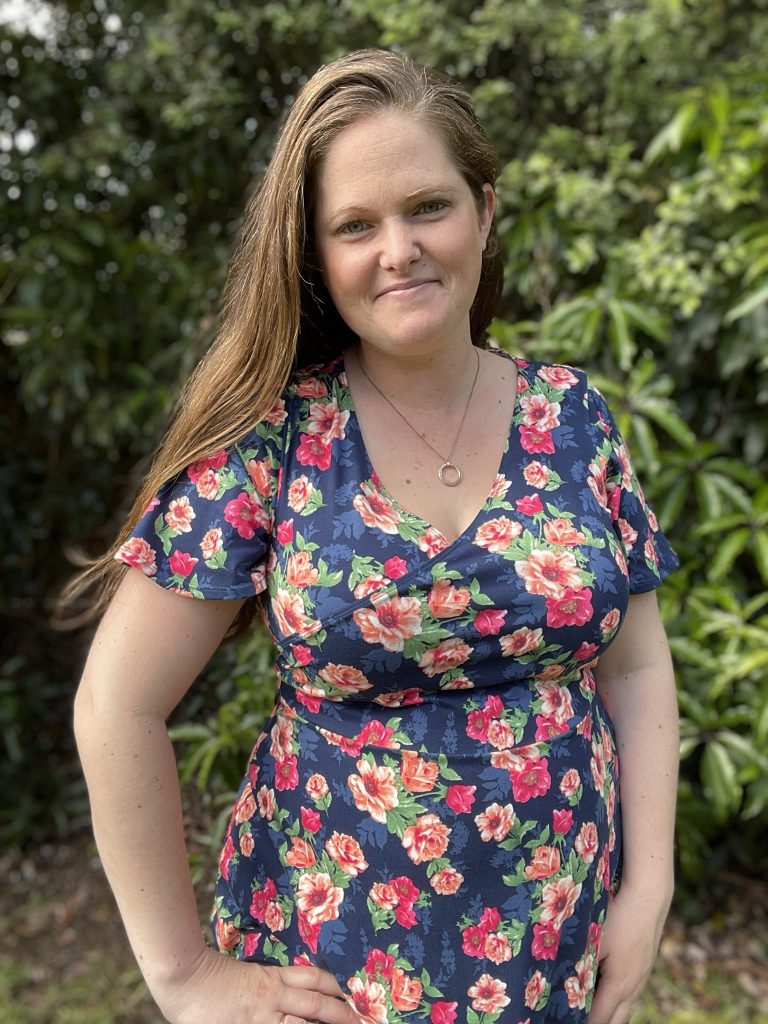
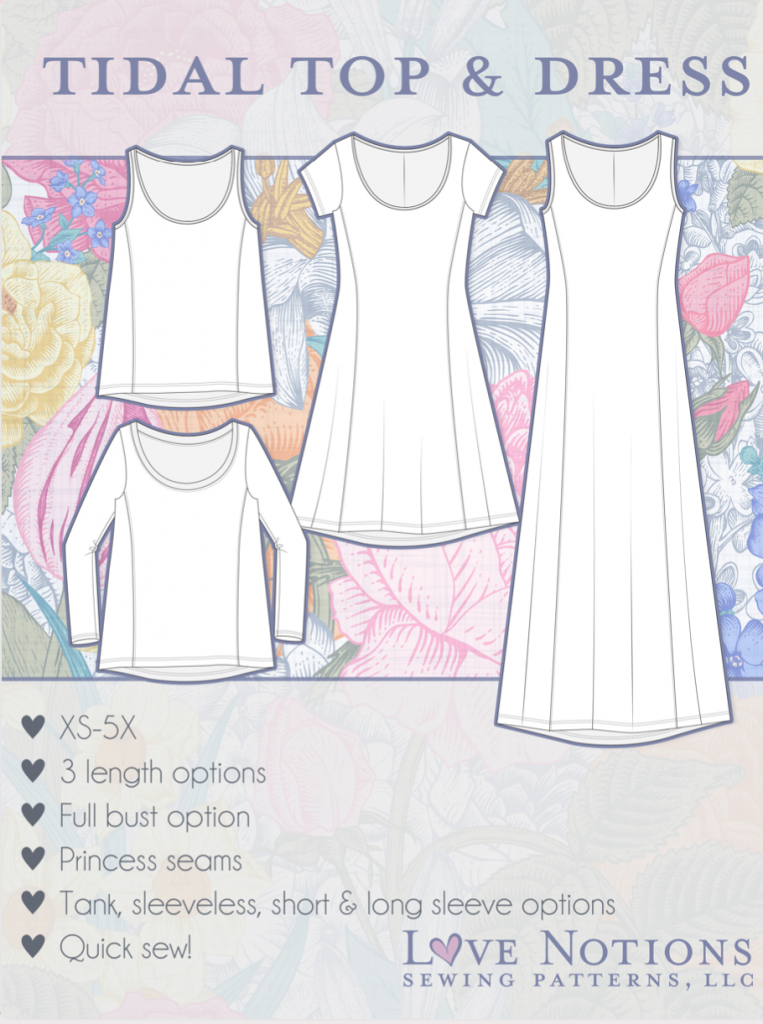
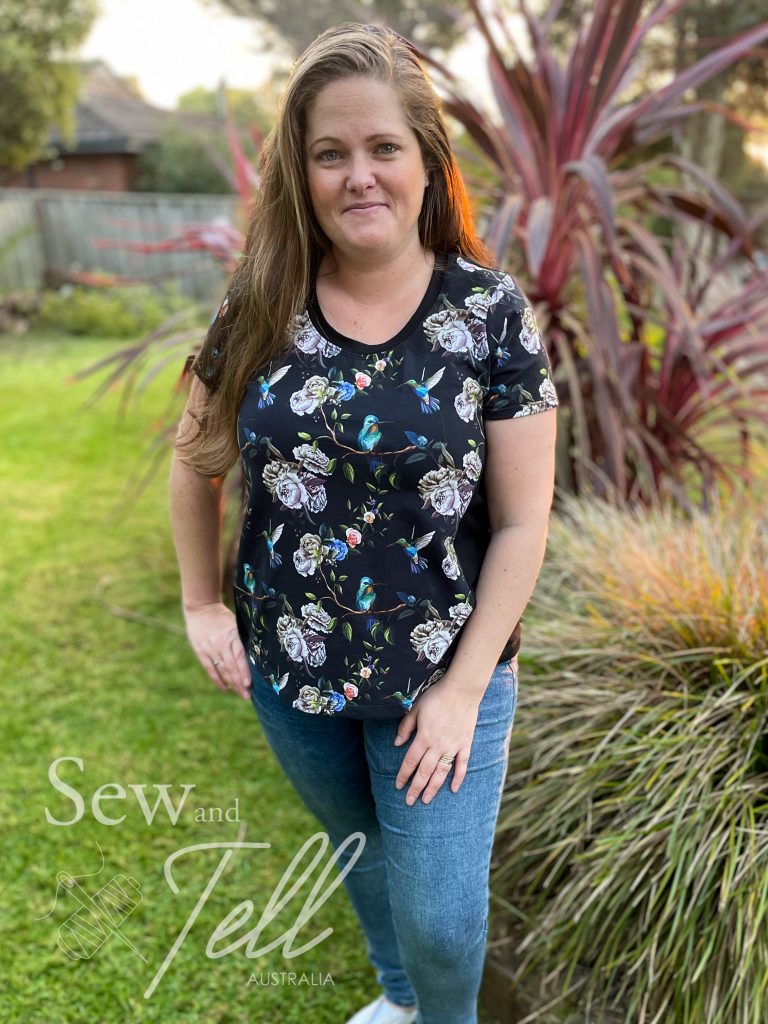
Pattern: Tidal Dress & Top
Designer: Love Notions
Fabrics: Cotton Lycra
Measurements: Bust: 44″; Waist 39″; Hips 48″
Size made: XL graded to 2XL
Adjustments: None
Pros: I love the panel at the front on this, its great to give the illusion of a trimmer front section, especially if you use a darker fabric for the back panels
Cons: I had some trouble with the grading and how it sat on my tummy. I think you need to be really careful when grading out given where the panel is.
Links:
The Wrap Up:
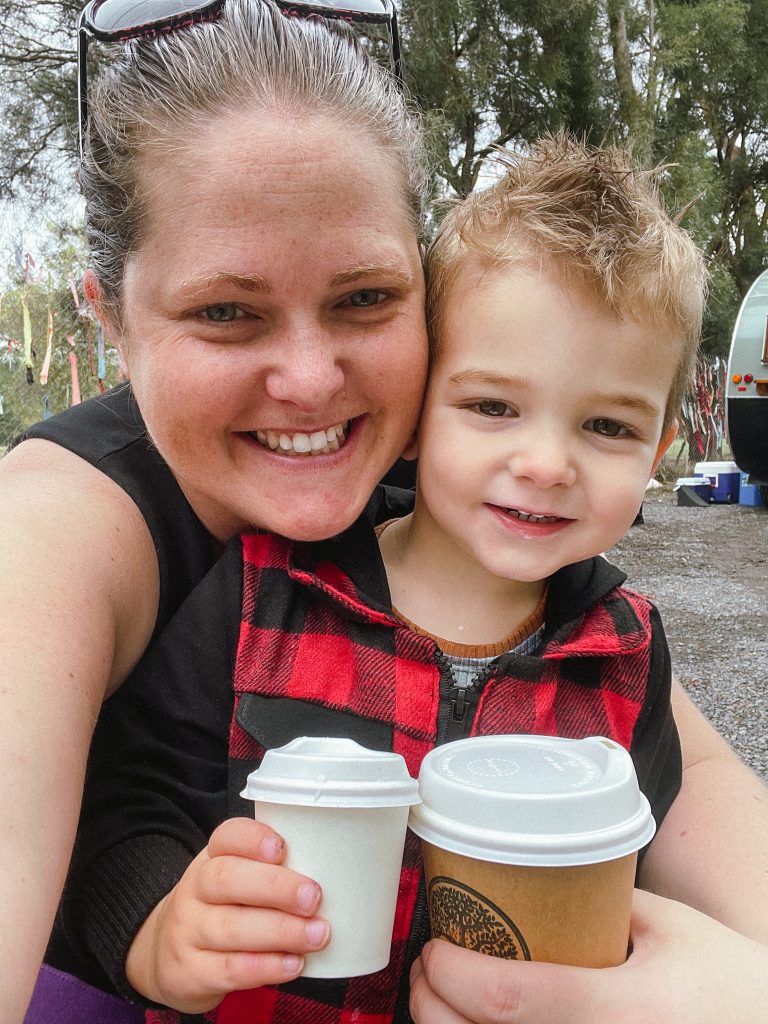
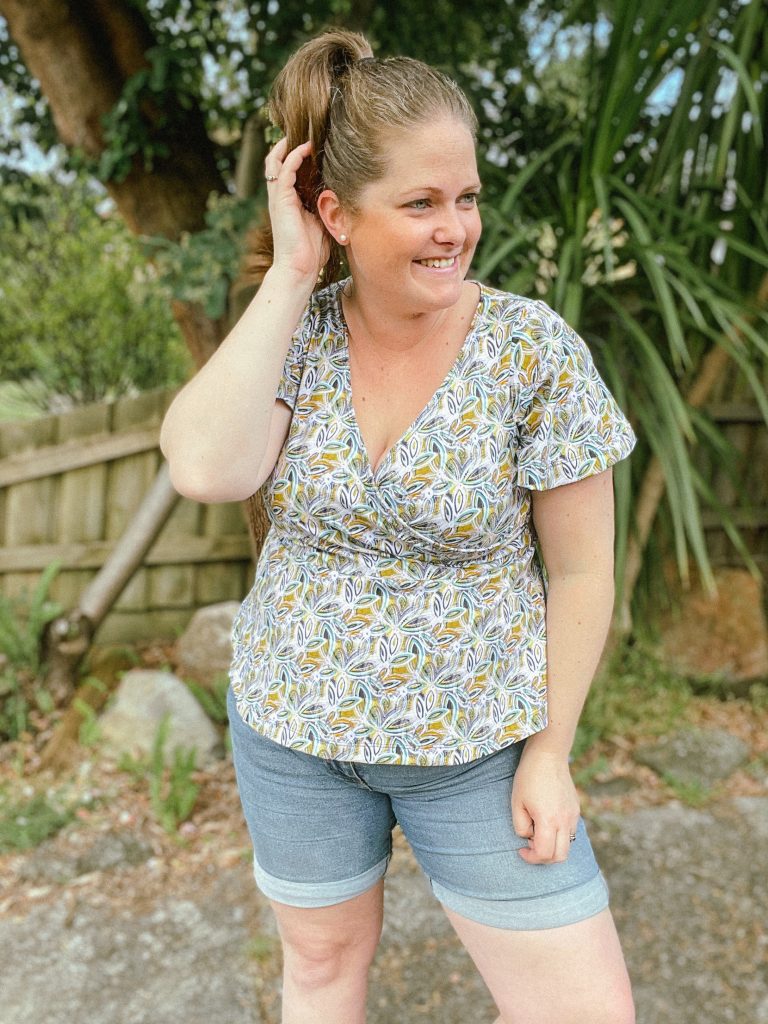
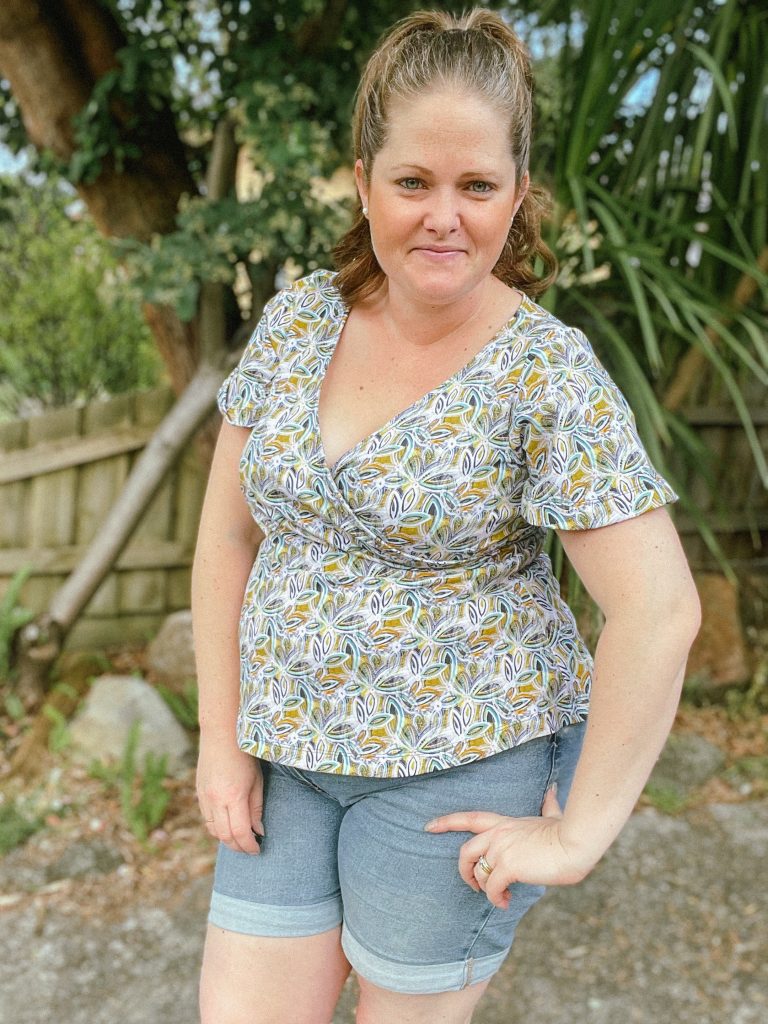
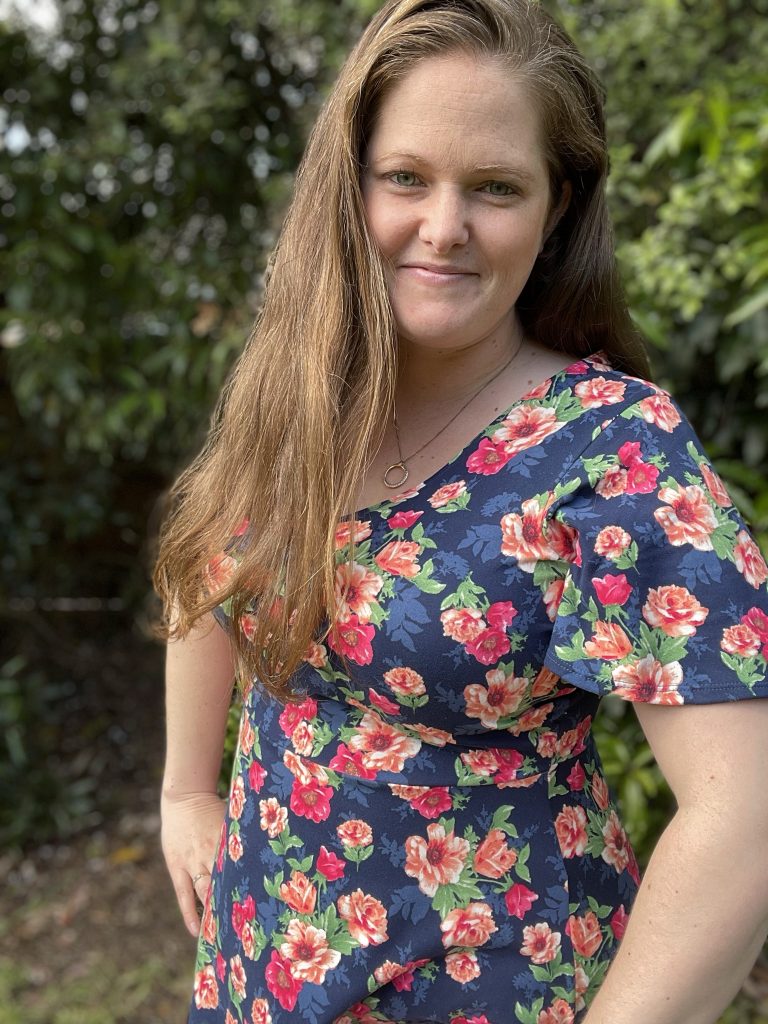
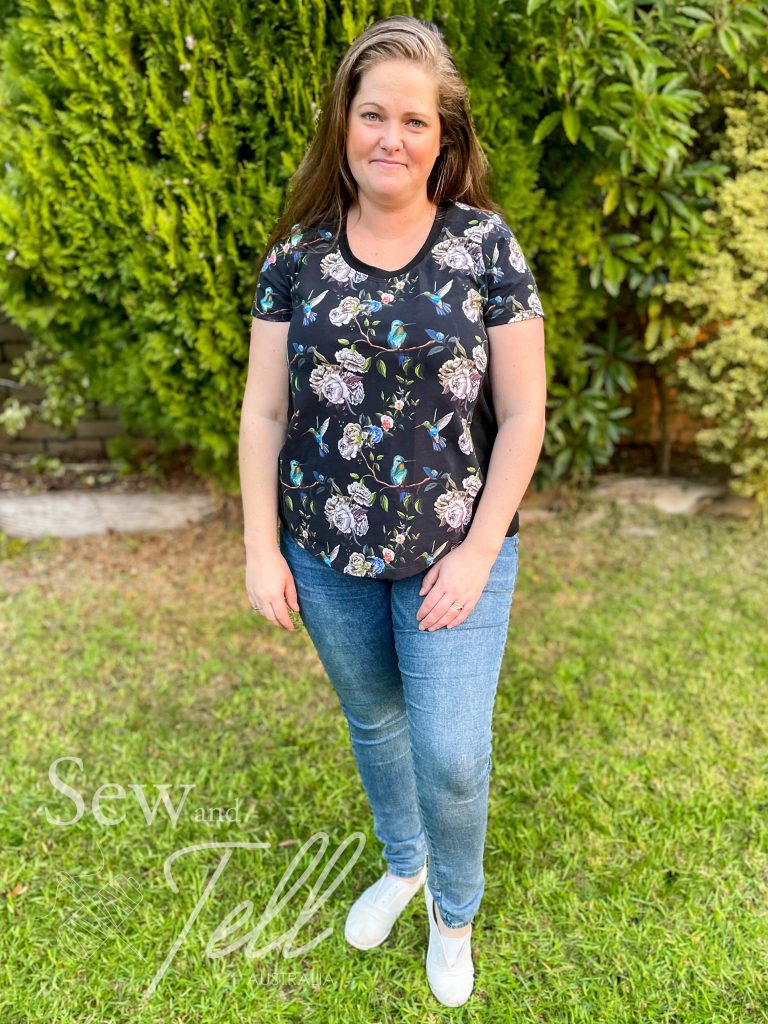
I recently helped retest the Love Notions Tidal top and while I loved all the length options, I felt that it would lend itself really well to tunic length, so here are my top tips on shortening any dress pattern to tunic length!
Decide on the length:
Tunic length is typically longer than shirt length, but shorter than dress, so usually sitting somewhere at the top to mid thigh. I took the above knee piece and cut across the piece about 6 inches up from the bottom of the dress pieces.

Once I had done that to the front, I loaded my back piece and sat the front piece I had already cut out on top of the back piece.

I made sure that I lined up my shoulder pieces so that I would know where to cut it along the bottom.
Once you’ve cut your front and back pieces, you can carry on with cutting the other pieces as normal and put it all together as per the instructions. If the pieces don’t line up exactly, don’t worry too much, you can even them out before you hem it.
I’m really happy with how the tunic length of this one turned out, as well as the normal shirt l made. The blocking on this one is so flattering, worth giving it a try for sure!
Gallery:


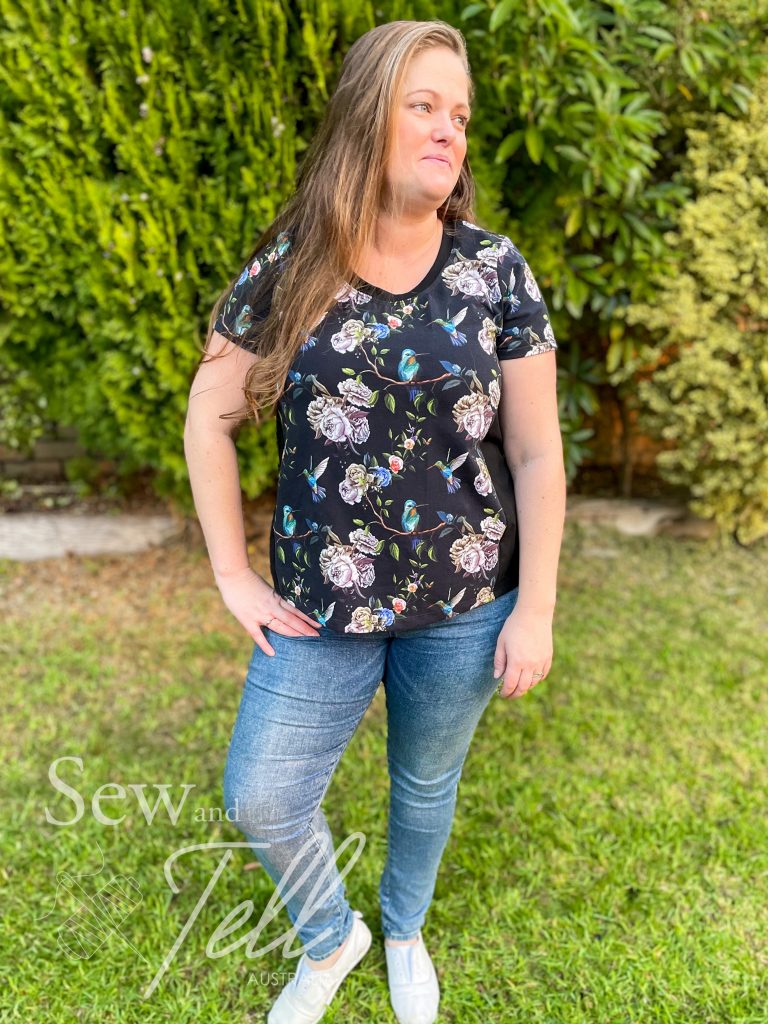

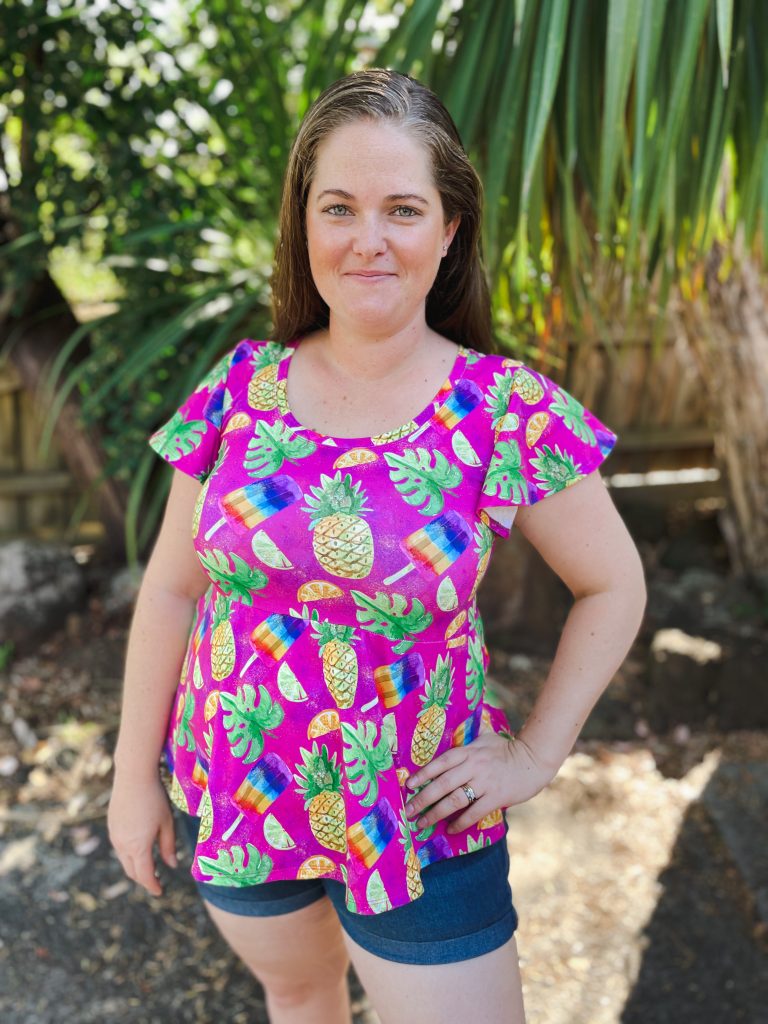
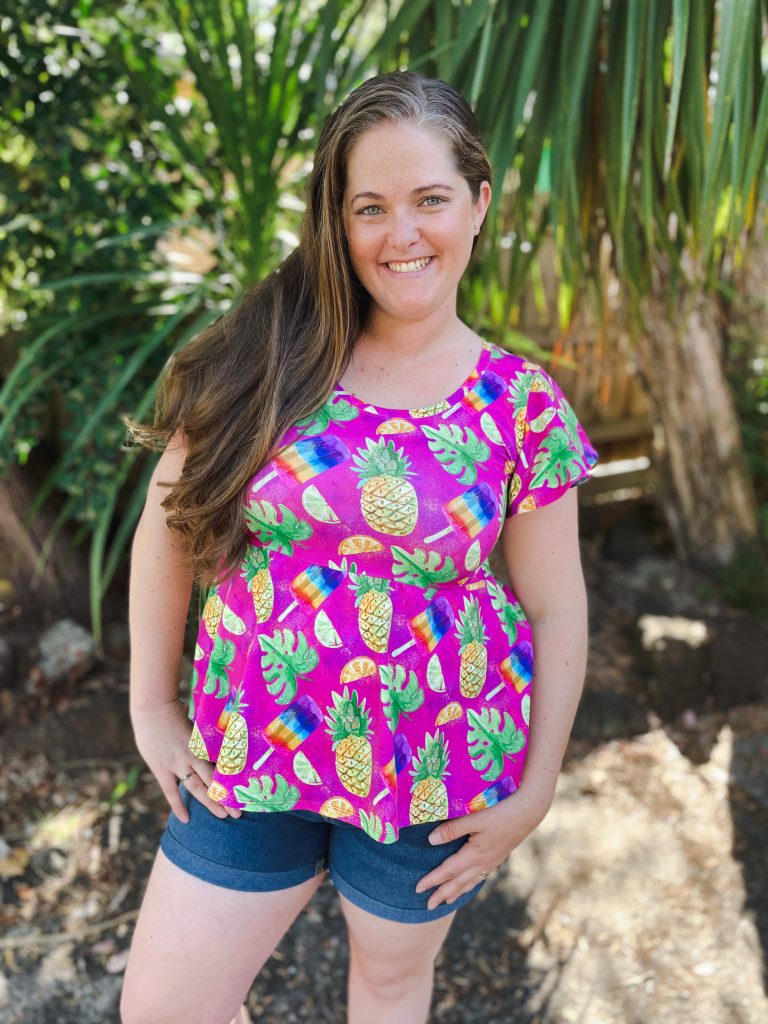
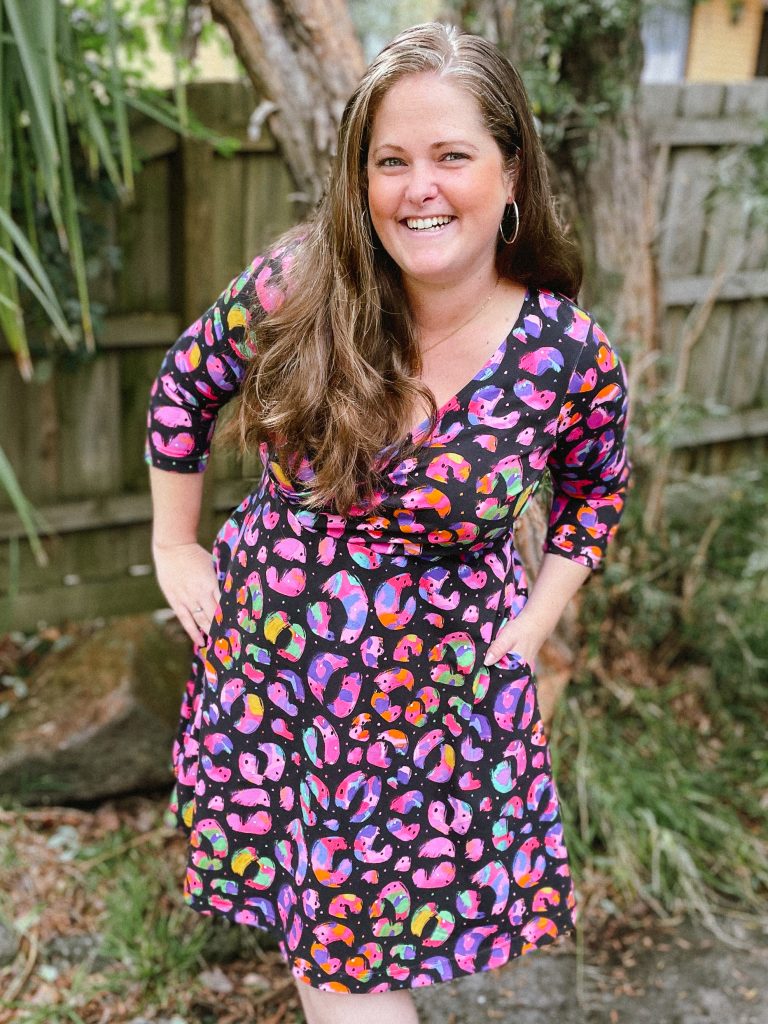
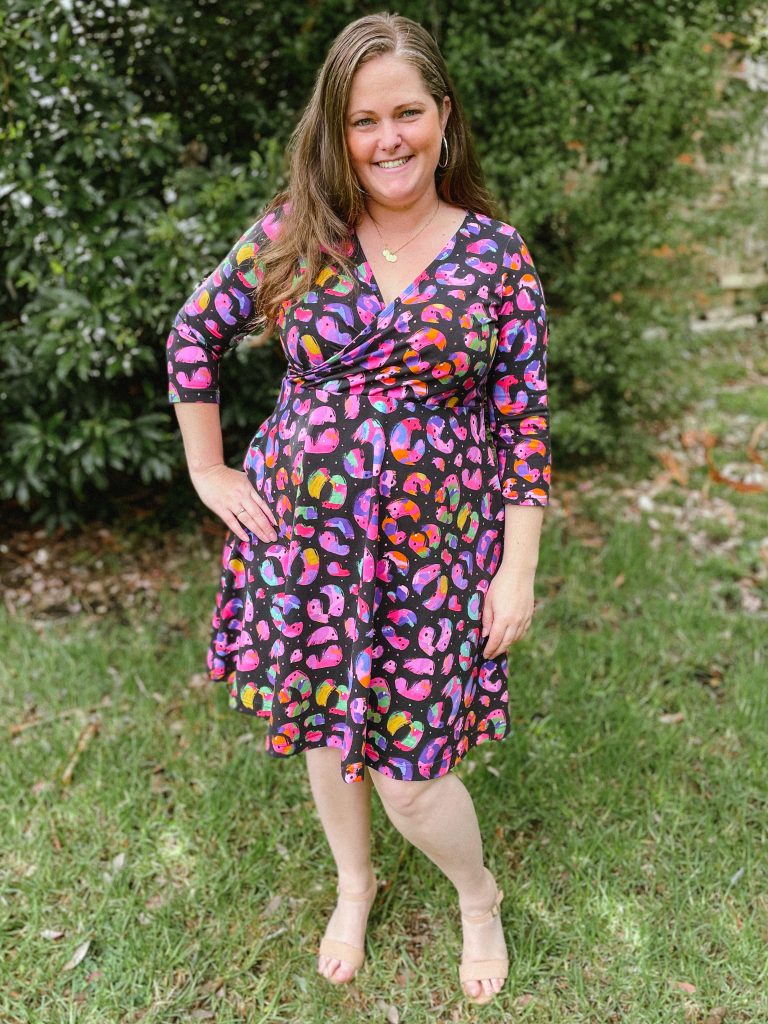
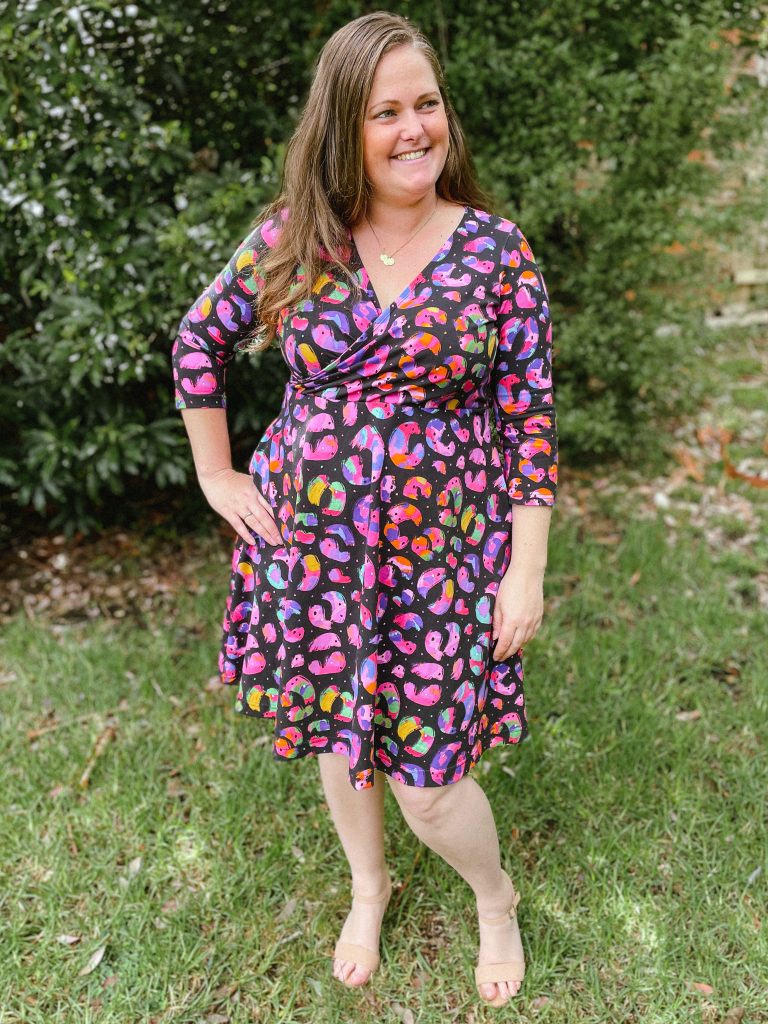
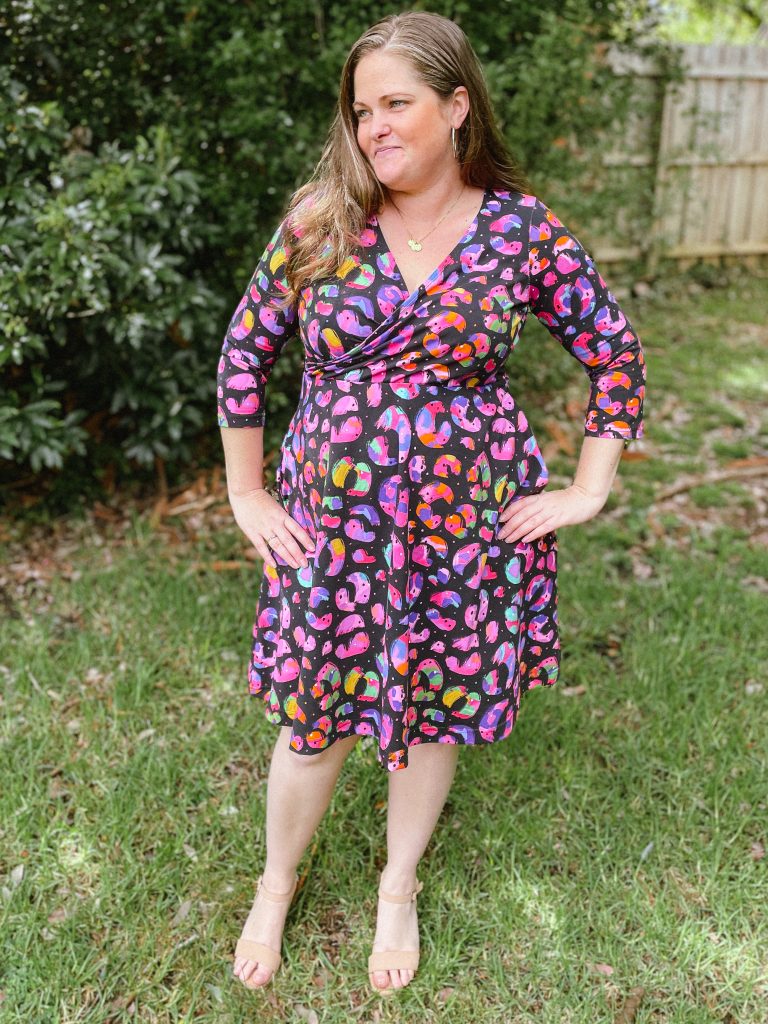
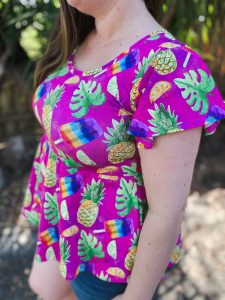
Pattern: Wylde Dress/Top
Designer: Stitch Upon A Time
Fabrics: ‘Summer Fruits’ from Sew Unique Fabrics. Cotton Lycra 220gsm
Measurements: Bust: 42.5″; Waist: 39.5″; Hips: 47.5″
Size made: XL
Adjustments: Changing the bodice from fully lined to a simple neckband
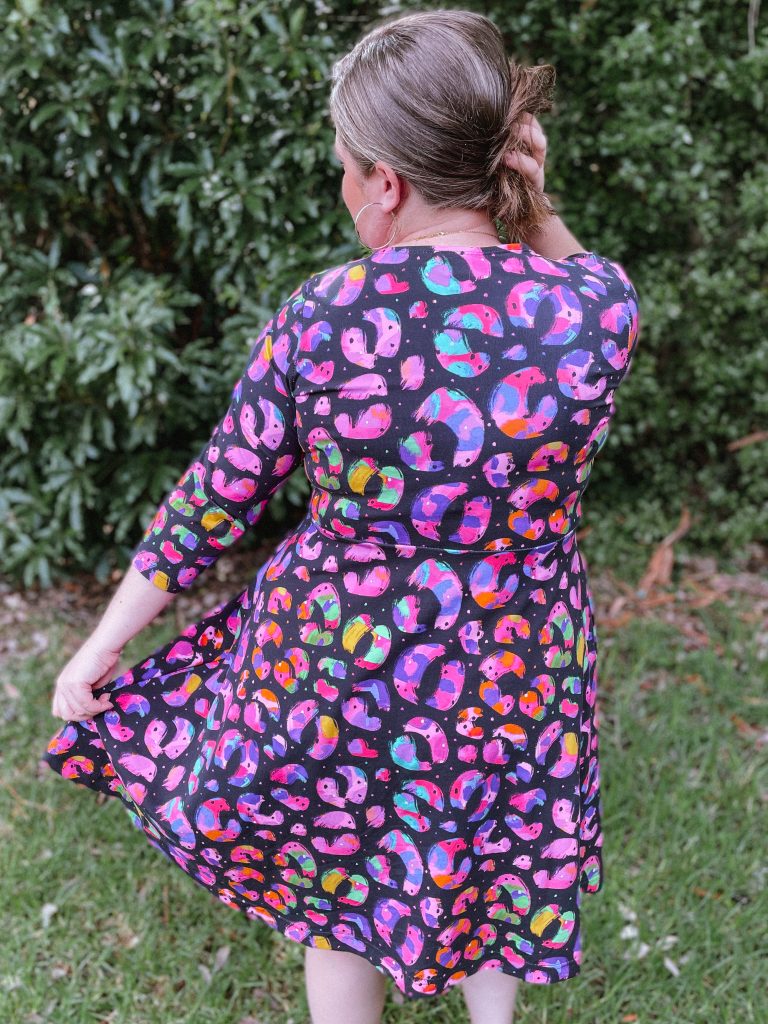
Pros: LOVE where this hits my waist and flairs out hiding my tummy
Cons: The fully lined version was cumbersome, hence this tutorial on using a neckband instead!

Links:
The Wrap Up:
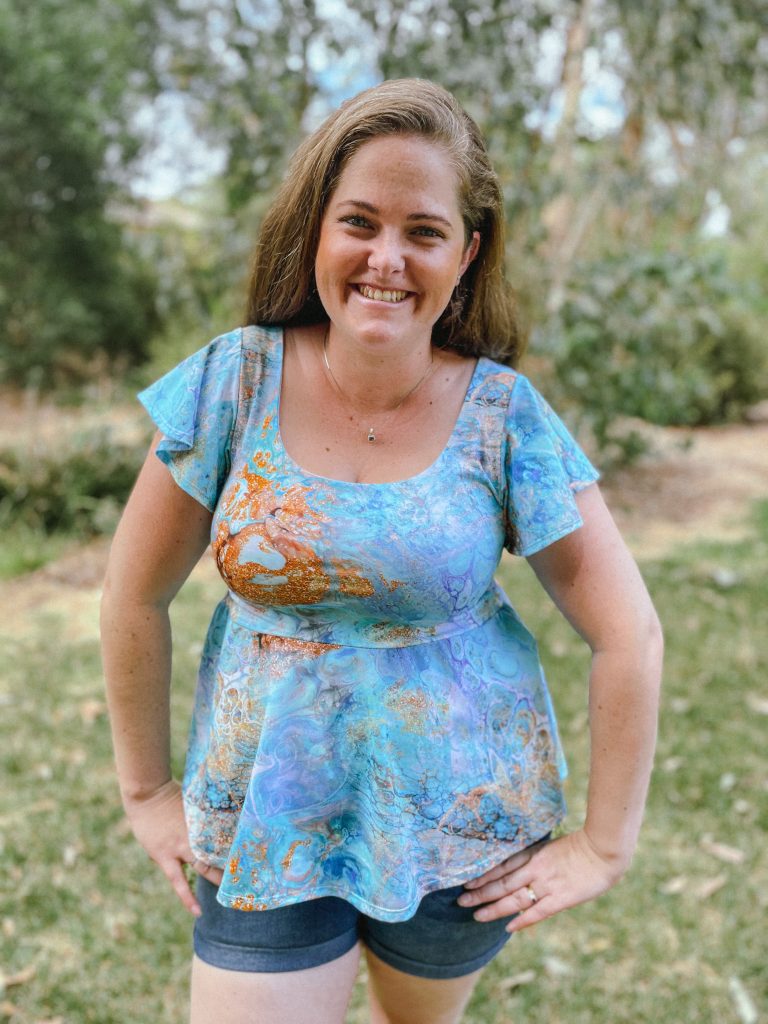
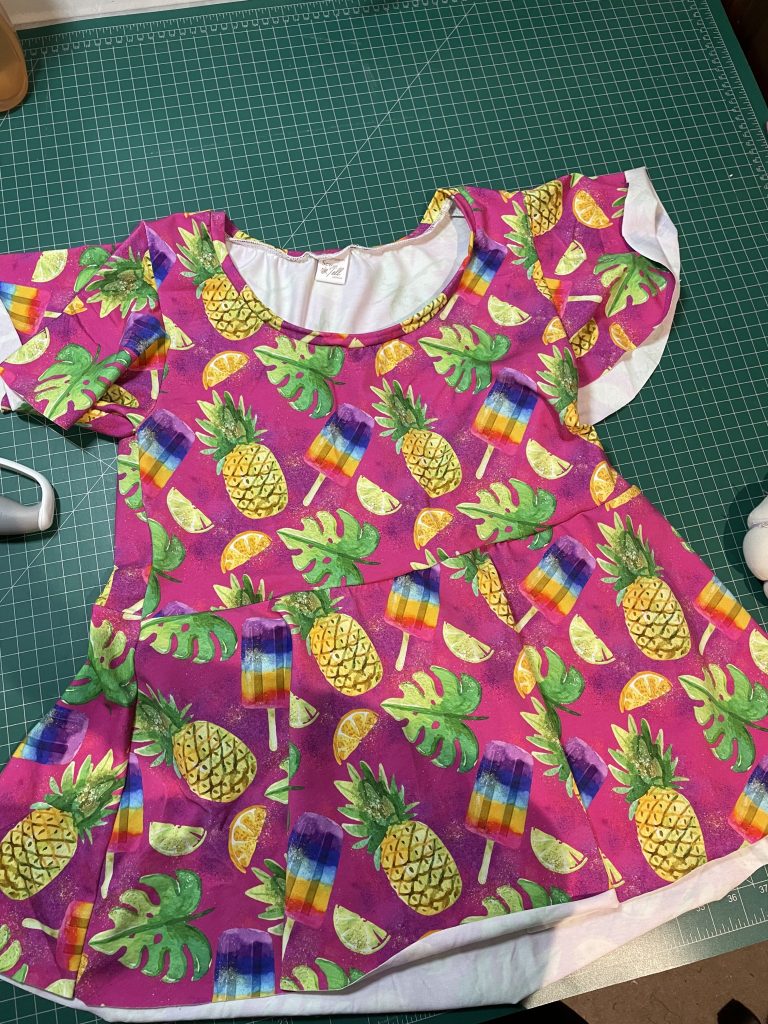
I first made the Stitch Upon A Time (SUAT) Wylde in the top version a few weeks ago and immediately fell in love. The fitted bodice, low neckline and skirt that flairs out from the bust is the perfect combo for my figure to help me feel more comfortable about my mum tum. I tend to favour a lower neckline in general as it detracts from my tummy and focuses more on my décolletage.
The only thing I didn’t love about it was that it was fully lined. Luckily, adding a knit neckband was a really easy thing to do and I’m going to show you how to do it as well!
Adding, or changing a neckband to either a higher or lower one is a pretty simple process, it just involves some maths. Which you can also do on Google if your mathematically challenged like I am haha.
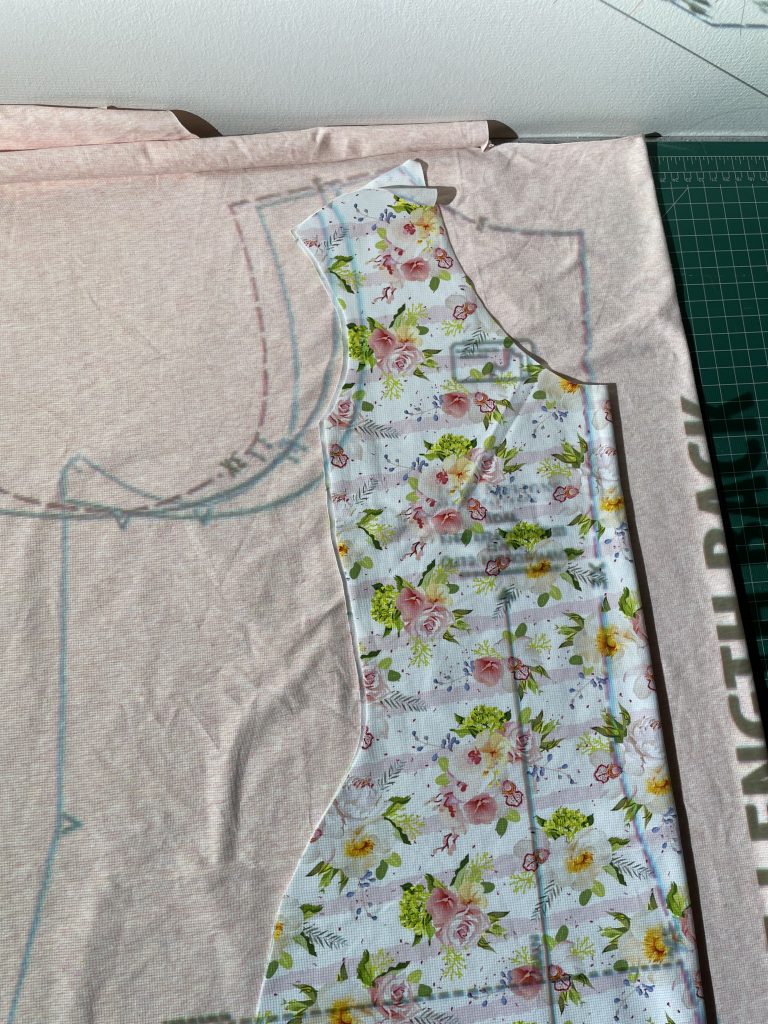
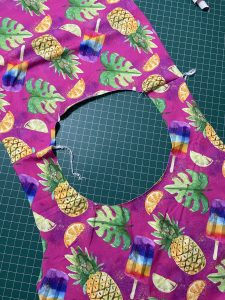
Obviously for this example I’m using the SUAT Wylde dress/top, but the same principles apply to any knit top really. To start with, you need to cut all your pieces out as indicated in the pattern except for the lining pieces or collar/hood if its something else you are changing. You then need to sew your front and back pieces together at the shoulder seams. (pic. 1)

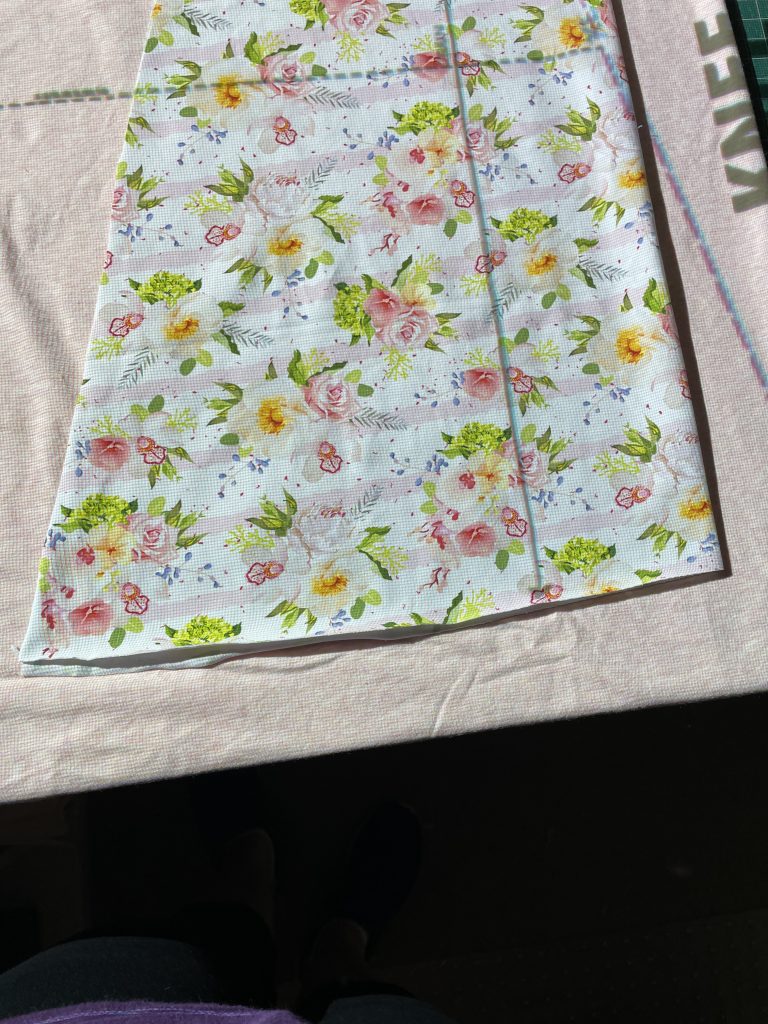
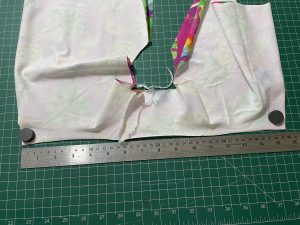
Next you want to fold your bodice piece in half (as shown in pic. 2) to find the centre of both the front and back pieces. It is easier to do this on a flat surface as next we’re going to measure it.
Once you’ve done that, you need to lay your bodice pieces out in a way that you can measure the neck opening. (pic. 3) In my example, it is roughly 15.5 inches. Remember, this measurement will be HALF of what the full opening actually is as we folded our bodice pieces in half. Again, for my example, if I could lay out my neck opening flat, it would be about 31 inches.
Now the ‘Rule’ for working out how long to cut your neckband piece is usually around 85%-90% of your neck opening. My neck opening is roughly 31 inches. I went to Google and typed in 85% of 31 inches = 26.35 inches. The good thing about knit garments is that there is a little bit of wiggle room being that its stretchy. I rounded down to 26 inches. THIS IS YOUR NEW NECKBAND size. I then halved it = 13 inches to make it a little easier to cut the piece.
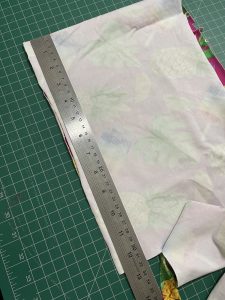
To cut your new neckband, get your remaining fabric and fold in half (pic. 4). Now, the height of your neckband is a little bit of personal preference. A common adult neckband height is 1/2″ so this can be a good starting point. You just have to remember to double it, as you’ll be folding the neckband in half and also add a little bit for seam allowance. I generally cut my neckband pieces at a height of 1.5″ x whatever length I need.
The piece I cut for this garment was 26 inches long by 1.5″ high.
Once you have that worked out you and cut the new piece can go ahead and attach your neckband as you usually would. If you aren’t super confident at how to sew the neckband on, this is a pretty good tutorial on YouTube to watch by Seamwork. https://www.youtube.com/watch?v=GF4Cix9TC9s
My biggest tip for a professional neckband is to make sure you quarter both your neckband and garment. It makes it so much easier to attach and a much nicer finish.

Finish your neckline with either a twin needle or Coverstitch and Tadah! You’ve just converted your fully lined neck opening to a neckband.
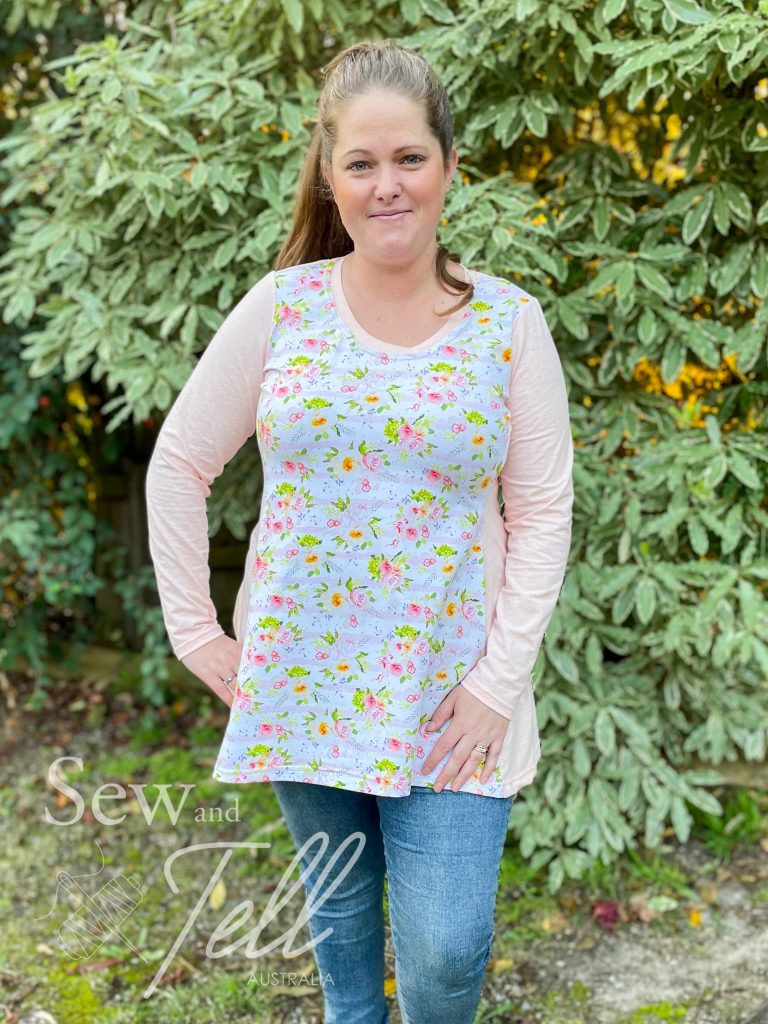
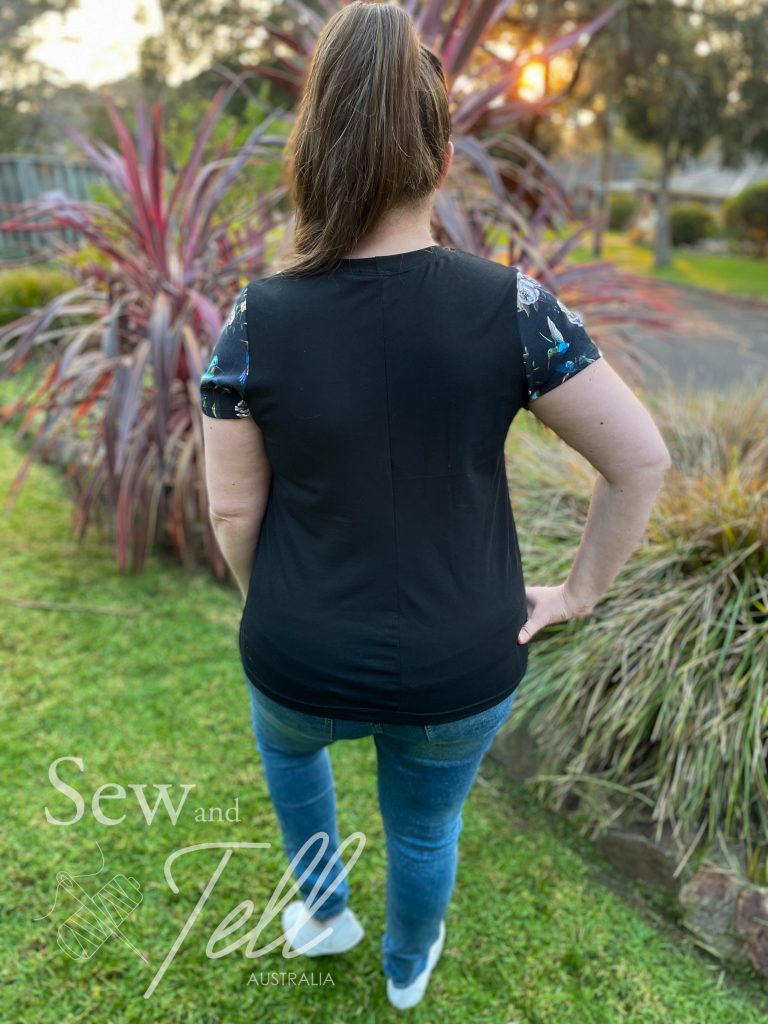
Now, there are some differences between the 2 garments as seen below. The neckband does give the garment a more ‘closed’ opening, but I definitely still like it. To help give it more of the look of the original design I think the next one I make (yep I’ll be making more cause I love it), I will try a neckband at 95% instead of 85%. This will allow the neckline to be more relaxed and settle back into more of the original opening size.


I hope this helped give you some confidence to giving this a go yourself, its not as scary as it seems, and if you get it wrong, you can rip it off and try and again 🙂
Tag me in your makes on Insta so I can see your beautiful creations @sewandtellau
Gallery: