An important rule to follow in sewing is that you must finish your overlocked/serged seams. If you don’t, the seams can quickly unravel and fall apart, wasting all that hard work you just put into making your project. Learning exactly HOW to finish the ends of your overlocked or serged seams and threads however can be a bit tricky when you first start. I actually used to just cut them straight off! whoops!
In this easy to follow blog, I’ll guide you through three simple methods to finish off your overlocked seams, ensuring a neat and secure outcome. Whether you’re working with knit or woven fabrics, these techniques will help prevent unraveling and keep your projects in top shape.
Method 1: Sew back over your threads
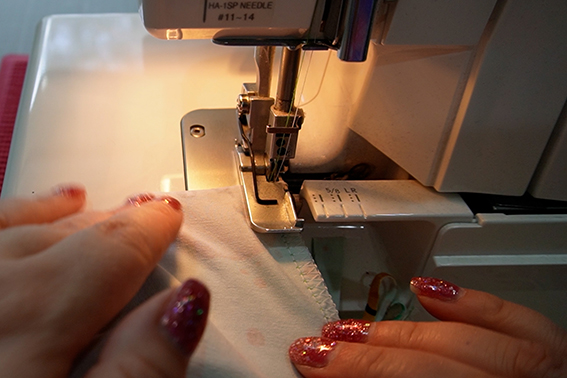
 This method is a bit different from the start and the finish. At the start by ensure you have a tail of thread. Sew a few stitches in, lift the presser foot, and loop the thread back around itself. You will then stitch the thread down for a few stitches before cutting the thread off as you continue sewing as normal.
Once you reach the end, stitch just past the end of the seam, lift the presser foot, wiggle the stitches off the stitch fingers very gently, flip and turn your project so you start to sew back up the seam you just sewed, and sew back a bit before gently tapering off.

This method ensures a sealed edge that prevents unraveling, keeping your garment intact.
Method 2: Needle Threader or Crochet Hook Finish
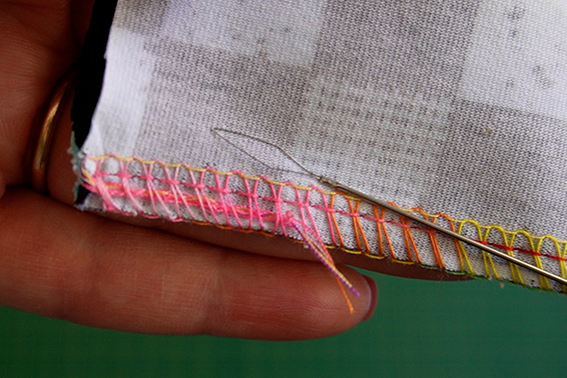
After sewing your fabric, use a needle threader or use a crochet hook to insert it along a couple of lines of the overlock. Thread your tail through the needle threader and pull it back through, securing it in the seam. Trim the excess, and you’re left with a secure finish. Needle threaders are easy to find at most sewing/craft shops or you can find them here.
Method 3: Tying Off the Ends

This is probably my favourite way and I think the easiest way to secure your serged ends.
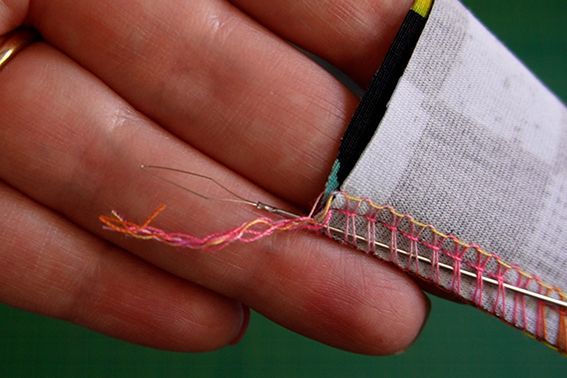
You start by sewing your fabric together and, once finished, grab your tail. Use an unpicker or seam ripper to choose one thread to pull through, allowing the tail to unravel.
Seperate the threads and then tie off the threads two or three times for a tight finish. Trim the excess, and your seam is secure!

Do I need to tie off EVERY thread?
The short answer is no.
My rule of thumb is, if the seam is going to be finished some other way, for example, folded up into a hem or sewn into another seam etc, I don’t tie off my ends.
It is only for when you have an open seam, which is prone to unraveling such as linings and sleeves that you should be tieing off your threads.
If you found this tutorial helpful, there is a full video demonstration inside my membership, The Sewing Corner. You can find out more and how to join here.