Month: January 2022

  • Pattern Hack: Adding a Neckband

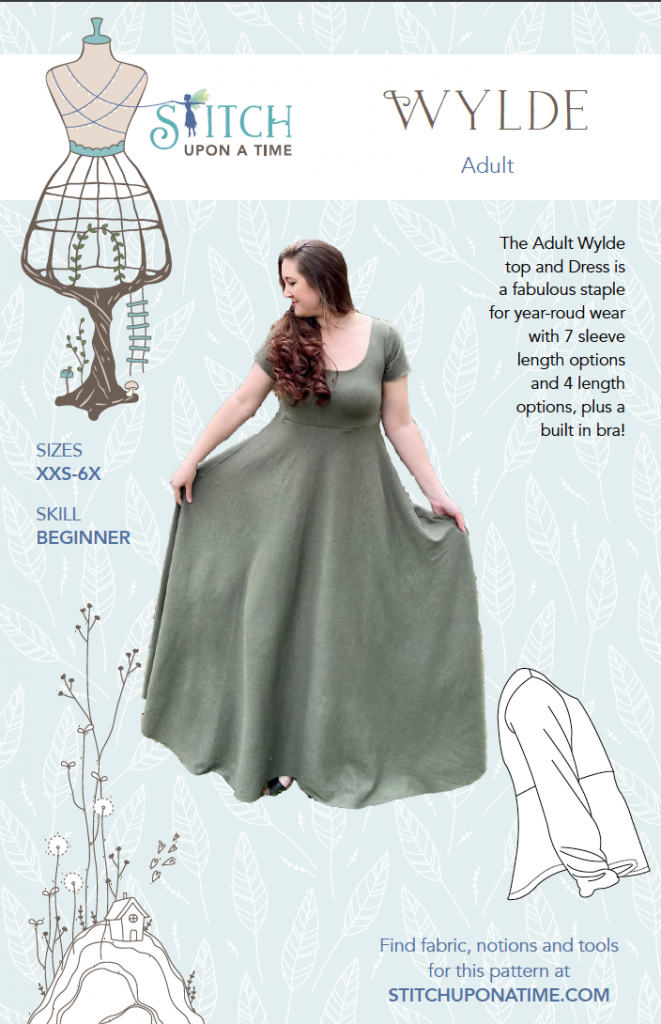
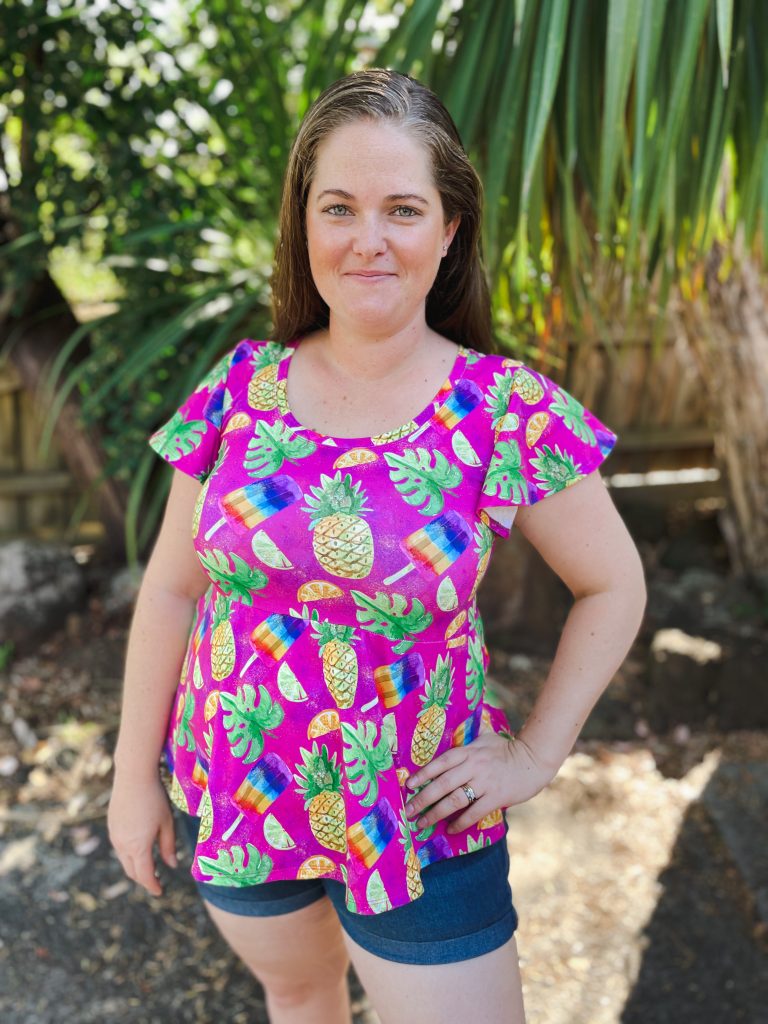
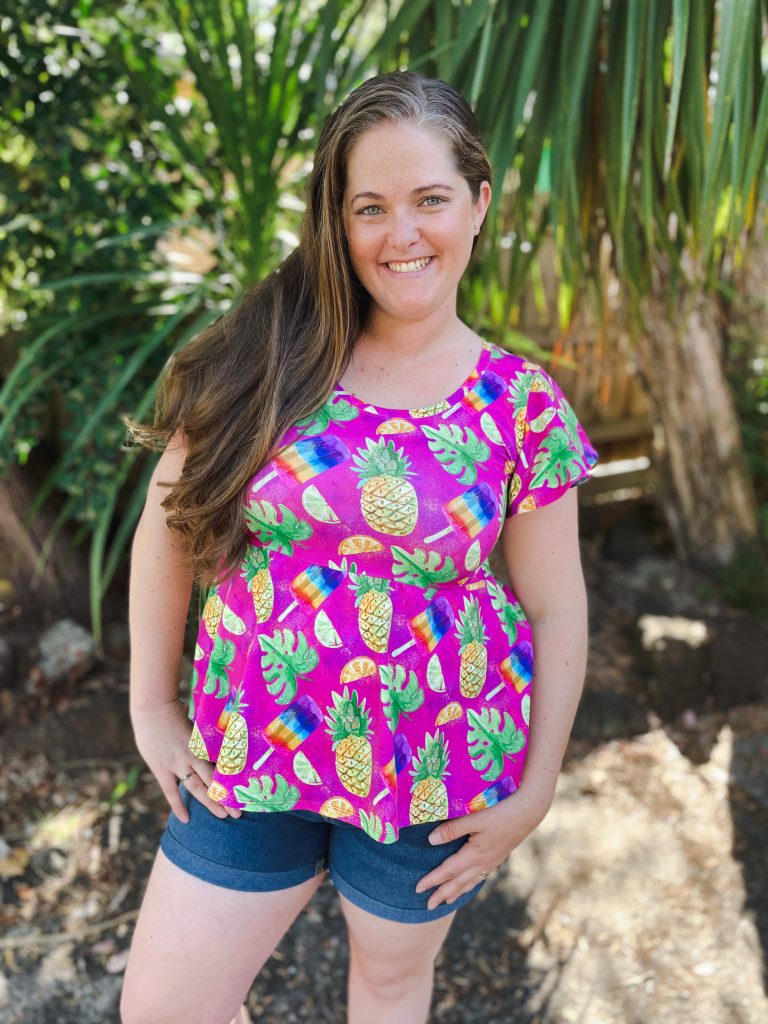
    Pattern: Wylde Dress/Top
    Designer: Stitch Upon A Time
    Fabrics: ‘Summer Fruits’ from Sew Unique Fabrics. Cotton Lycra 220gsm
    Measurements: Bust: 42.5″; Waist: 39.5″; Hips: 47.5″
    Size made: XL
    Adjustments: Changing the bodice from fully lined to a simple neckband
    Pros: LOVE where this hits my waist and flairs out hiding my tummy
    Cons: The fully lined version was cumbersome, hence this tutorial on using a neckband instead!

    Links:


    The Wrap Up:
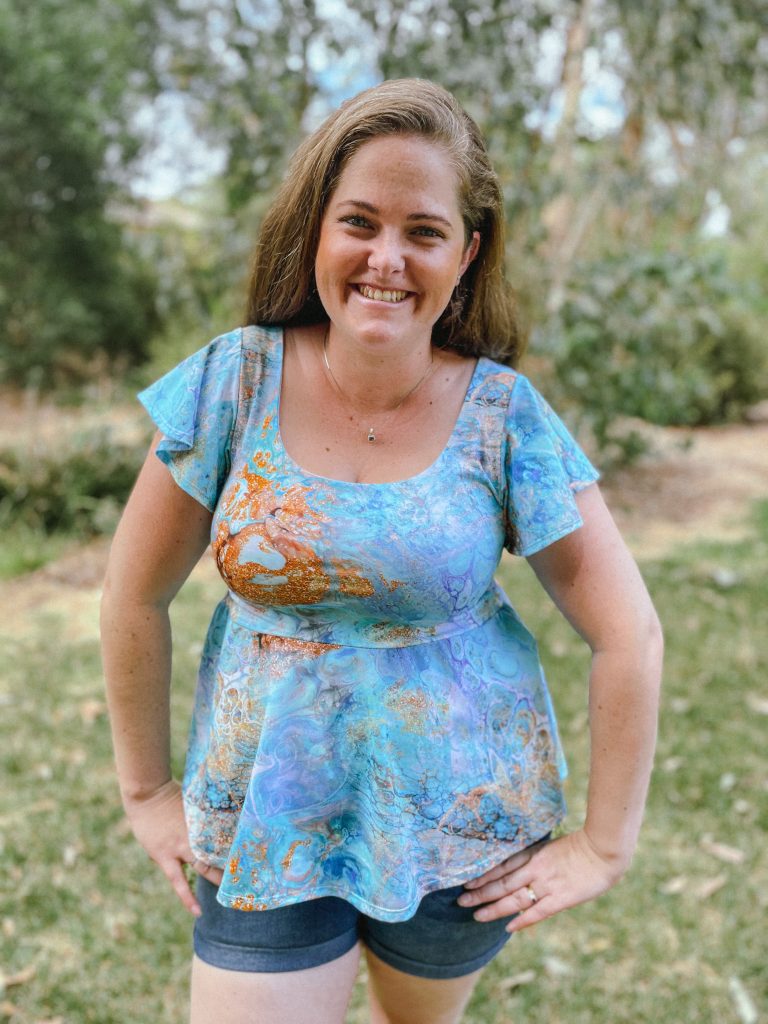
    My first SUAT Wylde that had me falling in love

    I first made the Stitch Upon A Time (SUAT) Wylde in the top version a few weeks ago and immediately fell in love. The fitted bodice, low neckline and skirt that flairs out from the bust is the perfect combo for my figure to help me feel more comfortable about my mum tum. I tend to favour a lower neckline in general as it detracts from my tummy and focuses more on my décolletage.

    The only thing I didn’t love about it was that it was fully lined. Luckily, adding a knit neckband was a really easy thing to do and I’m going to show you how to do it as well!

    Adding, or changing a neckband to either a higher or lower one is a pretty simple process, it just involves some maths. Which you can also do on Google if your mathematically challenged like I am haha.

    Obviously for this example I’m using the SUAT Wylde dress/top, but the same principles apply to any knit top really. To start with, you need to cut all your pieces out as indicated in the pattern except for the lining pieces or collar/hood if its something else you are changing. You then need to sew your front and back pieces together at the shoulder seams. (pic. 1)
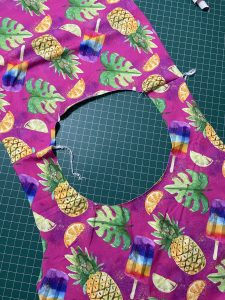
    Pic. 1 – Front and back pieces sewn together at shoulder seams
    Pic. 2 – Fold the pieces in half to find the centre of both the front and back

    Next you want to fold your bodice piece in half (as shown in pic. 2) to find the centre of both the front and back pieces. It is easier to do this on a flat surface as next we’re going to measure it.

    Once you’ve done that, you need to lay your bodice pieces out in a way that you can measure the neck opening. (pic. 3) In my example, it is roughly 15.5 inches. Remember, this measurement will be HALF of what the full opening actually is as we folded our bodice pieces in half. Again, for my example, if I could lay out my neck opening flat, it would be about 31 inches.
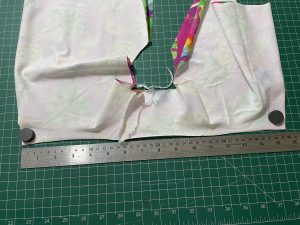
    Pic. 3 – Laying out the neck opening
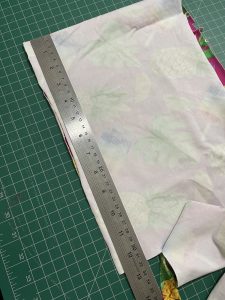
    Pic. 4 – Measuring the neckband piece

    Now the ‘Rule’ for working out how long to cut your neckband piece is usually around 85%-90% of your neck opening. My neck opening is roughly 31 inches. I went to Google and typed in 85% of 31 inches = 26.35 inches. The good thing about knit garments is that there is a little bit of wiggle room being that its stretchy. I rounded down to 26 inches. THIS IS YOUR NEW NECKBAND size. I then halved it = 13 inches to make it a little easier to cut the piece.

    To cut your new neckband, get your remaining fabric and fold in half (pic. 4). Now, the height of your neckband is a little bit of personal preference. A common adult neckband height is 1/2″ so this can be a good starting point. You just have to remember to double it, as you’ll be folding the neckband in half and also add a little bit for seam allowance. I generally cut my neckband pieces at a height of 1.5″ x whatever length I need.

    The piece I cut for this garment was 26 inches long by 1.5″ high.

    Once you have that worked out you and cut the new piece can go ahead and attach your neckband as you usually would. If you aren’t super confident at how to sew the neckband on, this is a pretty good tutorial on YouTube to watch by Seamwork. https://www.youtube.com/watch?v=GF4Cix9TC9s

    My biggest tip for a professional neckband is to make sure you quarter both your neckband and garment. It makes it so much easier to attach and a much nicer finish.
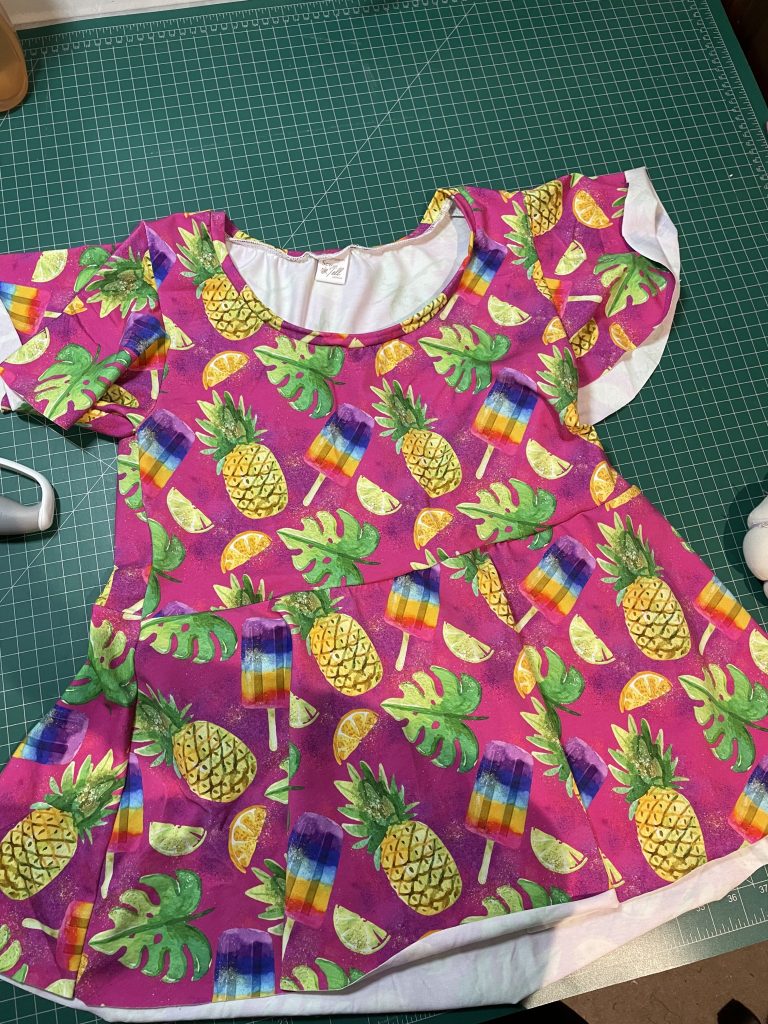
    All done!
    Them just sewn feels 😍

    Finish your neckline with either a twin needle or Coverstitch and Tadah! You’ve just converted your fully lined neck opening to a neckband.

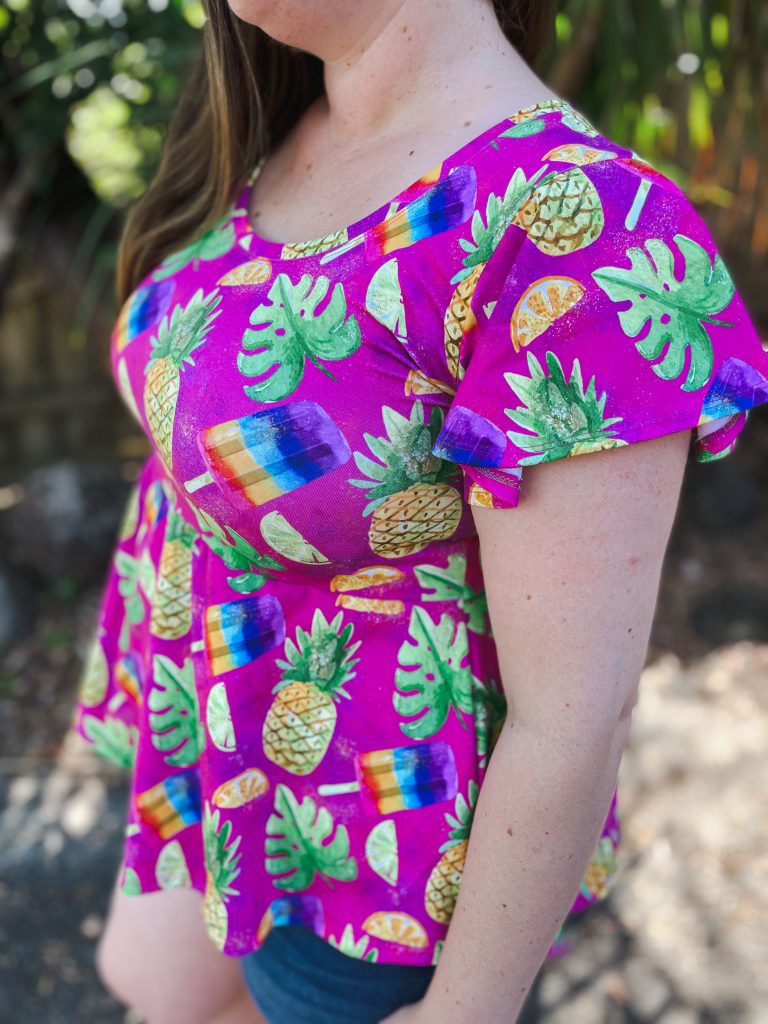
    Now, there are some differences between the 2 garments as seen below. The neckband does give the garment a more ‘closed’ opening, but I definitely still like it. To help give it more of the look of the original design I think the next one I make (yep I’ll be making more cause I love it), I will try a neckband at 95% instead of 85%. This will allow the neckline to be more relaxed and settle back into more of the original opening size.

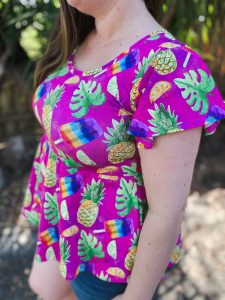
    I hope this helped give you some confidence to giving this a go yourself, its not as scary as it seems, and if you get it wrong, you can rip it off and try and again 🙂

    Tag me in your makes on Insta so I can see your beautiful creations @sewandtellau


    Gallery:
  • Pattern Review of the Harper Hoodie

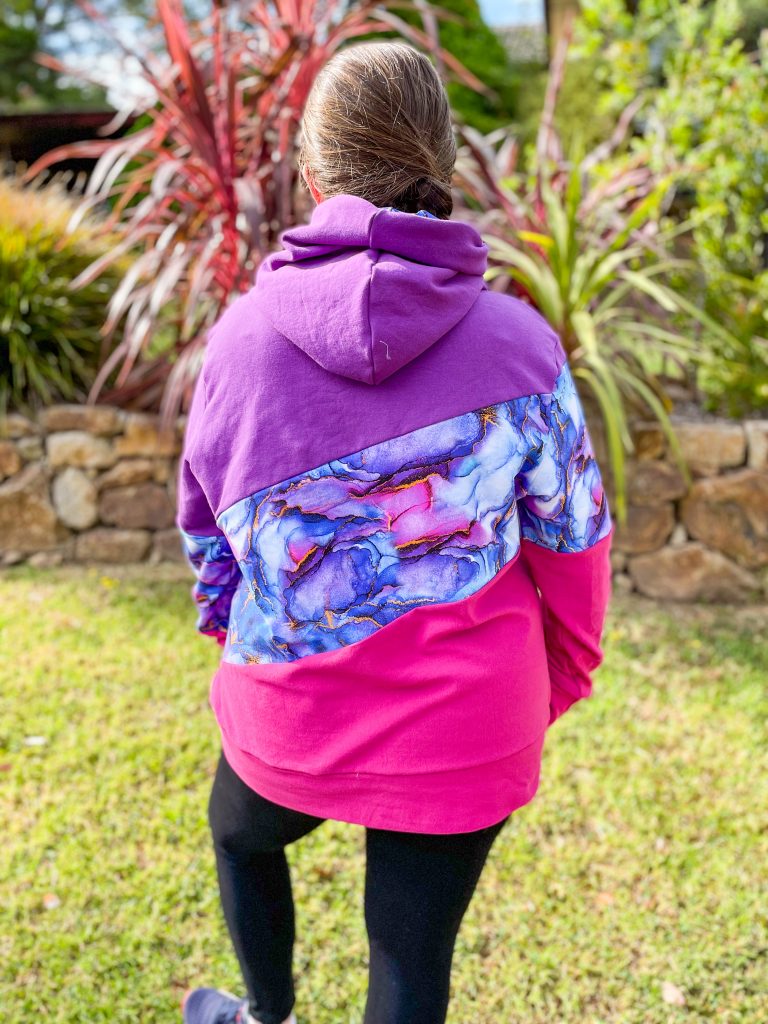
    Pattern: Harper Hoodie
    Fabrics: Purple: Cotton Fleece from Sew Unique Fabrics Accent: ‘Artistic Ink’ from Sew Unique Farbics
    Pink: Jogging Sweater Knit from Wattle Hill Fabrics
    Measurements: Bust: 42.5″; Waist: 39.5″; Hips: 47.5″
    Size made: Straight 22. I like my hoodies big and oversized
    Adjustments: None
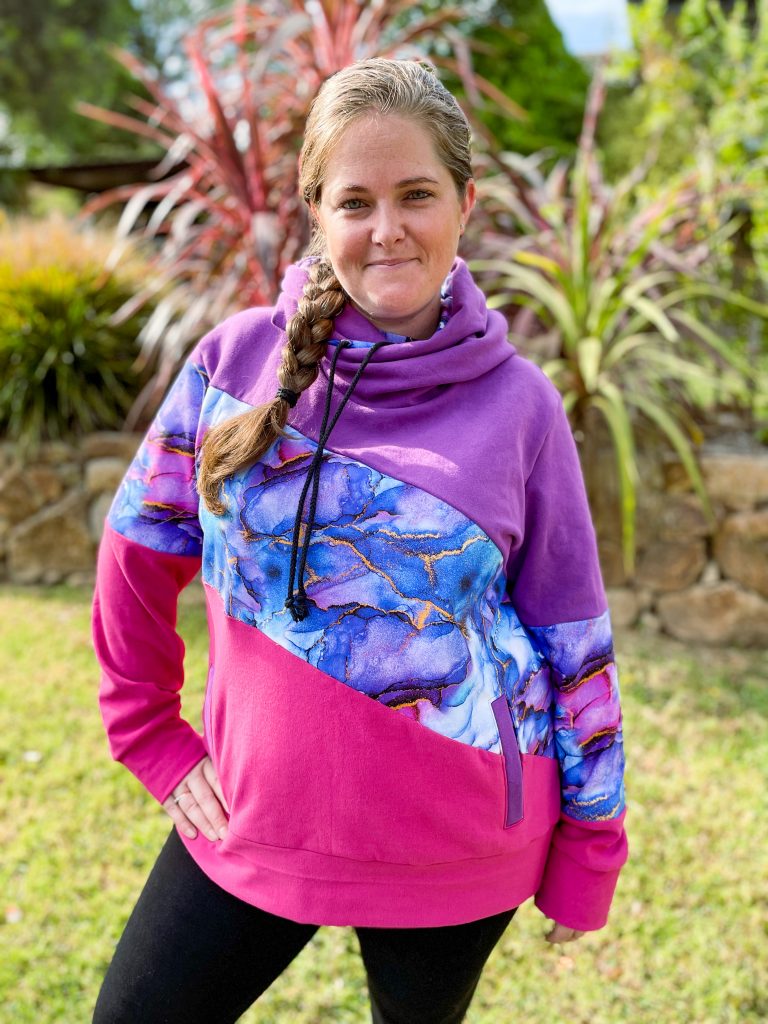
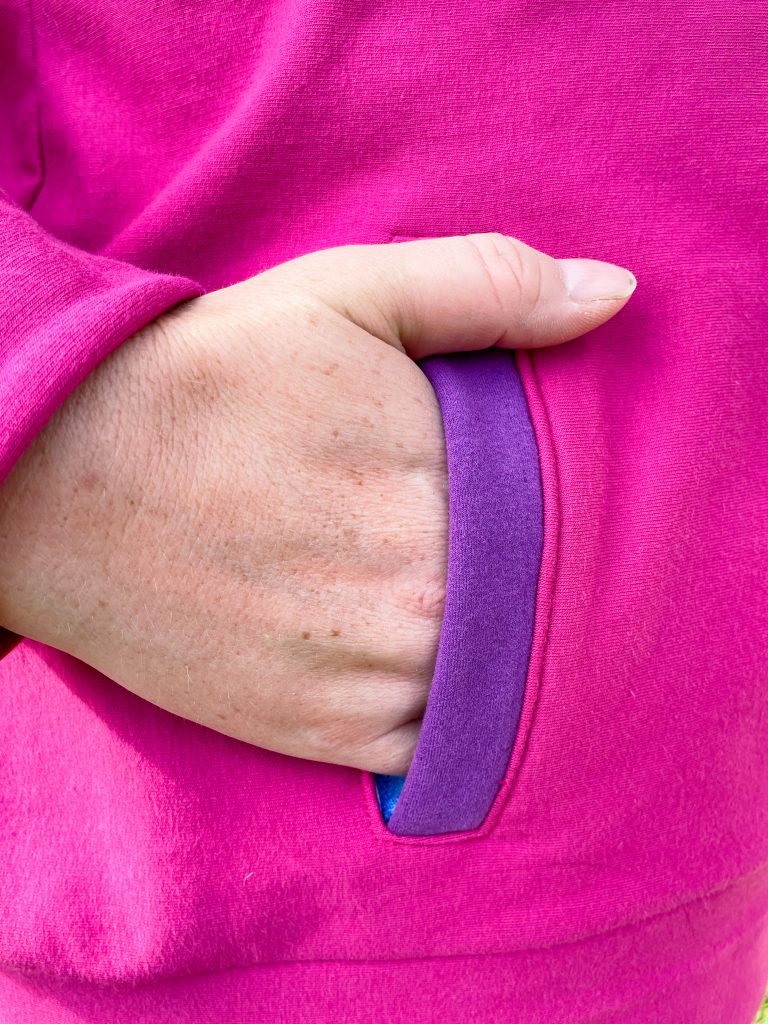
    Pros: LOVE the colour blocking on this. It is super comfy to wear and I love the look of the welt pockets.
    Cons: I had to unpick the welt part of the pockets 3 times before I got it looking good enough that I was happy with it. I also felt the pocket bags on the inside look a little clunky.

    Links:

    The Wrap Up:

    This brand new hoodie pattern from Sonia Estep is a big winner in my eyes. From the minute I saw it, I knew I would love it and am so glad I got a chance to sew it up. It may be Summer over here in the Southern Hemisphere, but its never too early to start my winter wardrobe. Especially living in Melbourne. We can be in the middle of a heat wave and then next thing you’re freezing and fighting off hail storms! Never a dull moment in Melbourne haha.

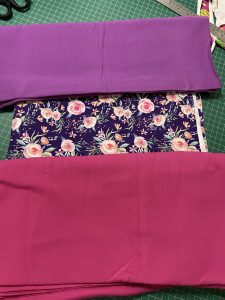
    I had a few choices for fabrics on this one. As I often do when I’m planning a new project, I got them all out and laid them together to see what combo jumped out at me. I straight away was drawn to the purple and pink combo, and the artistic ink was definitely a front runner.

    As the artistic ink is a Cotton Lycra, quite thin, and the purple and pinks are cotton fleece, thick and fluffy, I decided to cut all my artistic ink pieces in black Cotton Fleece as well to ‘back’ each piece. I then treated them as one piece when sewing it together. It is a little bit of a extra tricky step, but well worth it for me.

    Once I had decided on the fabrics, the next was choosing a size. In the past I have sewn to ‘my measurements’ and while the garments fit, and looks good, its taken me 3 or 4 hoodies to realise that I actually REALLY like oversized hoodies. Like, I buy RTW mens sized ones cause I want them big and snuggly. So this time I made a size 2-3 up from what my measurements said and its PERFECT.

    The process of putting the garment together was quite straight forward, just a few extra steps in the piecing it together. I had to be very careful I made sure all the pieces went together as they should so that the colour blocks would match up. I did put my bottom pieces on upside down to begin with so that was a fun half hour unpicking that. doh!

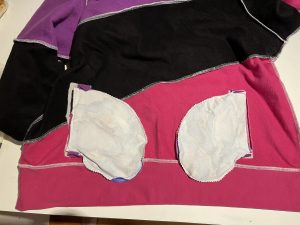
    The next part I had some issues with was the welt pockets. I had not done a welt pocket quite how it was constructed in this pattern and had some problems getting my outer piece even and nestled nicely from the front. One of the sides I unpicked 3 times, and the other side once. I am glad I did, as it was worth it to have it looking good, but it did cause for some swear words haha. I also thought the inside pocket bags were a little odd in terms of how they sit, and if I make another would look to how I could modify to perhaps make a circle through pocket, but for now I might hand stitch them to the inside so they don’t dip below the waistband when weighted down by objects in them.

    Inside of pocket bags and my black ‘lined’ artistic ink pieces

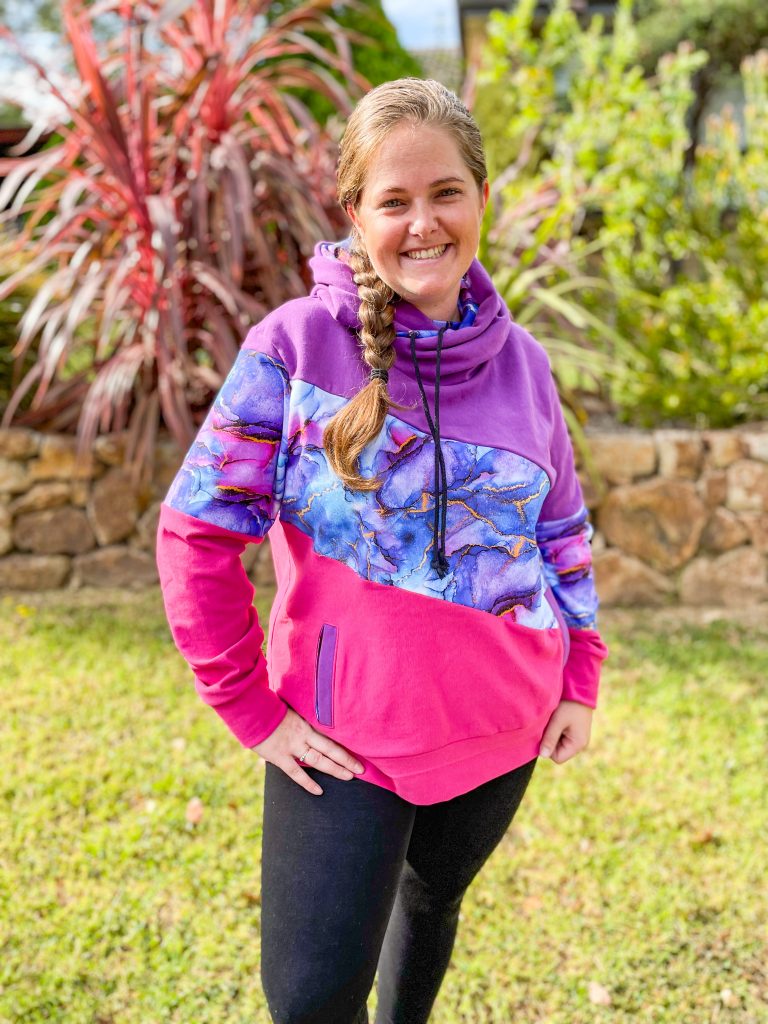
    I had some questions over wether I crossed my hood too much when I first did it, but it works. The designer also commented that the hood is intentionally a more ‘dramatic’ hood crossover than most. The cowl look around the neck when its not up is particularly appealing to me, I think it looks great!

    The Harper Hoodies is definitely a staple in my wardrobe now and am looking forward to being able to crack her out A LOT over winter. The pattern is on sale for 50% till Thursday, click on the link below (afflink) to grab your copy.


    Gallery:

  • Pattern Review of the Caroline Shirt/Tunic

    Pattern: Caroline Shirt/Tunic – Tunic View (Patreon Exclusive)
    Designer: Sonia Estep Designs
    Fabrics: Main Fabric – Slub knit from Spotlight
    Accent Fabric: Cotton Lycra from Fabric by Missy Rose
    Measurements: Bust: 42.5″; Waist: 39.5″; Hips: 47.5″
    Size made: 18 bust graded to 20 Hips
    Adjustments: None other than the size grading
    Pros: Nice relaxed style, good to colour block different fabrics. Inclusive size range.
    Cons: I had some troubles with the instructions and order of steps in the instructions. Beginner sewists may have some challenges in the construction, but if you’re willing to give it a go, don’t be deterred!

    The Wrap Up:

    When I first saw this pattern, I thought it would make such a great winter staple. I love the low V with the option to make it lower or higher by the amount of buttons/snaps you have done up. I also liked the option to colour block, as I often enjoy mixing and matching different fabrics and colours.

    I actually got the main fabric, the slub knit from the clearance table at Spotlight where it was marked down to $8pm, plus that week had a further 50% off clearance fabrics. I grabbed 4 metres and I’m glad I did. It is lovely and soft and I think will be good to wear as is during the fringe seasons, and layered in the winter months. The accent fabric is a 220gsm Cotton Lycra I’ve had in my stash for quite some time and I *think* I got it from Fabric by Missy Rose, but it could also have been Dizzy Daisy or Ella Jewel, but my heart say FBMR haha.

    As usual I used my projector to cut the pieces and found they were easy to see however I did run the file through pdf stitcher to add 20inches around all the sides to give myself more room to manoeuvre the pieces around my cutting matt. Most of the pieces were ‘folded’, so if you like unfolded pieces, you’ll need to adjust that yourself.

    When it came to the construction, most of it came together fairly easily though I had trouble with my placket. I actually ended up cutting a new front which was annoying to have to ditch the fabric, but hopefully I can repurpose for something for Miss J. I think my troubles were a combination of the fabric I chose and I personally didn’t like the way the placket was put together. Others may have less issues, but I just had a few problems hence needing to cut a second front. Luckily I was able to save the placket pieces and use them again on the new front piece.

    So all in all a really lovely garment that I think I’ll get a lot of wear out of.

    Links:

    As this is a Patreon Exclusive pattern, you can only get access to it once you join their program. However, this is a no commitment program and you can literally sign up, download the pattern and cancel your subscription. I would recommend staying on for the month you pay for to get the benefits, but you are not locked into a set period. Click the link below for more information on Sonia Estep Designs as well as the Caroline Pattern


  • Pattern Test of the Back to Front (BTF) Dress

    Pattern: Back to Front (BTF) Dress/Romper
    Designer: Tadah Patterns
    Fabrics: Cotton Poplin – I think from Spotlight, have had a LONG time
    Measurements: Chest: 46cm; Waist: 47cm; Height: 77cm
    Size made: 00 chest graded to 0 height
    Pros: Really simple construction, can be worn both ways.
    Cons: Size was a little tight on my models, may want to consider sizing up.

    The Wrap Up:

    This was my first time testing for Tadah. As a long time lover of there patterns, it really was quite an honour to get a chance to help owner Lauren to test this latest pattern.

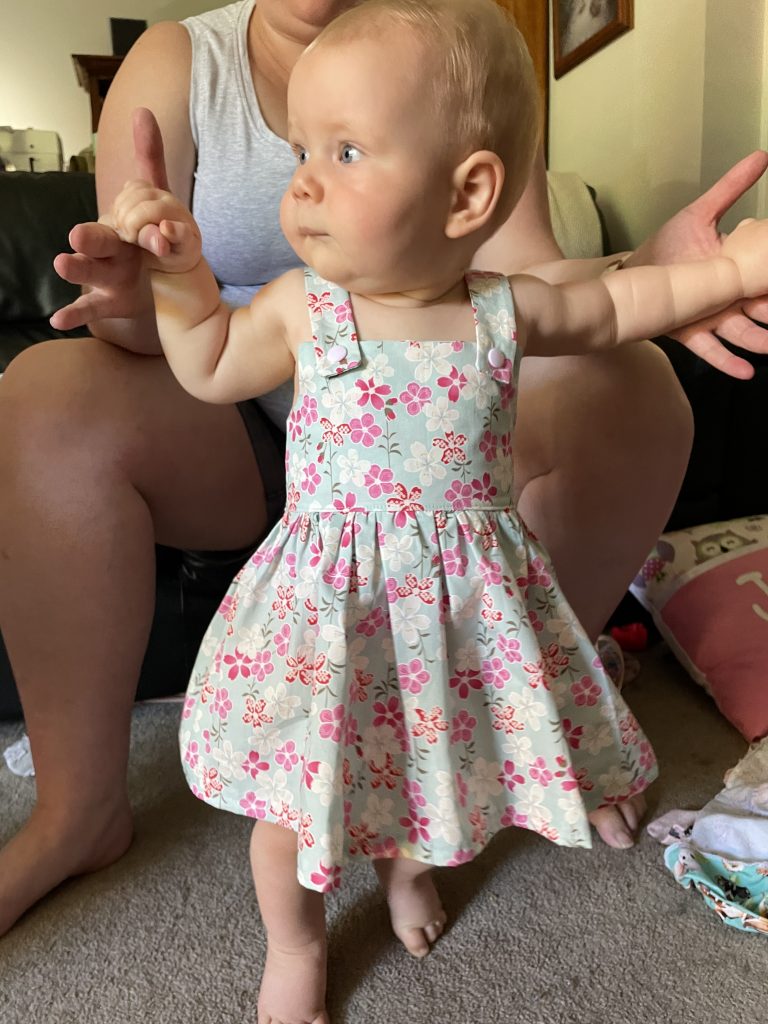
    I put my hand up to test the 00 size as I was going to be using my friends little girl as my model. When I got her measurements she ended up fitting in the 00 size for chest but 0 for length, so I ended up grading to suit.

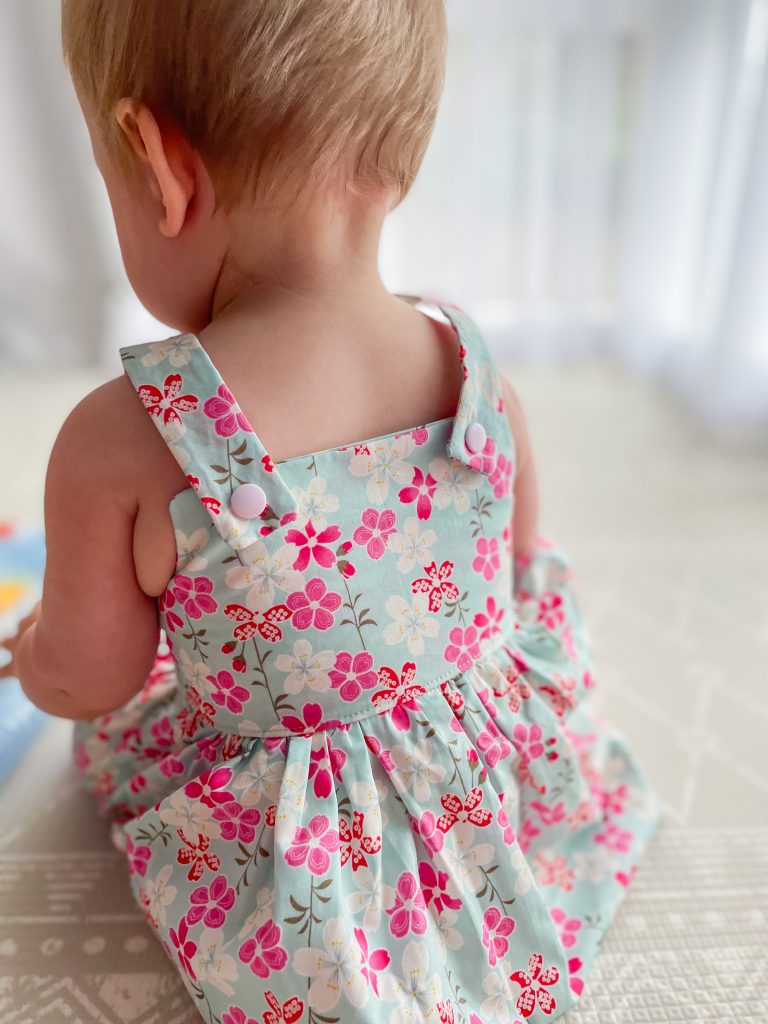
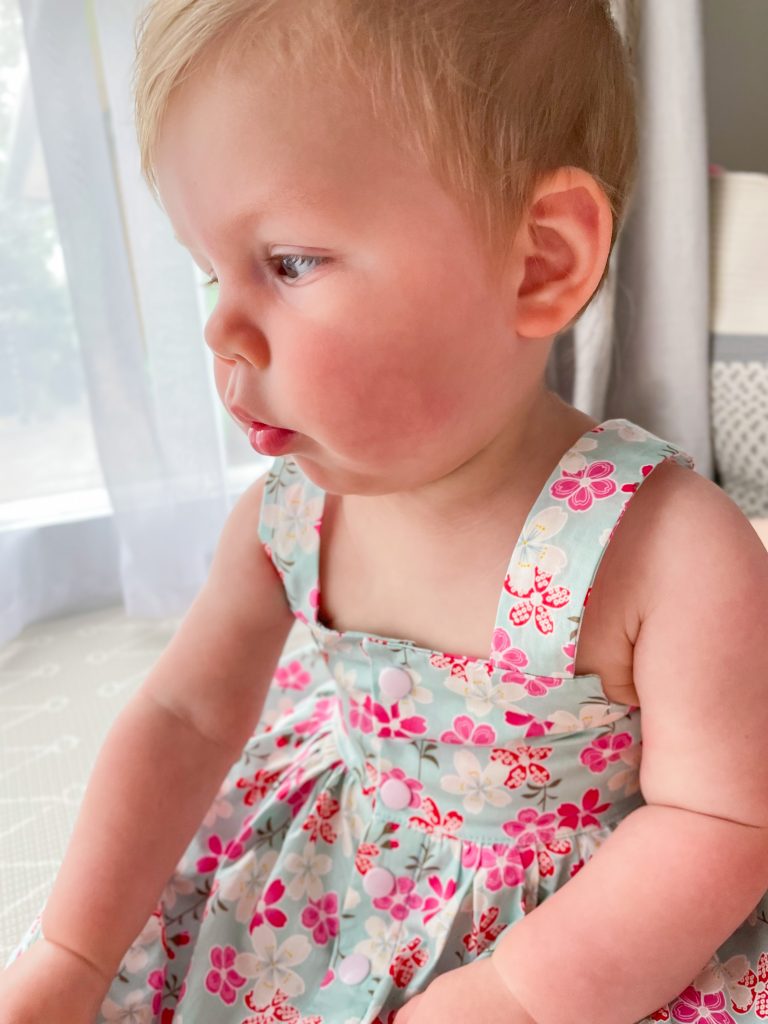
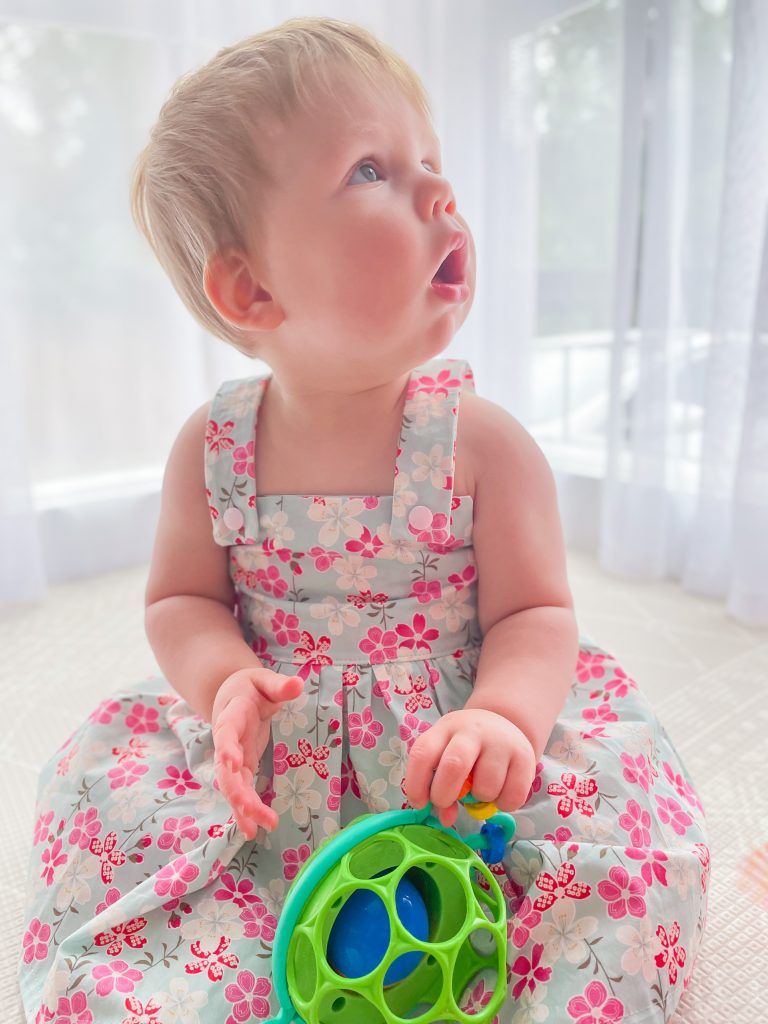
    Finished Garment ready for fit photos

    The version I tested was a little long in the short straps which I know was fixed in the final pattern, which is why its so important for designers to get a variety of models in the test phase, to iron out any of these little issues.

    I chose to use a cute floral woven I’ve had in my stash forever and it turned out so cute. I did the most simple version as I was running a bit short on time to get my fit photos in. I was able to use my friends little girl for fit photos, but on the day didn’t get to do any styled shots. As there weren’t any major changes to the final version, I was able to use my fit garment for the final photos but changed models to my neighbour as she was available the day I could take the pics. Lucky the are the same size 🙈.


    I love the versatility of this pattern being that it can be worn both ways and still look super stylish and cute. It also has quite an easy construction designed with beginners in mind, so definitely give this a go if you’re new to sewing and want something easy. Lauren also has a really helpful Facebook Group that you can join for extra help or advice if you get stuck.

    I have a few more of these planned now, I want to try the ruffles and I think they would make a great baby gift.

    This pattern is on sale to celebrate its release so jump on the link below and grab it while its discounted. Tag me in your make so I can see your cute version as well!

    Links:


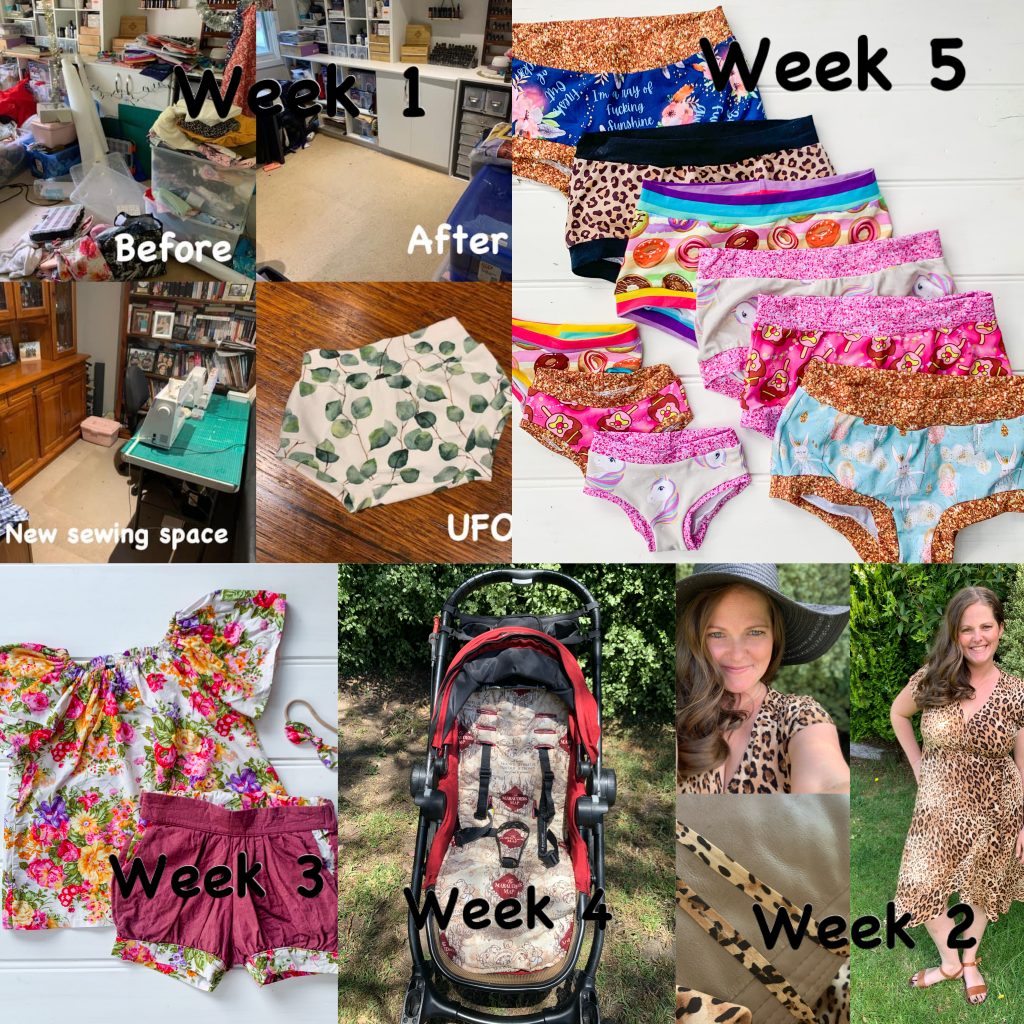
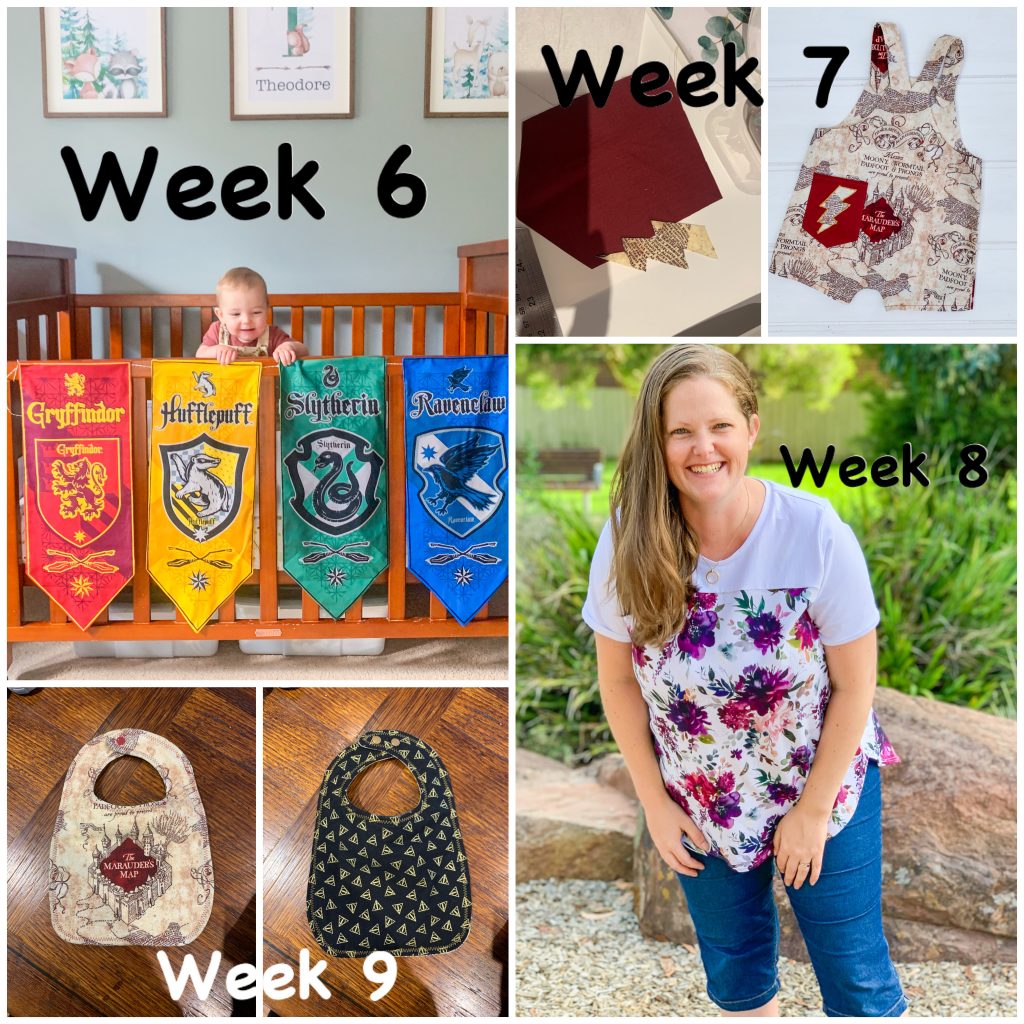
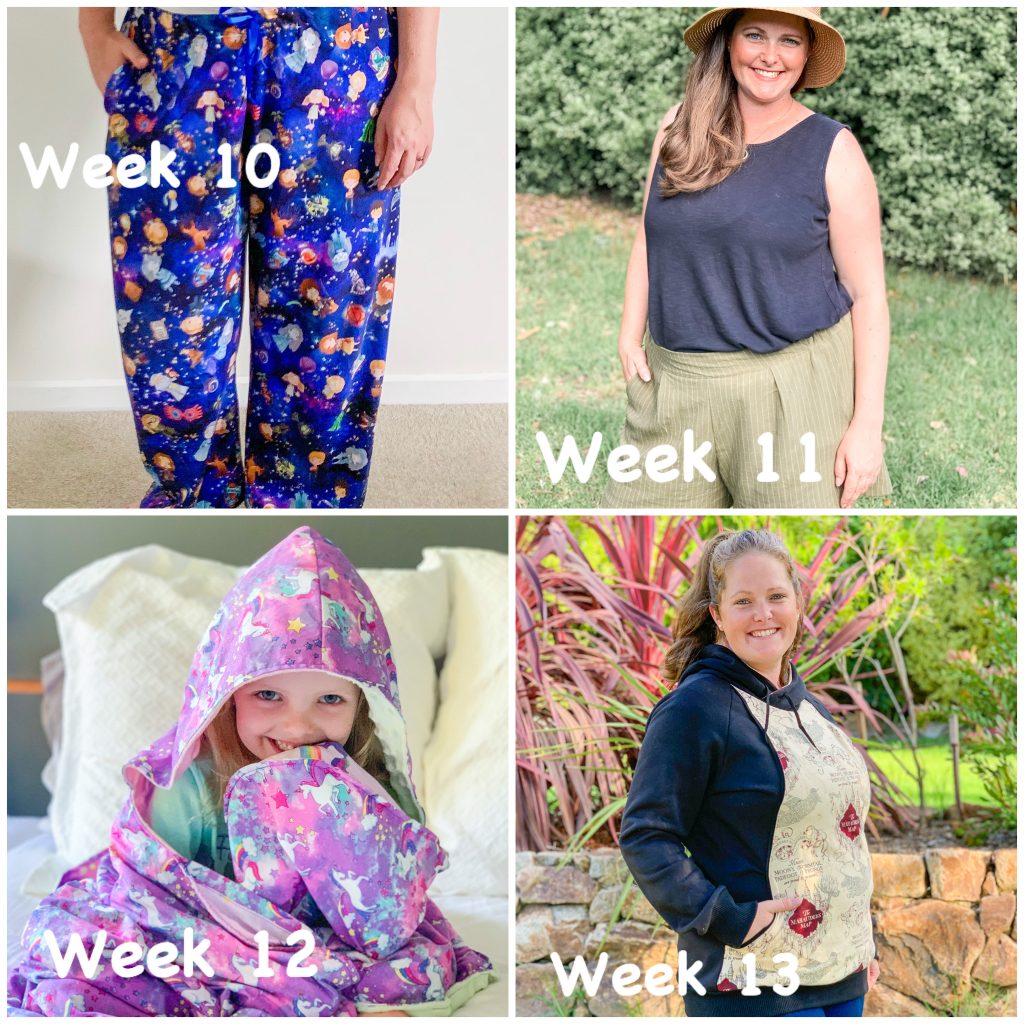
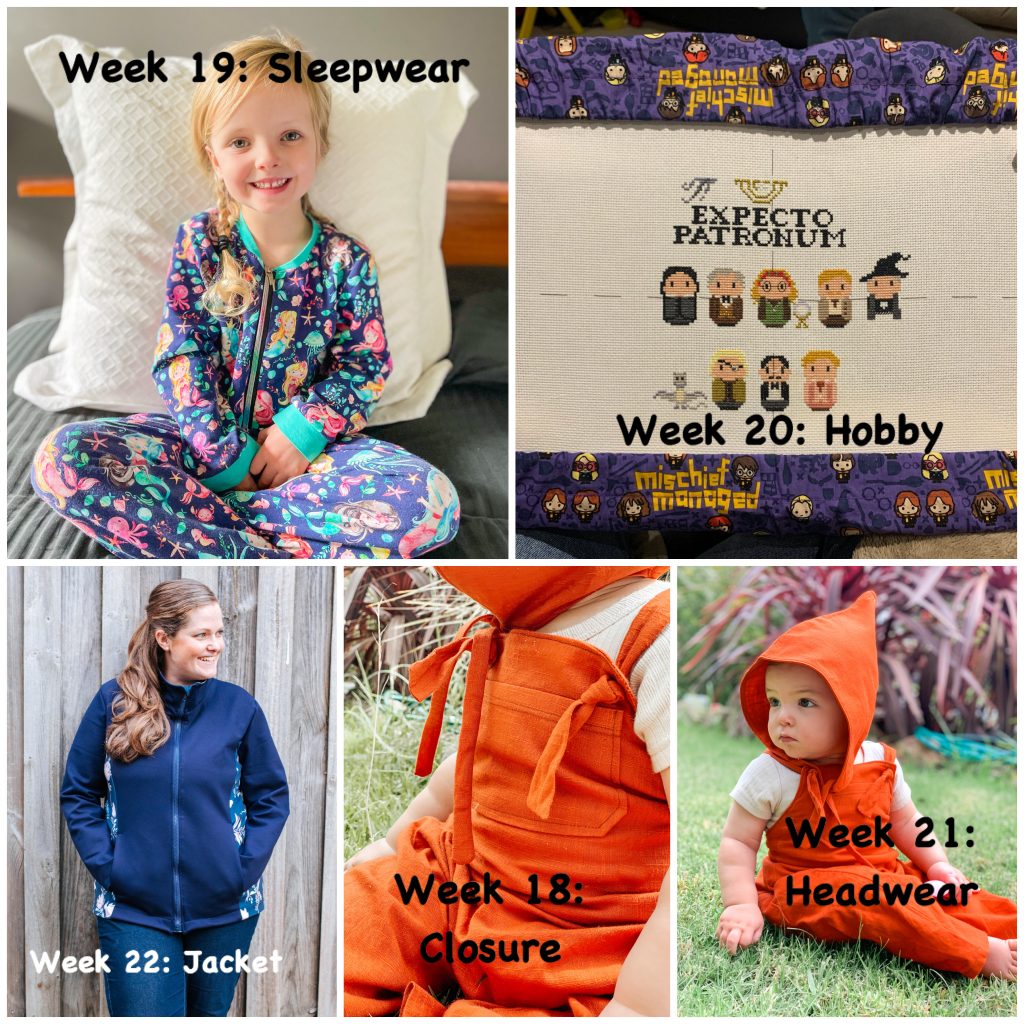
  • 52 Week Sewing Challenge 2021

    Last year, 2021, I participated in my first 52 week sewing challenge. From the first week, I LOVED it!!

    For those that don’t know what it is, let me give you a little run down.

    The challenge is run through a Facebook group by 2 incredible ladies, Angie and Lisa as well as a bunch of other Australian based fabric and pattern companies that help sponsor the prizes through the year.

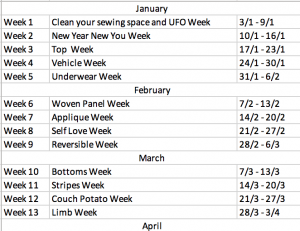
    At the start of the year we are given a prompt for every week of the year and from that, we need to sew something that fits in with the prompt. The ladies help give us some direction on what you could do, and what might be considered as ‘too loose’ to fit in with the theme.

    While the challenge is called the 52 WEEK challenge, it doesn’t necessarily mean you have to sew an item a week. You have the whole month to submit your challenge sews, so its up to you if you sew each week, or perhaps you get all done in one week! As long as you have the items finished by the first Wednesday of the following month you are eligible to enter the prize giveaway.

    Example of the 2021 weekly sewing prompts

    There were a couple of months I was cramming all the sews in the last week and some where I had it all finished before the end of the first week. haha. It’s all about balance right?! If you miss a few, you can always catch up at any point.

    There are also 6 ‘reject’ weeks available which means if you don’t like the prompt or can’t get it done in time, you can use a ‘reject’ and submit another make and you’ll still be able to enter that months prize draw, but you can’t use more than 1 reject in a month, and there are only 6 in total!

    So thats the challenge in a nut shell and I am so pleased and proud to say I completed all 52 weeks, on time, with no rejects! Sadly I didn’t win any prizes throughout the year, but I had the best time and was definitely challenged by a few prompts to try different styles and patterns that I would not have normally tried.

    I have already signed up to the 52 Week Challenge 2022 and am off to a cracking start. I’m hoping to blog about each week, though I might release them on a monthly basis. I am also planning to release a few more regular blog post documenting my journey’s with pattern testing and various other things, though its a challenge finding the time to sit down and write them, so we will see!

    I’d love to see you join the 2022 challenge, so if you think you’d like to come and check it out, follow the link below to be taken to this years Facebook Group.

    Lastly, I hope 2022 finds you taking on new sewing challenges, but most of all just enjoying the process of sewing. 🙂

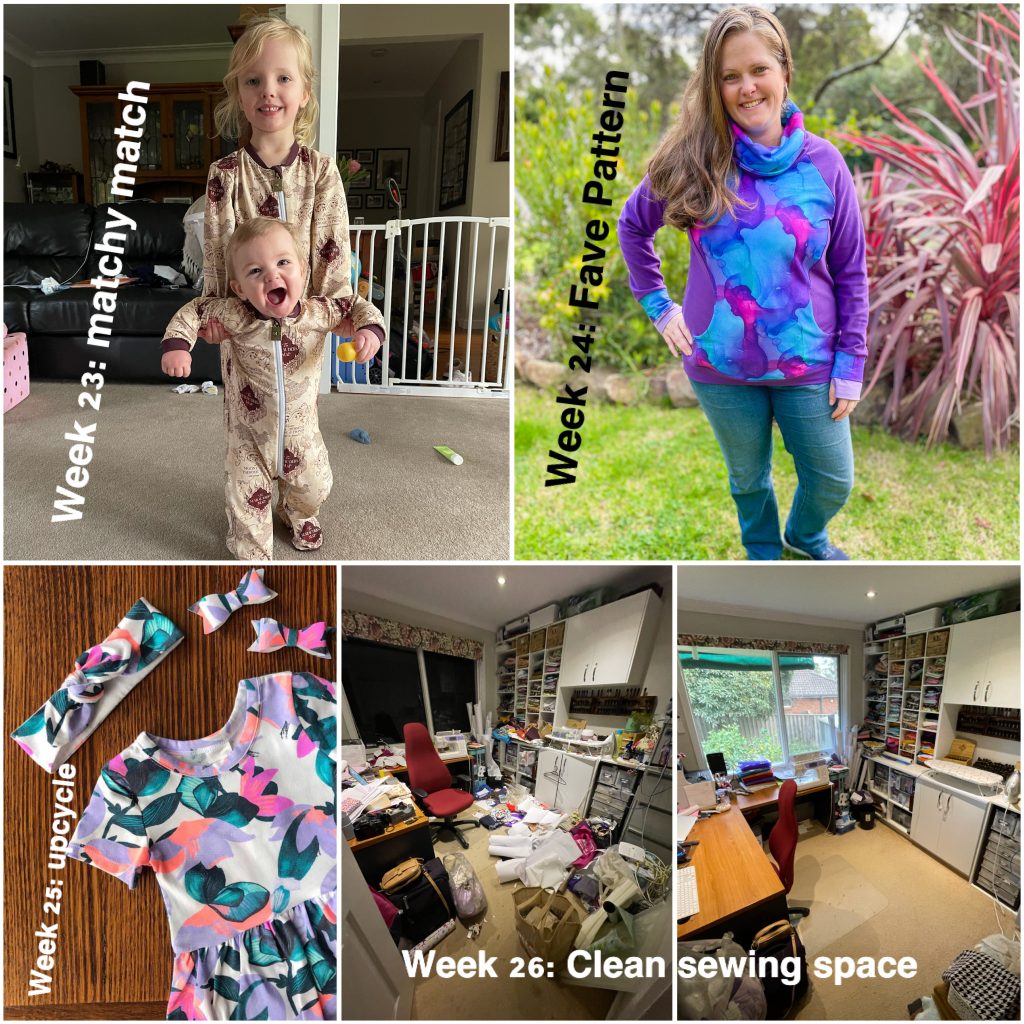
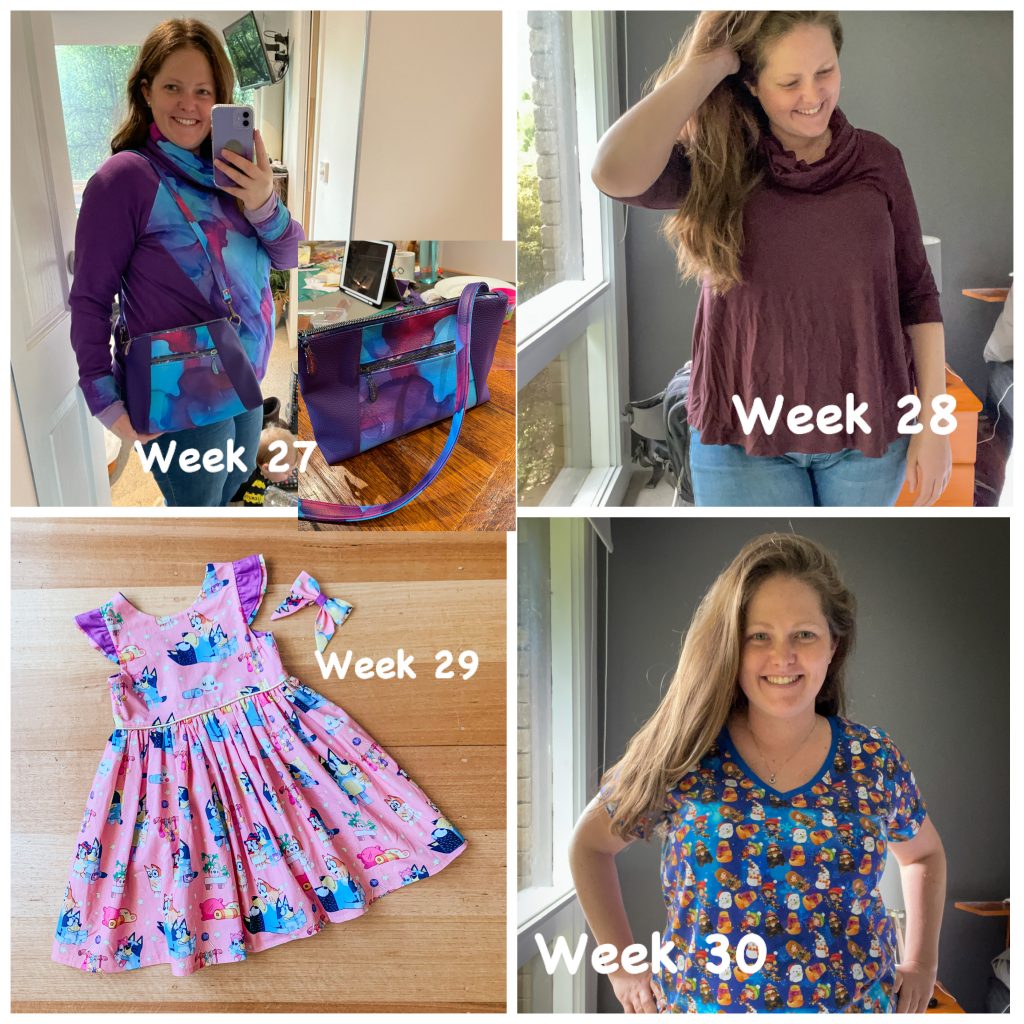
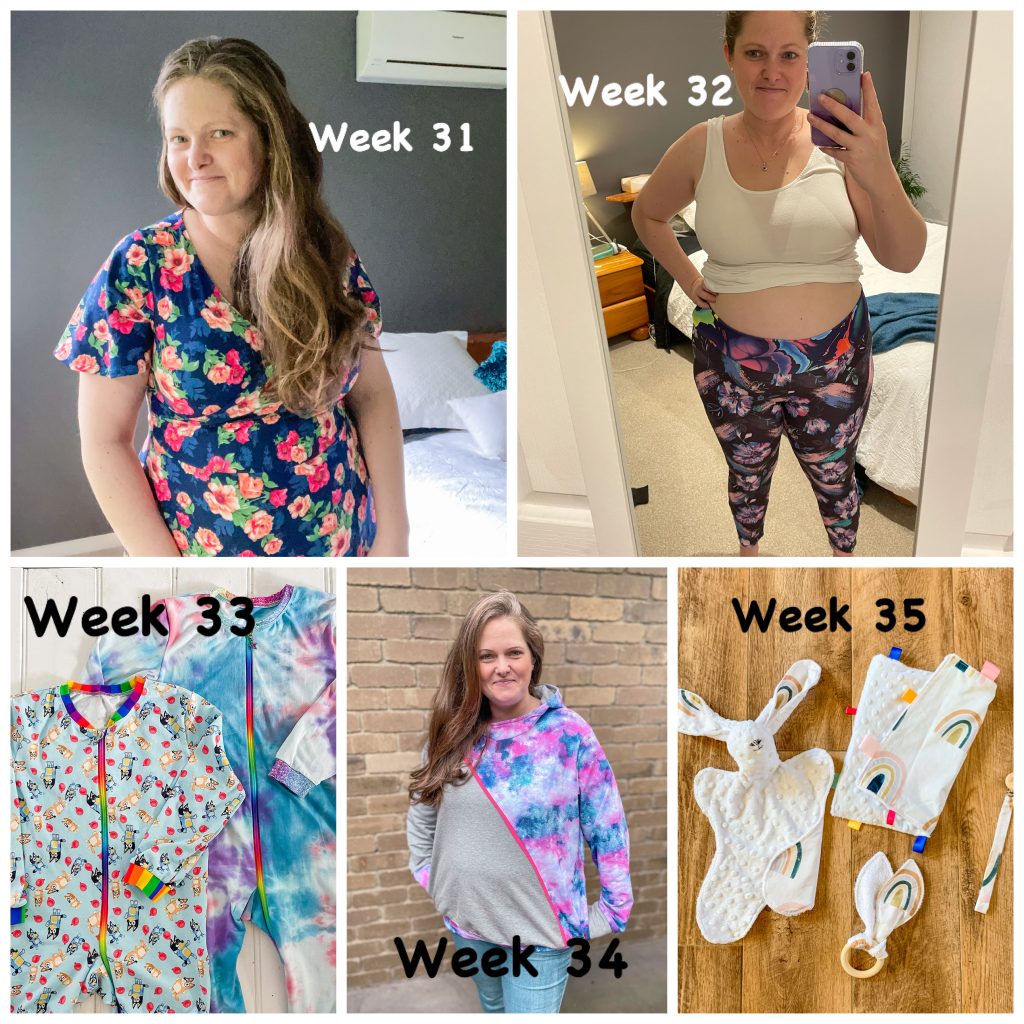
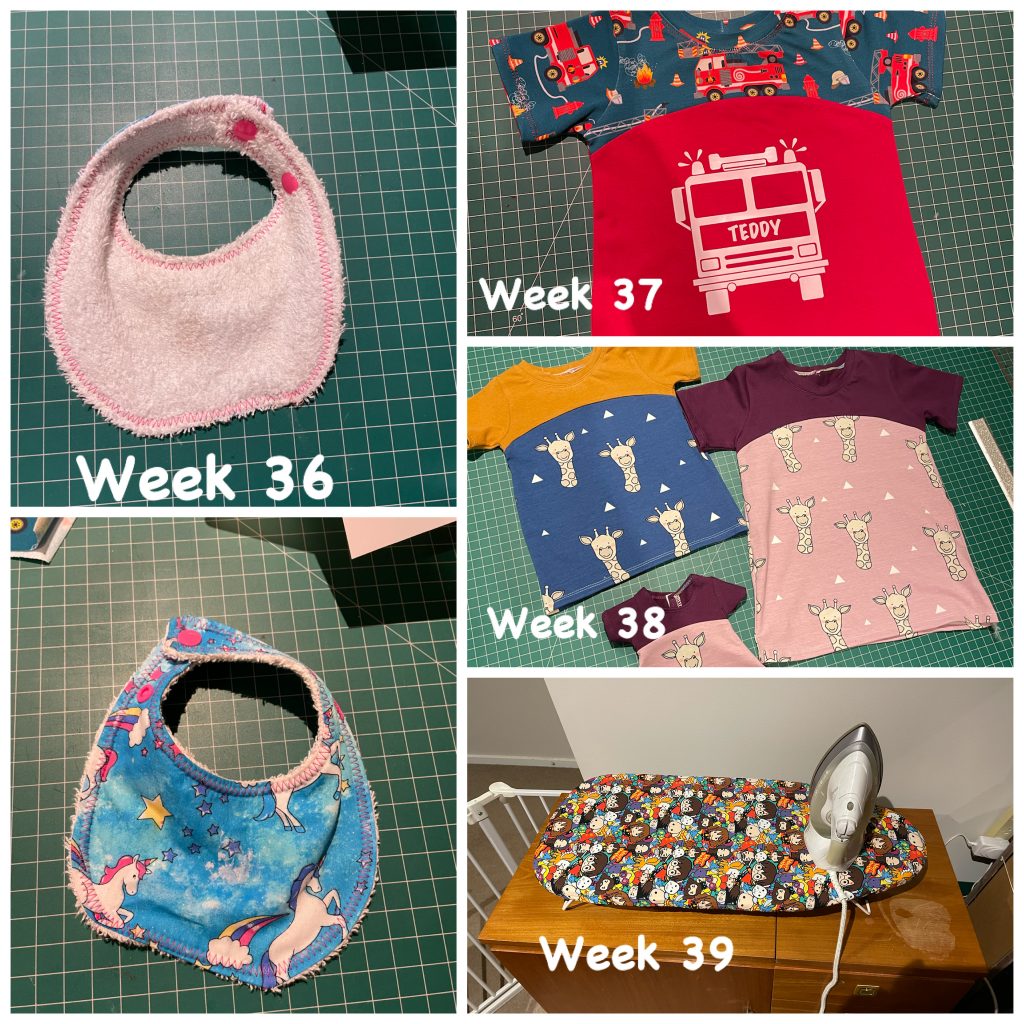
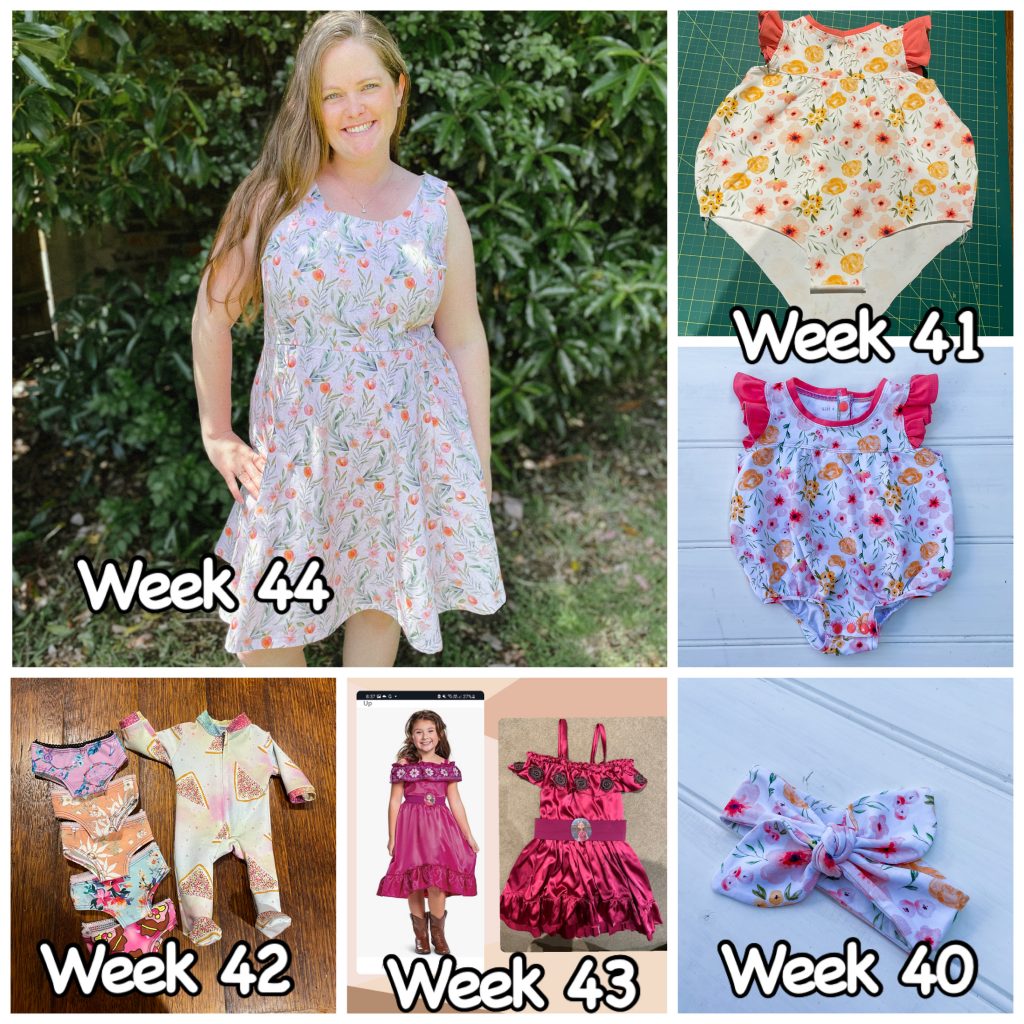
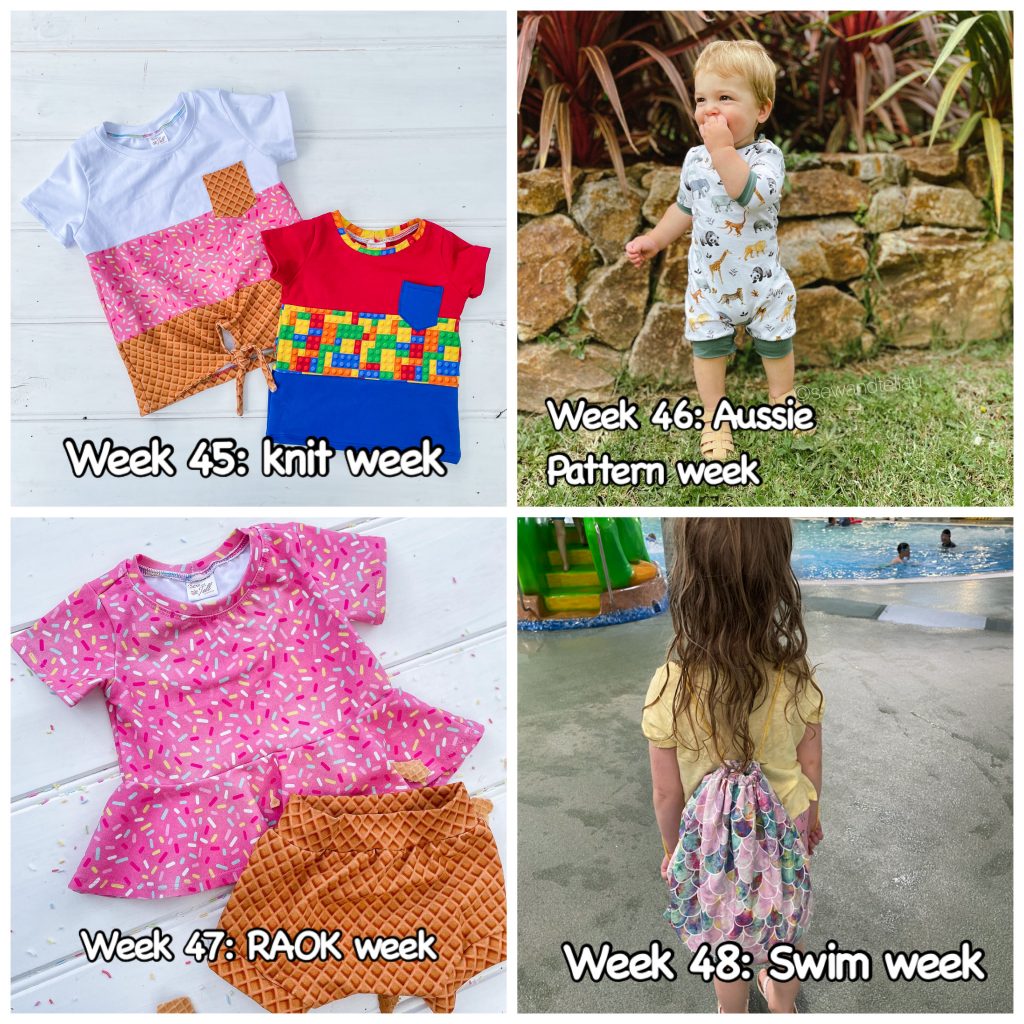
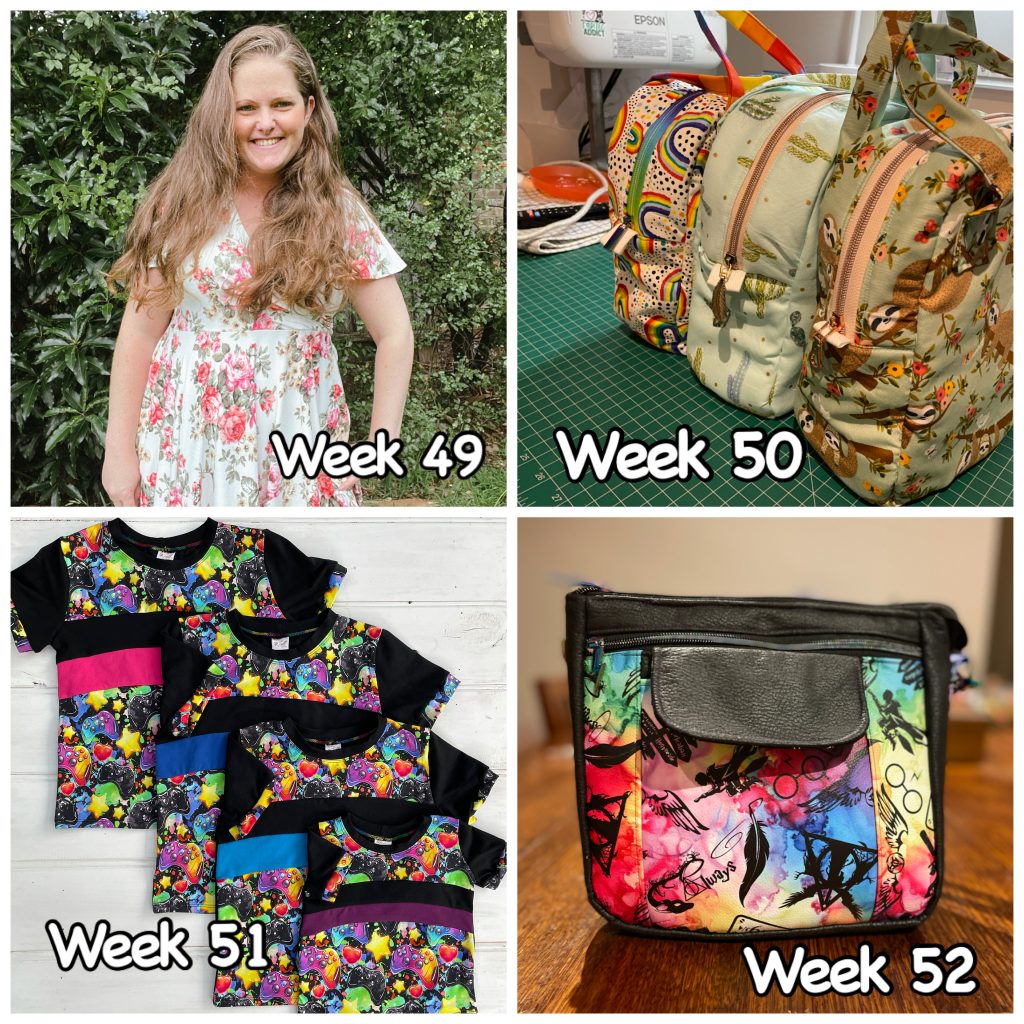
    See below each of my 12 months of the 2021 challenge. It was so much fun.