Month: April 2022

  • Pattern Review of the Aria Button Down Shirt

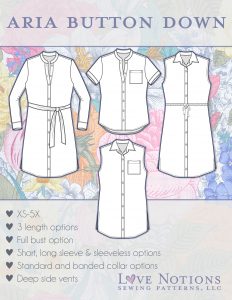
    Pattern: Aria Button Down
    Designer: Love Notions
    Fabrics: Spotlight
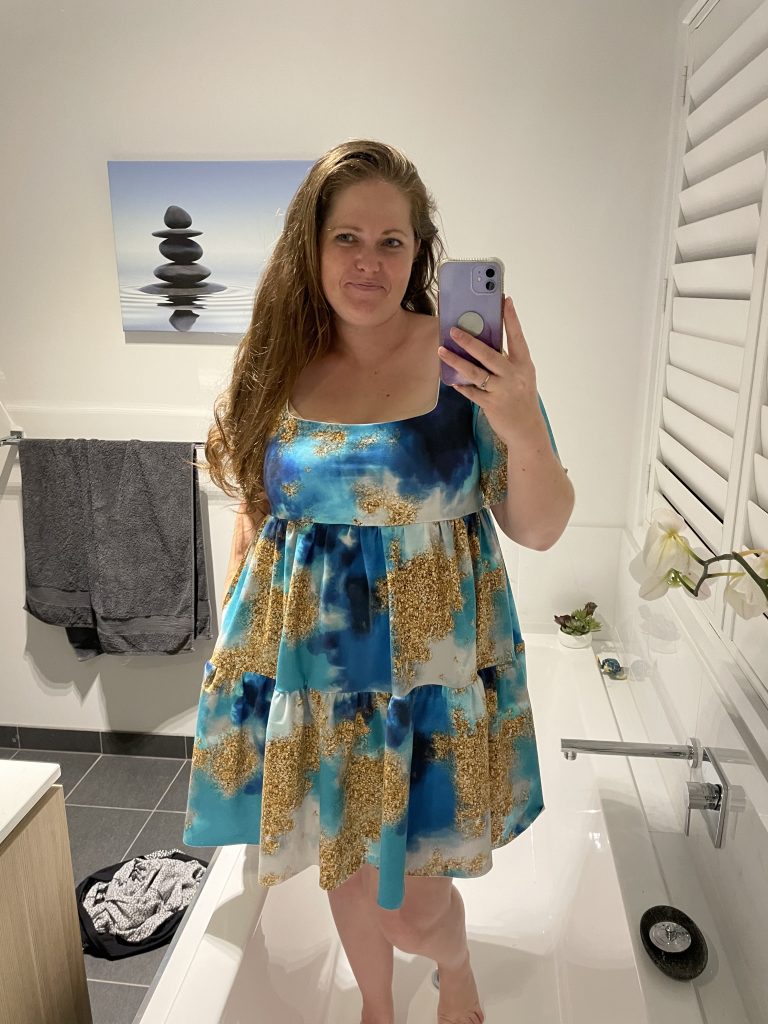
    Measurements: Bust: 44″; Waist 39″; Hips 48″
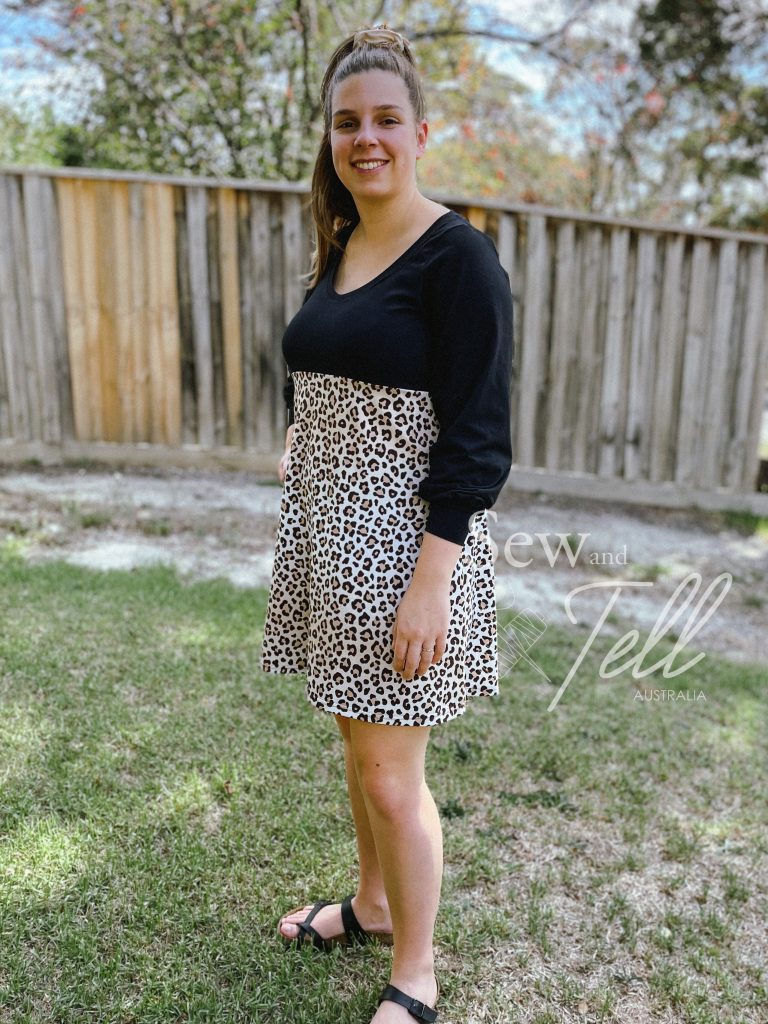
    Size made: XL Full bust piece
    Adjustments: None
    Pros: Love Notions are one of my FAVOURITE pattern companies for larger busted women. The inclusion of full bust pieces already done is SUCH an advantage. The collar was SO easy!
    Cons: None really, its a great pattern for a button down shirt.

    Links:

    The Wrap Up:

    I know I have a lot of favourite pattern companies, haha, but honestly, Love Notions really are amazing for affordable, easy to follow pdf patterns that are quite size inclusive. They also include full bust pieces already adjusted for bigger busted ladies like myself which is SO helpful!

    So when they had a call out for a new pattern recently, I put my hand up straight away as I knew it would be another winner. I don’t wear a lot of button down shirts, but I enjoy making them for my husband and son, so I liked the idea of getting to join in the shirt fun.

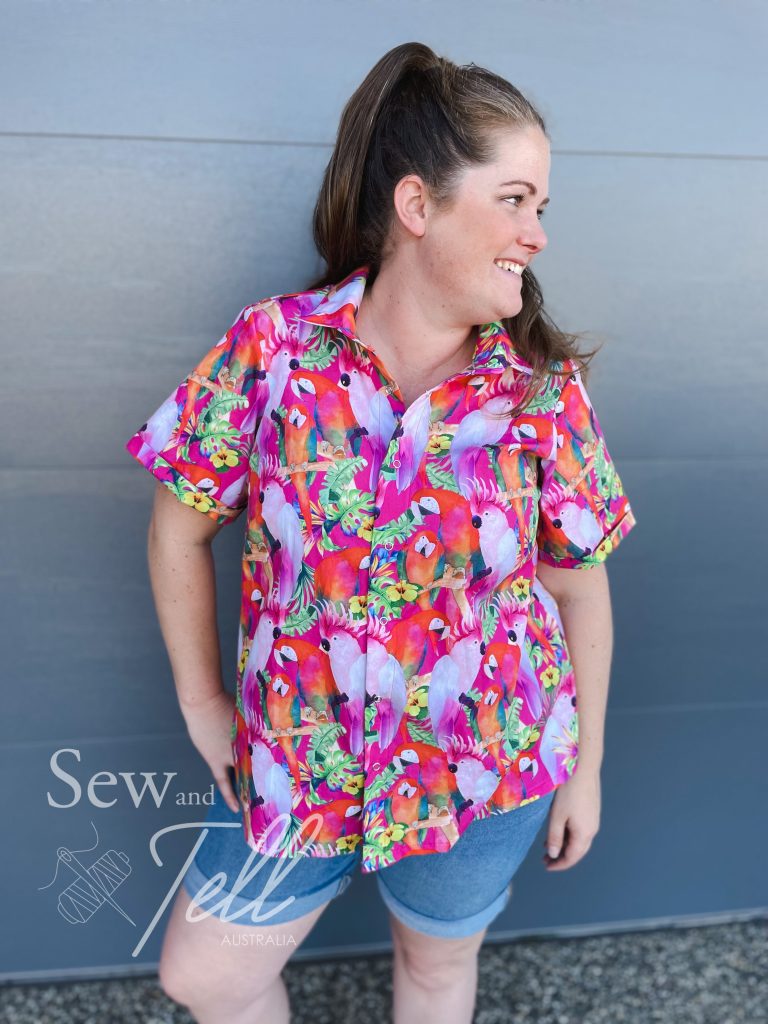
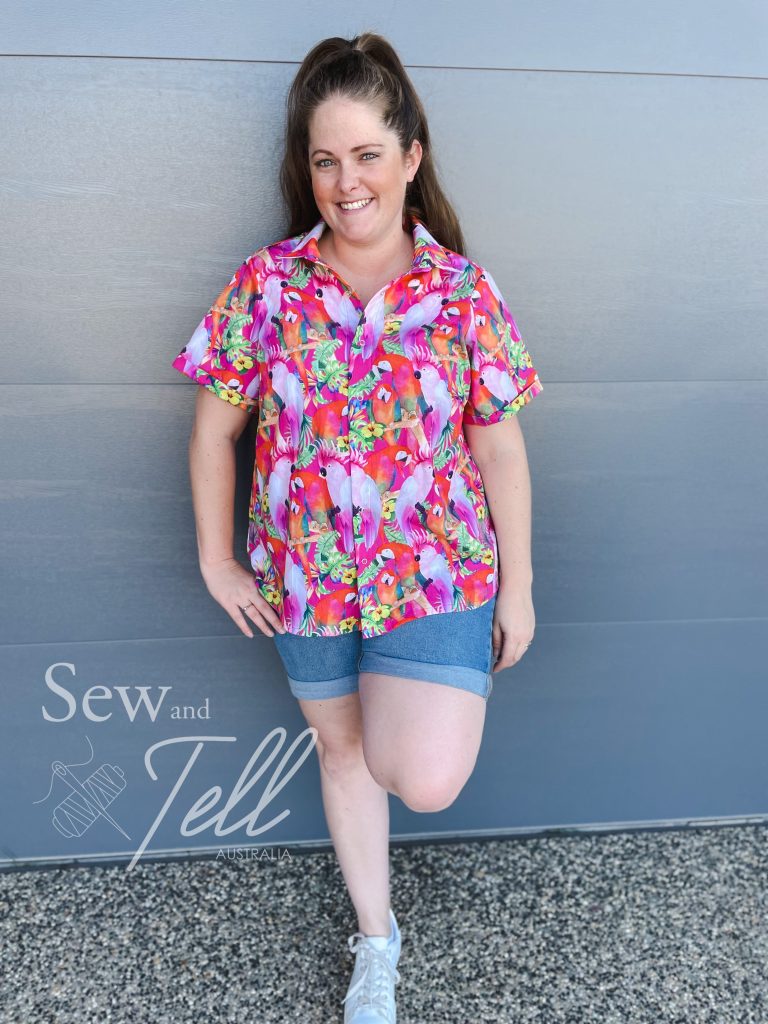
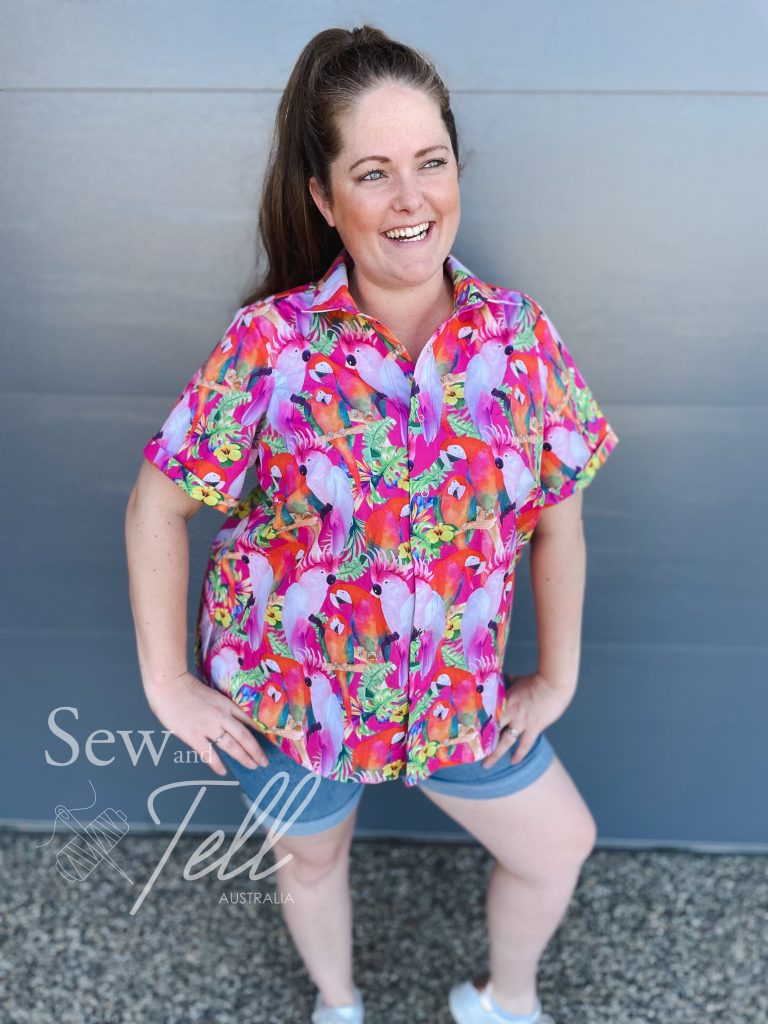
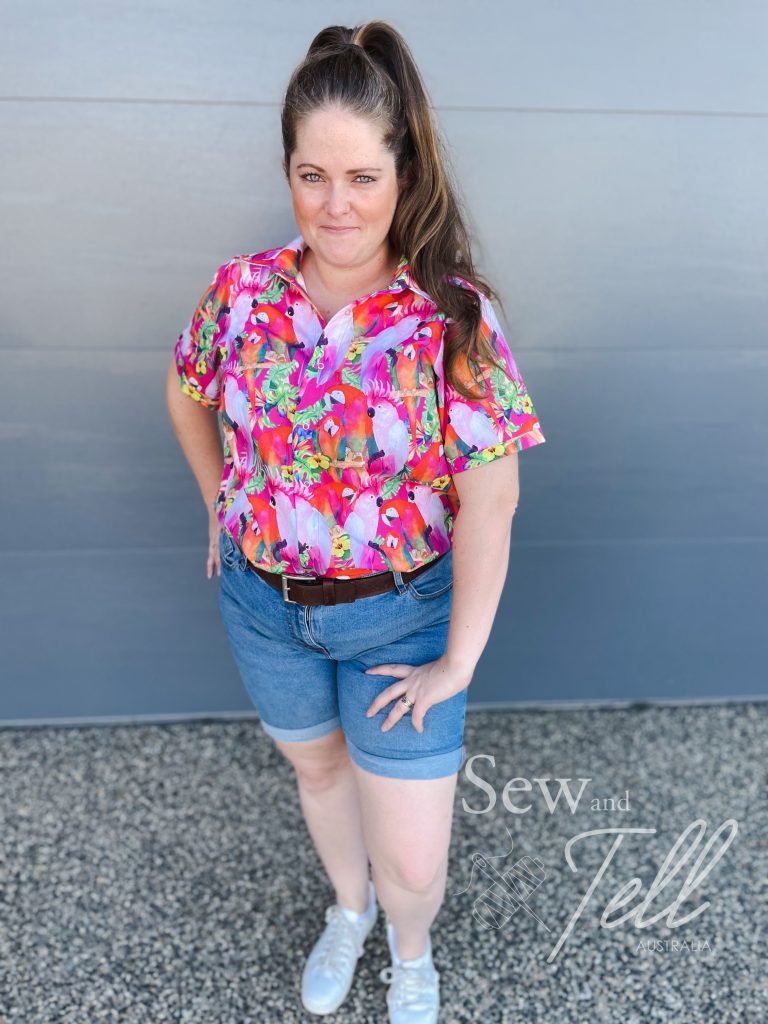
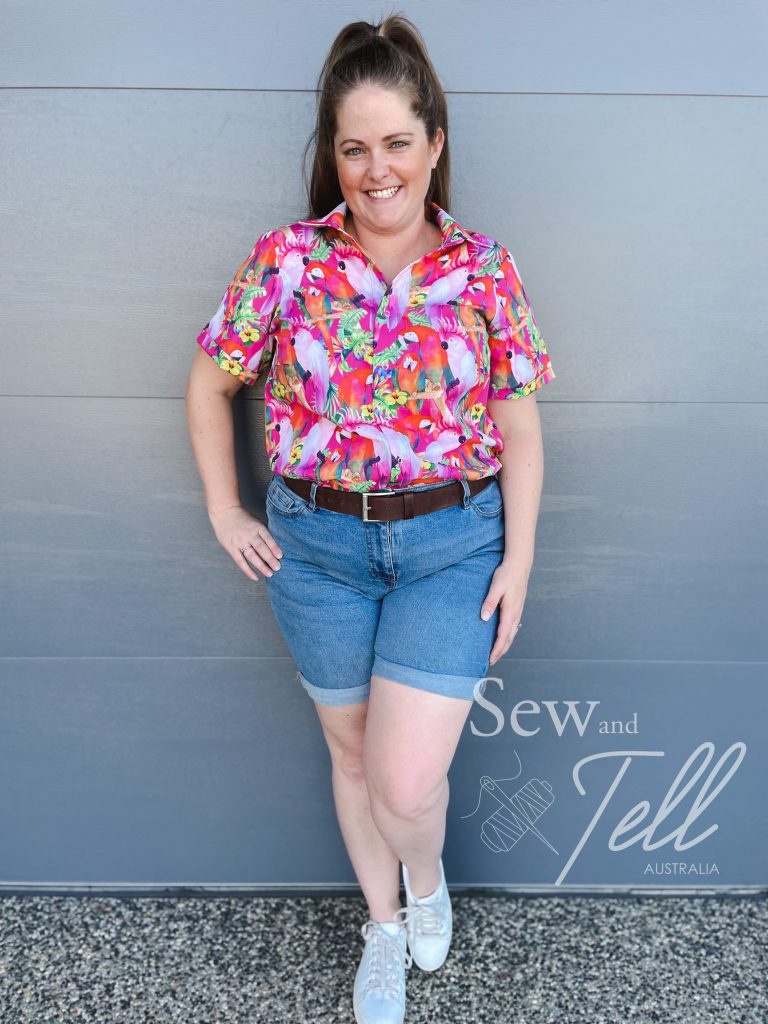
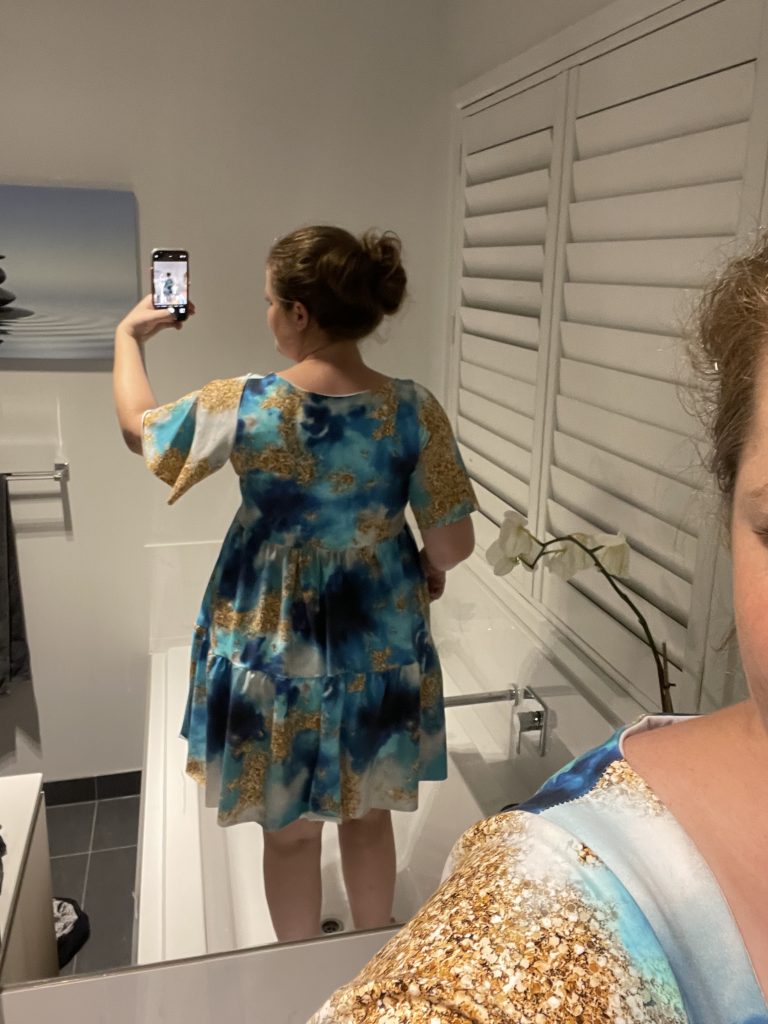
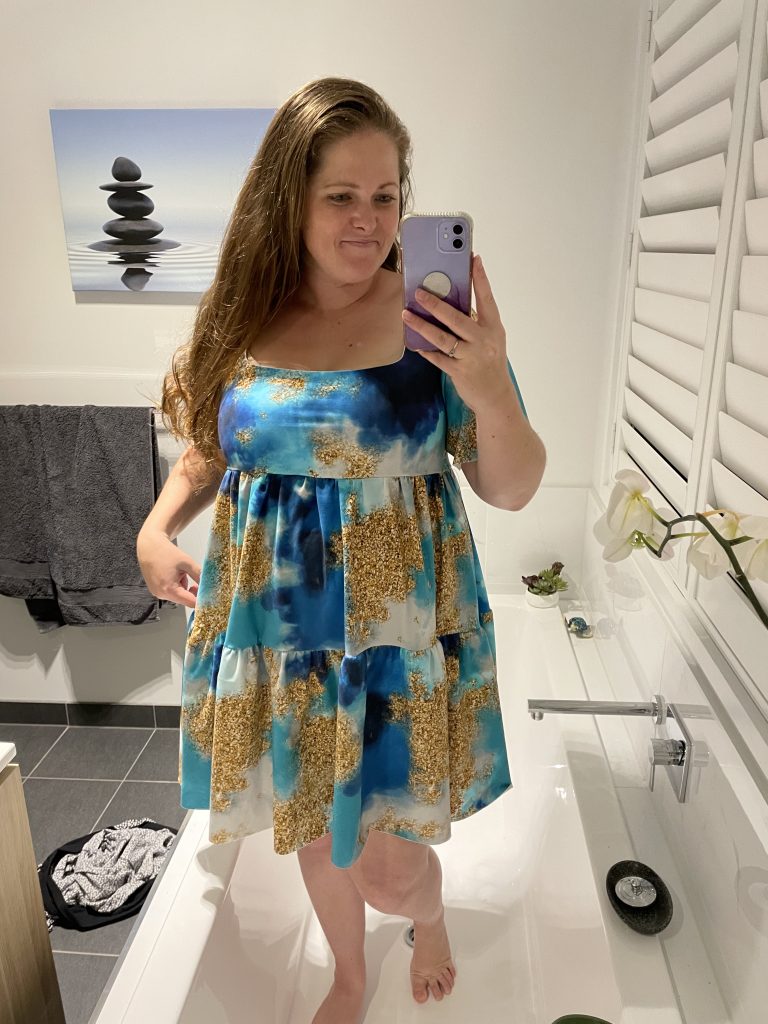
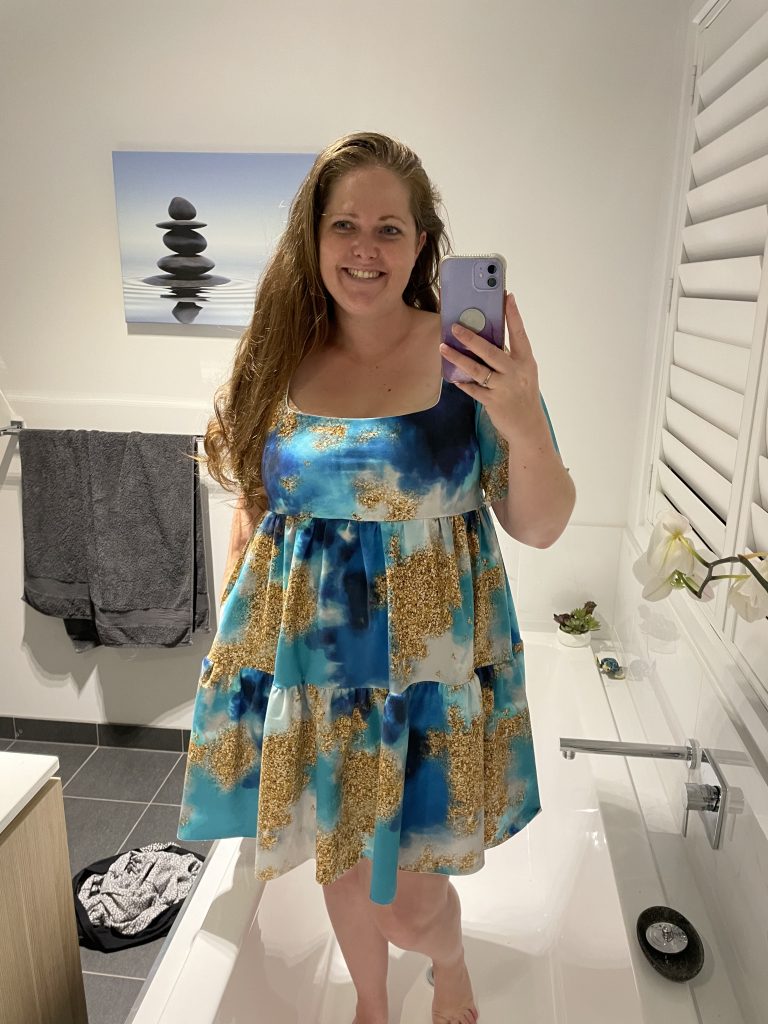
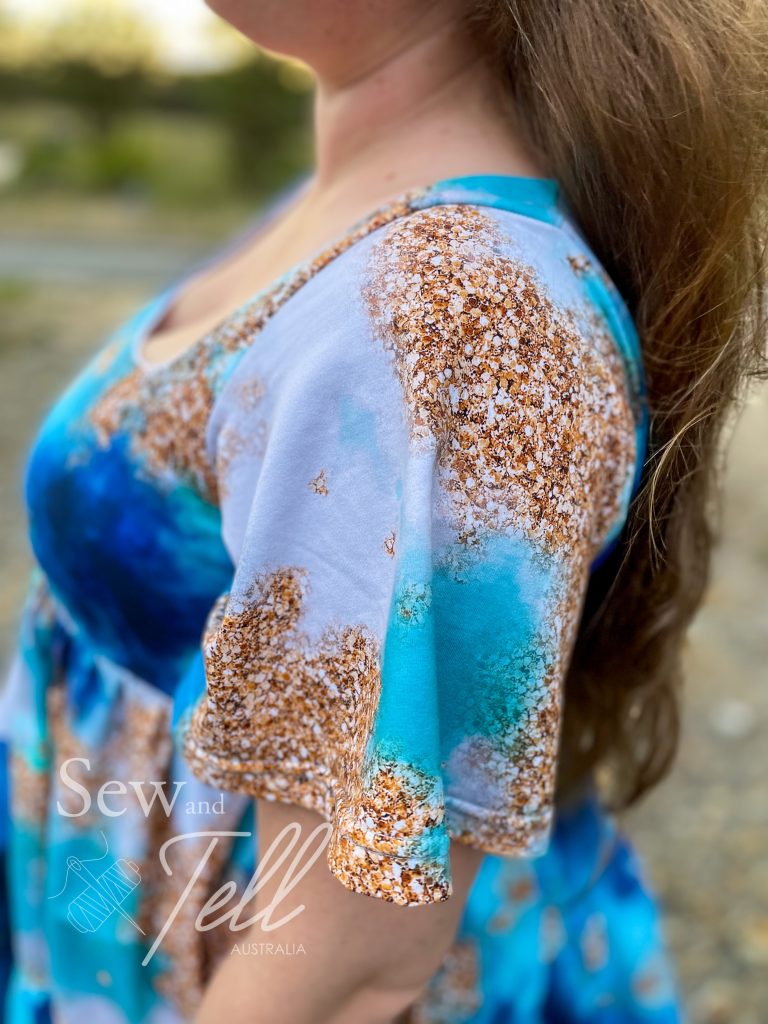
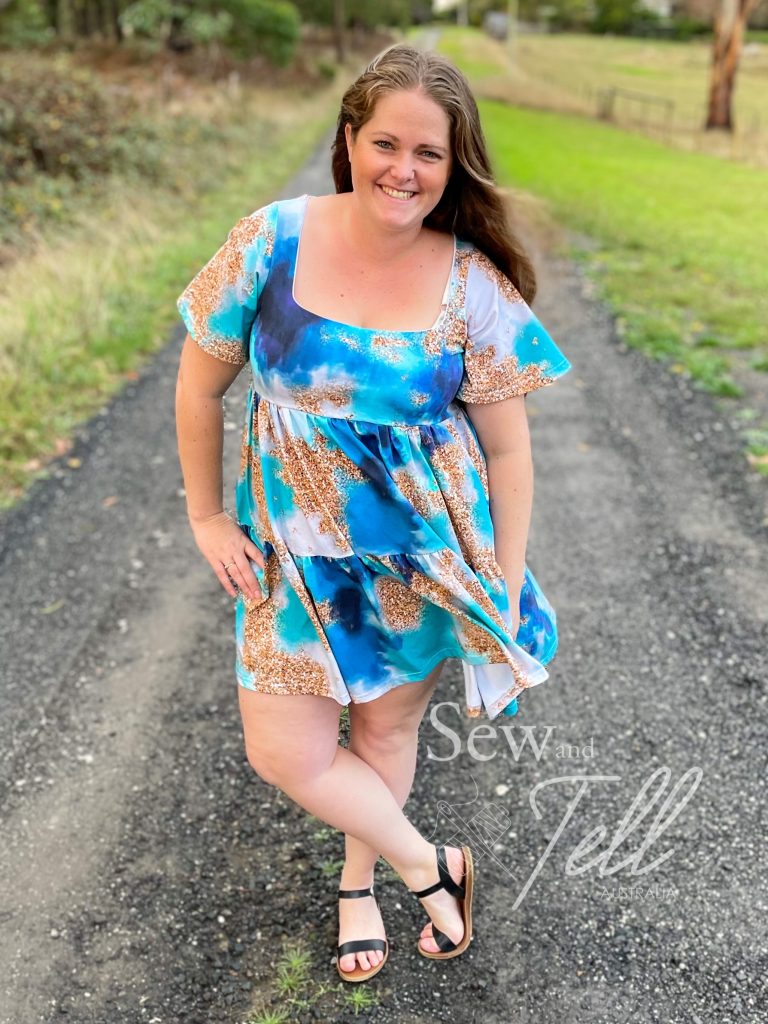
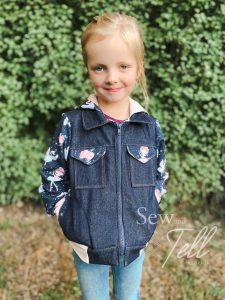
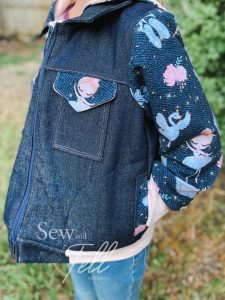
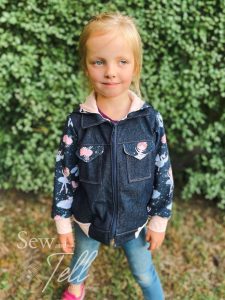
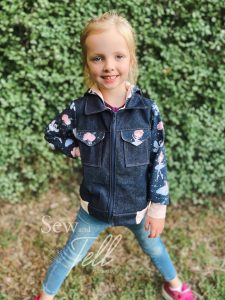
    The Aria button down has a number of different options, including shirt, tunic and dress length, as well as long, short or sleeveless options. You can also choose between a traditional collar or a mandarin collar. I made the shirt length with short sleeve and traditional collar. I have to say their method for doing the collar was one of the easiest I’ve ever done. I have had some troubles in the past getting the collar stand piece to line up flush with the button panel, but on this one it fit beautifully and I was so pleased with the final collar result.

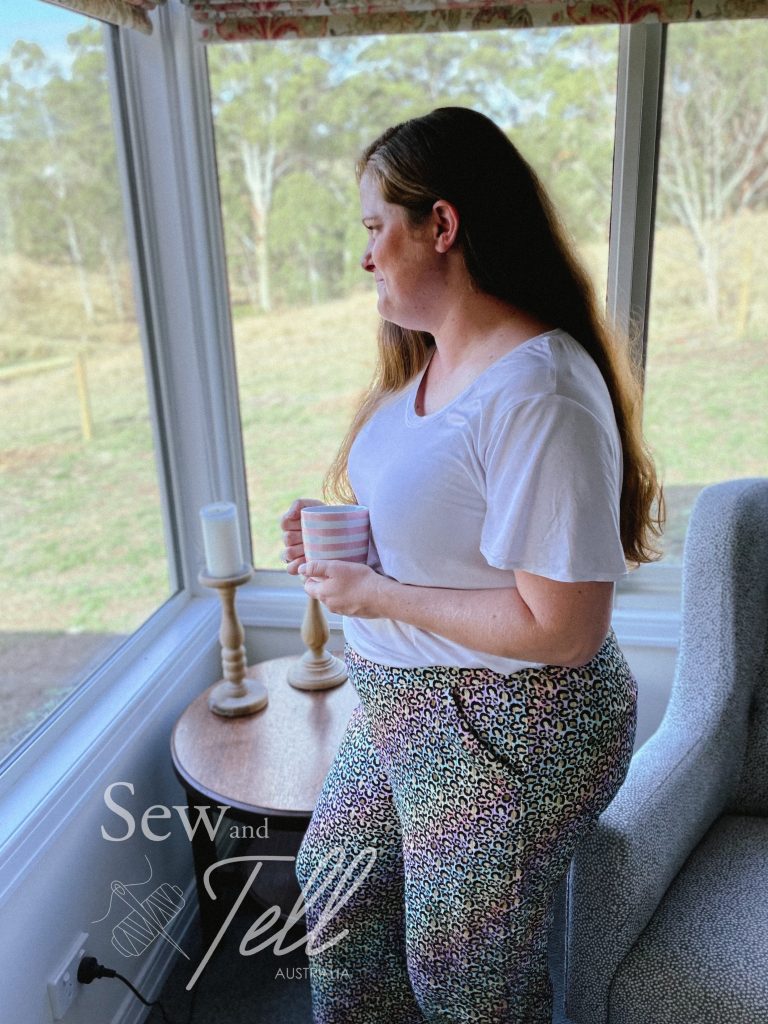
    I was away with family when I made this one and my family thought my fabric choice was a little out there but I absolutely LOVE it. It’s a cotton poplin from Spotlight which sewed up really well and I think the pink is so bright and fun. I also love the Australian birds on it.

    So all in all another fab pattern from Love Notions. They have also included an on demand course for how to sew this one for anyone thats a little unsure. For the week of release the pattern is included in the cost of the course ($25USD) and never expires, so you can watch it as many times as you need. Check out the links above for more details.

    Gallery:

  • Pattern Review of the Cutie Booty Boxer Briefs

    Pattern: Cutie Booty Boxer Briefs
    Designer: Patterns for Pirates
    Fabrics: Sew Unique Fabrics
    Measurements: Waist 39″; Hips 48″
    Size made: XXL
    Adjustments: None
    Pros: Making your own underwear is the best! I highly recommend it.
    Cons: It can be confronting making underwear that fits, maybe you are ‘bigger’ than you think, but honestly, they are just numbers and having underwear that fits is SO worth it

    Links:

    The Wrap Up:

    I know a lot of people wouldn’t be comfortable taking photos in their underwear, but you know what, I just don’t care anymore. We all have a body and most of us wear underwear everyday, so I’m doing a community service by reviewing these and showing you what they look like on a not so skinny body like most of the media like to portray 😉

    Making your own underwear is definitely worth it in my opinion. They are so comfortable and means you get exactly what you want. It also means you don’t have to go to the shop, which is a bonus in my opinion! haha

    The Cutie Booty’s are more of a boyleg style, which is something I like and have a number of options. I’ve tried both the exposed elastic and the knit waistband and I probably prefer the knit waistband for ease. My preference is also the high waist, short inseam, but there are several options to choose from.

    I will say that making garments like undies can be a little confronting. When the fabric is laid flat, it can seem like BIG pieces for your derrière, but I promise if you look past that, the end result is beautiful undies that you wish you’d started making sooner.

    Gallery:

  • Pattern Review of the Ivy Lounge Pants

    Pattern: Ivy Lounge Pants
    Designer: Petite Stitchery & Co
    Fabrics: Lounge Rib from Clover & Co
    Measurements: Waist 39″; Hips 48″
    Size made: 1XL
    Adjustments: None
    Pros: These are SO comfortable!! Also a really quick make and have a maternity option.
    Cons: I didn’t love that there wasn’t a shorten/lengthen line through the crotch, which is where most adjustments need to be made.

    Links:

    The Wrap Up:

    When I say these pants are comfy, I can’t even begin to explain HOW comfy they are. Since I made them a week ago, I’ve barely taken them off when I’ve been at home (and even out at some places hehe).

    The first pair I made were a toile from some cheap ponte style knit from spotlight to see how I liked the fit. I was surprised I could make these without having to make my usual 1.5″-2″ lengthen in the rise for comfort and they still feel amazing. According to my measurements I was at the top end of a XXL, which my toile was, but I decided while they were still a good fit, I would size up for my proper pair as they were ever so slightly tight. Being a relaxed style track or jogger pant, I really wanted them to be looser fit, especially over my waist and lower tummy. I made the high waisted version which I can pull up to just above my belly button and its not constricting or uncomfortable.

    I think a lot has to do with the fabric I used as well. I am a huge fan of lounge rib, it is so soft and luscious, its like having my legs wrapped in fluffy clouds. Clover and Co is one of my fave fabric suppliers to get printed lounge rib from as I love the quality and the range of designs is also really fabulous. Well worth a look. I have quite a few of their printed lounge rib designs and will be making my kids a bunch of long sleeve tees for winter from them.

    So all in all, I will definitely be making more of these. I want to make some from French terry for Winter as my track pants that I will likely live in for the next few months haha.

    Gallery:

  • Pattern Review of the Kids Raglan Tee

    Pattern: Kids Raglan Top
    Designer: Ellie & Mac
    Fabrics: Accent Fabric – Wattle Hill Fabrics
    Measurements: Chest: 21″
    Size made: 2T
    Adjustments: None
    Pros: Raglan style on kids look so trendy & a great unisex tee option. They are also so simple in construction.
    Cons: None

    Links:

    The Wrap Up:

    As the weather turns colder in Melbourne, I’ve started having to pull out the long sleeve tops. I was a little shocked to realise all the long sleeve tops I have for Mr T are 2 sizes too small. Whoops. Lucky he has a mum who can sew him up some winter ready gear in no time!

    The Ellie and Mac kids raglan tee just happened to be on their weekly sale, which made it a great opportunity to grab it cheap and have it in my kids pattern stash. The fact it is unisex and can easily switch between the kids depending on your fabric choice just made it that much easier to decide to buy it.

    I’d had the tan cotton lycra in my stash for a while. I loved the funky look of it the first time i saw it while browsing Wattle Hill Fabrics and thought it would pair really well with a plain black. I think the combo is just right.

    One of the things I love about raglan style sleeves is that they are so easy to put together. As they form part of the neckline, there is no easing the sleeve into the arm hole which I think helps simplify the whole process.

    So if you want an easy tee pattern for your stash, the kids raglan is a great choice.

    Gallery:

  • Pattern Review of the Camilla Dress

    Pattern: Camilla Dress
    Designer: Sonia Estep
    Fabrics: Cotton Lycra – Sew Unique Fabrics
    Measurements: Chest: 44″; Waist: 39.5″; Hips: 49″
    Size made: 18 graded to 22
    Adjustments: I used the flutter sleeves from the Sonia Estep Katherine and the pockets from the Lily.
    Pros: I LOVE a square neckline. It always look very flattering on me, so I was super excited about this pattern. I also love that it mashed well with some of Sonia Esteps other dresses, like the Katherine so I could use the flutter sleeves.
    Cons: There was no pocket option as a standard which I thought was a little strange, every dress should have pockets! I also was a little annoyed that the tiered pieces were only measurements.

    Links:

    The Wrap Up:

    I really really LOVE a square neckline. It is super flattering on my décolletage, so the moment I saw the Camilla, I knew I wanted to try it. I can now say, I was NOT disappointed. I love the way it sits on me and as always, the empire waist was a win for my body.

    The construction was fairly easy, however it annoyed me a little that their was no pattern pieces for the tiered layers. I know they are just rectangles, but with a projector I like having the pieces so I don’t have to measure it out. Once I had it all cut out however it, I had the dress made within about 2hrs.

    One of the great things about the Camilla is that it mashes well with the Katherine, Hollywood and Lily. I have made and written a review on both the Lily and Katherine, so I love that Camilla goes with both of those. For my Camilla I used the flutter sleeves from the Katherine and the pockets from the Lily. I waited until I had put my skirt pieces together but hadn’t sewn up the sides so I could decide on the best place to put my pocket pieces which worked well.

    I can tell this pattern is going to be one of my go to knit dresses, so get ready to see many more these!

    Gallery:

  • Pattern Review of the Kids Dutchie Jacket

    Pattern: Kids Dutchie Jacket
    Designer: Ellie & Mac
    Fabrics: Denim – Spotlight. Accent ballerina French Terry – Sew Unique Fabrics
    Measurements: Chest: 22″
    Size made: 7
    Adjustments: None
    Pros: This is a super cute jacket that I liked could be made with either snaps or a zip. I also liked that you can use a woven for the main body and mix it up with knit for the sleeves.
    Cons: I had A LOT of trouble with the lining pieces. This was a combo of me not reading the pieces correctly and I felt the instructions weren’t super clear that there should be an additional lining piece for the welt pocket version.

    Links:

    The Wrap Up:

    I have wanted to make Jemma a denim jacket for quite some time, so when I saw that the kids dutchie jacket was on sale with Ellie & Mac, I thought it was a great opportunity to give it a go.

    One of the things I really liked about the dutchie jacket was the ability to mix and match woven fabrics with knits, which gave me the chance to use some of my heavier weight wovens like denim and drill. I had also received a half metre piece of the Ballerinas on denim in French Terry in a Sew Unique Fab bag, so it really was a match made in heaven!

    There are a few pocket options on this pattern, I opted to do the welt inseam pockets and the breast patch pockets which I felt looked super stylish.

    Now I had A LOT of troubles with my welt pockets. Well, not the welt pockets per say, they came up really well, but I felt the instructions weren’t super clear that there is an ADDITIONAL liner piece when doing the welt pocket version. I ended up using my outer liner piece instead of the welt pocket liner piece, which caused me a world of pain later haha.

    I ended up having to do some heavy modifications to make the liner in the jacket work, which I felt if you were a beginner and made the same mistake as me, you may have wanted to give up. So my big tip is to make sure if you make the welt pocket version that you cut BOTH lining pieces!

    Other than my mistake with the liner, this jacket came together pretty well and I am super pleased with the final result. I made it in a size 7 which is 1 to 2 sizes bigger than Jemma normally wears so I can get some extra milage out of it.

    The Dutchie jacket is on sale this week, 11-18th April, for only $2USD, so its worth grabbing to have in your pattern stash. Especially with its generous sizing up to big kid 18.

  • Pattern Review of the Katherine Dress

    Pattern: Katherine Dress
    Designer: Sonia Estep Designs
    Fabrics: Black Solid – Sew Unique Fabrics
    Animal Print accent – Rubyjam Fabrics
    Measurements: Chest: 44″; Waist: 39″ Hips: 47″
    Size made: 18/20
    Adjustments: Graded from an 18 at the top to 20 in the waist
    Pros: I love the signature options of an empire or natural waist the Sonia Estep includes in most of her patterns. I am surprised I like the bishop sleeve on me.
    Cons: I had high hopes for this dress but it didn’t quite hit the mark for me. It was unflattering over my tummy and the pattern doesn’t include pockets.

    Links:


    The Wrap Up:

    I made this dress after seeing a pic on an ad on facebook. I really liked the style and wanted to recreate it for myself.

    The Katherine dress from Sonia Estep was prefect, especially with the empire waistline and above knee hemline. I also had the perfect animal print fabric from Rubyjam that I wanted to try it with.

    It was a really quick sew, I had it done from cutting to wearing in about 2hrs, but I was unfortunately really disappointed with how it sat on me. When I tried it on it sat right at the top of my tummy, straining against it showing it up very clearly.

    My inspiration picture

    I did think about unpicking and adding a panel in the skirt, but I didn’t have enough fabric left and to be honest, I was just happy to chalk it up to experience and move on. Not all garments look good on me, and thats perfectly fine. So I very happily have passed it on to my neighbour, who looks fab in it!

    The one thing I did LOVE about this though was the bishop sleeves. Im not sure I’ve ever done them for myself and I will be making more. They looked very cool and will now feature in a few upcoming winter garments hahaha.

    So, for now you get to enjoy looking at my garment on my neighbour, who absolutely rocks it! And a sneaky photobomber of one Miss Jemma who is trying to be her surrogate daughter in an almost perfectly matched RTW dress she has haha.

    Gallery:

  • Pattern review of the Explorer Jacket

    Pattern: Explorer Jacket
    Designer: Peek A Boo Pattern Shopo
    Fabrics: Forest Friends Softshell – Etsy. Solid Mustard softshell and cuddle fleece – Spotlight
    Measurements: Chest: 21″; Height: 35″
    Size made: 3T
    Adjustments: I had to alter the lining which I’ll detail below
    Pros: This is going to be the PERFECT winter. Its so cuddly and warm.
    Cons: I chose to line it with cuddly fleece and had quite a few problems. I felt the instructions weren’t that clear on what to do if you were lining with a thicker fleece.

    Links:


    The Wrap Up:

    First up, I absolutely ADORE how this one turned out. It is an intermediate pattern and I definitely agree. I couldn’t finish this one while watching TV or being distracted by kids. It had a lot of little finishing touches that required concentration. But, with many things, the effort was totally worth it and I love how it turned out. Didn’t love the 5 needles I broke on the zipper installation alone, haha, but the end product was worth it.

    Now, the tricky stuff. As I mentioned above, I broke 5 needles when installing the zipper. Was not a fun time, much cursing was said to my machine that I later had to go to her and apologise for being a bit cranky. I simply think my domestic machine struggled with the layers of soft shell, zipper tape binding, seams and cuddle fleece. I had to hand crank in a few areas as it was dicy. I even used a microtex needle to try and help pierce the soft shell fabric a little easier.

    The second issue I had was that the pattern gave a tip to not use cuddle fleece in the sleeve lining as it would likely make the sleeve too bulky and stiff in addition to the soft shell (You can actually do the whole jacket unlined as soft shell generally has a fleecy underside which is fine). I agreed so I didn’t cut my arm pieces to line it and proceeded to sew up my lining as instructed. However, it became apparent when putting the jacket outing and lining pieces together that because of the raglan style sleeve it really wouldn’t work without some kind of arm lining. I was a bit stumped about this for a while and kind of put something together to make it work. It was only after I had done that that I realised I probably should have used a cotton lycra for the arm lining, sewing it to the cuddle fleece. I was just a little disappointed there wasn’t some kind of note next to the tip about not using cuddle fleece in the arms that look at using a lighter fabric instead.

    The inside of the jacket with open arm holes in the lining.

    I would also note that even though I sized up, using the cuddle fleece has added a certain amount of bulk and I probably should have gone another size again to account for that.

    I have more planned, with no lining this time haha. I definitely think its a great winter jacket pattern. This little guy is certainly going to be the sunshine on my rainy days this winter.

    Gallery:

  • Video Tutorial of The Brindle & Twig Drawstring Leggings

    Pattern: 22 – Drawstring Leggings
    Designer: Brindle & Twig
    Fabrics: Milk & Cookies – Wattle Hill Fabrics; Lounge Rib – Clover & Co Fabrics
    Skill: Beginner
    Materials & Notions: Meant for knit fabrics
    Machines: Overlock machine / Serger – If you don’t own one, you can use a small zig-zag stitch in place of the serged seam.

    The Wrap Up:

    The number 22 pattern from Brindle & Twig, the Drawstring Leggings, is a super cute and very easy pattern meant for medium weight knit fabrics. It comes in sizes preemie – 6T and is a great Unisex pattern. See the video tutorial below that goes through step by step how to put this pattern together. A great staple for those cooler months.