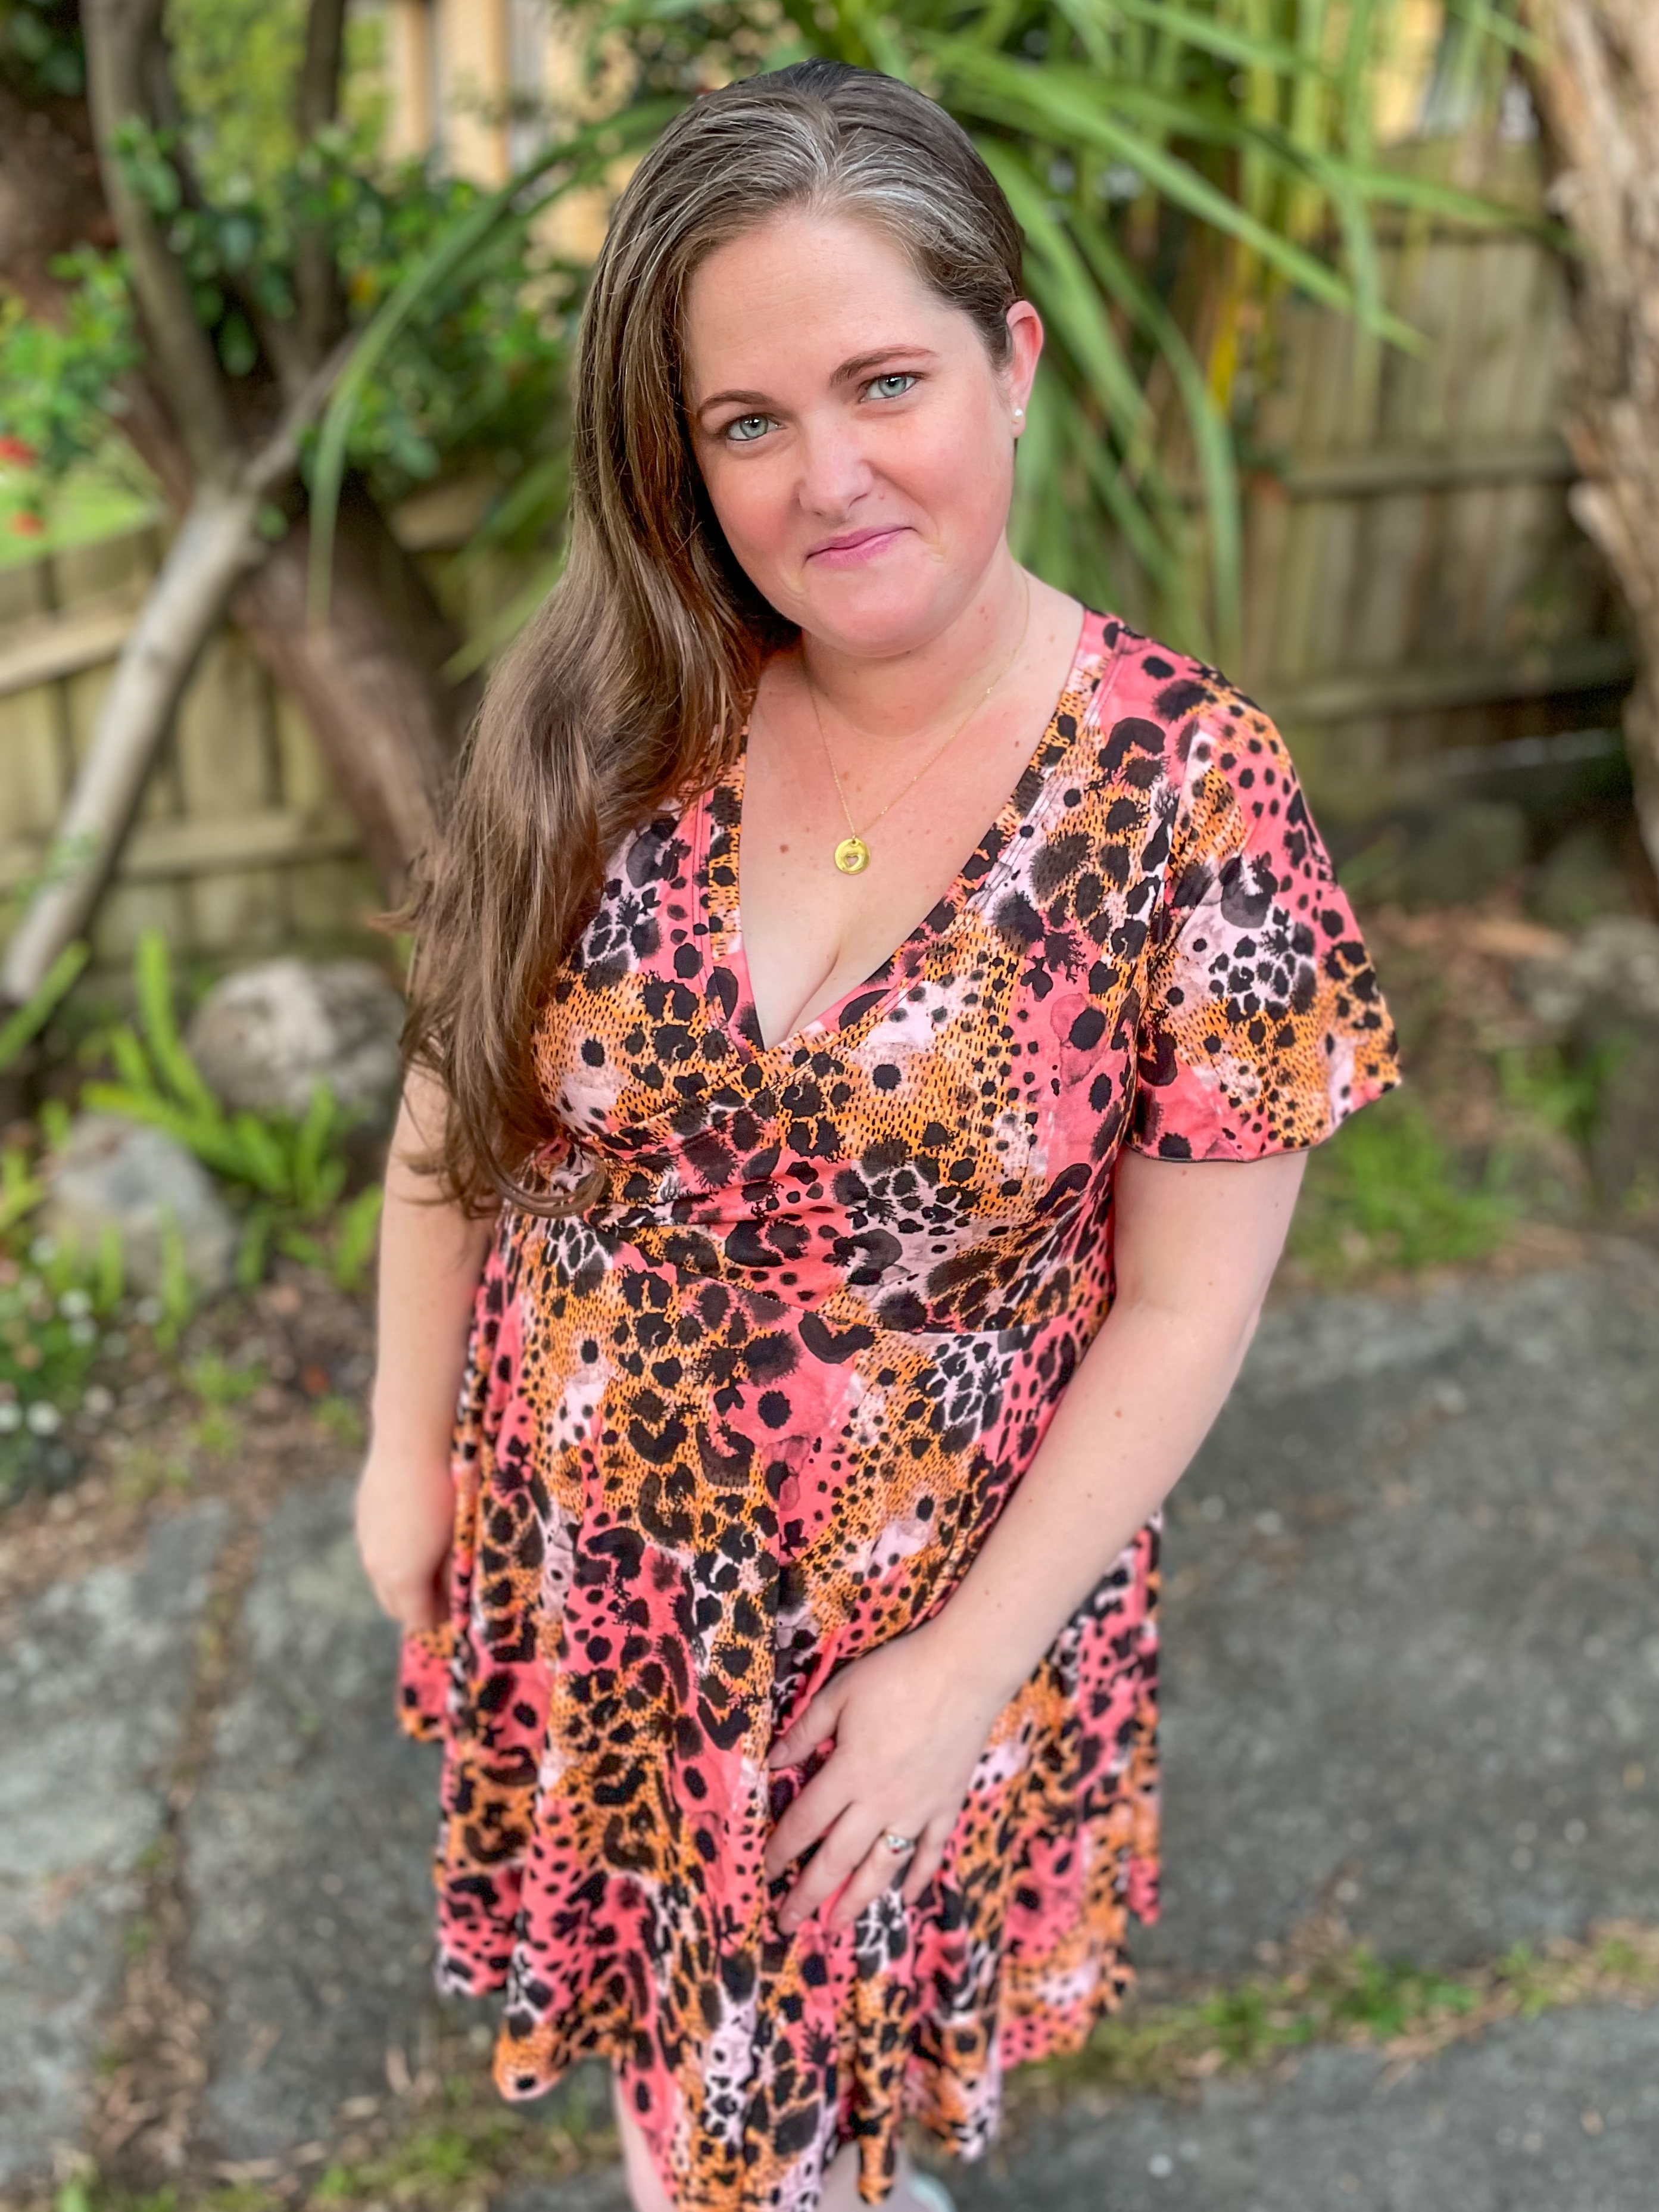
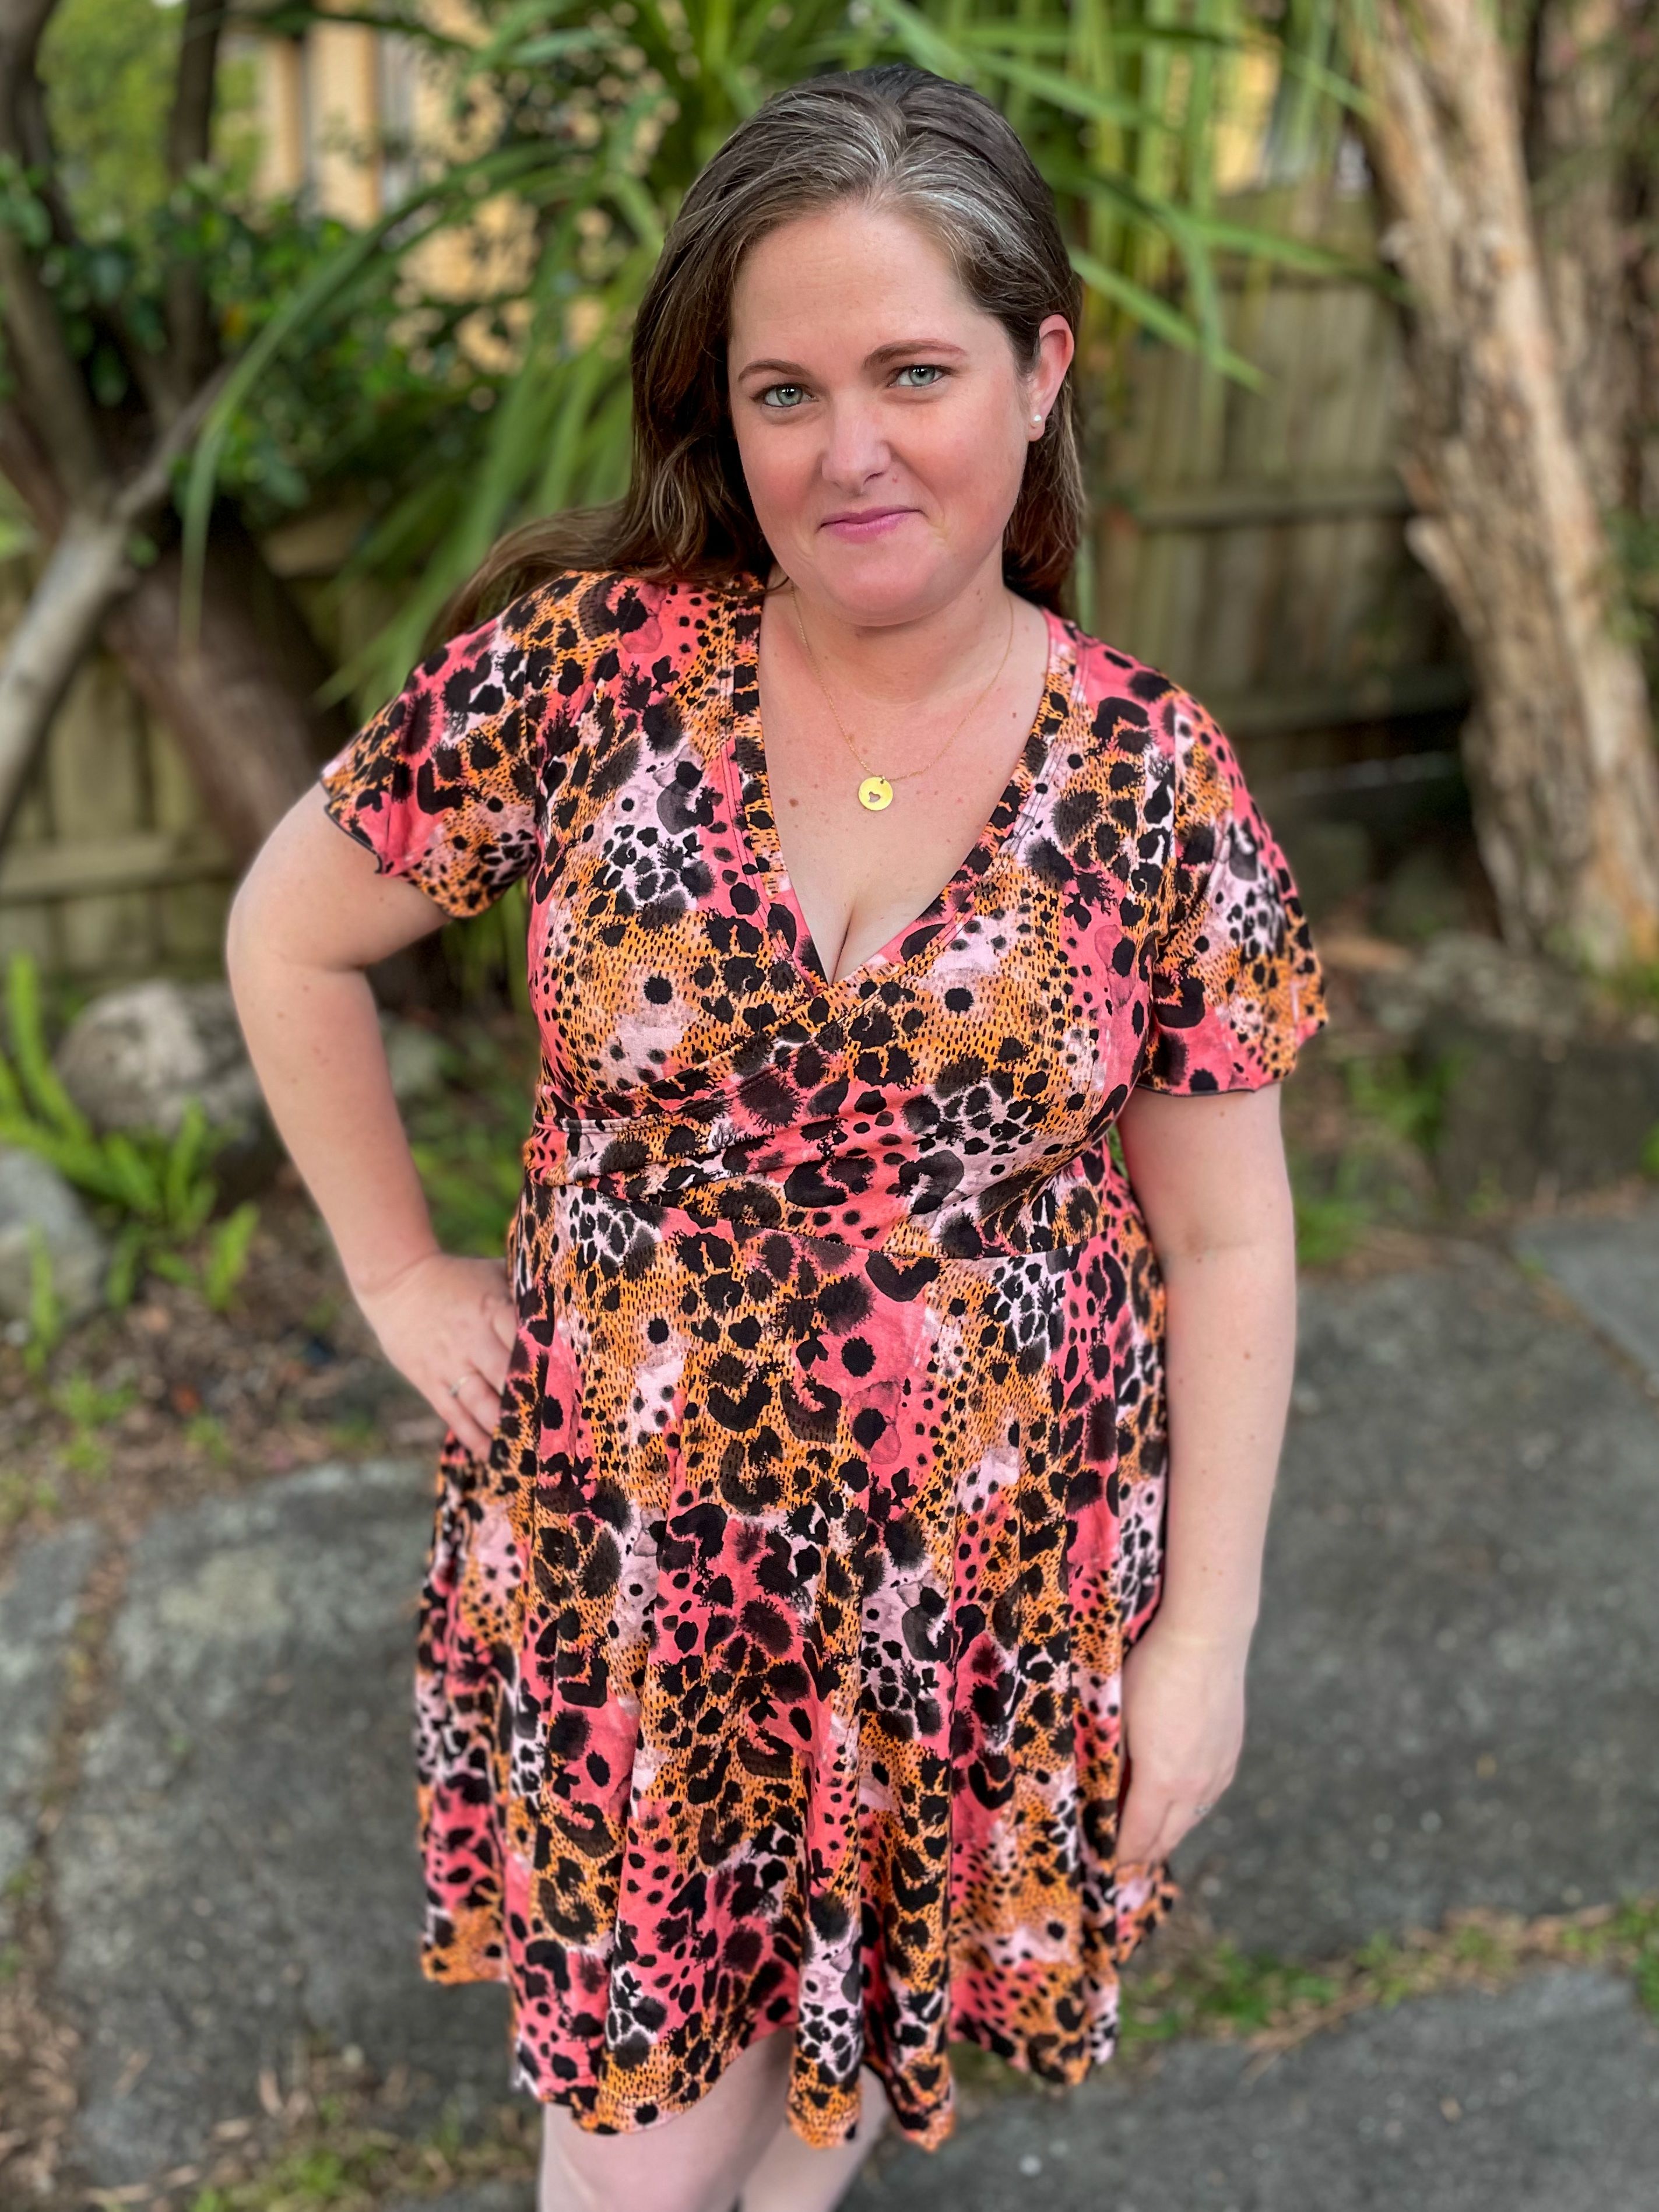
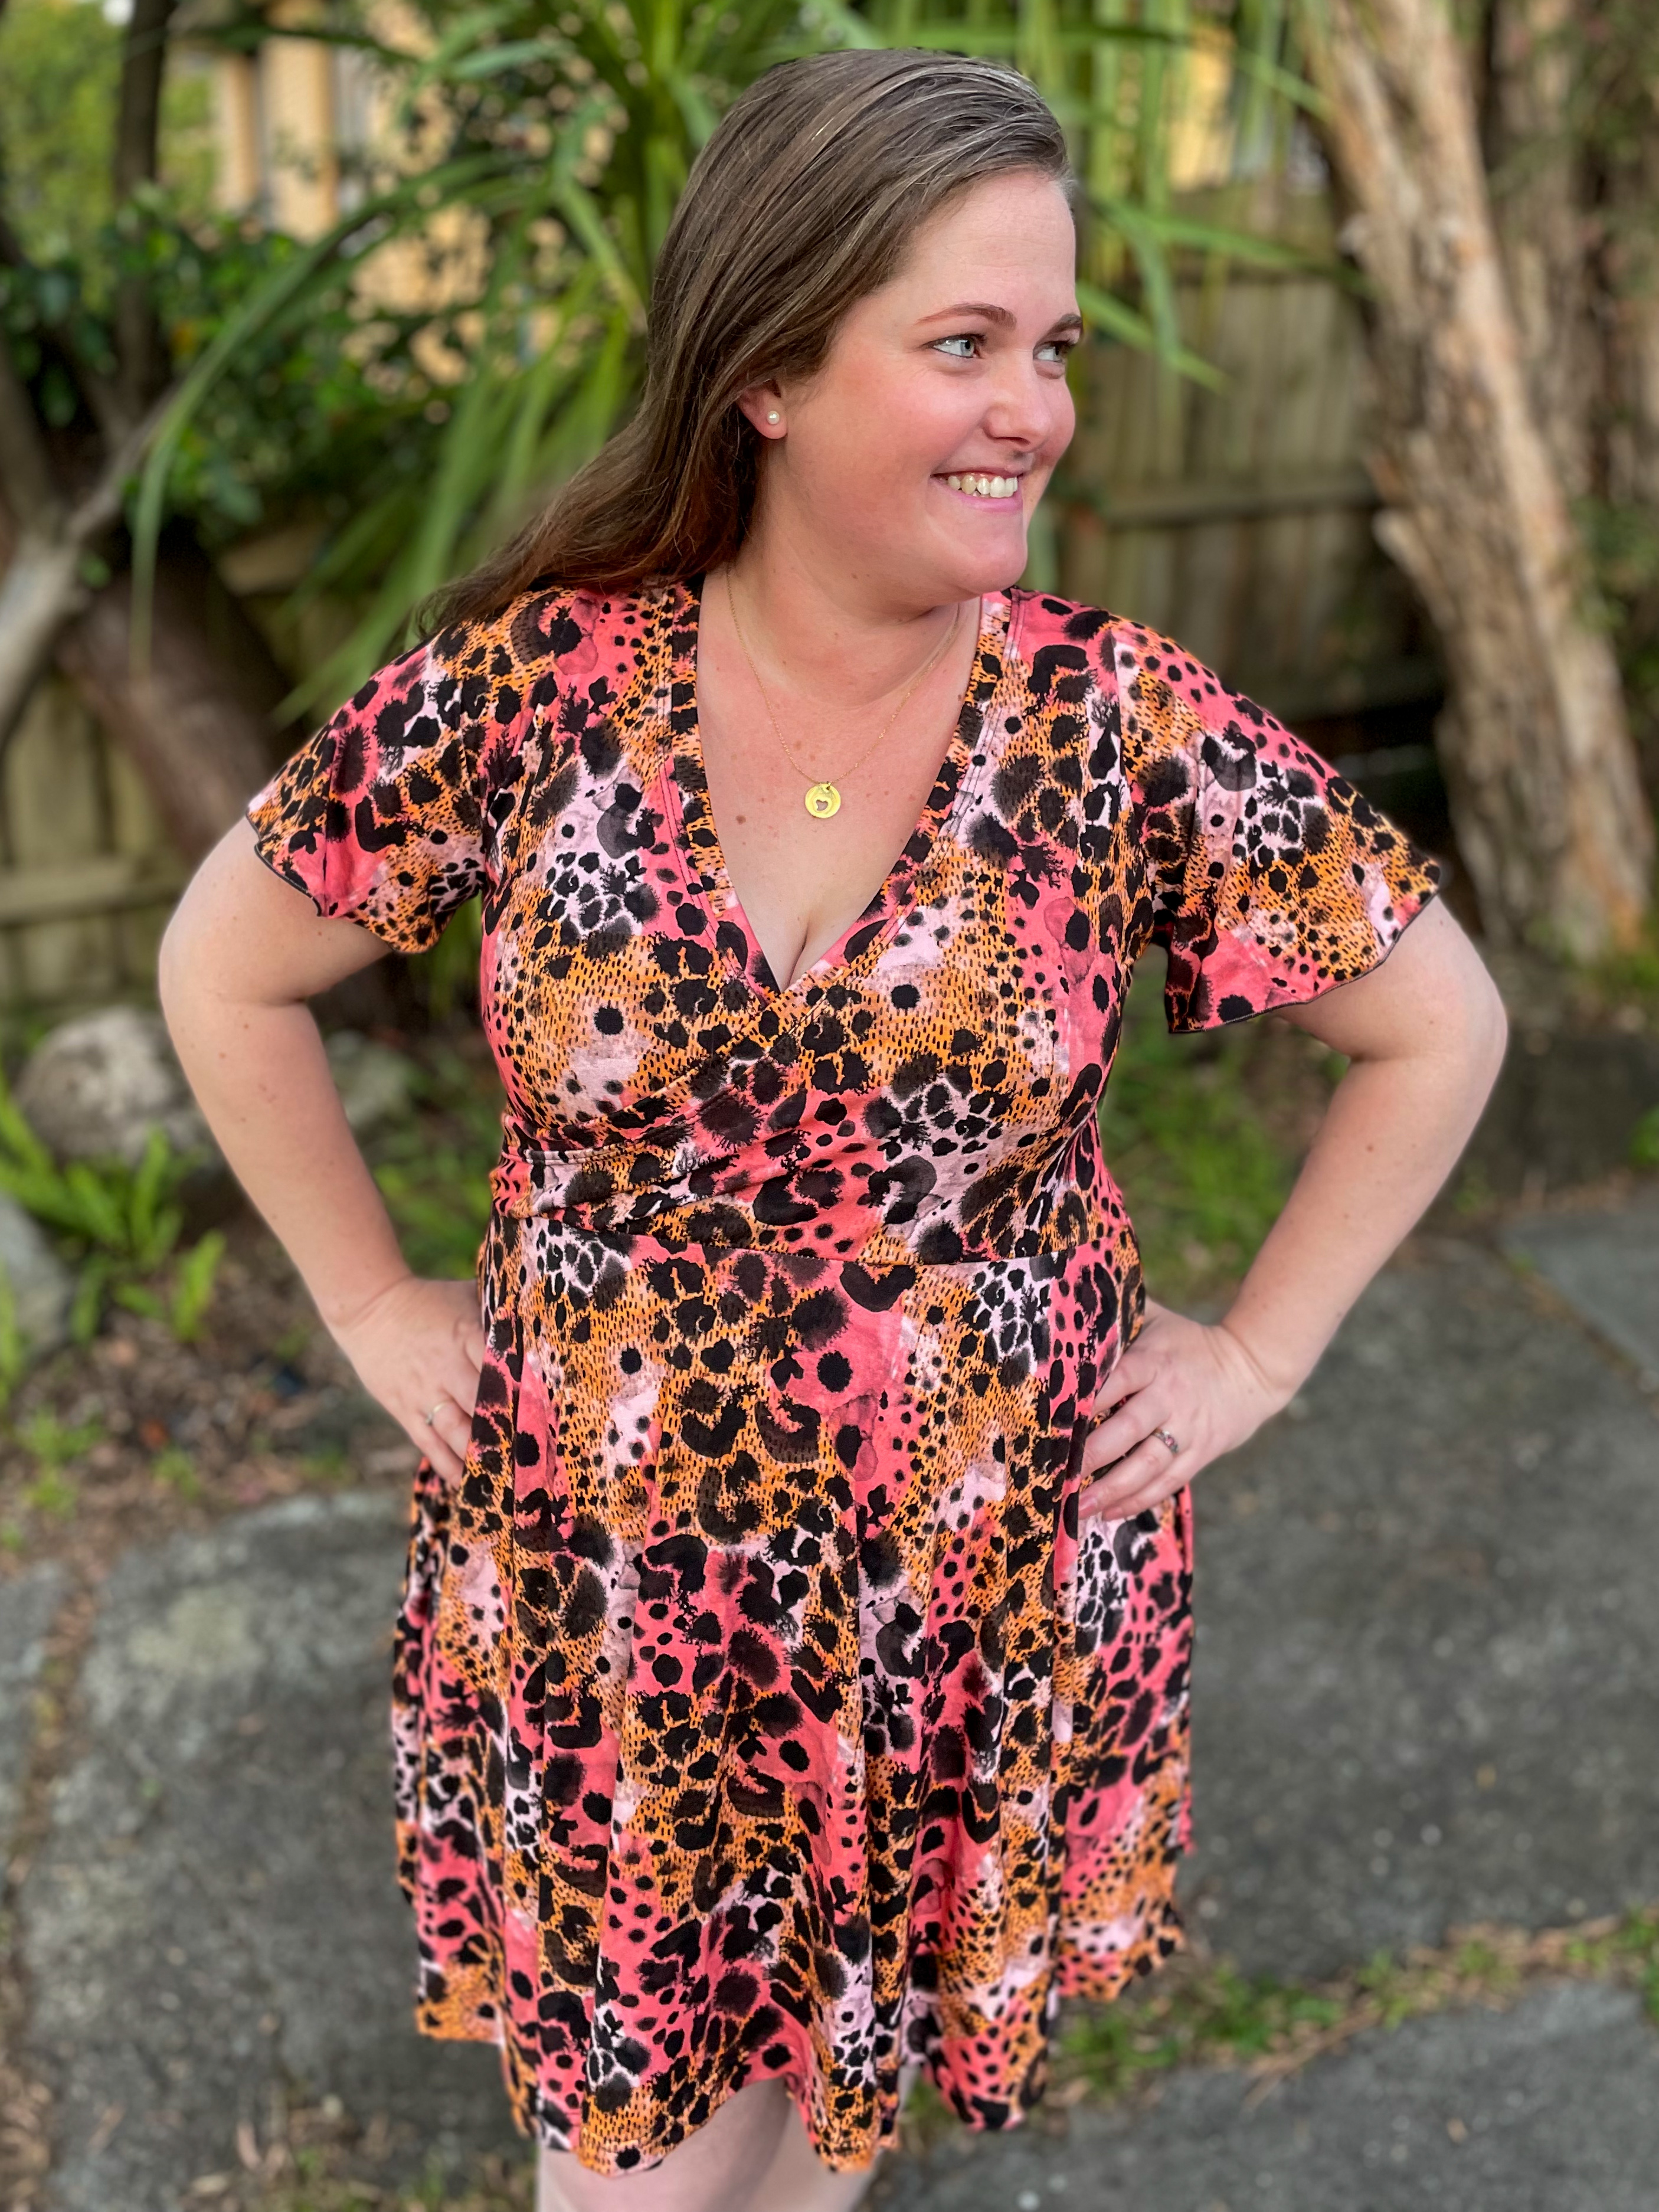
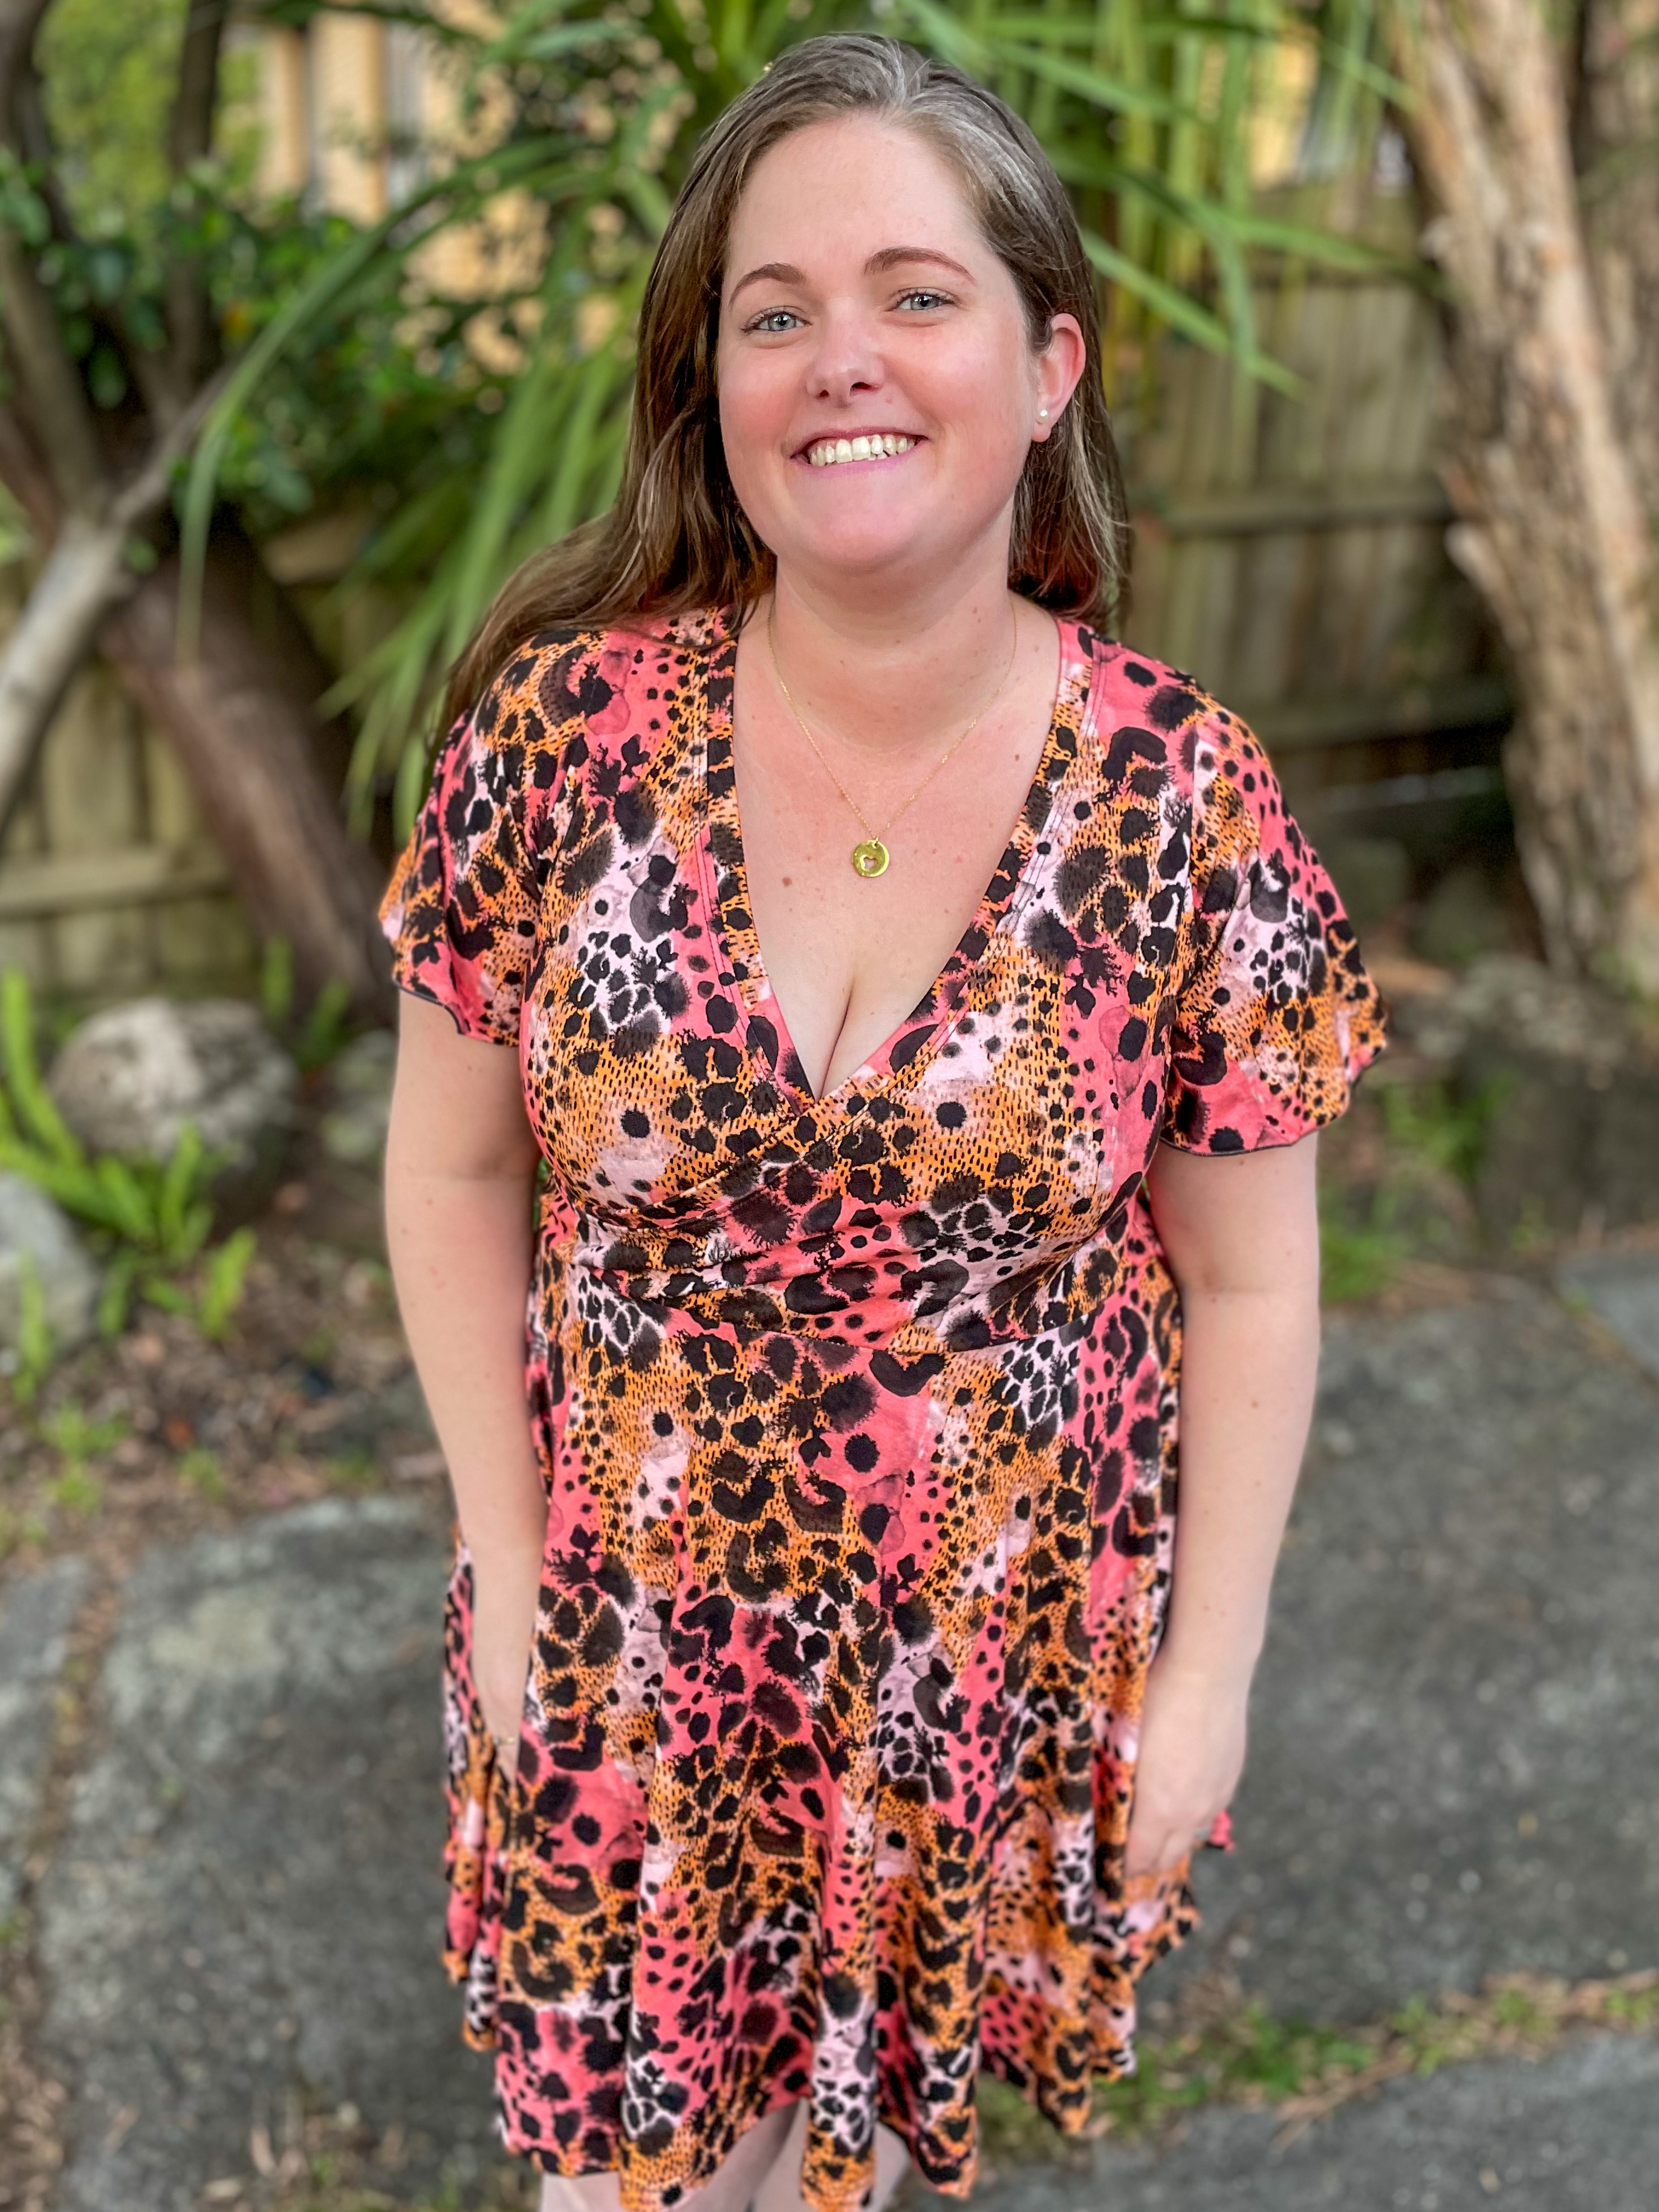
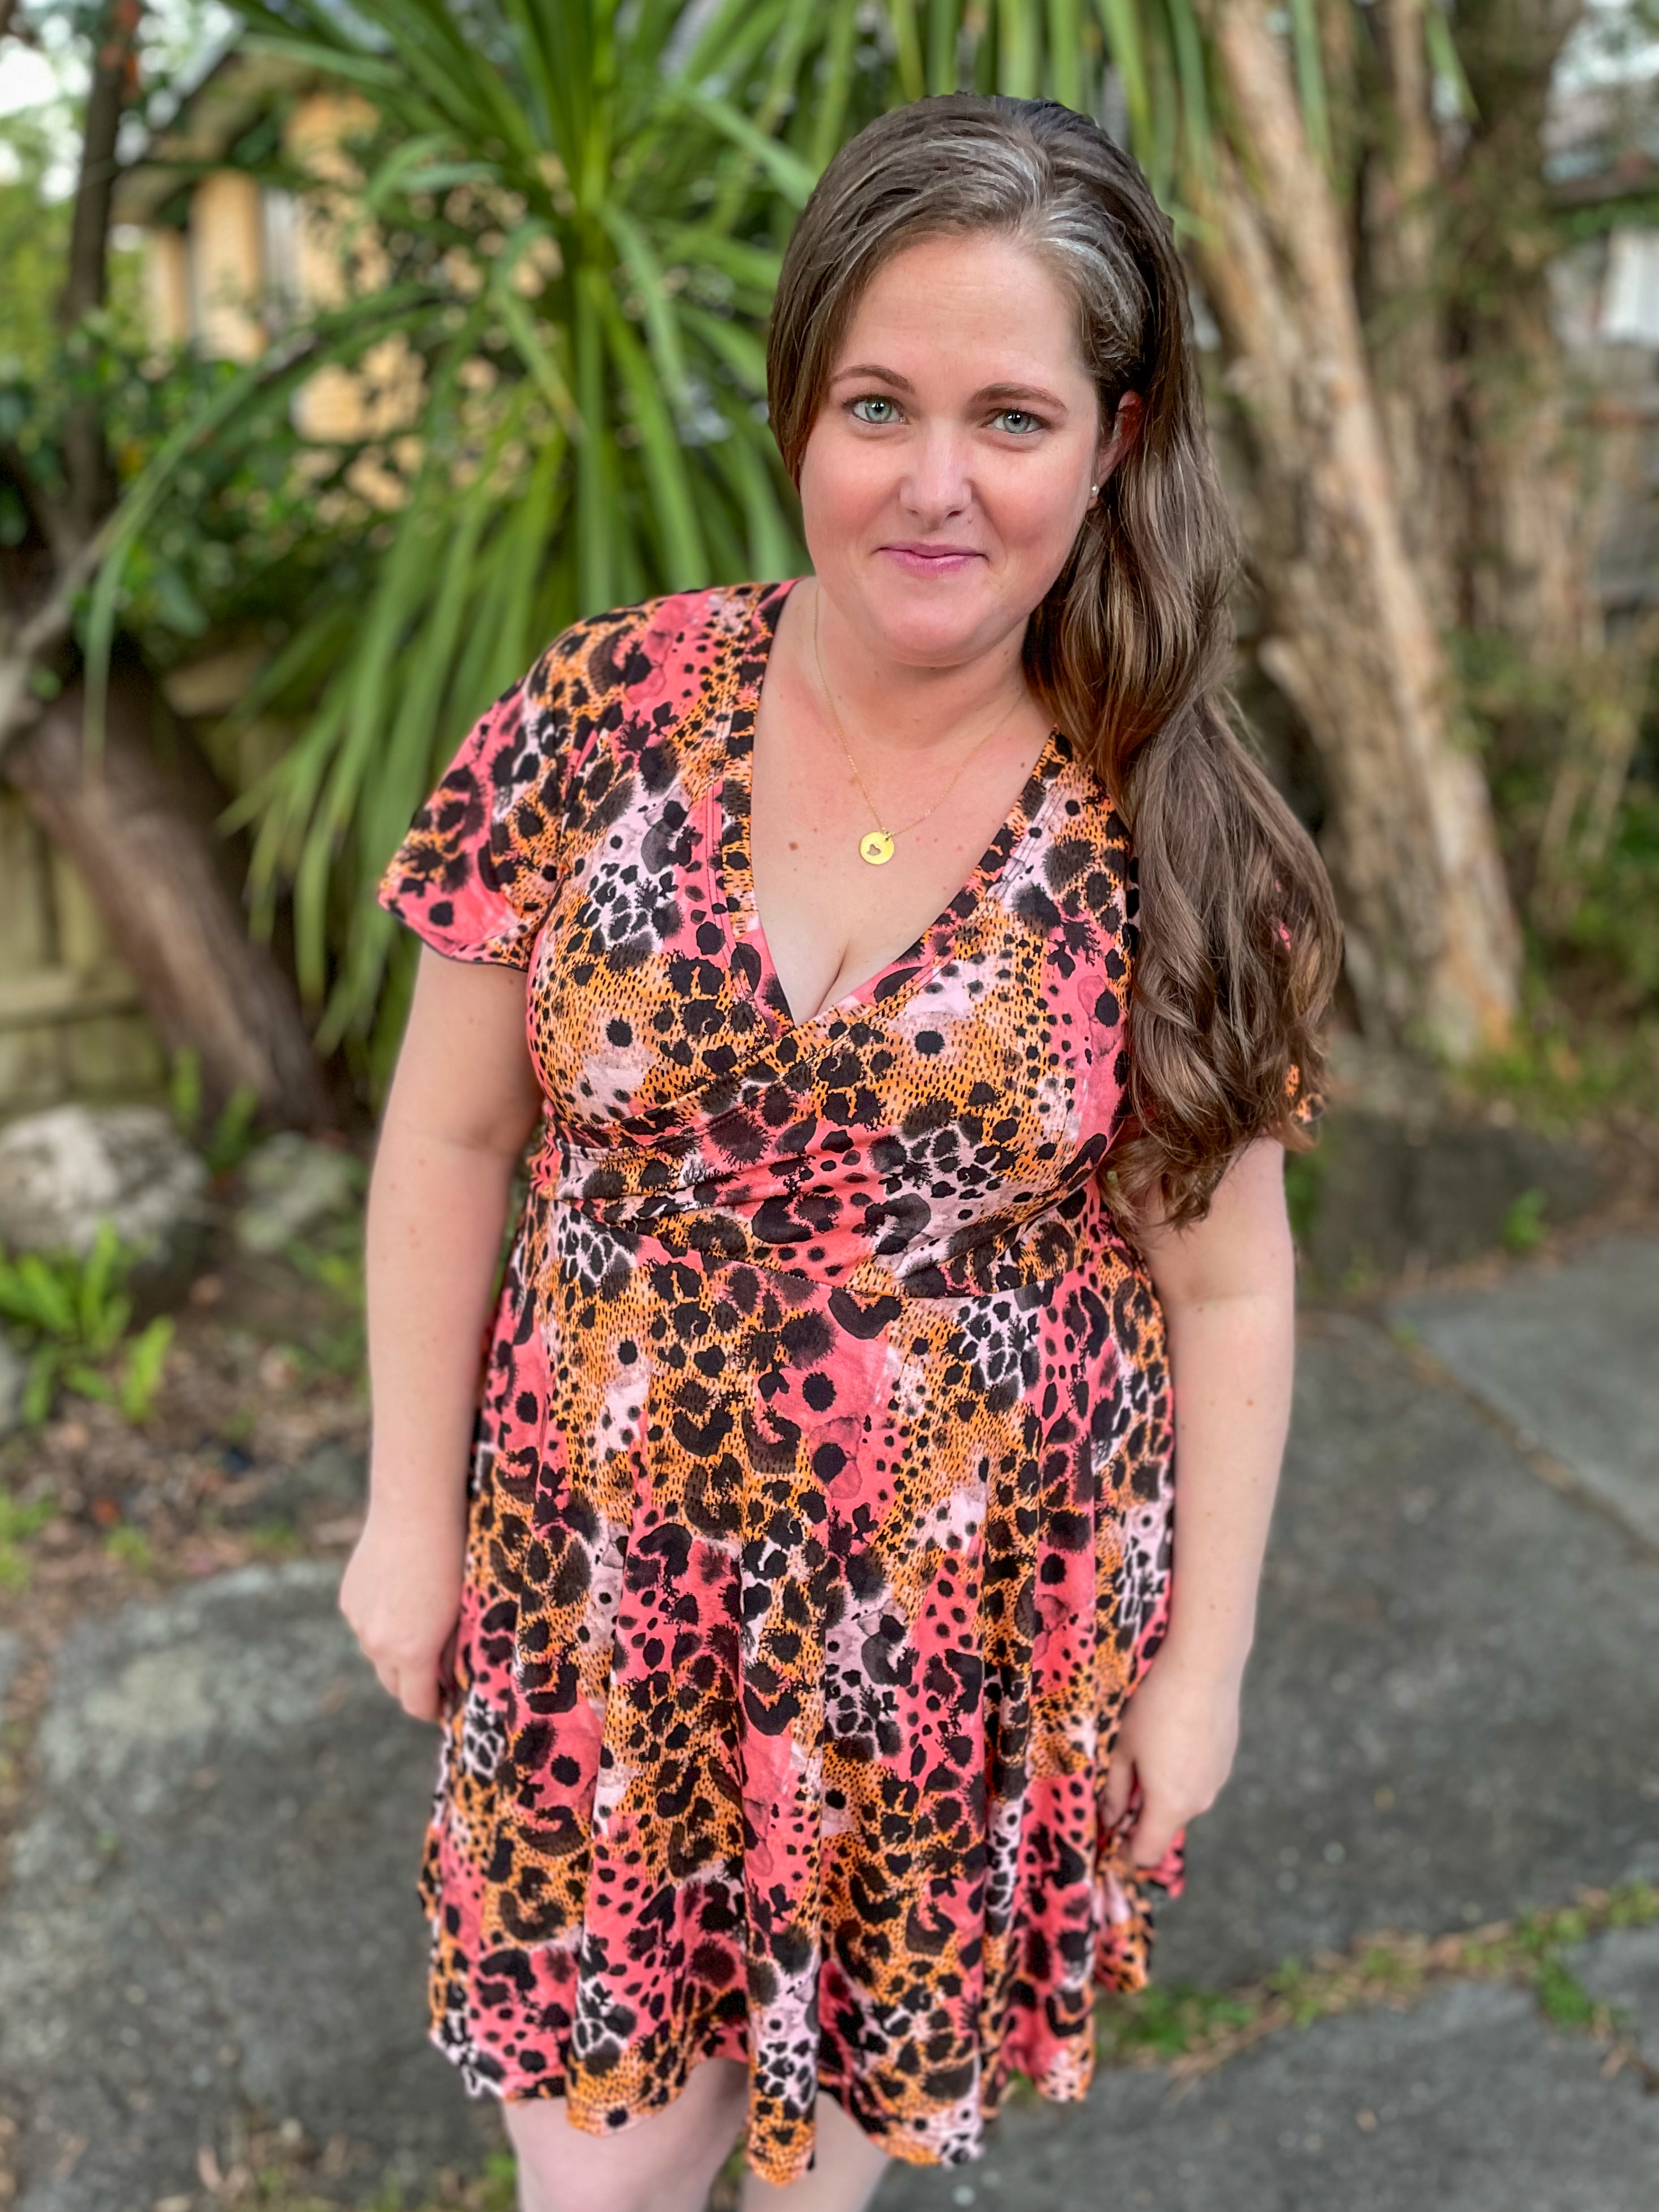
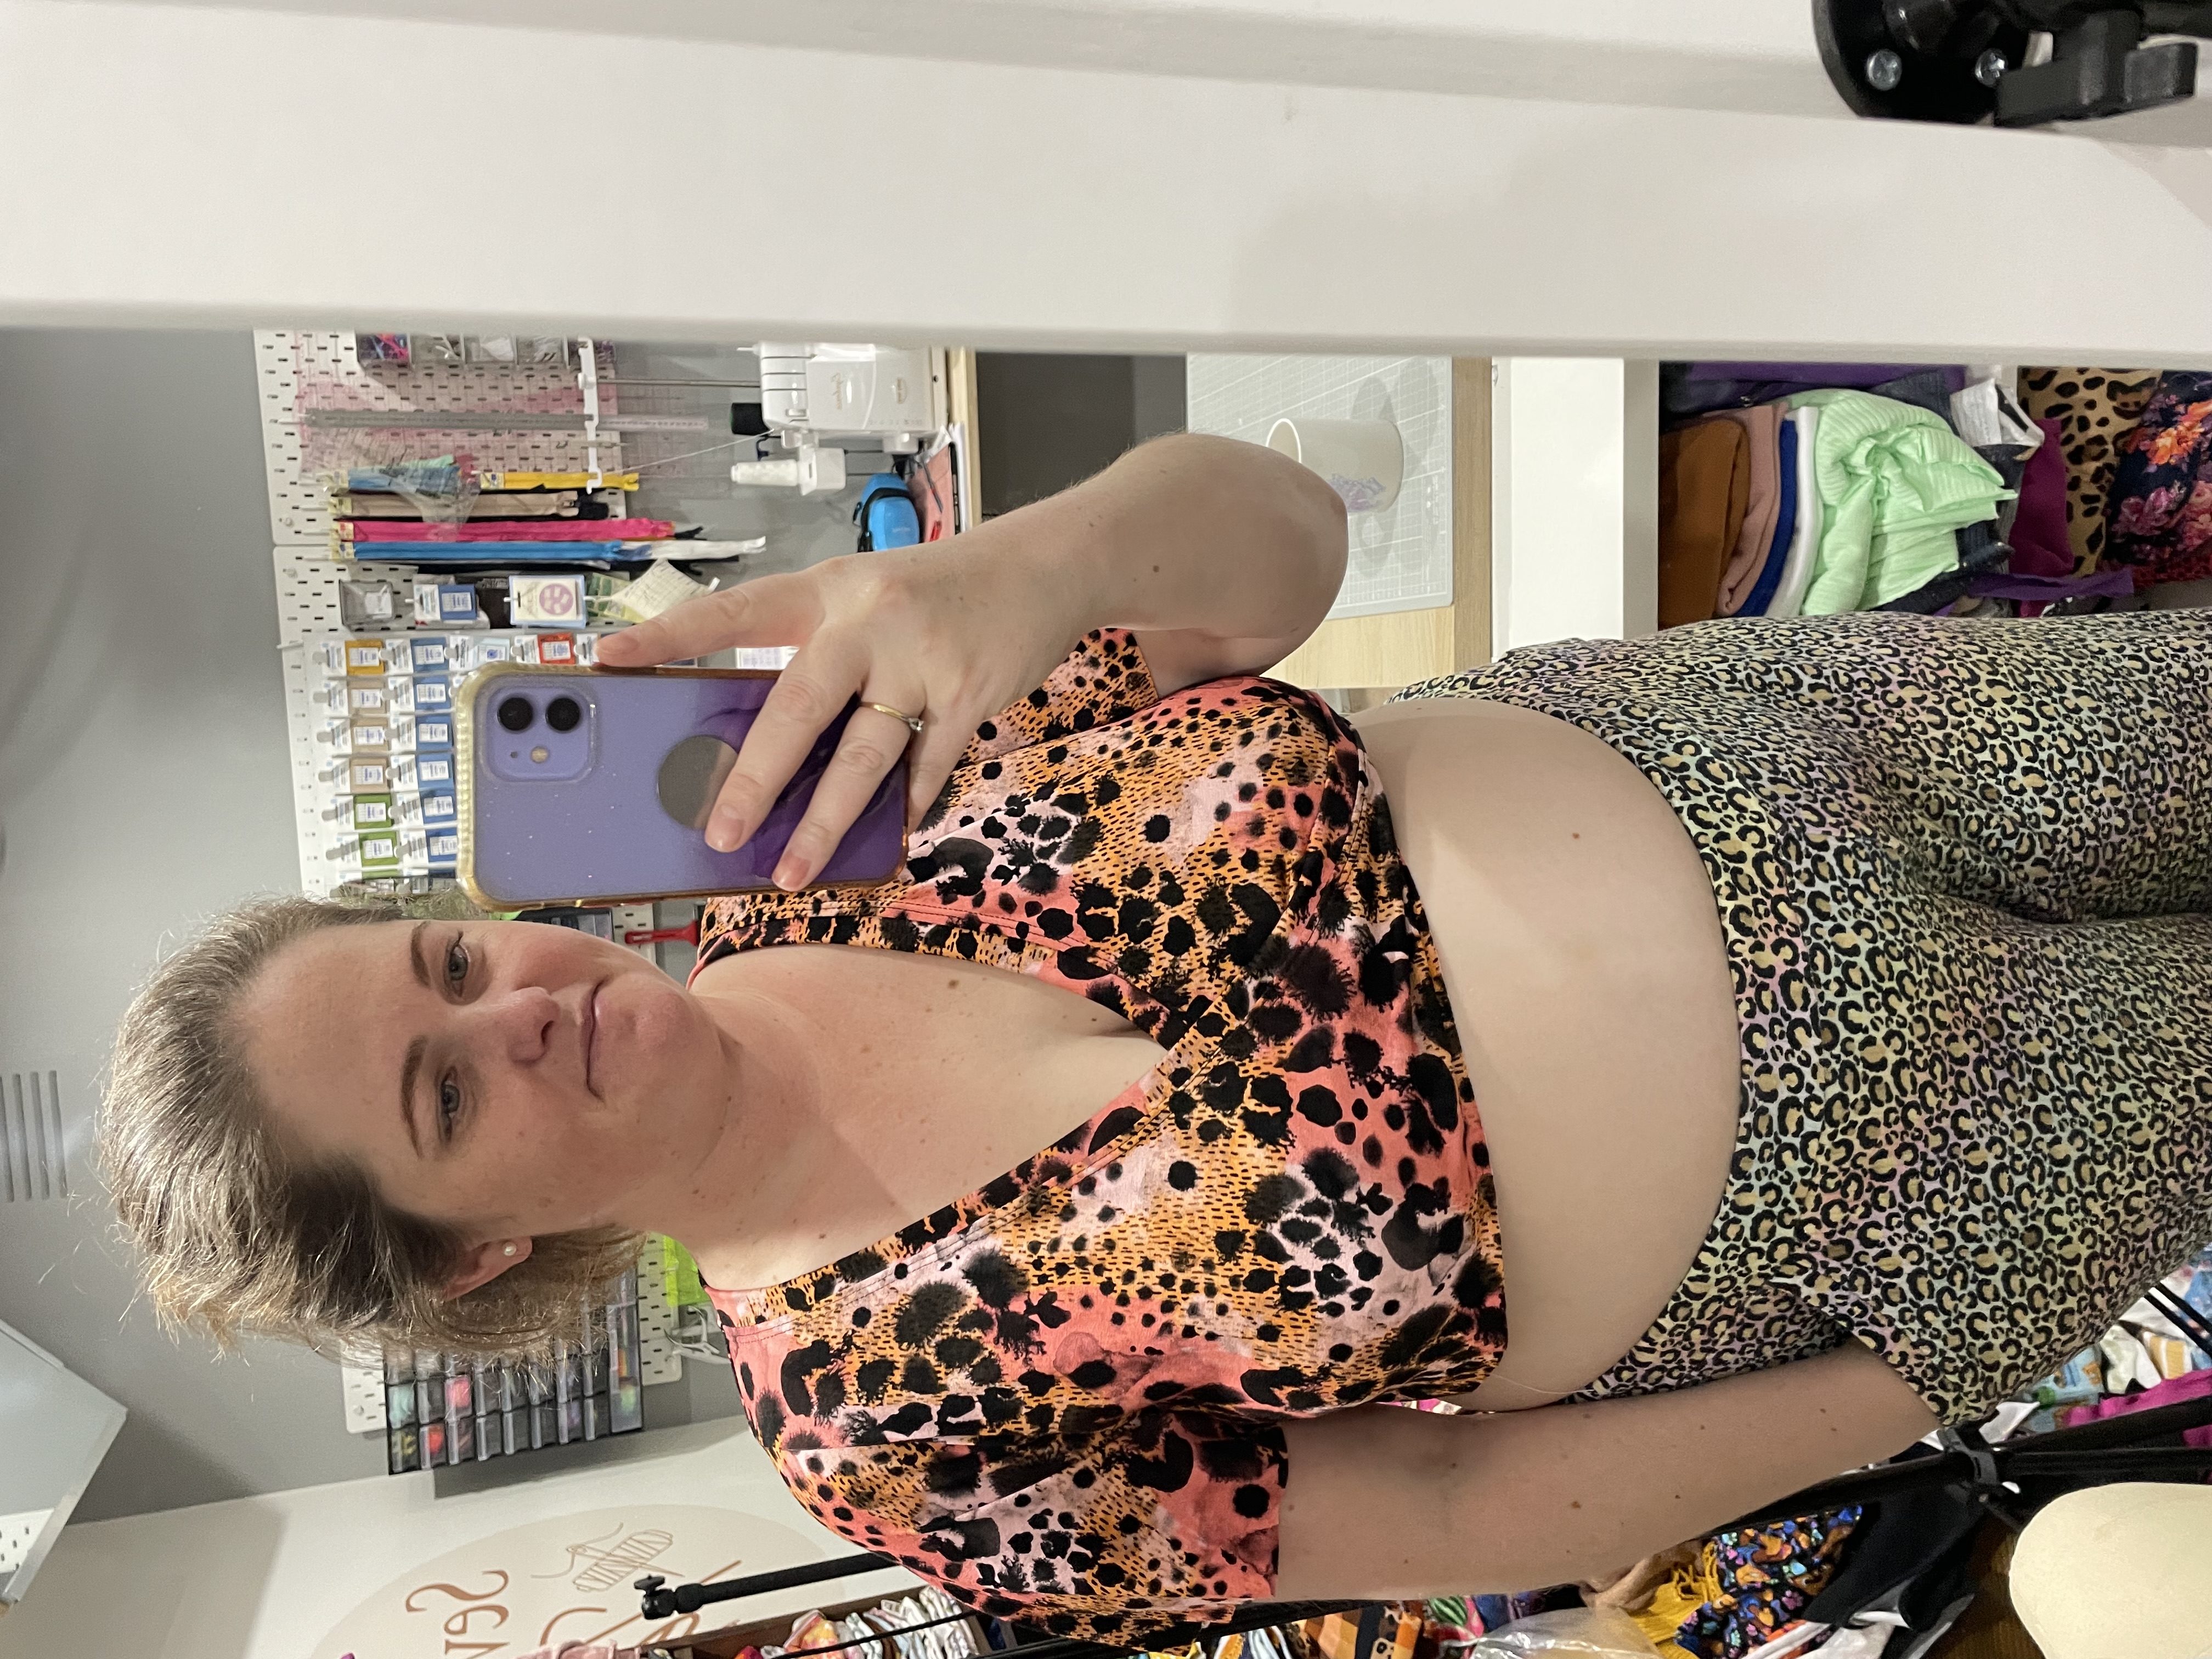
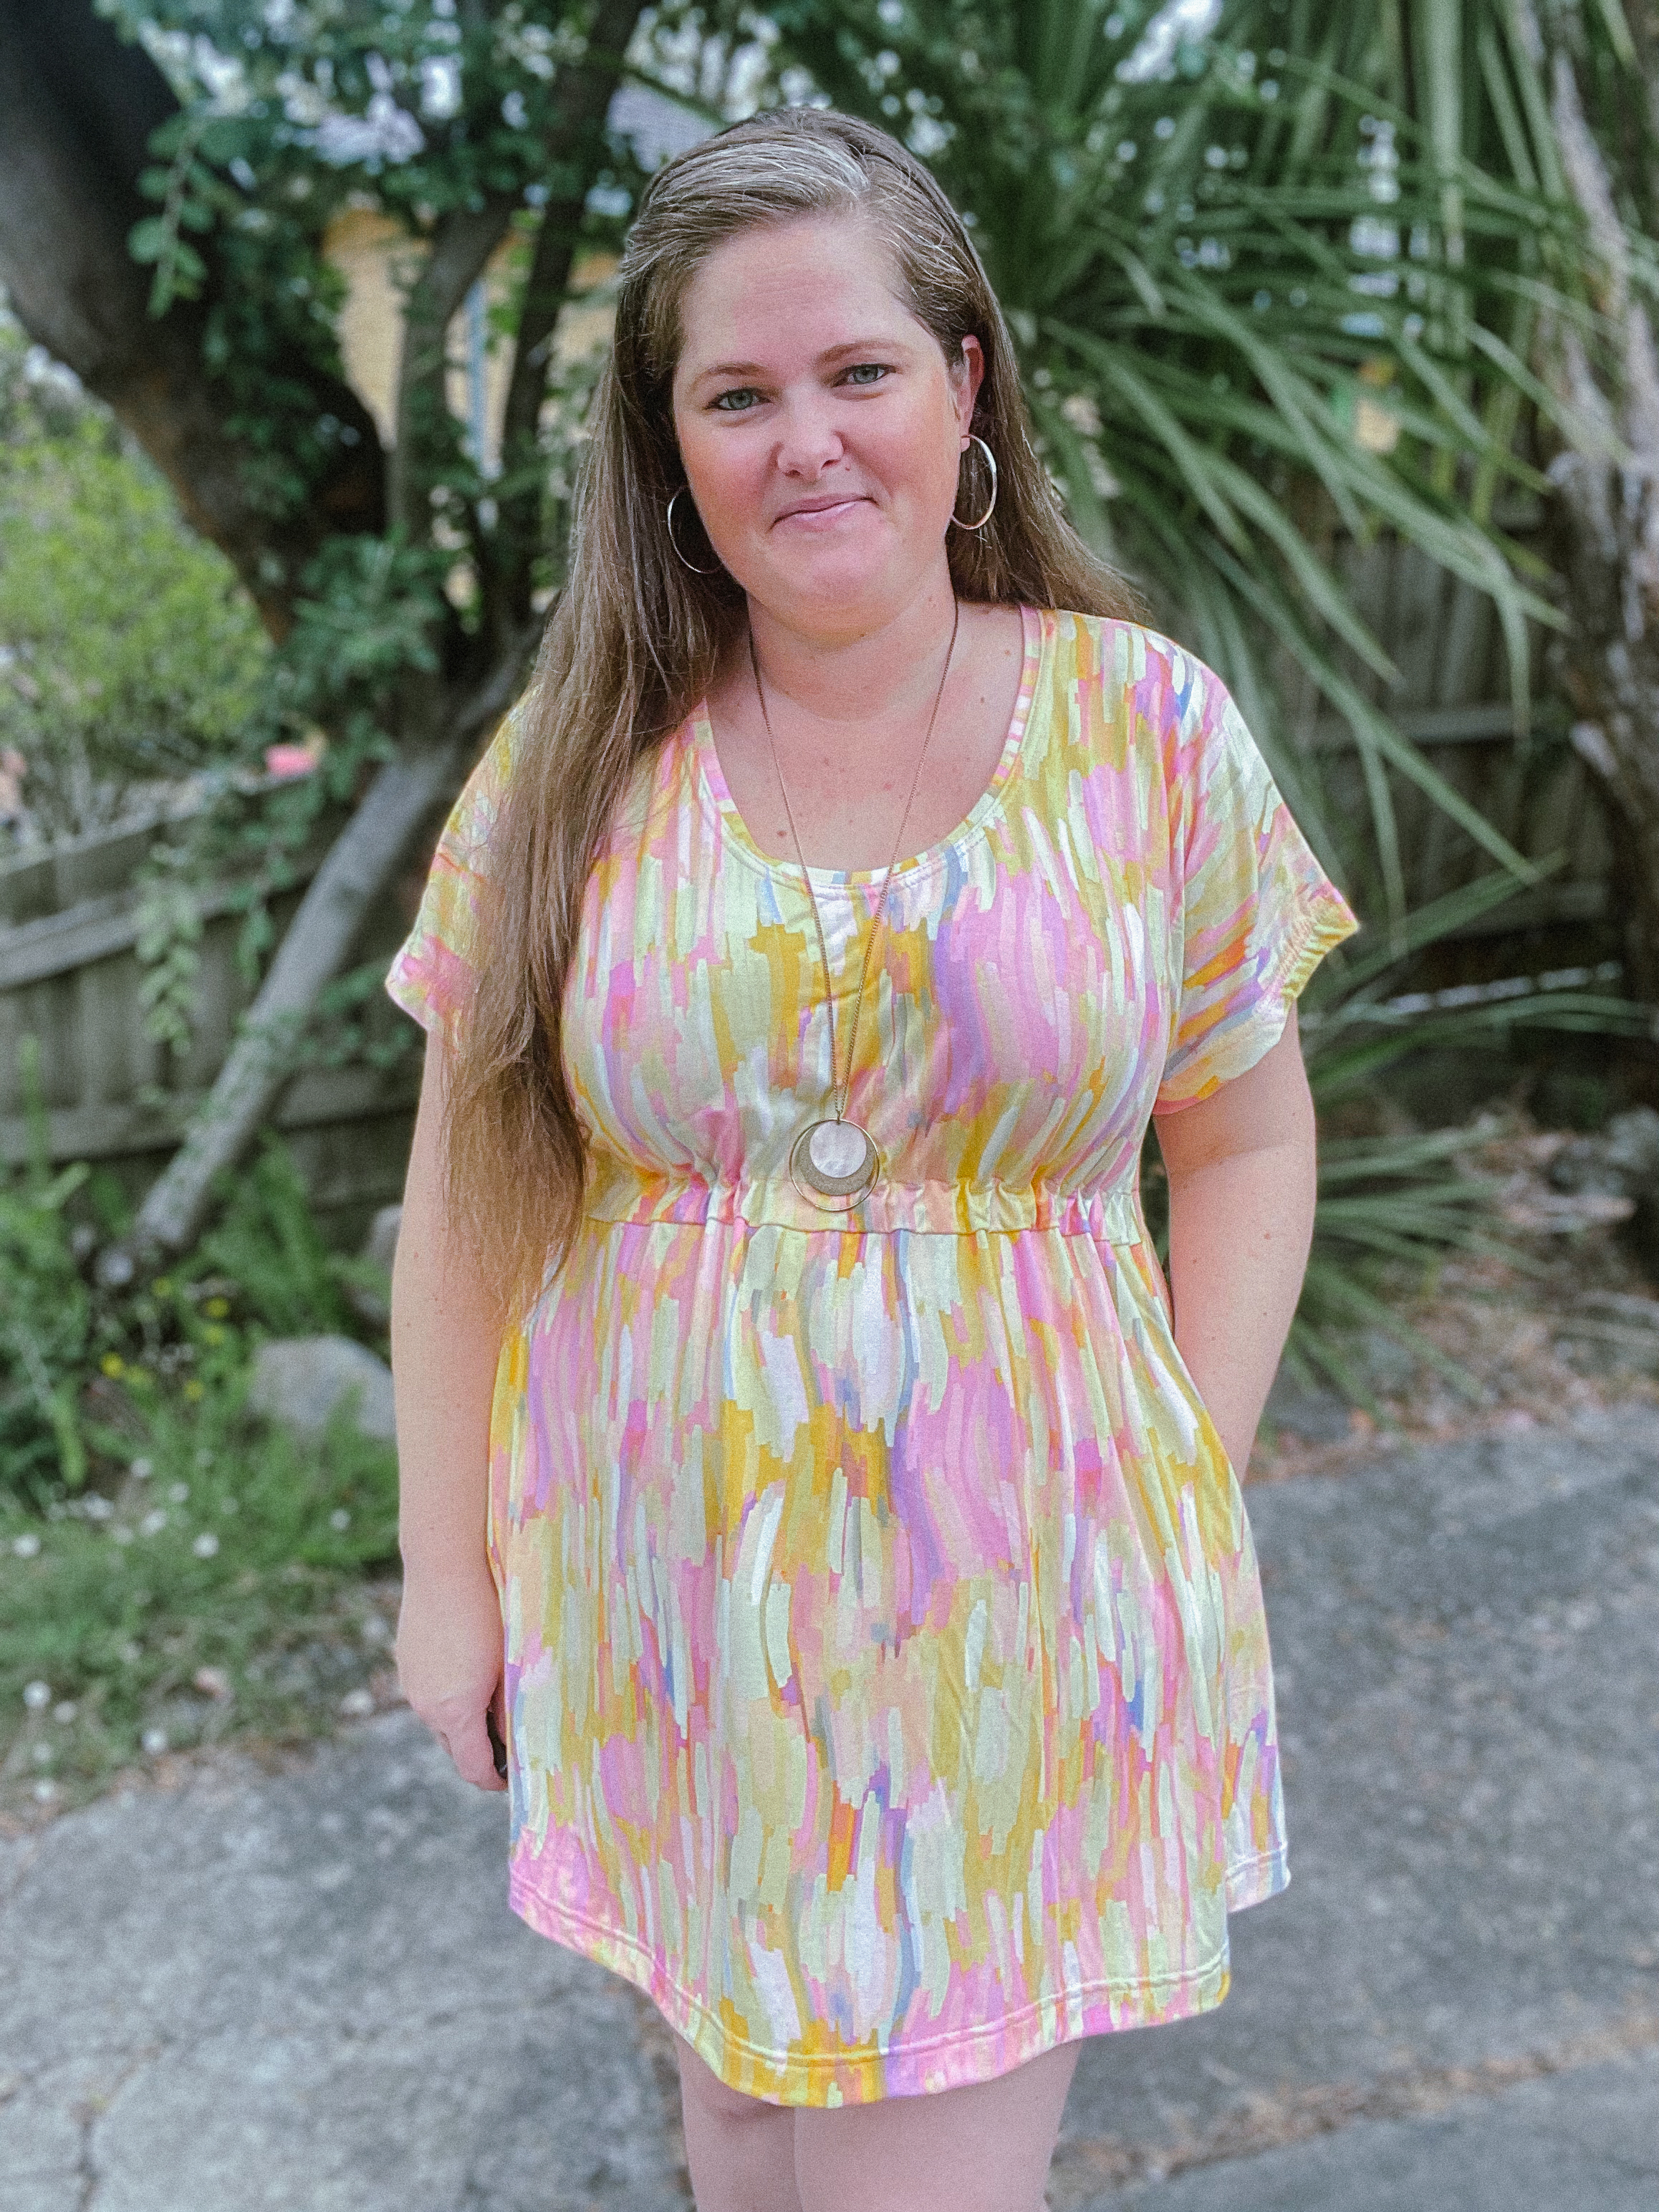
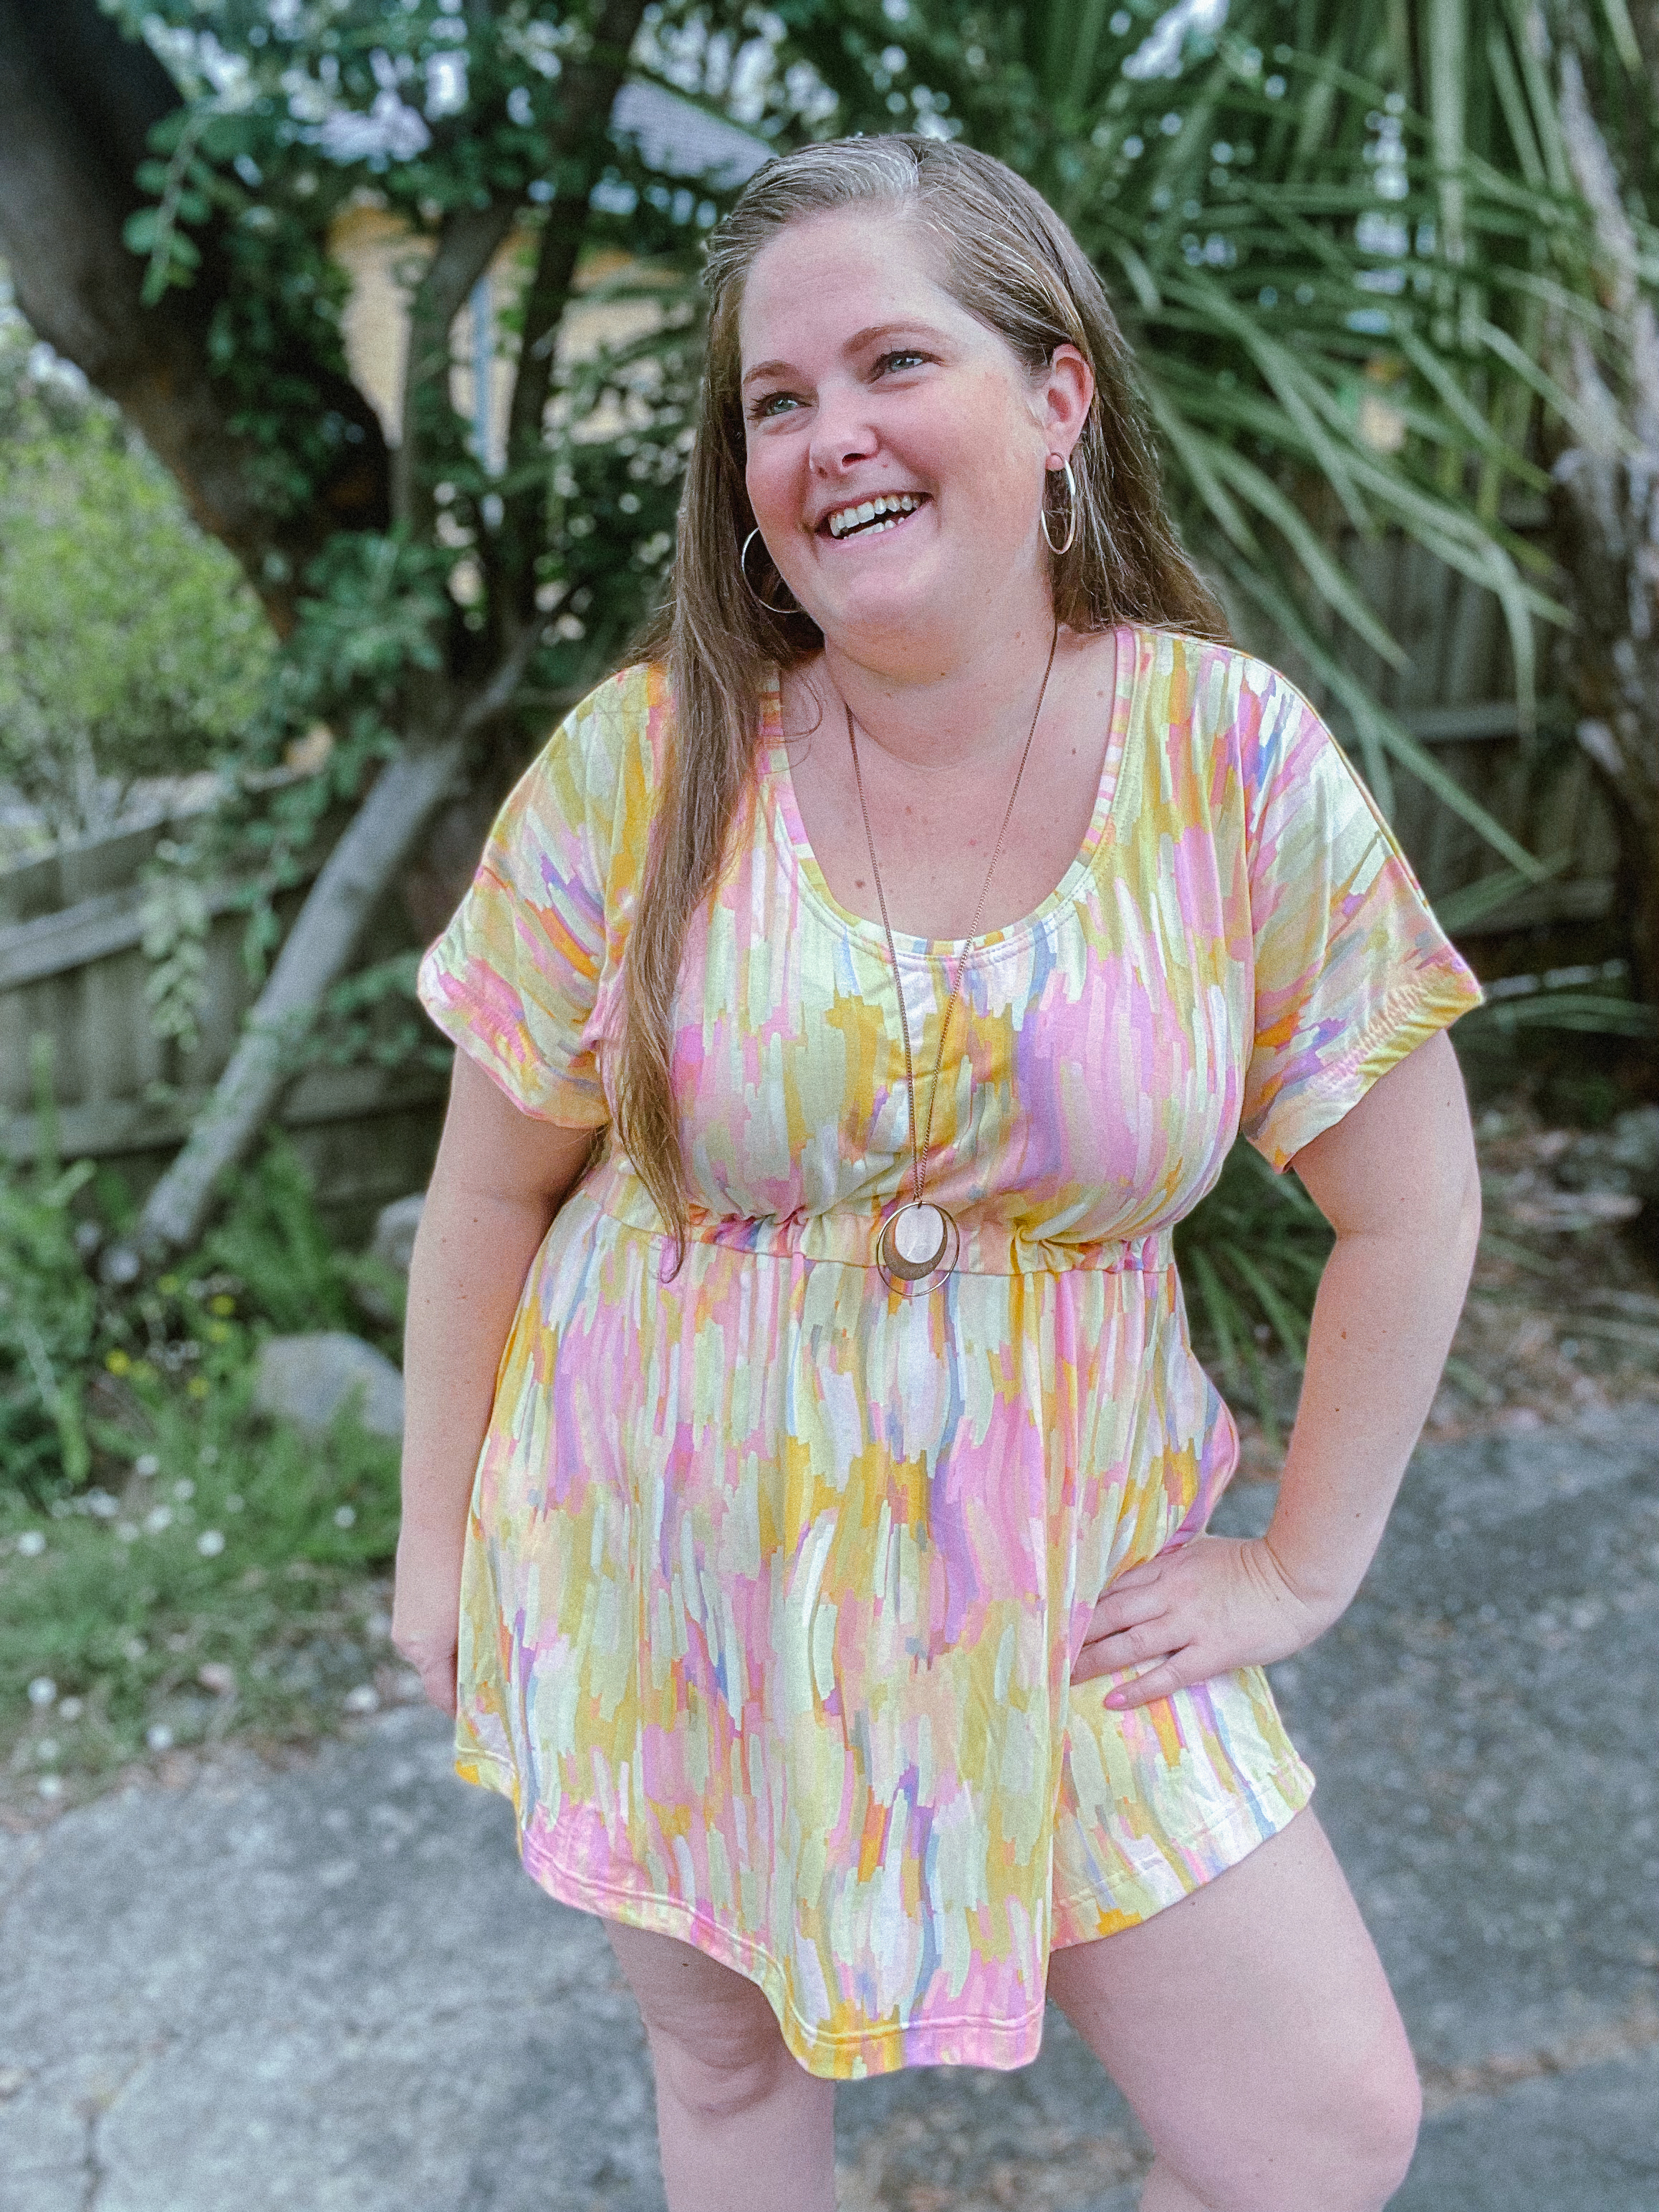
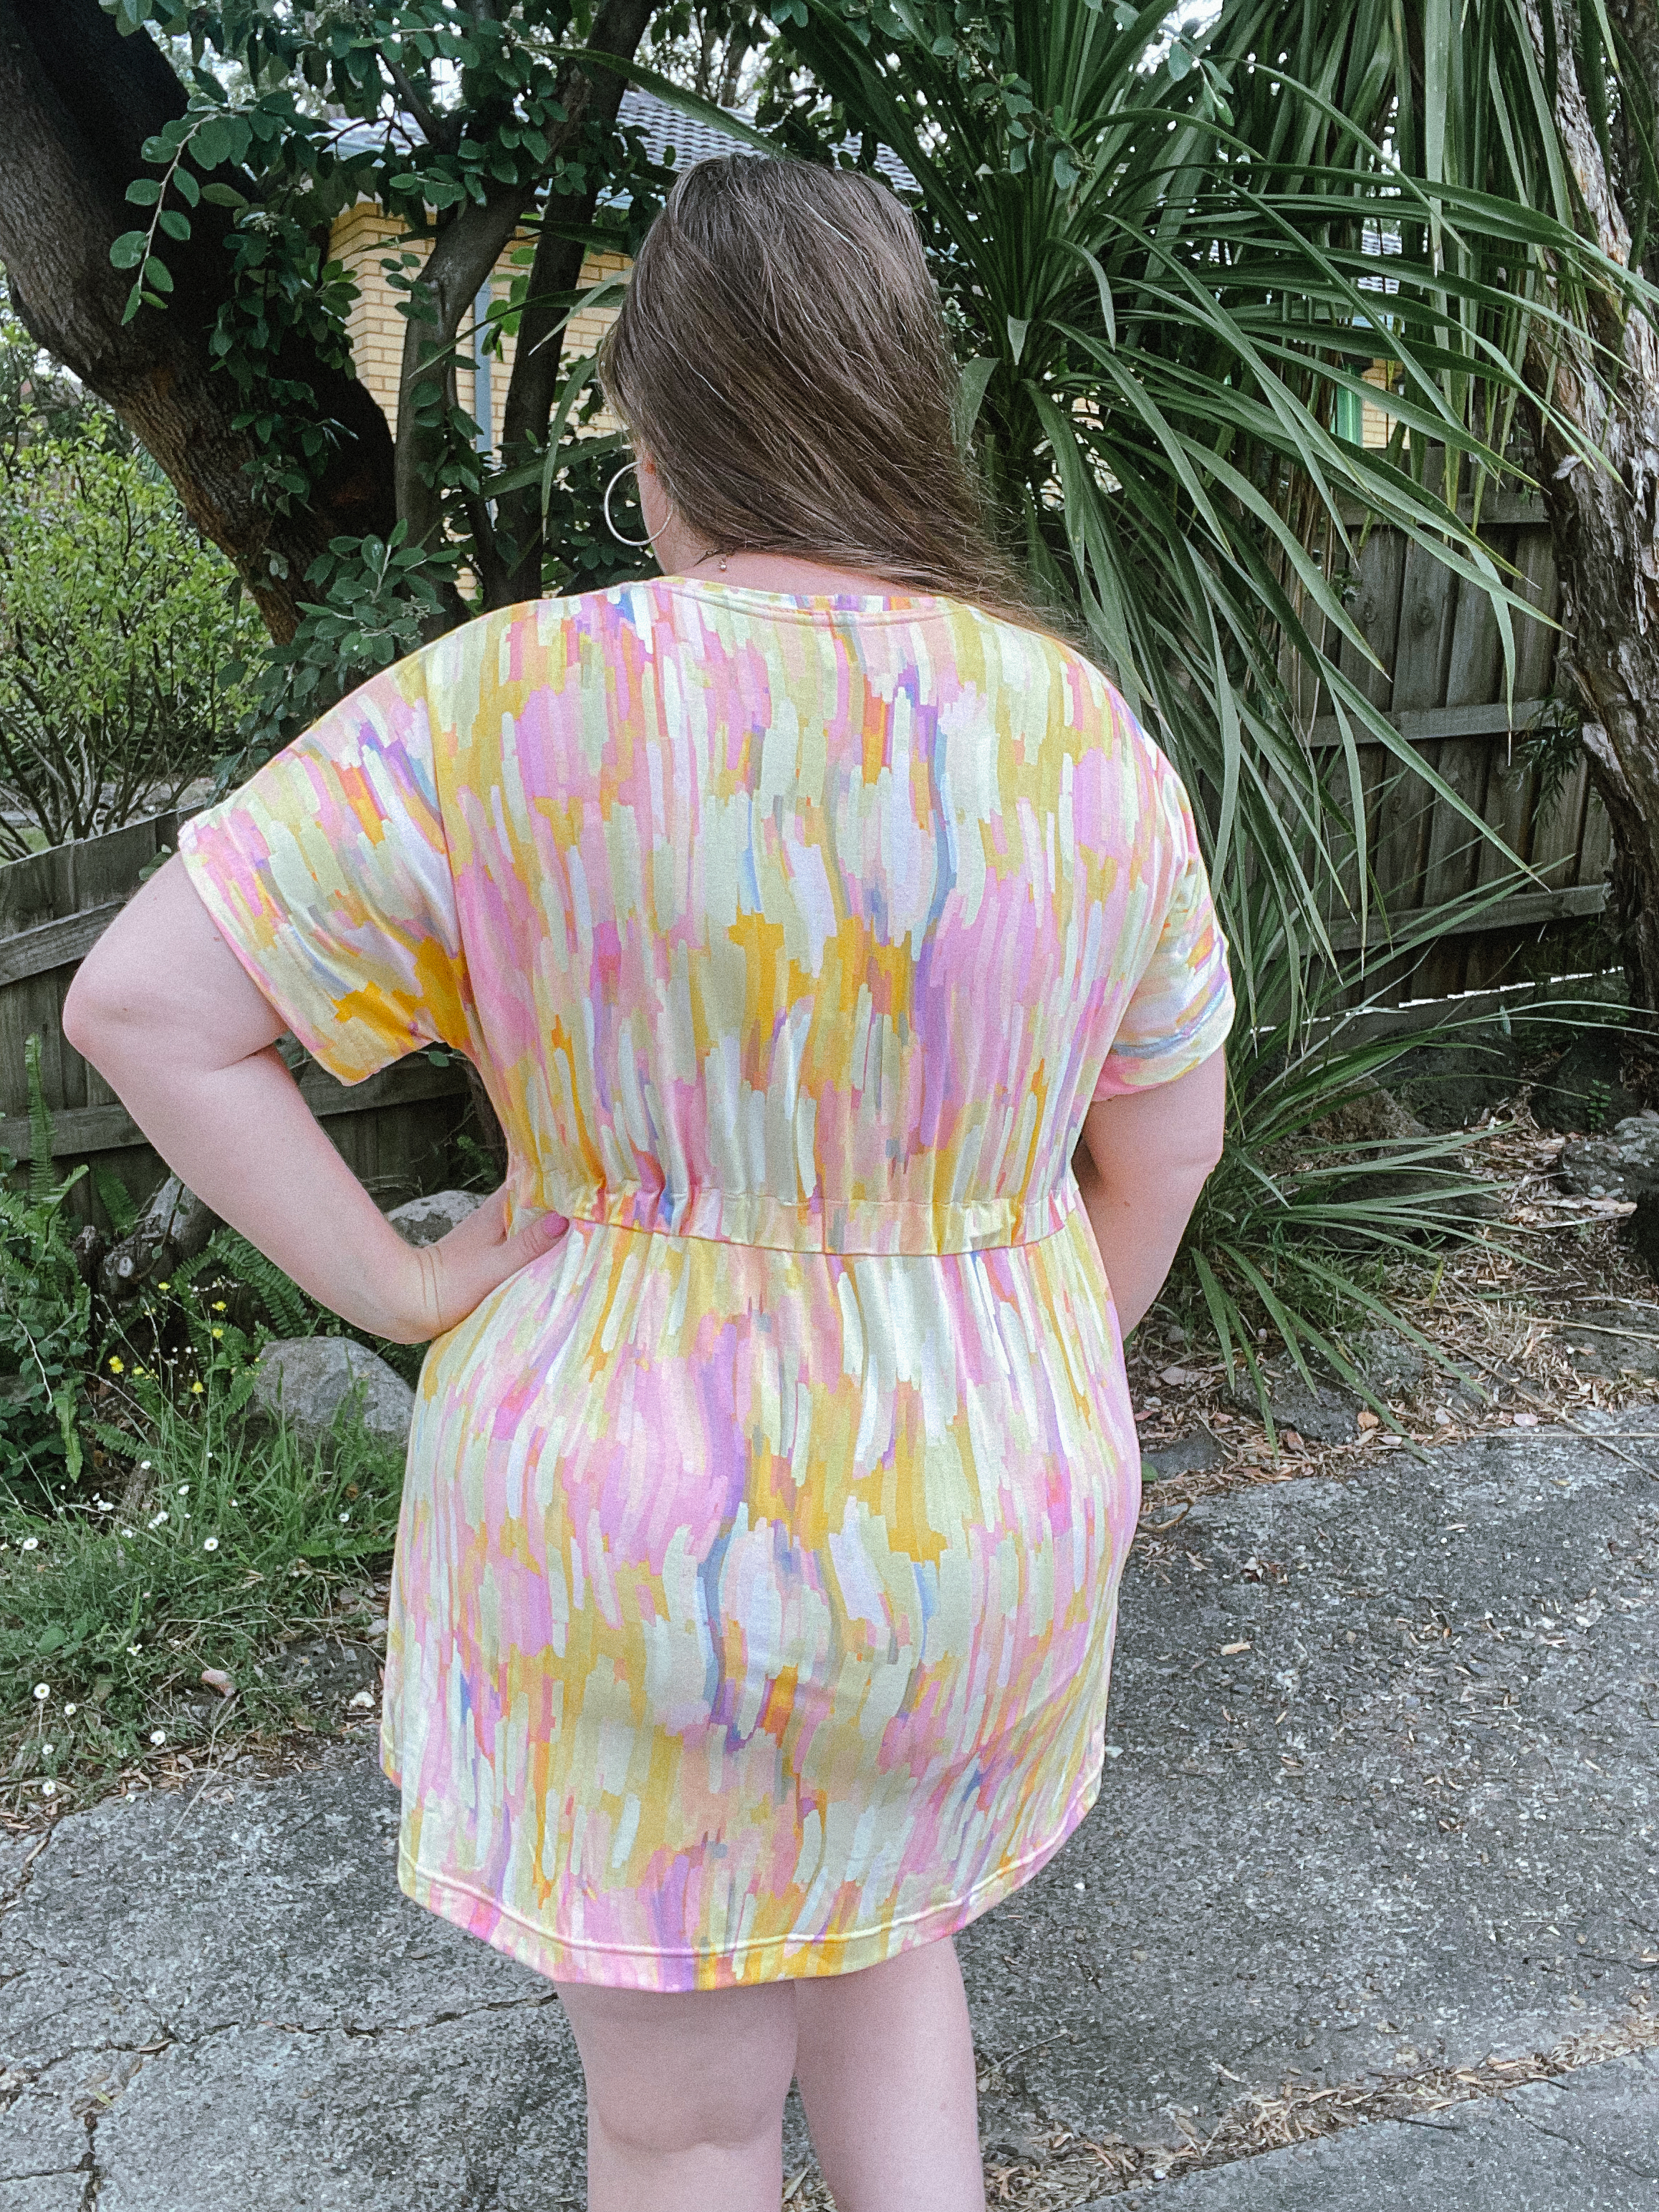
Pattern:Adult Essential Dolman Dress Designer: Ellie & Mac Fabrics: Organic Viscose from Spotlight Skill level: Beginner Size made: XL/XXL Adjustments: Grading from the bust to waist. I also did a whoopsie empire waist adjustment, read below for more details. Pros: Great to compliment your shape and lots of options for skirt length and sleeves. Cons: Because its a dolman style, it is very fabric hungry!
Sewing Summer Vibes: A Slinky Success Story with Ellie & Mac's Weekly Sale Pick
This one has been on my to make list for such a long time, and I’m glad I finally got around to making it. Even better, it’s part of the Weekly Sales over at Ellie & Mac this week.
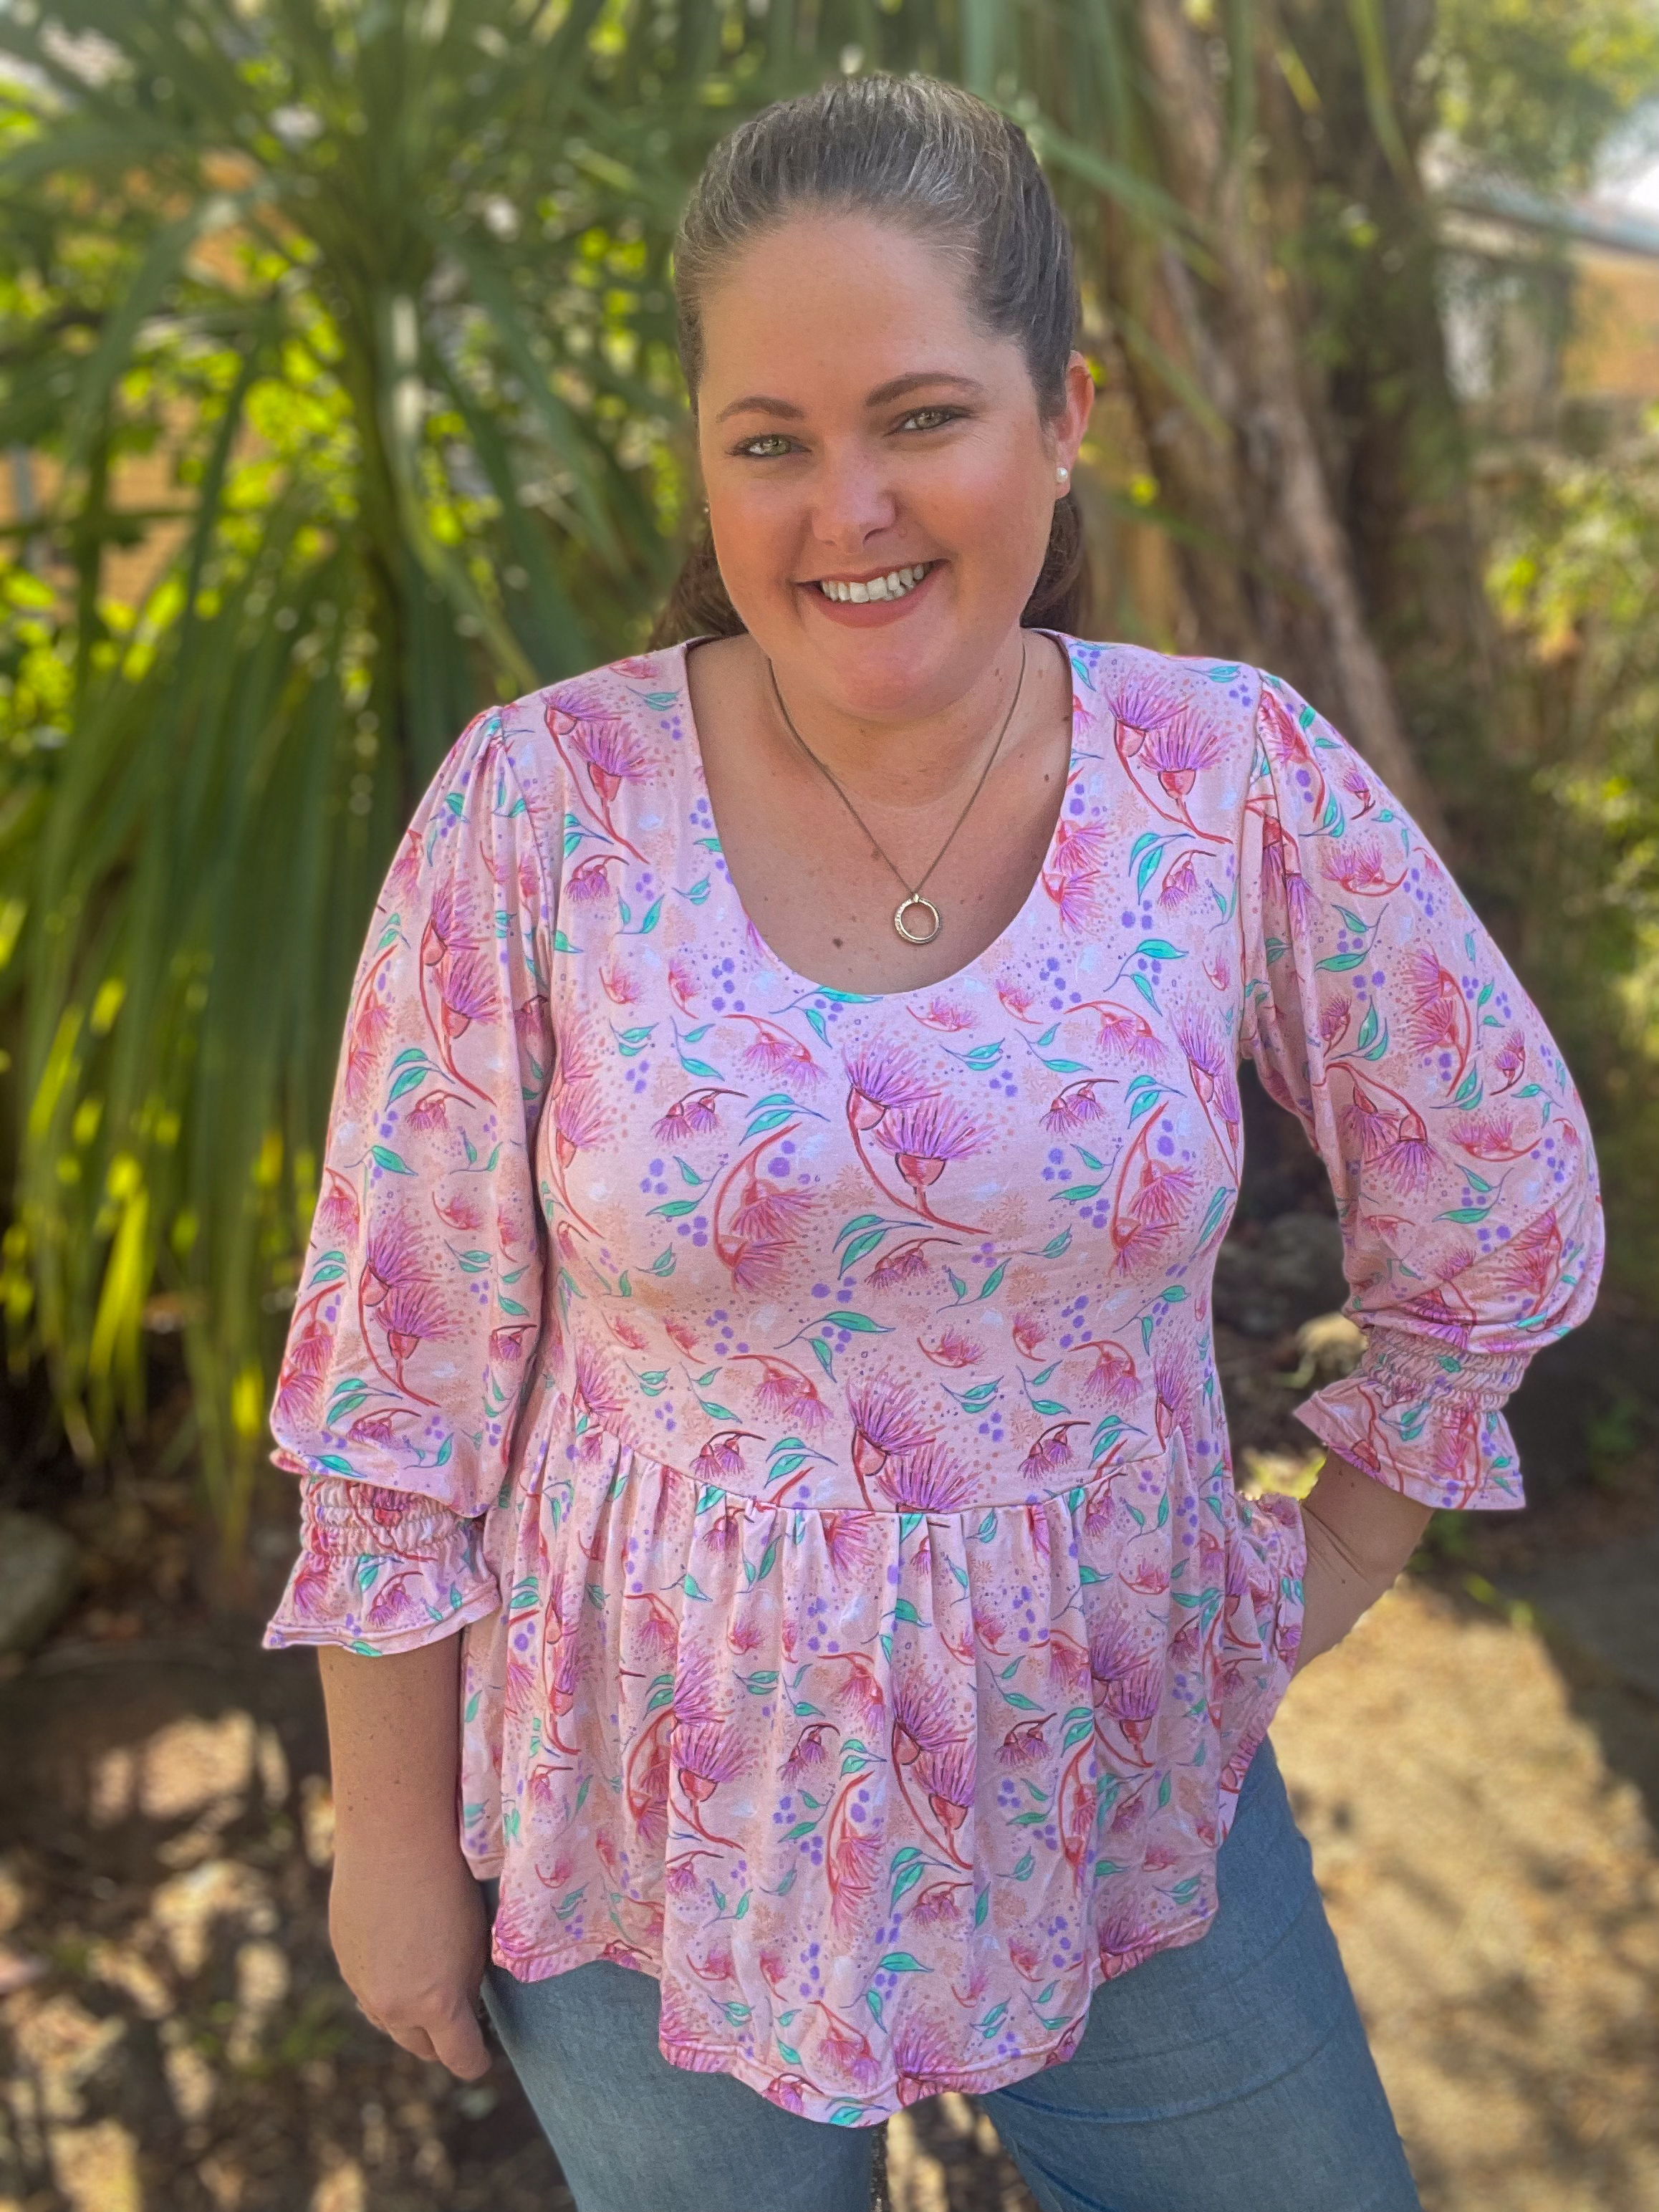
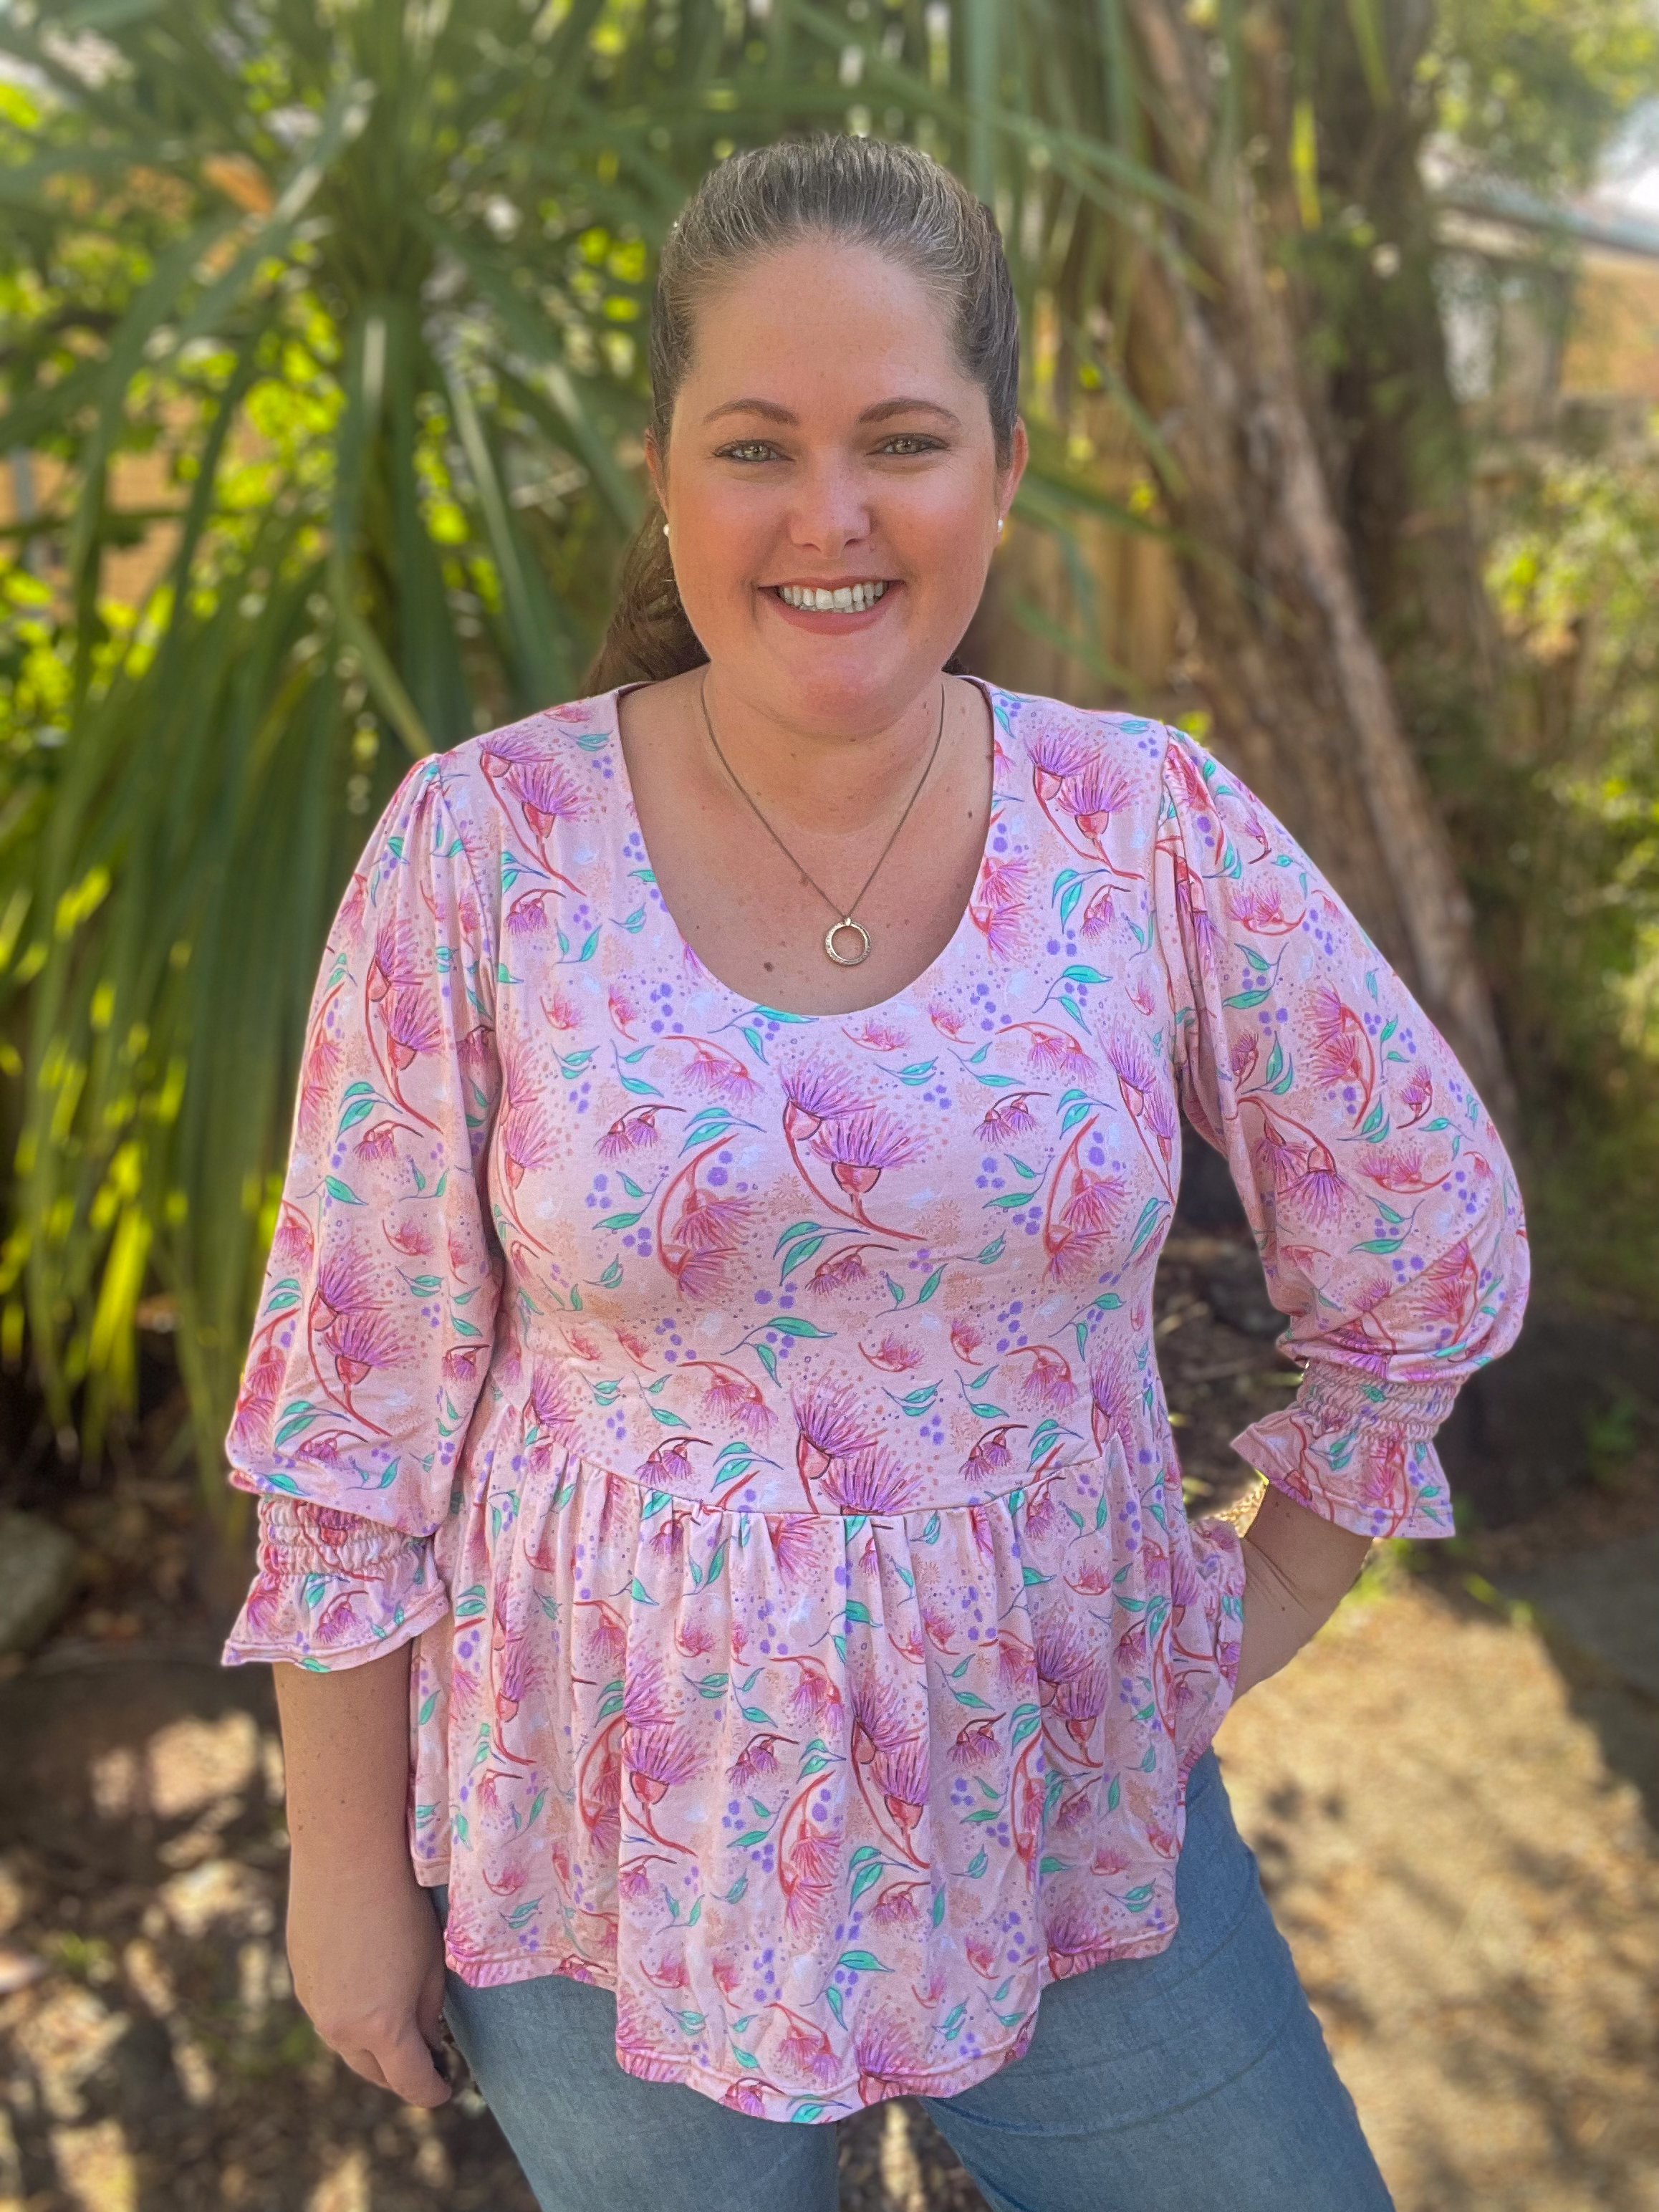
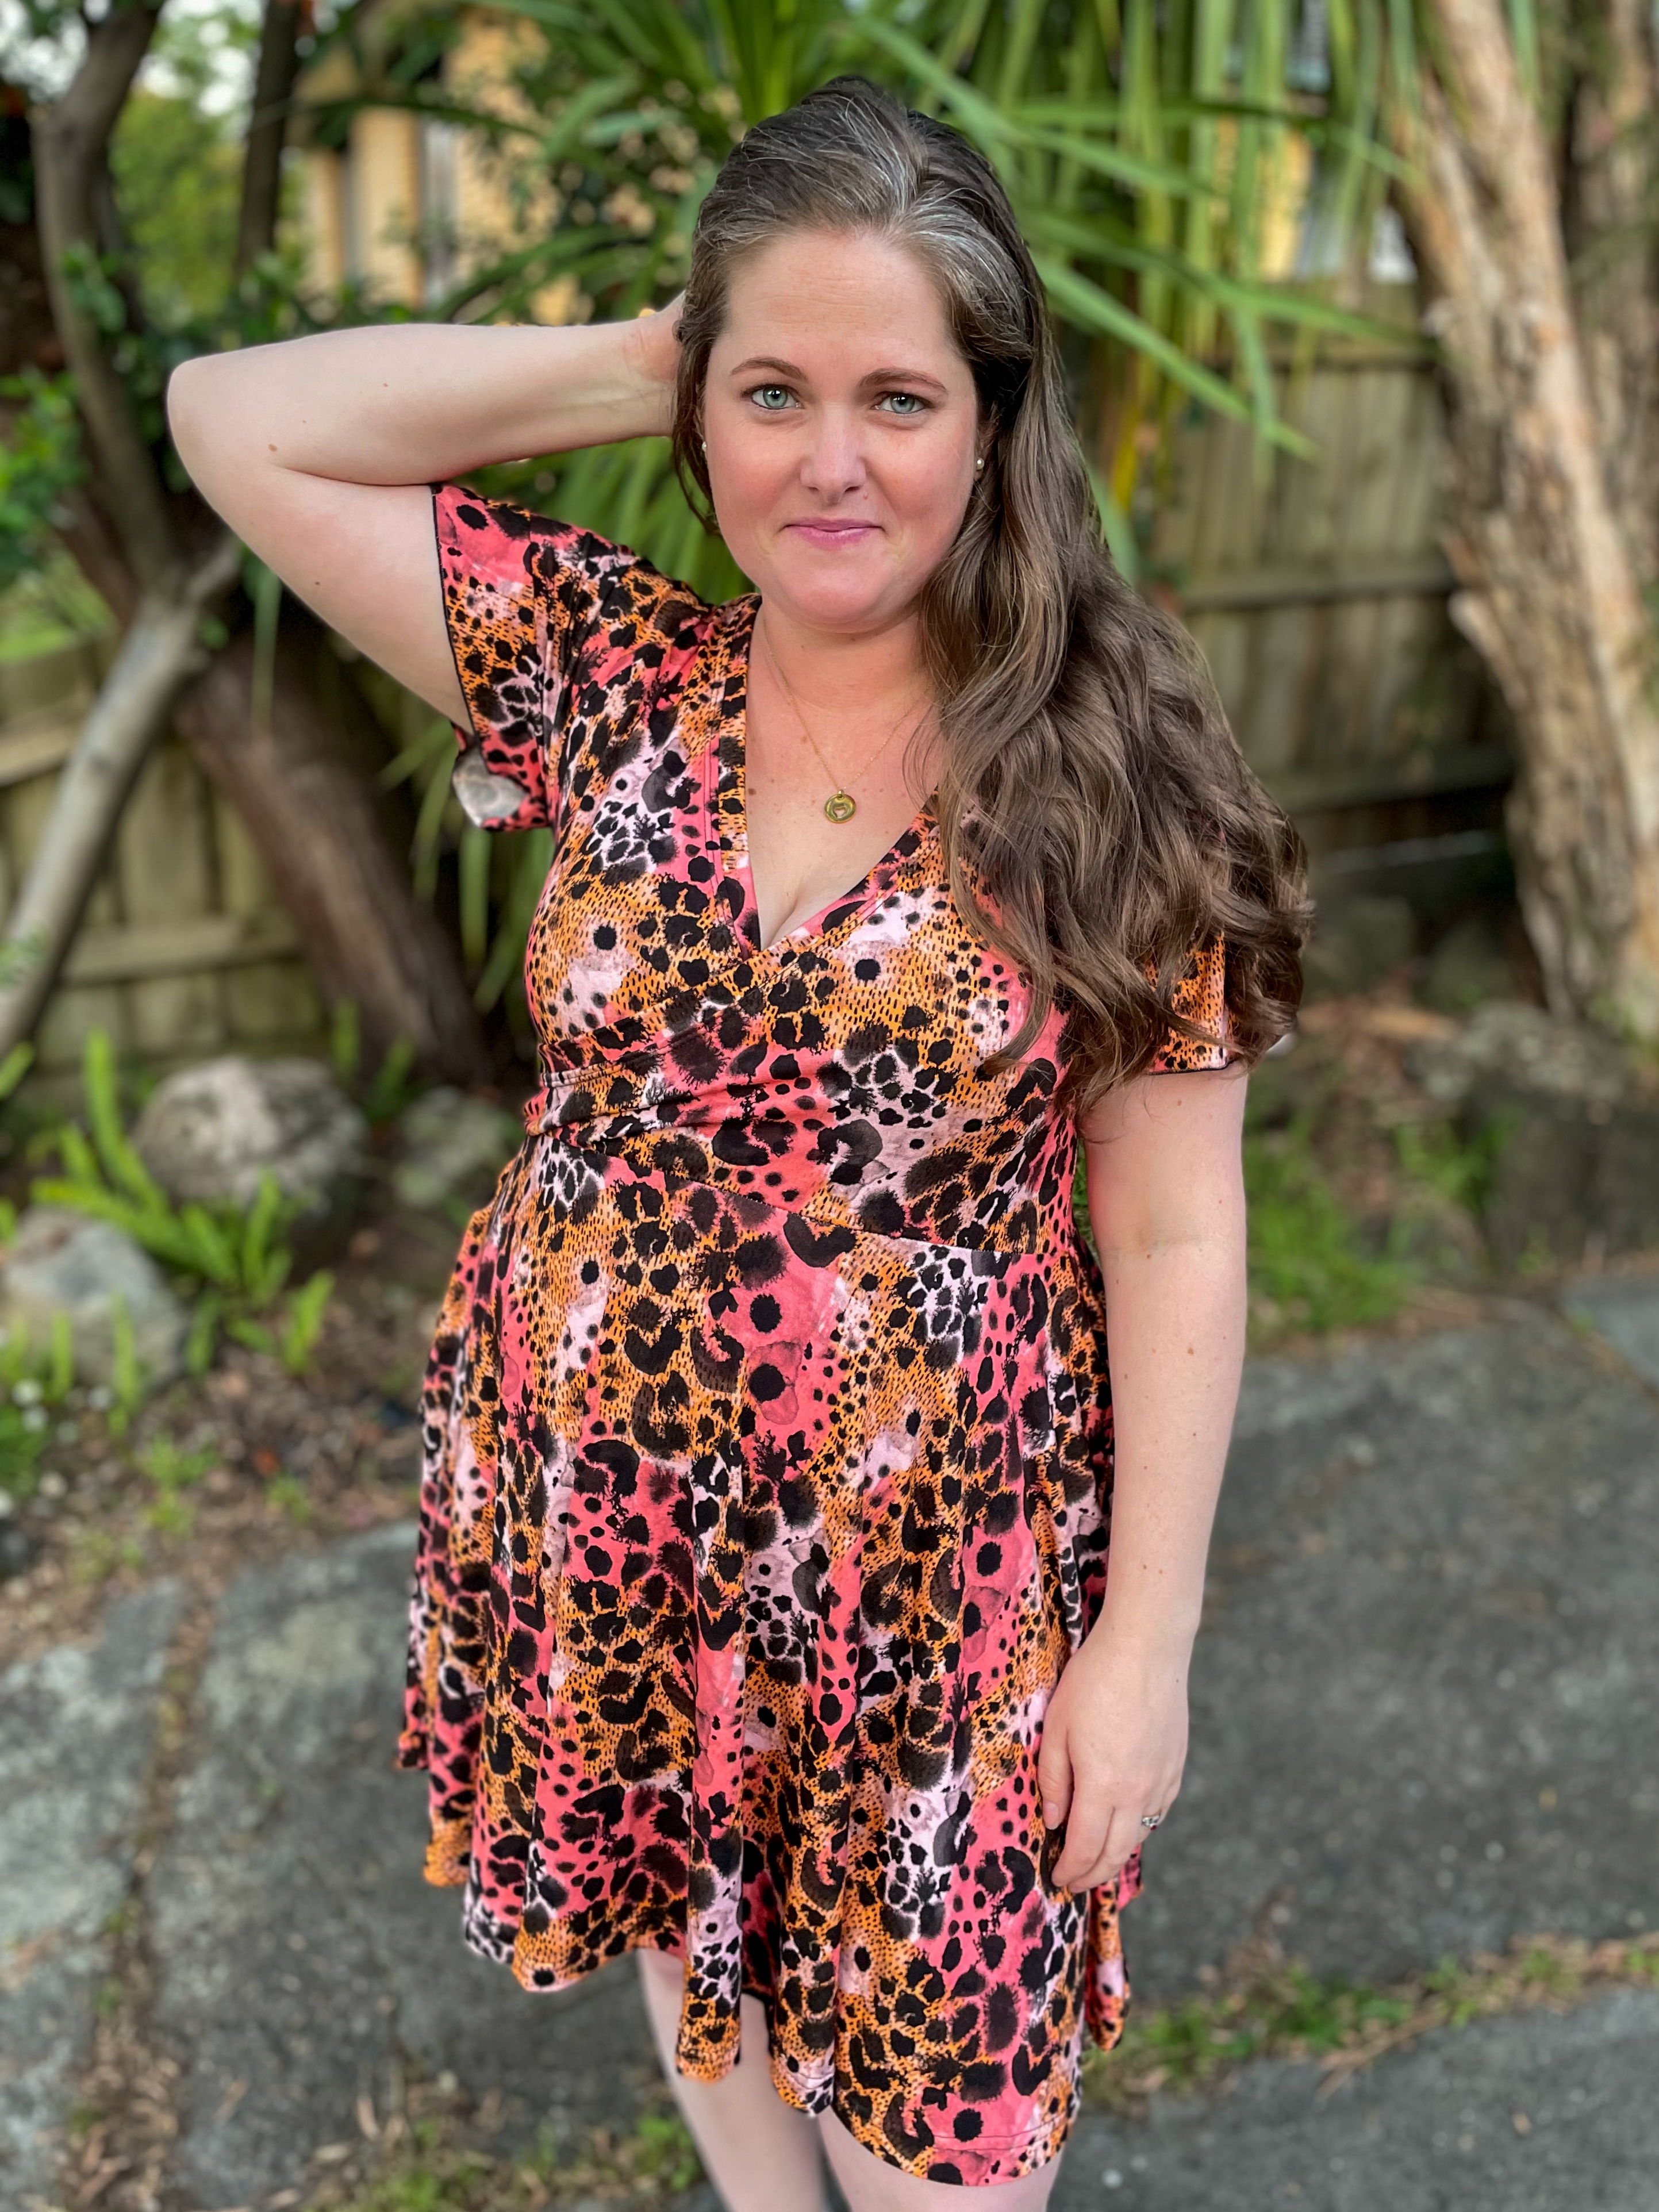
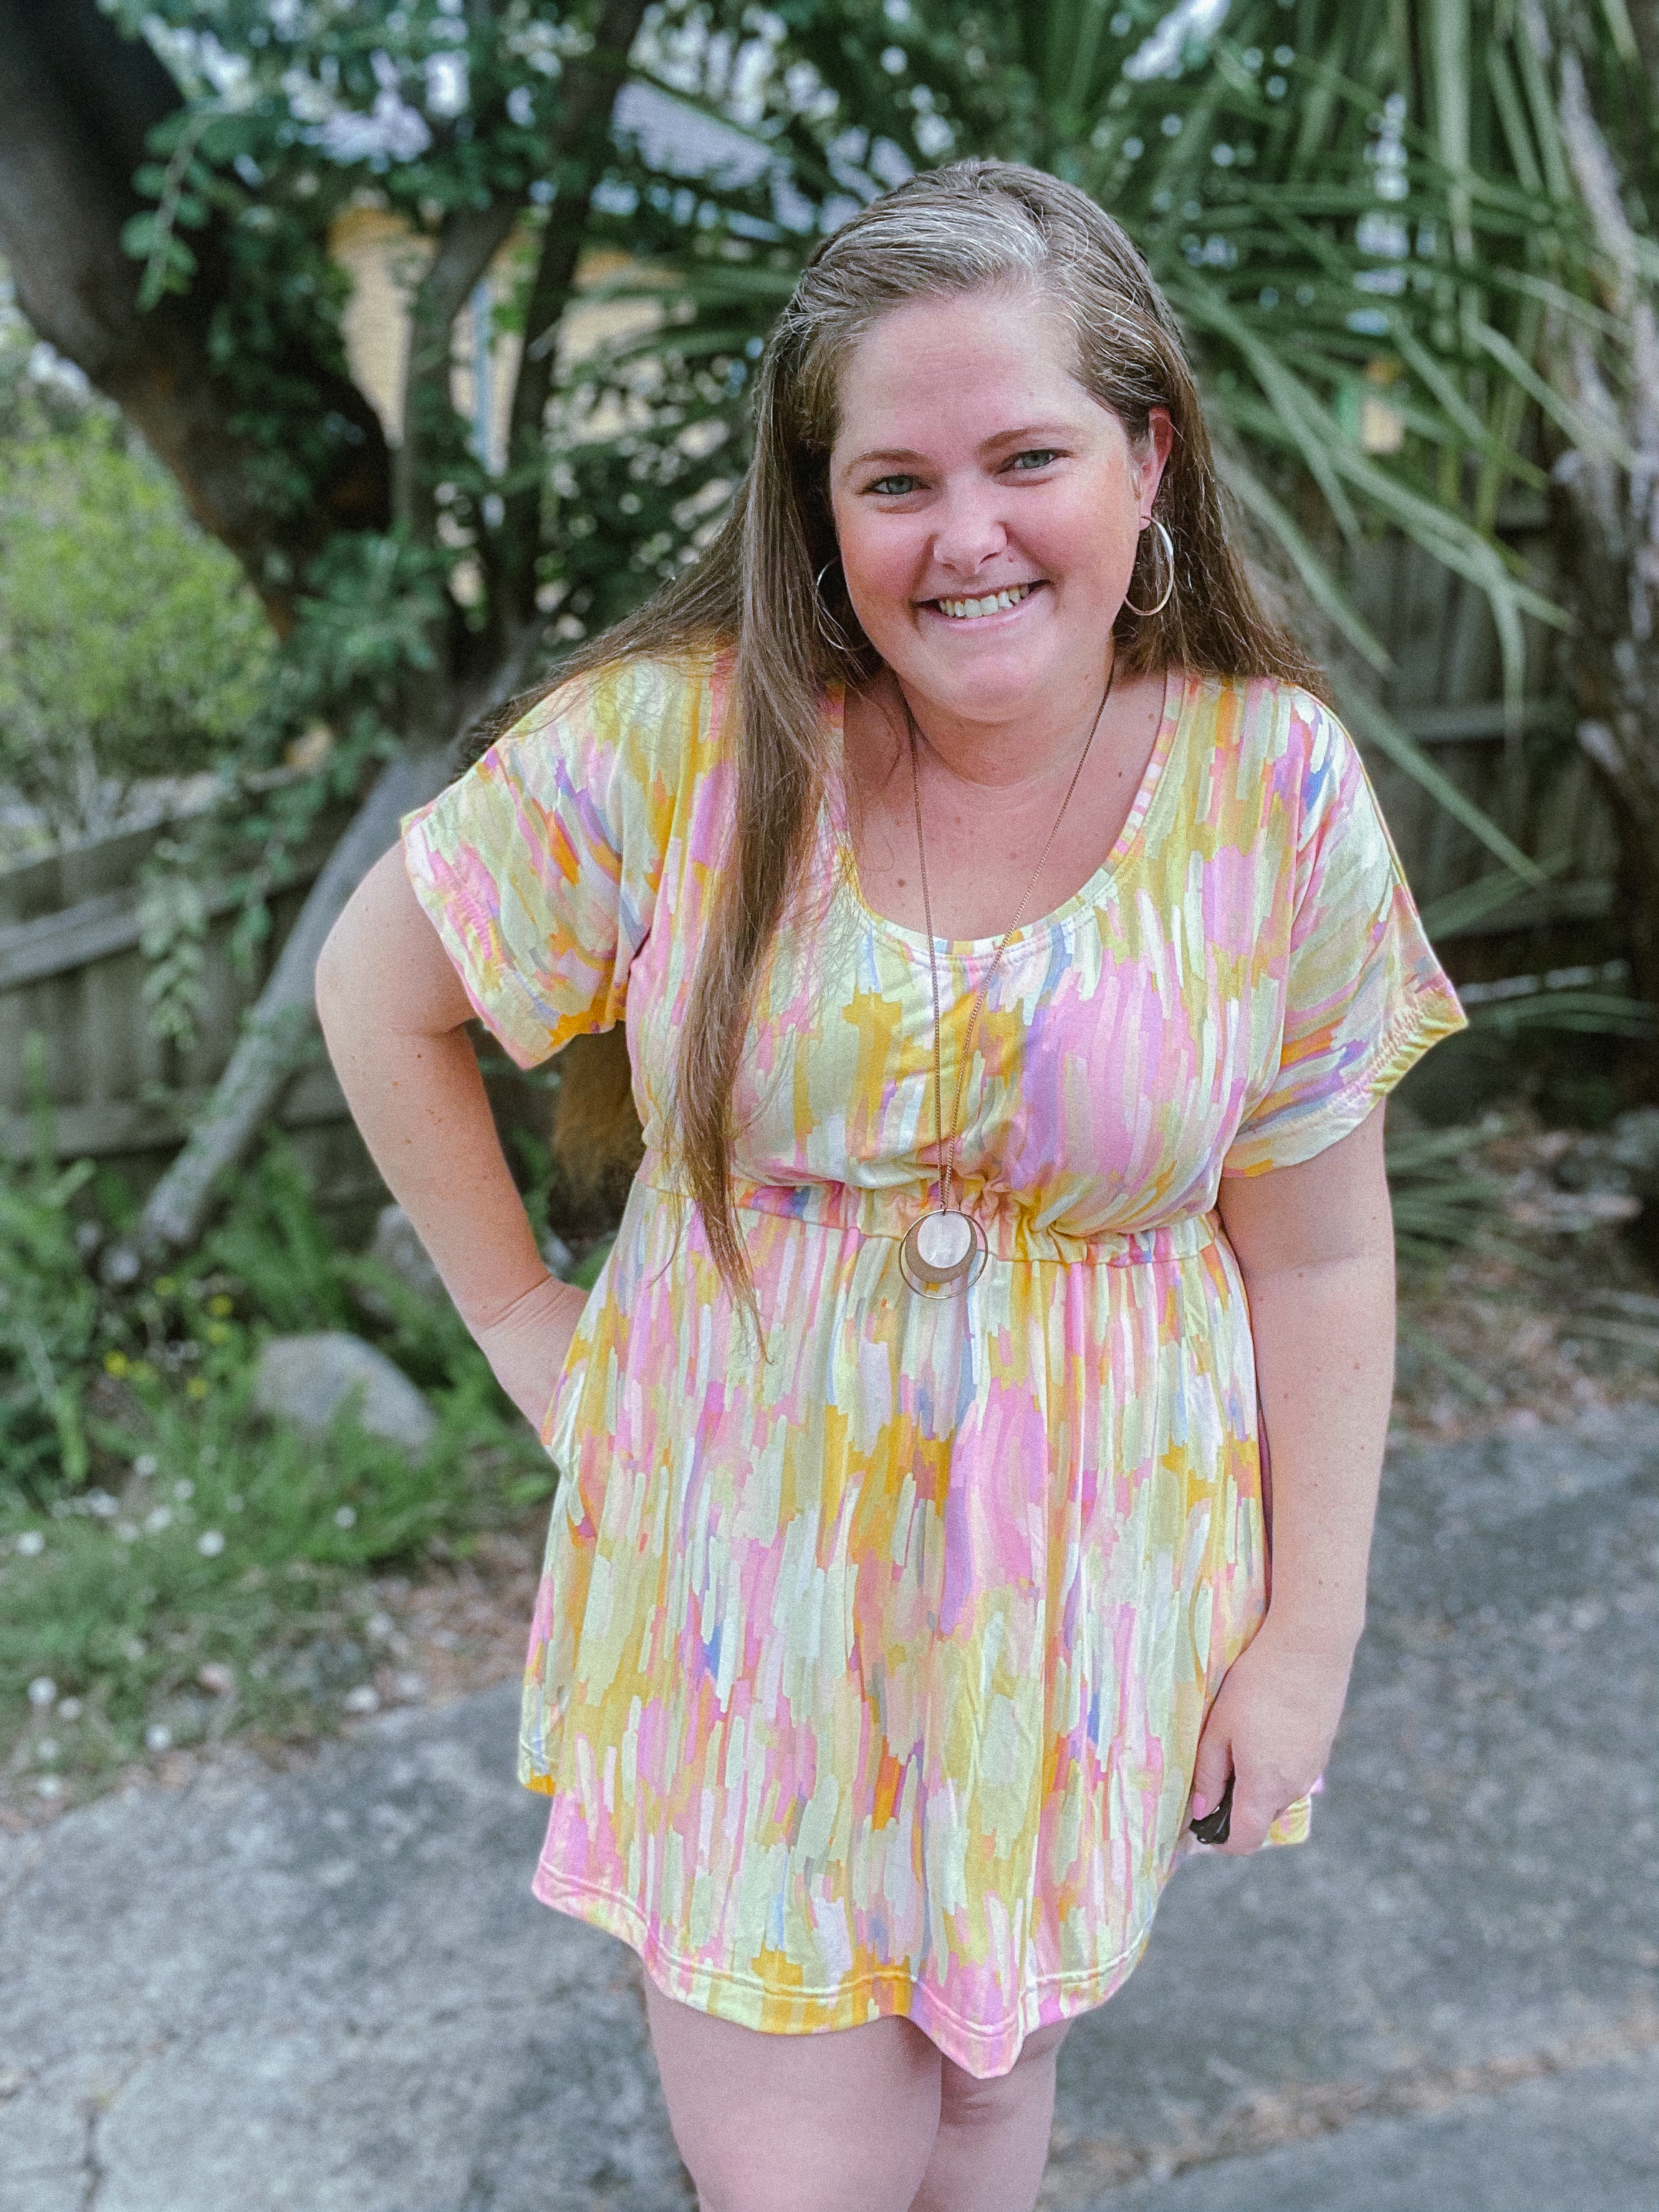
This pattern has a boat neck and scoop neck and while I thought about doing the boat neck, I really love a scoop neck on me, so I went with that. It also has a few sleeve options and skirt lengths, but I liked the short sleeves and mid thigh for the skirt. Being summer I figured I’d get good use out of it and could also put leggings underneath when it starts to cool down.
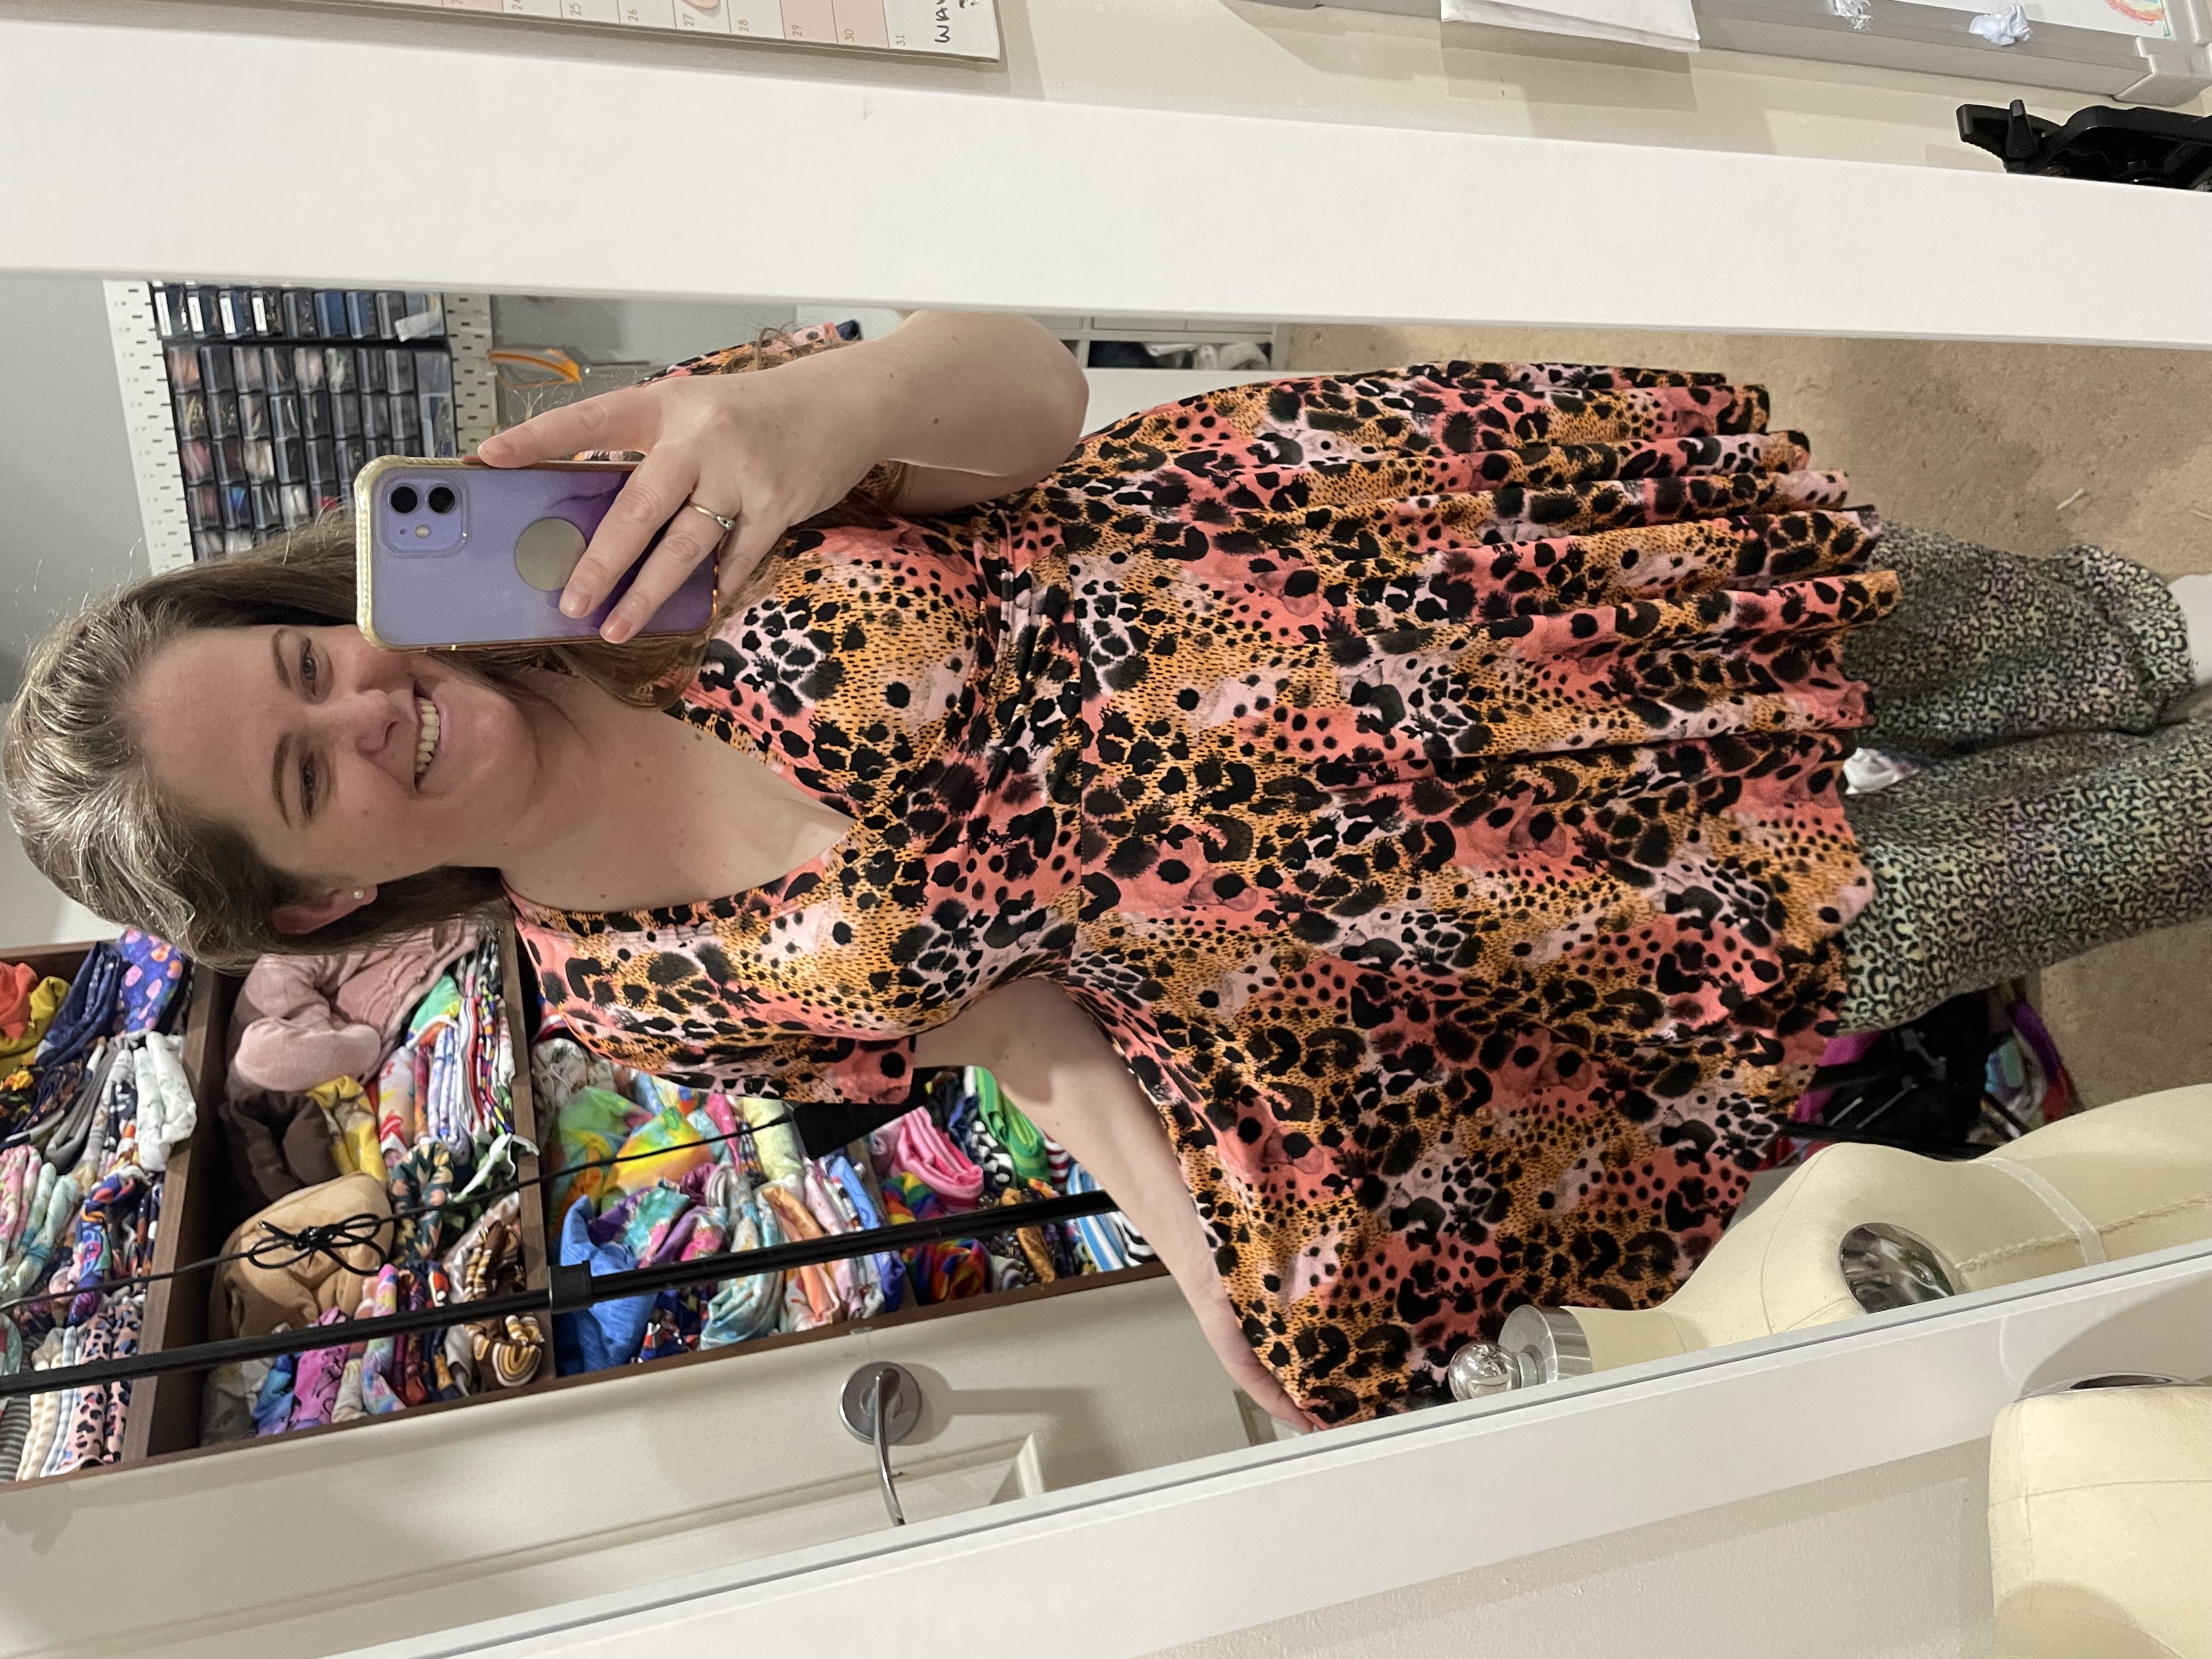
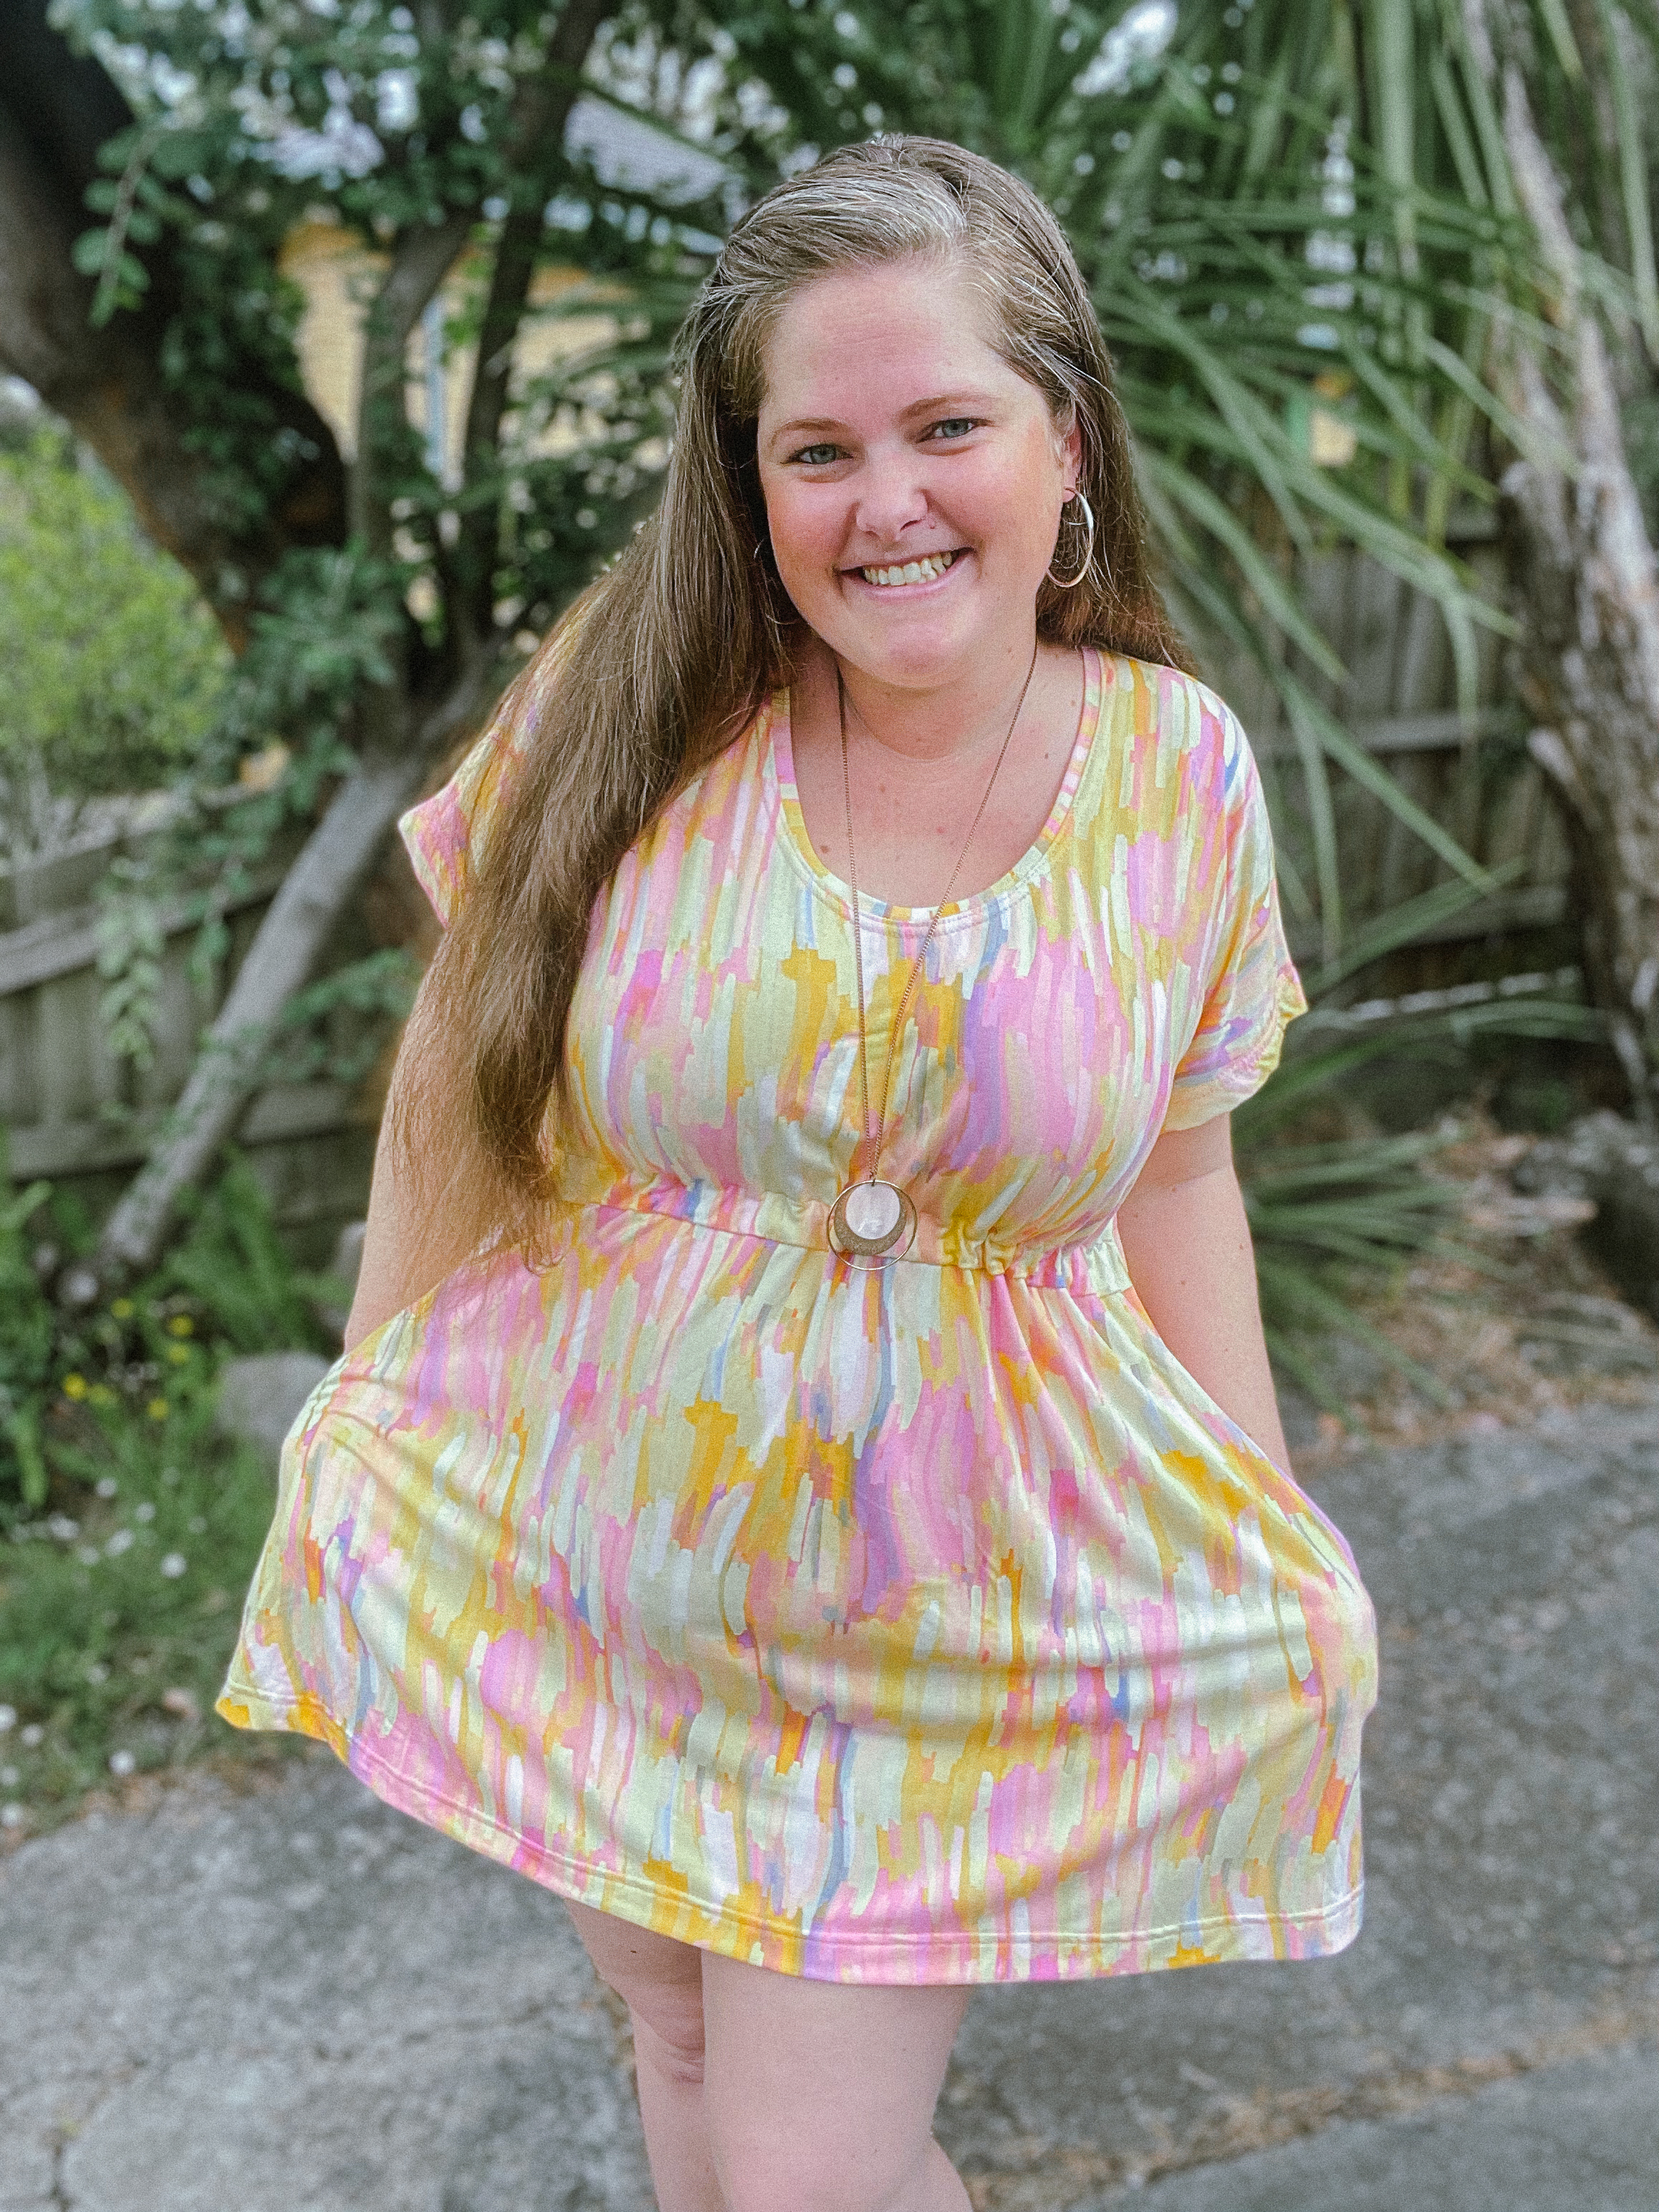
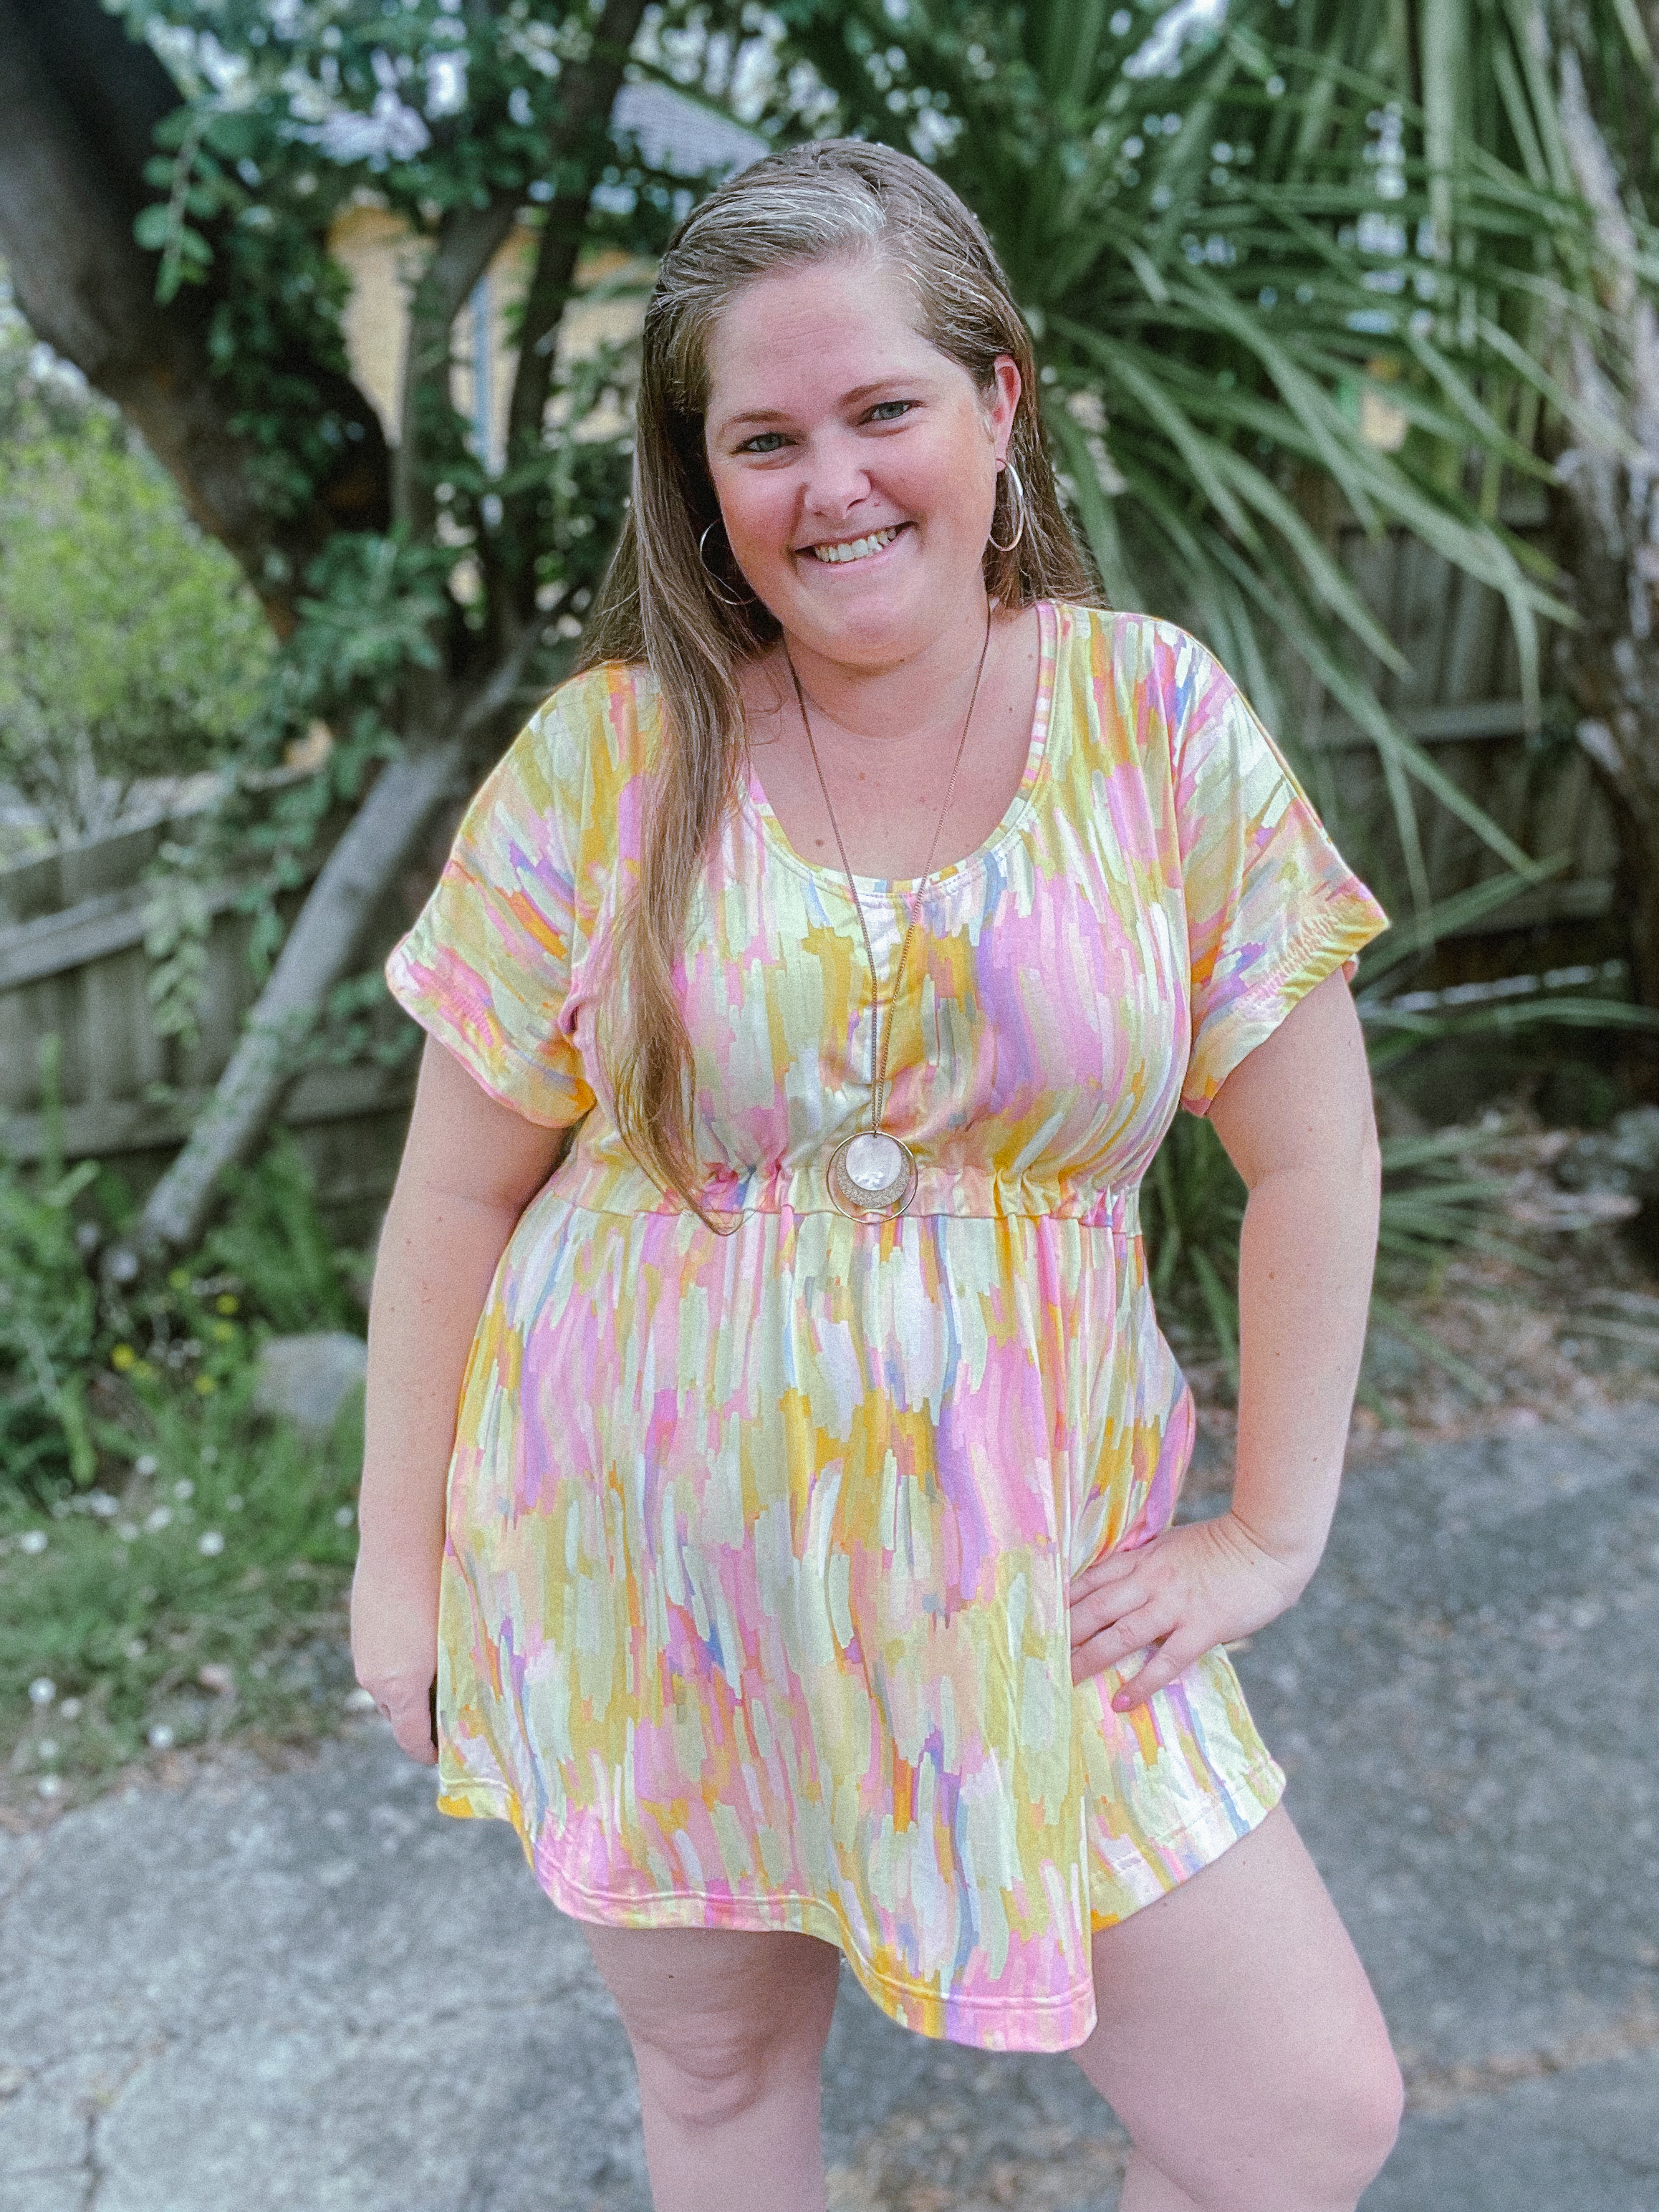
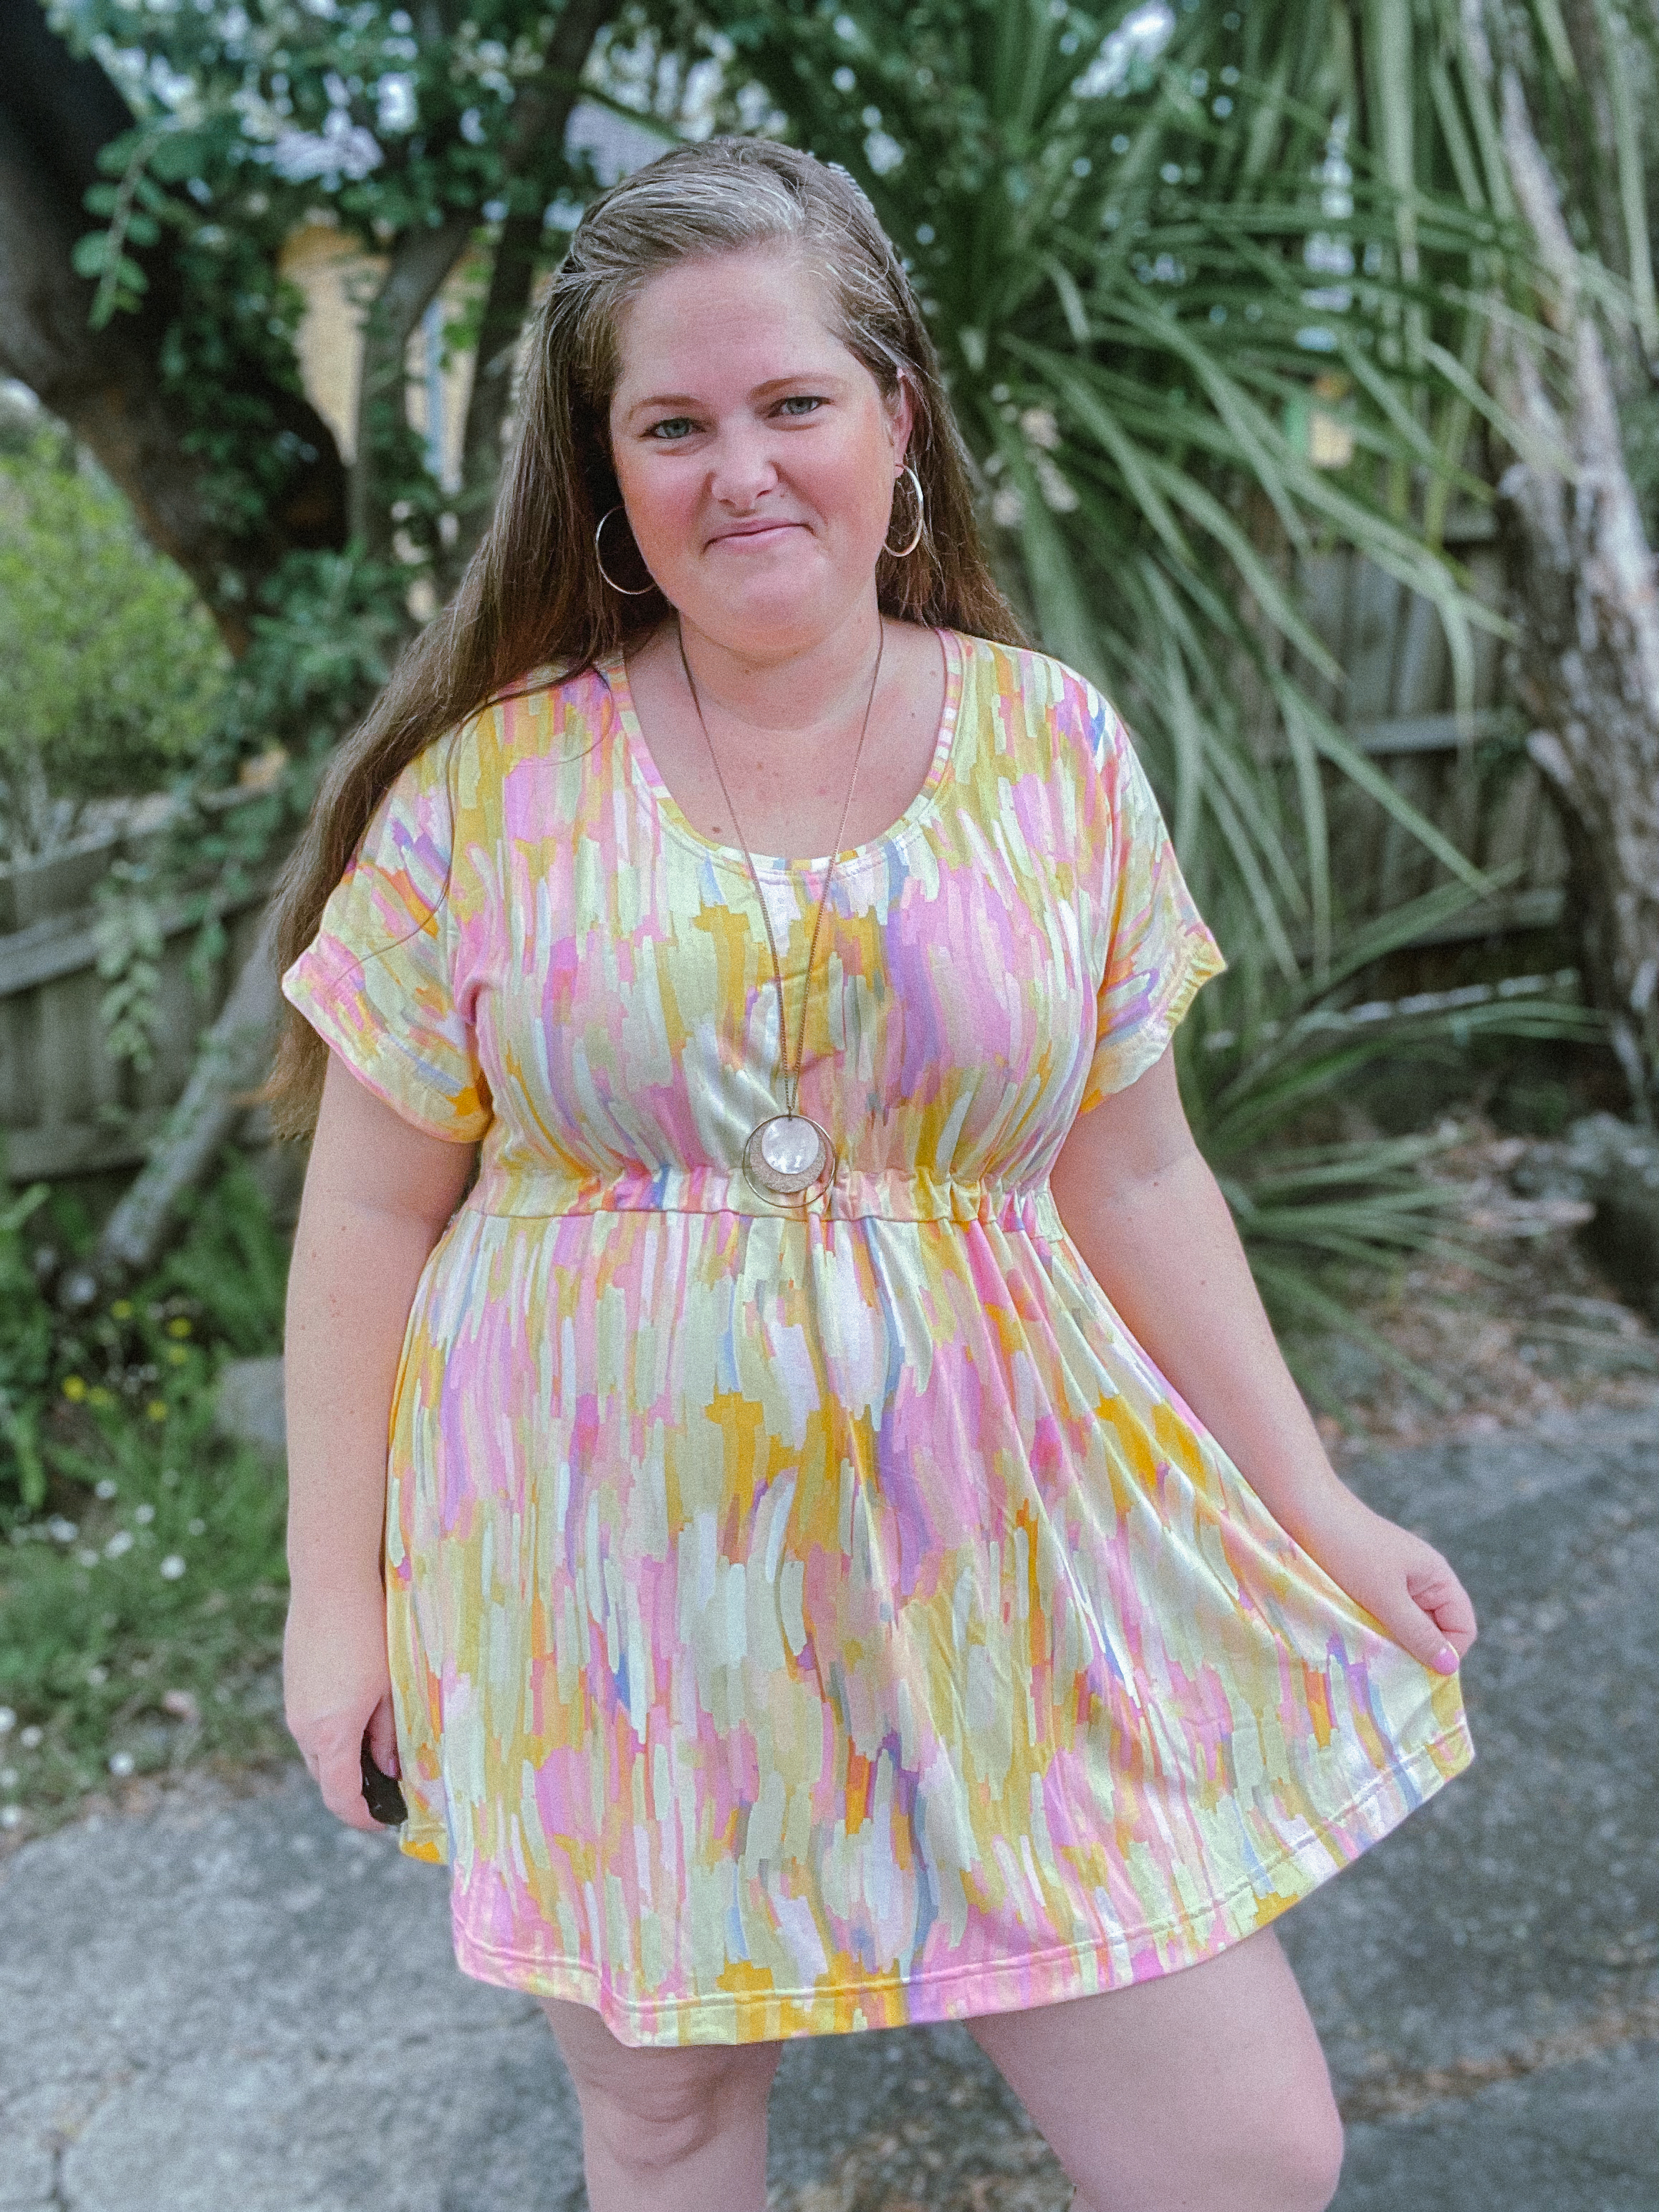
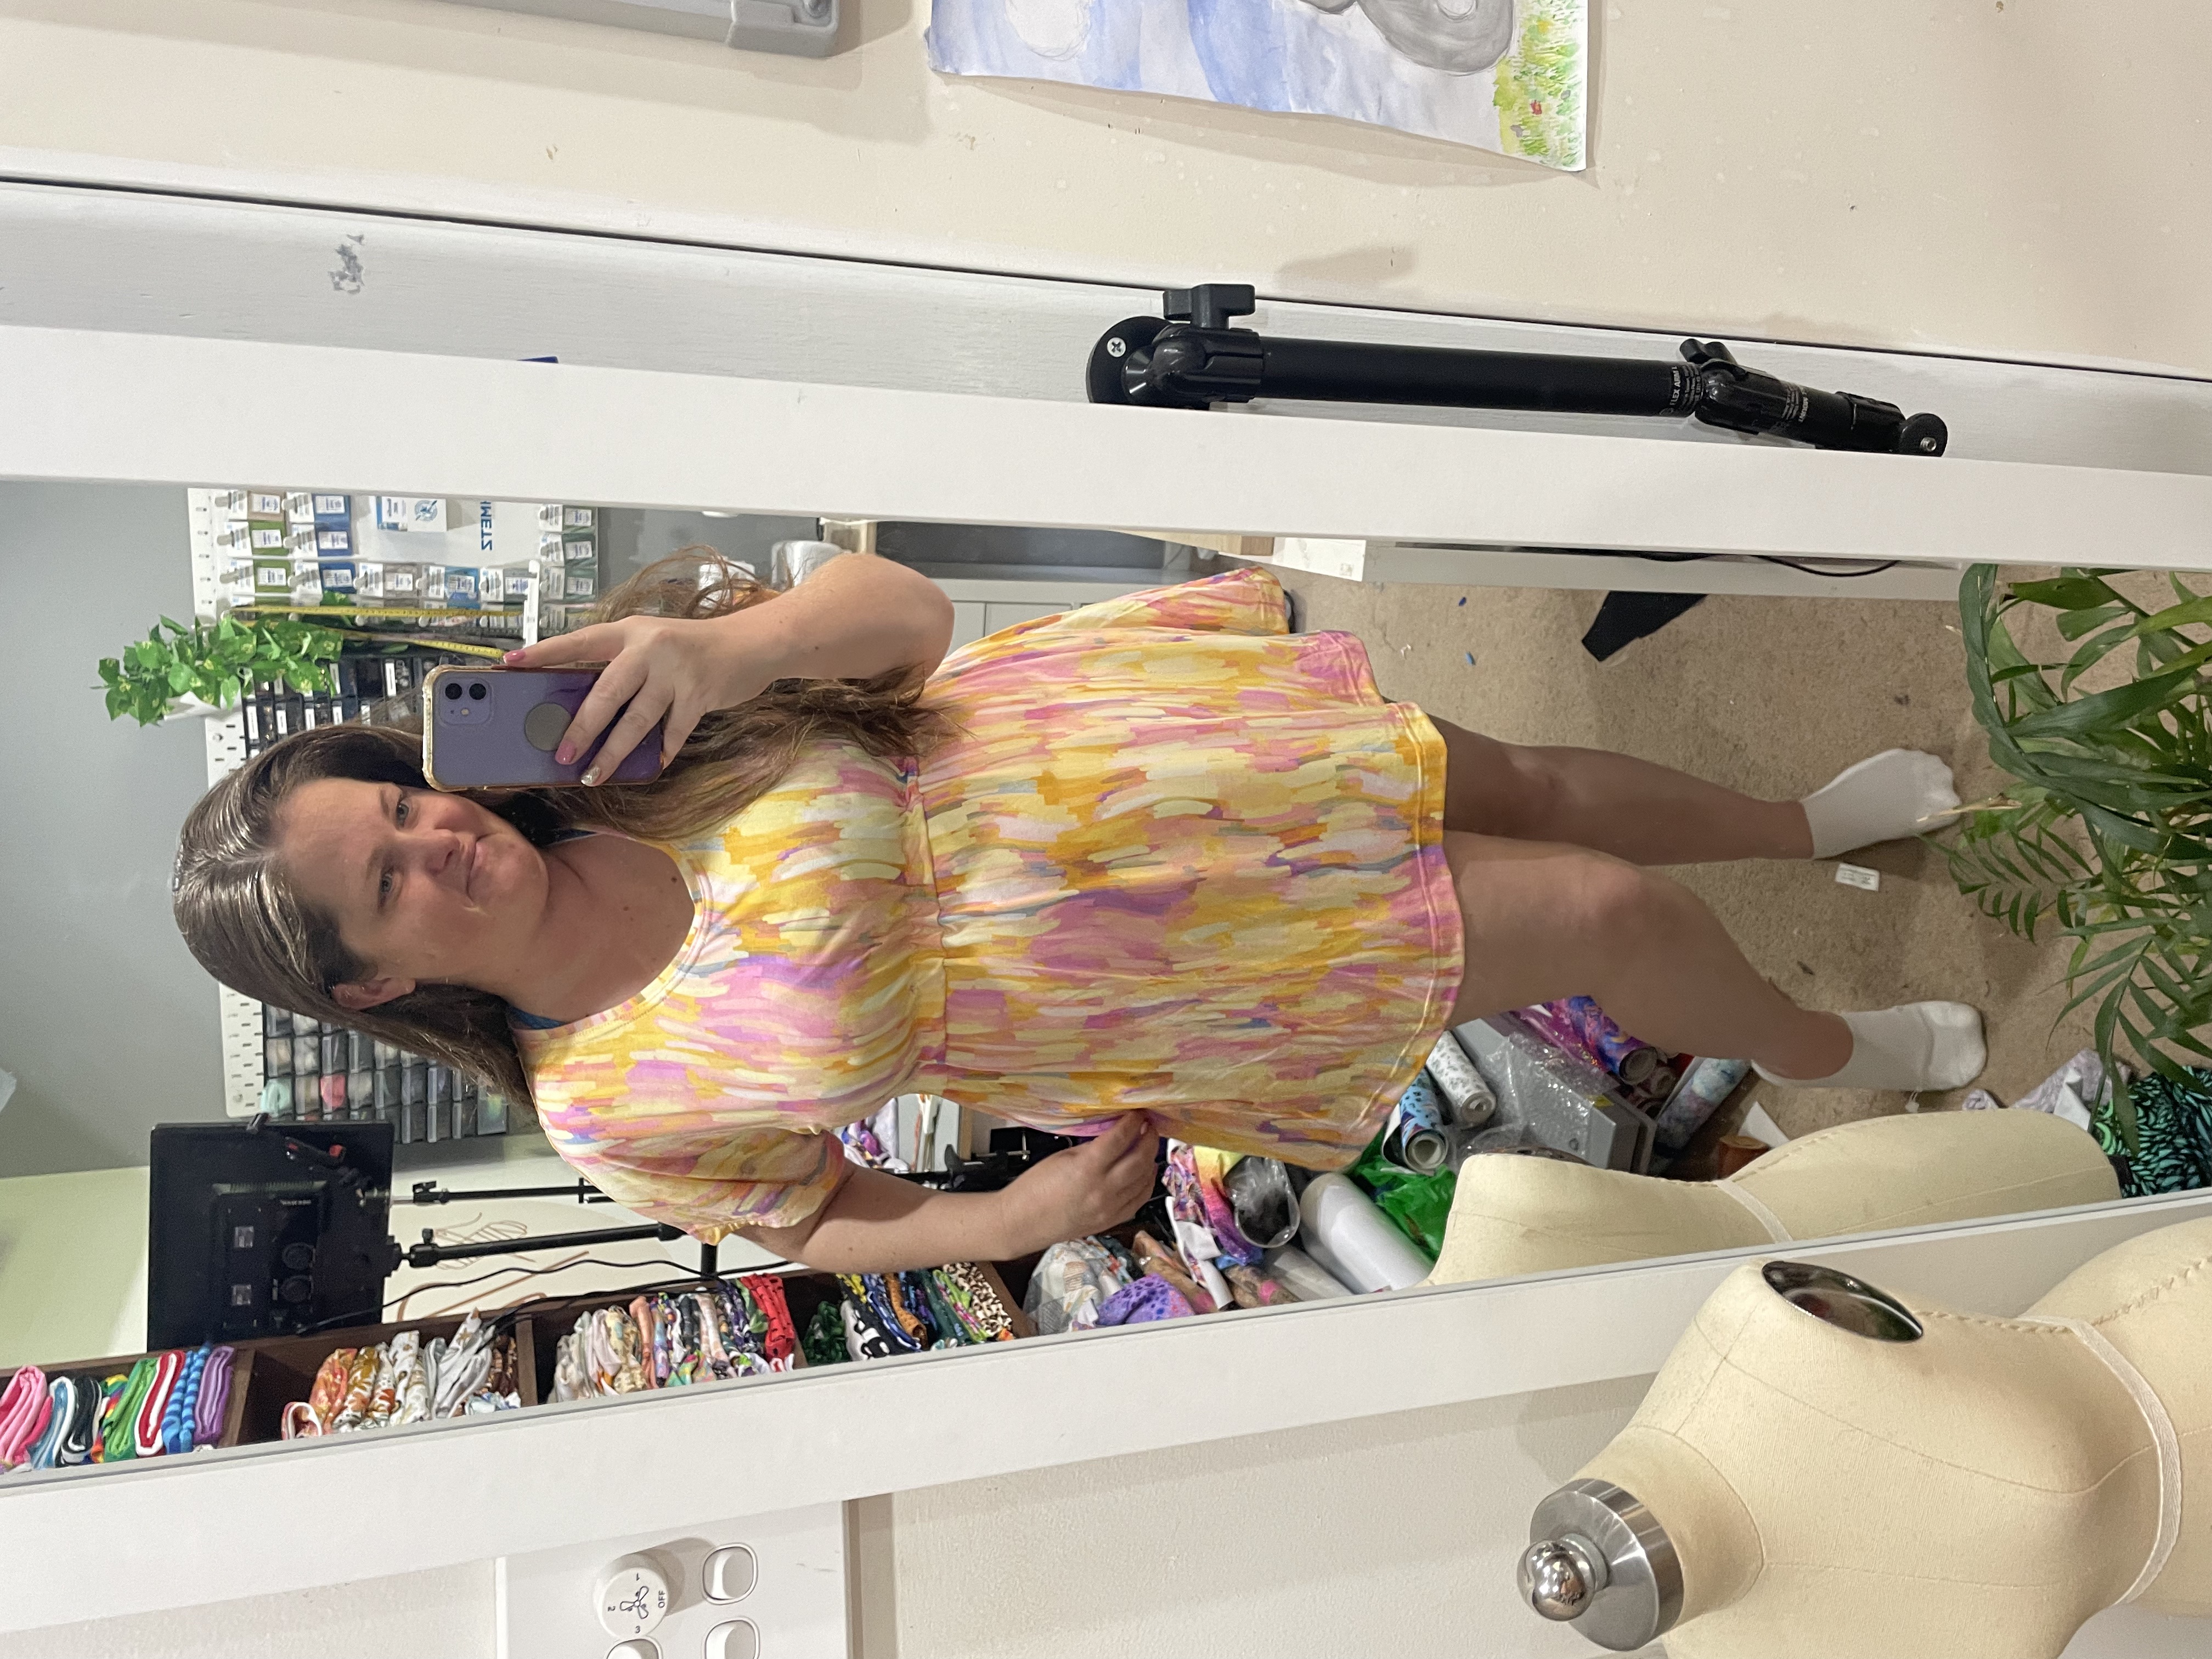
Unfortunately I didn’t read the pattern right and ended up taking about 3 inches out of the waist, whoops! BUT, I am really happy with the end result, I would probably just end up adding that to the skirt next time as its *quite* short. haha. Instead of cutting the actual waist measurement, I cut the height adjustment line instead. But as I said, I love the result of this ‘mistake’.
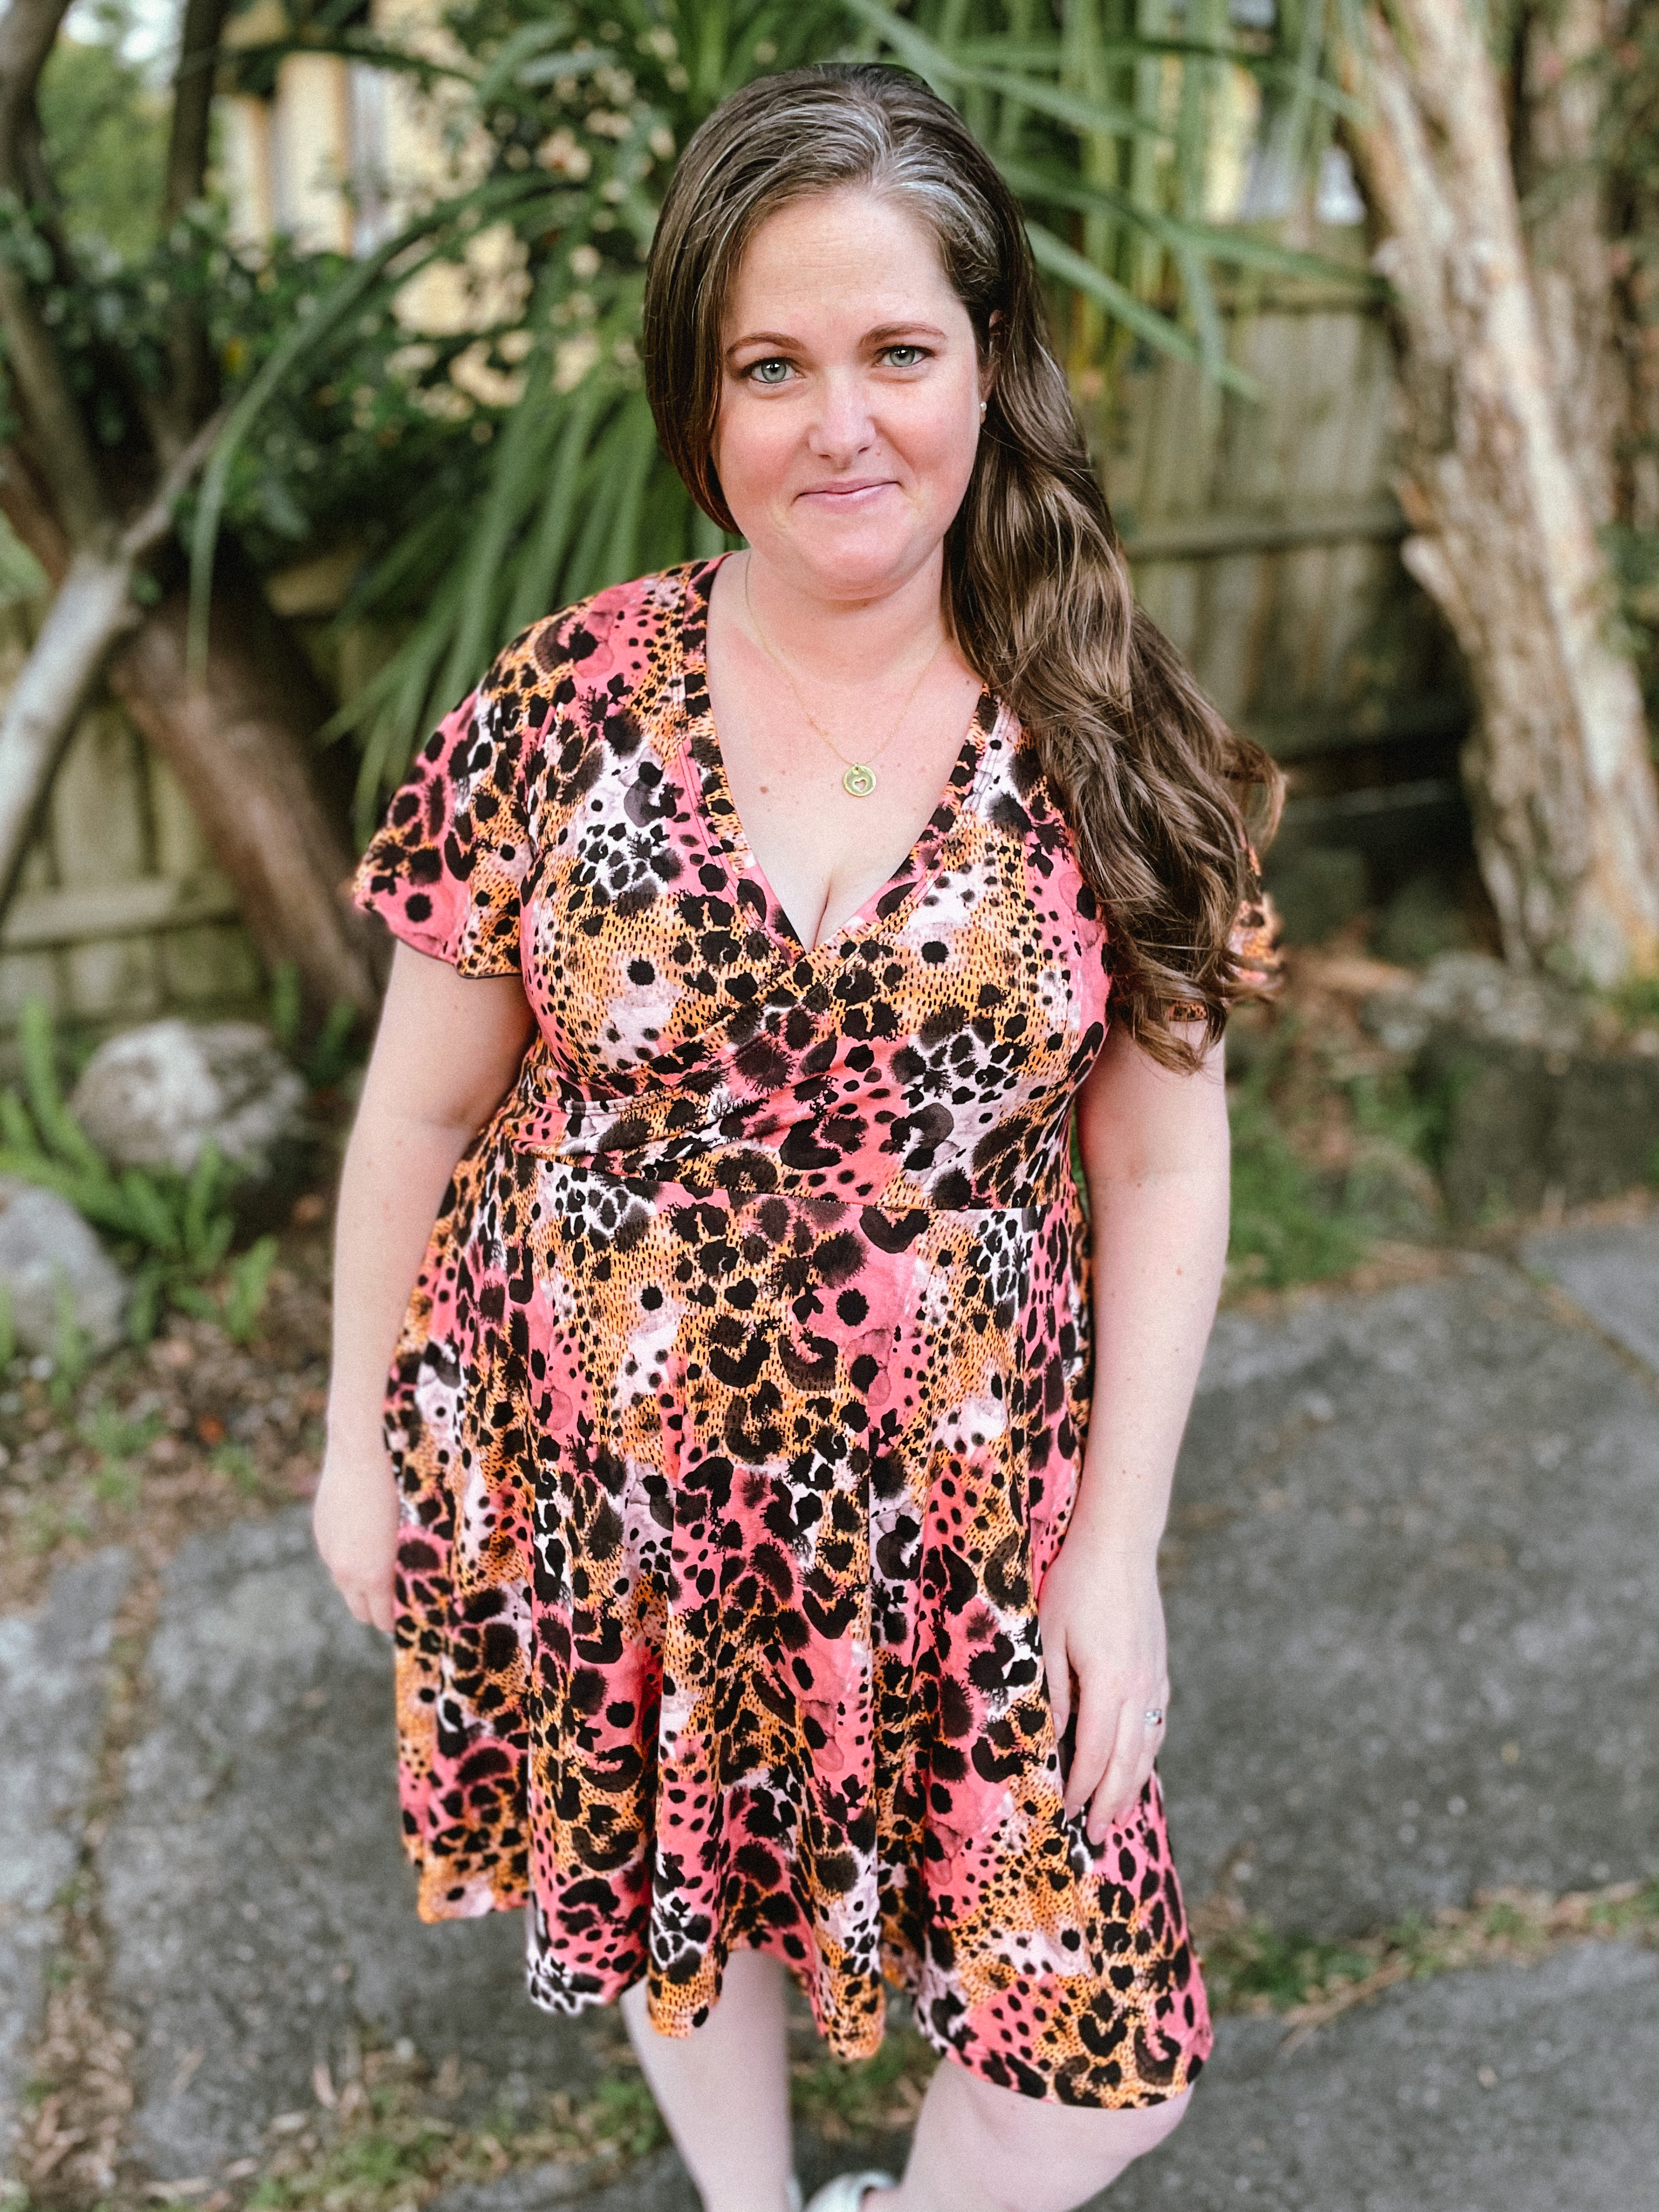
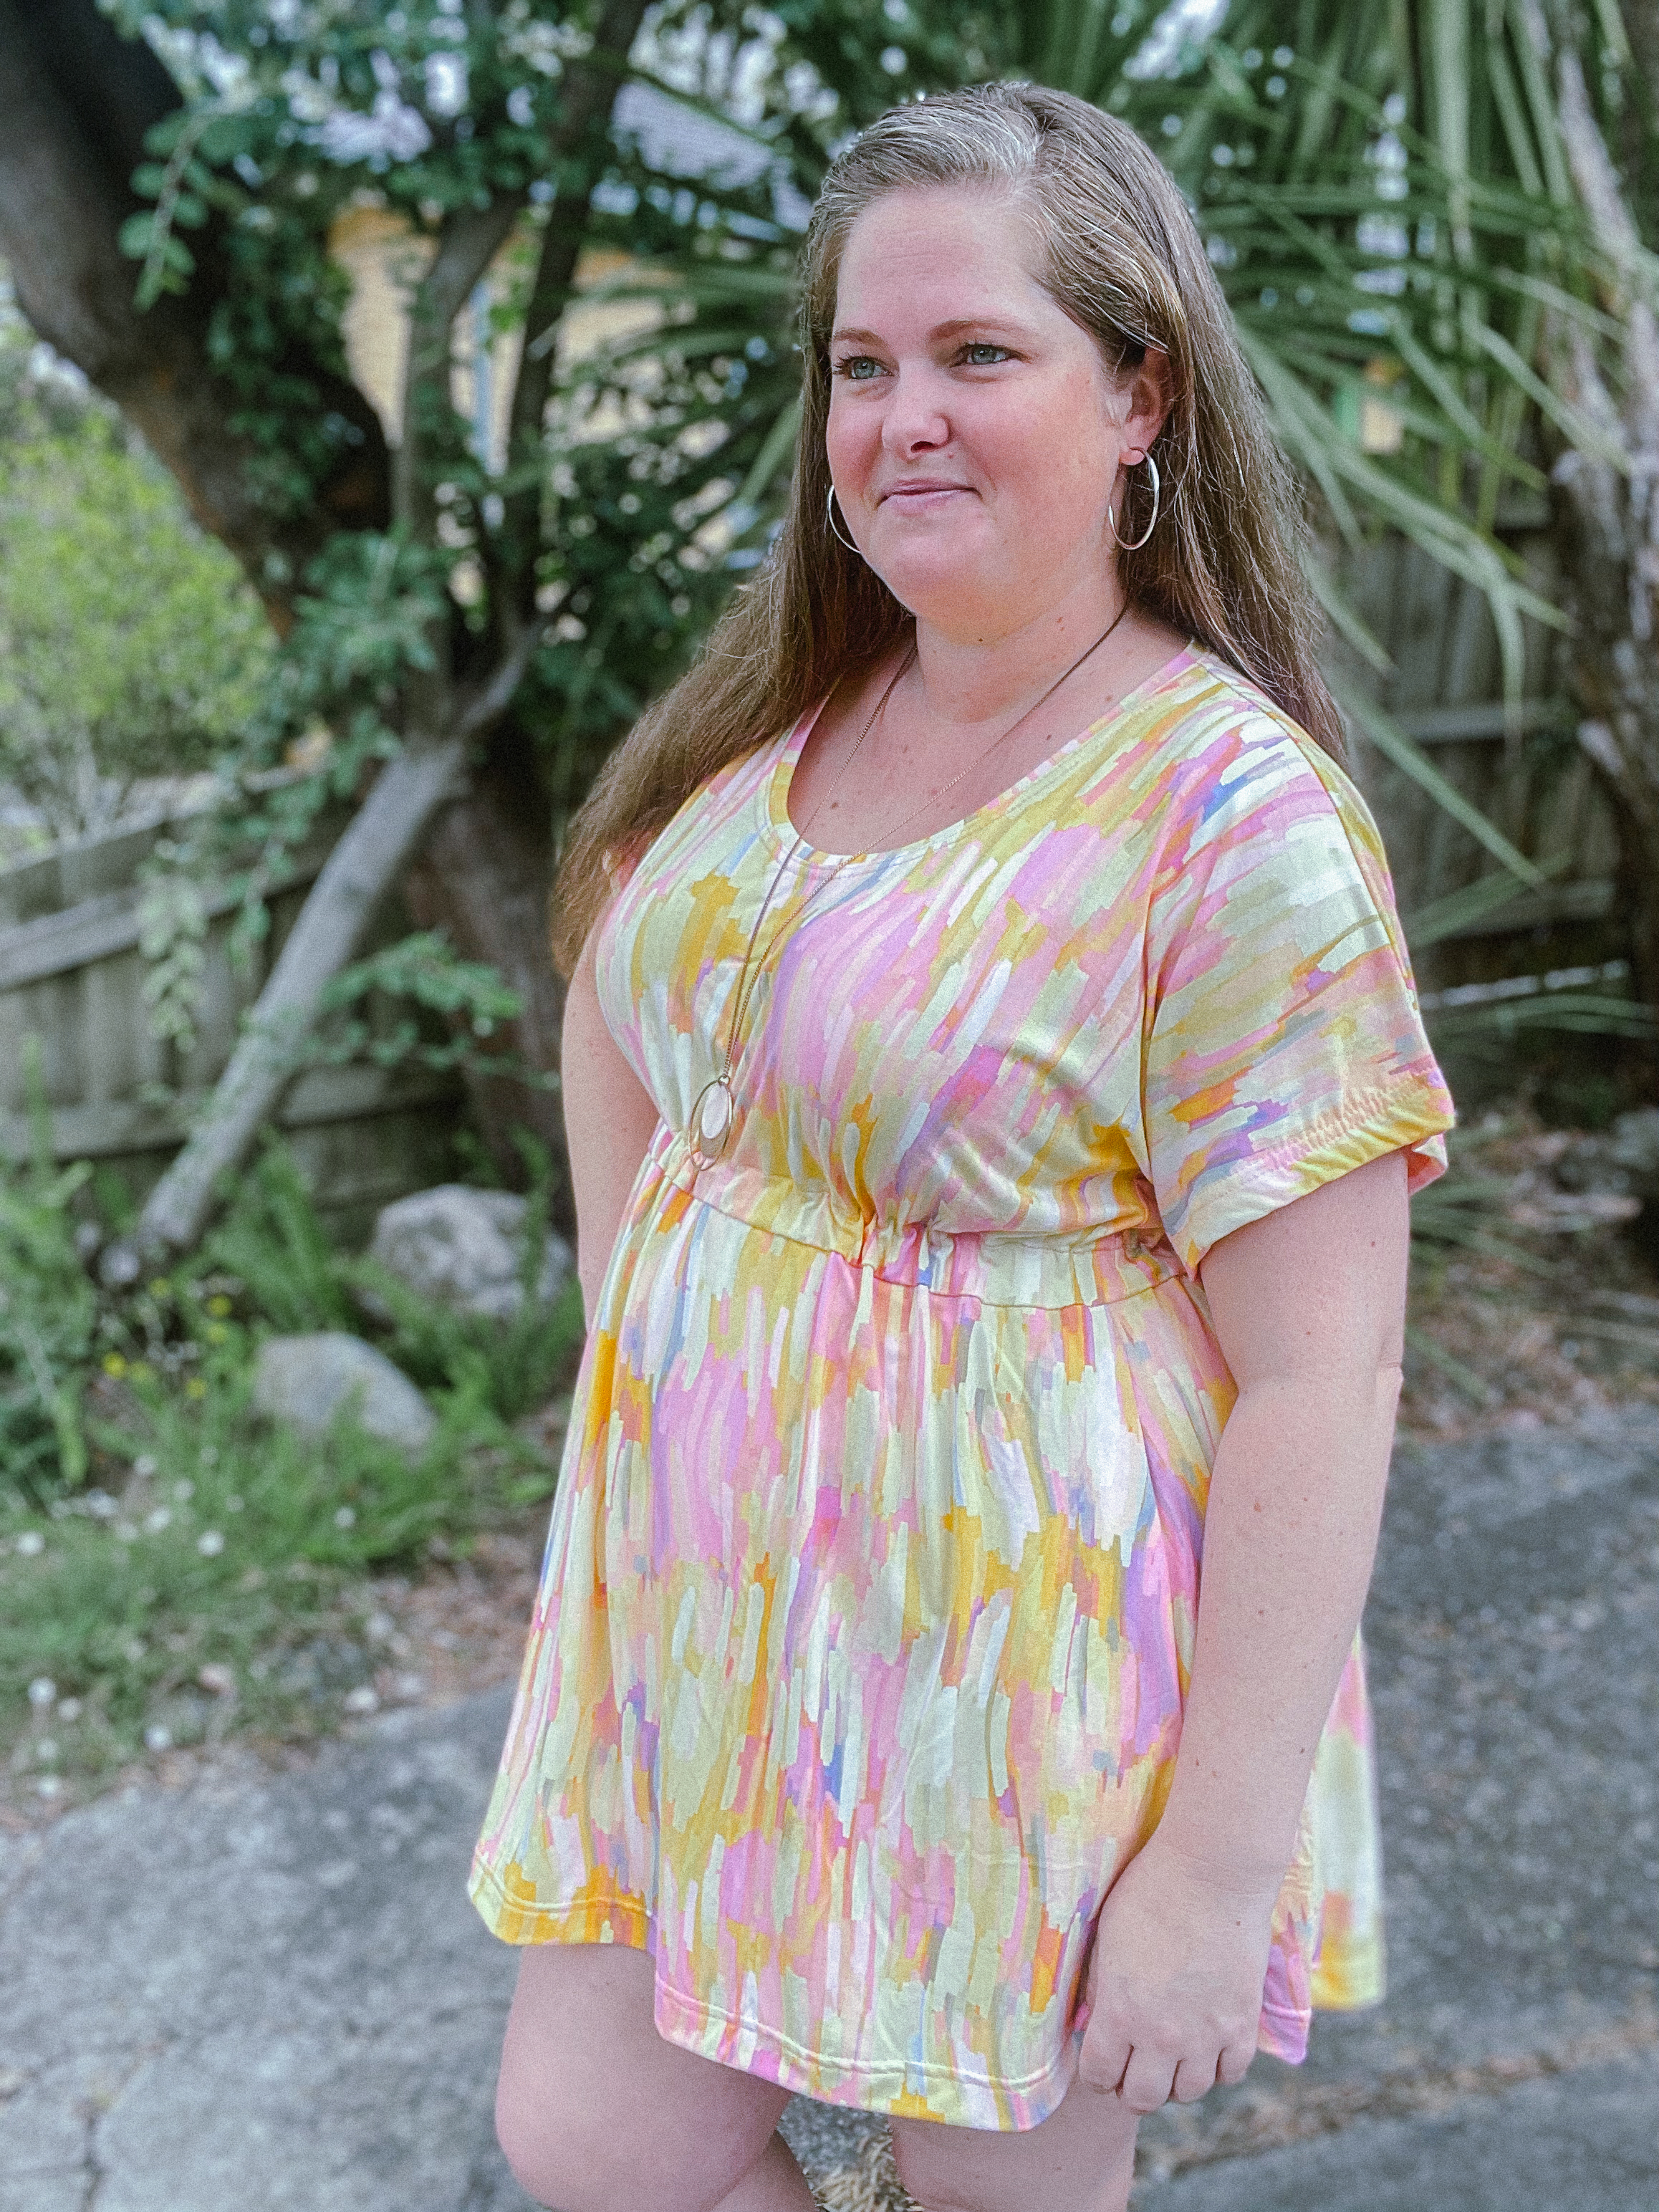
Using a really slinky fabric like the organic viscose meant it drapes so beautifully and its super soft against my skin. There is heaps of ease so I didn’t feel constricted and having the elasticated waist adds definition to my waistline, without emphasizing my stomach, which I am still self conscious about.
All in all, I’m very happy with this one and can see it getting a lot of wear both for the rest of summer and well into the Autumn/Fall months!
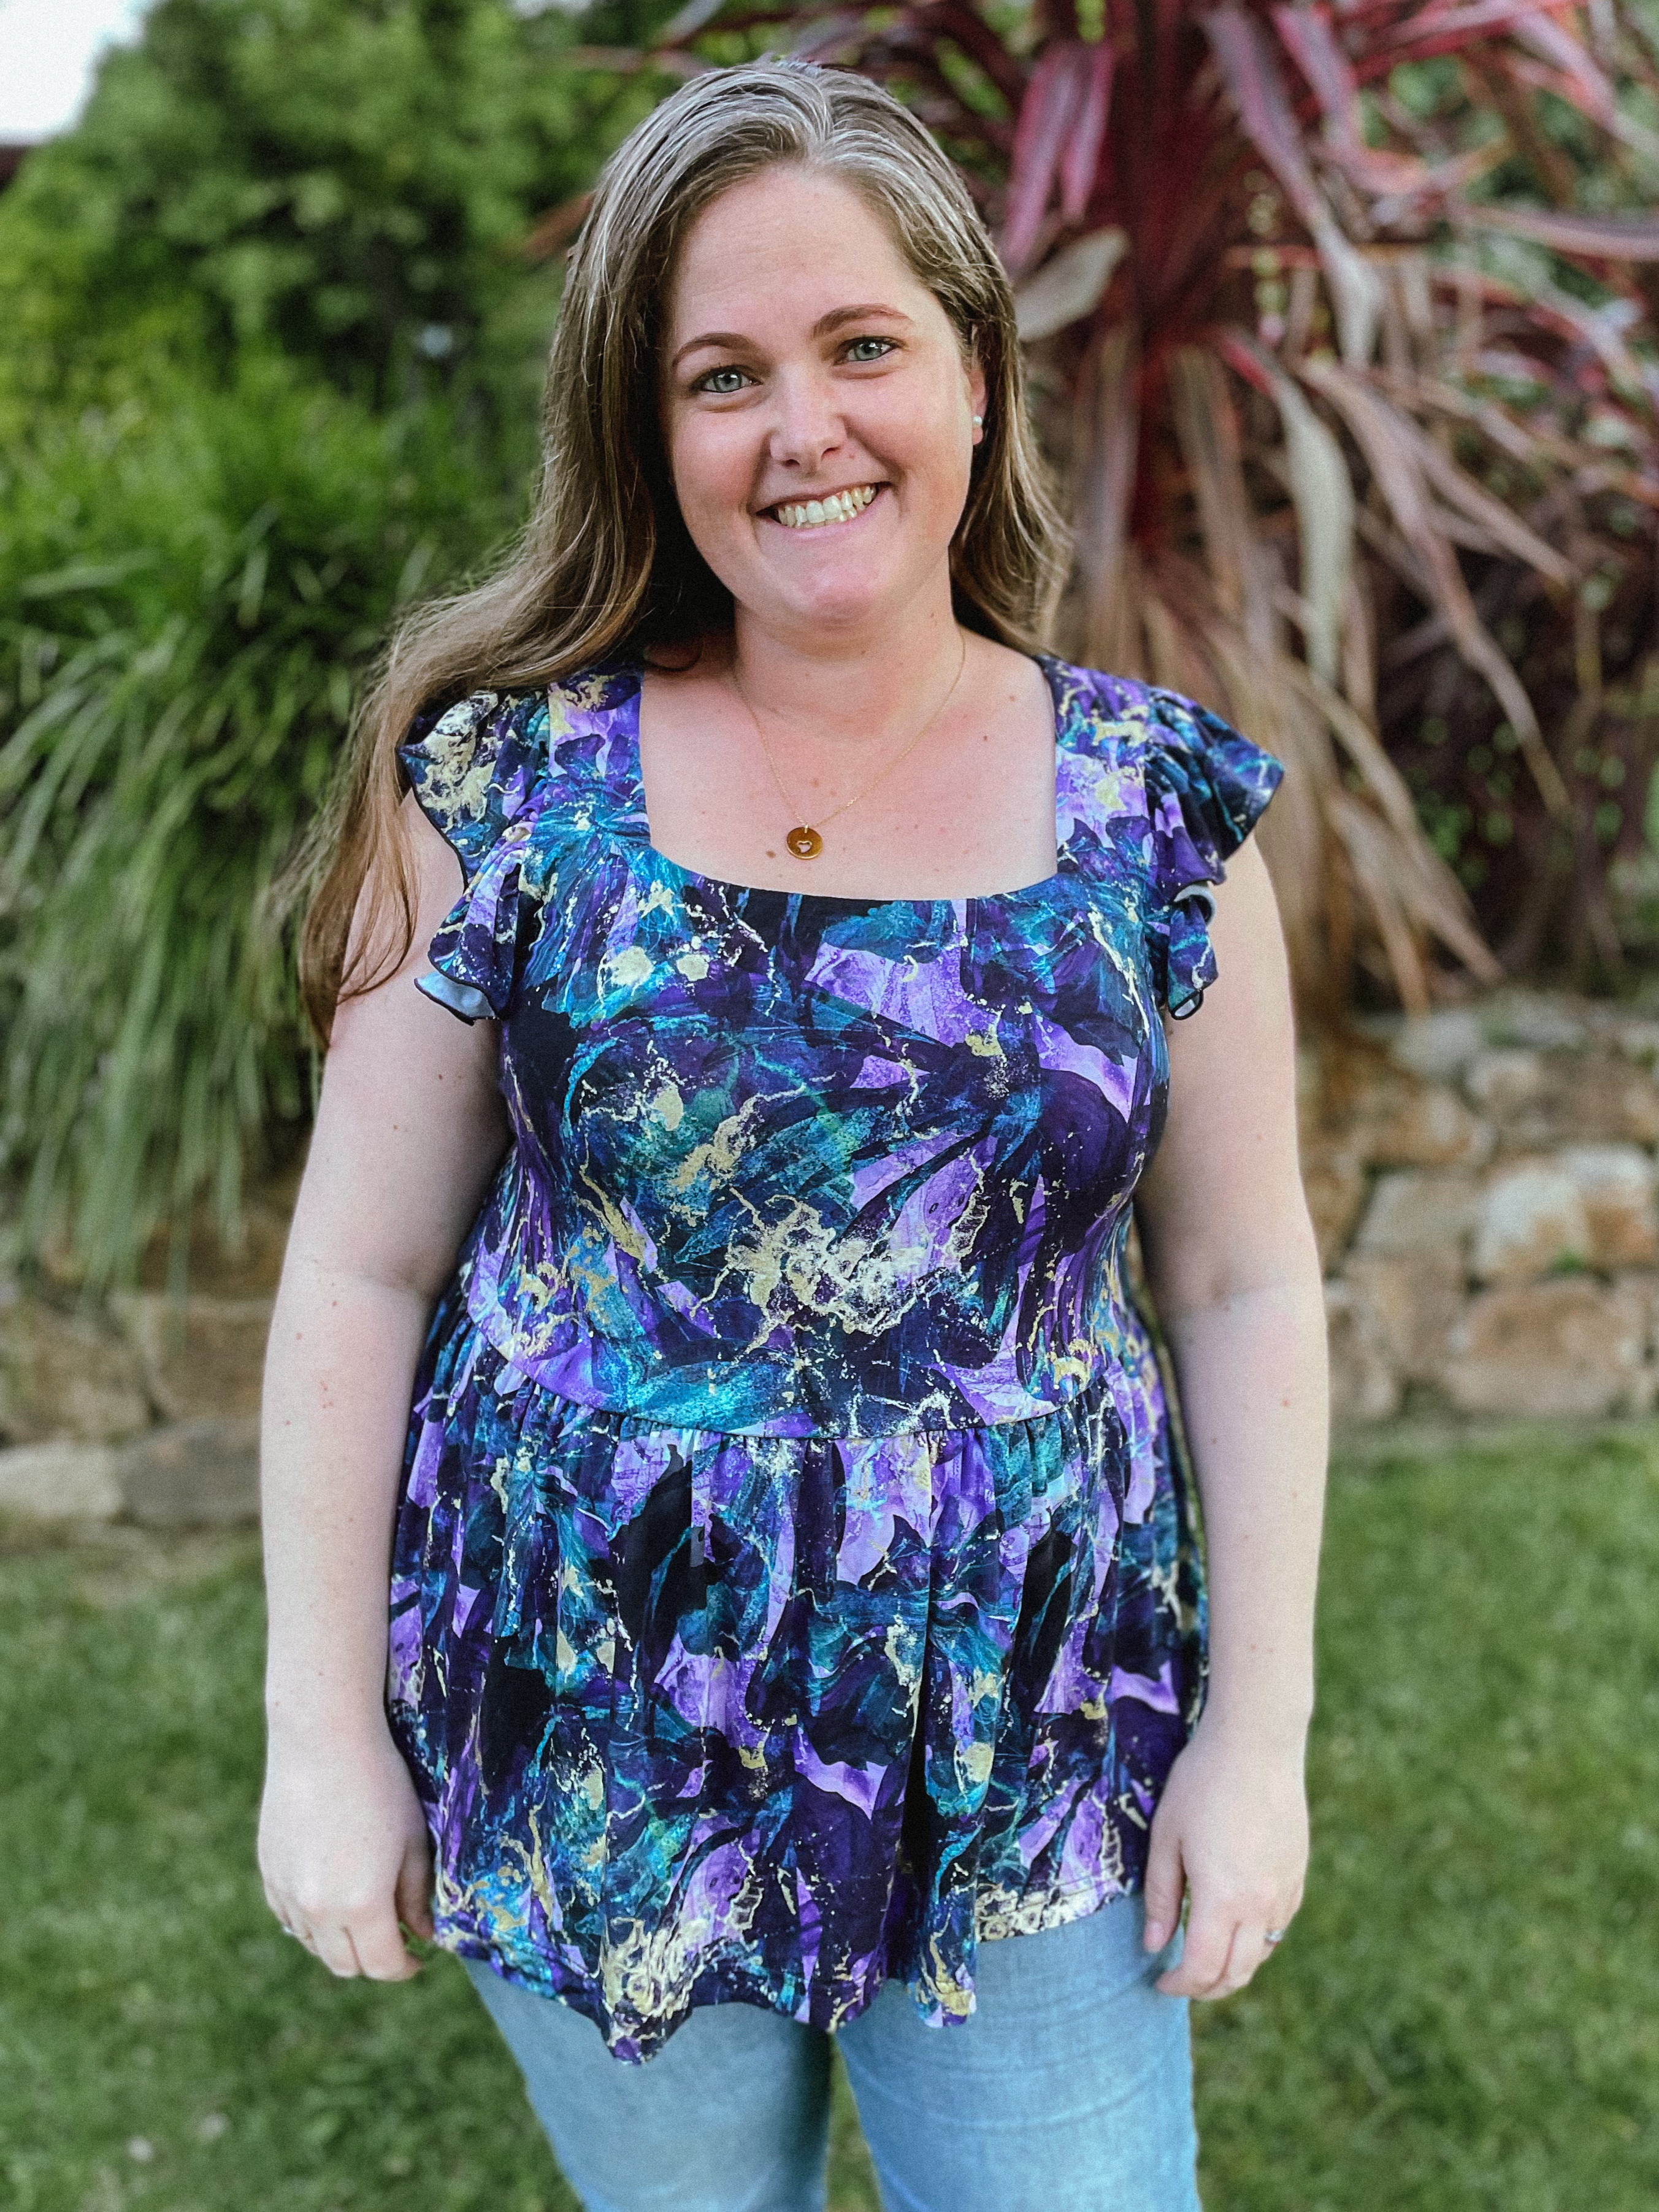
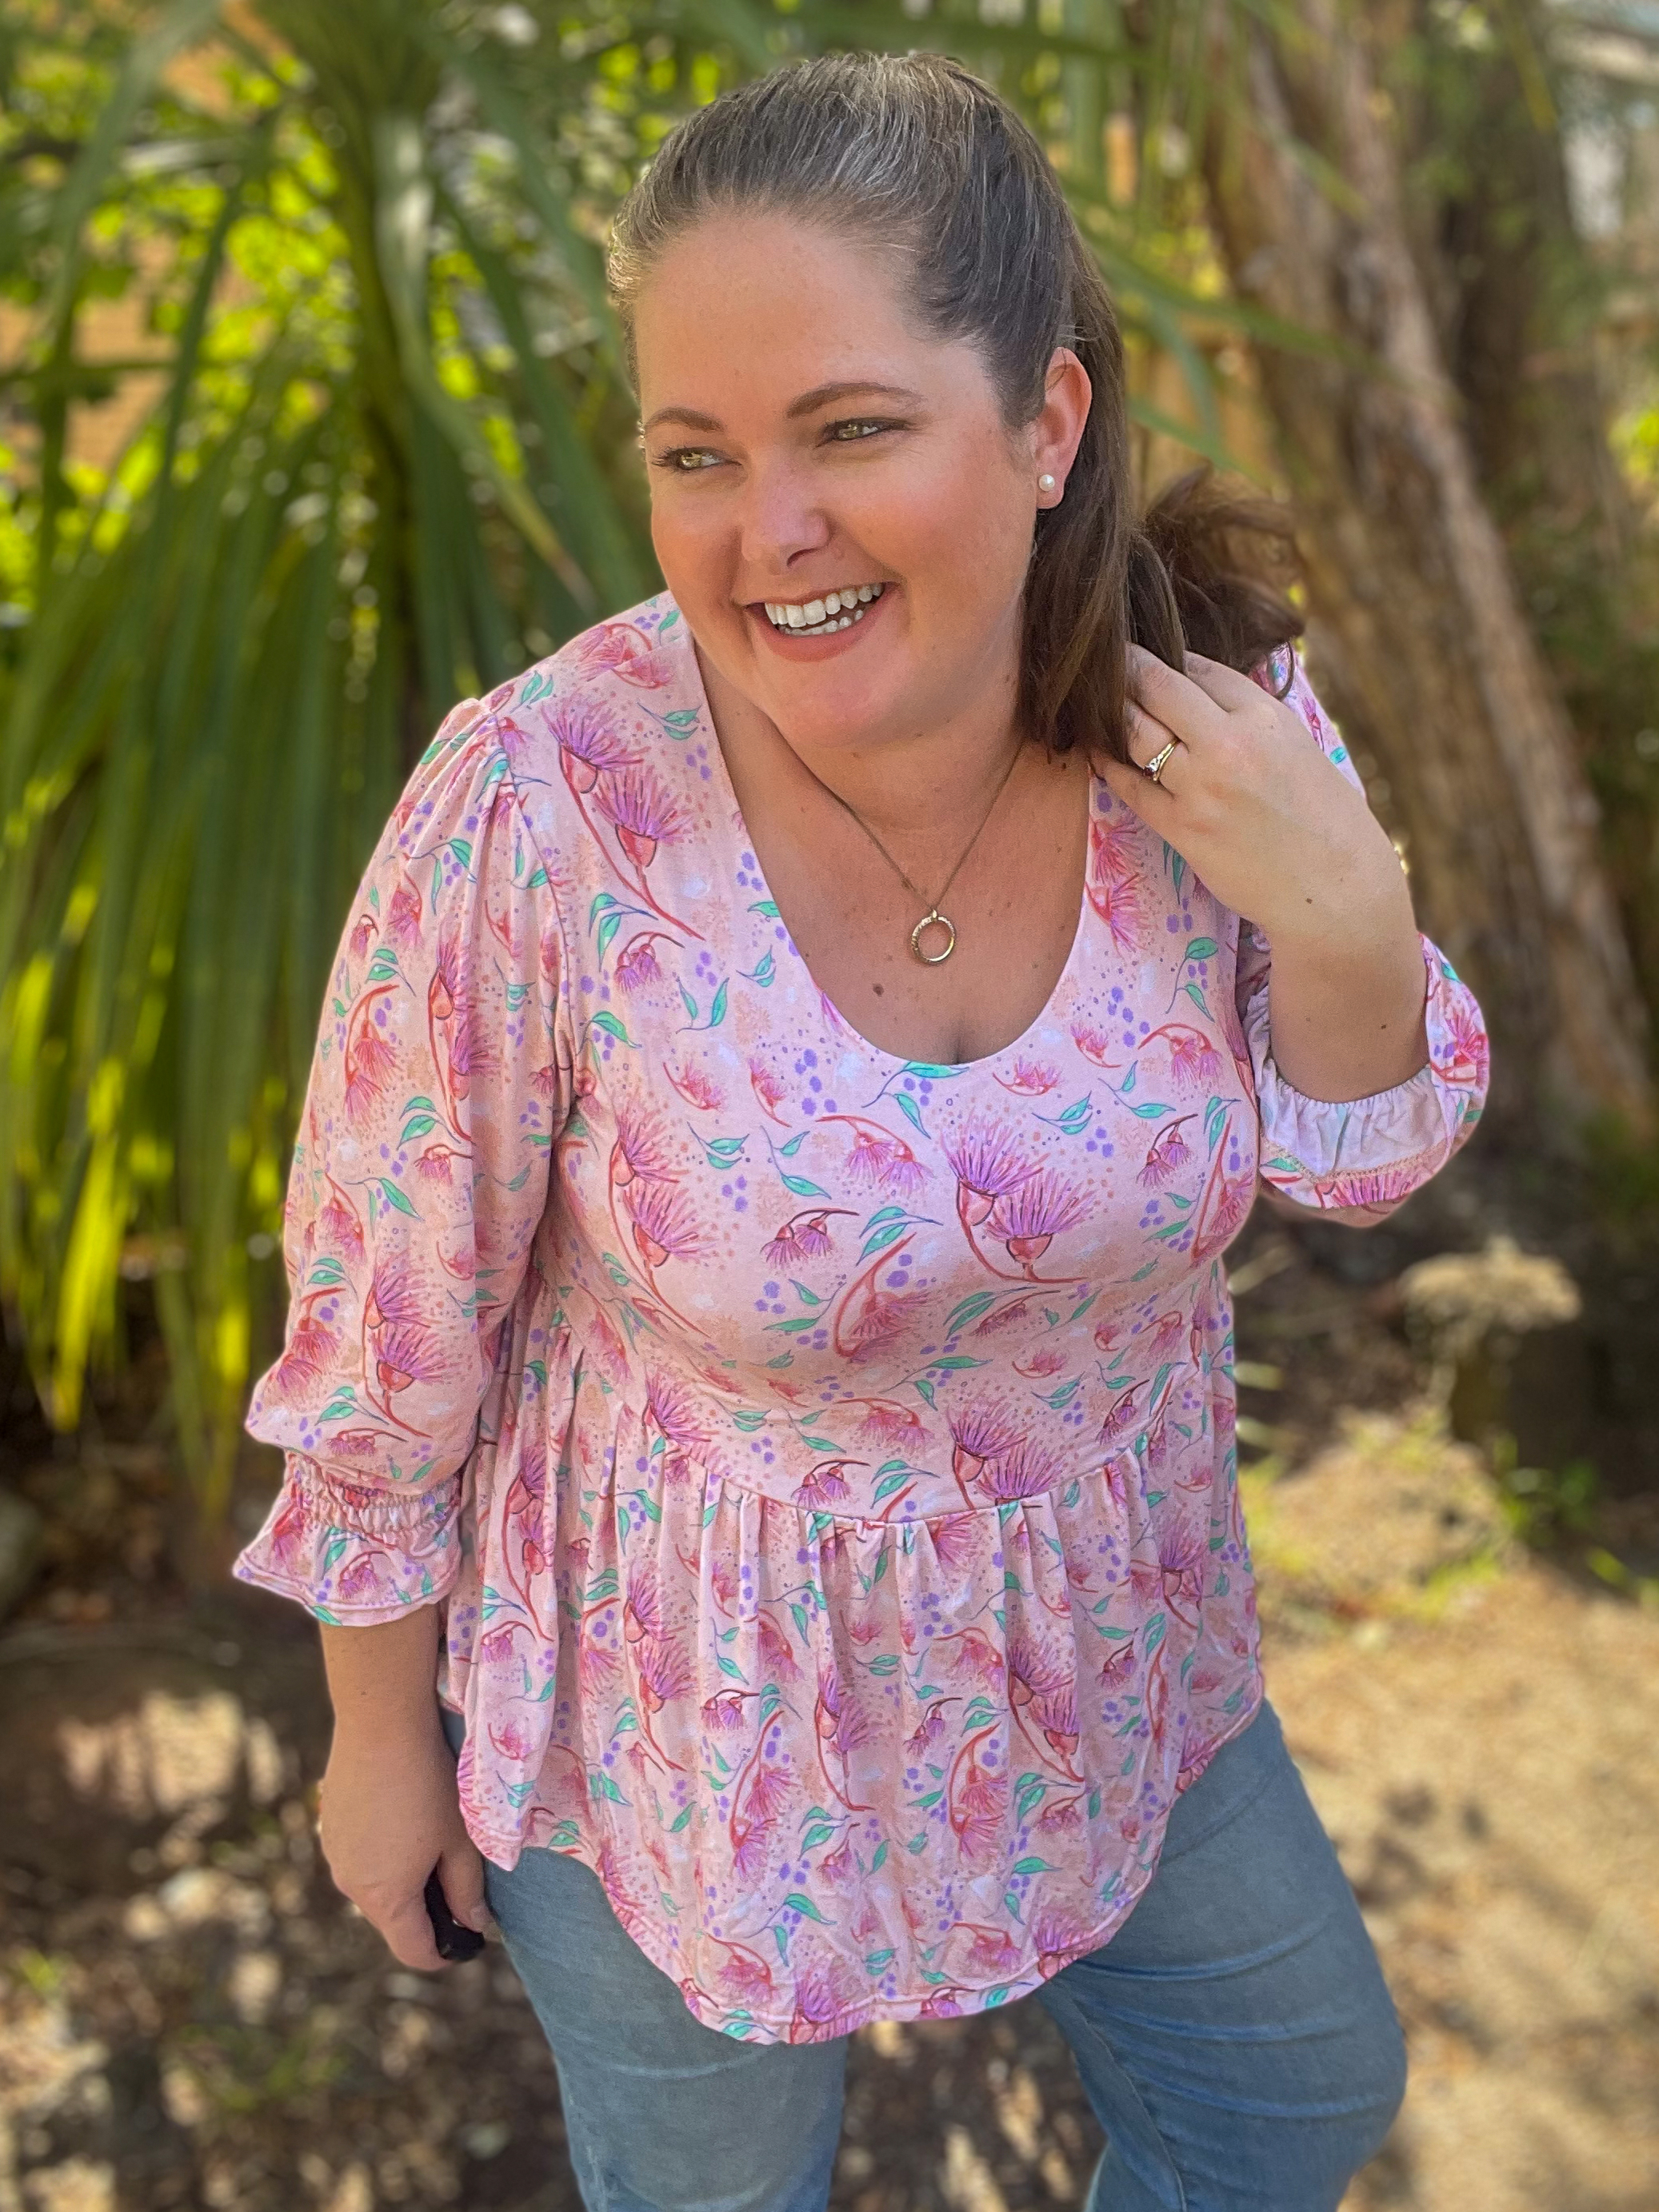
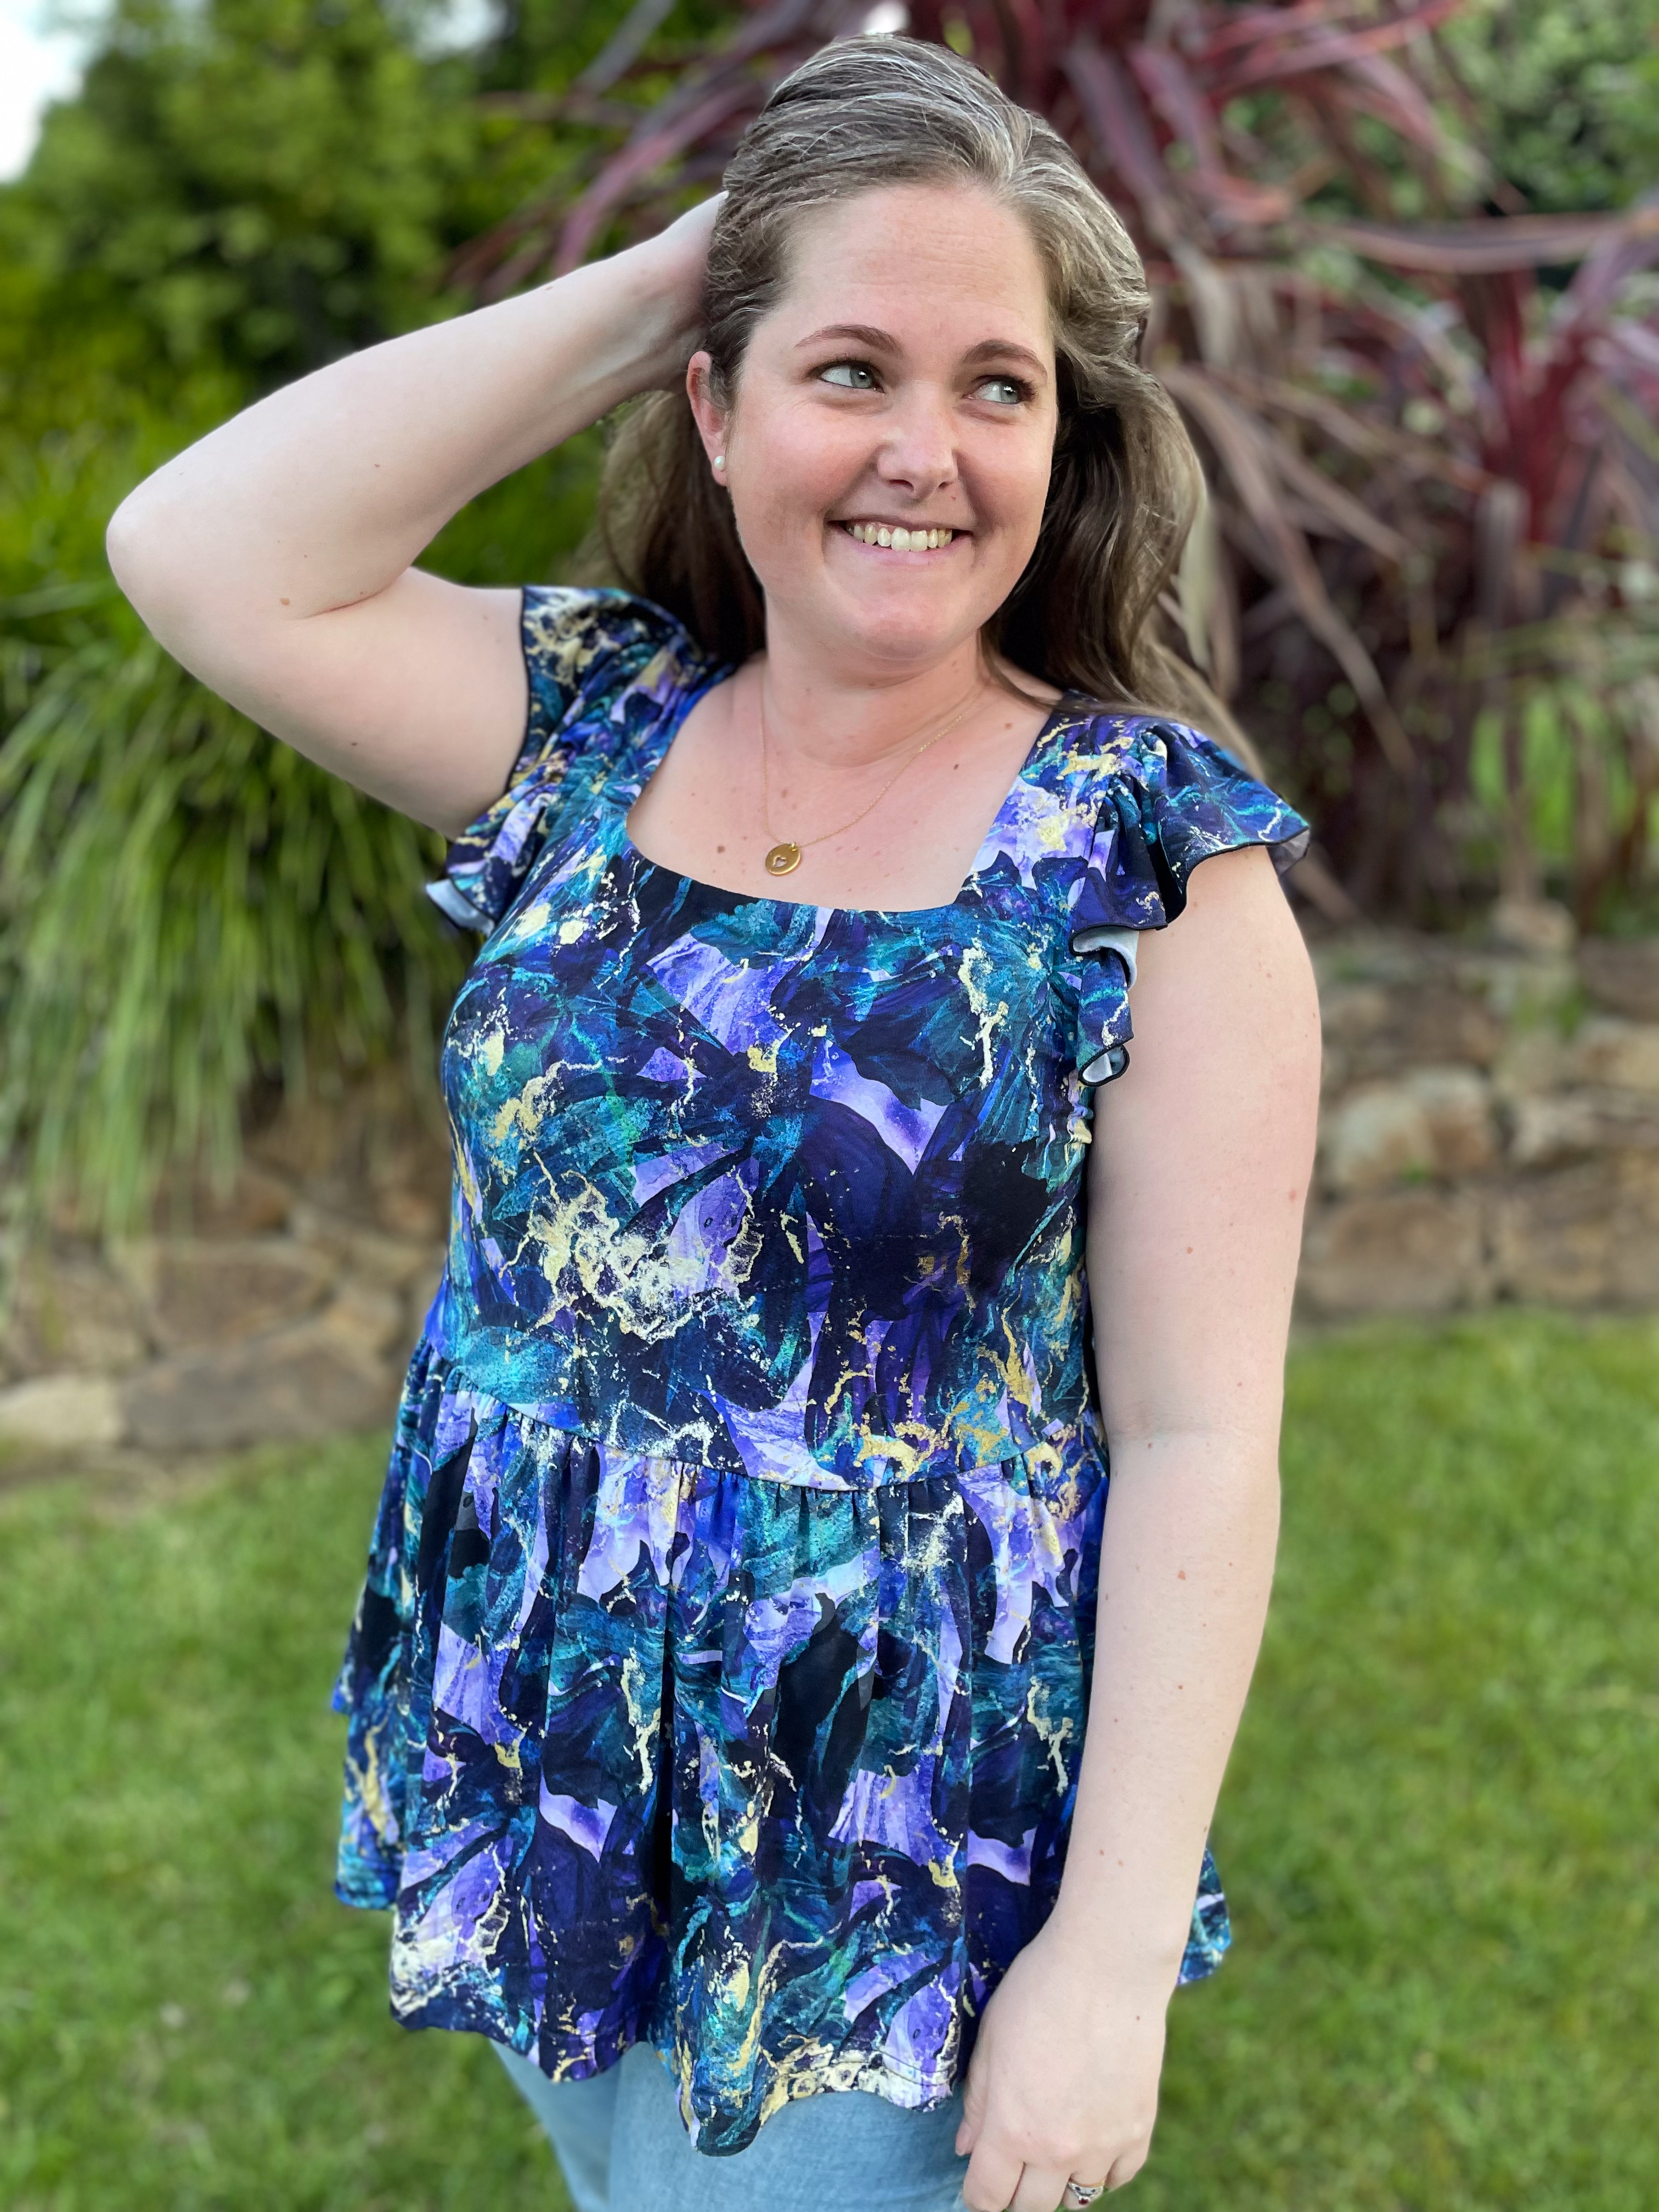
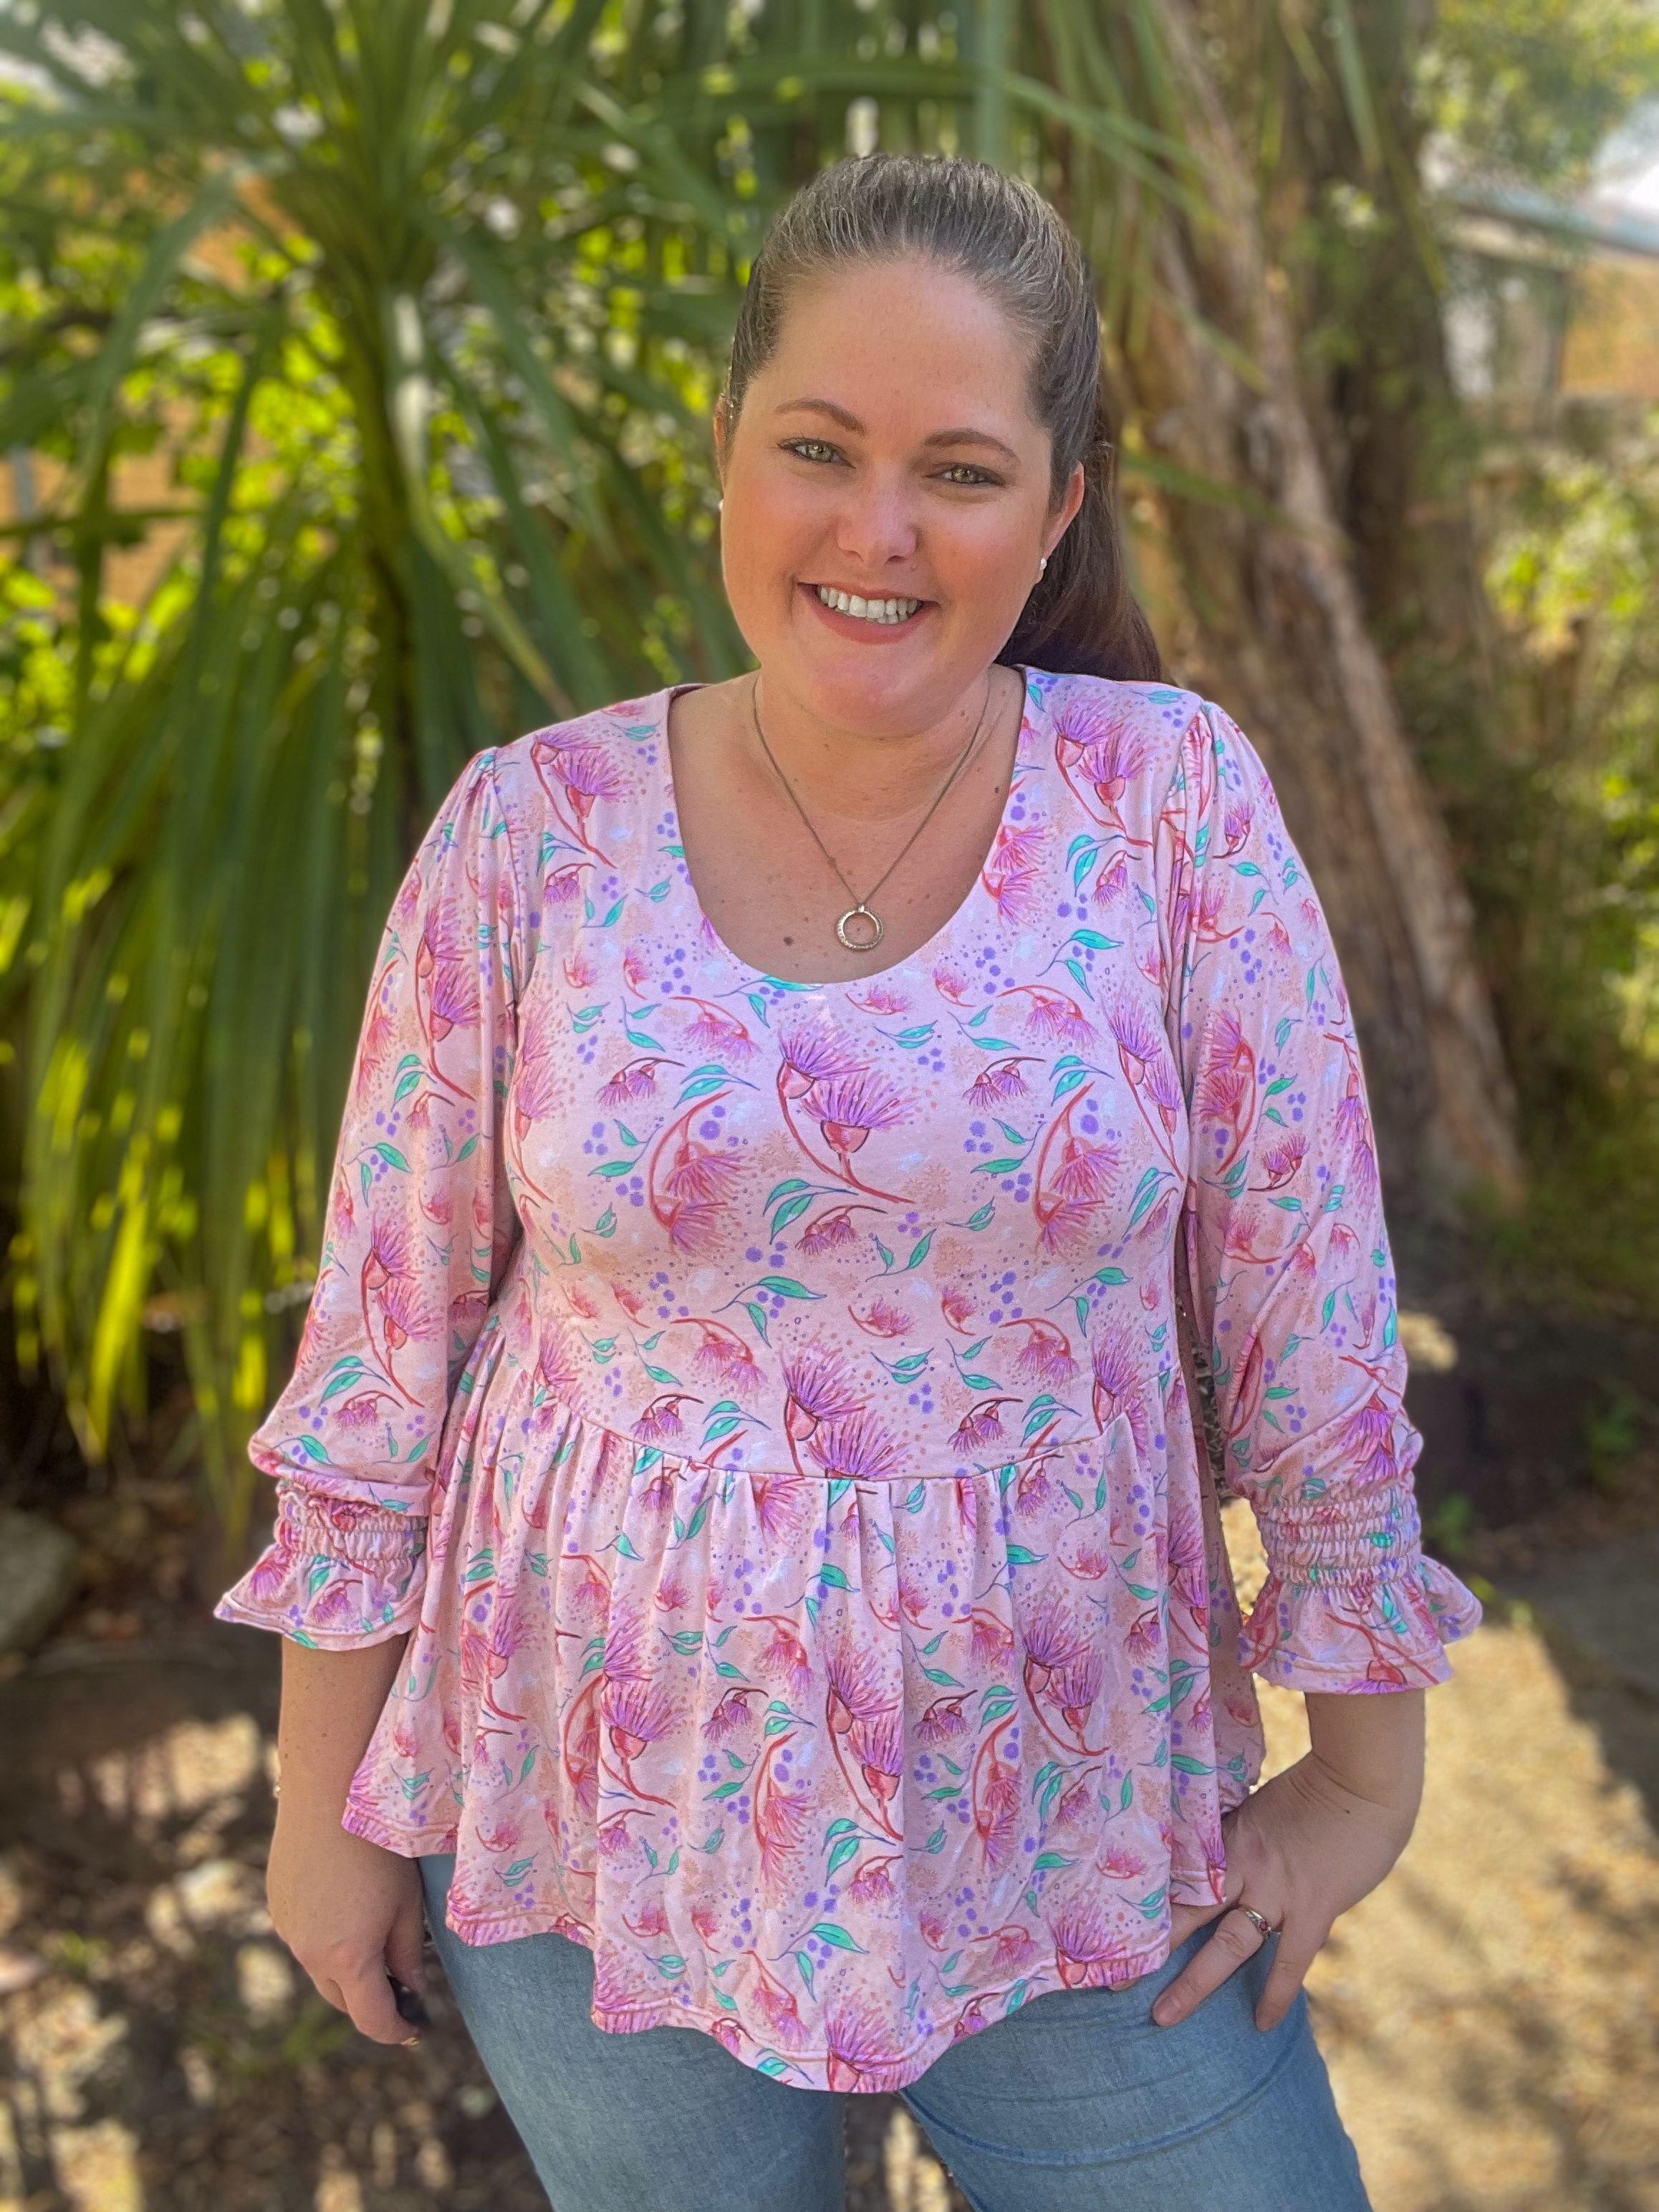
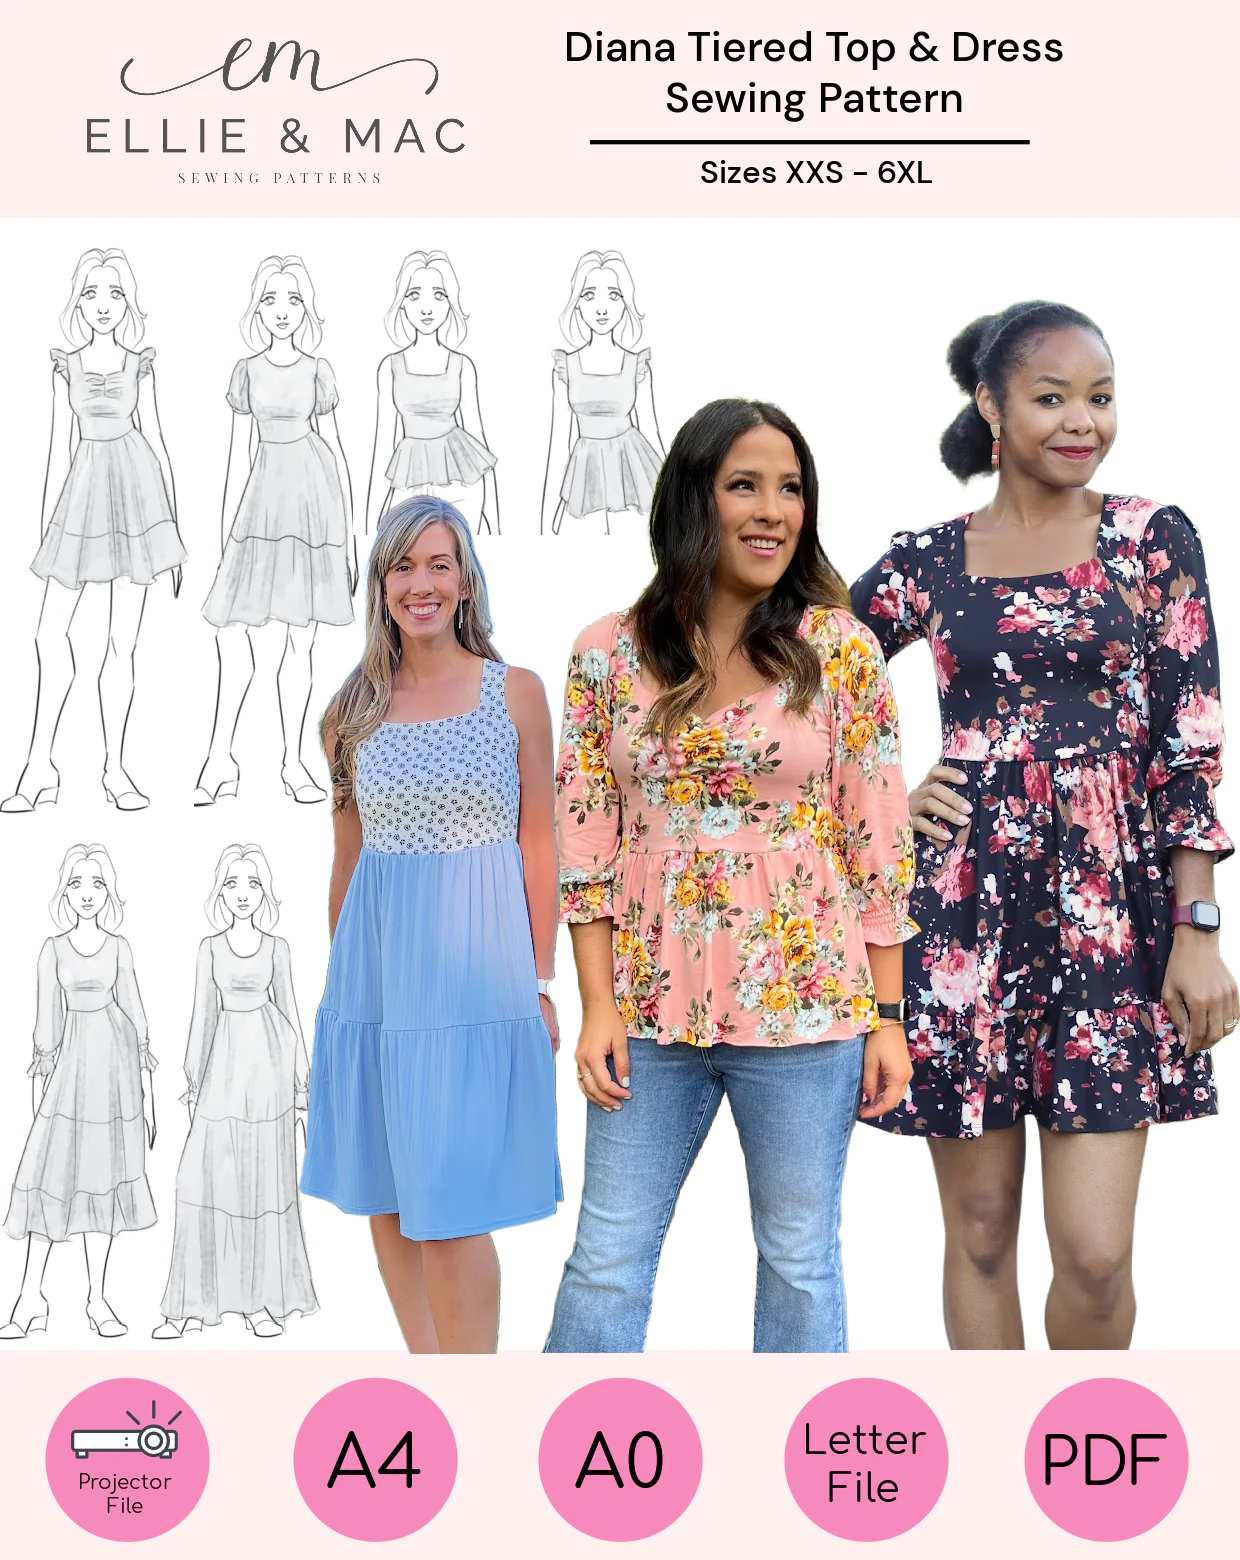
Pattern:Diana Dress & Top Designer: Ellie & Mac Patterns Fabrics: Bamboo Lycra from The Telarie Skill level: Beginner Size made: 2XL/3XL Pros: I adore this flattering top and dress. It is so beautiful to wear and has some great options. Cons: Sometimes a lined top annoys me as it uses more fabric.
Sewing Serendipity: The Delightful Dance of Fabric and Pattern
As soon as I saw this pattern release, I knew I had to make one. Or as it currently stands, three! haha.
For starters, this pattern is named after one of my good sewing friends, Diana from @eloiseandezra. If you don’t already follow her on insta, definitely check her out. She also shares lots of fun tips and tricks on her YouTube channel.
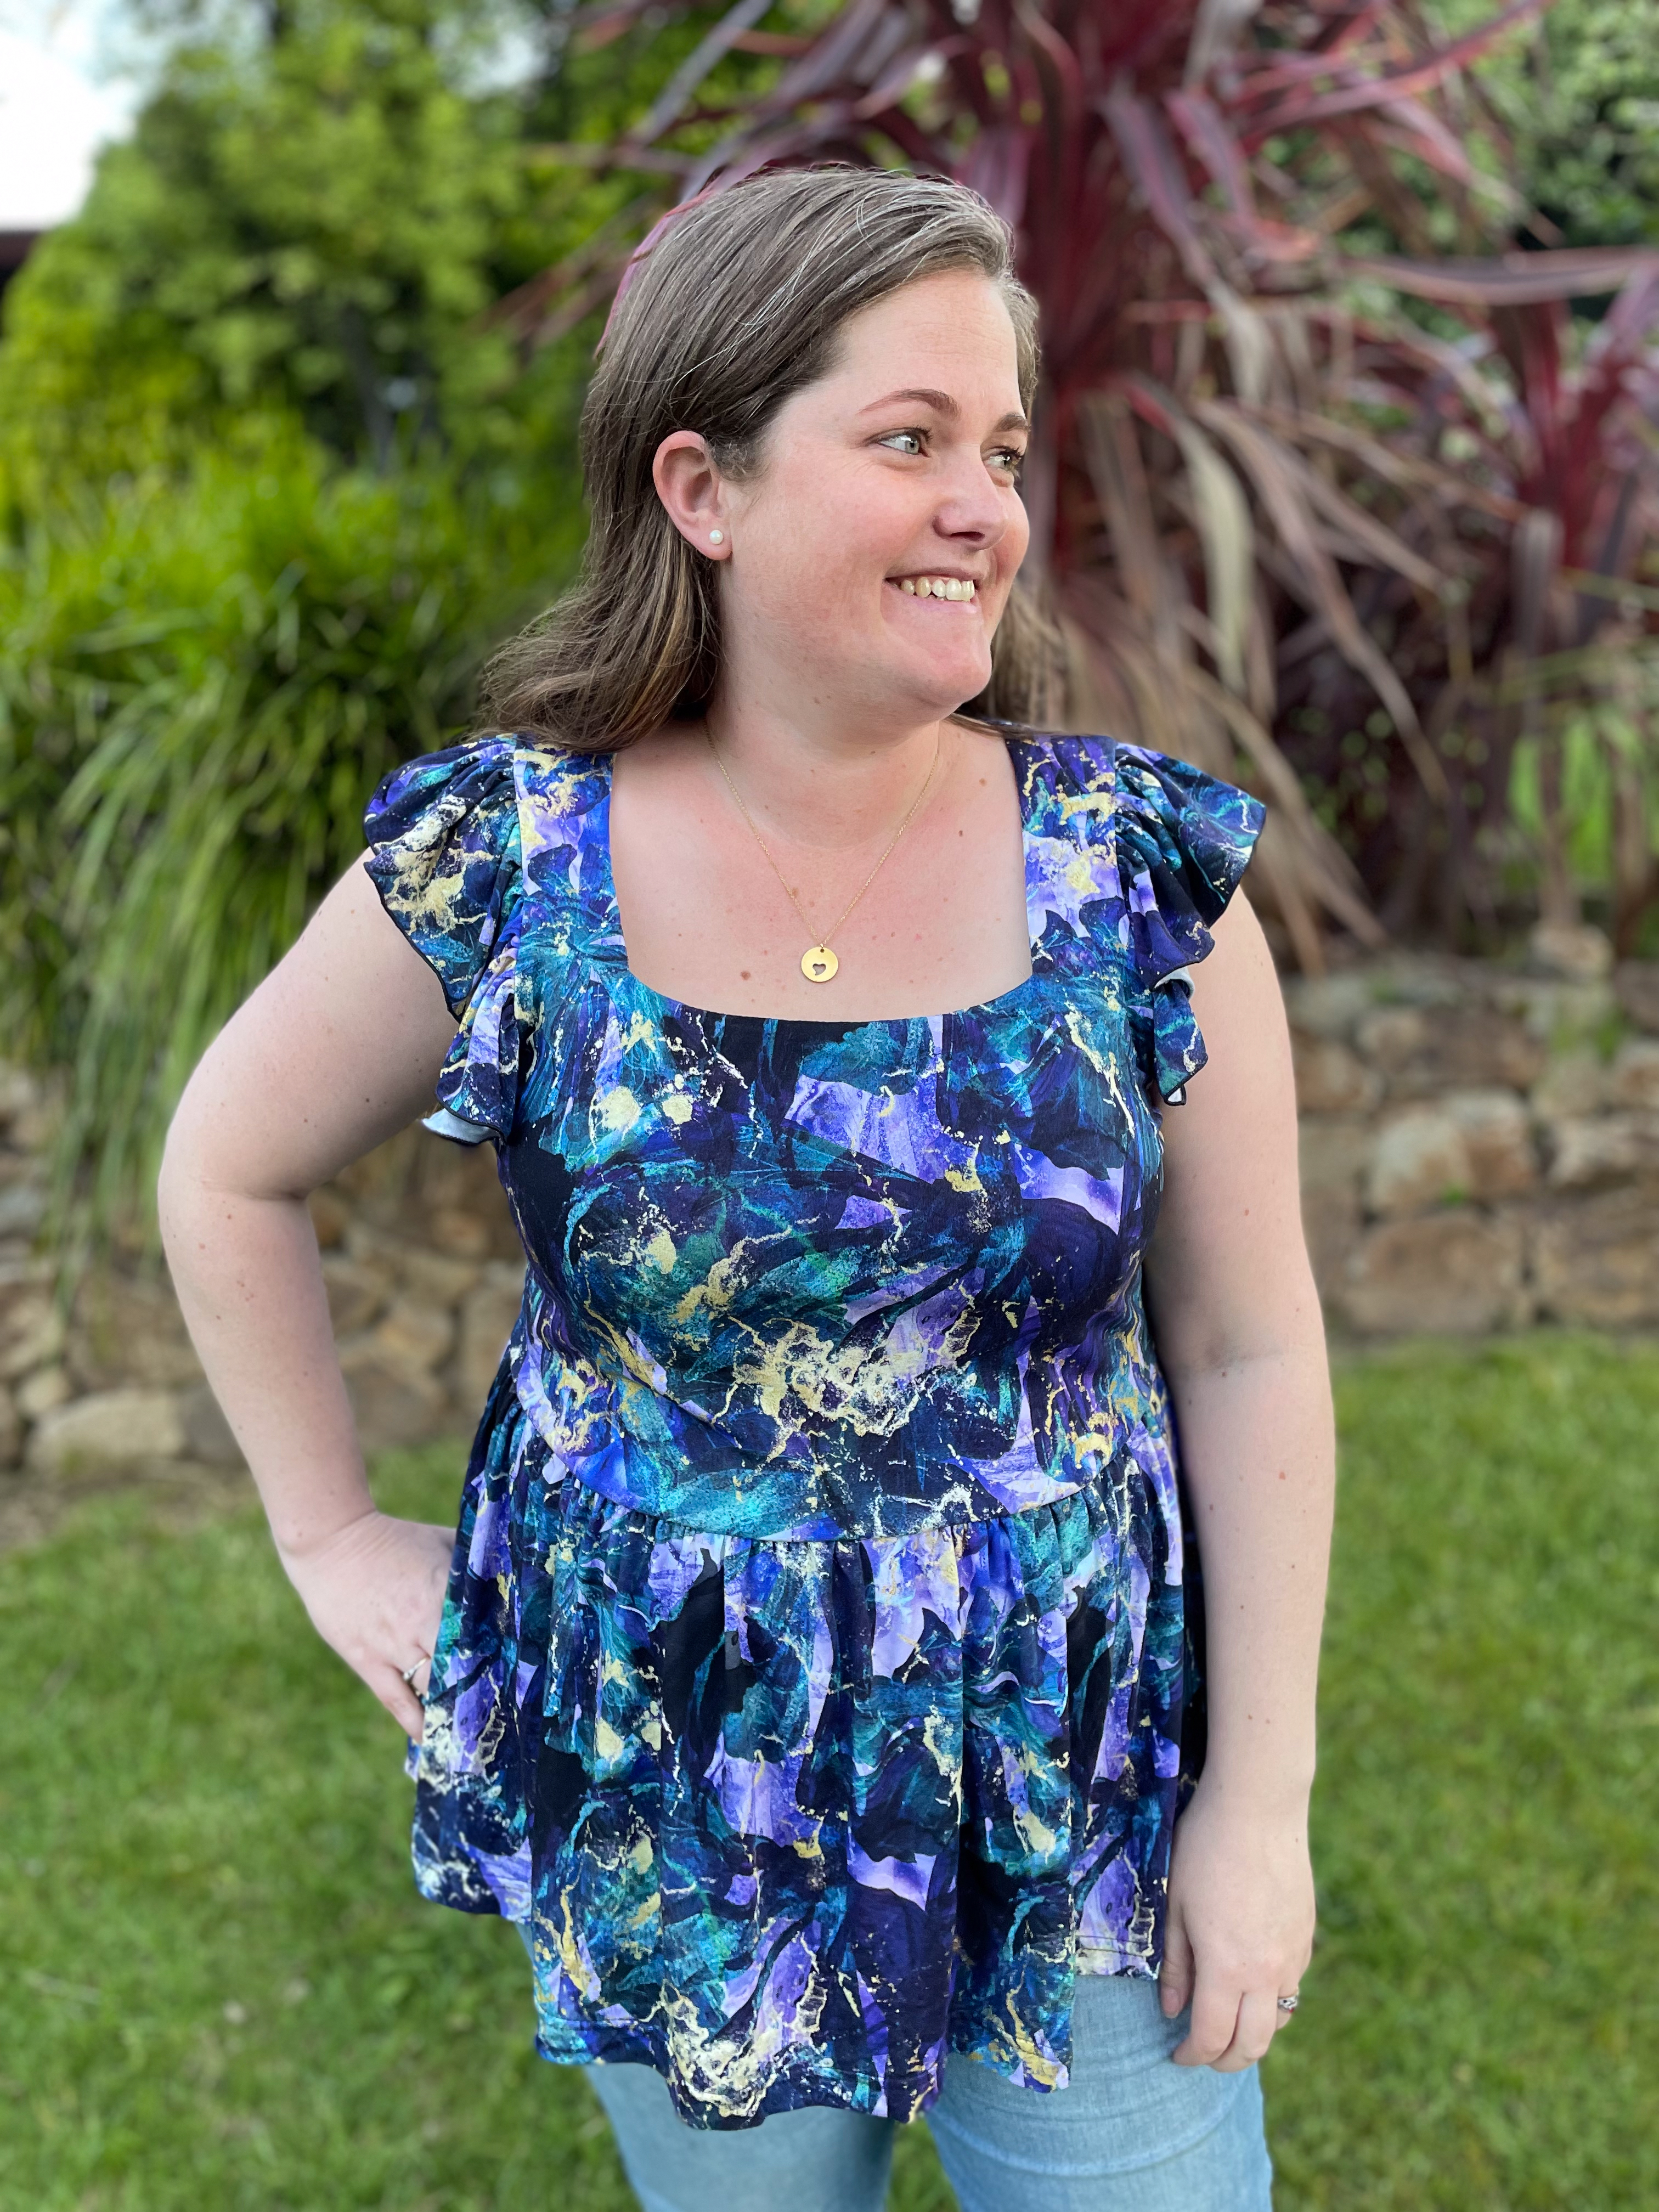
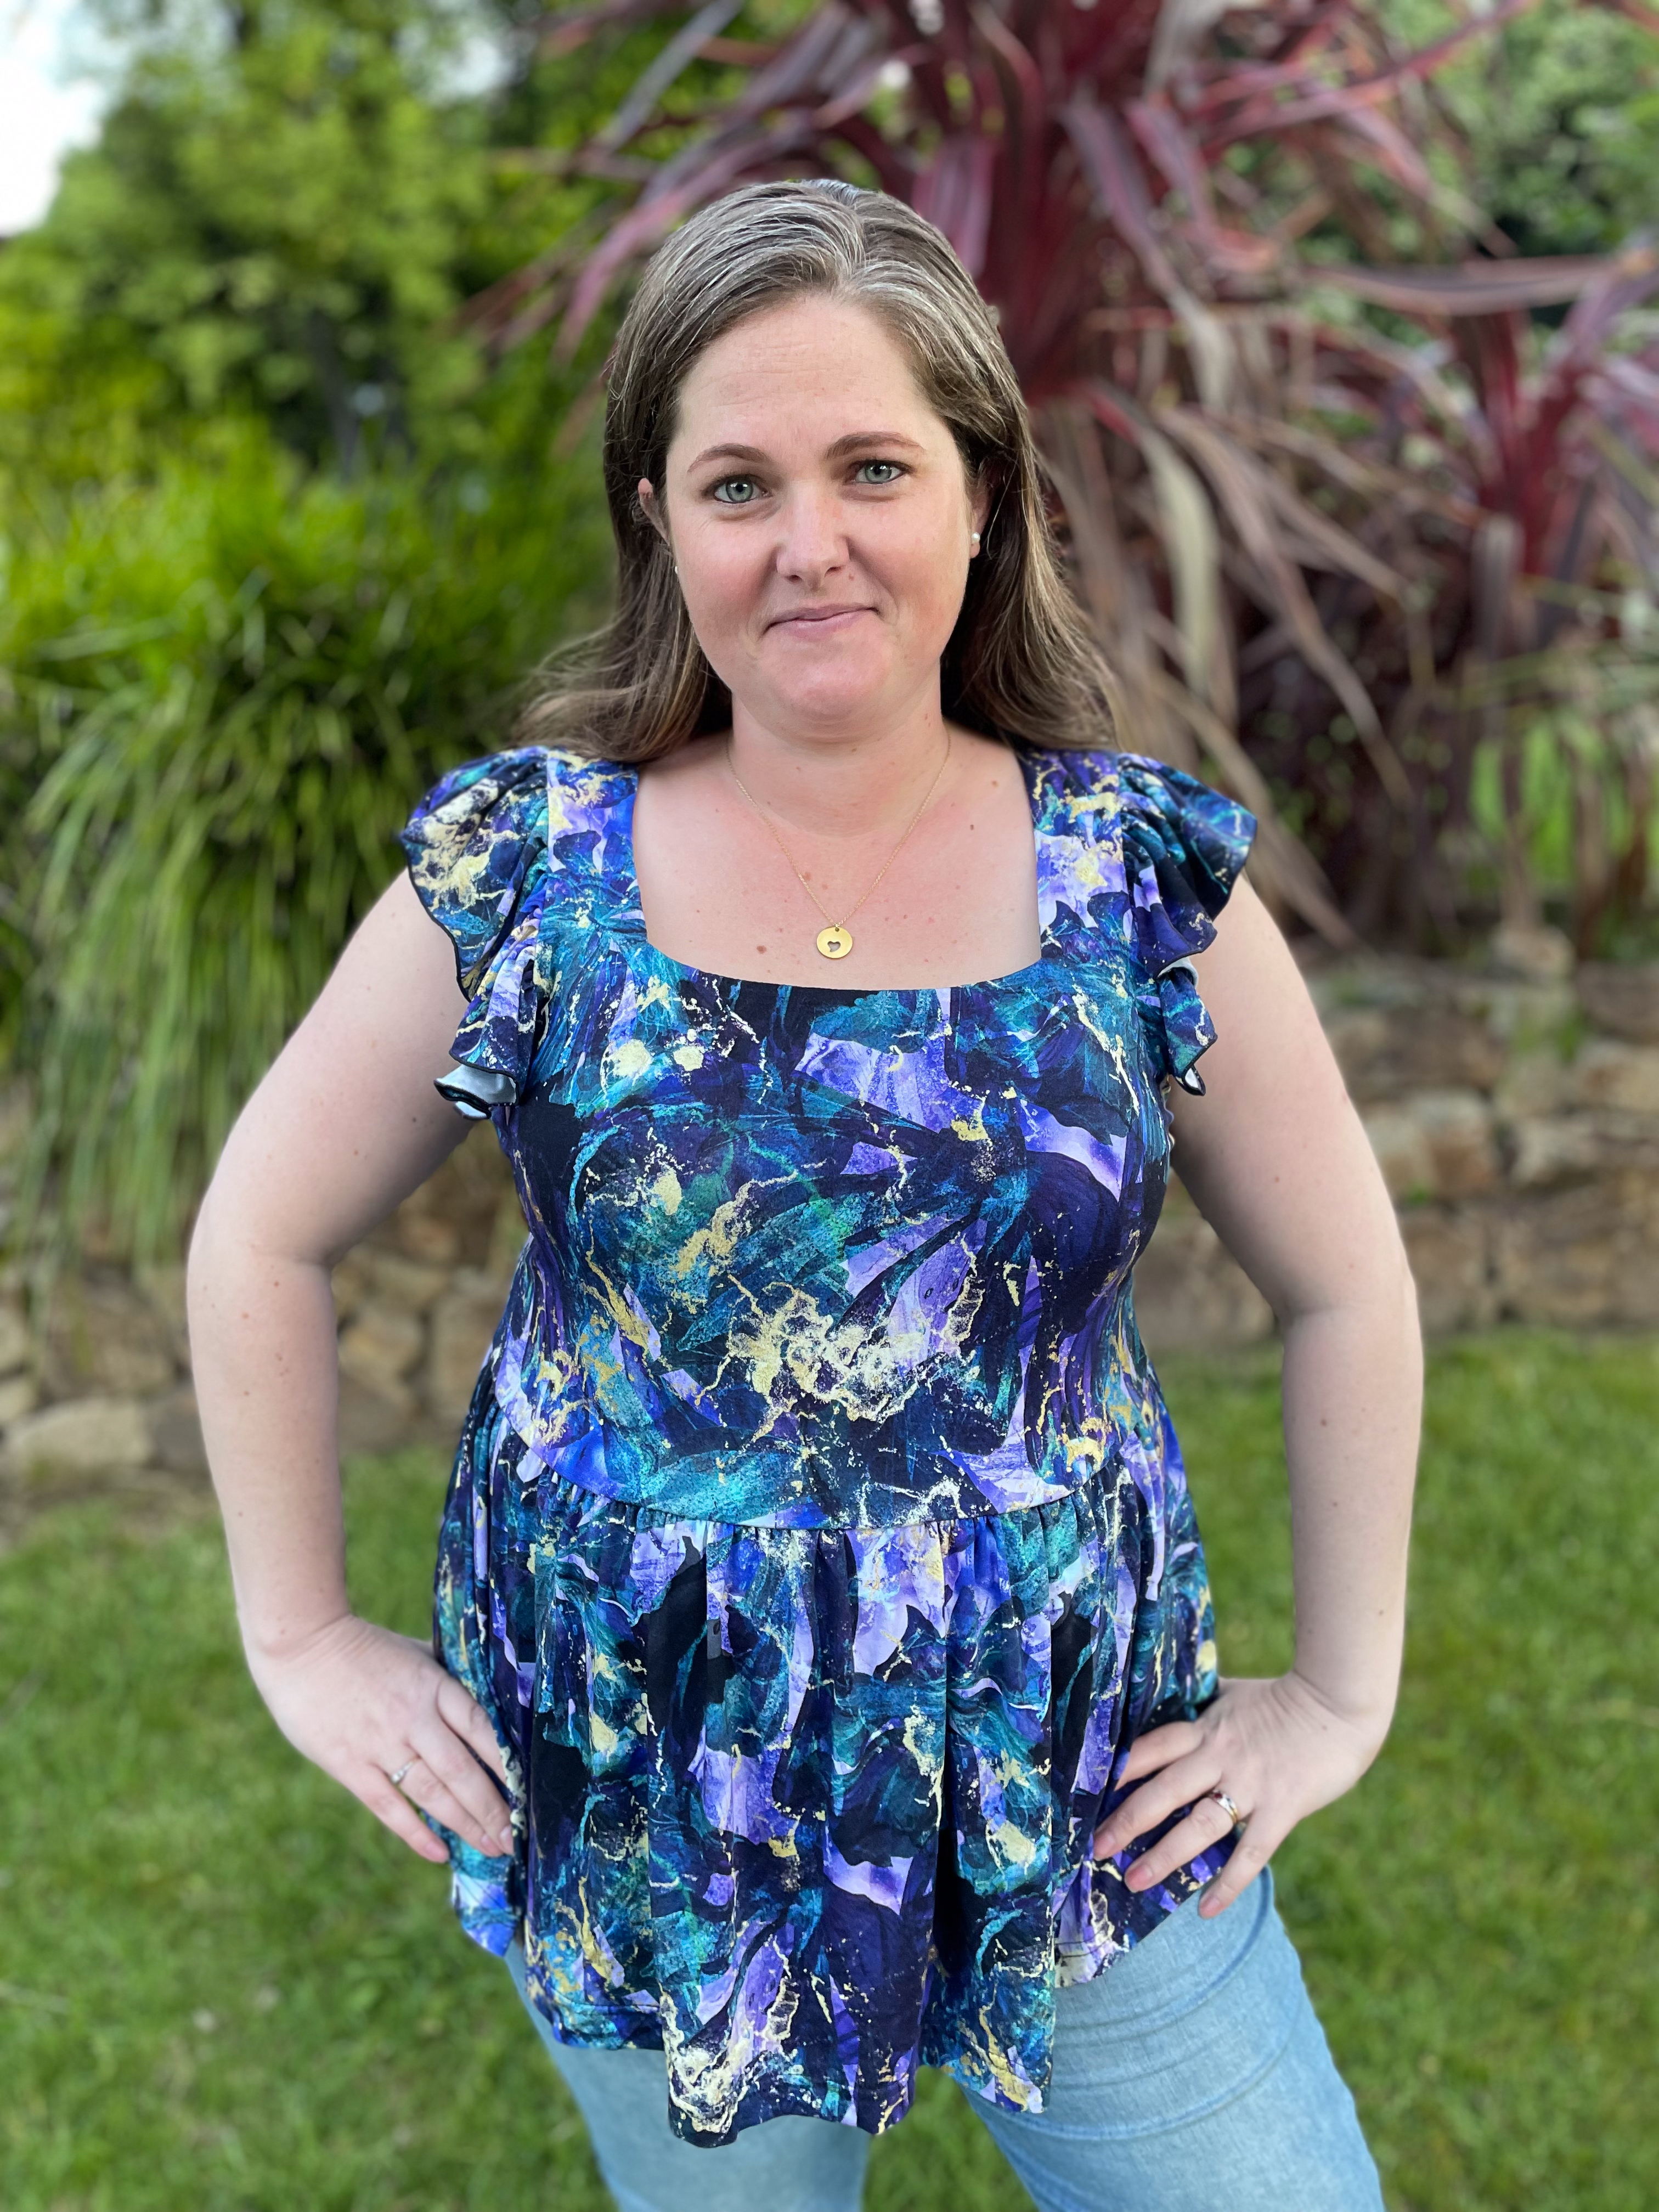
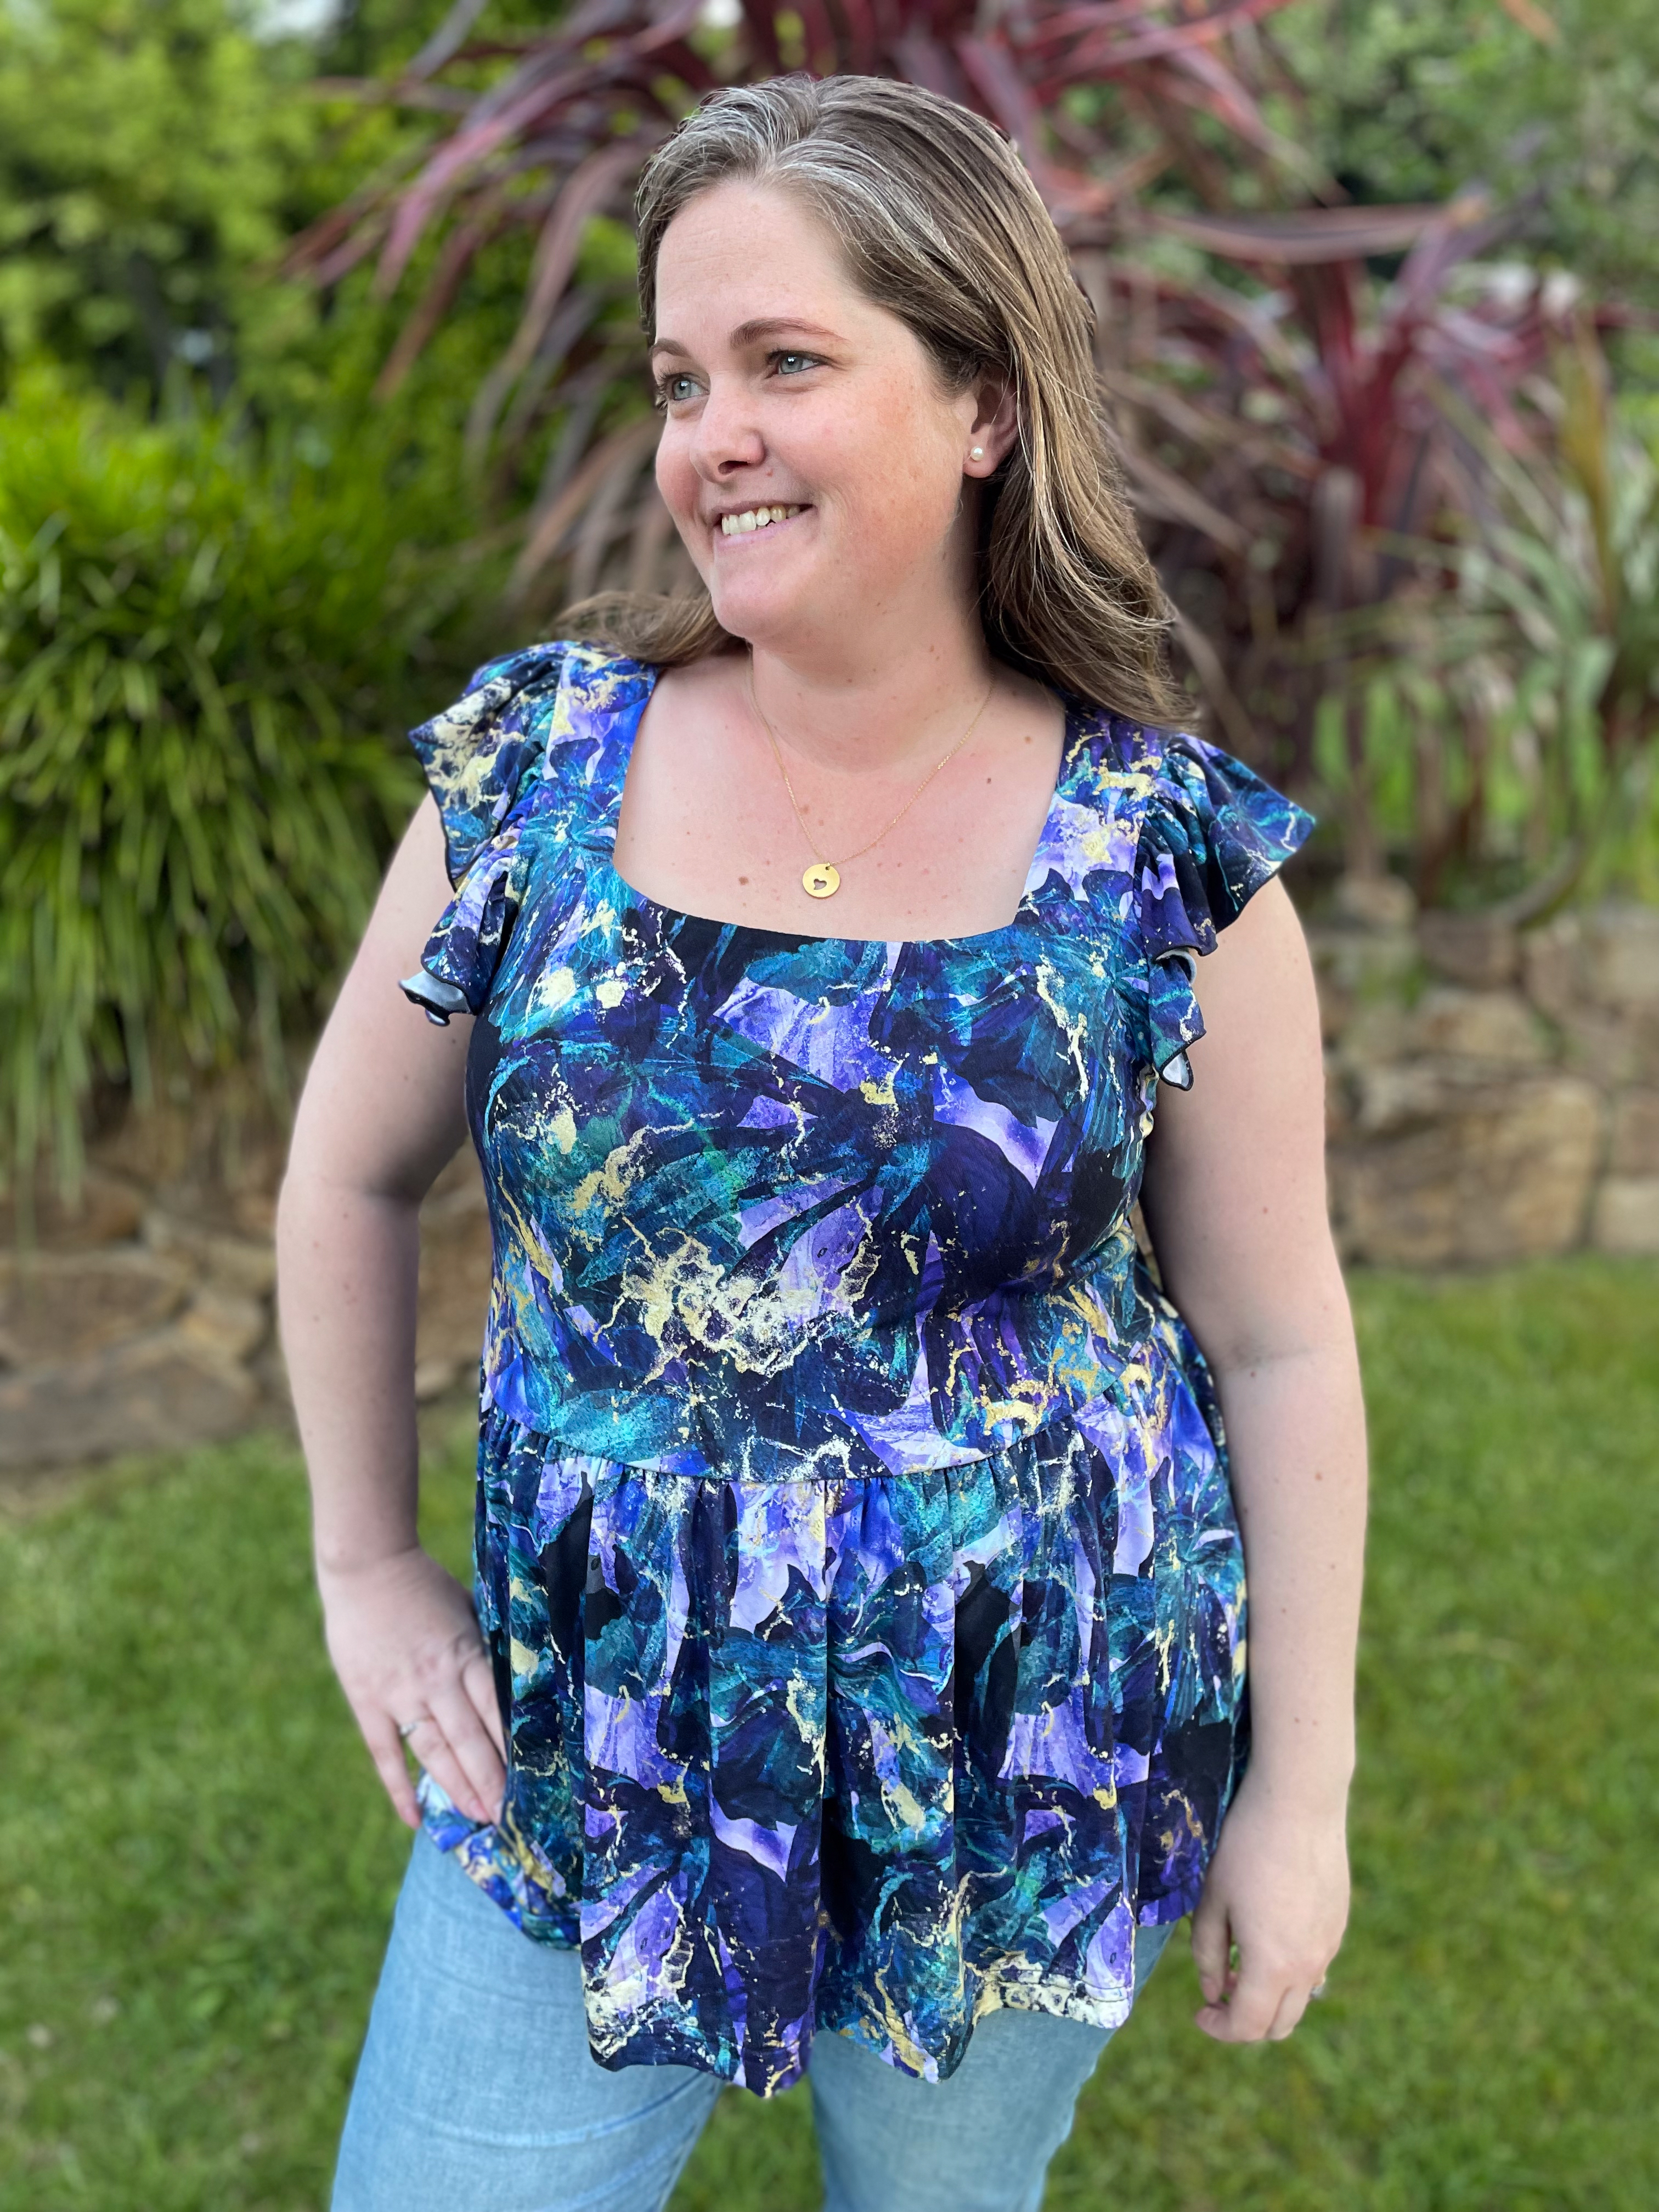
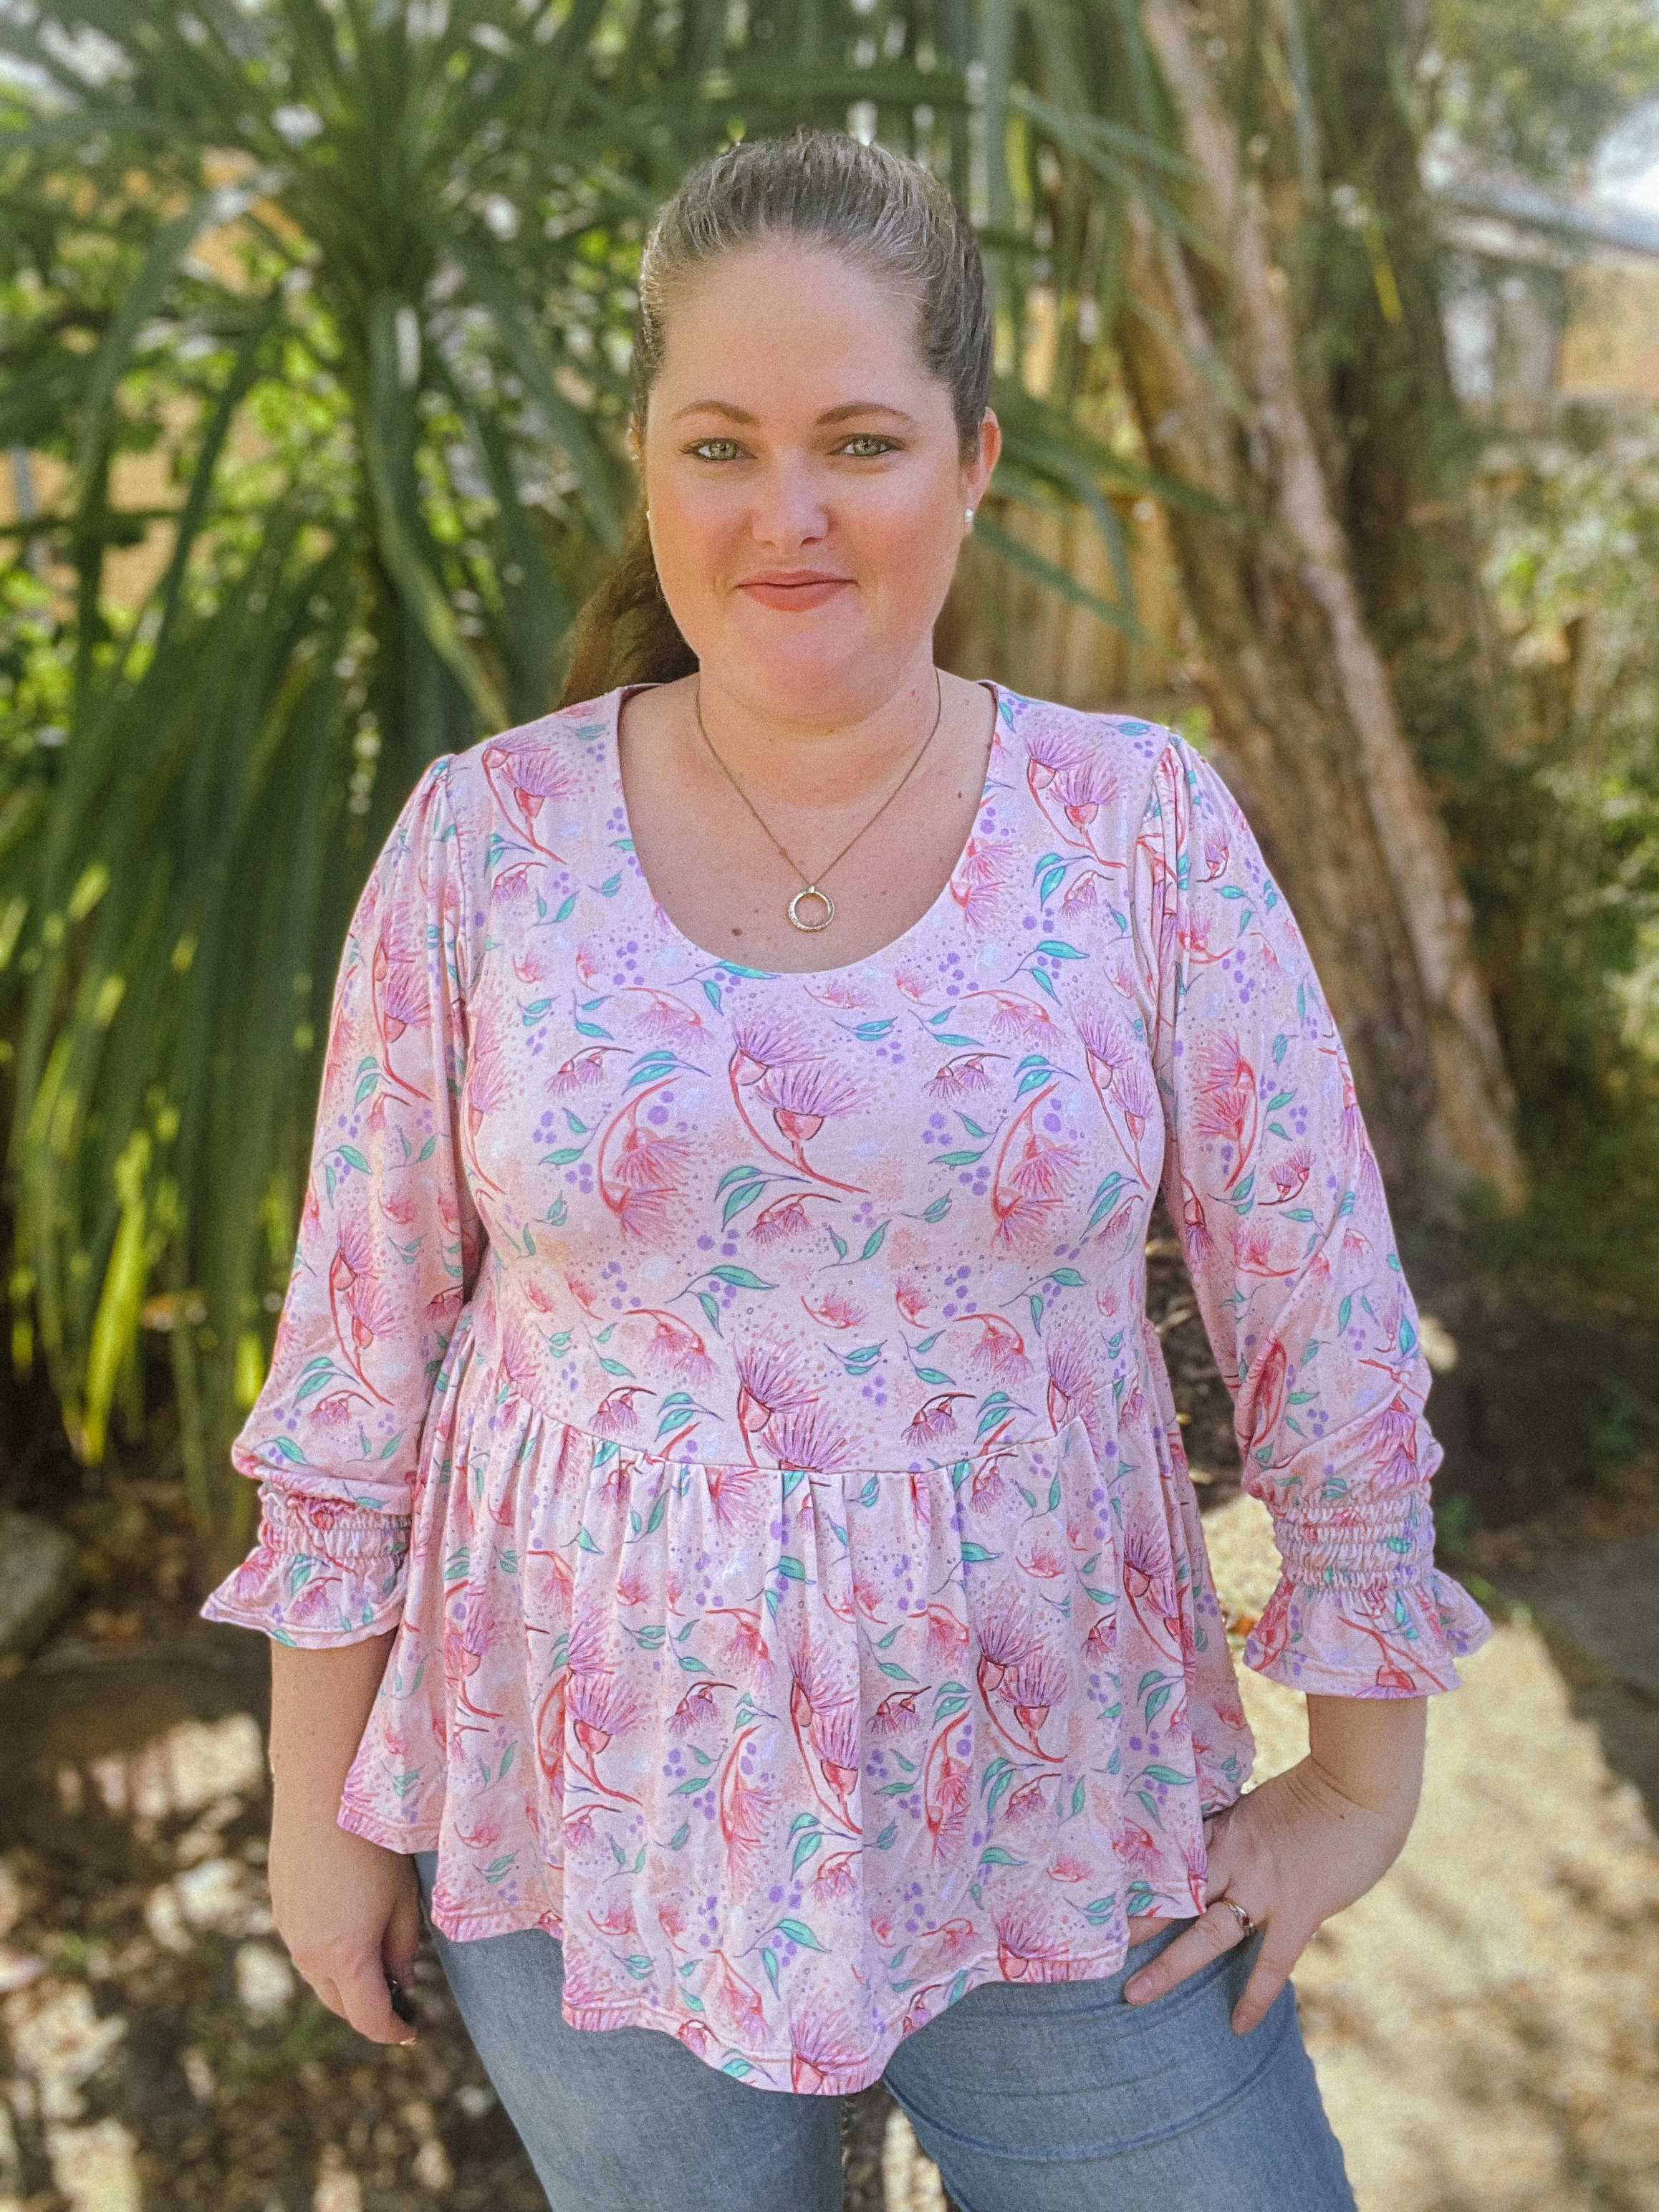
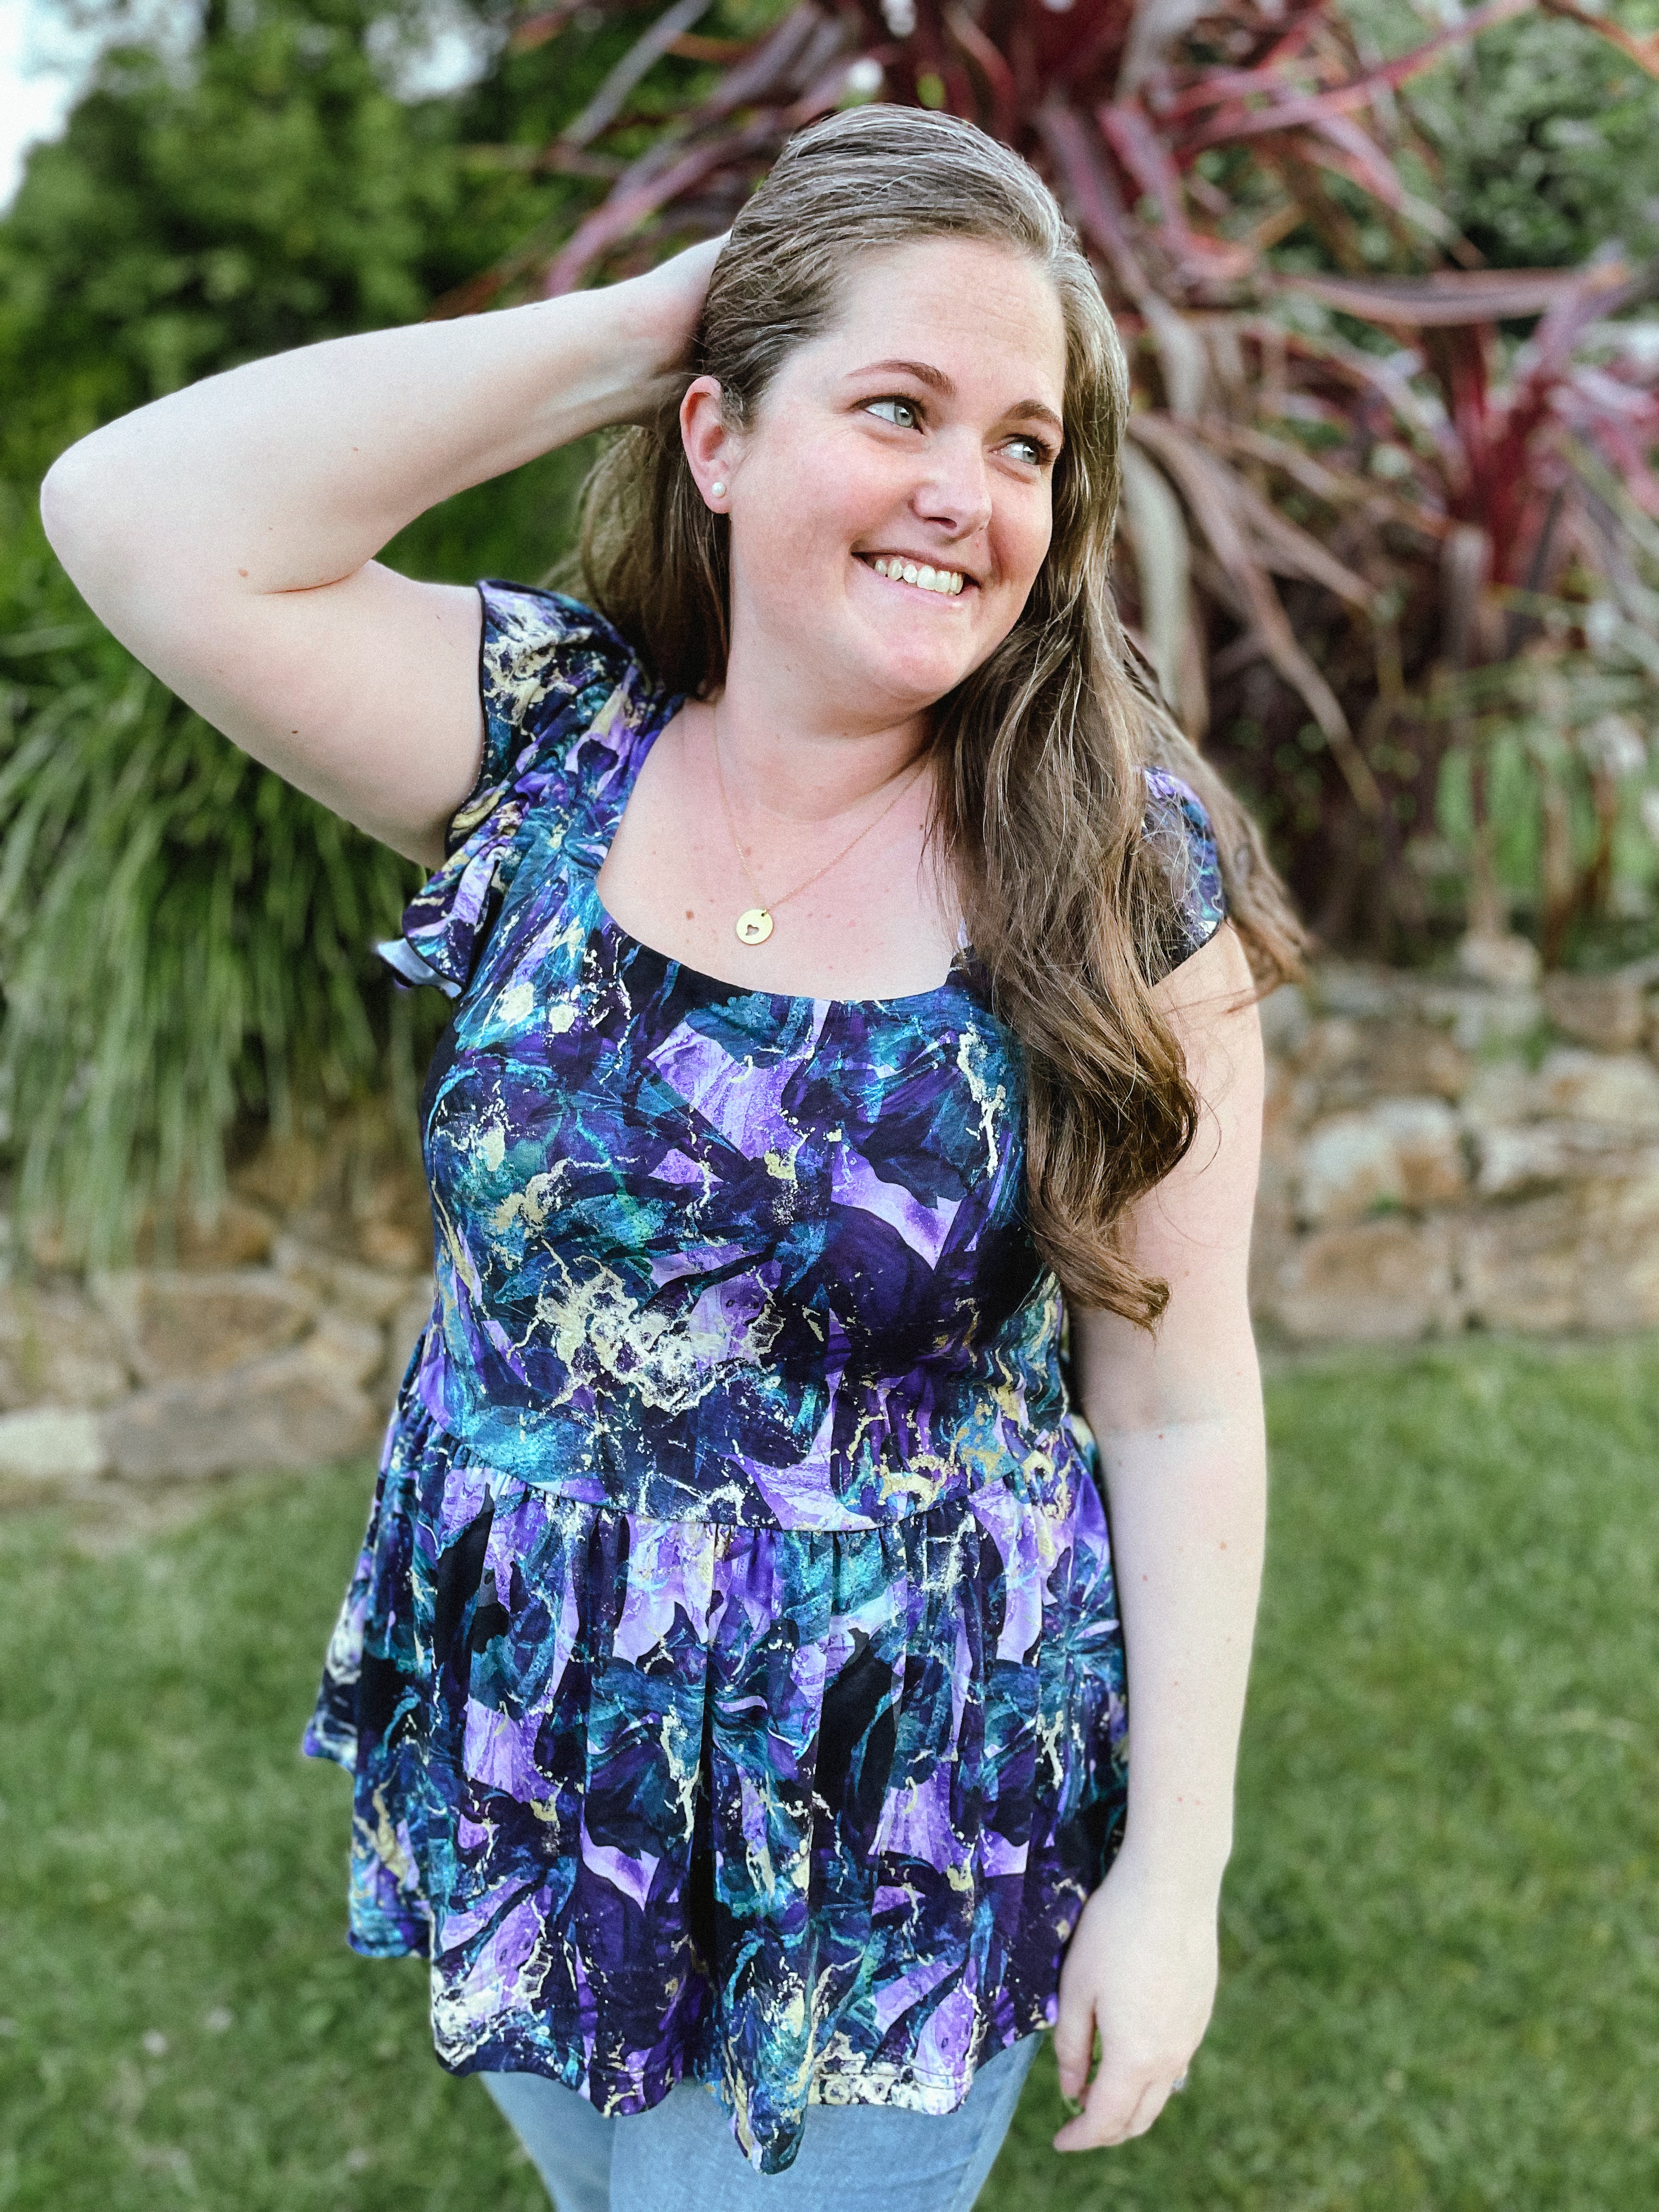
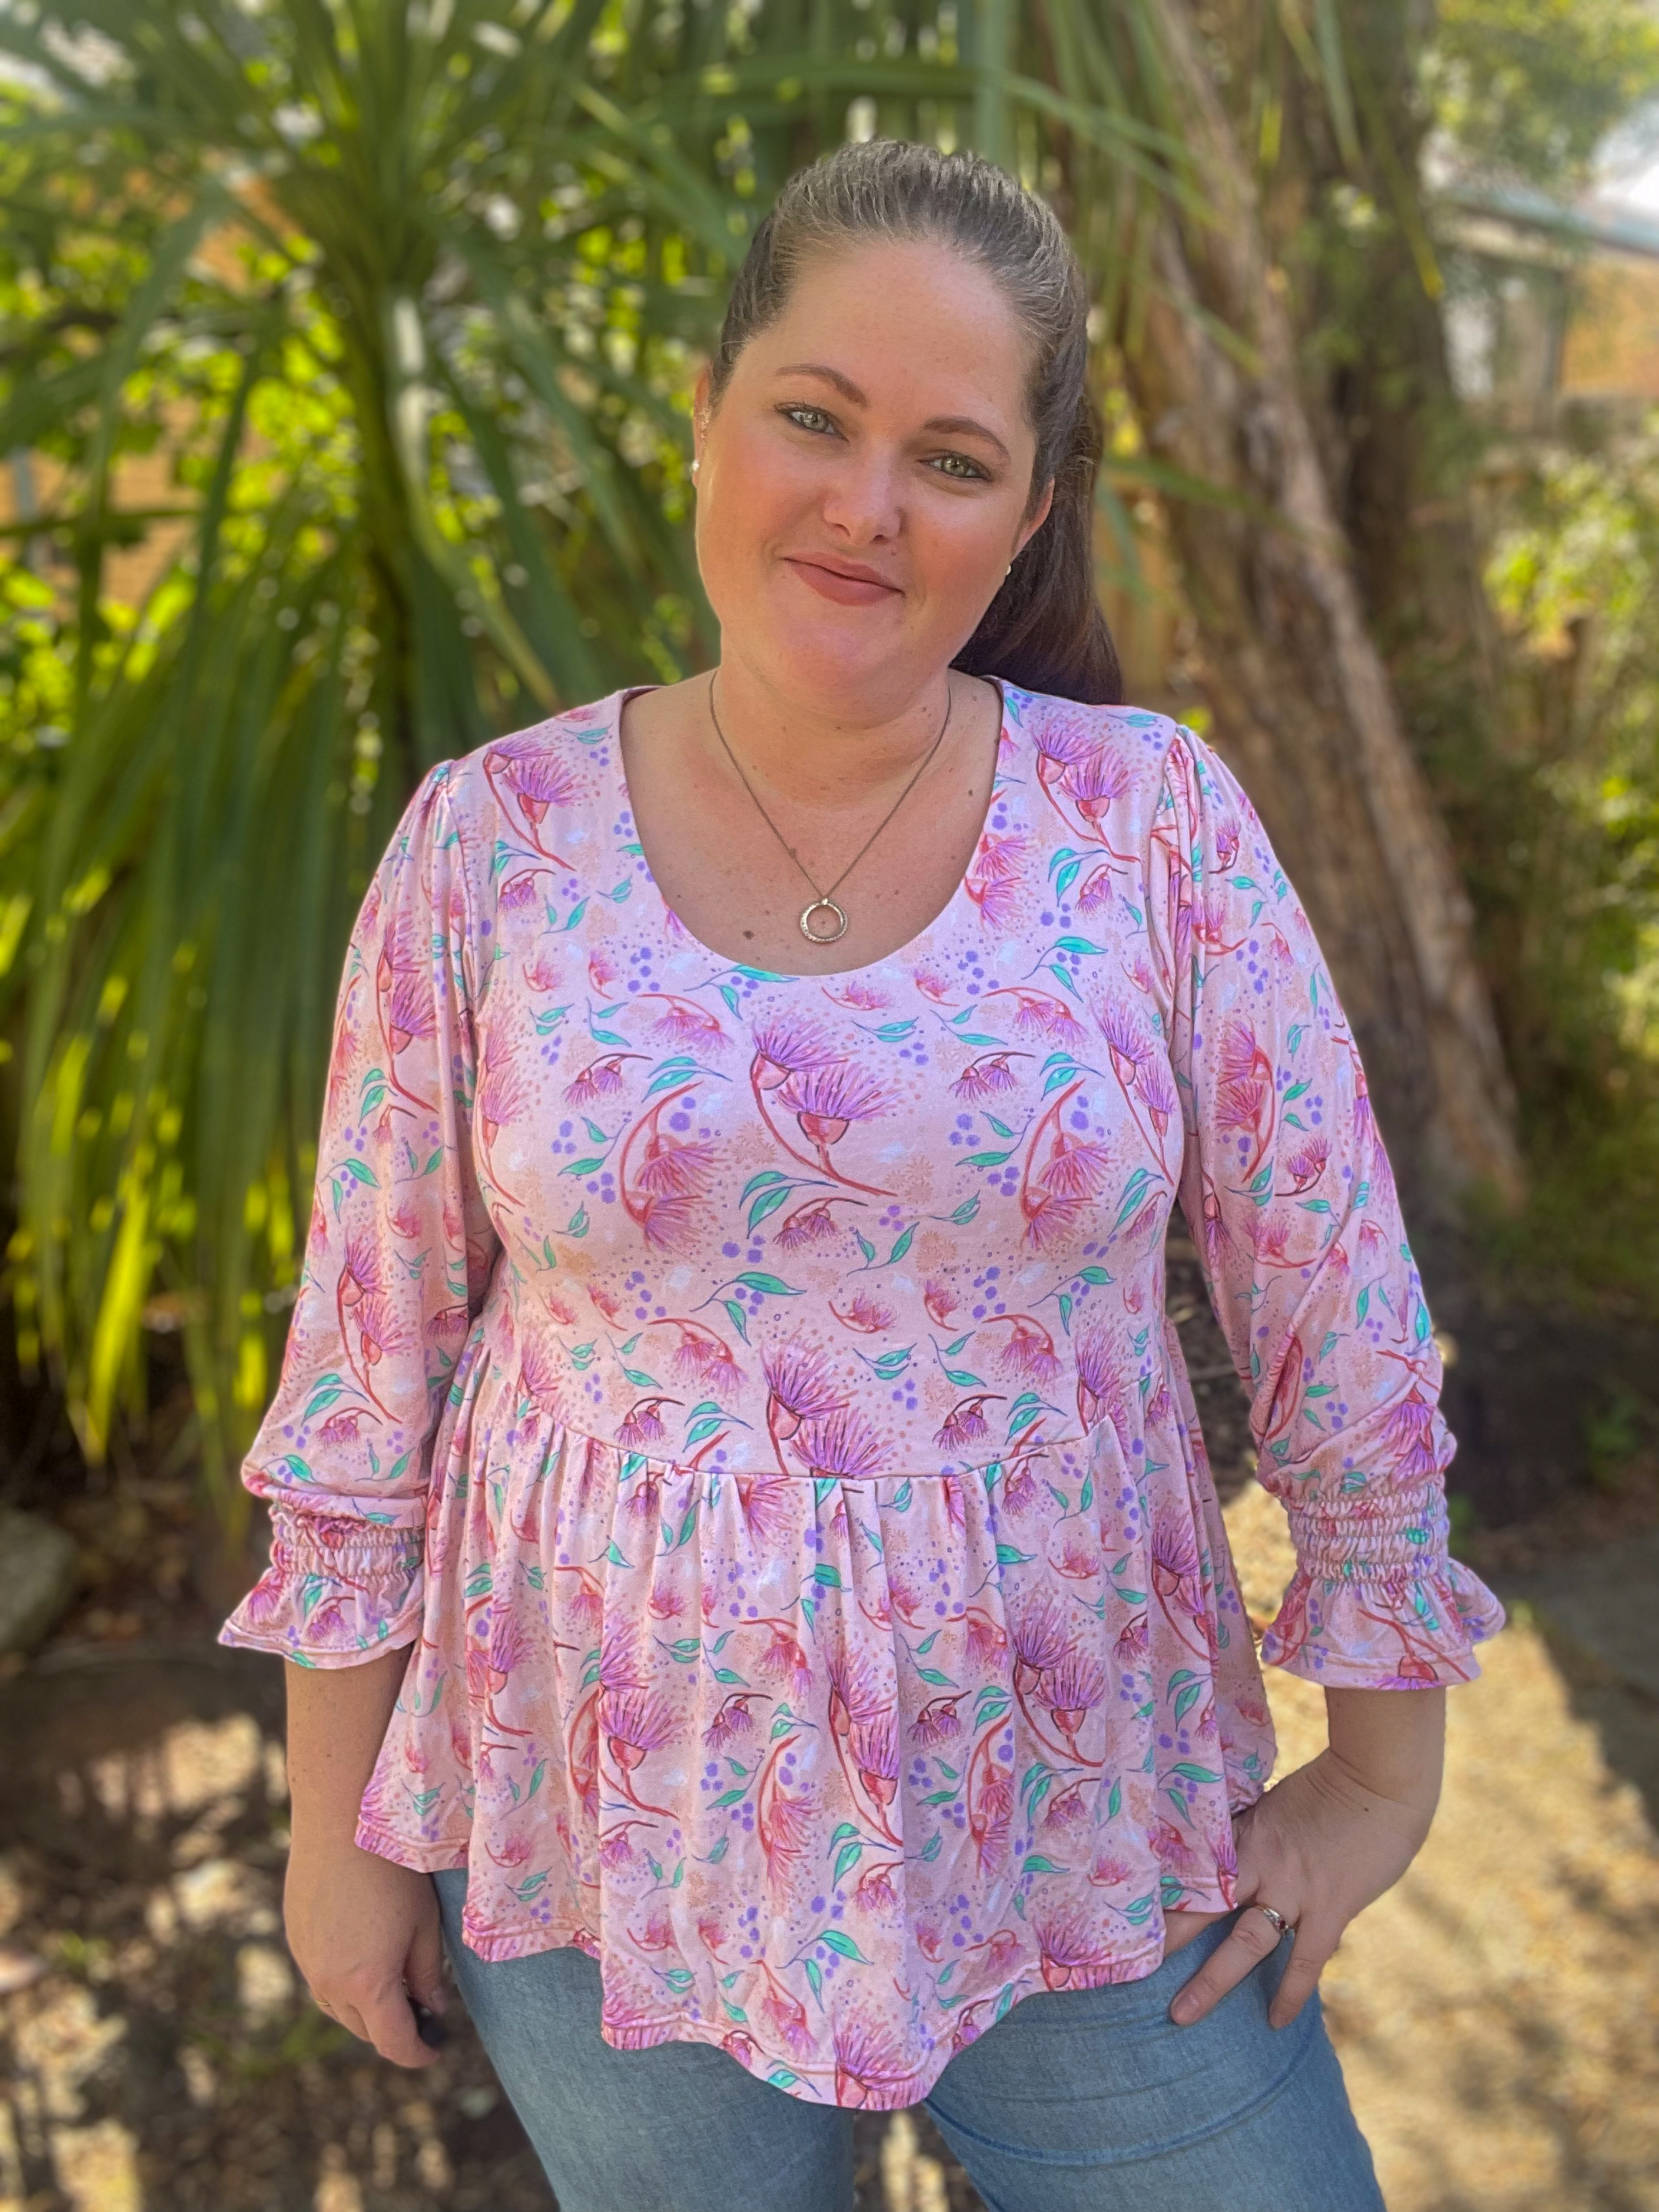
I also really liked that there were quite a few options to choose from. There are multiple skirt lengths and tiered options as well as the peplum top, which is the 3 types I have made. It also has a couple of necklines, including the square neckline, which is a big fave of mine. I’ve made two with the square neckline and one with a low scoop. On the Square neckline you can also add some ruching at the front centre to make a cute sweetheart neckline.
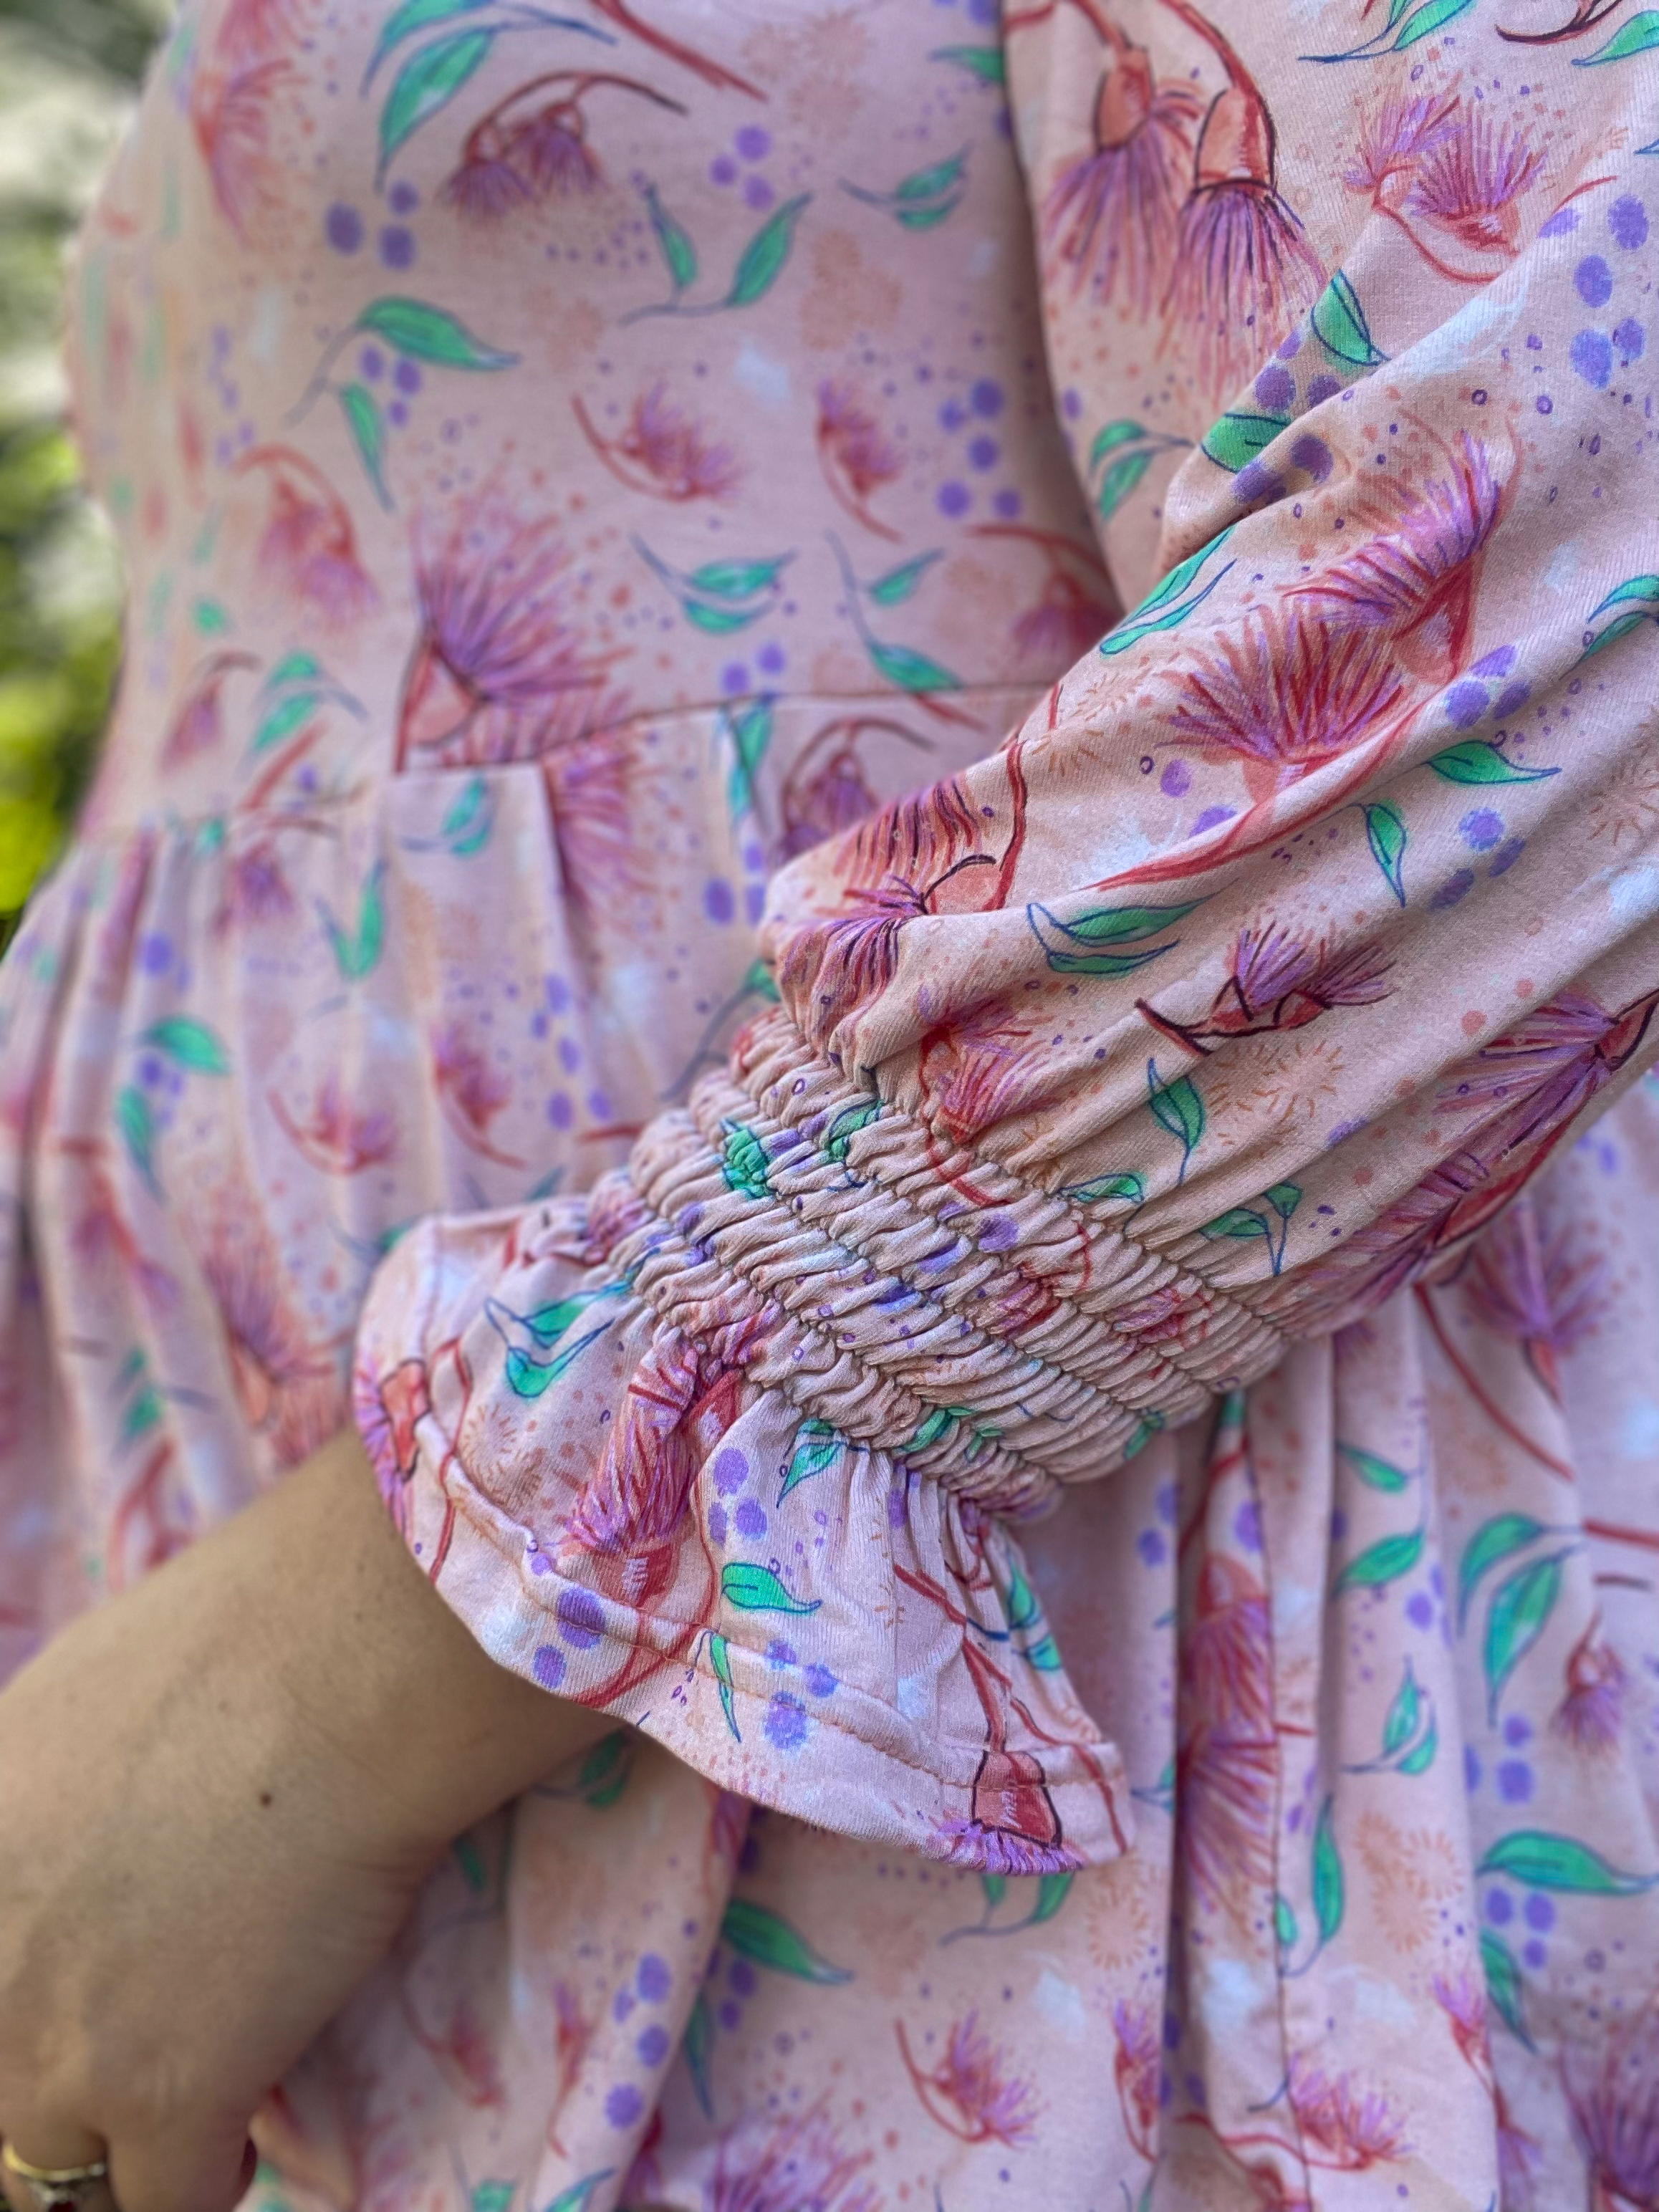
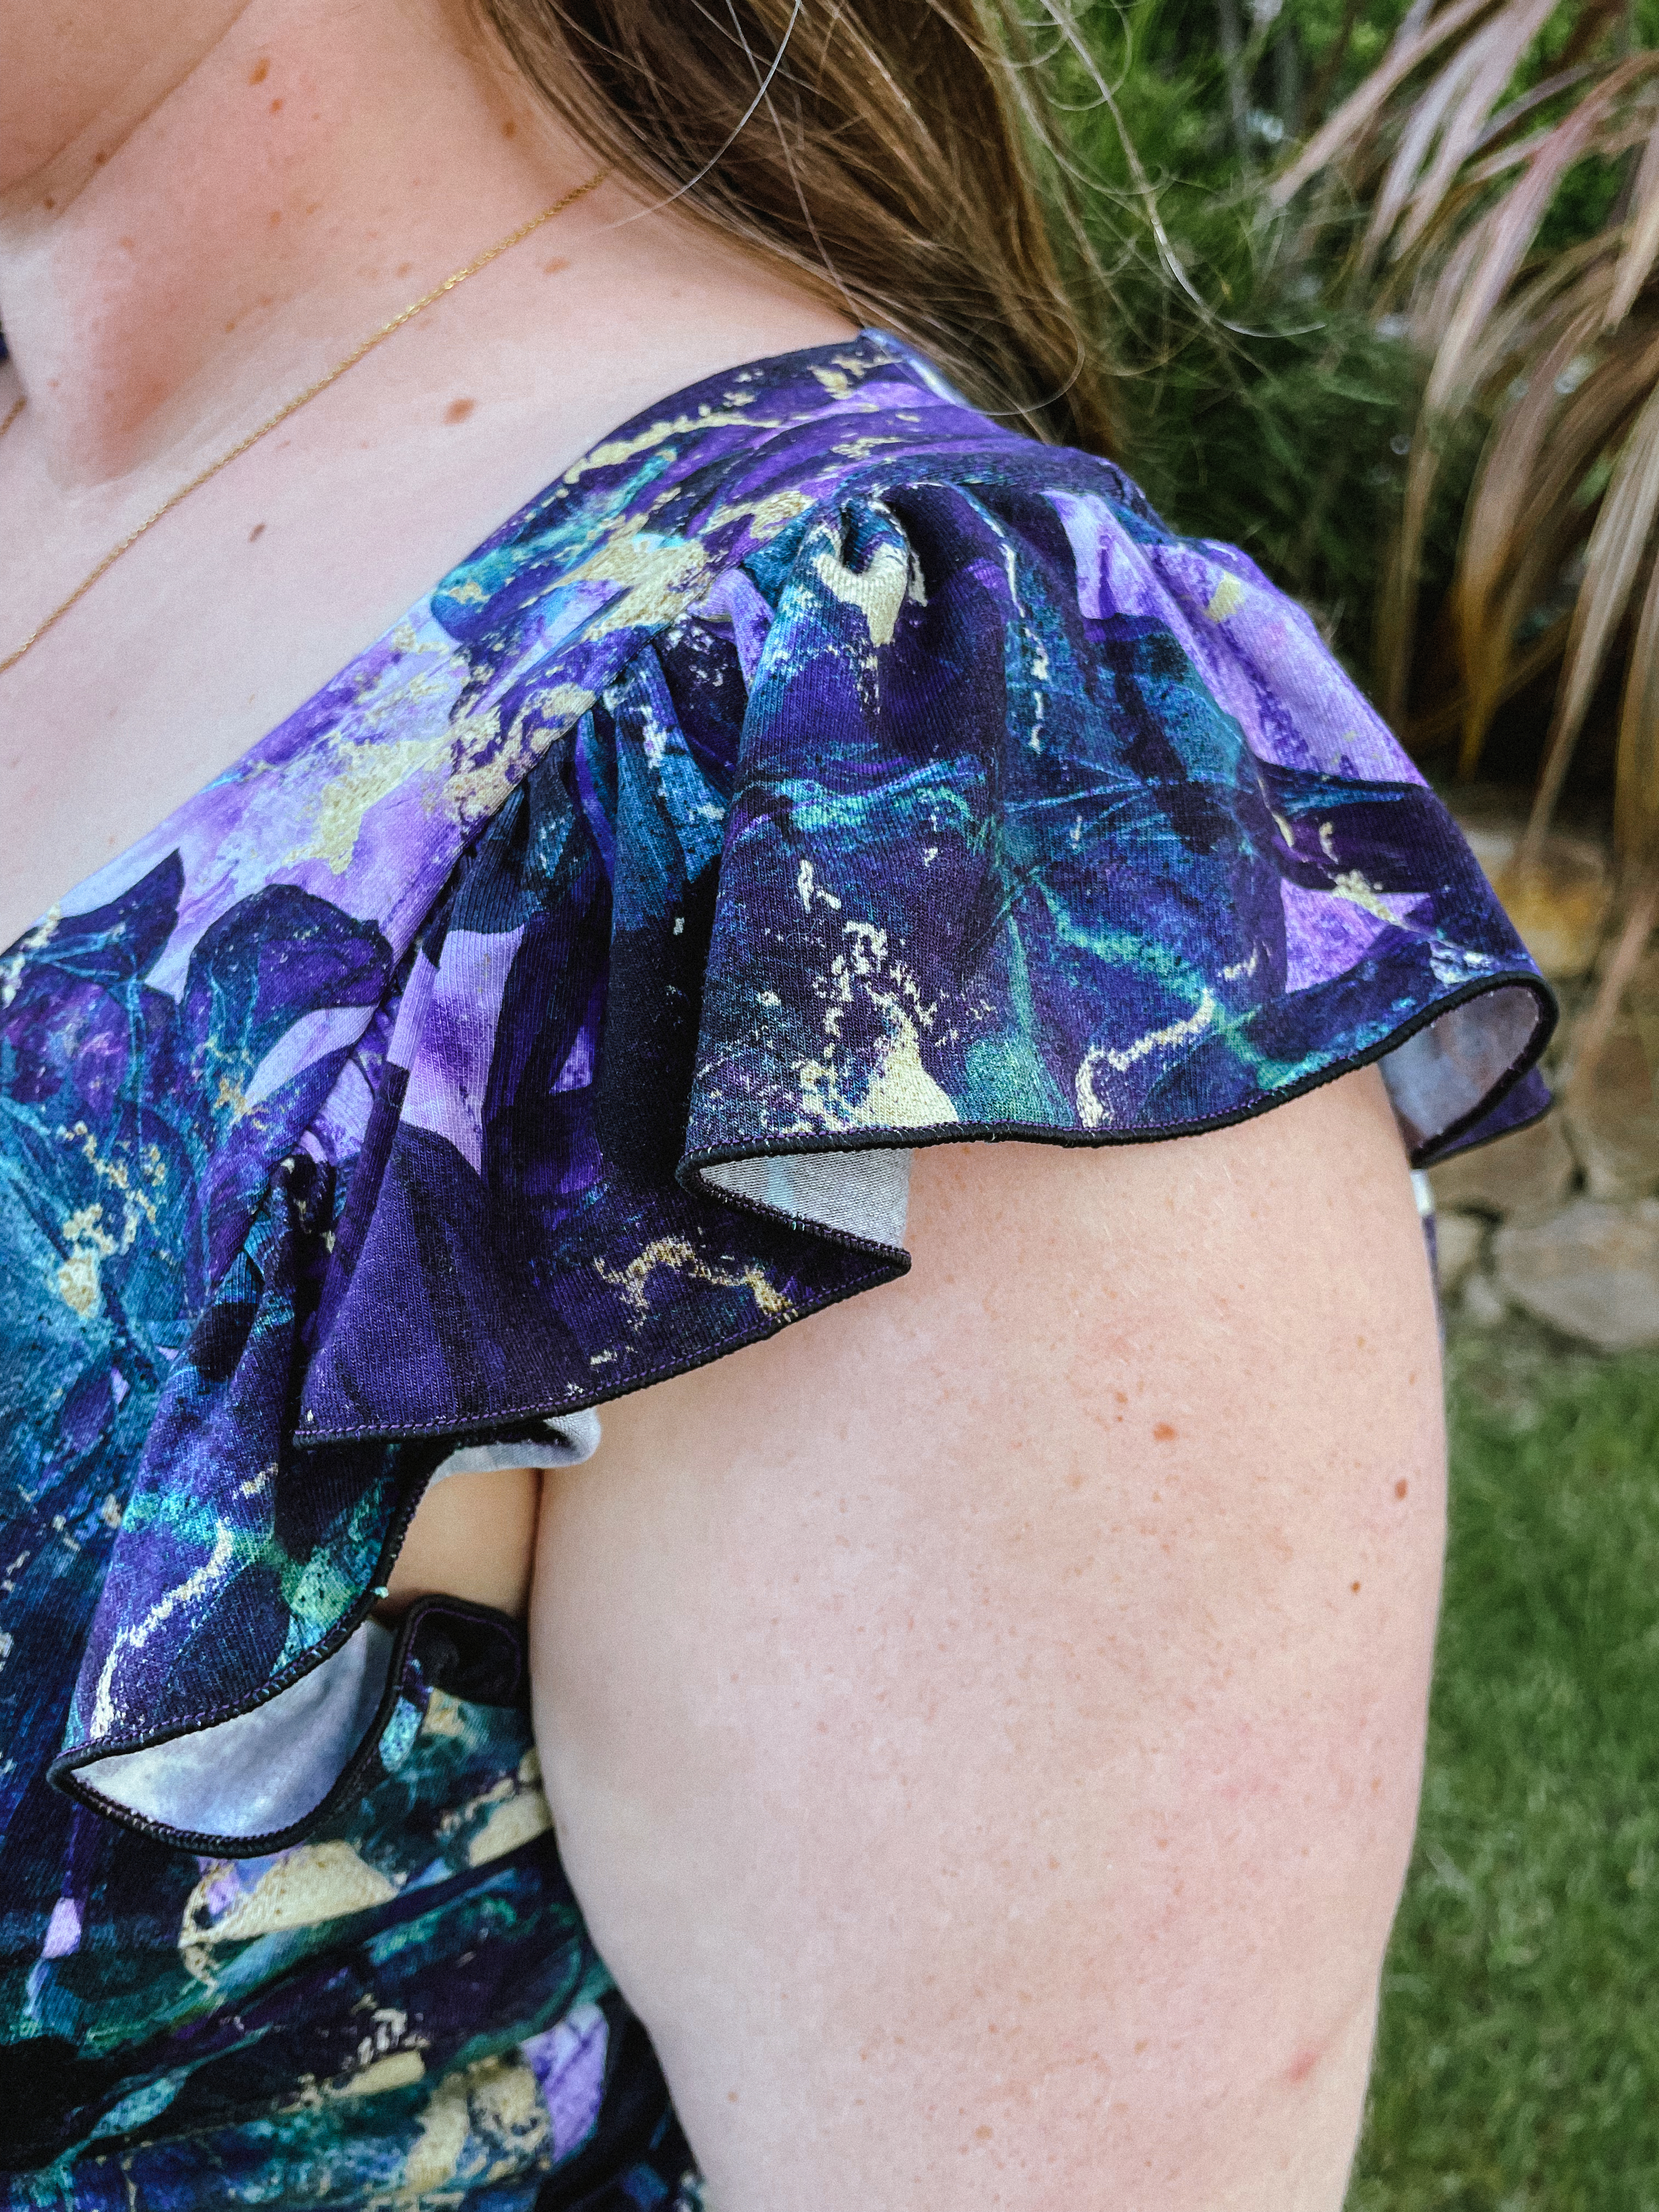
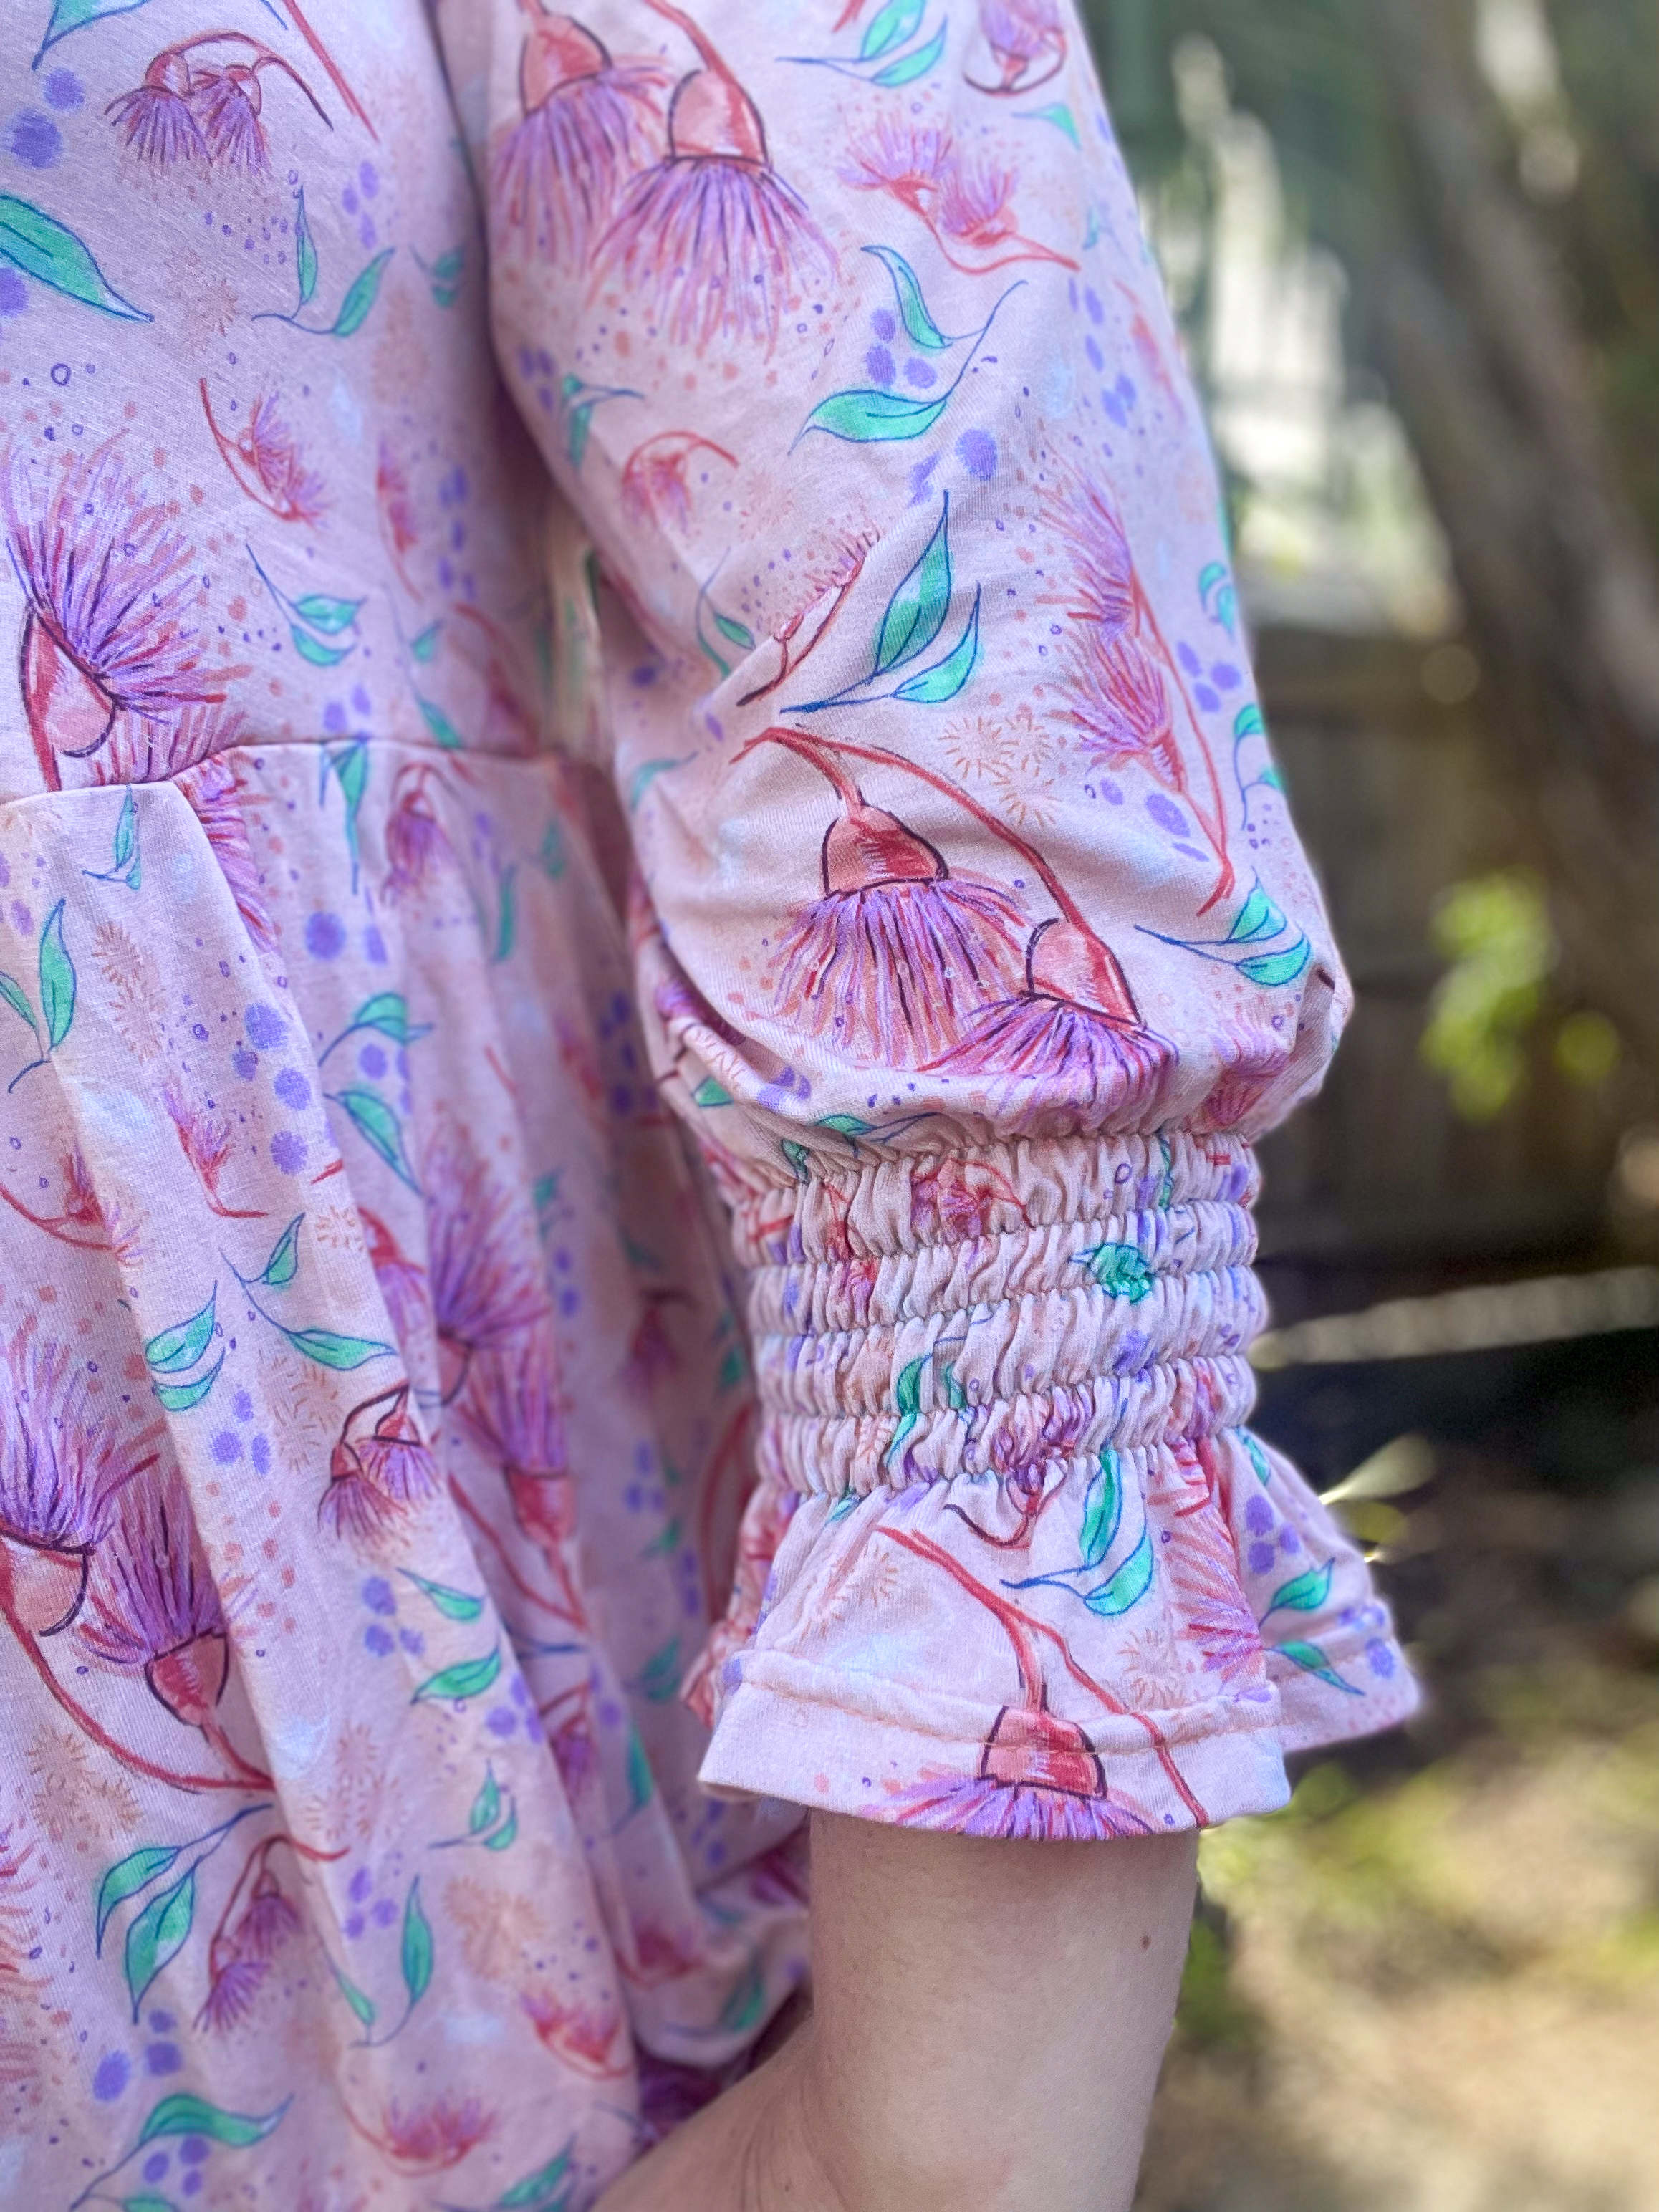
The sleeves were another big draw card for me as there were so many options!! I loved the 3/4 shirred sleeve and also I am a sucker for a flutter. Shirring is a lot of fun and has such a great effect. If you’re new to shirring or not sure how to do it, I cover how to shir in one of the Master Classes in my membership, The Sewing Corner.
I am always a bit hesitant to do knit patterns that are lined as its extra fabric to cut out and use, but I didn’t mind so much for this make. There really isn’t any other ‘neat’ way to get a square neckline either without lining or doing some kind of facing. And I do NOT like facing on a knit garment haha. So lining is the lesser of 2 evils for my fave neckline! It shows how to include elastic in the neckline for extra stability as well which is nice. My Knit Confidence course covers elastics in knits if you need some support with this technique.
Two of the versions I have made have been with The Telarie Bamboo Lycra and they are SO lovely and flowy. The quality of the material is gorgeous and I just love the prints I chose.
I would not hesitate to try this one out, its especially nice in the more flowly fabrics like Bamboo Lycra, Modal, Rayon Spandex and a Viscose Elastane. Try it out and tag me in your makes!
FYI. This pattern is on sale for 50% off for the month of November 2023. Grab it now!
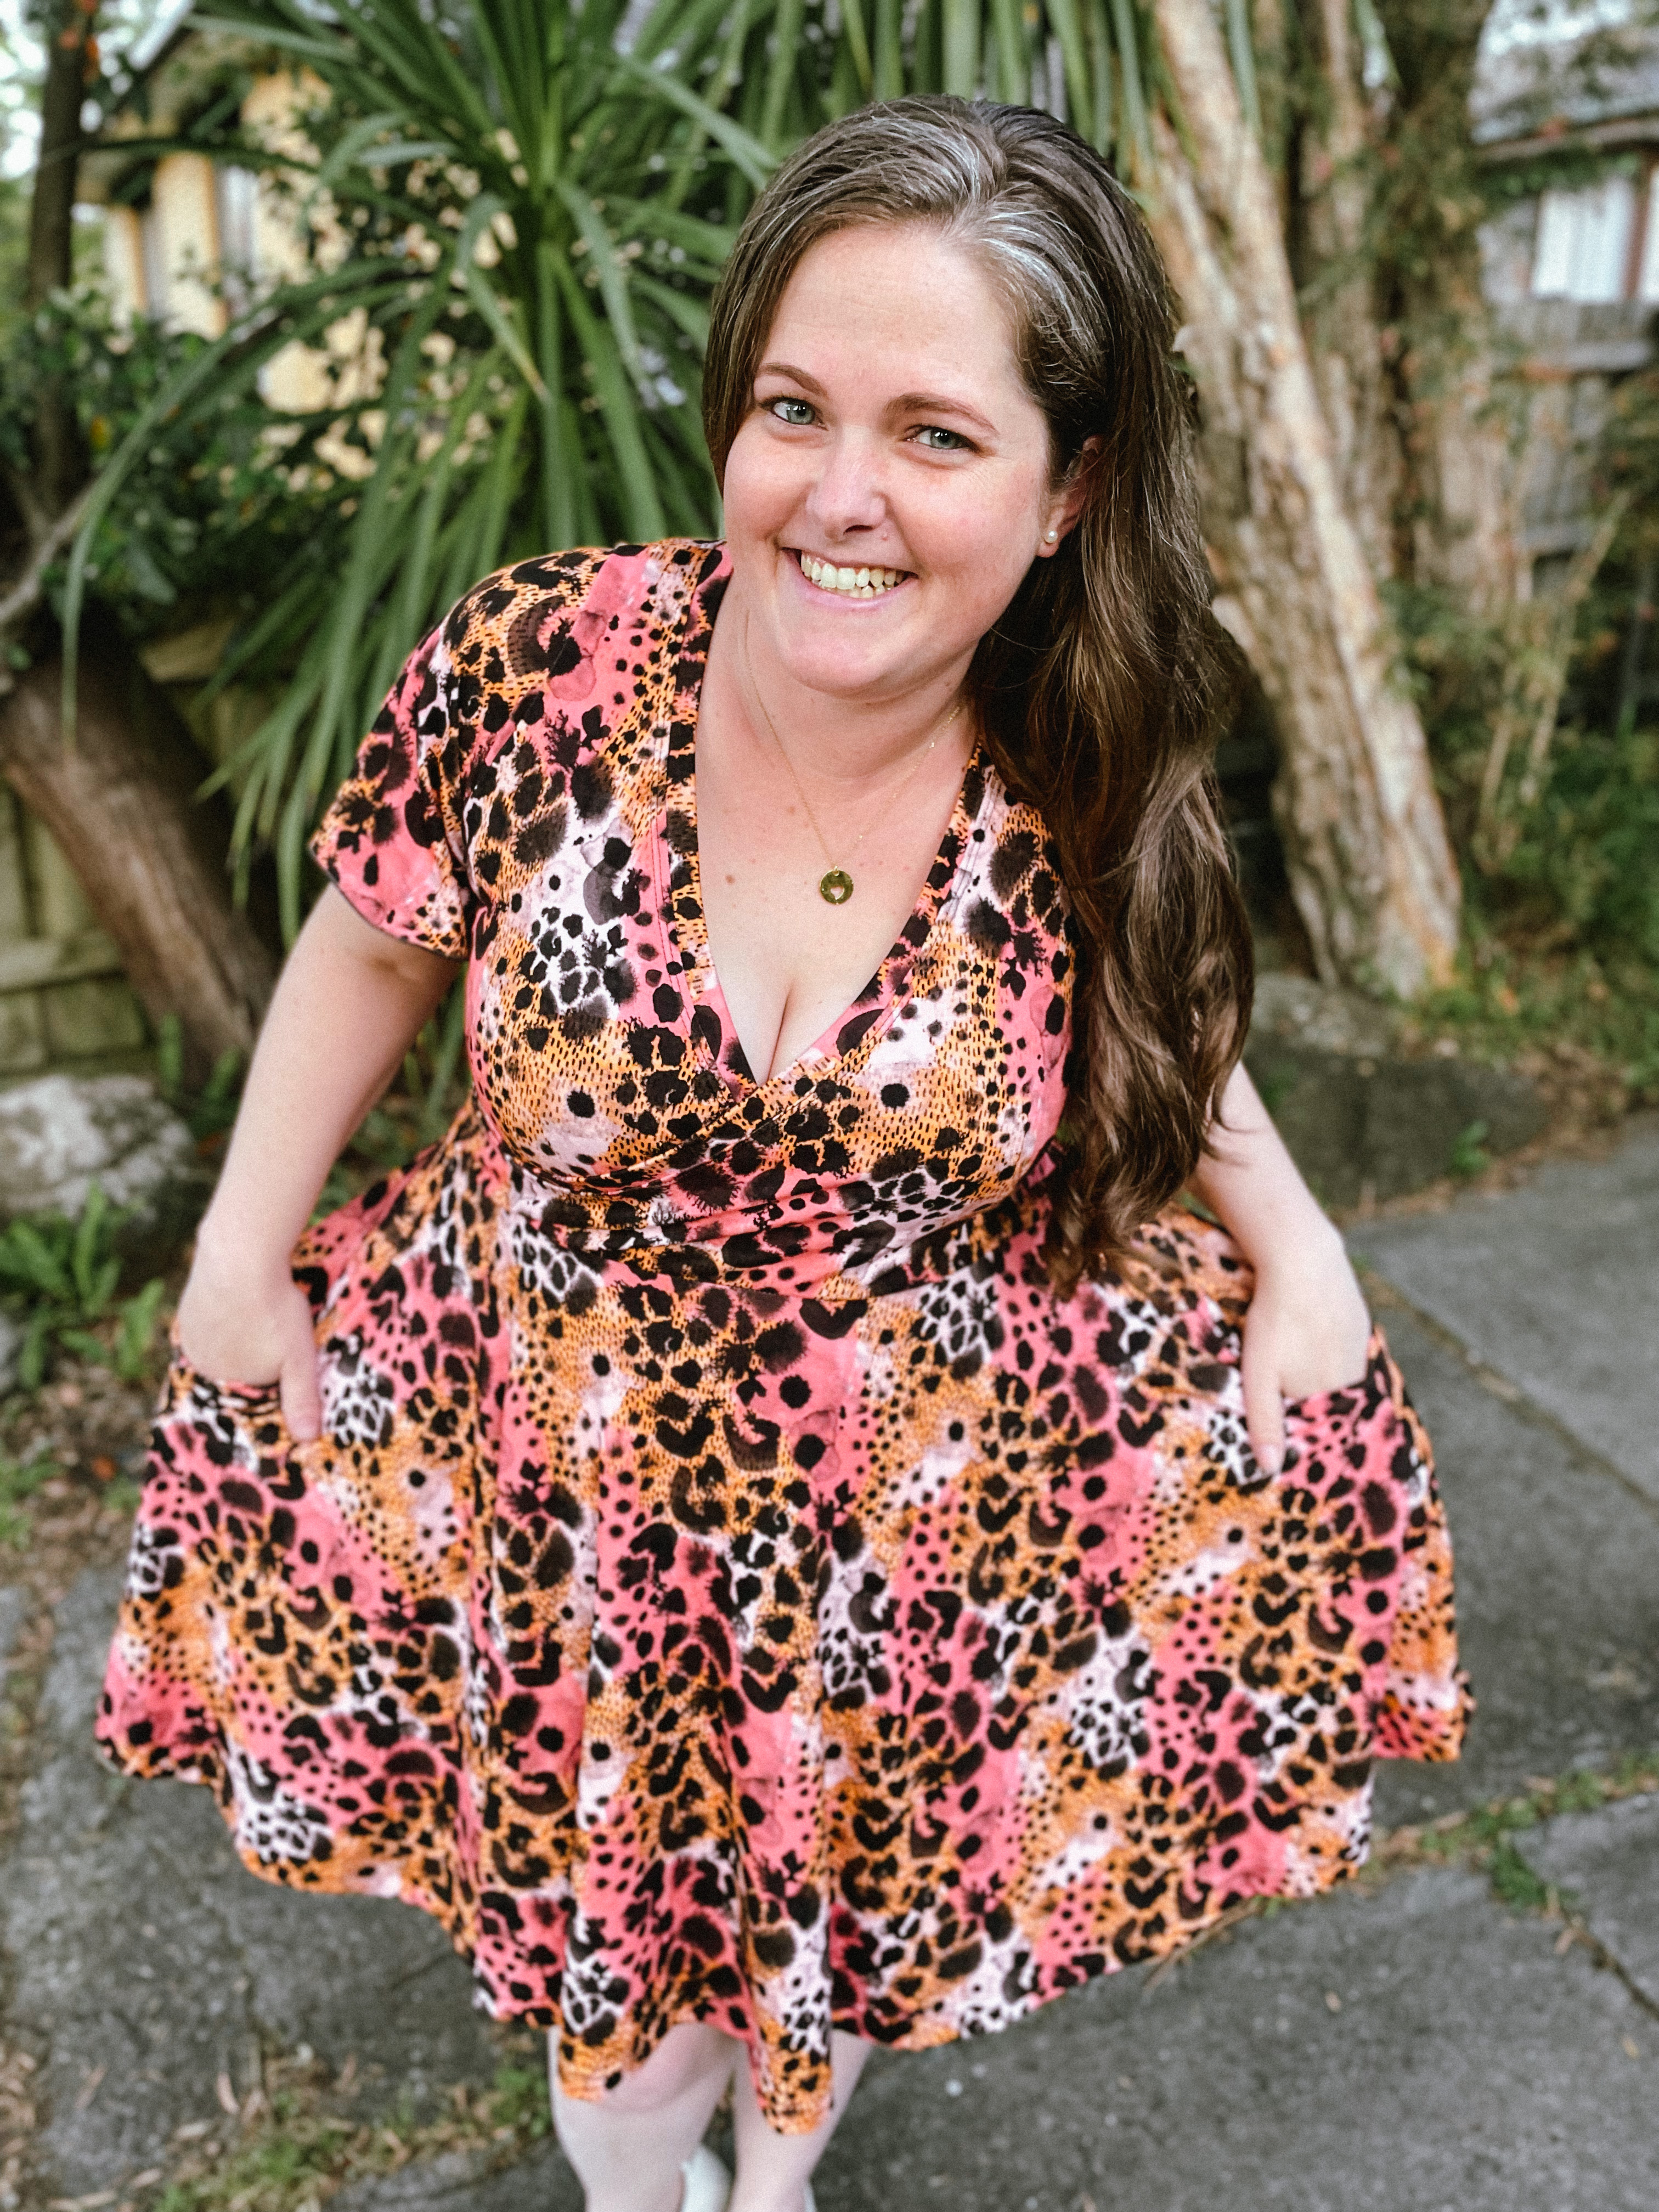
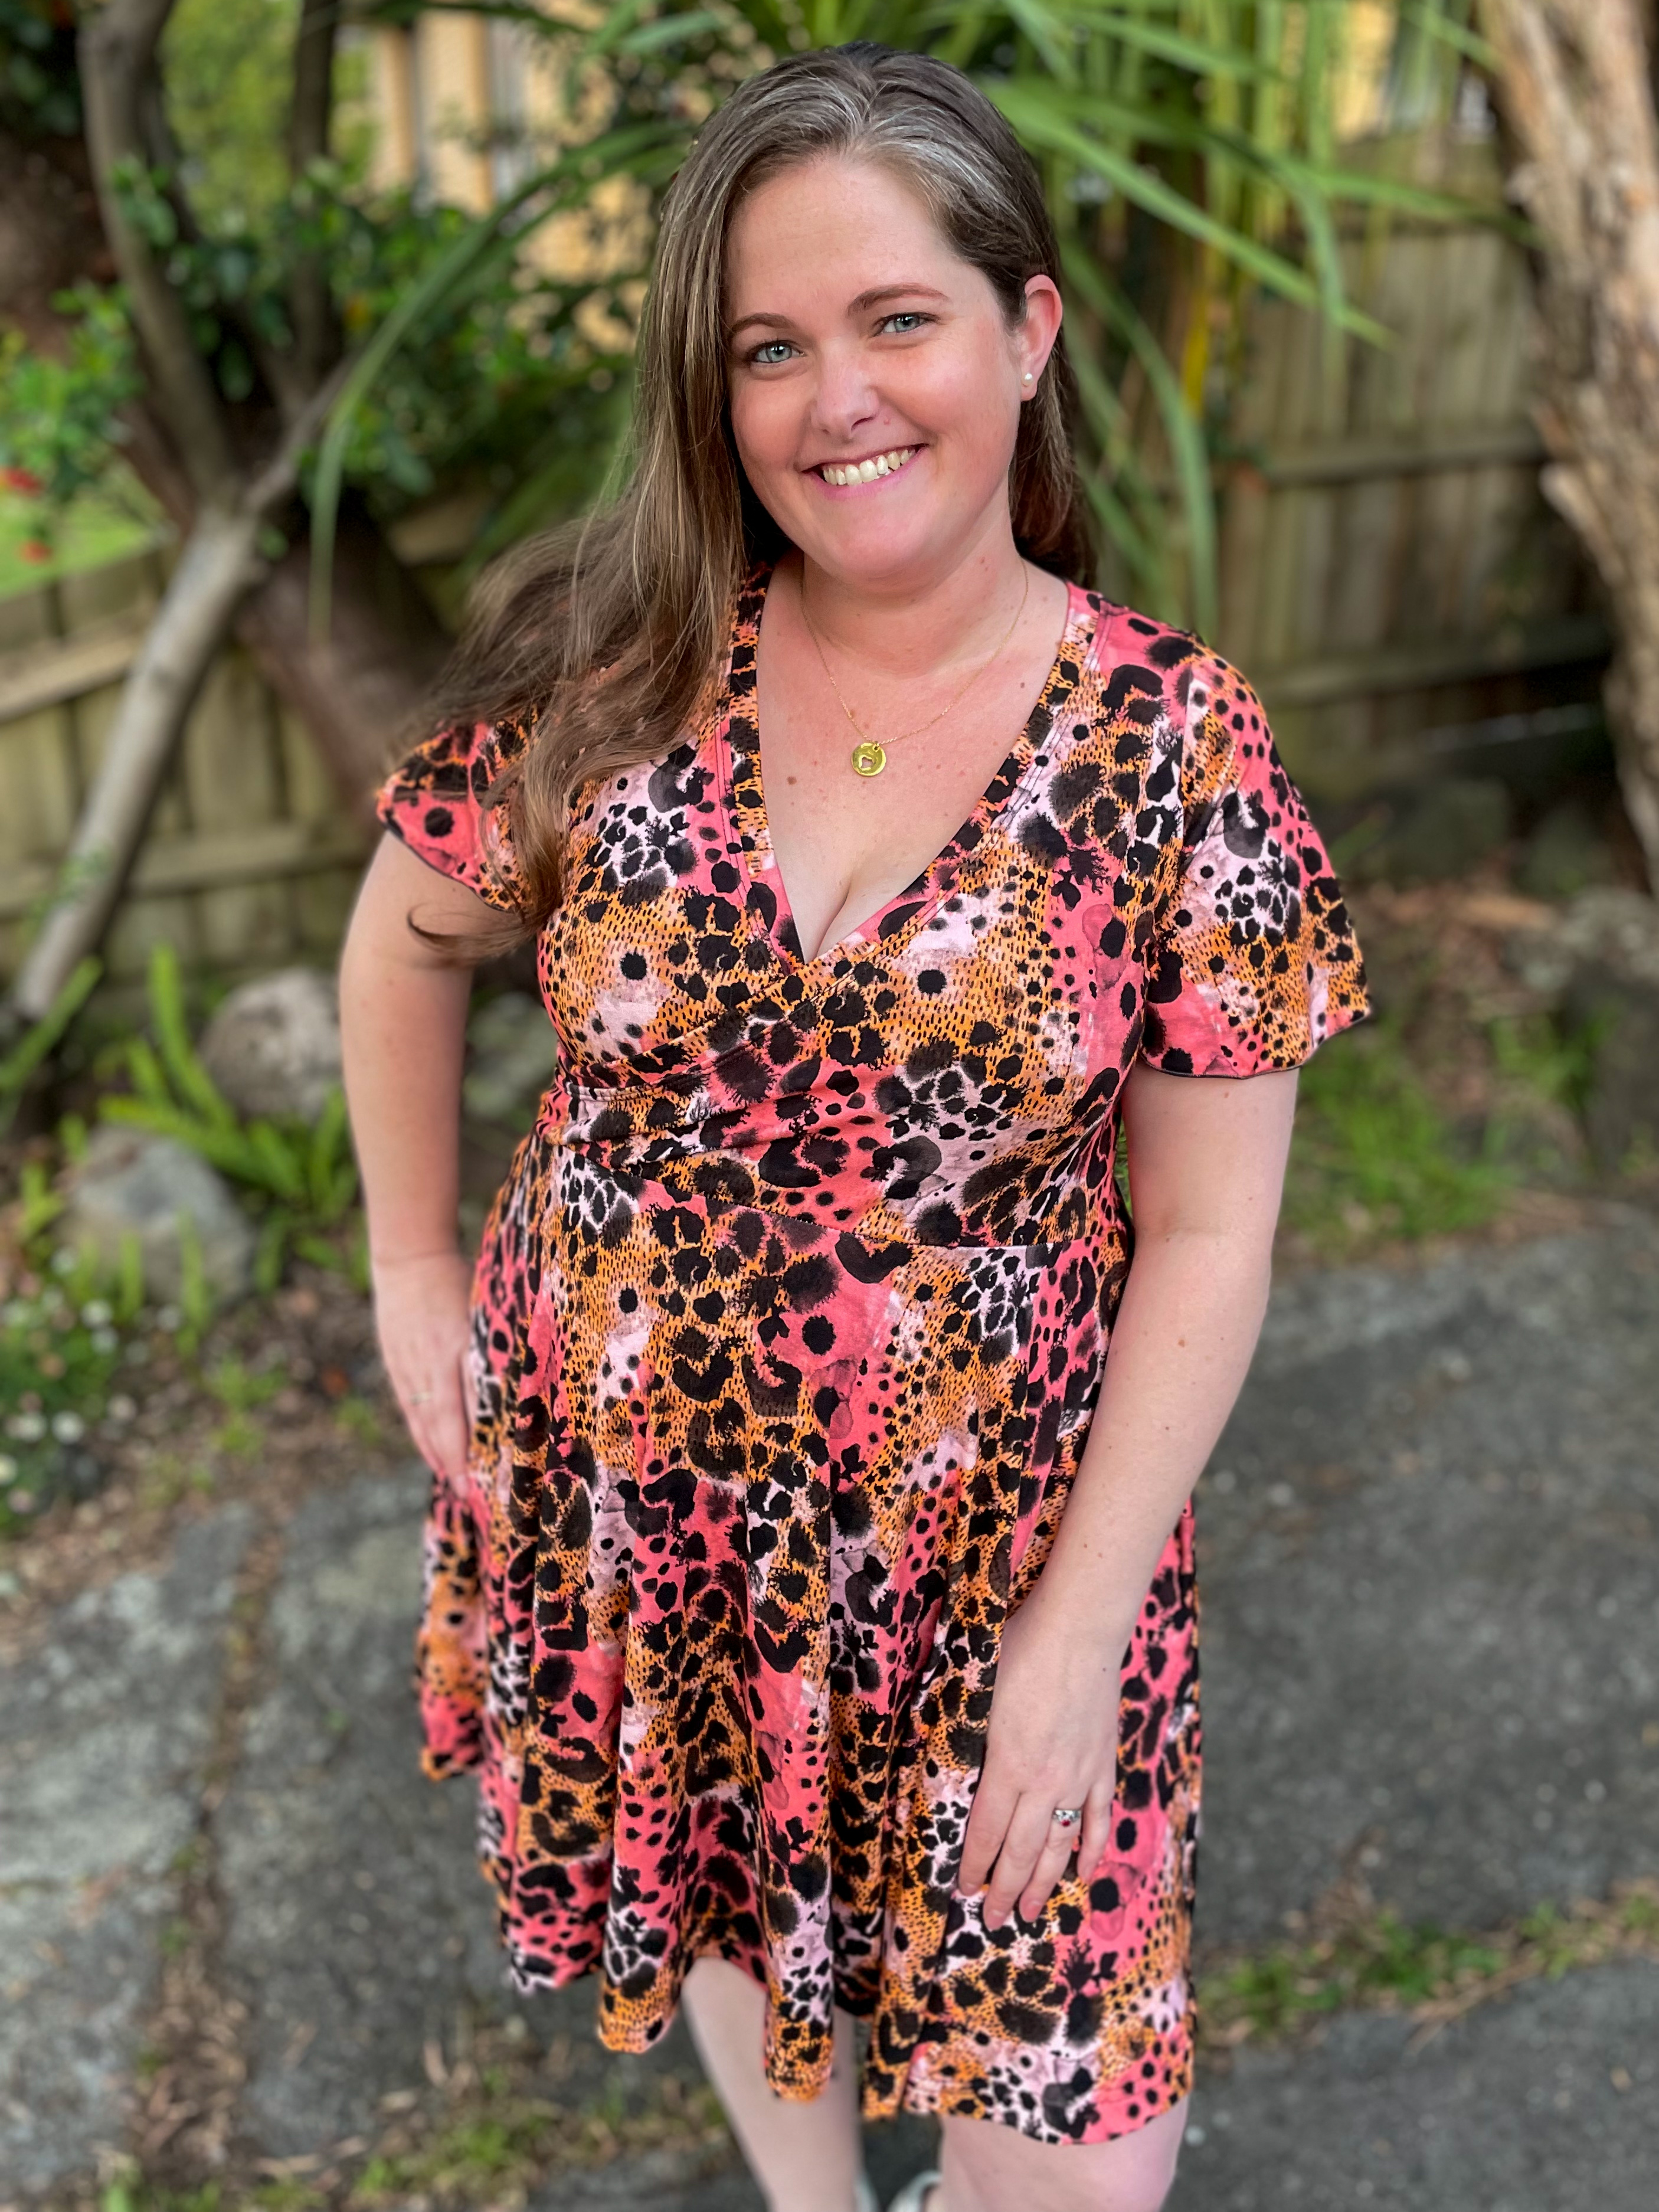
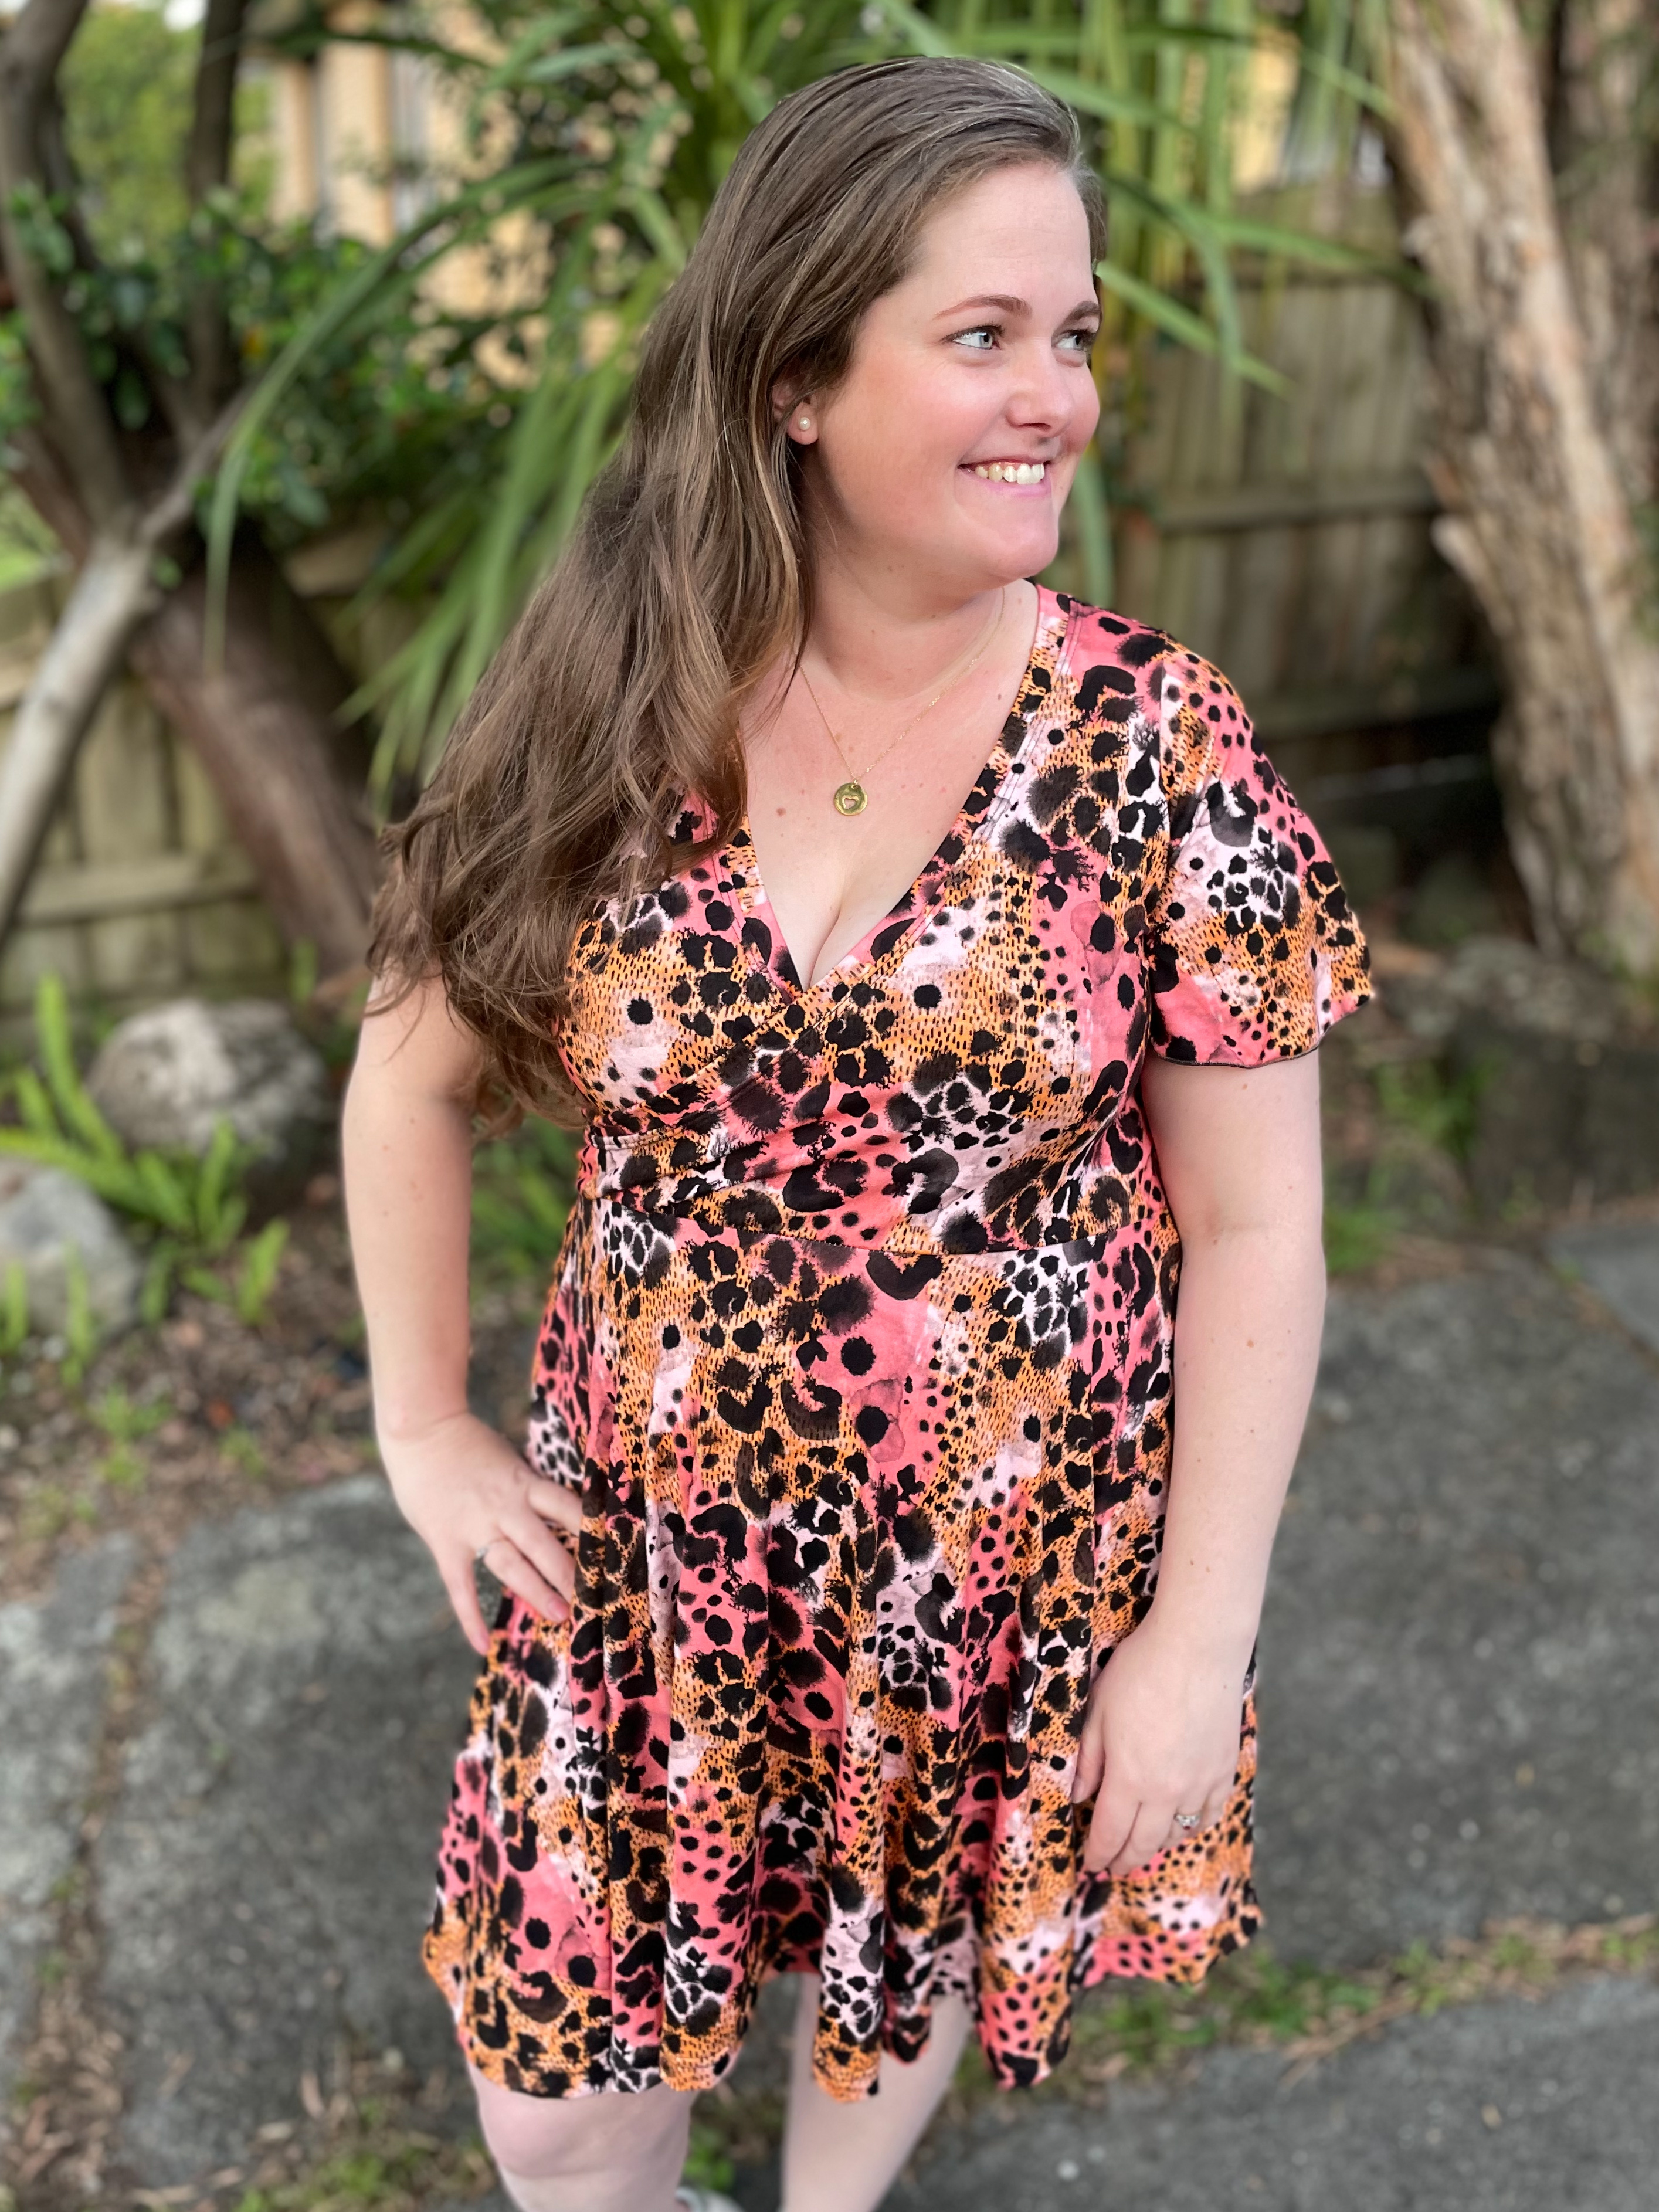
Pattern:Tres Belle Dress with Willow Wrap Flutter Sleeves Designer: Ellie & Mac (Tres Belle), Love Notions (Willow Wrap) Fabrics: Viscose Jersey from Wattle Hill Fabrics Skill level: Beginner Size made: 2XL Adjustments: I used the flutter sleeves from the Willow Wrap and mashed them straight into the Tres Belle Bodice Pros: I’ve done this mash a couple of times and it NEVER fails to impress me. It is light, breezy and super flattering. Cons: The binding on the neckline can be a little intimidating, but take it slow and you should have no problems.
Romance in Every Stitch: Mastering the Tres Belle Dress with a Flutter Sleeve Hack
So, I guess the first question I ask is, can you ever have too many beautiful dresses?
Answer, NO!
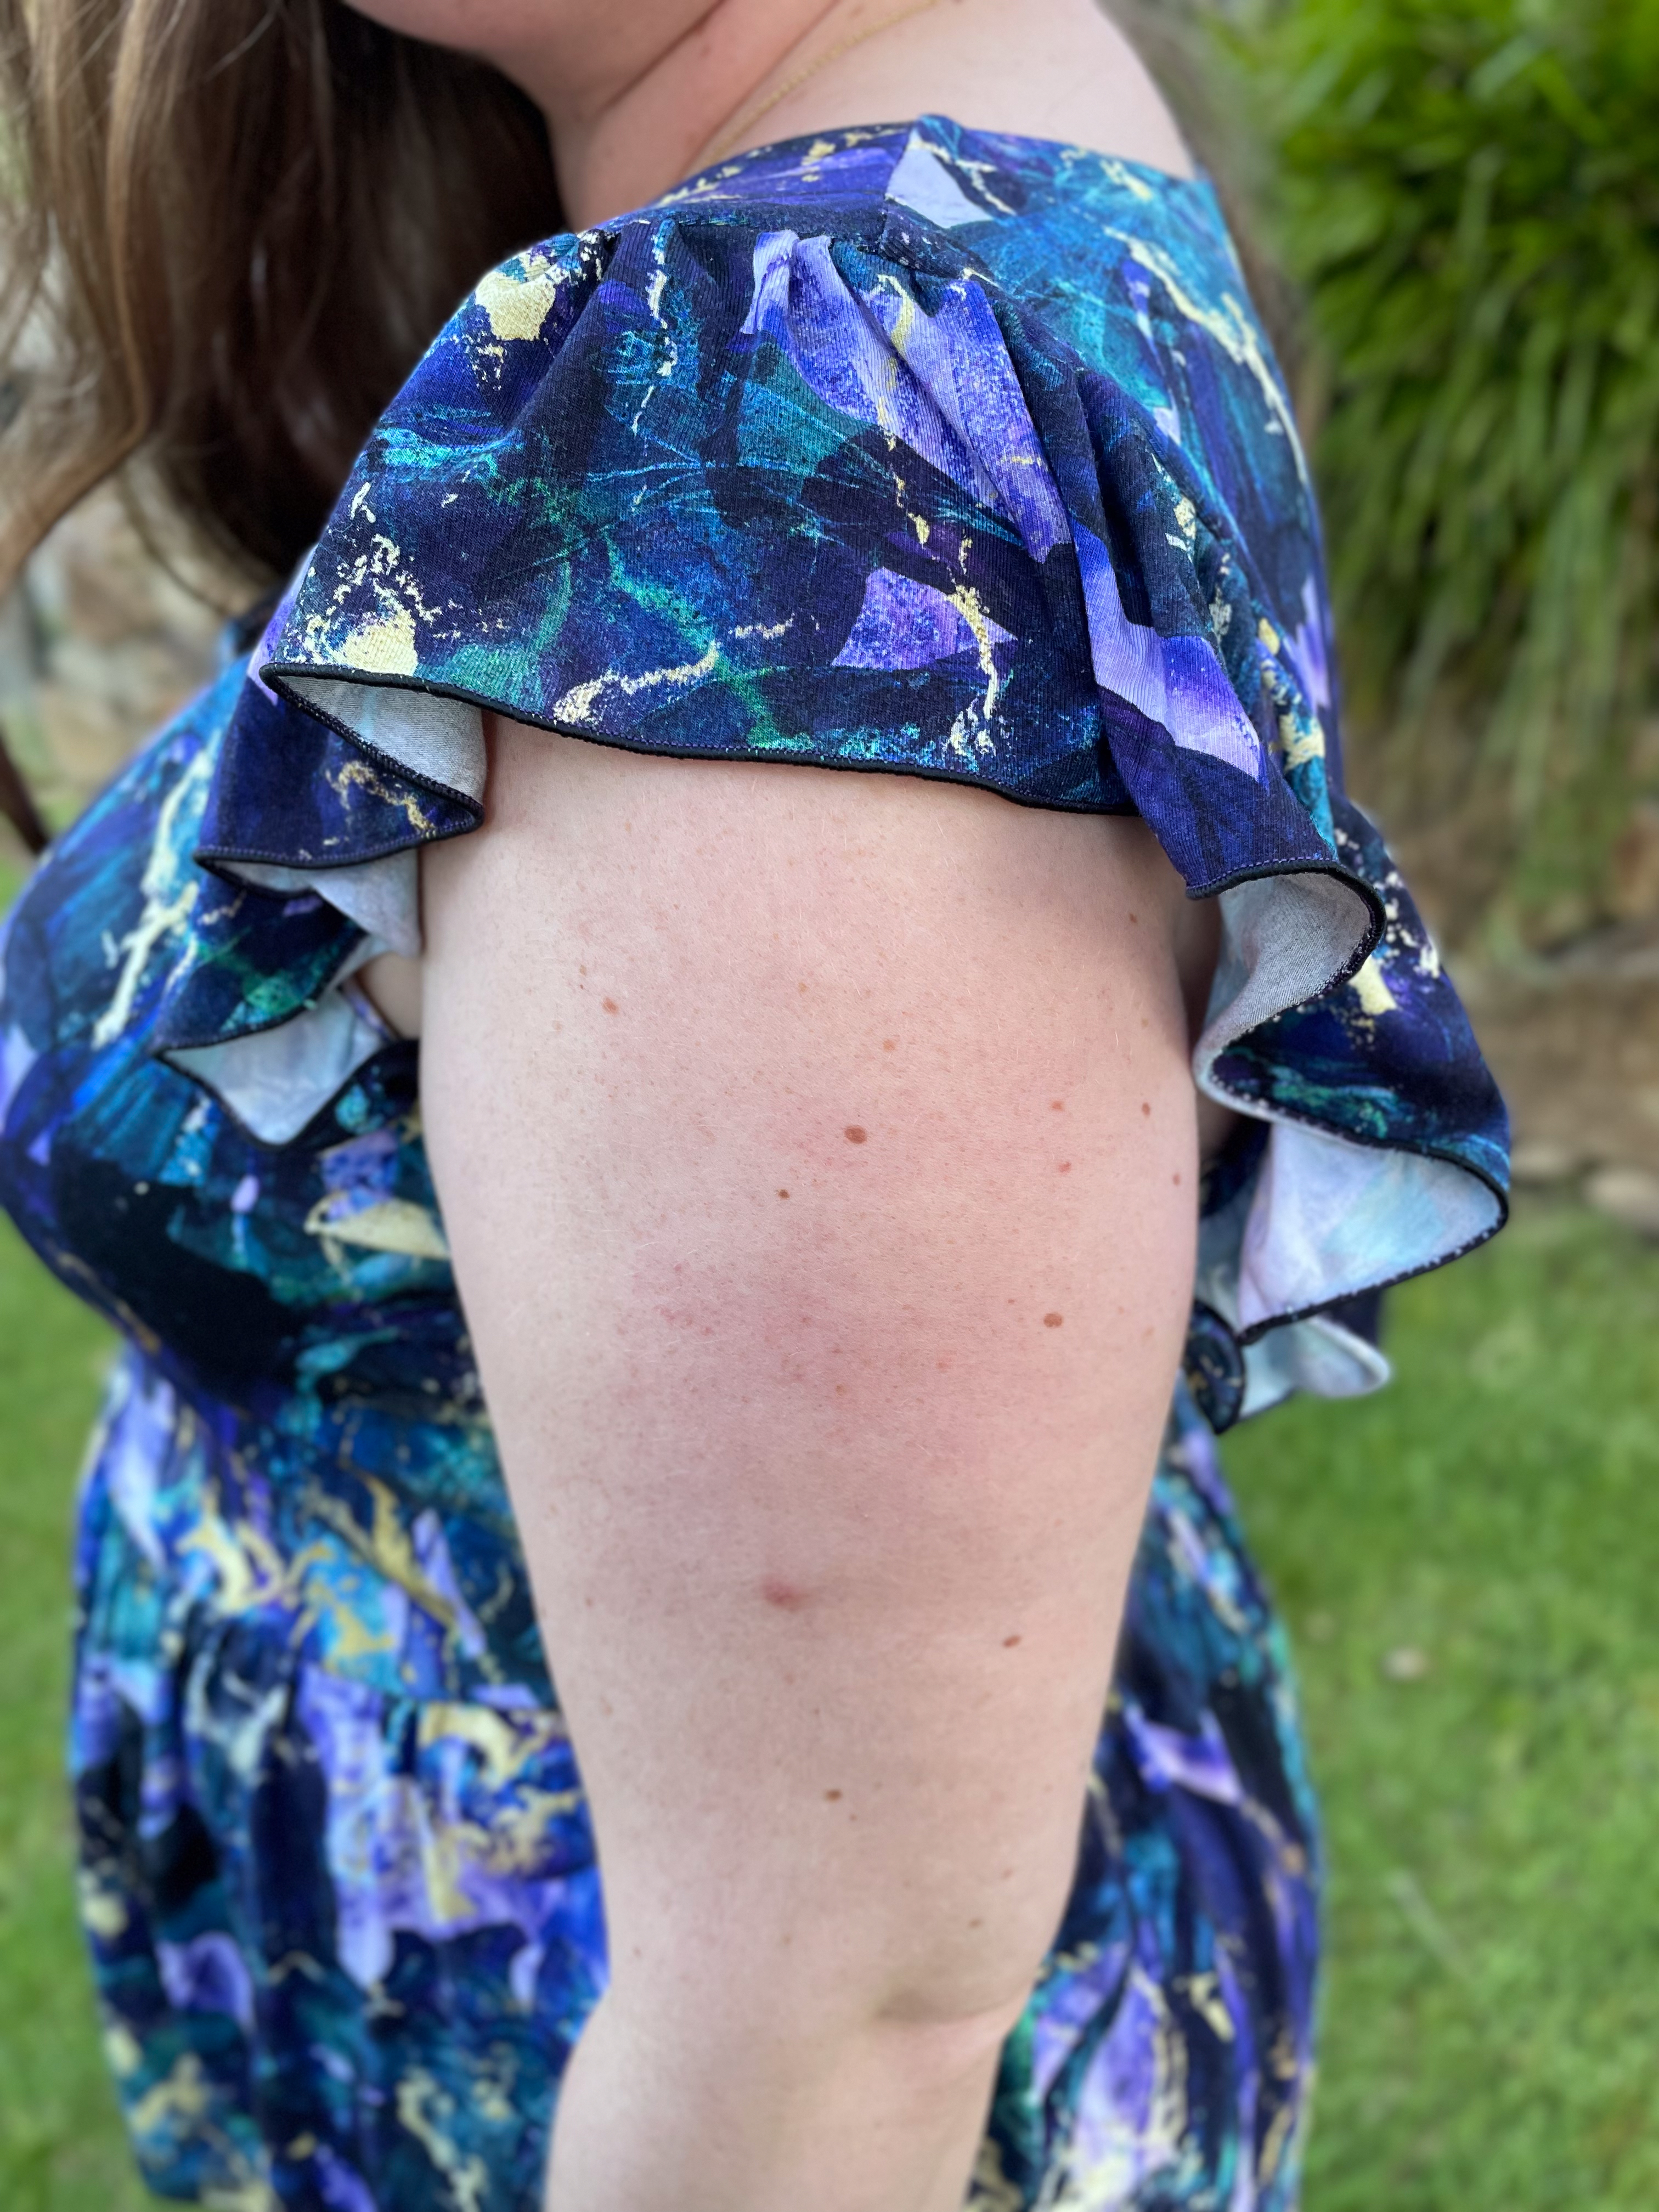
I think this is the 3rd or 4th Tres Belle I have made and at least the 2nd or 3rd I’ve made with the Willow Flutter Sleeve hack. I just love the romanticism of the flutter and softness it brings. I find that using soft fabrics such as Modal’s, Viscose Jersey, Bamboo Lycra and Rayon Jersey/Lycra’s work best if you want a really soft look, while something like a 220gsm Cotton Lycra/Elastane will have slightly more structure to it.
In terms of the hack, its a pretty straight hack. I used the sleeves from the Willow Wrap and put them straight onto the Tres Belle armcyes at the same size. For example, my armcye was an XL, so I cut the XL flutter sleeve on the Willow Wrap and it fit in nicely.
Of course the other staple that is always in any dress I make, is pockets! I just can’t imagine having dresses without pockets now haha.
I think one of my favourite things about this style of dress is the cross over front that flares from under the bust, helping to skim over my tummy, which is the area of my body I am most self conscious about. I am working on accepting myself as I am, but being able to make clothes that help me feel more confident is definitely part of that process.
I hope this review has inspired you to explore the fluttering elegance and comfort of the Tres Belle with the Willow Sleeve hack. It’s such a joy to create garments that not only look beautiful but also make you feel confident and comfortable in your skin. If you’re looking to enhance your knit fabric sewing skills further, take a look at my free guide, ‘Improve Your Knit Sewing in 30 Minutes or Less’, and start making your sewing journey even more rewarding.
Use code ‘sewwithmegan10″ on any Love Notions Pattern for an extra 10% off.
Ellie & Mac also have 50% off ALL patterns during November 2023. Grab it while it’s on sale!
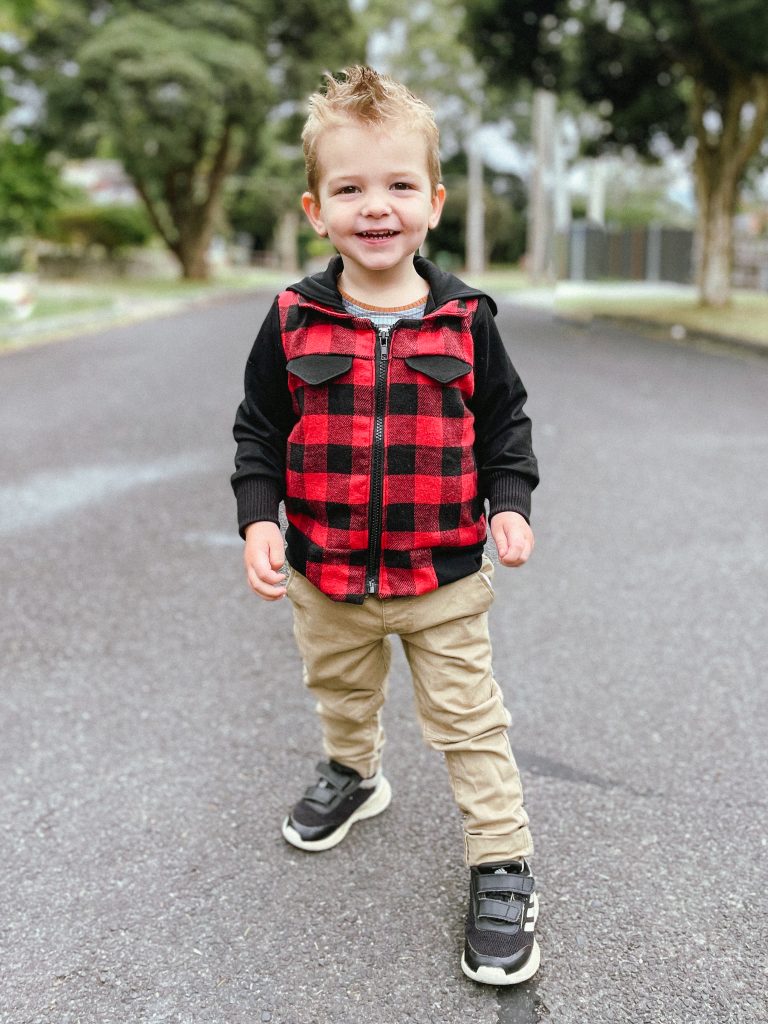
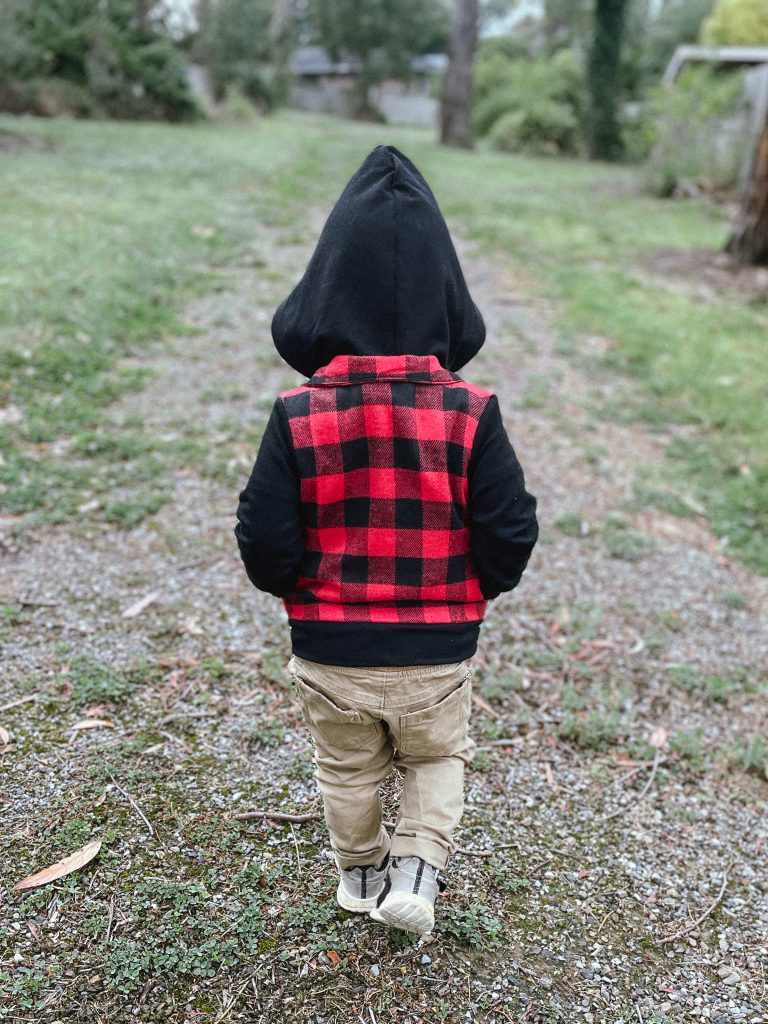
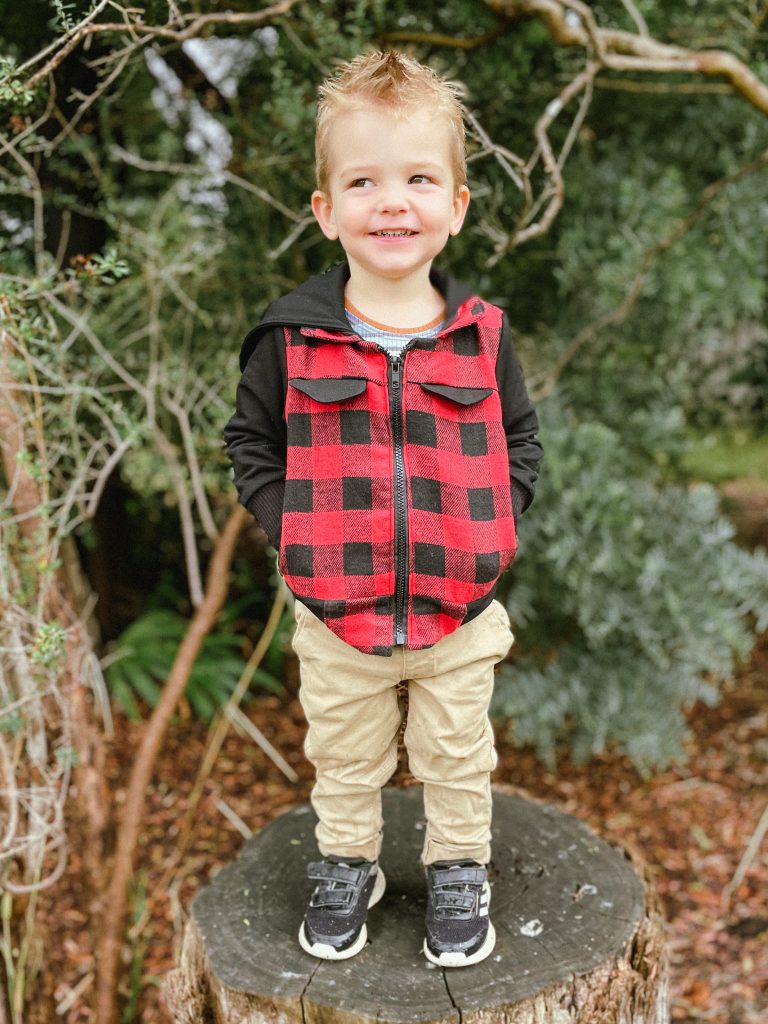
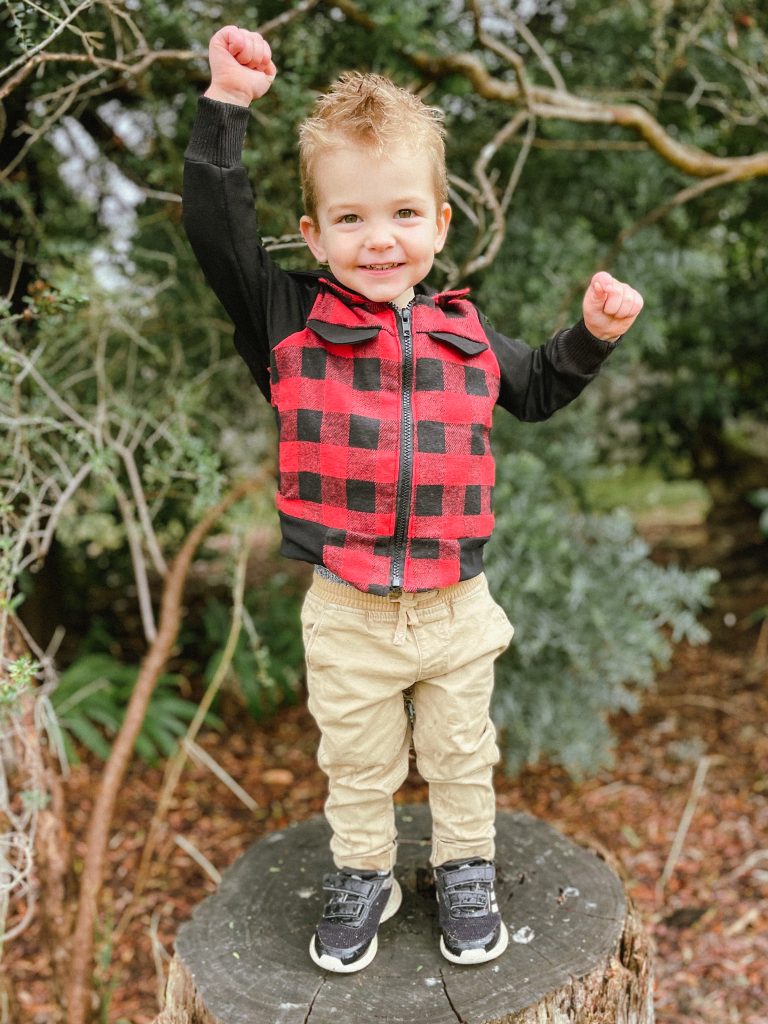
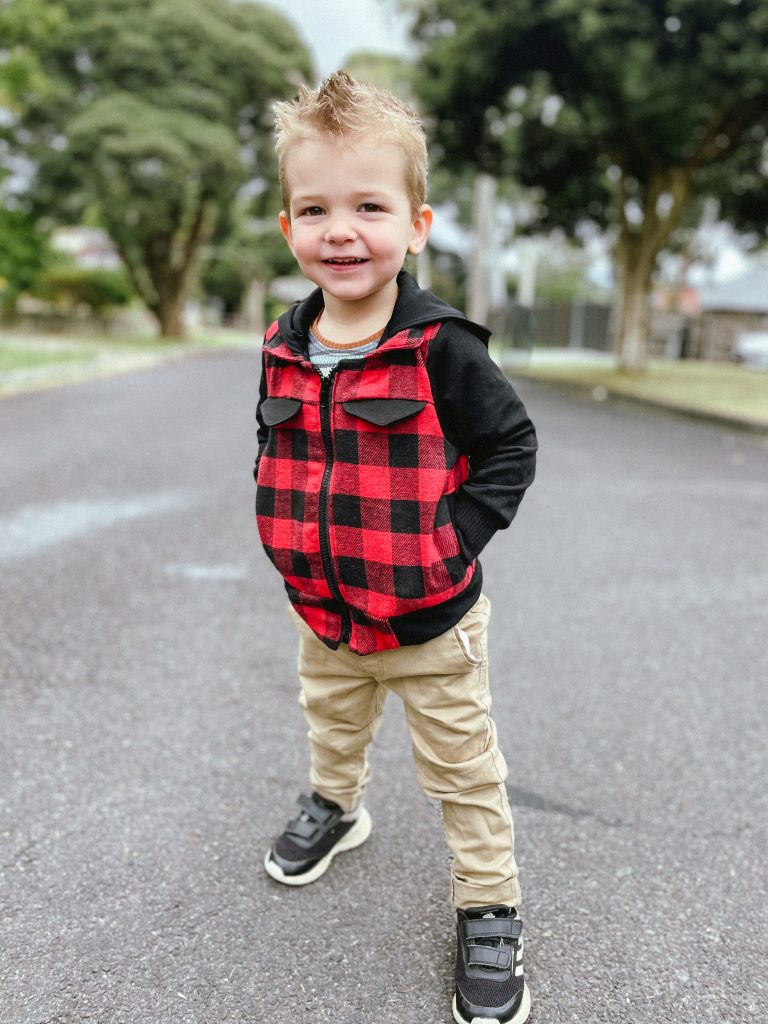
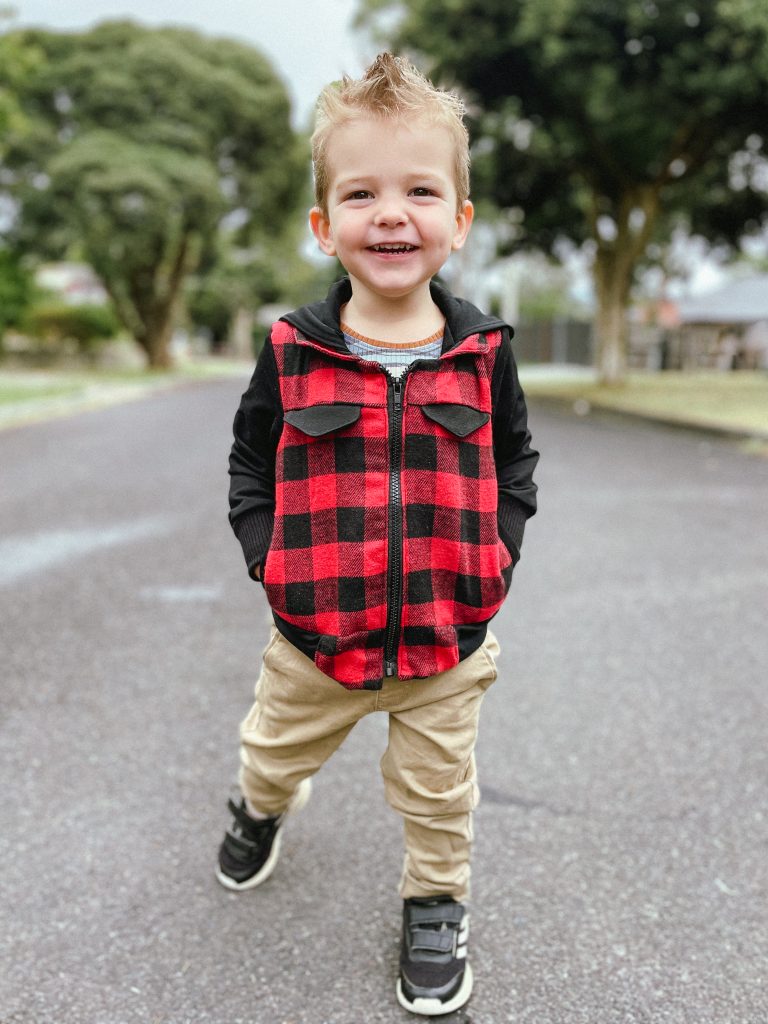
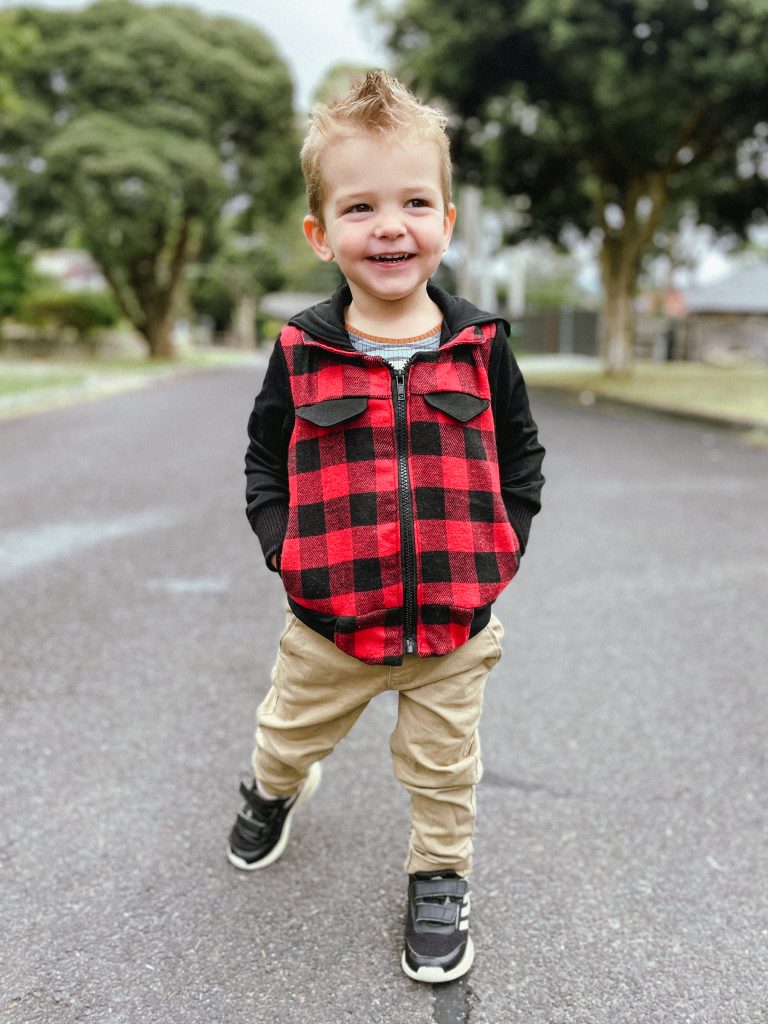
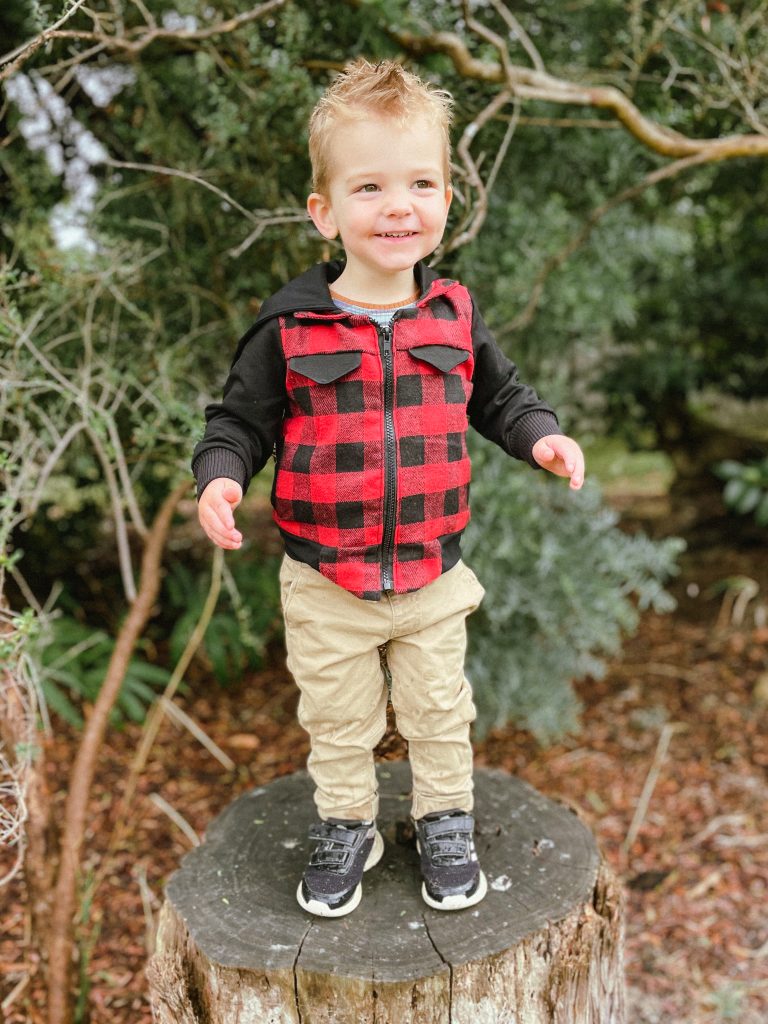
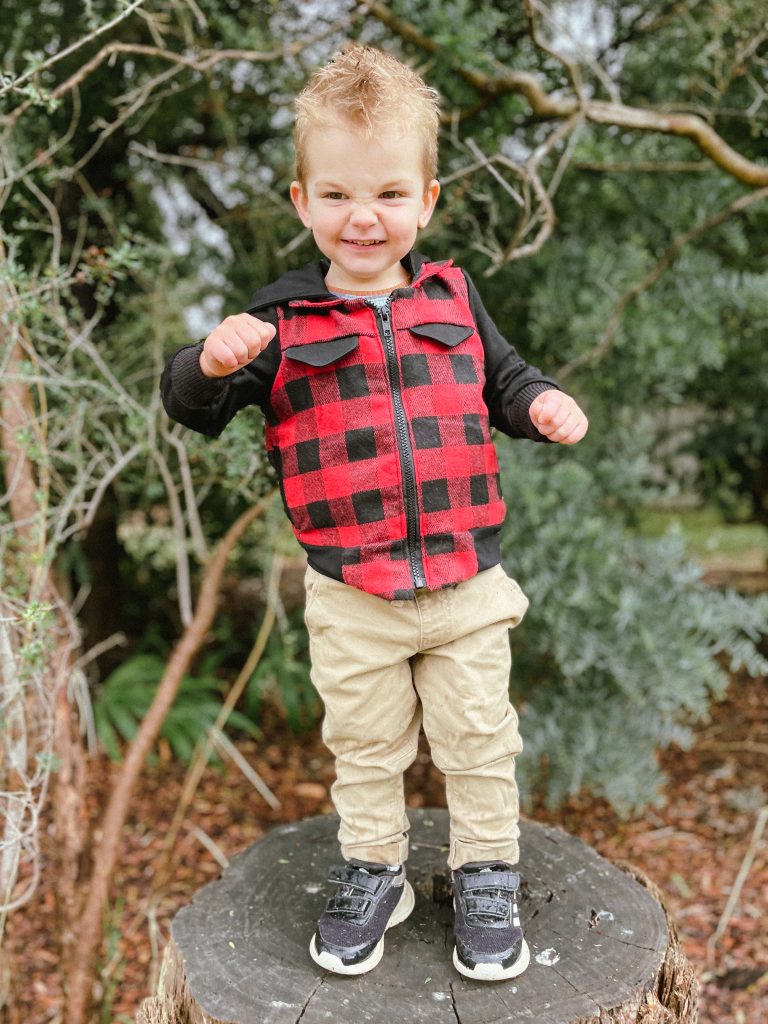
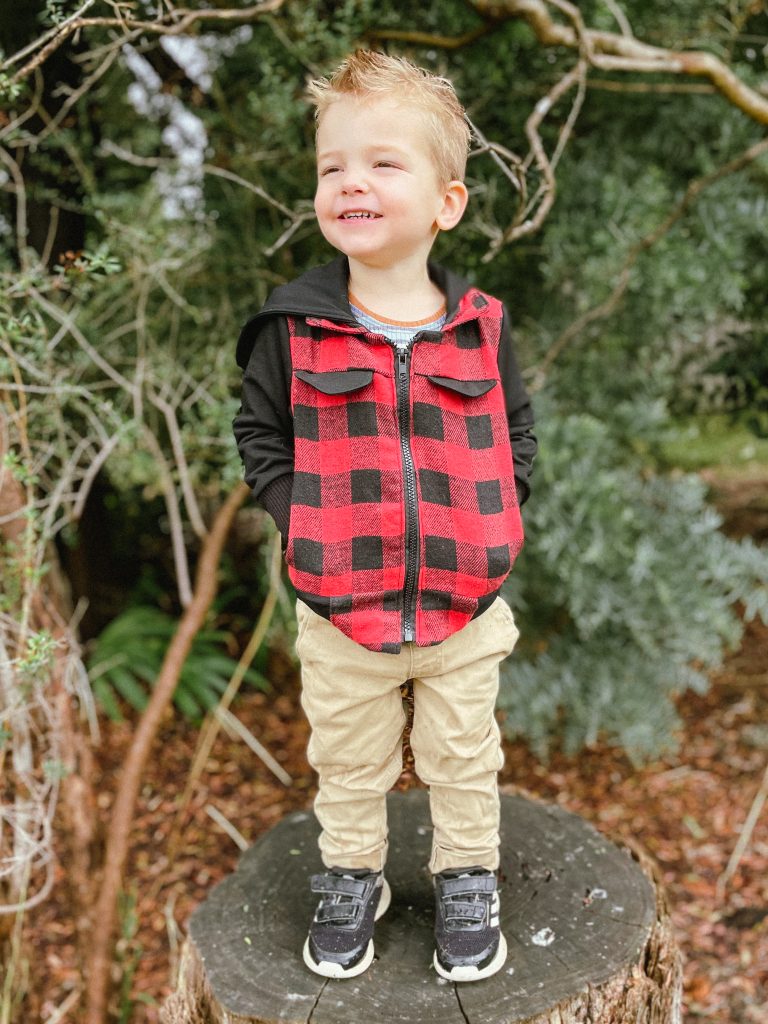
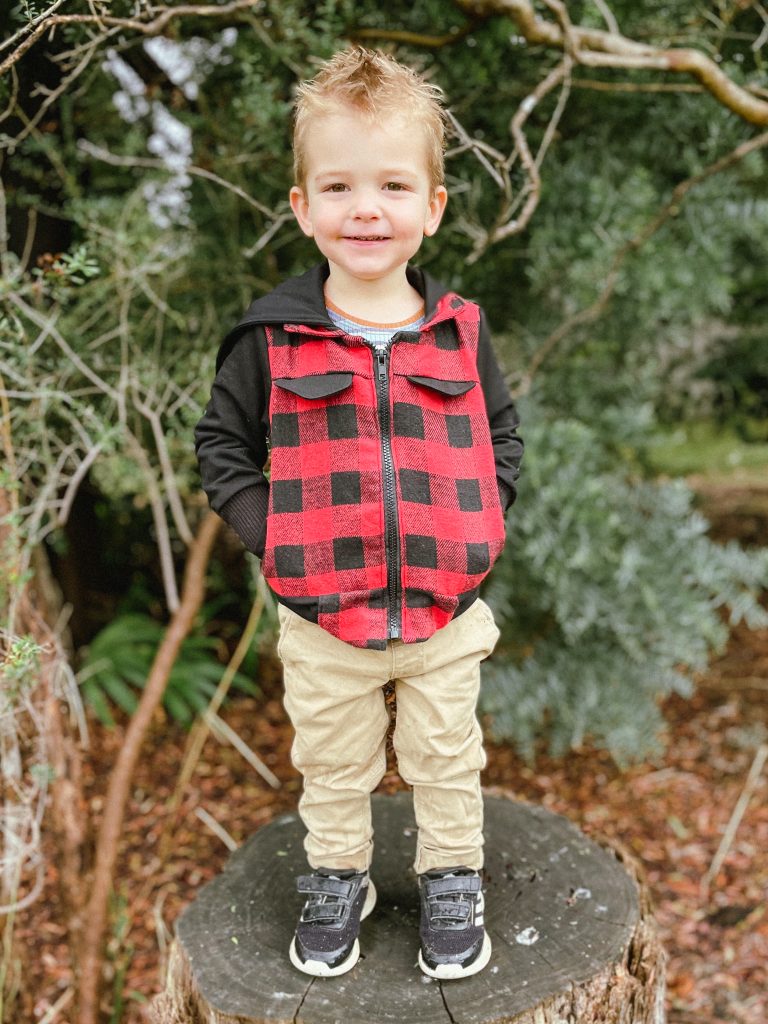
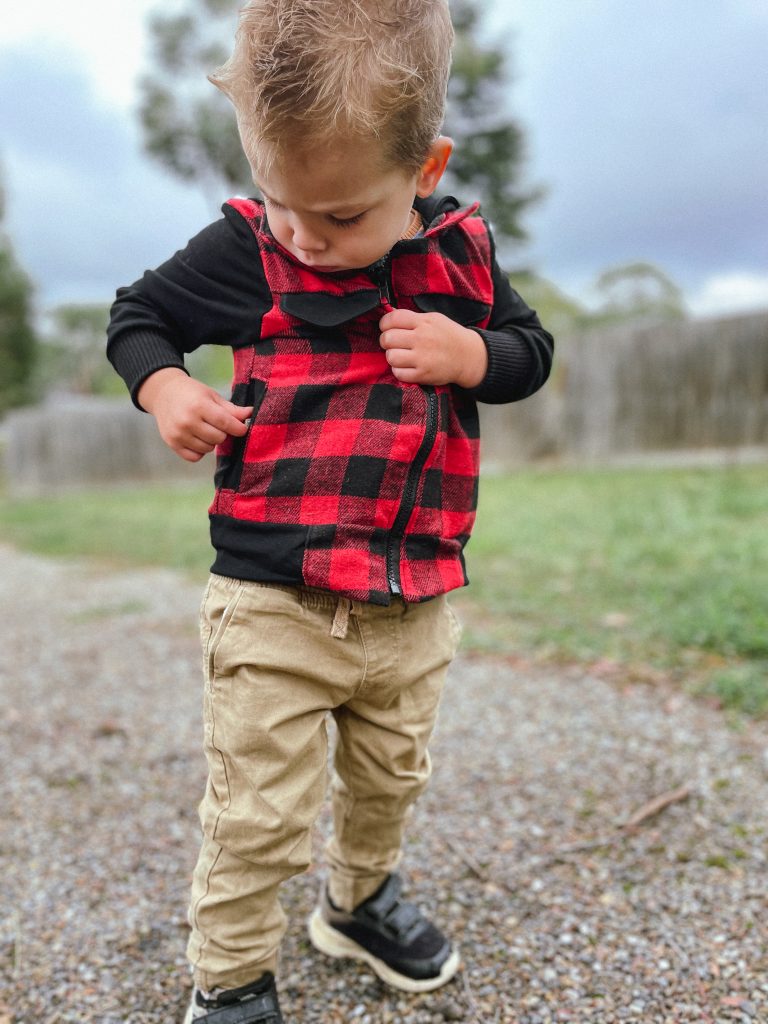
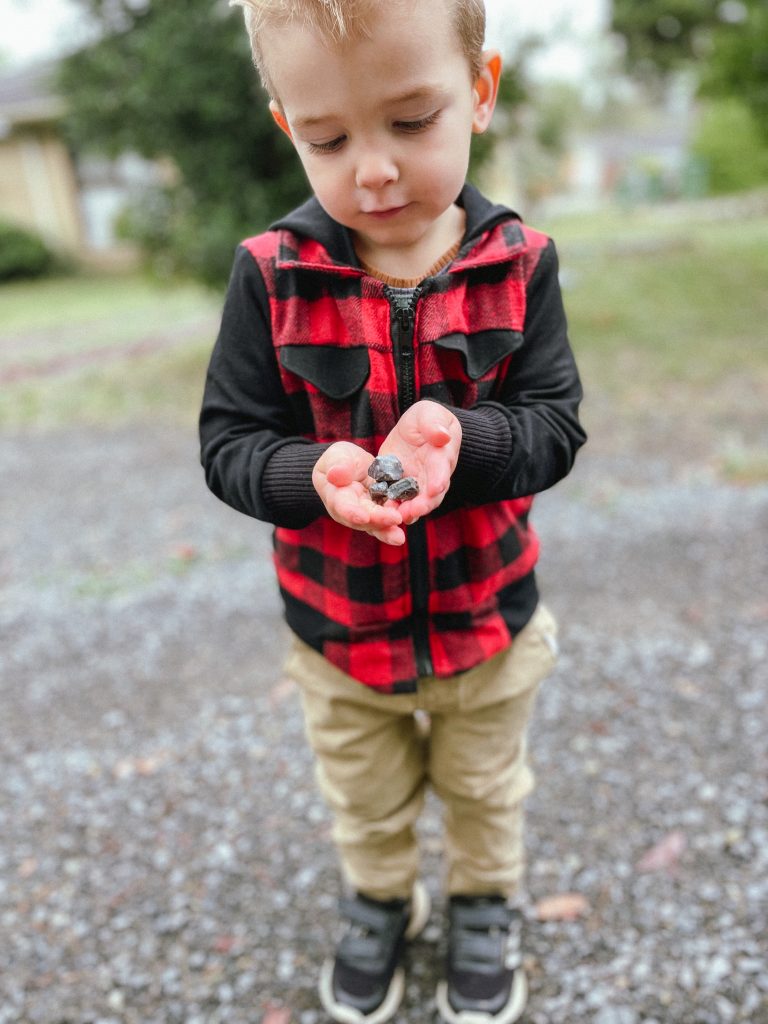
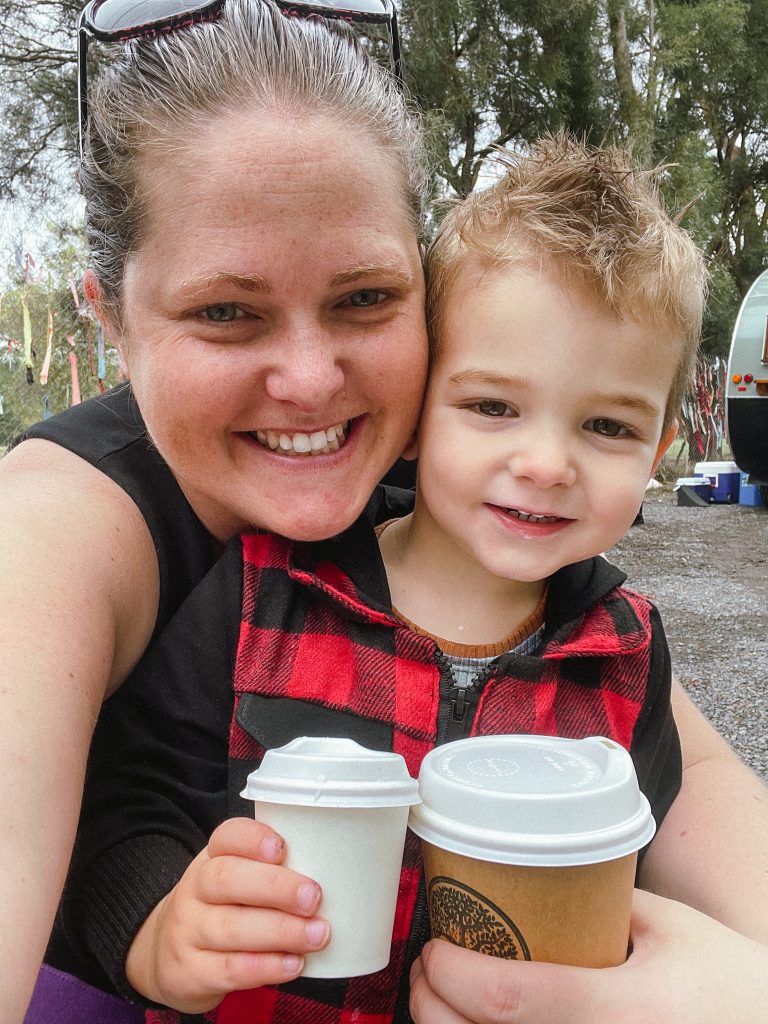
Pattern:Kids Dutchie Jacket Designer: Ellie & Mac Fabrics: Black French Terry from Rubyjam Fabrics and Buffalo Plaid Flannel from Spotlight Skill level: Intermediate Measurements: Chest: 21″; Waist 20.5″; Hips 21″ Size made: 3 Adjustments: Hacked their instructions on the welt pocket. Pros:Love this jacket cause you can mix woven in the bodice with knit for the sleeves. Cons: I found the instructions a little confusing. Definitely read each step before progressing.
The Wrap Up
I’ve actually made this jacket for Jemma before (which you can read here) and while I loved it, I found the instructions a little heavy to follow. To be honest, some of it is that because I am such a competent sewist I tend to assume what the next step will be and go ahead with what I logically think will work, but sometimes patterns need to be done in a certain way for all the elements to work, so it doesn’t always work in my favour to jump the gun!
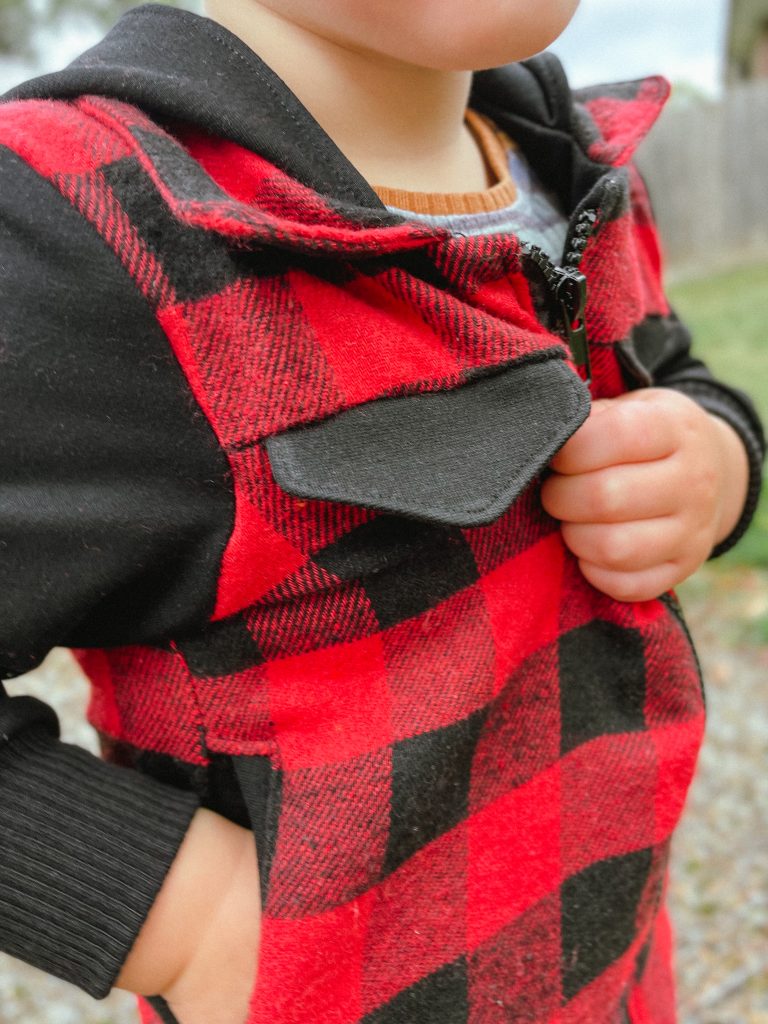
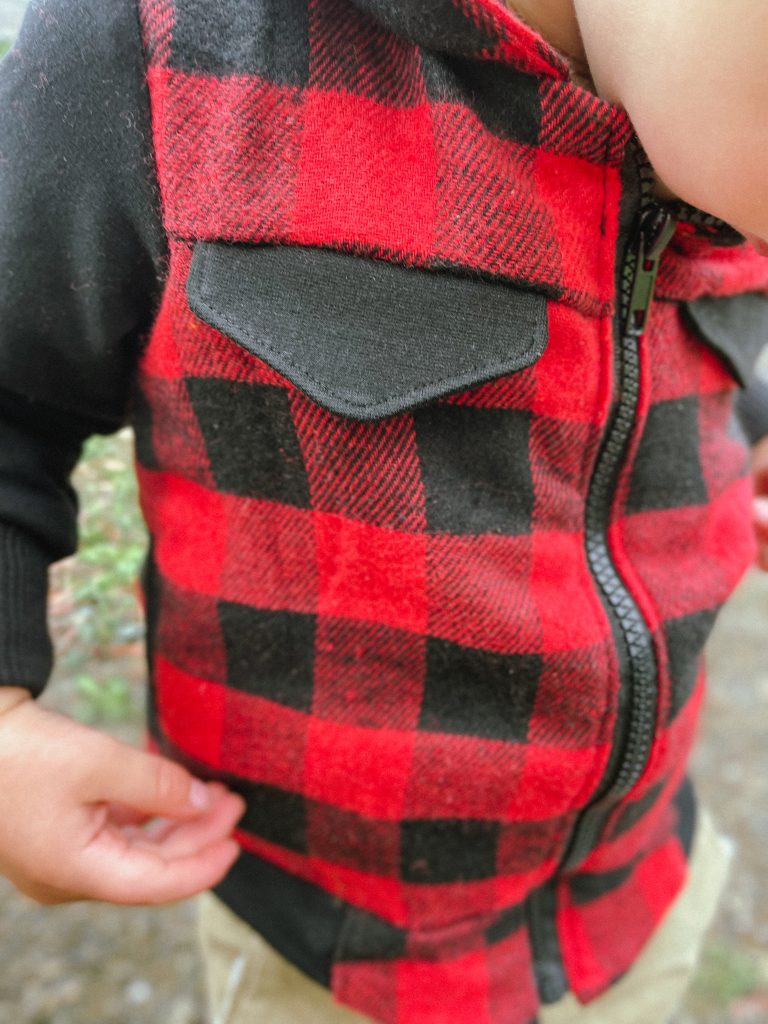
As I mentioned in my last review, I wasn’t a huge fan of the visible stitching lines on the front welt pocket, so this time I was determined to alter them out. I cut out all the pieces and ended up having a think about it overnight and came up with a pretty good solution I think.
I filmed it all to show how I did, you can see it all in the YouTube video below.
It is definitely a great pattern all in all, I just recommend you take your time while sewing it and you will get great results.
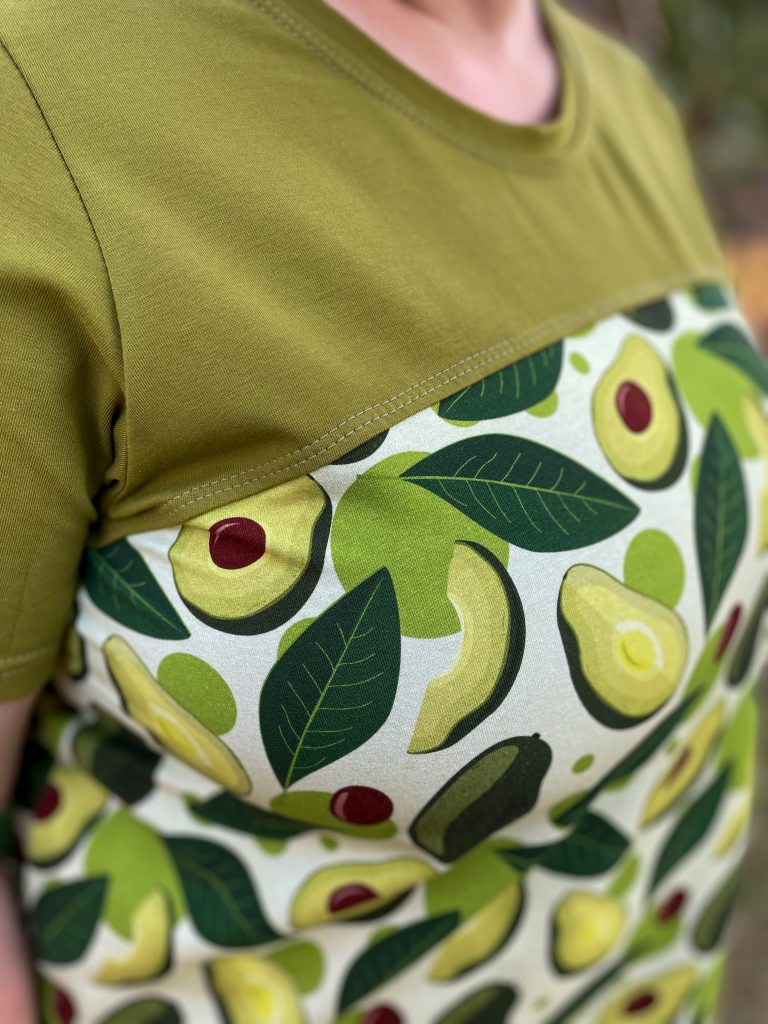
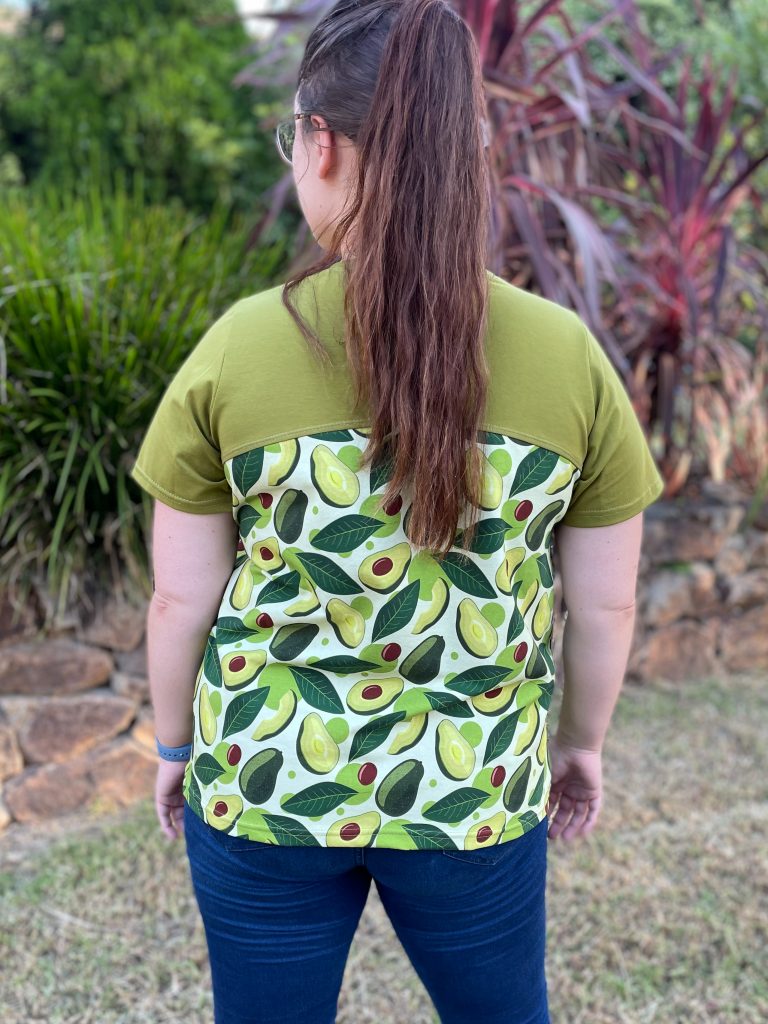
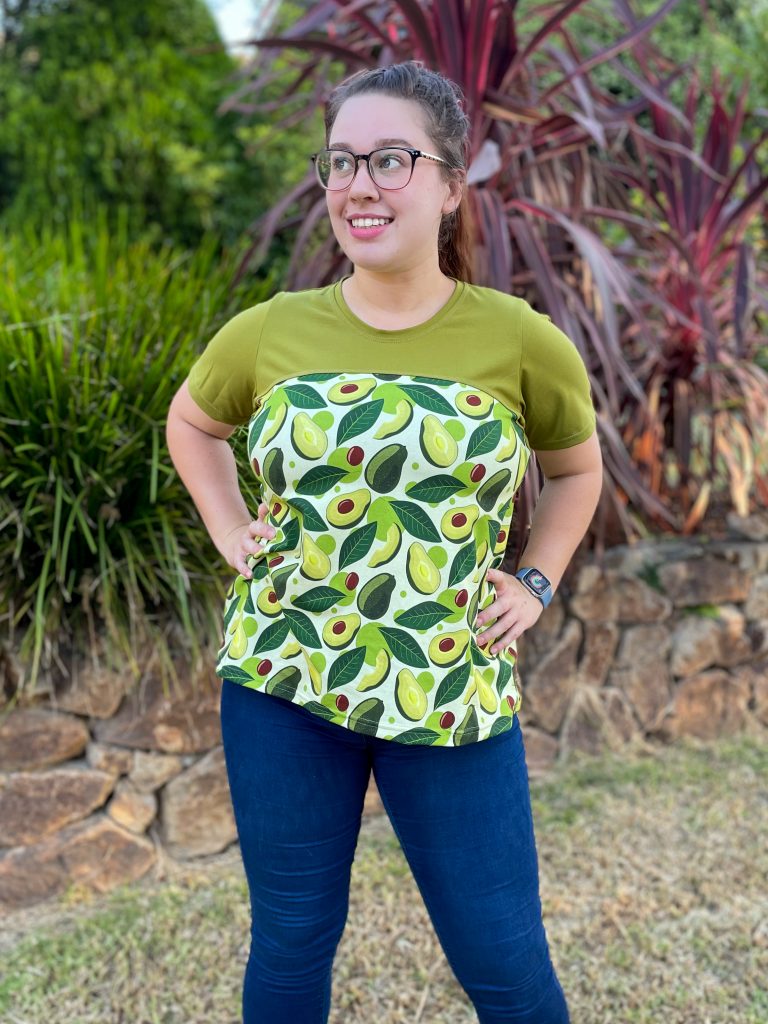
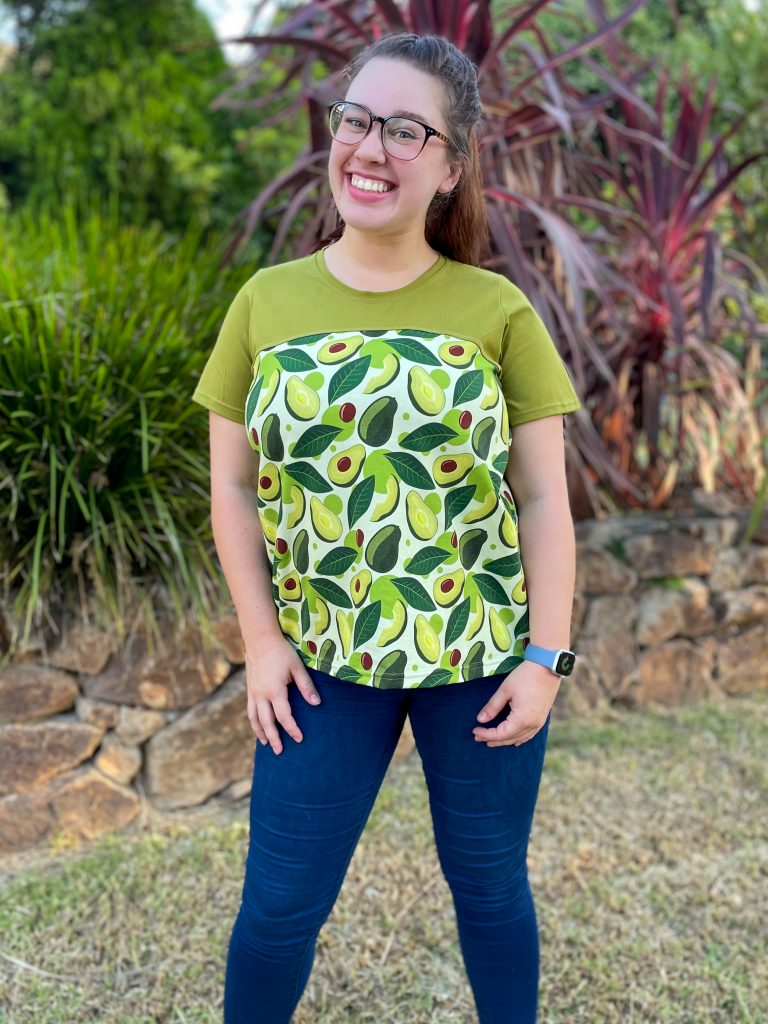
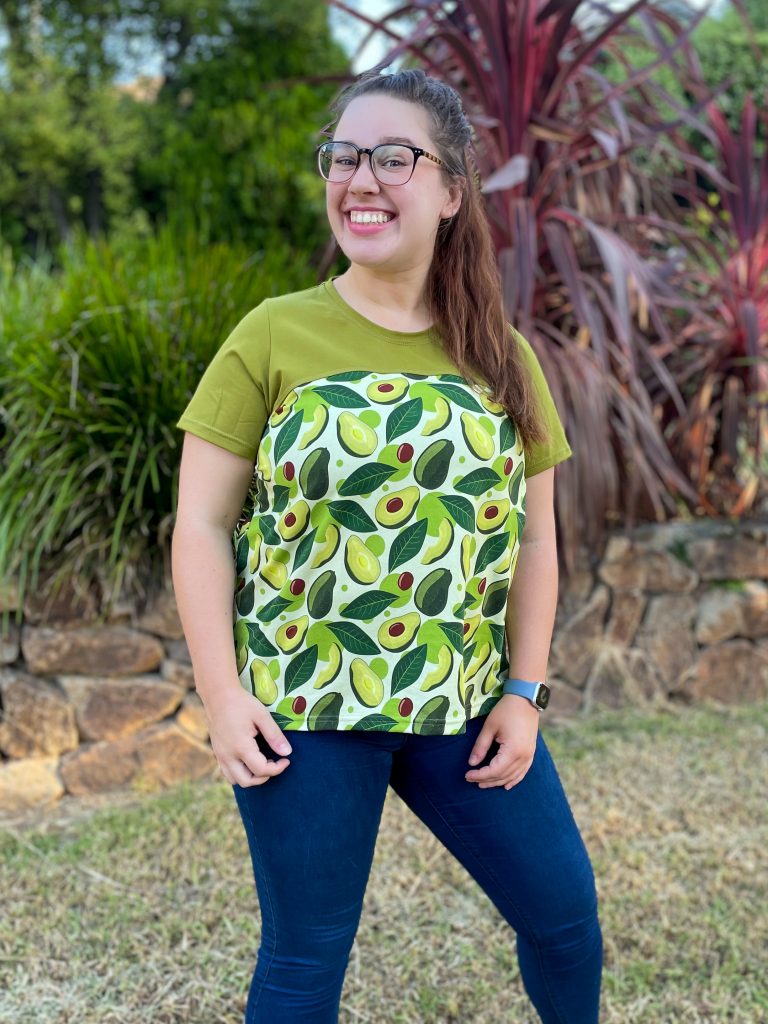
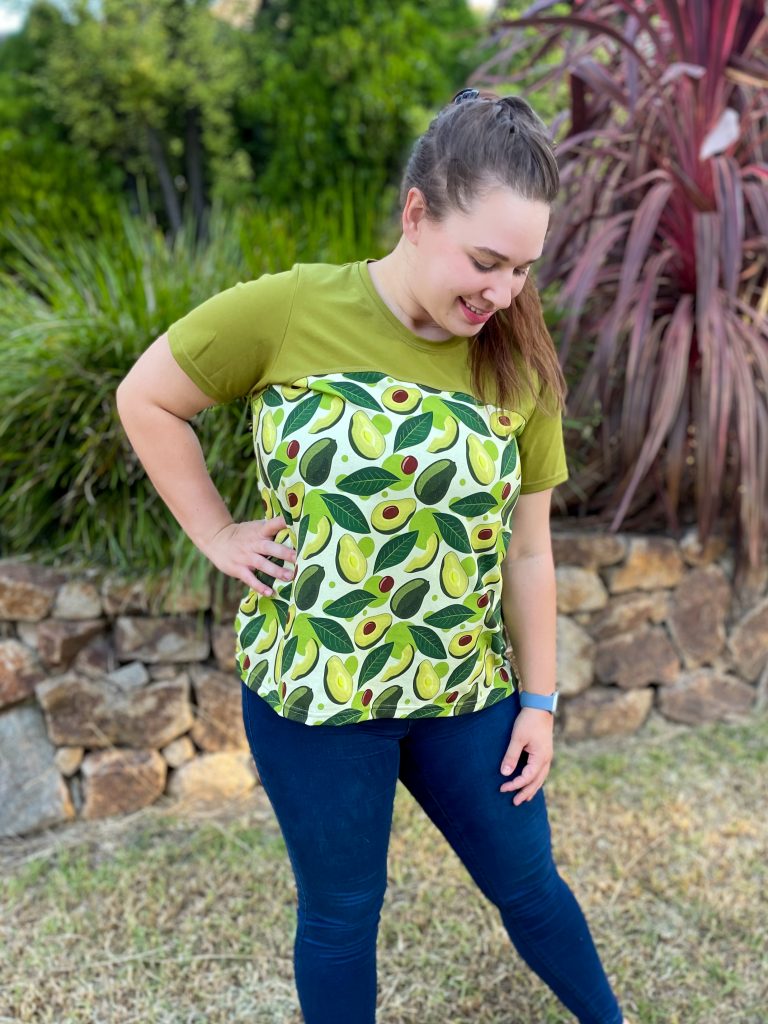
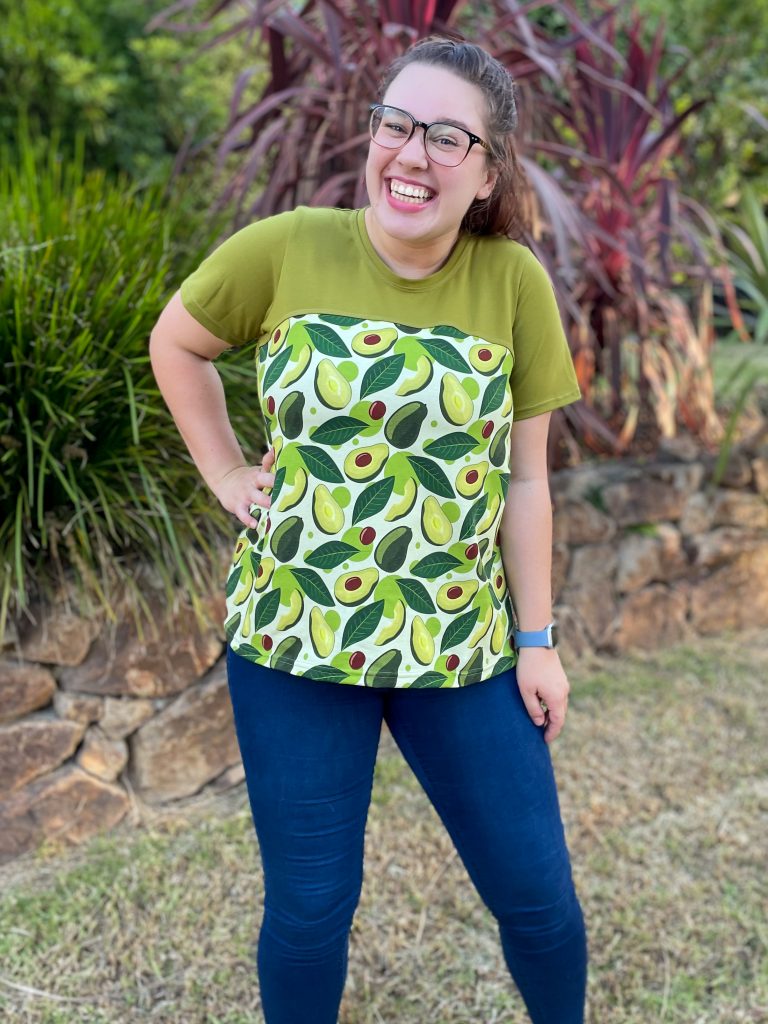
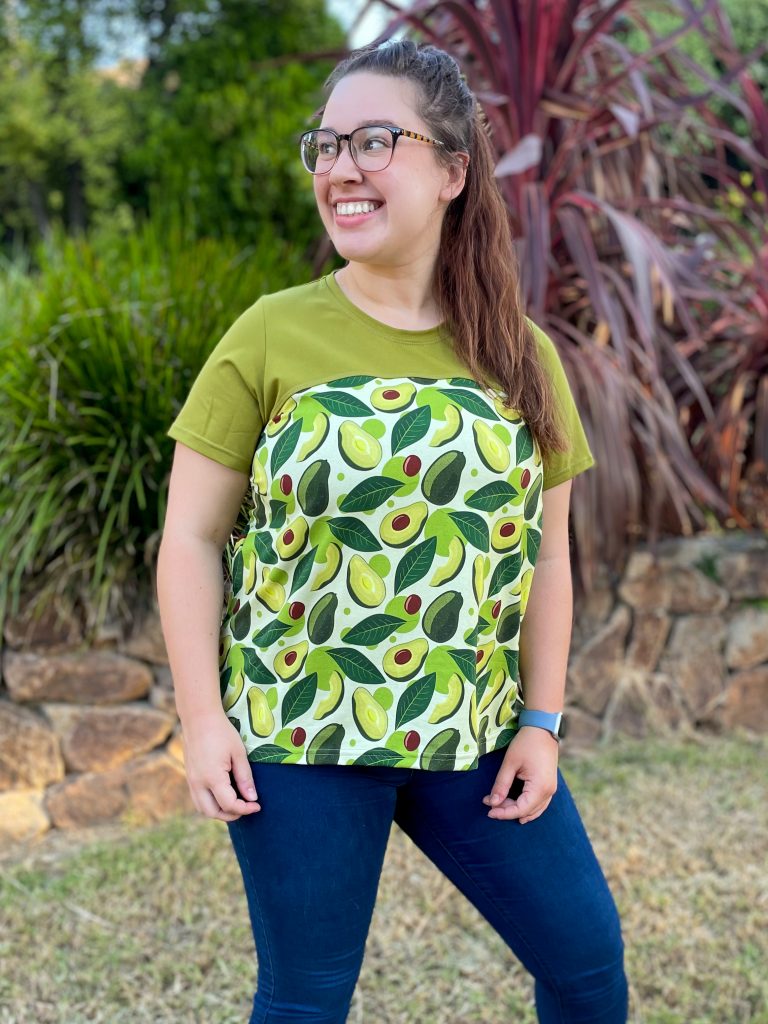
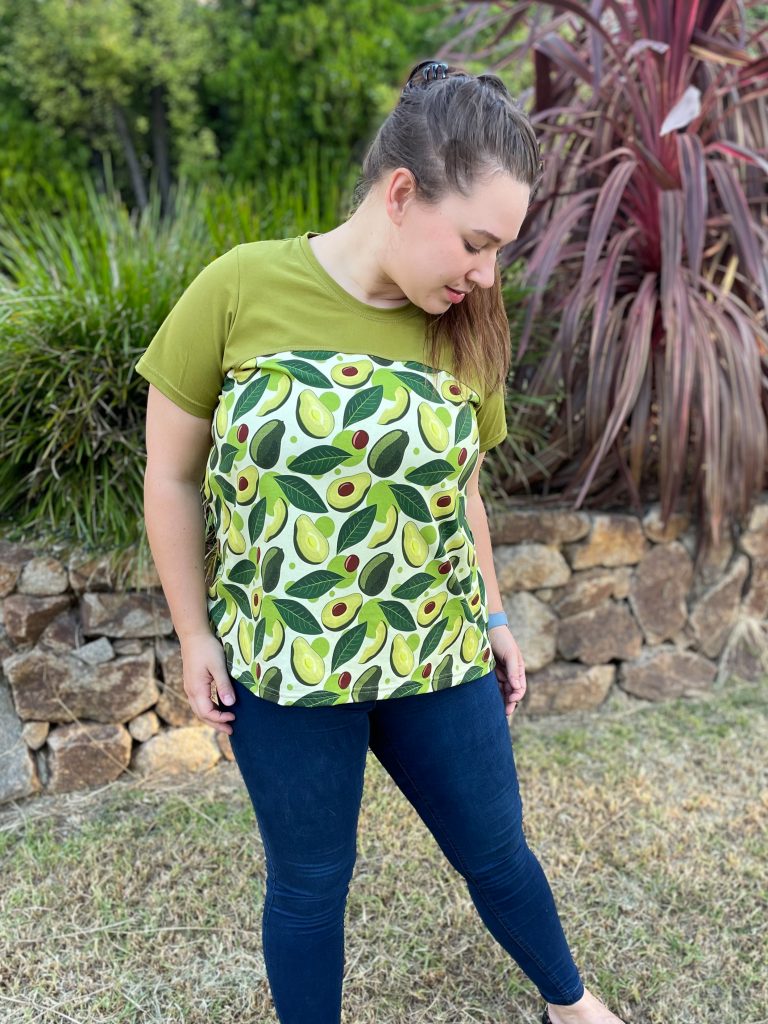
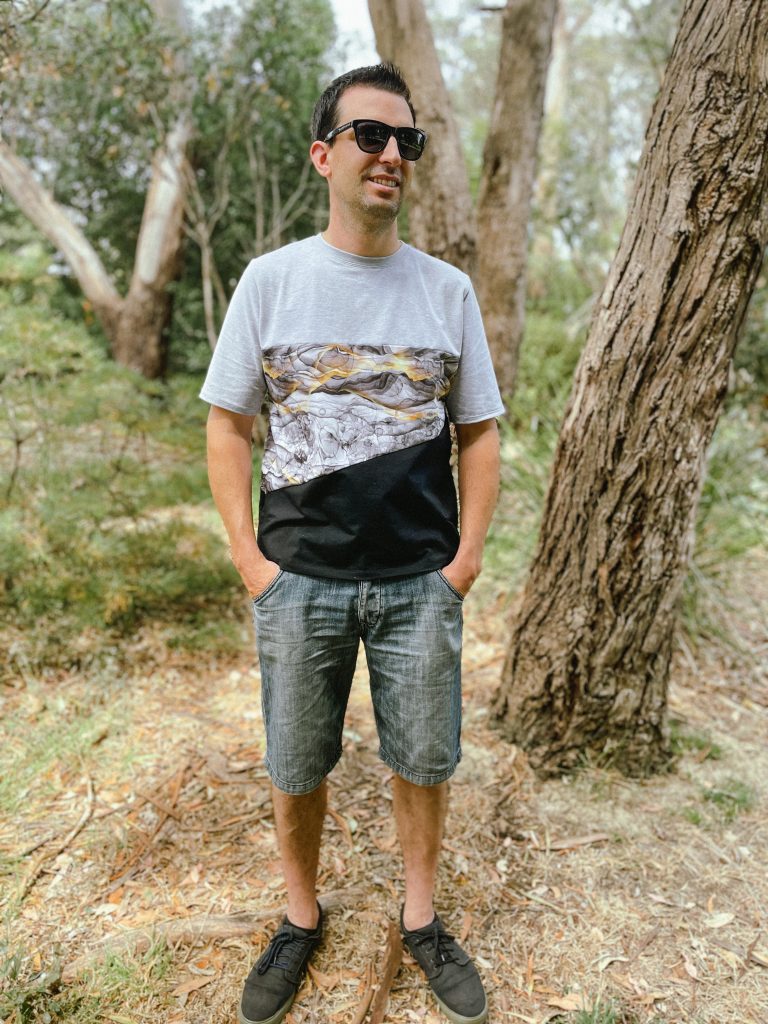
Pattern: Adult Discoverer Tee Designer: Ellie & Mac Fabrics: Cotton Lycra from Rubyjam Fabrics Skill level: Beginner Measurements: Bust: 45″; Waist 40″; Hips 46″ Size made: XXL Adjustments: None Pros: Love the colour blocking on this and how it allows you to mix and match coordinating fabrics. Cons: None
The Wrap Up
I had a lot of fun sewing this one up.
My Brother in Law’s partner has a bit of a thing for avocado’s so as soon as I saw this fabric I knew that I wanted to make it into something for her.
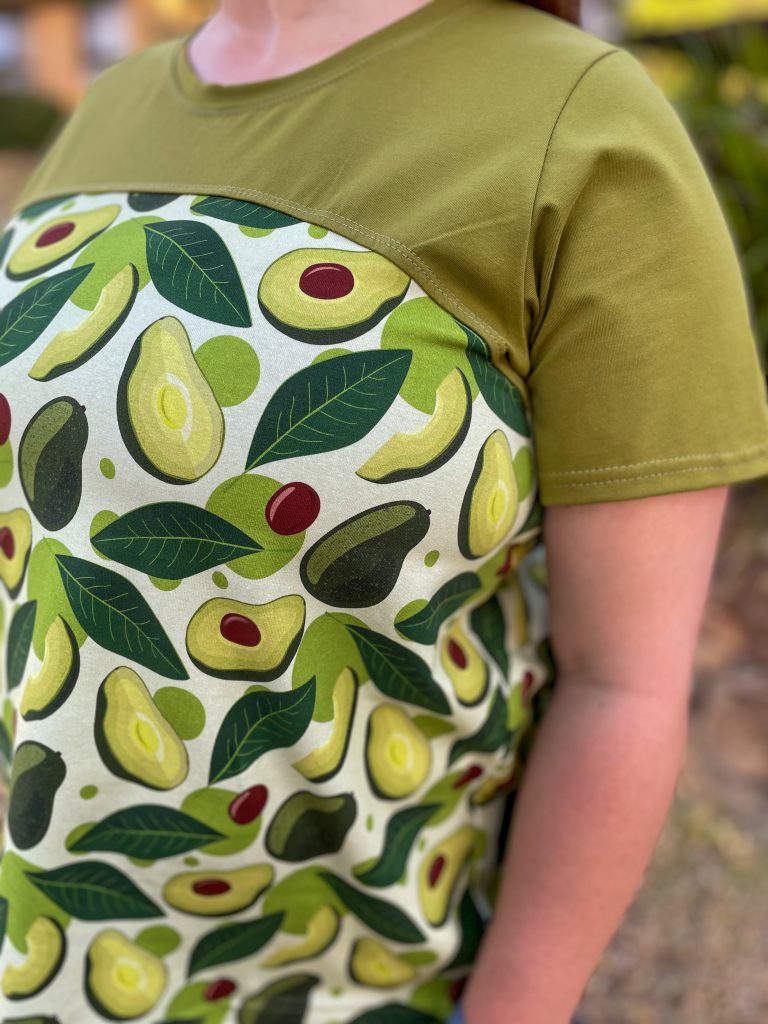
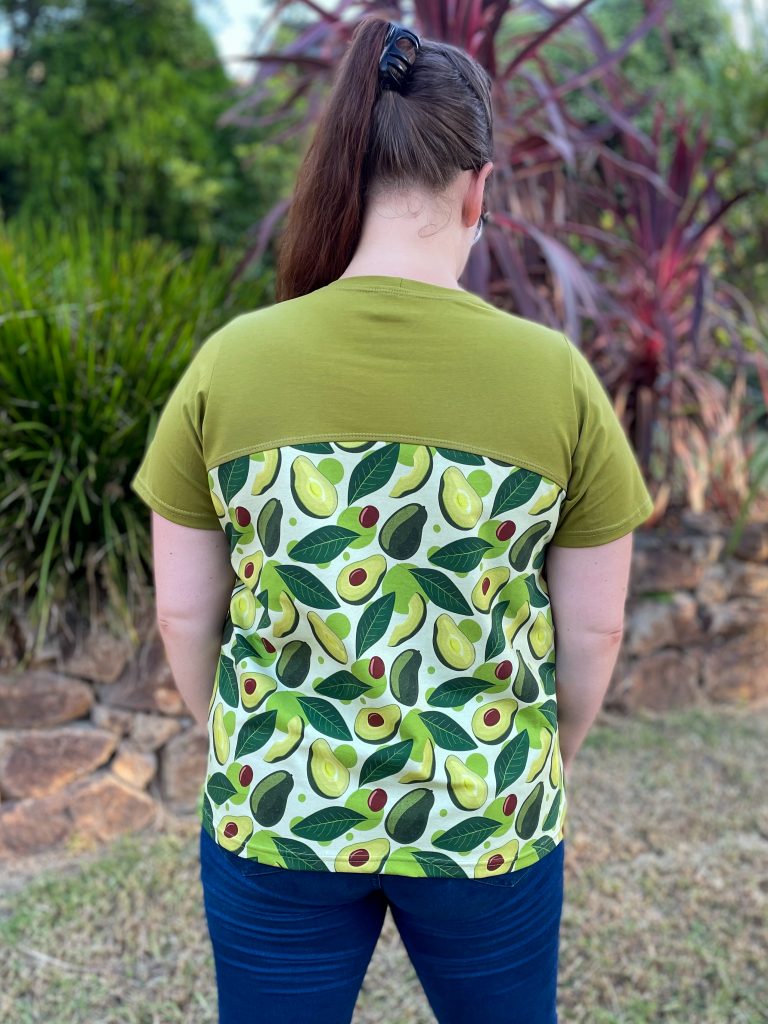
The discoverer tee seemed perfect as I was able to colour block with a solid to break up the ‘strong’ hero print. It’s also quite a flattering fit for larger busted women (as my sis in law is) as the colour blocking hits above the bust.
If you like a simple, easy sew with colour blocked options, this is a great pattern. I have also written a tutorial on how to add knit piping across the colour blocked section which I’ll link here. I did it for a the kids version but it’s the same principle for the adult version.
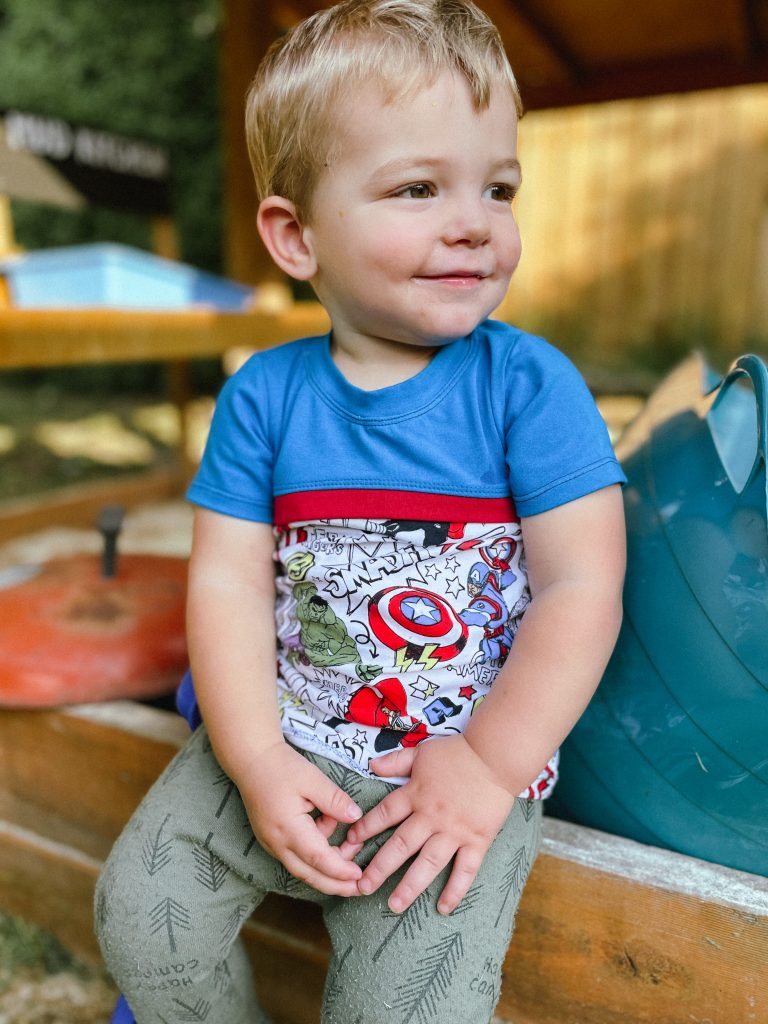
I love the kids discoverer tee. Its such a great, simple pattern with great colour blocking. It’s one of my go to patterns when making the kids basics.
Recently, I’ve been adding a little contrast knit binding at the front colour blocking, just to give the pattern a little something-something and I really think it jazzes it up a little. The best thing is, its really EASY to do! In this blog, I’ll walk you through all the steps you need to take to add your own contrast binding. If you haven’t already, grab the pattern here:
Two versions of the Kids Discoverer Tee with the knit binding addition
Let’s get started!
The first thing you need to do is cut out all your pattern pieces as per instructed in the pattern. You should have the front top piece, back top piece, 2 bodice pieces (front and back), sleeves, neckband and the optional cuff and waistband pieces if thats what you are doing, as shown below. (I chose not to do those pieces and will hem my sleeves and tee so they are not pictured)
The pieces you should start with
Once you have cut those pieces, you are going to take one of the bodice pieces and measure how wide it is across the top. I’m making the 2T and its about 12 inches from side to side.
Measure the top of your bodice piece as indicated here
You are now going to cut a piece of knit fabric that is going to be your binding. You want this to be about an inch longer than what you measured the top of your bodice piece to be anything from a 1-2 inches in width. For this tee I cut mine 2 inches wide, but I think I actually prefer the original knit binding I did on the black and grey tee which I’m pretty sure was only 1 inch wide. You just need to take into account that you are going to loose about 1/4 of an inch or more when sewing it on.
I used a clear quilting ruler to cut mine which made it really easy to mark out the 2 inches width and the length I wanted of 13 inches long.
Marking out my knit binding piece
Once you’ve cut your knit binding piece, fold it in half, wrong sides together and give it a press if you like. Then you are going to pin/clip it along the top of the bodice piece, raw edges together. It should look like the image below.
Baste the binding piece to the bodice piece with a long straight stitch on your sewing machine.
Clip/pin your binding piece to your bodice piece
Now lay your top front piece on top of the bodice and knit binding piece, aligning the raw edges so the knit binding piece is sandwiched between the bodice and the top front bodice piece. The edges of the binding will stick out at the sides but thats ok, we’ll trim them after. Pin/clip in place and serge them together.
Top front bodice pin/clipped to your bodice piece
Flip the front bodice piece up and press the seam toward the top. Top stitch the seam in place using your preferred top stitching method. I have used a cover-stitch but a stretch stitch or twin needle on a normal machine will look nice as well.
The seam has been pressed up and topstitched
Trim the sides to neaten up your front bodice piece.
Trimmed front bodice piece
Tadah! You can now continue with the instructions as indicated in the pattern.
Completed garment
As I mentioned above, have a try with different widths until you get the width of knit binding you are happy with. I think adding the binding gives this tee such a snazzy look and helps give it a little extra something!
Thanks for reading, I really hope it helped you add your own knit binding to your kids discoverer tee. Tag me on instagram with your makes, I’d love to see them! @sewandtellau
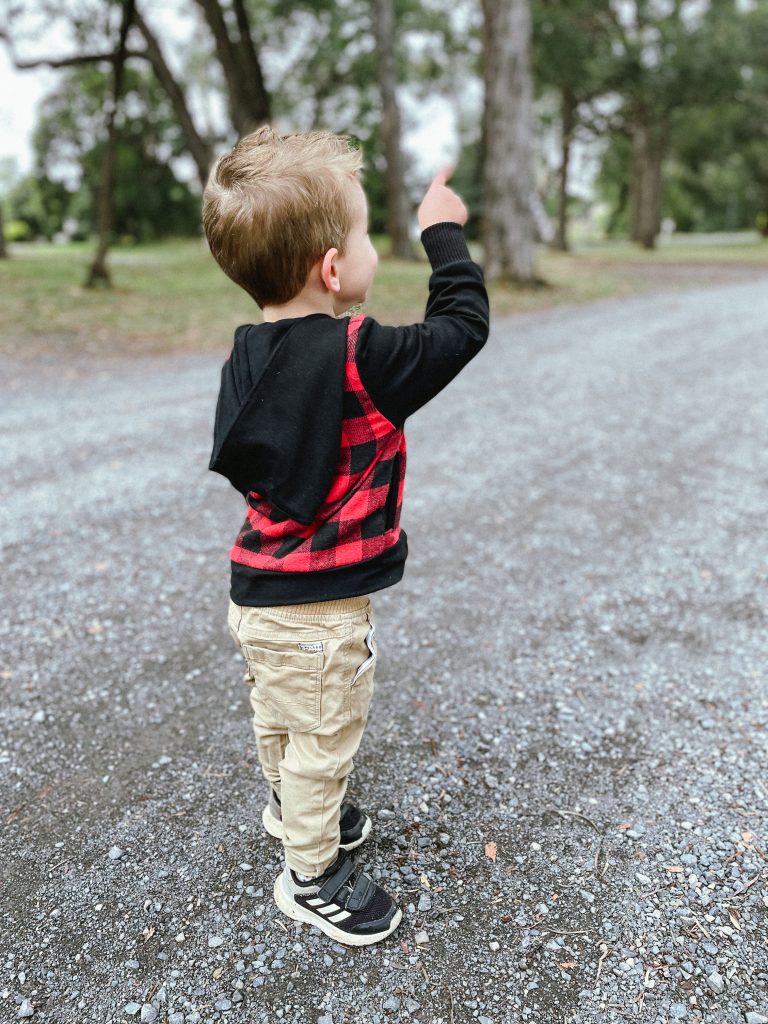
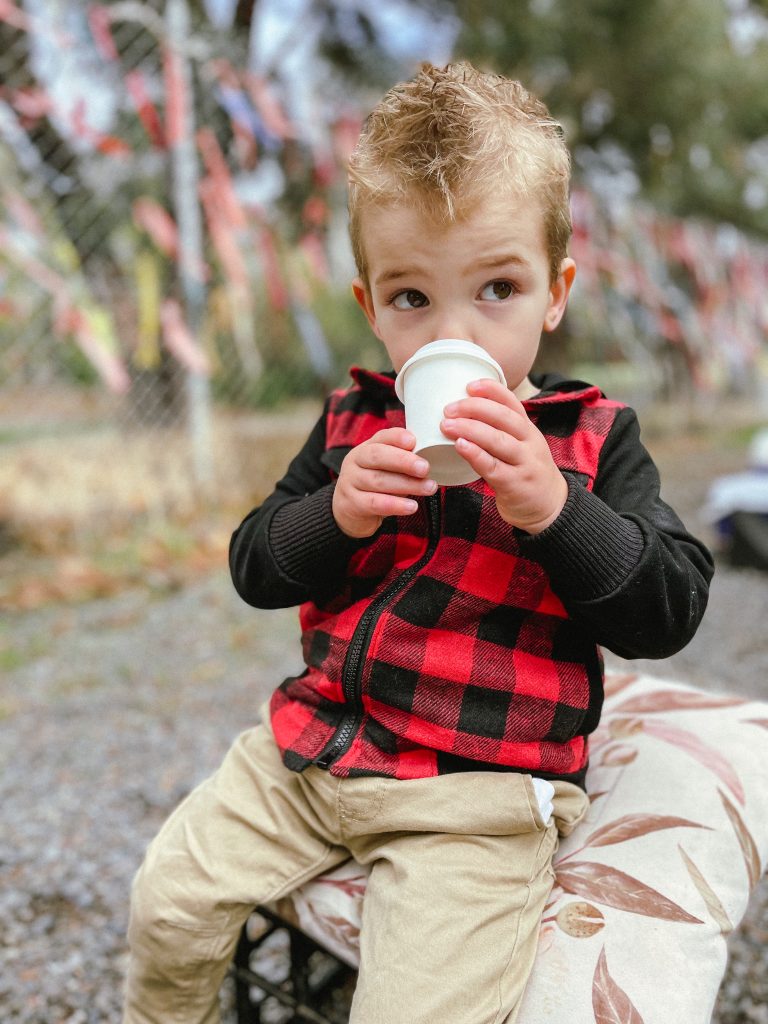
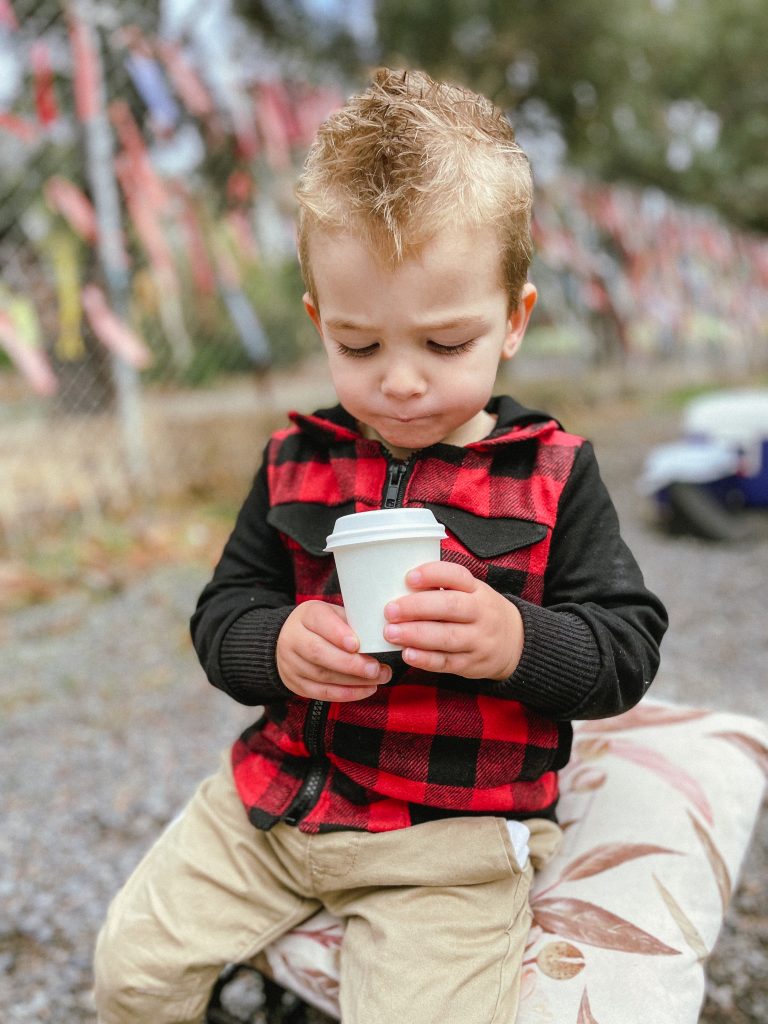
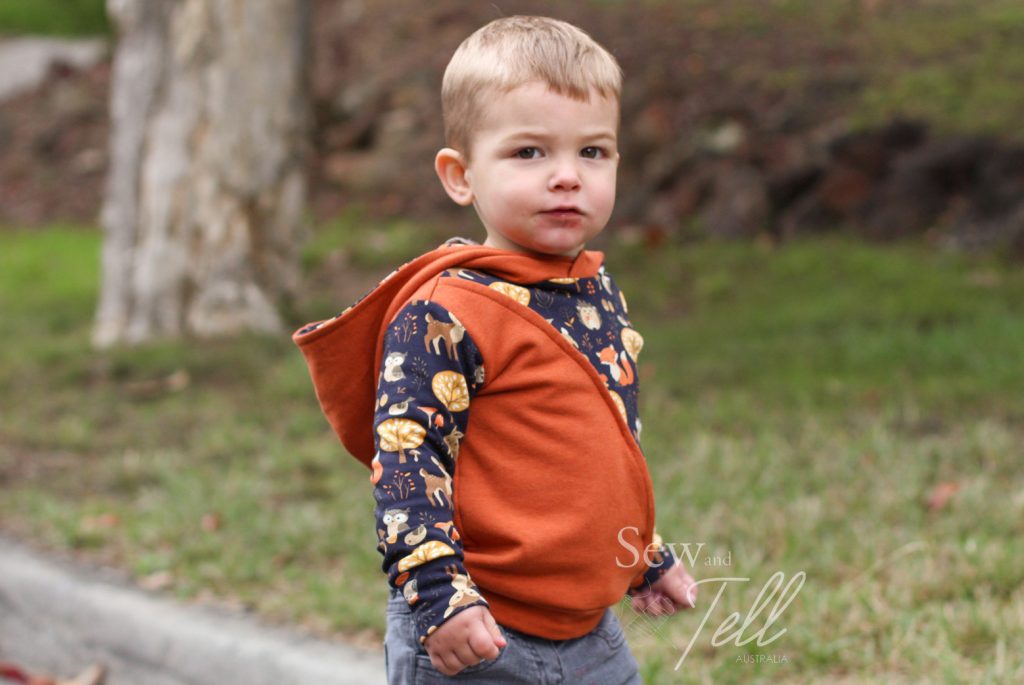
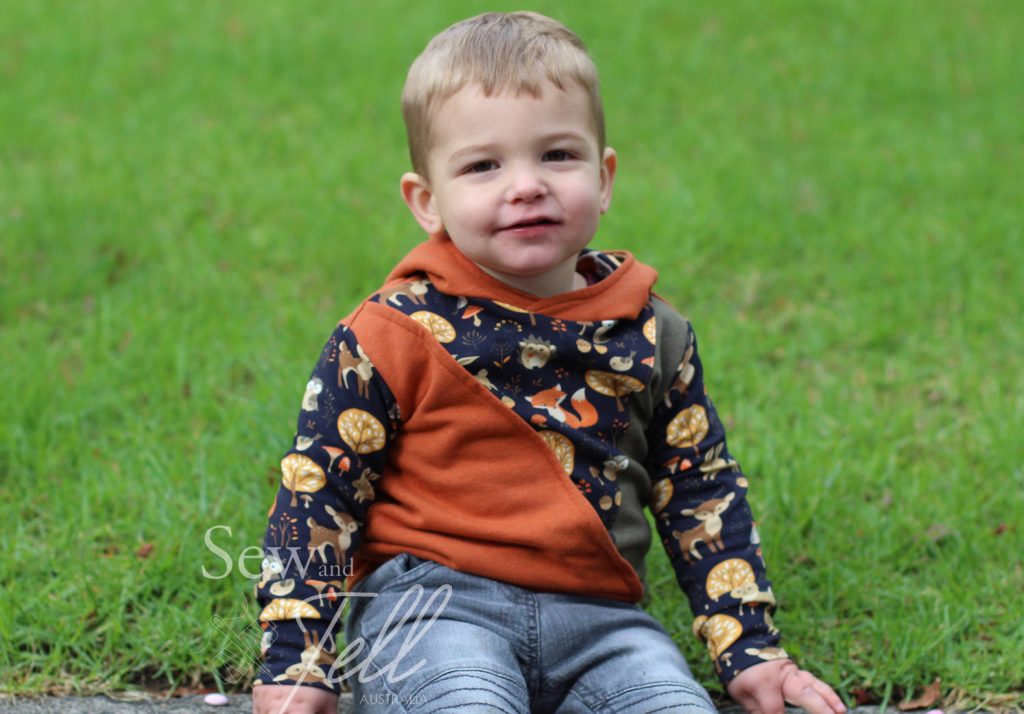
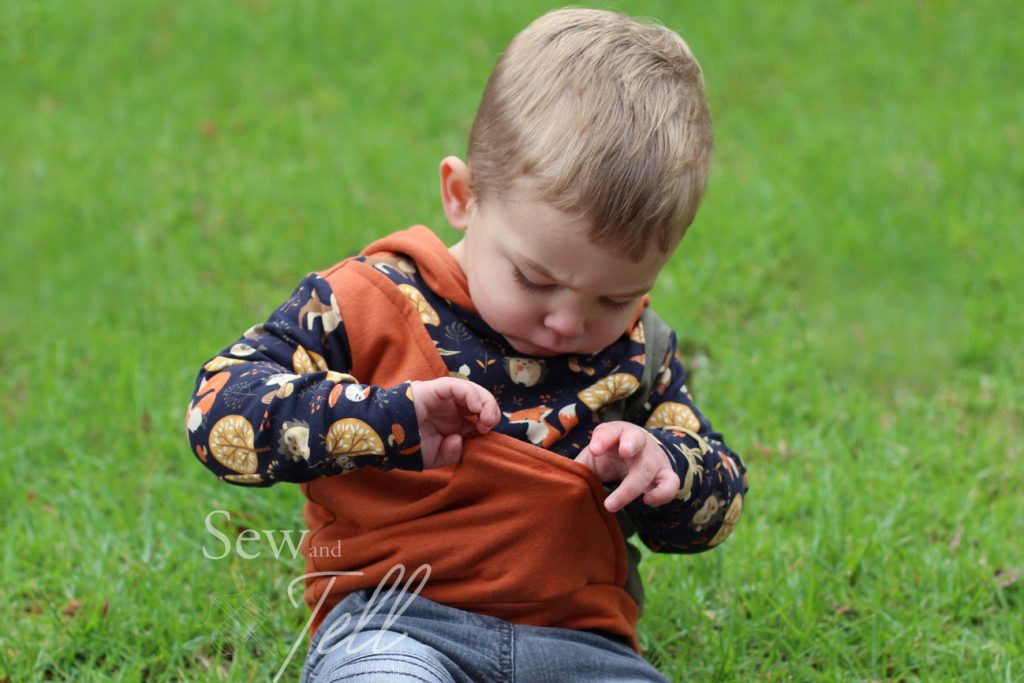
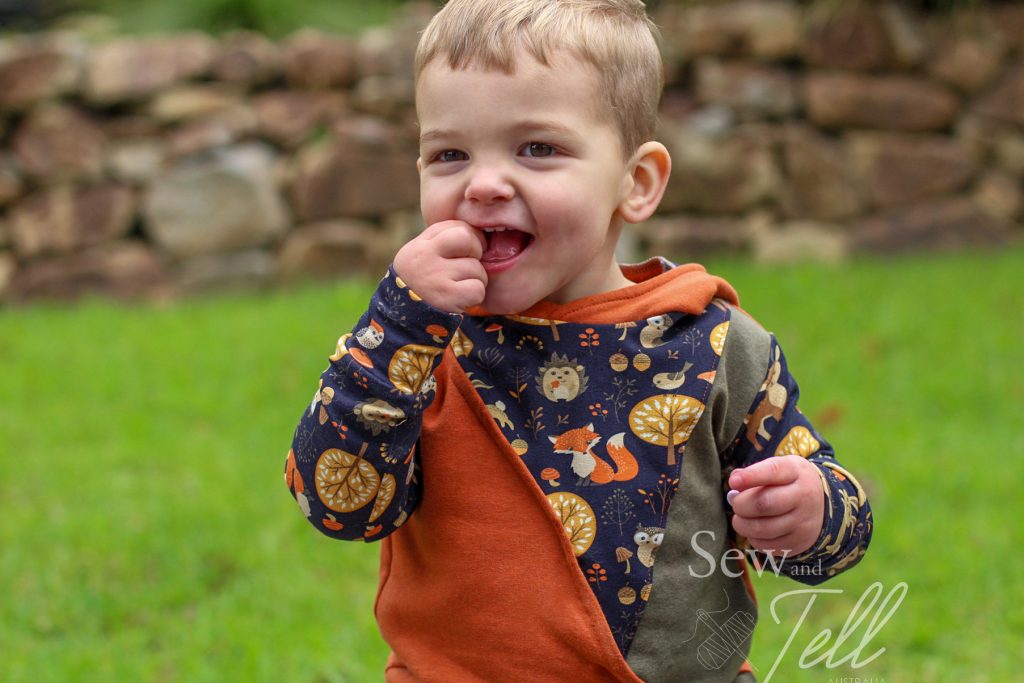
Pattern: Your Way Hoodie Designer: Ellie & Mac Fabrics: Wattle Hill Fabrics Measurements: Chest:21.5″; Waist 20.5″; Hips 21″ Size made: 2T Adjustments: None Pros: This is a great jumper for heading into Winter. Colour blocking is always a win for me. Cons: The neckline was a little small in testing, but it was fixed for the final file.
Before I had a boy, I used to think that I wouldn’t be able to dress him up cute and fun like a girl, but I’m pleased to say, I was wrong.
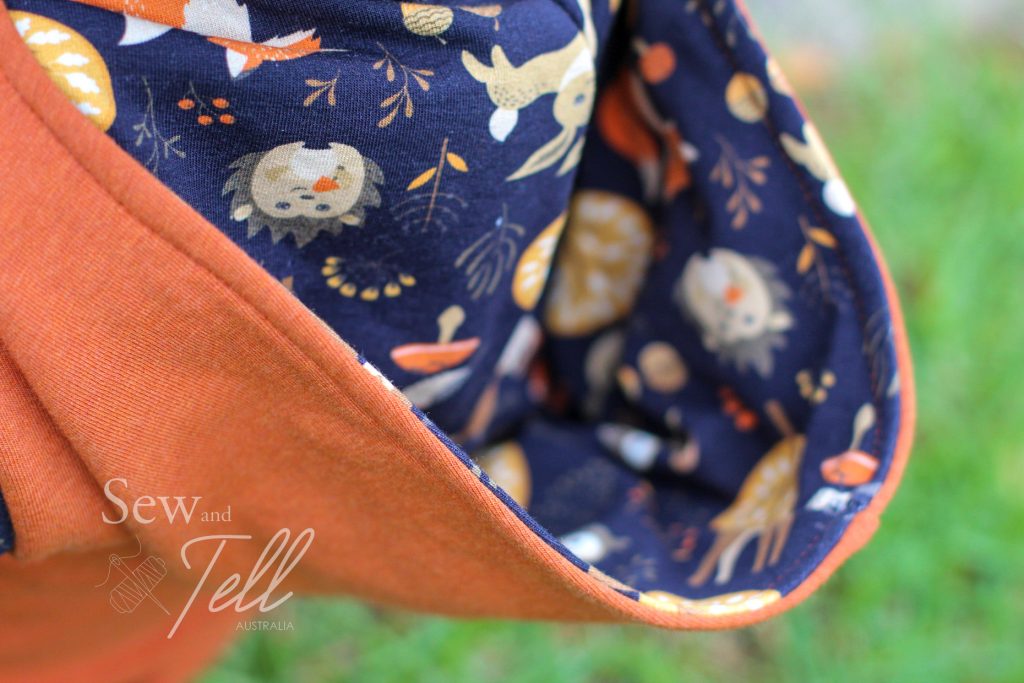
True, it is a different kind of cute and fun, but, especially because I make Ted’s clothes, I have control over the fabrics. I have stocked up the last two years on super cute designs to deck out his wardrobe. The forest friends I used in this test is a personal fave of mine. I bought the same print in Soft Shell last year and I was wrapped when I saw that Wattle Hill Fabrics had it in a French Terry. I was very excited to pull this one out for the finals of this test along with their jogging sweater fleece in these really earthy colours to compliment it.
Pretty fabrics aside, this jumper was a super easy make and came together quite quickly. The fun ‘secret’ pocket at the front is a nice touch and perfect for any kid that likes to stash things away. Be it snacks, trucks, dirt… the options are endless! Haha, just don’t forget to check the pocket before you wash it!
I’m also a fan of the dropped shoulders look and hood coming into the colder weather. Very happy with this make indeed!
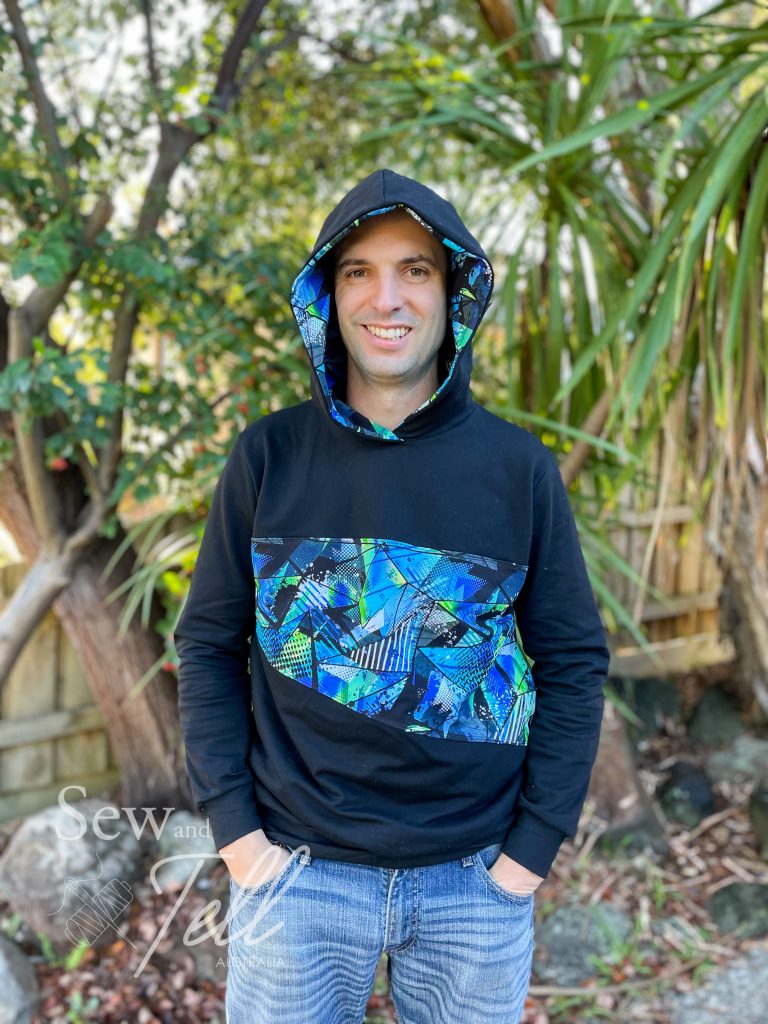
Pattern: Chill Tee & Hoodie Designer: Ellie & Mac Fabrics: Sew Unique Fabrics French Terry Measurements: Chest: 38.5″; Waist 35.5″; Hips 42″ Size made: L Adjustments: None Pros: I love the colour blocking on this one. It’s a great casual tee. Cons: I think this is more suited toward a tee than a hoodie. If I was to make it as a hoodie I would size up at least 2 or 3.
I’ve made two Chill Tee & Hoodies now and they have both turned out great for hubby. I do prefer this as a tee however as I think it is too tight fighting for a traditional hoodie. The feedback my husband gave was that you would definitely need to size up at least 2 or 3 for it to be more comfortable.
I do love the colour blocking on this one however, I think its a great simple one to showcase your fabrics without being too overpowering. It’s also a very quick and simple pattern to put together.
The hoodie I made from a french terry and the chill tee is a cotton lycra. The french terry is part of the current release from Sew Unique Fabrics winter range, check out the the super cool bomber jacket I made for Ted that I did a write up for here.
Pattern: Kids Raglan Top Designer: Ellie & Mac Fabrics: Accent Fabric – Wattle Hill Fabrics Measurements: Chest: 21″ Size made: 2T Adjustments: None Pros: Raglan style on kids look so trendy & a great unisex tee option. They are also so simple in construction. Cons: None
As the weather turns colder in Melbourne, I’ve started having to pull out the long sleeve tops. I was a little shocked to realise all the long sleeve tops I have for Mr T are 2 sizes too small. Whoops. Lucky he has a mum who can sew him up some winter ready gear in no time!
The Ellie and Mac kids raglan tee just happened to be on their weekly sale, which made it a great opportunity to grab it cheap and have it in my kids pattern stash. The fact it is unisex and can easily switch between the kids depending on your fabric choice just made it that much easier to decide to buy it.
I’d had the tan cotton lycra in my stash for a while. I loved the funky look of it the first time i saw it while browsing Wattle Hill Fabrics and thought it would pair really well with a plain black. I think the combo is just right.
One of the things I love about raglan style sleeves is that they are so easy to put together. As they form part of the neckline, there is no easing the sleeve into the arm hole which I think helps simplify the whole process.
So if you want an easy tee pattern for your stash, the kids raglan is a great choice.
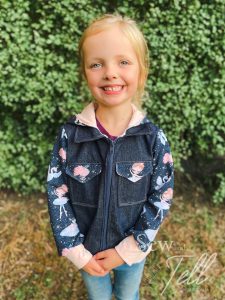
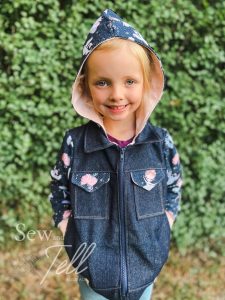
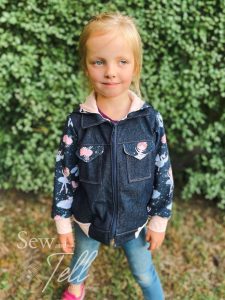
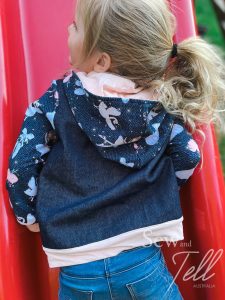
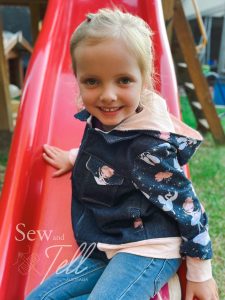
Pattern: Kids Dutchie Jacket Designer: Ellie & Mac Fabrics: Denim – Spotlight. Accent ballerina French Terry – Sew Unique Fabrics Measurements: Chest: 22″ Size made: 7 Adjustments: None Pros: This is a super cute jacket that I liked could be made with either snaps or a zip. I also liked that you can use a woven for the main body and mix it up with knit for the sleeves. Cons: I had A LOT of trouble with the lining pieces. This was a combo of me not reading the pieces correctly and I felt the instructions weren’t super clear that there should be an additional lining piece for the welt pocket version.
I have wanted to make Jemma a denim jacket for quite some time, so when I saw that the kids dutchie jacket was on sale with Ellie & Mac, I thought it was a great opportunity to give it a go.
One of the things I really liked about the dutchie jacket was the ability to mix and match woven fabrics with knits, which gave me the chance to use some of my heavier weight wovens like denim and drill. I had also received a half metre piece of the Ballerinas on denim in French Terry in a Sew Unique Fab bag, so it really was a match made in heaven!
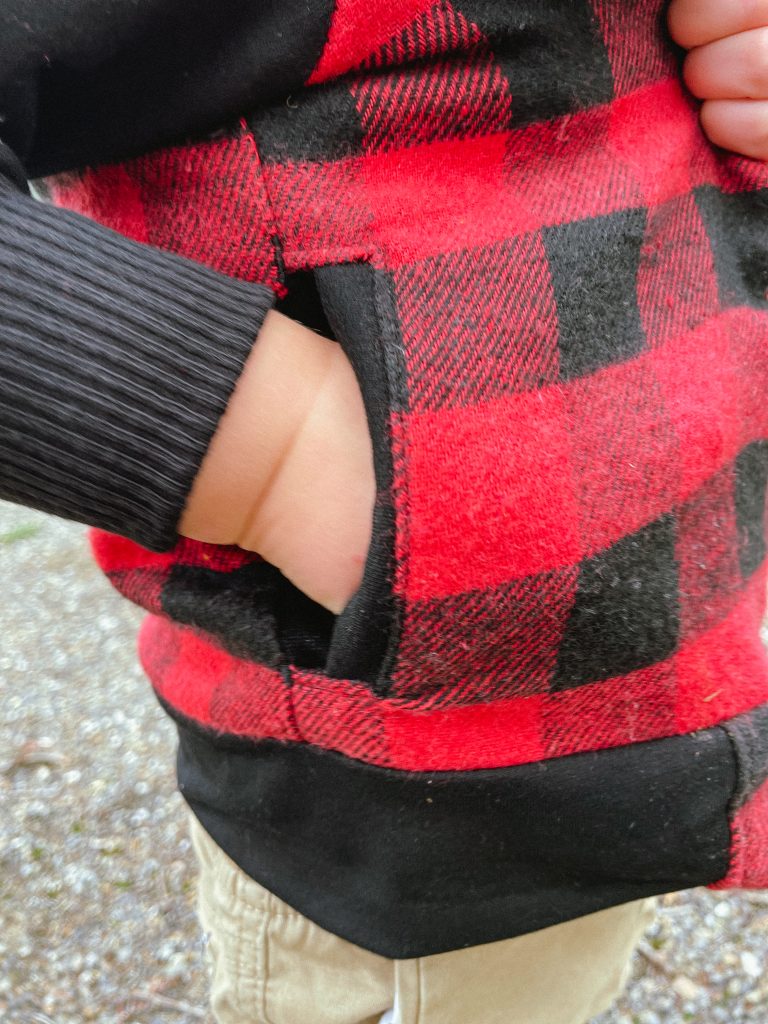
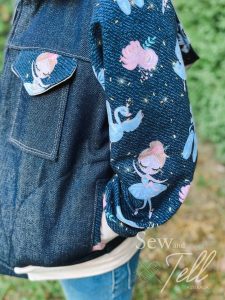
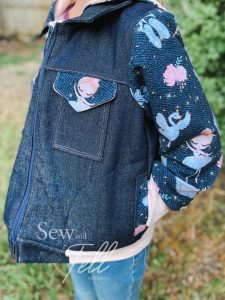
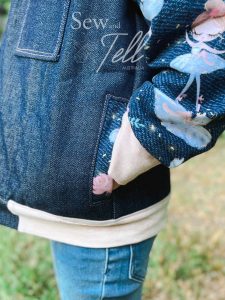
There are a few pocket options on this pattern, I opted to do the welt inseam pockets and the breast patch pockets which I felt looked super stylish.
Now I had A LOT of troubles with my welt pockets. Well, not the welt pockets per say, they came up really well, but I felt the instructions weren’t super clear that there is an ADDITIONAL liner piece when doing the welt pocket version. I ended up using my outer liner piece instead of the welt pocket liner piece, which caused me a world of pain later haha.
Inseam Welt Pocket & Patch Breast Pocket
I ended up having to do some heavy modifications to make the liner in the jacket work, which I felt if you were a beginner and made the same mistake as me, you may have wanted to give up. So my big tip is to make sure if you make the welt pocket version that you cut BOTH lining pieces!
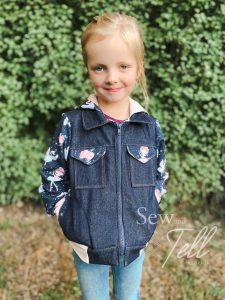
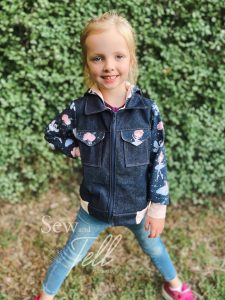
Other than my mistake with the liner, this jacket came together pretty well and I am super pleased with the final result. I made it in a size 7 which is 1 to 2 sizes bigger than Jemma normally wears so I can get some extra milage out of it.
The Dutchie jacket is on sale this week, 11-18th April, for only $2USD, so its worth grabbing to have in your pattern stash. Especially with its generous sizing up to big kid 18.


 Unfortunately I didn’t read the pattern right and ended up taking about 3 inches out of the waist, whoops! BUT, I am really happy with the end result, I would probably just end up adding that to the skirt next time as its *quite* short. haha. Instead of cutting the actual waist measurement, I cut the height adjustment line instead. But as I said, I love the result of this ‘mistake’.