Video Tutorial of Bear Hug Wrap Romper
Learn to Sew


This article contains affiliate links throughout
When my best friend told me she was pregnant earlier this year, I was so excited! I know how much she’s been waiting to make that journey from Maiden to Mother, so hearing that she was expecting her own bundle of love was beyond exciting for me.
I was also excited of course at all the fun sewing opportunities. I love gifting hand made and I knew she would really appreciate anything I made for her. I got to work straight away thinking about what I wanted to make and the materials I wanted to use.
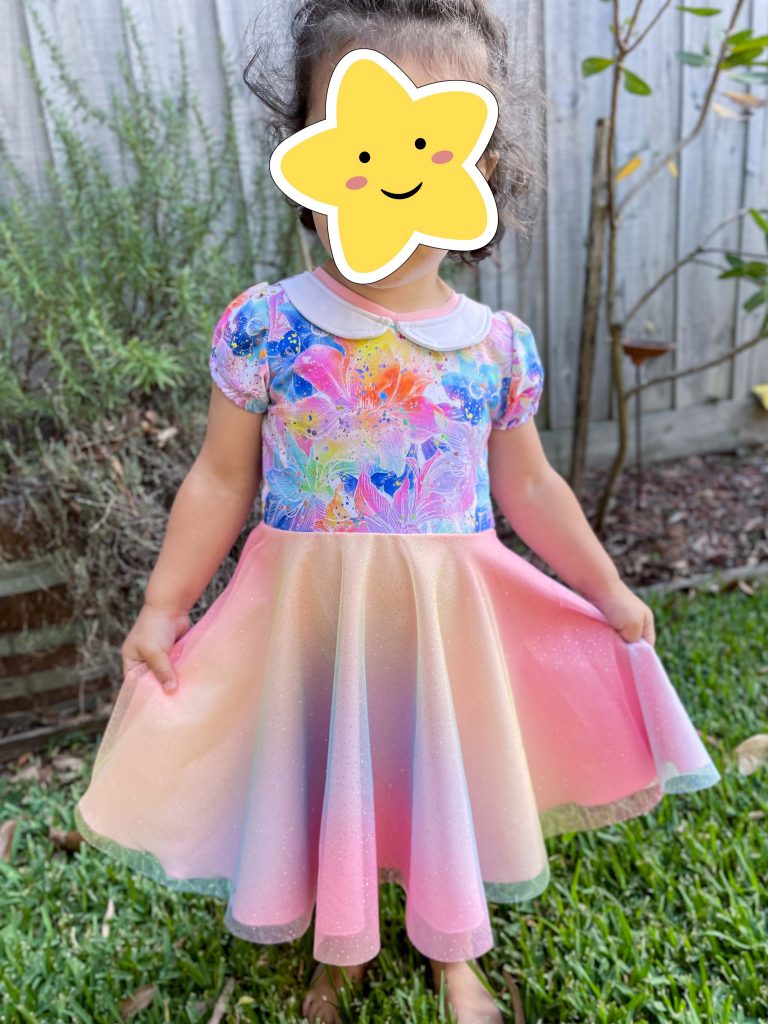
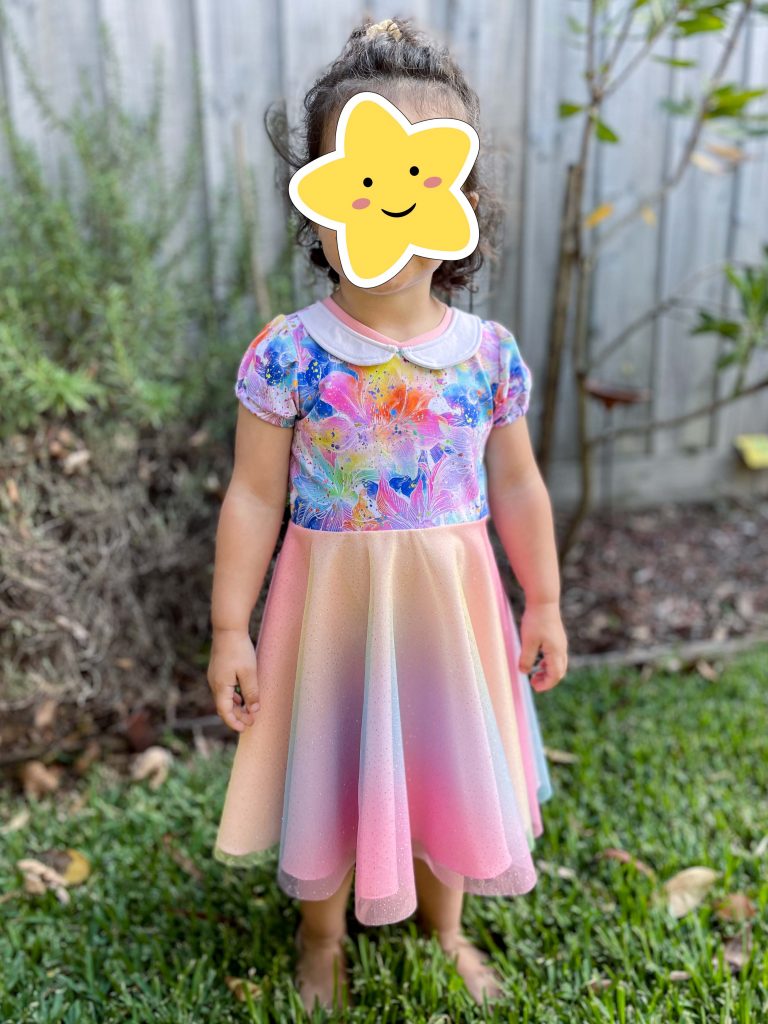
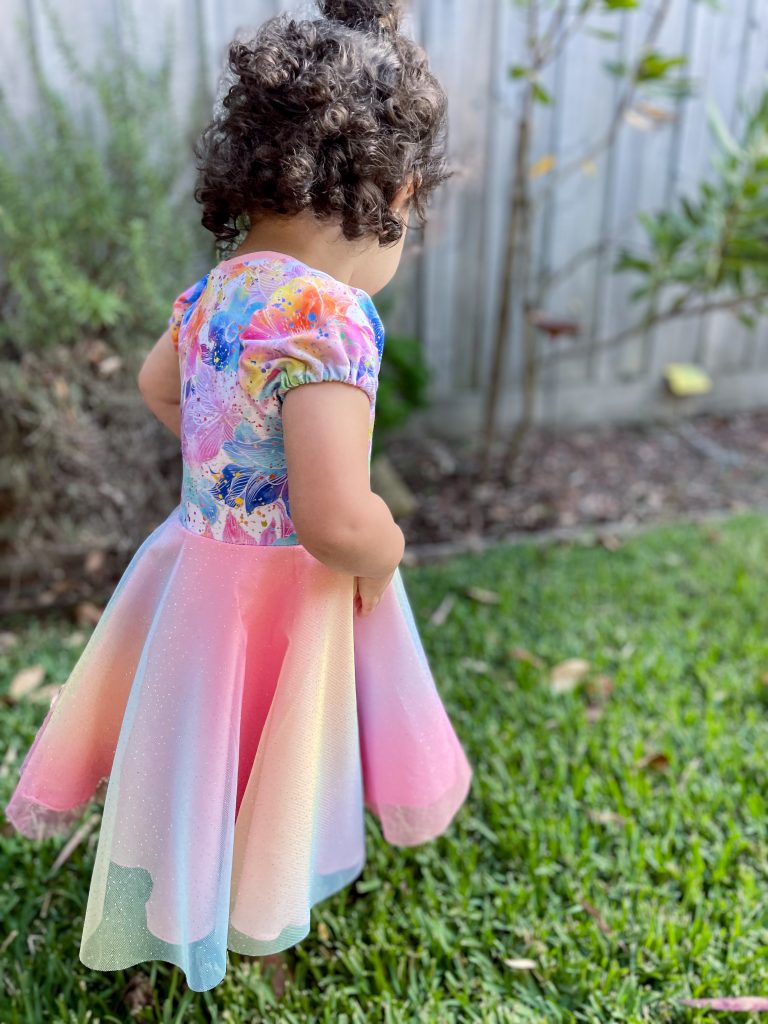
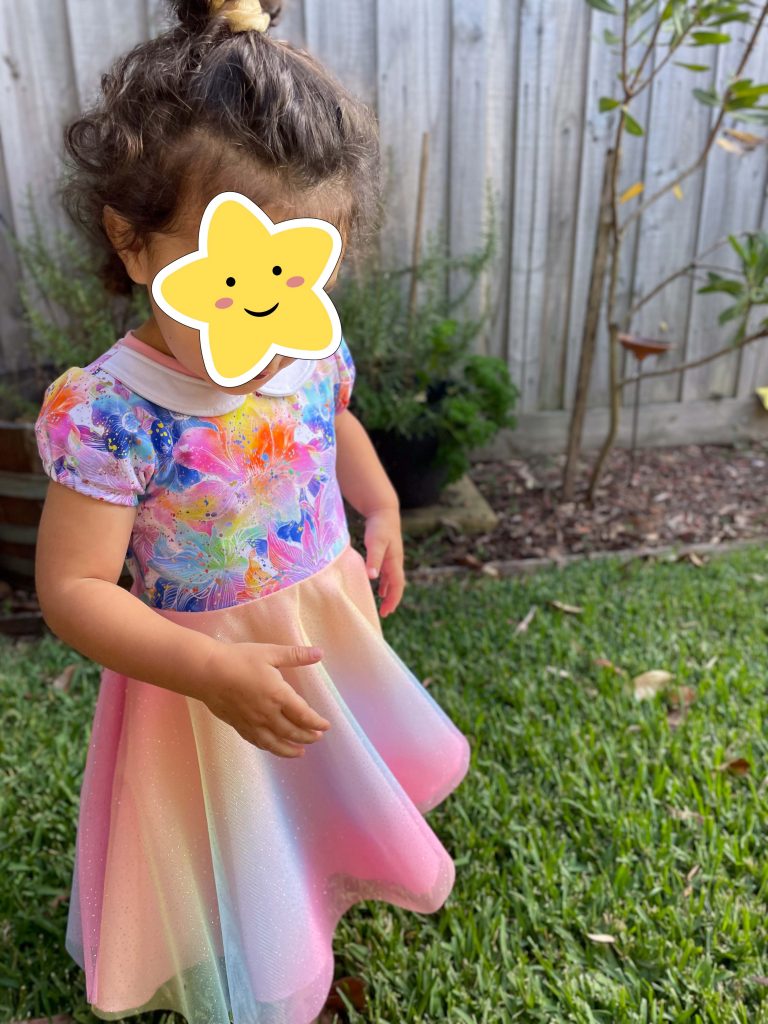
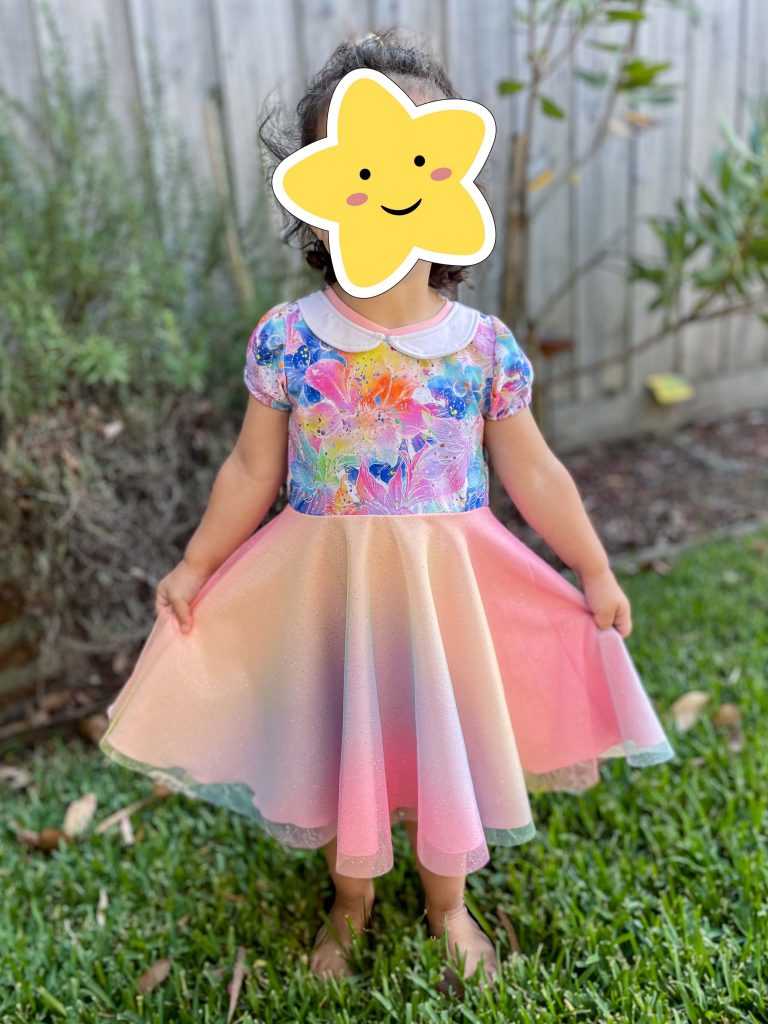
The Wrap Up:
The first set I made was two Waves & Wild Patterns. A pair of Over it Alls and a Pick n Mix Tee.
Waves & Wild have some incredible kids patterns and are up there with one of my favourite pattern designers. Particularly the Over it Alls. I don’t even know how many of those I have made! They are so quick and easy and have a very generous size range. Newborn to Age 12.
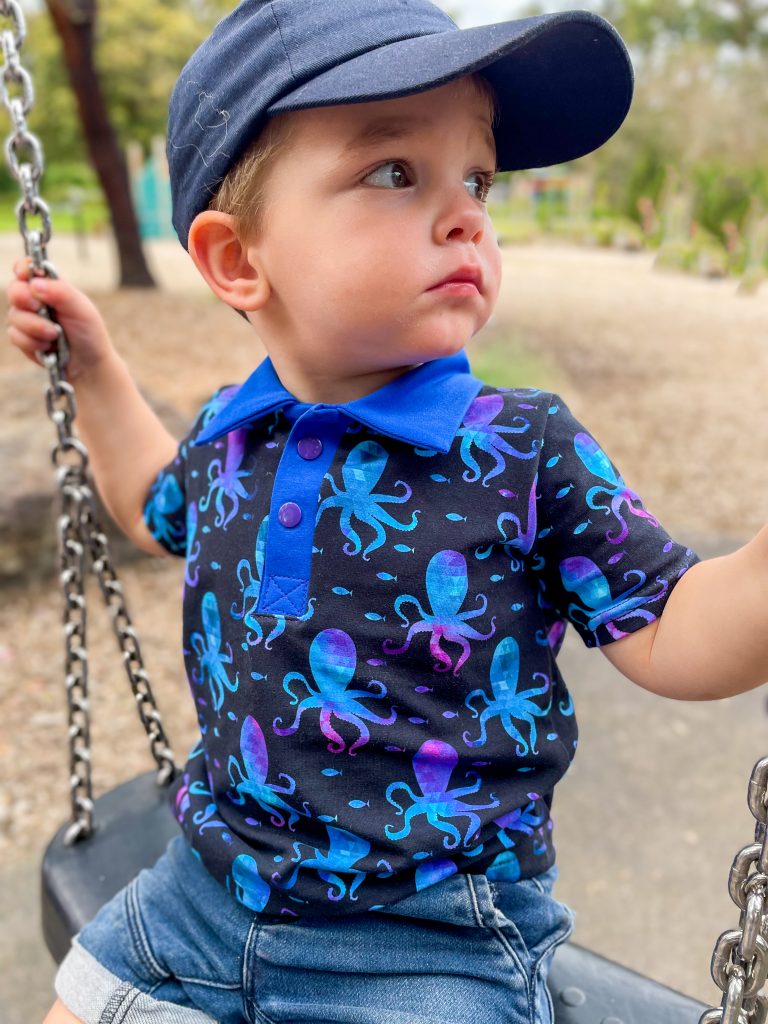
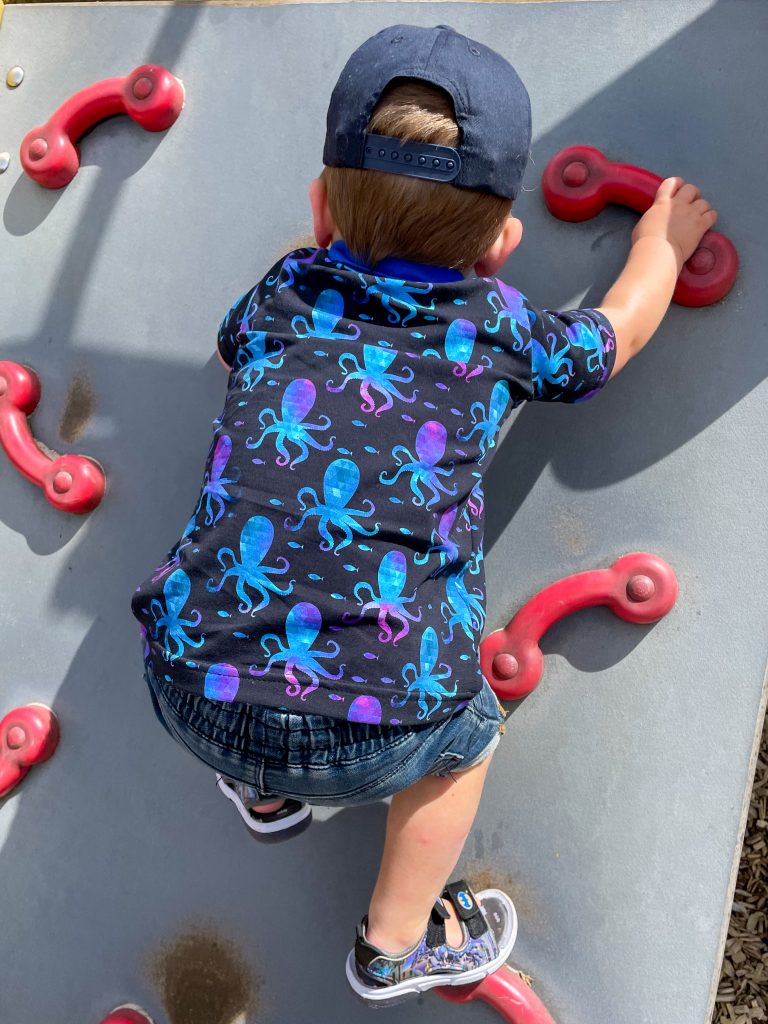
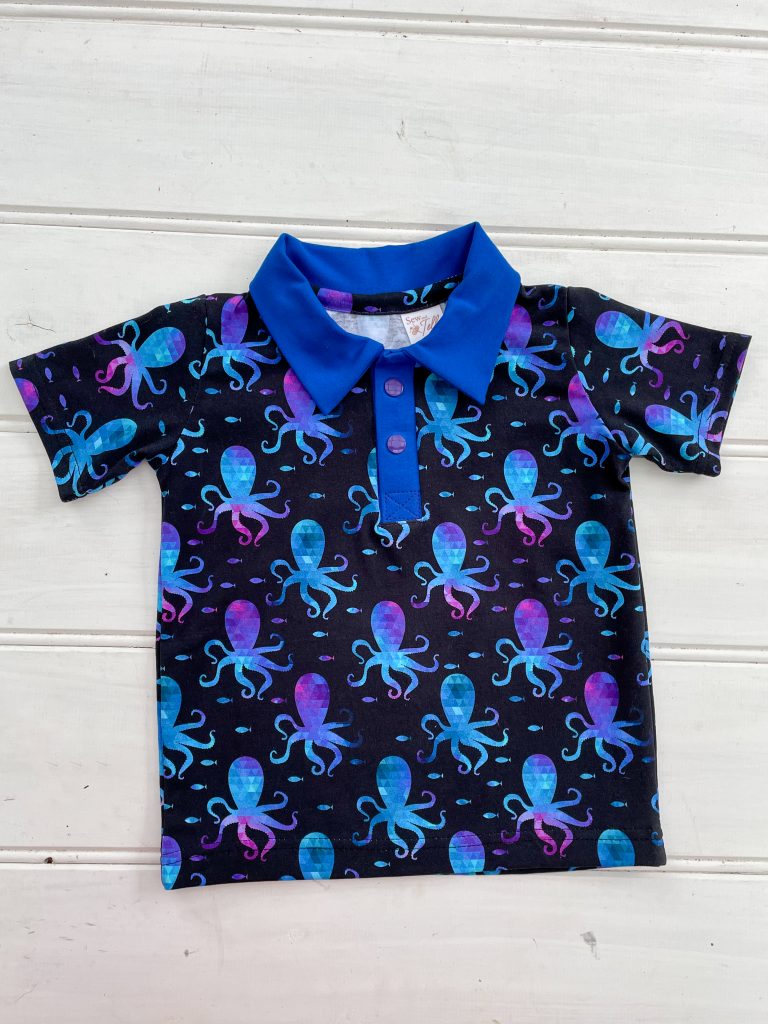
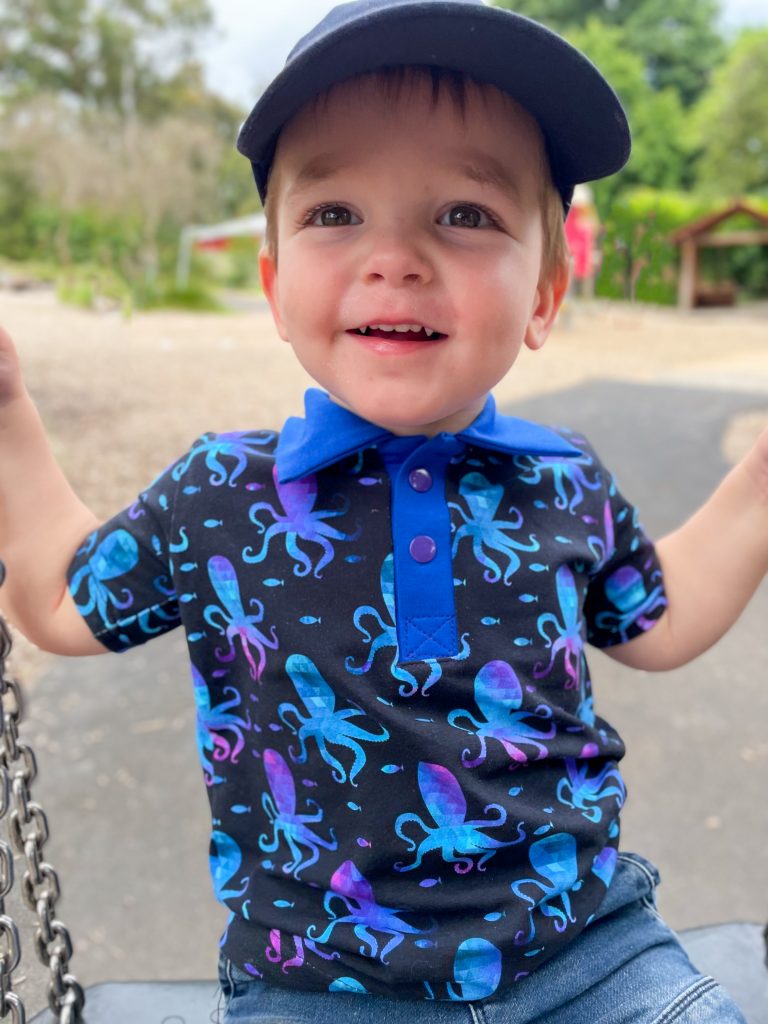
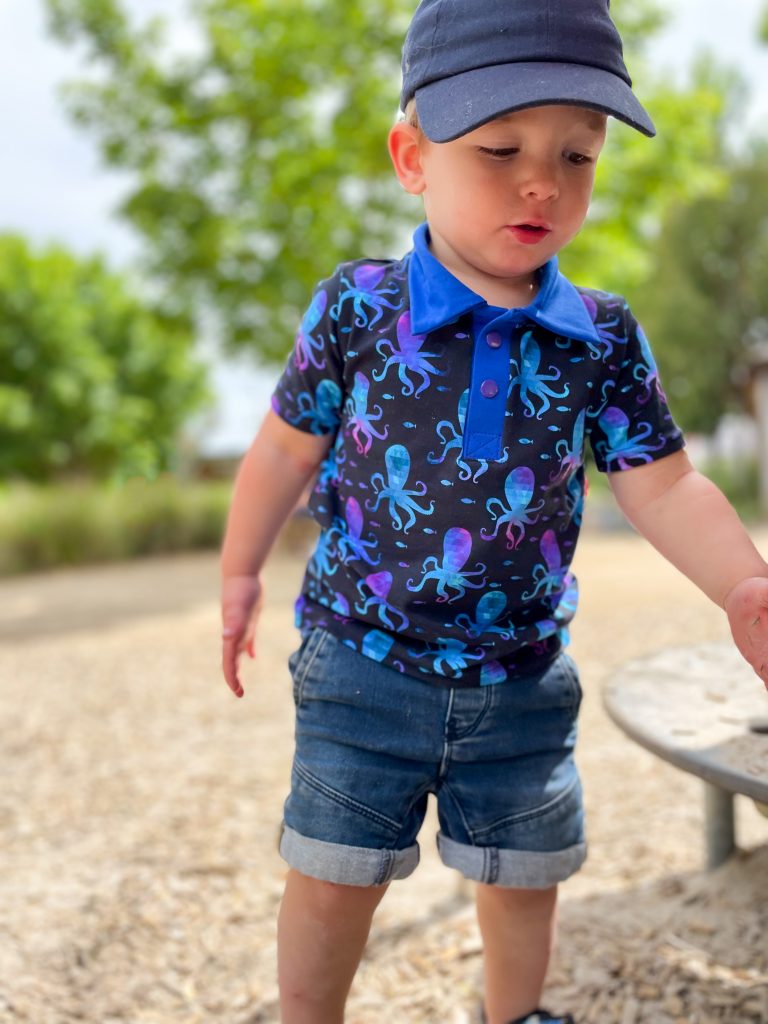
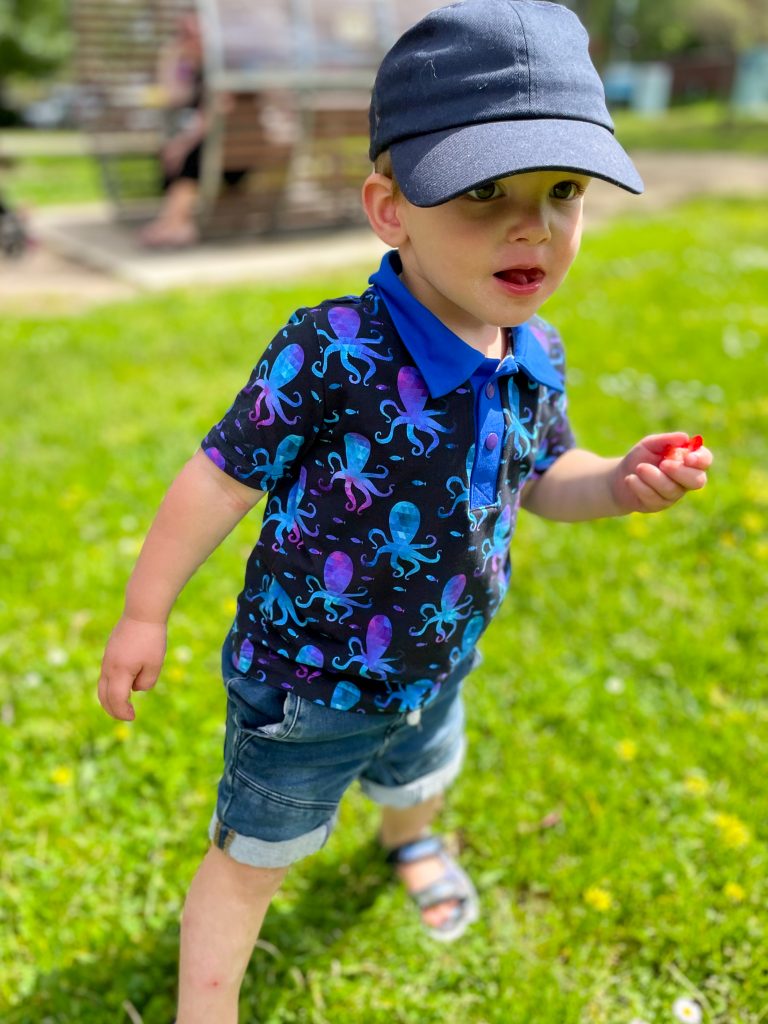
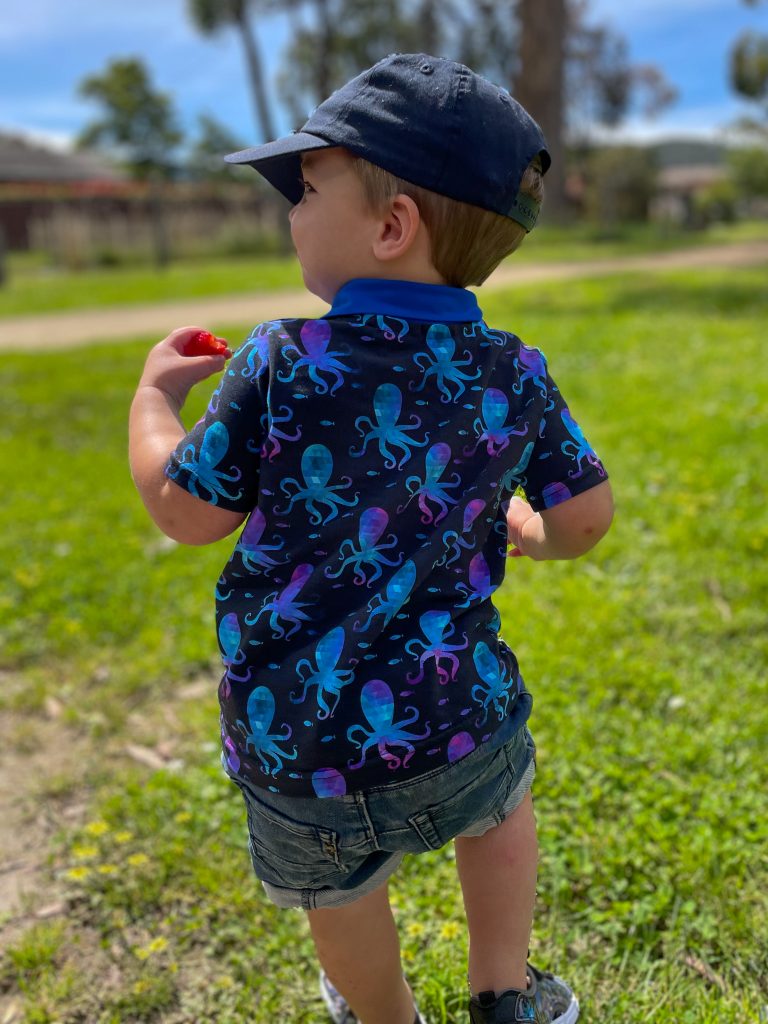
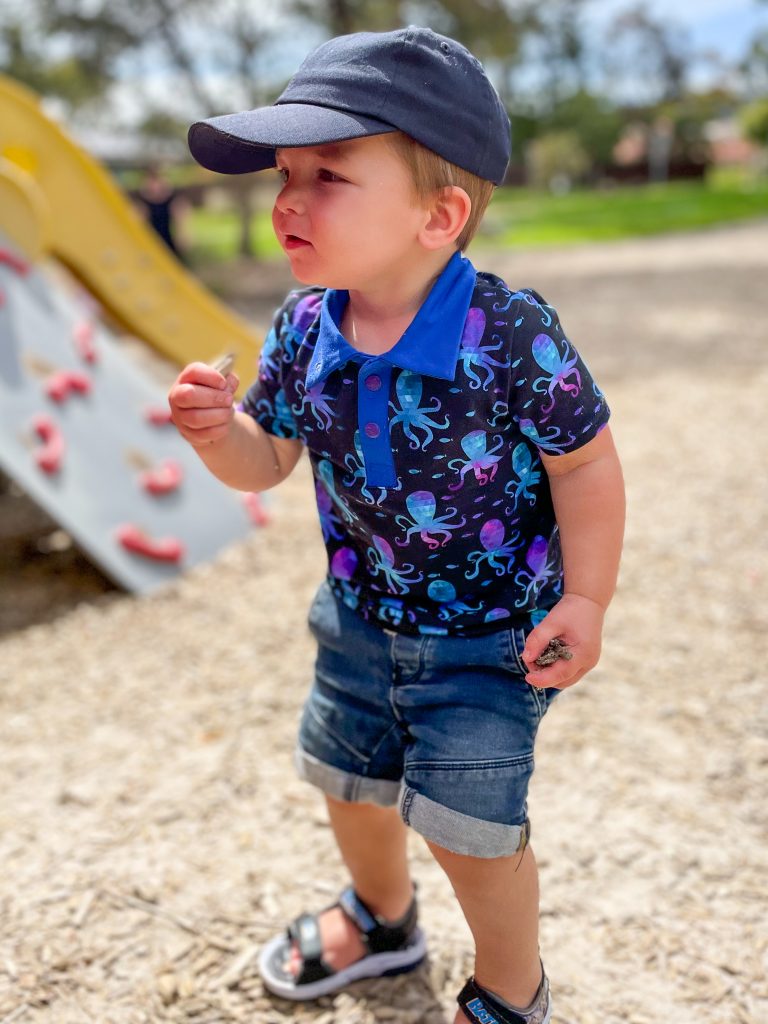
I chose to use some of Clover & Co. Fabrics Lounge rib as it is so incredibly soft and is made from 95.4% Cotton and 4.6% spandex, making it super breathable. The print is called Midnight Soleil and I fell in love with it the minute I saw it.
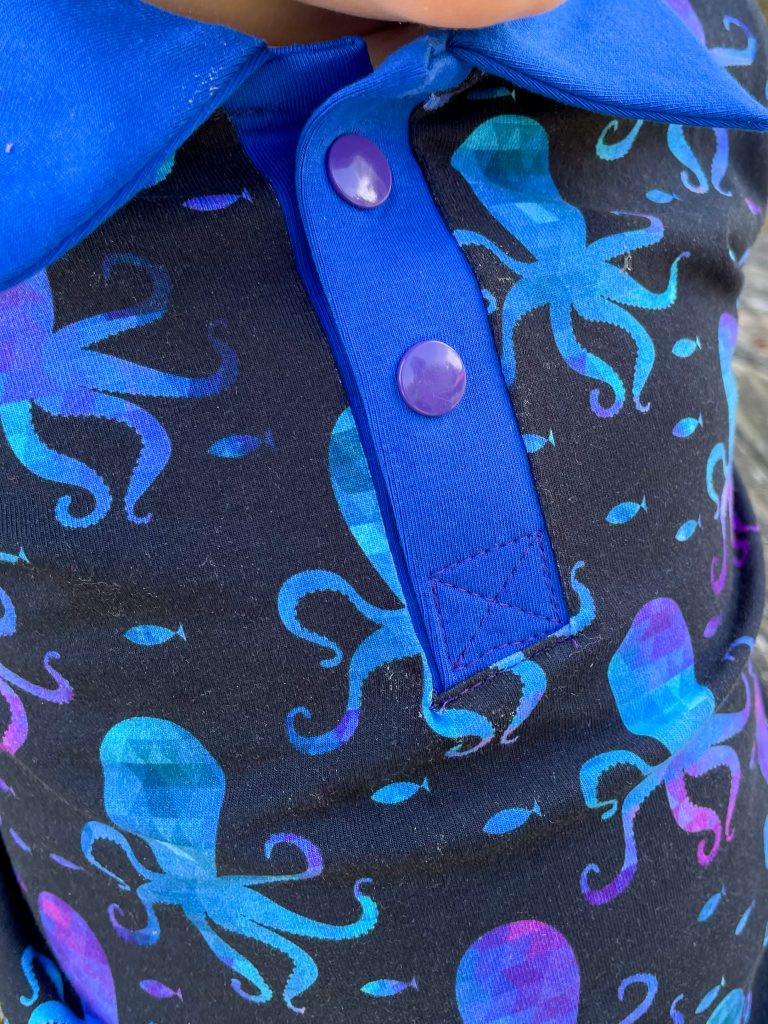
I did the short version in 000 size, hoping that her bubba boy will get some wear early next year before the weather turns. I also chose to use plastic Kam snaps for the straps but I highly recommend interfacing or at least adding another square scrap of fabric for extra stability under the snaps. They get quite a lot of strain when pulling them off that if they are not properly backed, they will pull through the fabric over time.

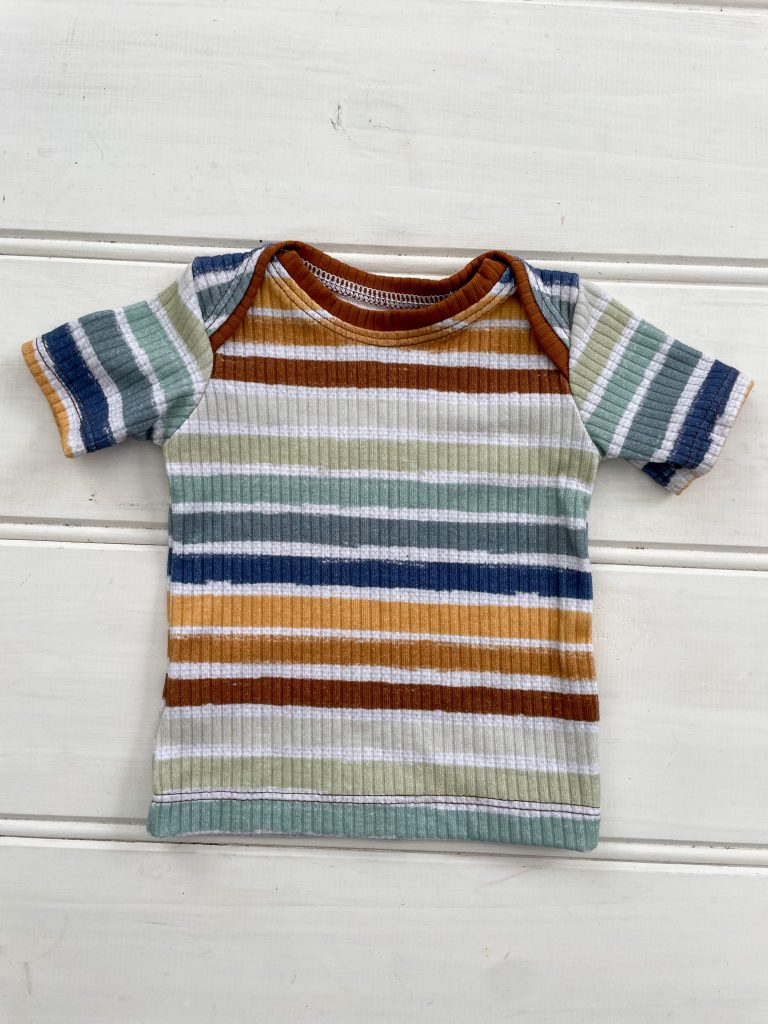
To pair with the Over it Alls I also made a teeny tiny size 000 Pick n Mix Tee. I chose this one for the envelope neckline which if you have kids, you’ll know if a lifesaver when they get covered in anything from poop to food. Not having to pull it over their head and spread it more in their hair, instead being able to peel off over their body is SO much easier!
The awesome thing about the Pick n Mix is that within the one pattern there is also a sleep sack and body suit. The other necklines include snap neck and crew neck. You can also have either short or long sleeves and there is a handy fold over mitten option so those tiny little fingernails can’t scratch themselves.
Again I chose to make it from Clover’s Lounge rib, in their Stripes of Soleil print.


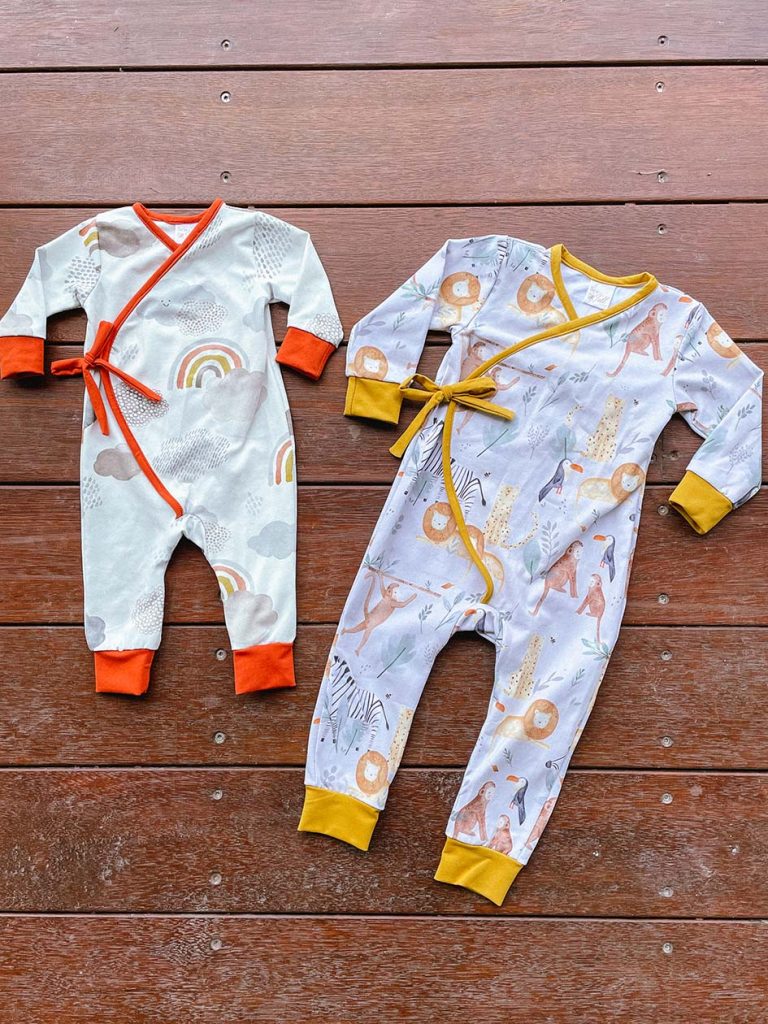
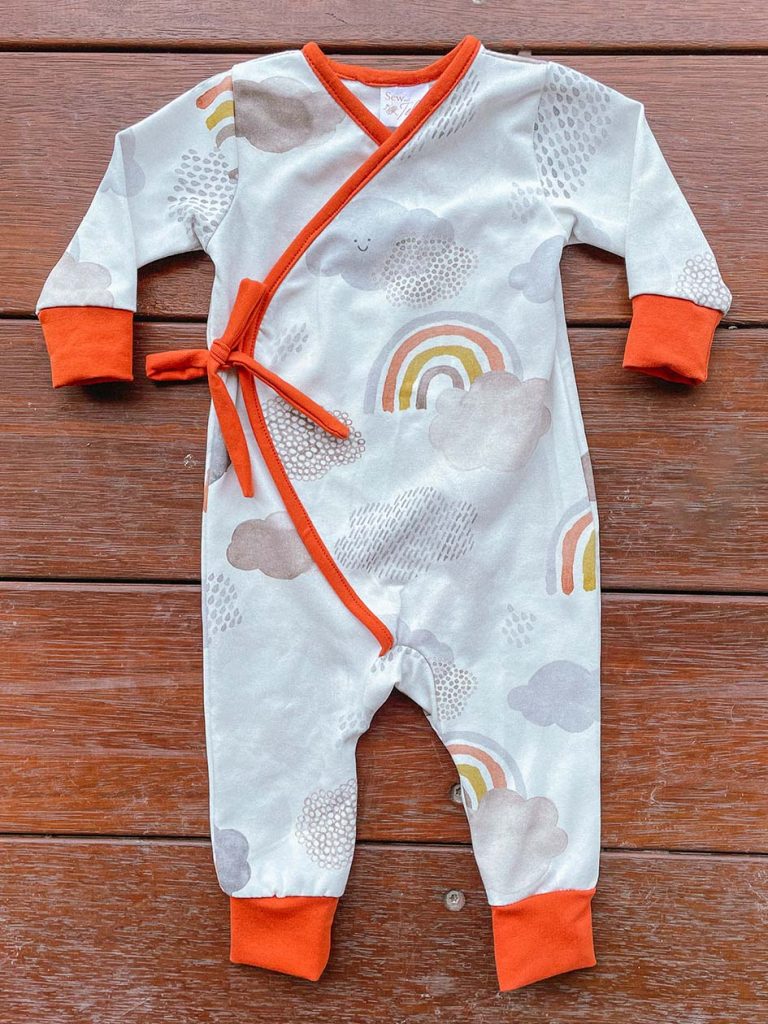
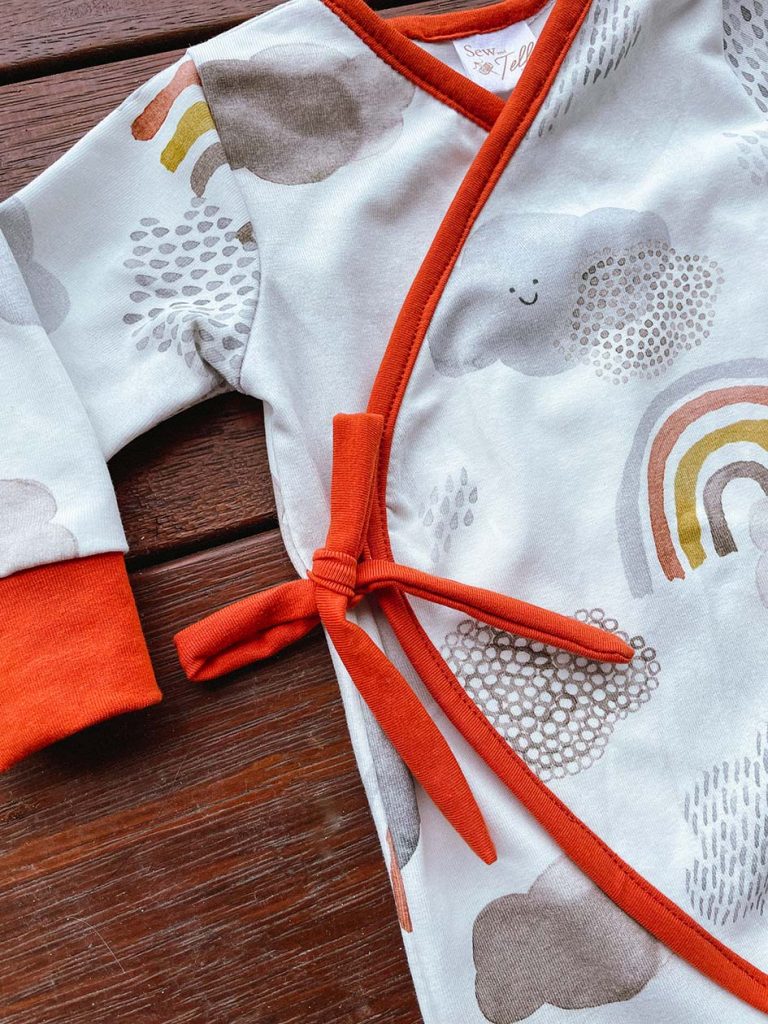
The next gift I made was one that I but a lot of thought into. Although my friend grew up here on the mainland, she now lives in Tasmania and is obviously where she is building her family. So through Clover & Co. I was able to use a fabric that has roots in Tasmania which I knew she would love.
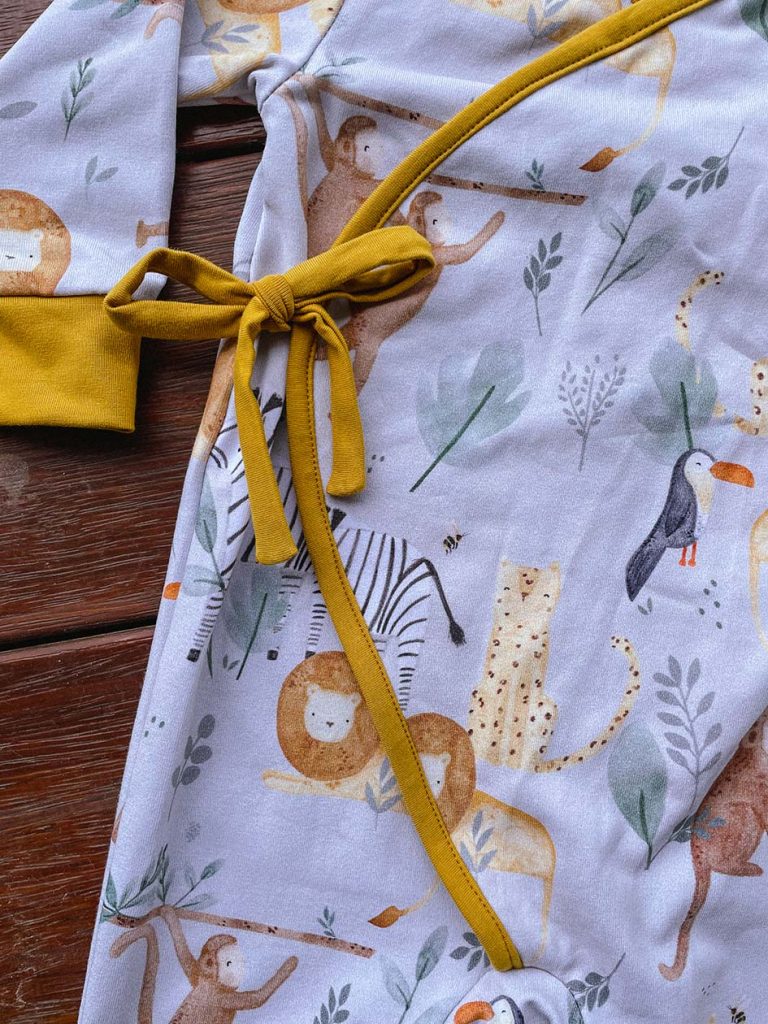
The design, called Wattle, is from Clover’s NAIDOC round and is designed by local First Nations artist, Annie from Pia Designs. My friends partner has lived and worked with First Nations people out at Uluru, Alice Springs and they both have incredible respect for First Nations people so I knew this print would be perfect.
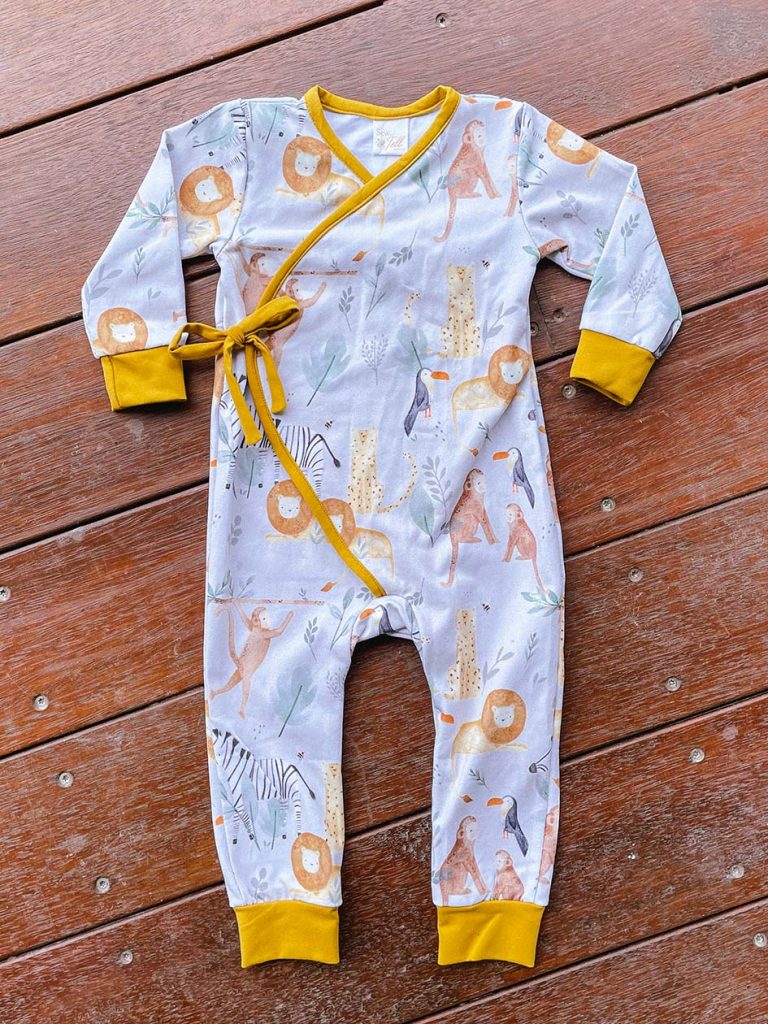
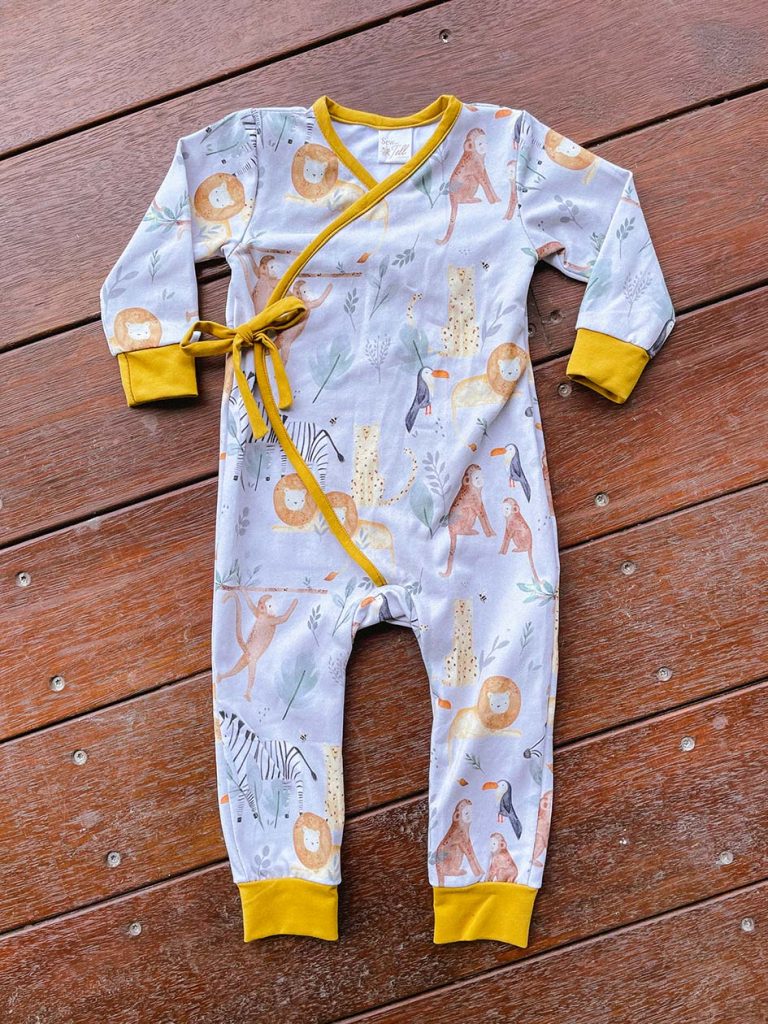
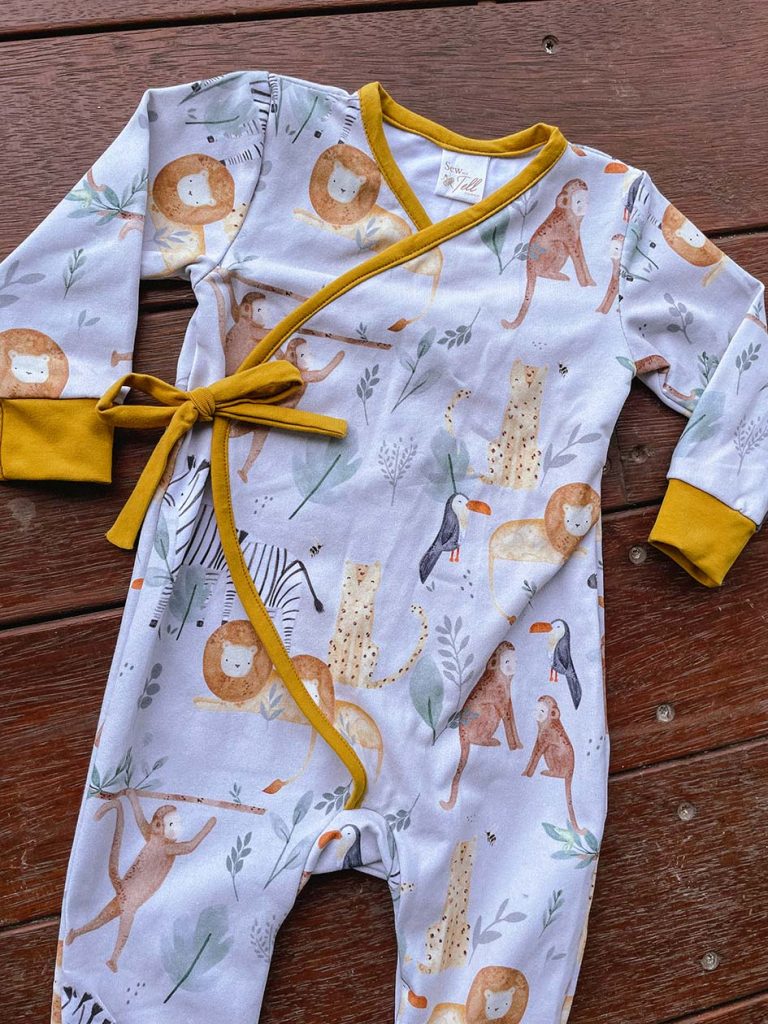
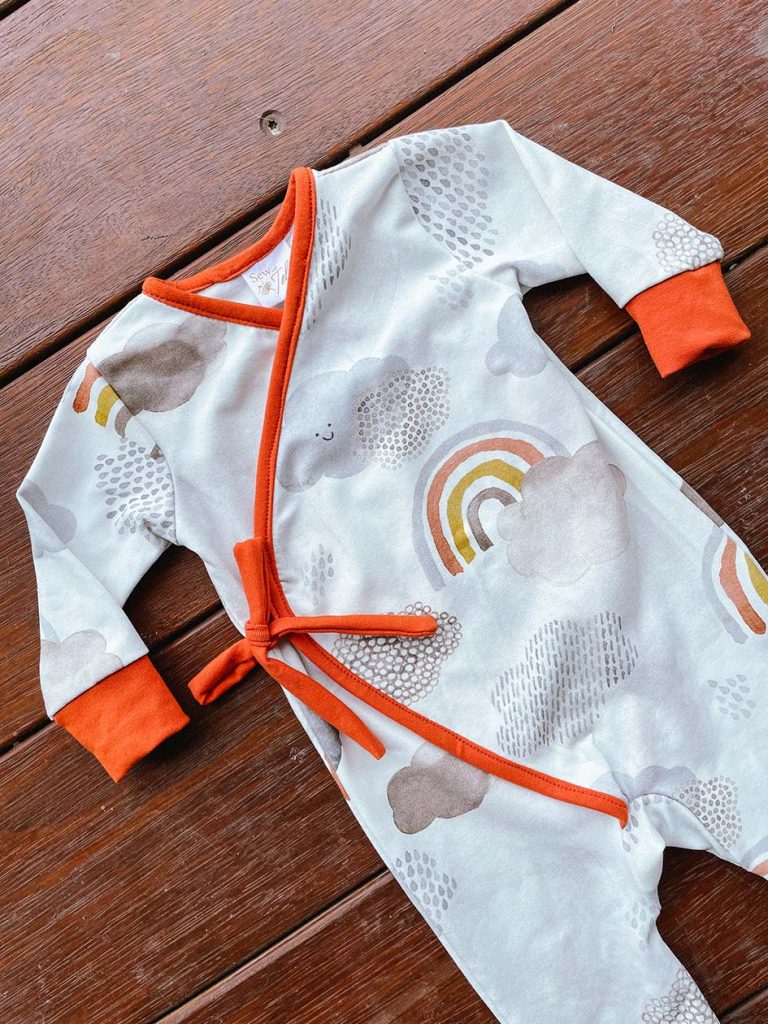
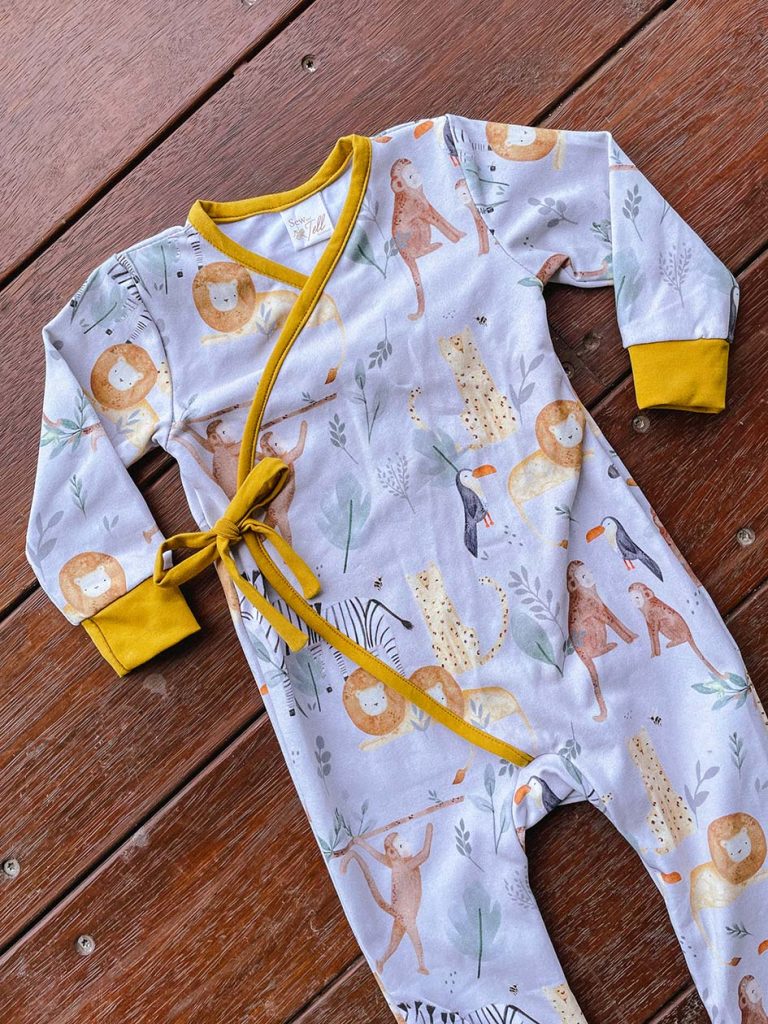
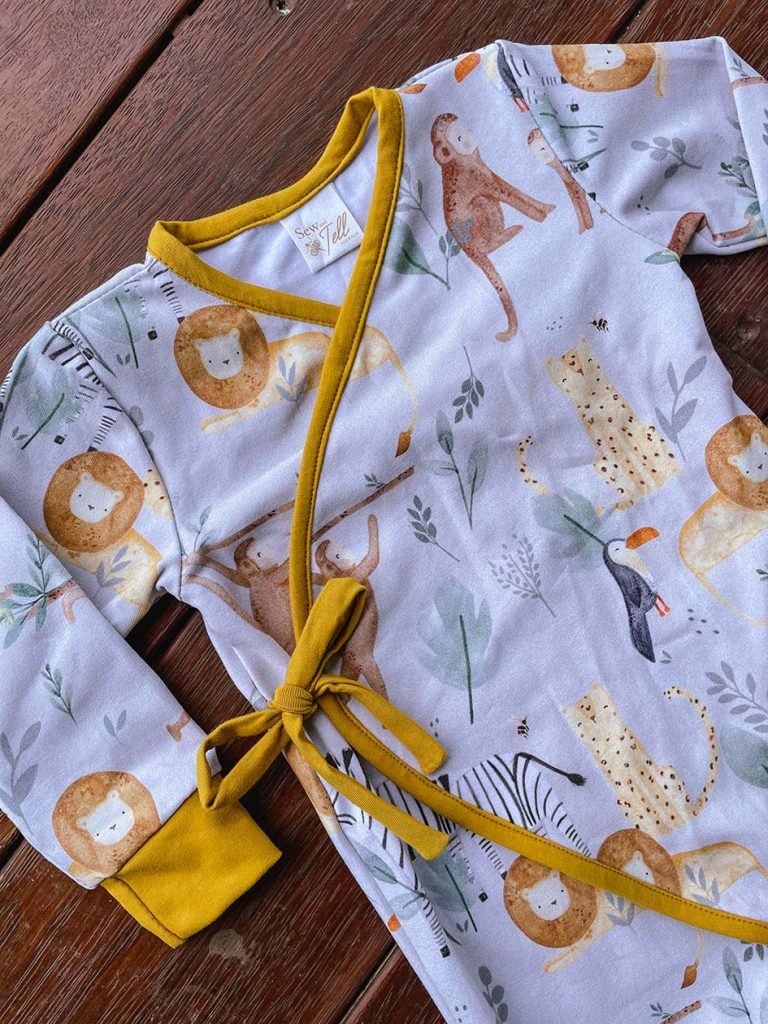
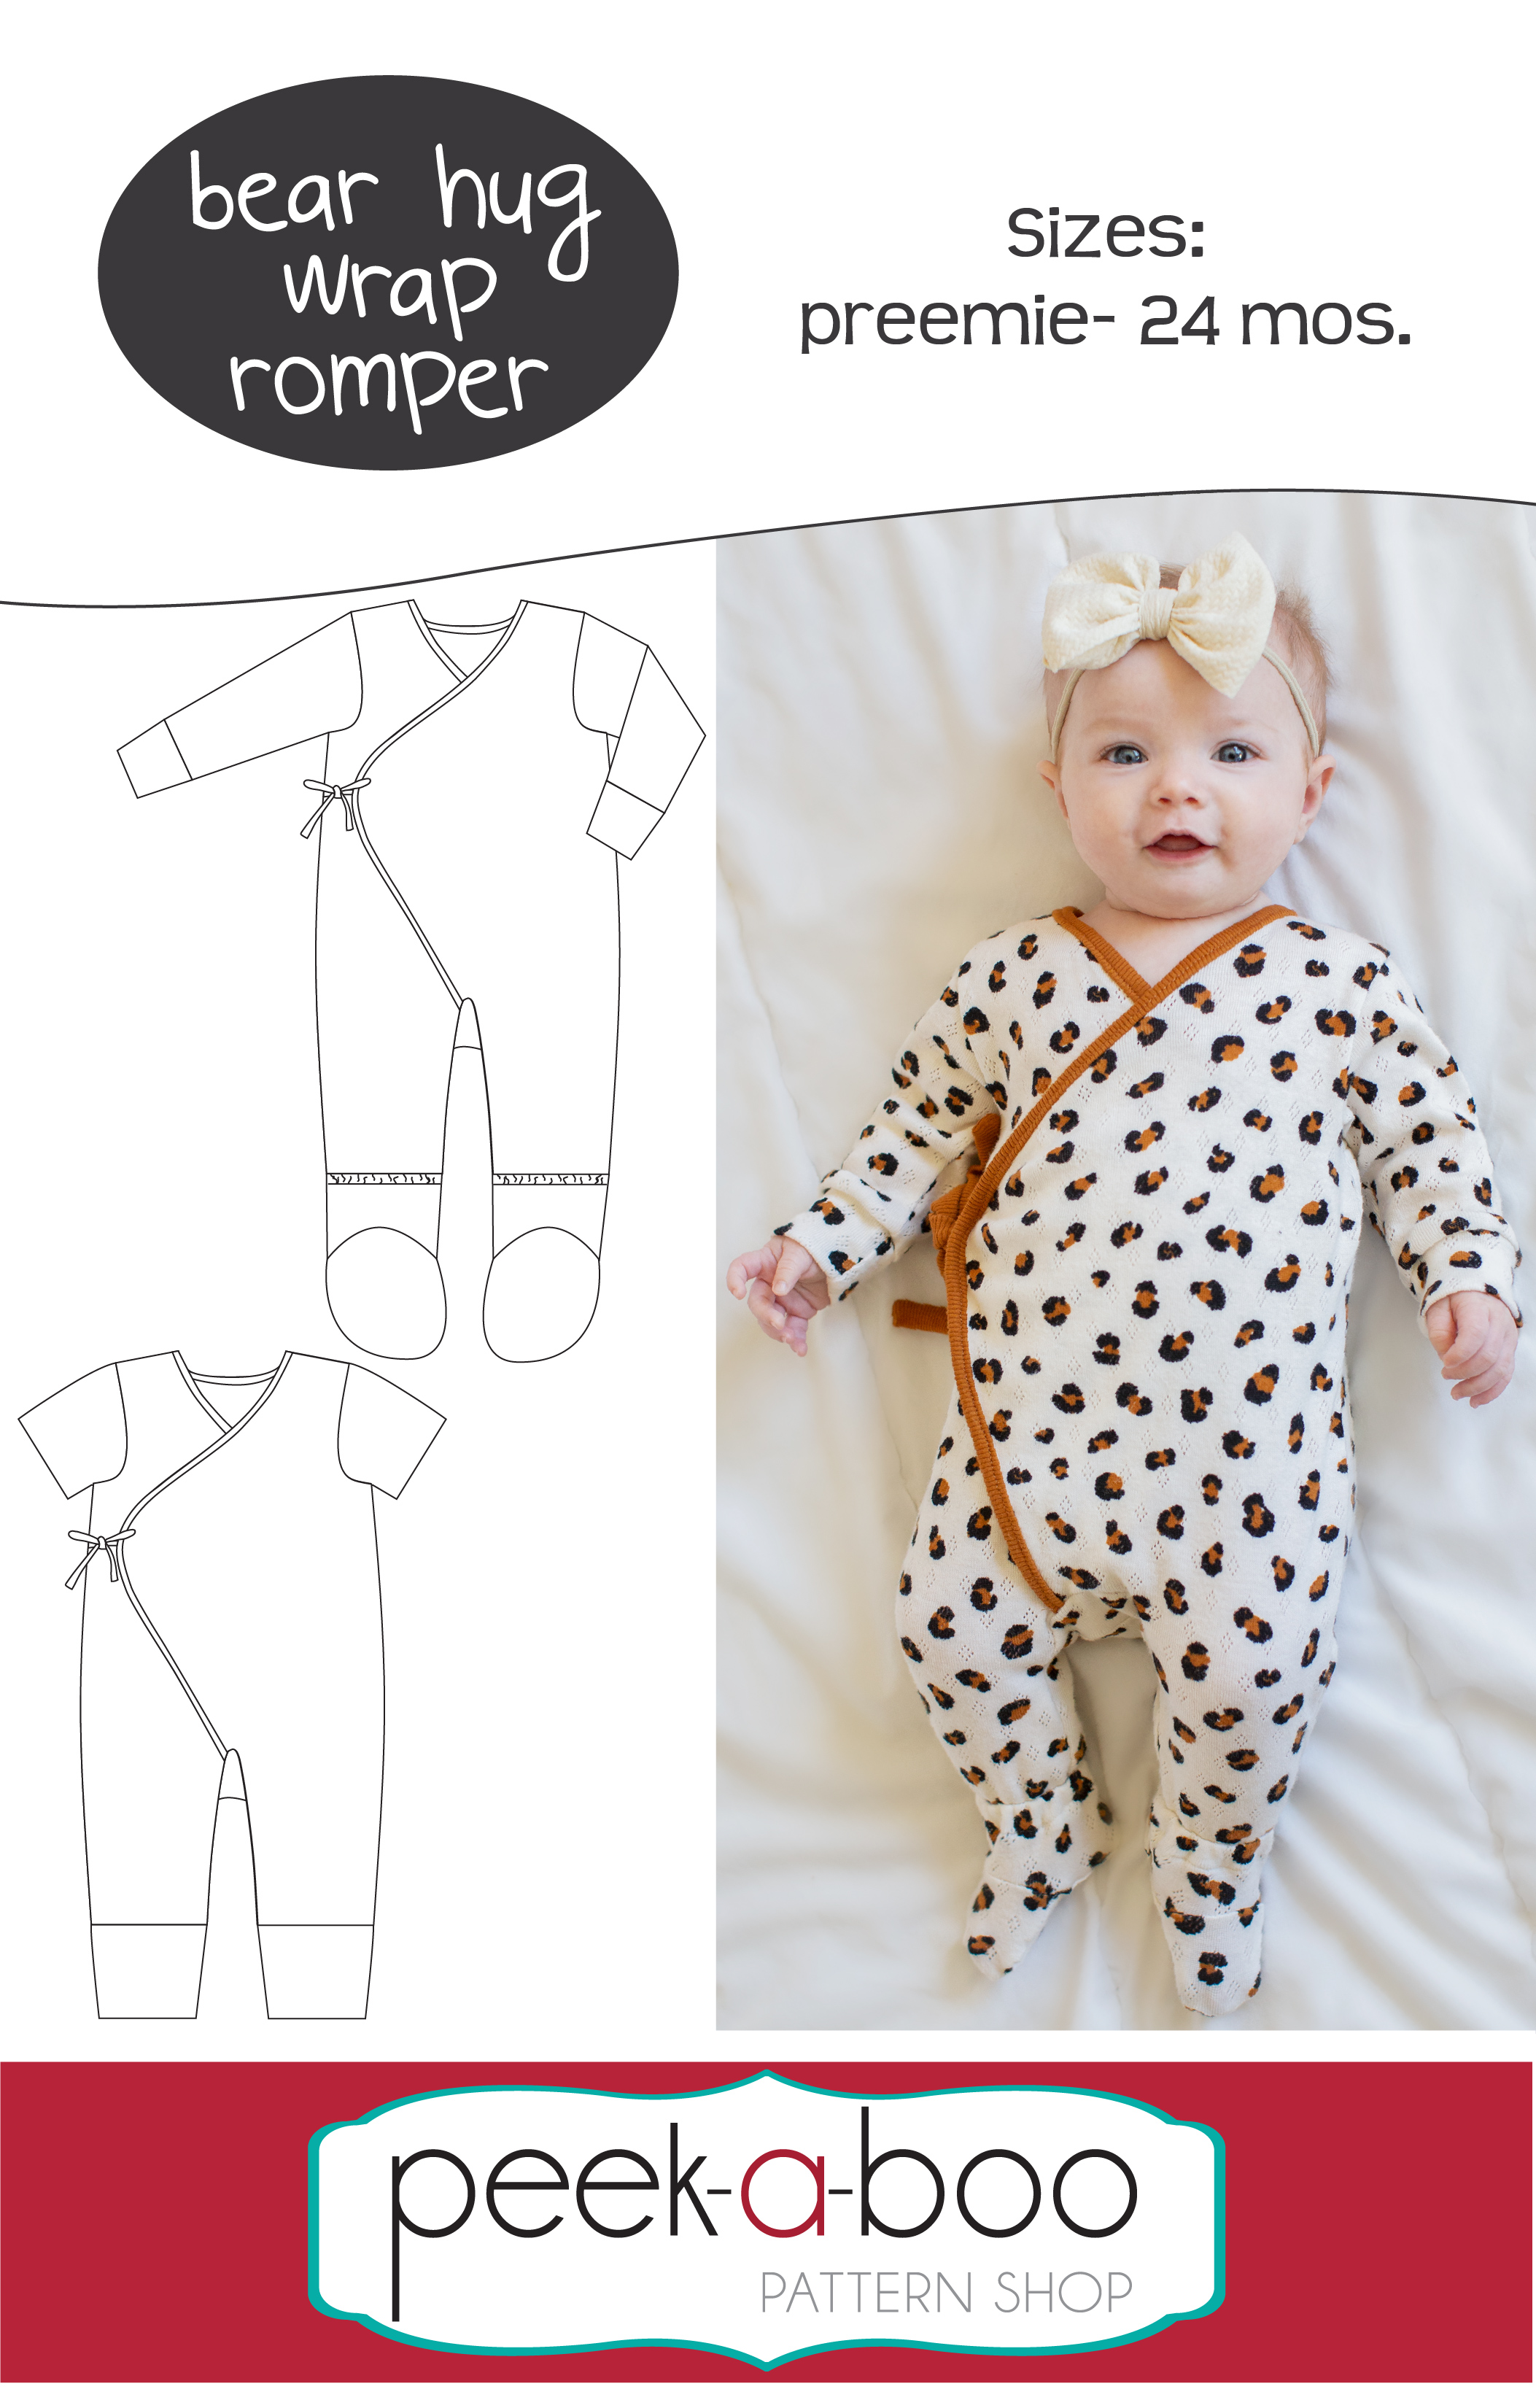
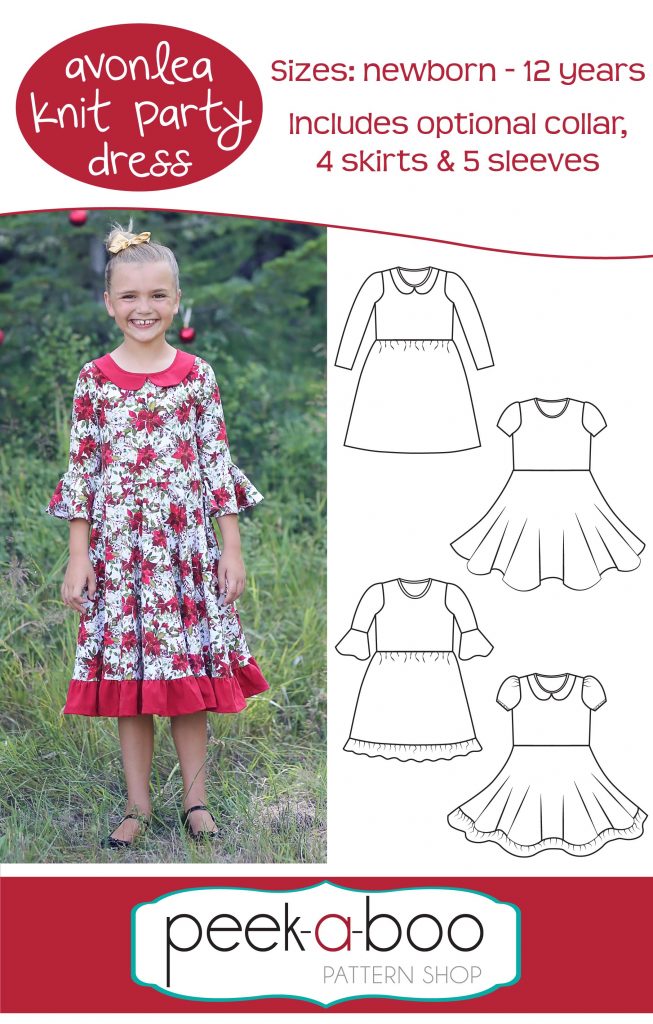
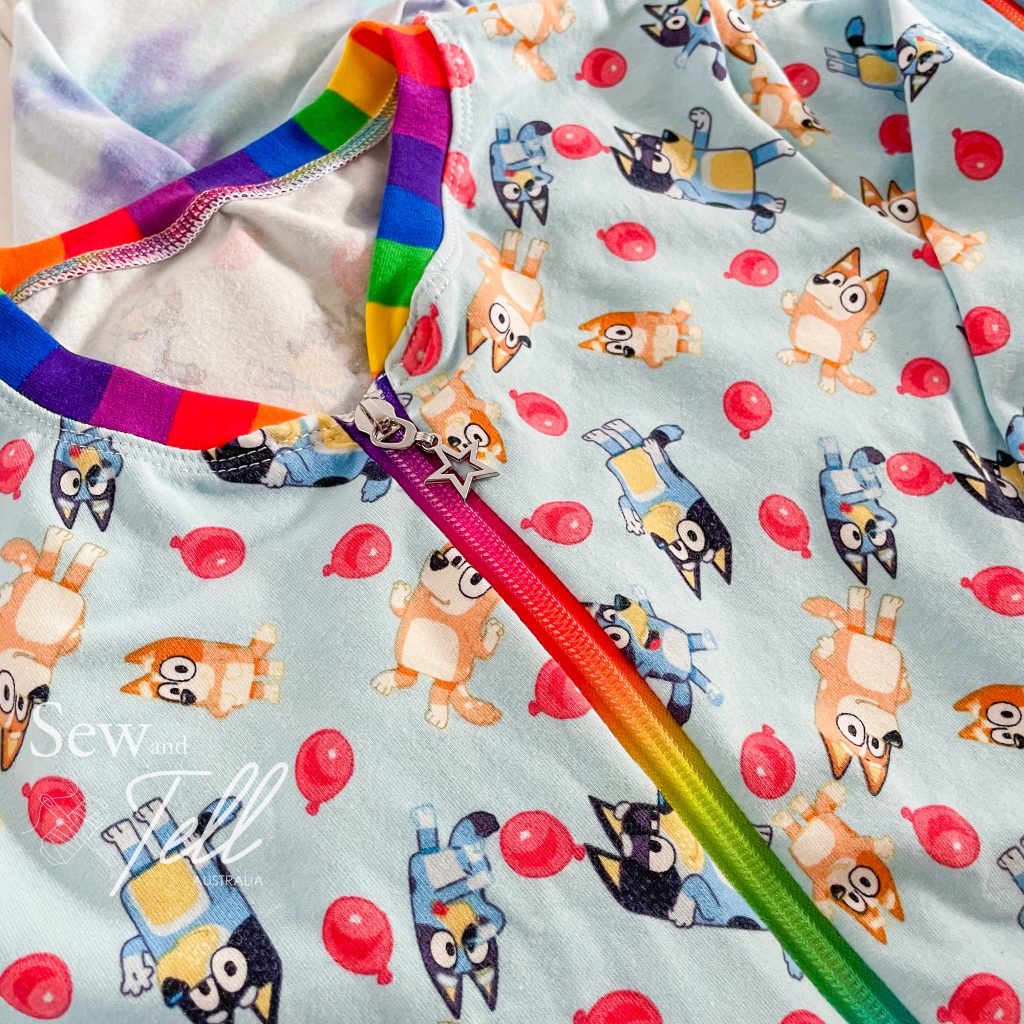
For this piece I chose to make a short leg Zippie from Peek A Boo Pattern Shop. I’ve done a pattern review before about the Classic zip PJ set, as its honestly one of my favourite sleepwear patterns to make. Both my kids LOVE their homemade zippies in funky fabrics. So much more than they ever did their Bonds ones. It also has a really generous size range of Newborn to 10/12.
I was also able to use another incredible Australian supplier for this one, Dreamy Bag Hardware. Coincidently, another Tassie based business! I used their ‘Made in Tassie’ zip pull and number 5 zip tape. As the Made in Tassie pull is quite chunky, and I wanted to have a two way zip for ease of nappy changes, I chose to use a slim line pull for the bottom pull, still in the antique brass to keep it within the theme.
So all in all a very Tassie themed sew for my Tassie based friend with her soon to be Tassie born babe!


Seeing the joy on her face when she received these was so worth the trip down there, as was the beautiful 2 days I got to spend with her.
I can’t wait to see her little man in these!
Links:
Video tutorial of the Waves & Wild Over it Alls:
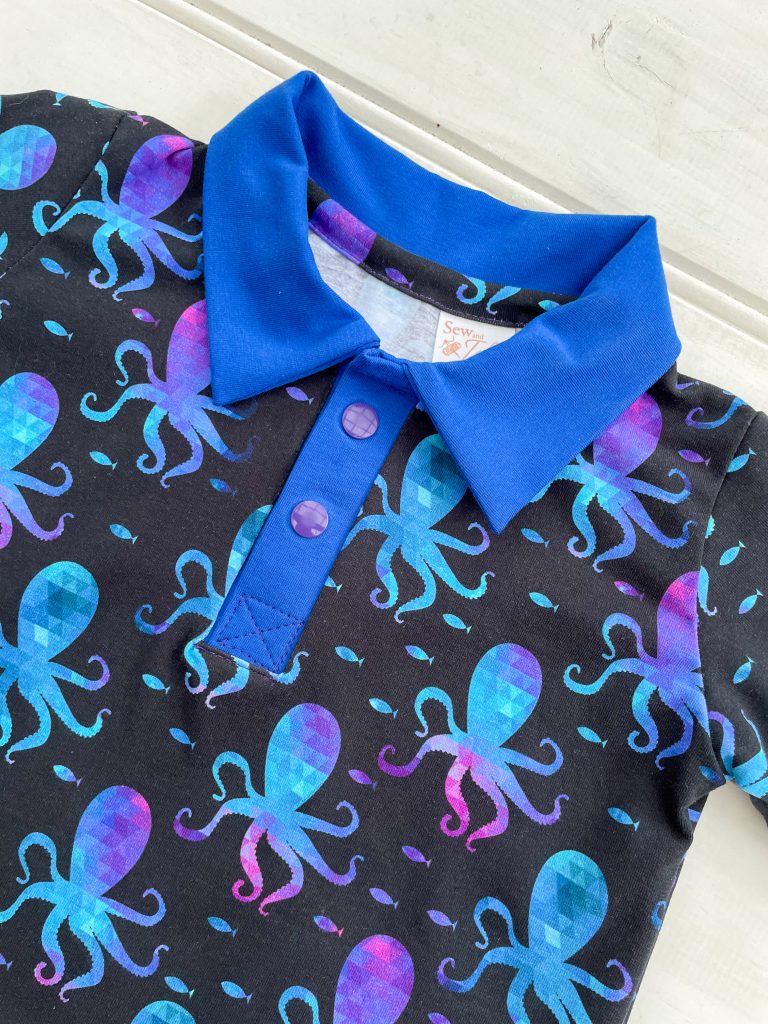
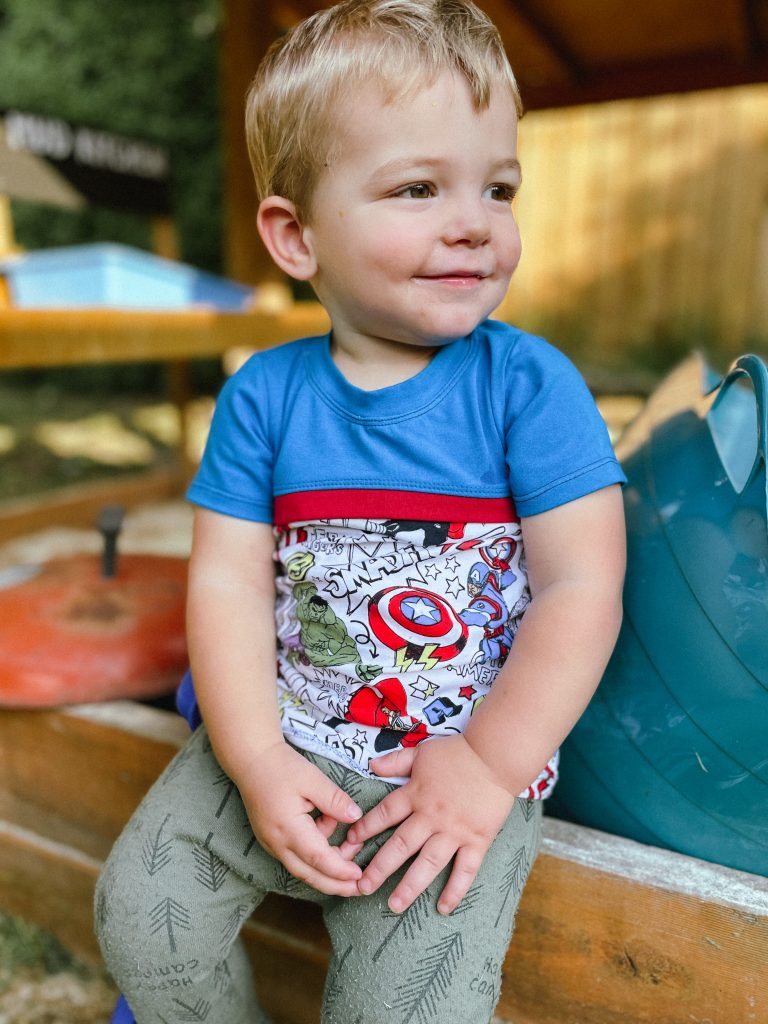
I love the kids discoverer tee. Its such a great, simple pattern with great colour blocking. It’s one of my go to patterns when making the kids basics.
Recently, I’ve been adding a little contrast knit binding at the front colour blocking, just to give the pattern a little something-something and I really think it jazzes it up a little. The best thing is, its really EASY to do! In this blog, I’ll walk you through all the steps you need to take to add your own contrast binding. If you haven’t already, grab the pattern here:


Let’s get started!
The first thing you need to do is cut out all your pattern pieces as per instructed in the pattern. You should have the front top piece, back top piece, 2 bodice pieces (front and back), sleeves, neckband and the optional cuff and waistband pieces if thats what you are doing, as shown below. (I chose not to do those pieces and will hem my sleeves and tee so they are not pictured)

Once you have cut those pieces, you are going to take one of the bodice pieces and measure how wide it is across the top. I’m making the 2T and its about 12 inches from side to side.

You are now going to cut a piece of knit fabric that is going to be your binding. You want this to be about an inch longer than what you measured the top of your bodice piece to be anything from a 1-2 inches in width. For this tee I cut mine 2 inches wide, but I think I actually prefer the original knit binding I did on the black and grey tee which I’m pretty sure was only 1 inch wide. You just need to take into account that you are going to loose about 1/4 of an inch or more when sewing it on.
I used a clear quilting ruler to cut mine which made it really easy to mark out the 2 inches width and the length I wanted of 13 inches long.

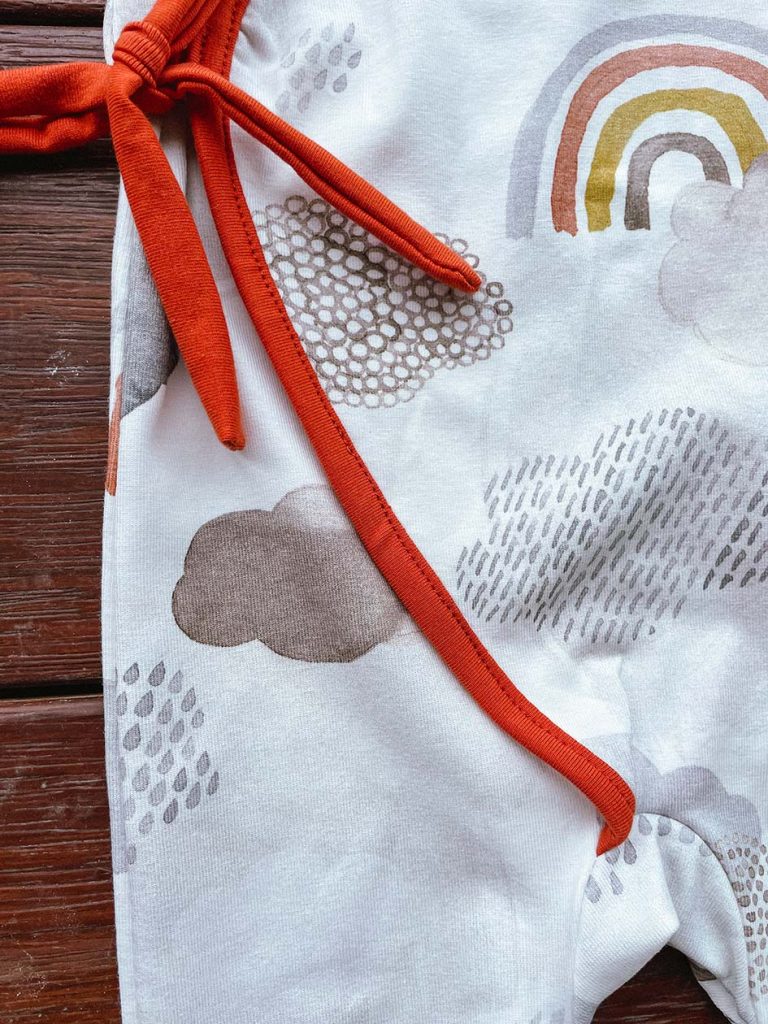
Once you’ve cut your knit binding piece, fold it in half, wrong sides together and give it a press if you like. Then you are going to pin/clip it along the top of the bodice piece, raw edges together. It should look like the image below.
Baste the binding piece to the bodice piece with a long straight stitch on your sewing machine.

Now lay your top front piece on top of the bodice and knit binding piece, aligning the raw edges so the knit binding piece is sandwiched between the bodice and the top front bodice piece. The edges of the binding will stick out at the sides but thats ok, we’ll trim them after. Pin/clip in place and serge them together.

Flip the front bodice piece up and press the seam toward the top. Top stitch the seam in place using your preferred top stitching method. I have used a cover-stitch but a stretch stitch or twin needle on a normal machine will look nice as well.

Trim the sides to neaten up your front bodice piece.

Tadah! You can now continue with the instructions as indicated in the pattern.

As I mentioned above, have a try with different widths until you get the width of knit binding you are happy with. I think adding the binding gives this tee such a snazzy look and helps give it a little extra something!
Thanks for reading, I really hope it helped you add your own knit binding to your kids discoverer tee. Tag me on instagram with your makes, I’d love to see them! @sewandtellau
Gallery:


Pattern: Classic Zipper Pj’s
Designer: Peek A Boo Pattern Shop
Fabrics: Clover & Co Fabrics, Ruby Jam Fabrics
Measurements: Various
Size made: Various
Adjustments: None
Pros: So many pros, they are a great one piece zipper pj for kids of all ages
Cons: Not any really!


Links:
The Wrap Up:
Without doubt, the Classic Zip Pj’s are my go-to for any zippered Pj. I have made so many now cause I just LOVE them!!
I originally looked for a pattern because my daughter loved wearing the Bonds Zippies but she then grew out of their size range. I asked in a sewing group and as per usual the incredible sewing community delivered, suggesting the Peek A Boo pattern.
I love that there are 2 styles with the long and short zippie as well as long and short sleeve, so you can mix and match the leg and sleeve length options. There is also a zip guard option, but I tend to do more of a zip guard ‘tab’ if I want to include a zip guard, which just encloses the top of the zip, not the full length of the zip.
I have mainly made them from cotton lycra, but I did make a gorgeous newborn gift from a printed rib knit from Clover and Co fabrics and definitely fell in love with that. I also love using my own zipper tapes and zip pulls. its such a fun way to personalise them even further. I have some Star Wars fabric sitting there that I am going to make a gift from and bought a baby yoda zip pull to go with it. I can’t wait to finish that one and gift it.
One of my top tips for sewing this garment however would be to use washable double sided tape when installing the zip. It can be tricking sewing zips into stretch fabrics, but using a washable tape is a HUGE help. You can get it from more fabric/craft stores like Spotlight and also places Amazon stock it as well.
I have definitely got some great use from this pattern and consider it a staple for my kids wardrobe and I dare say you will too! Now where can I get an adult version….?! hehe
Gallery:


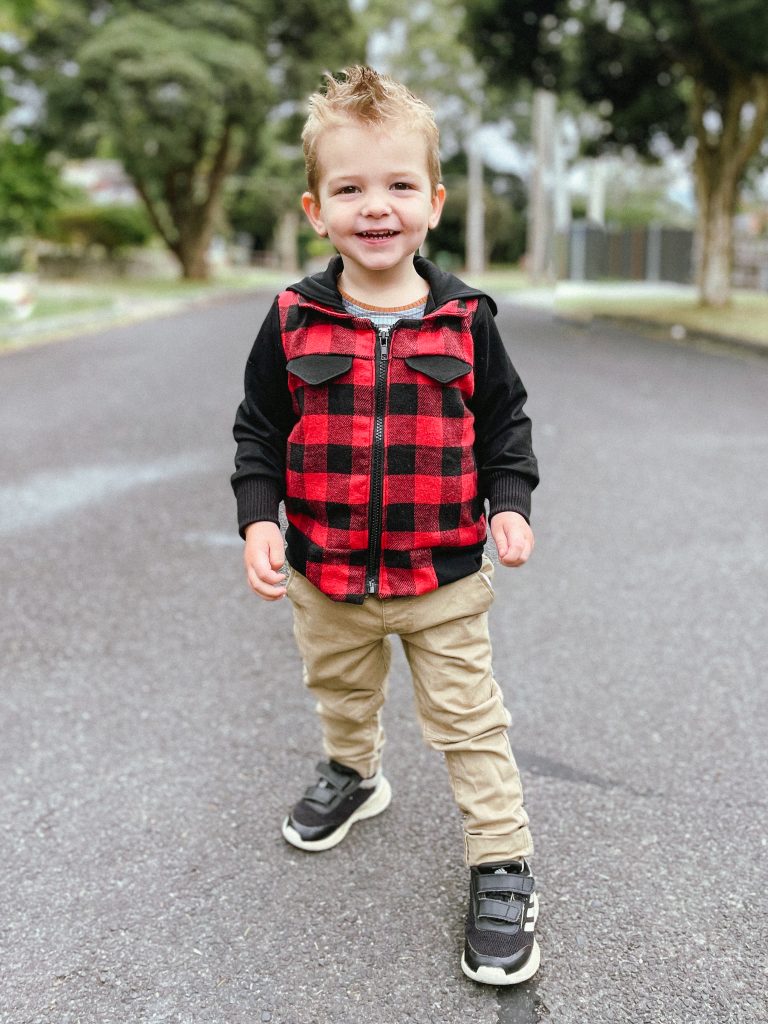
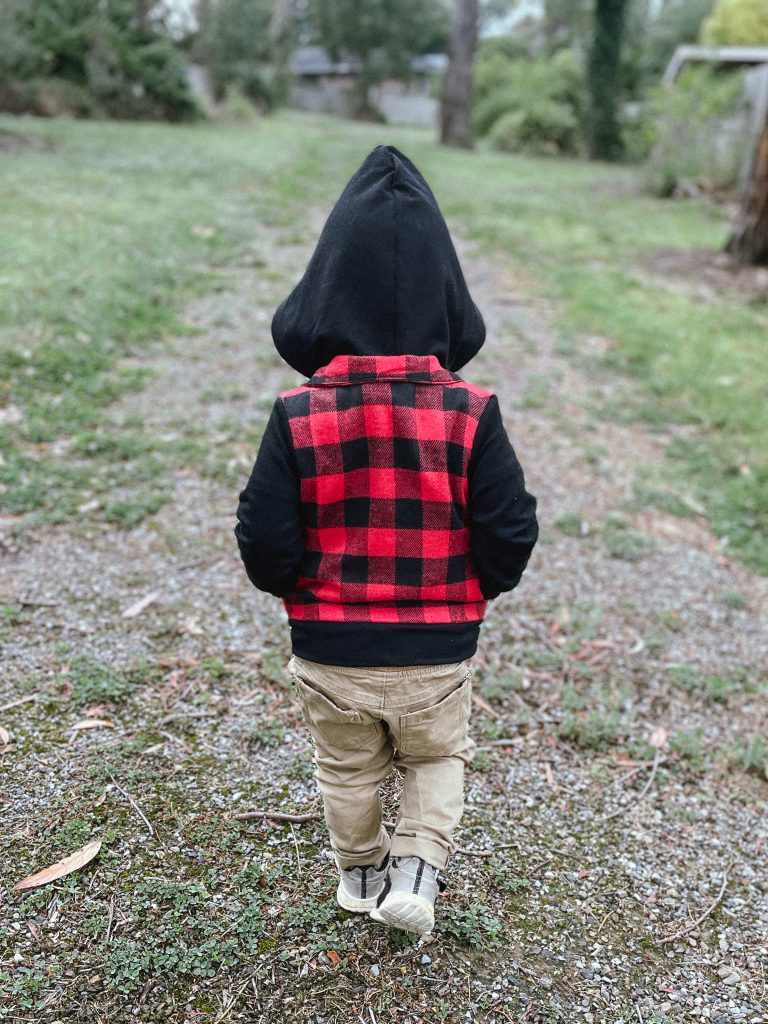
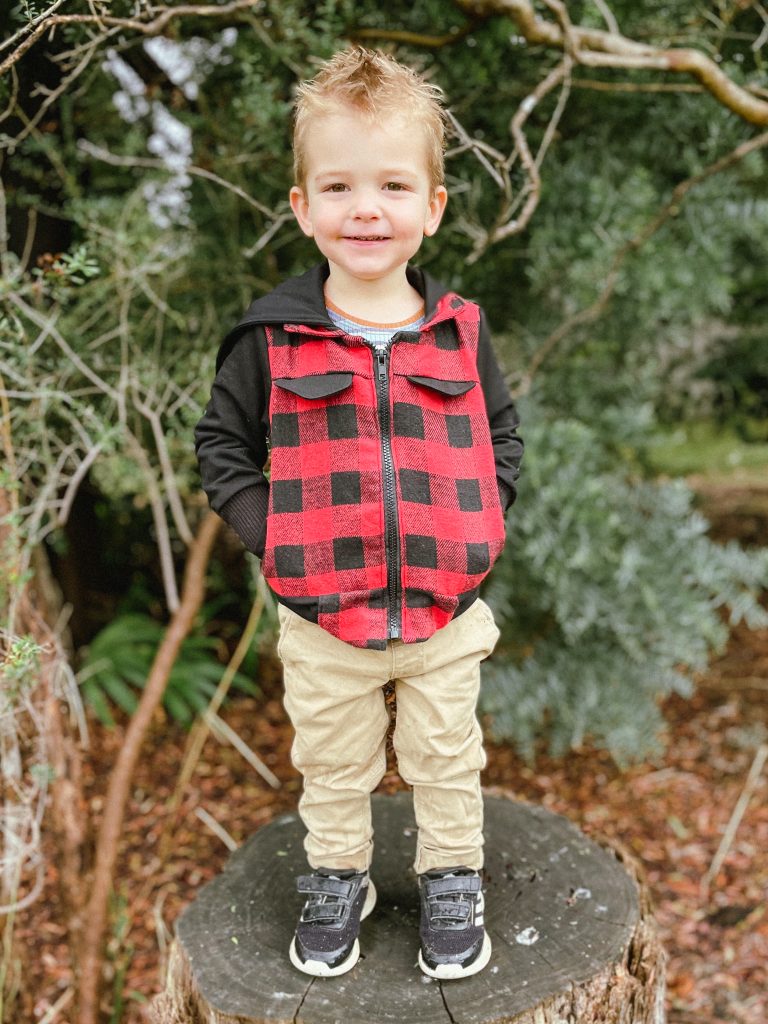
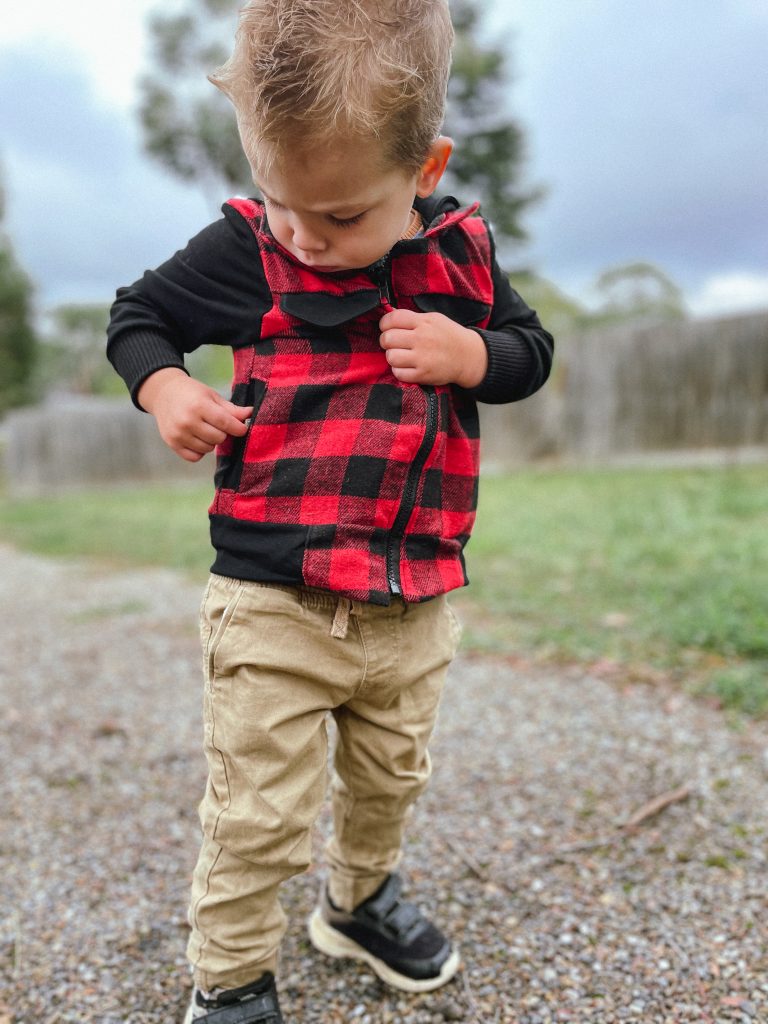
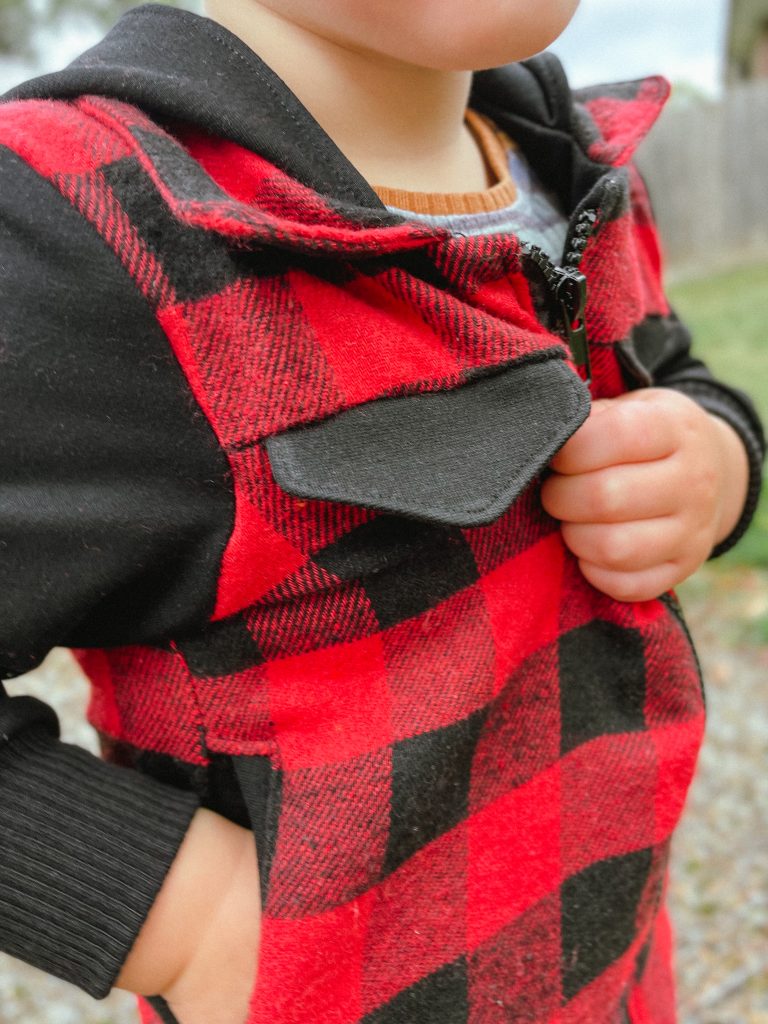
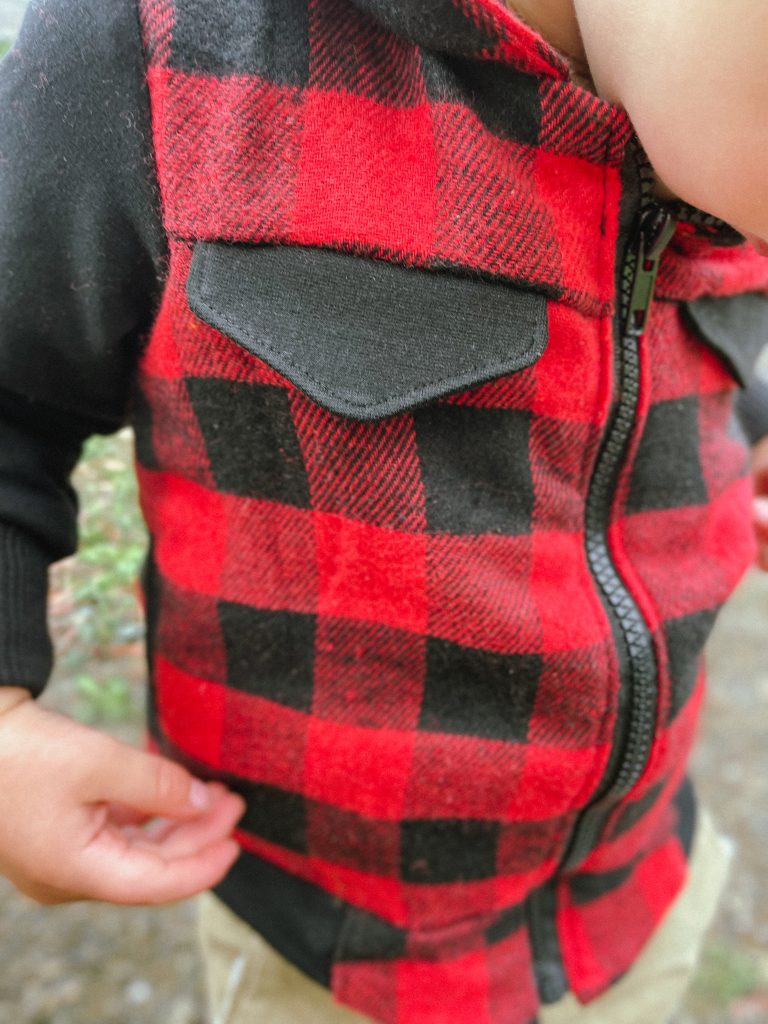
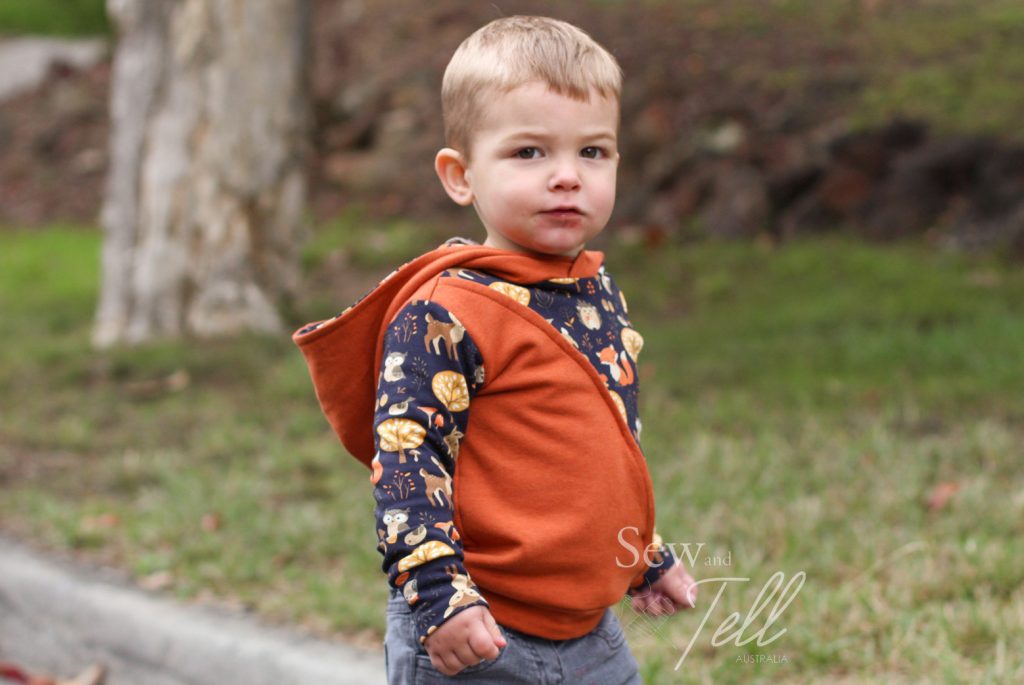
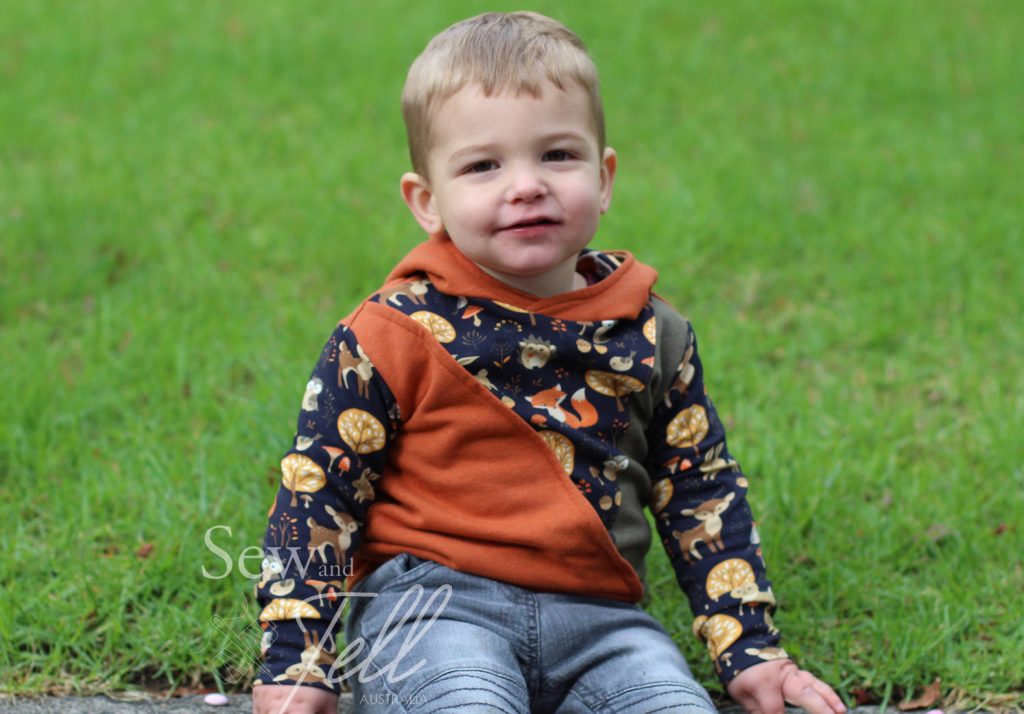
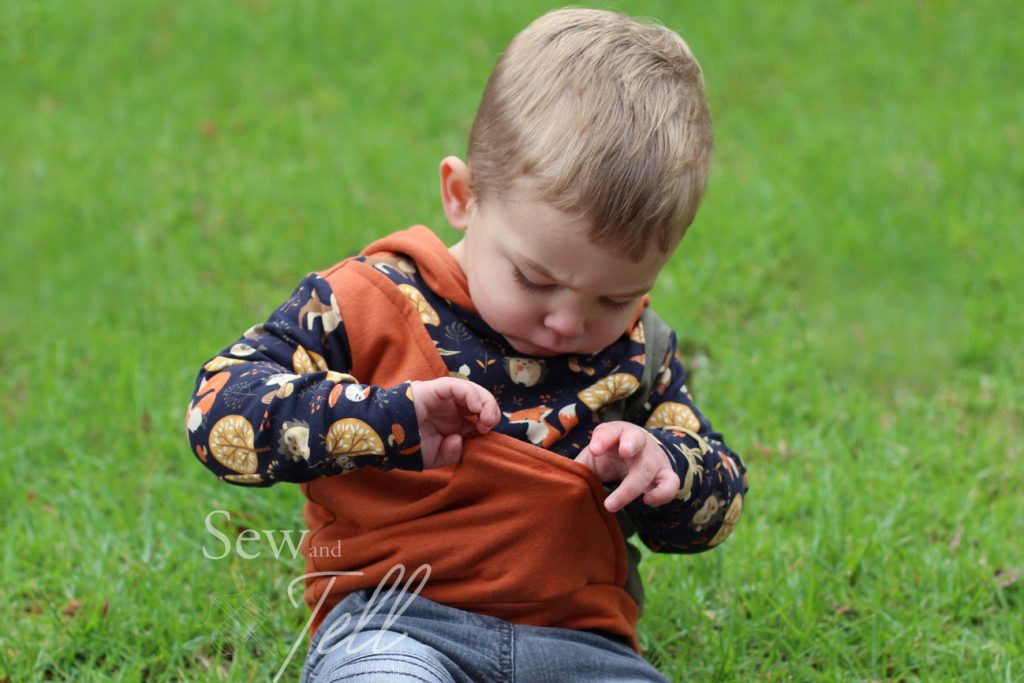
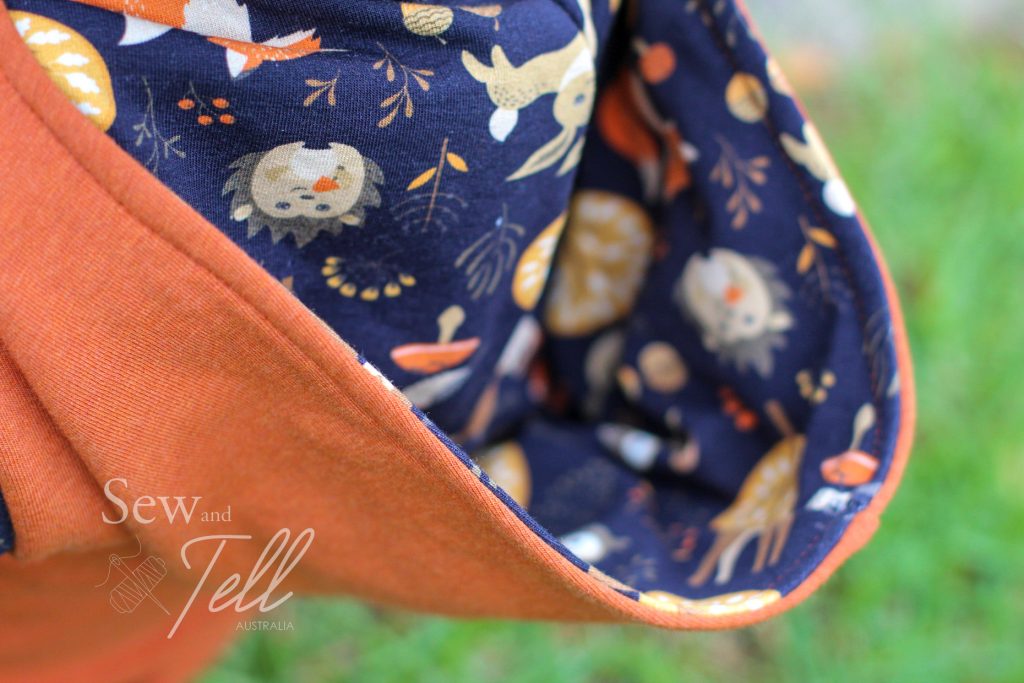
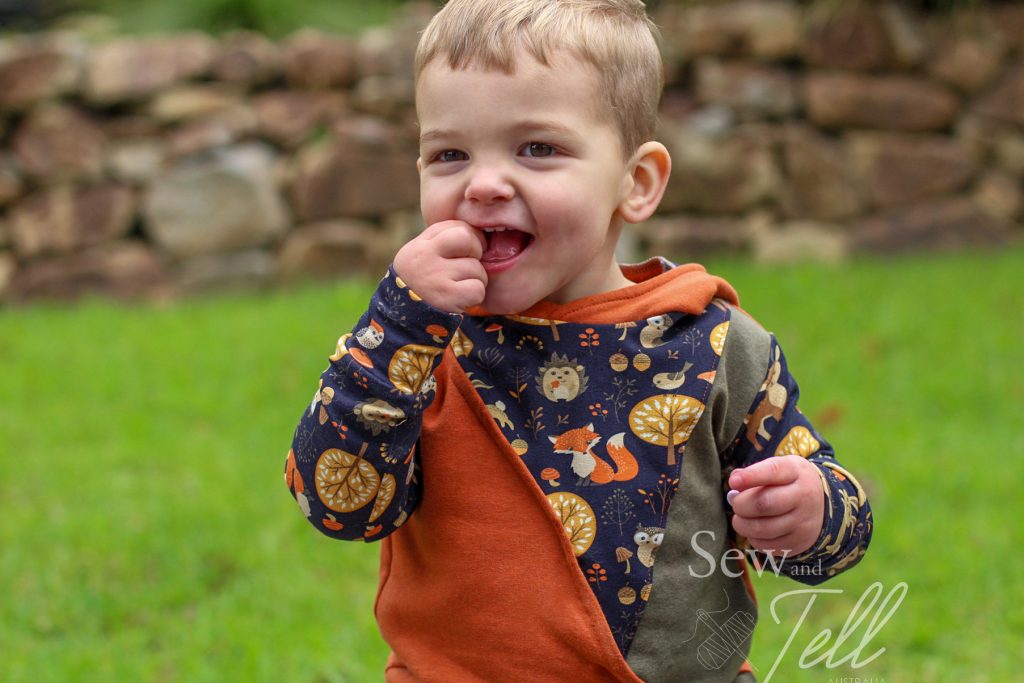
Pattern: Your Way Hoodie
Designer: Ellie & Mac
Fabrics: Wattle Hill Fabrics
Measurements: Chest:21.5″; Waist 20.5″; Hips 21″
Size made: 2T
Adjustments: None
Pros: This is a great jumper for heading into Winter. Colour blocking is always a win for me.
Cons: The neckline was a little small in testing, but it was fixed for the final file.

Links:
The Wrap Up:
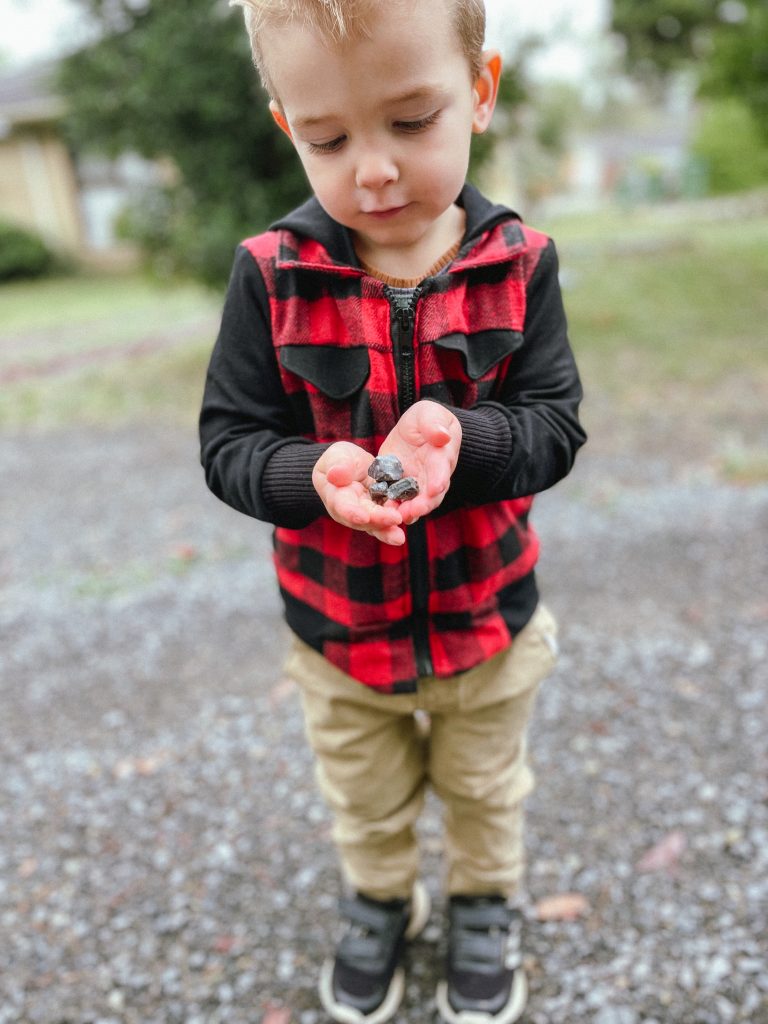
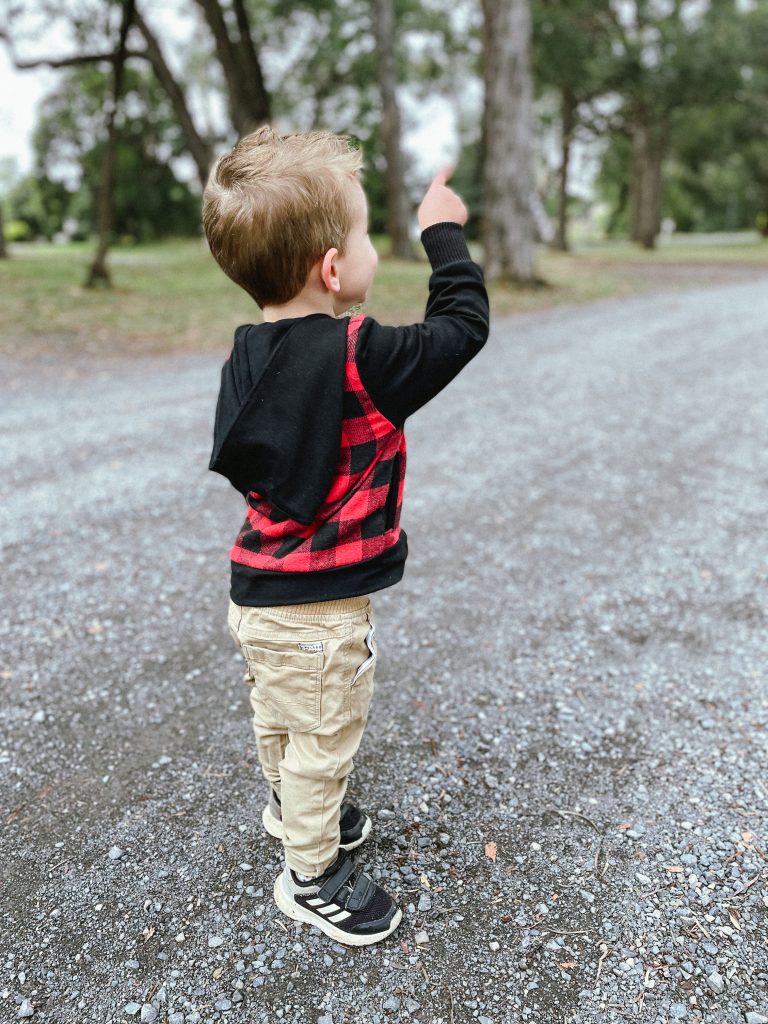
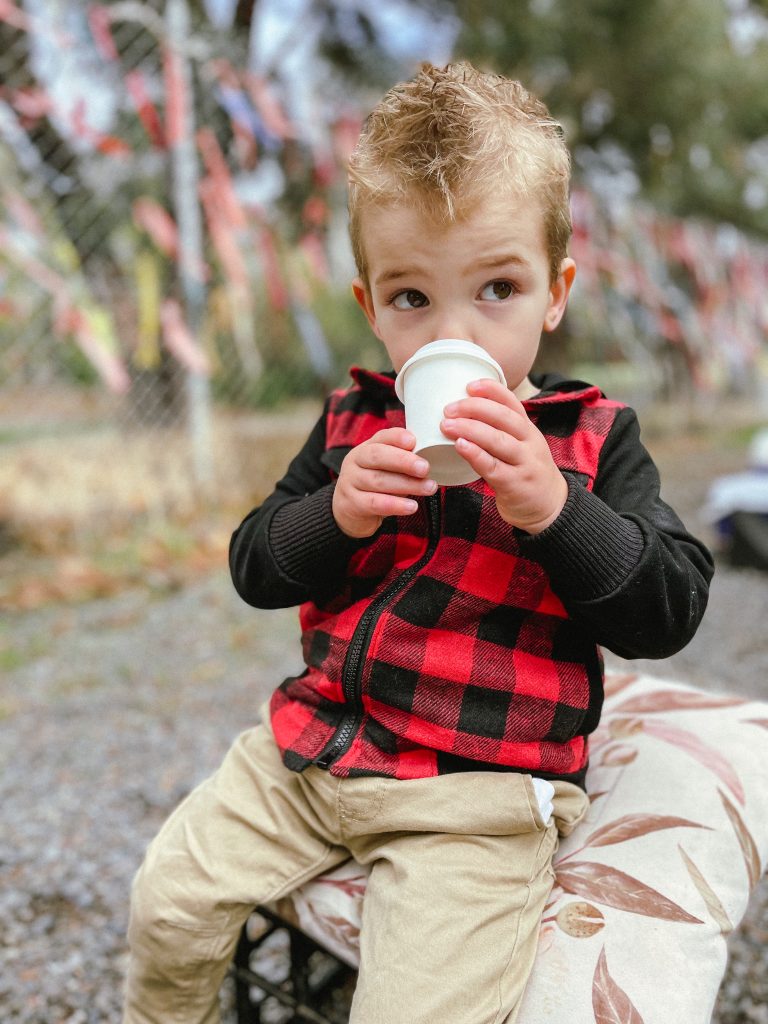
Before I had a boy, I used to think that I wouldn’t be able to dress him up cute and fun like a girl, but I’m pleased to say, I was wrong.
True, it is a different kind of cute and fun, but, especially because I make Ted’s clothes, I have control over the fabrics. I have stocked up the last two years on super cute designs to deck out his wardrobe. The forest friends I used in this test is a personal fave of mine. I bought the same print in Soft Shell last year and I was wrapped when I saw that Wattle Hill Fabrics had it in a French Terry. I was very excited to pull this one out for the finals of this test along with their jogging sweater fleece in these really earthy colours to compliment it.
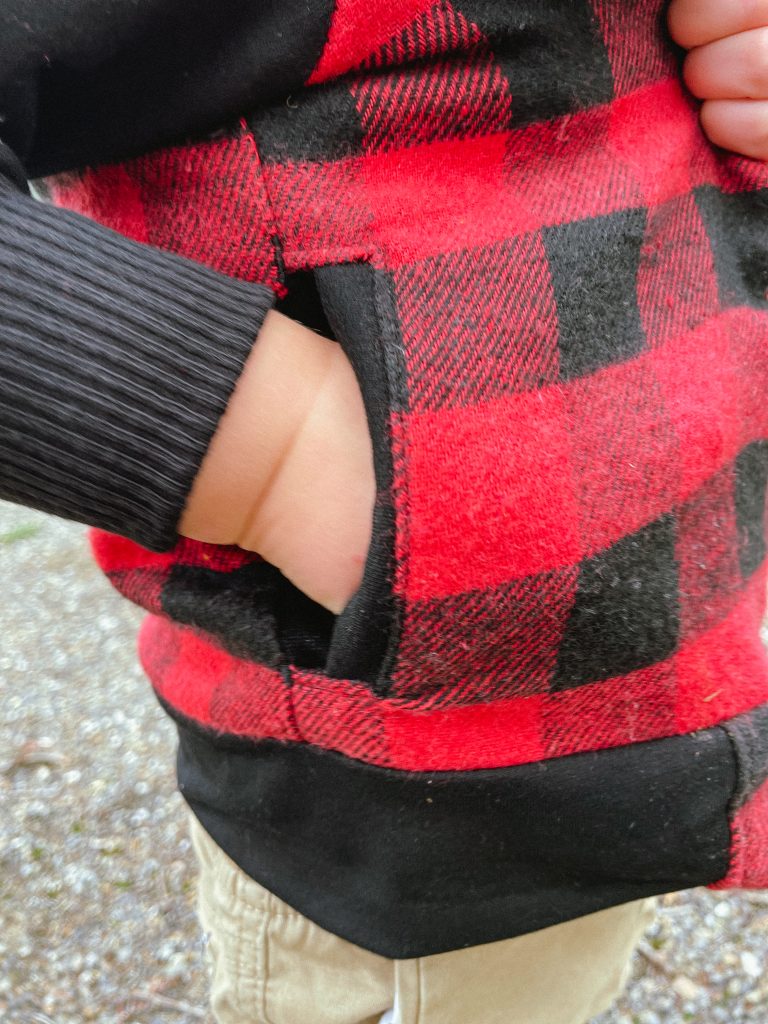
Pretty fabrics aside, this jumper was a super easy make and came together quite quickly. The fun ‘secret’ pocket at the front is a nice touch and perfect for any kid that likes to stash things away. Be it snacks, trucks, dirt… the options are endless! Haha, just don’t forget to check the pocket before you wash it!
I’m also a fan of the dropped shoulders look and hood coming into the colder weather. Very happy with this make indeed!
Gallery:


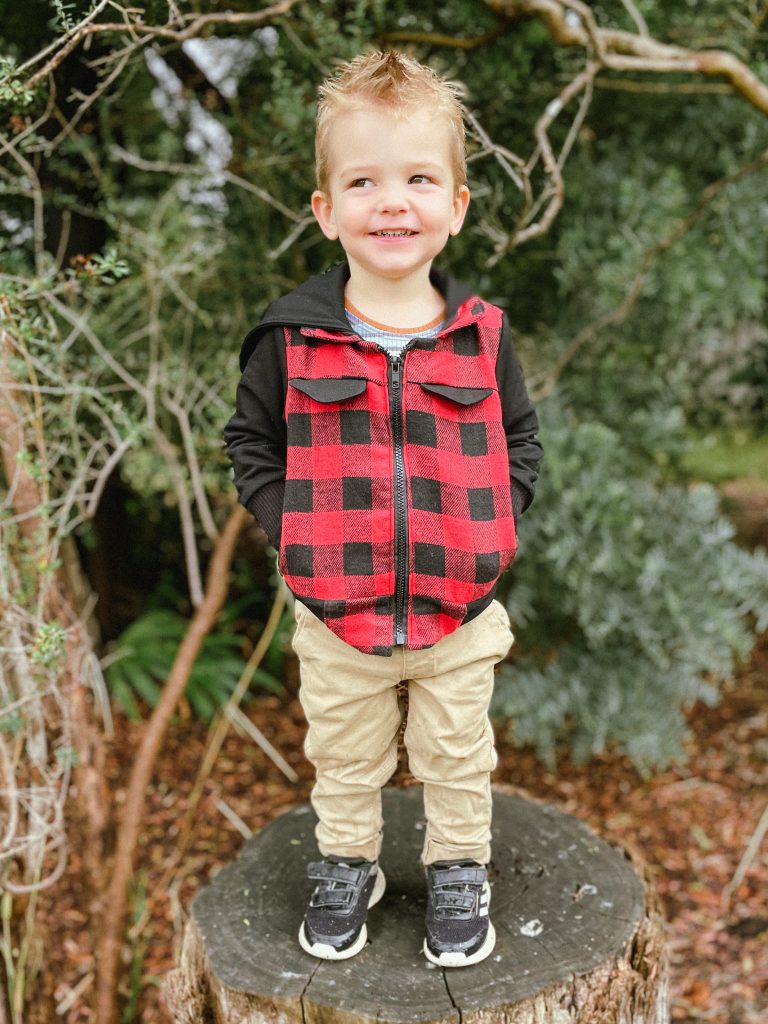
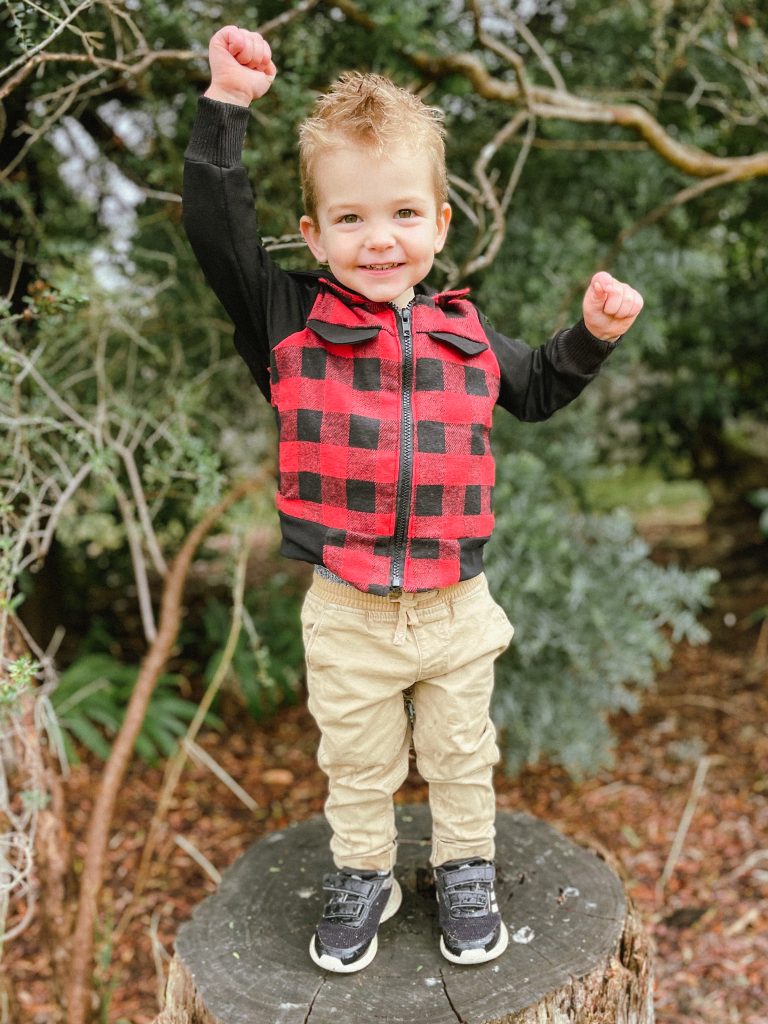
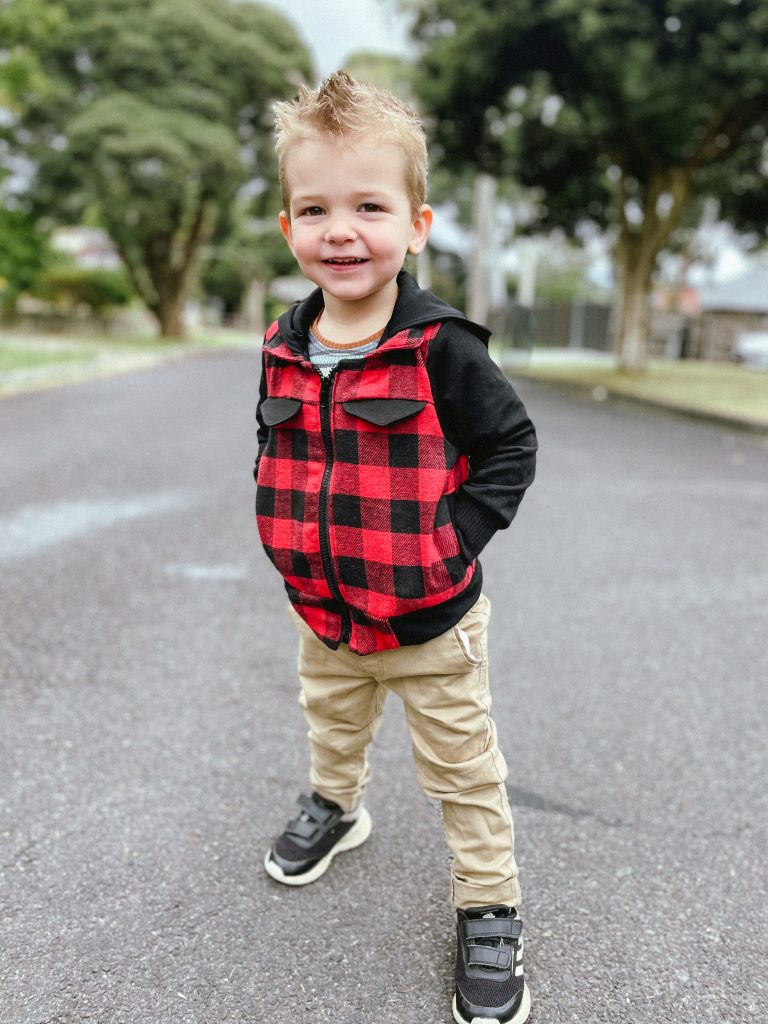
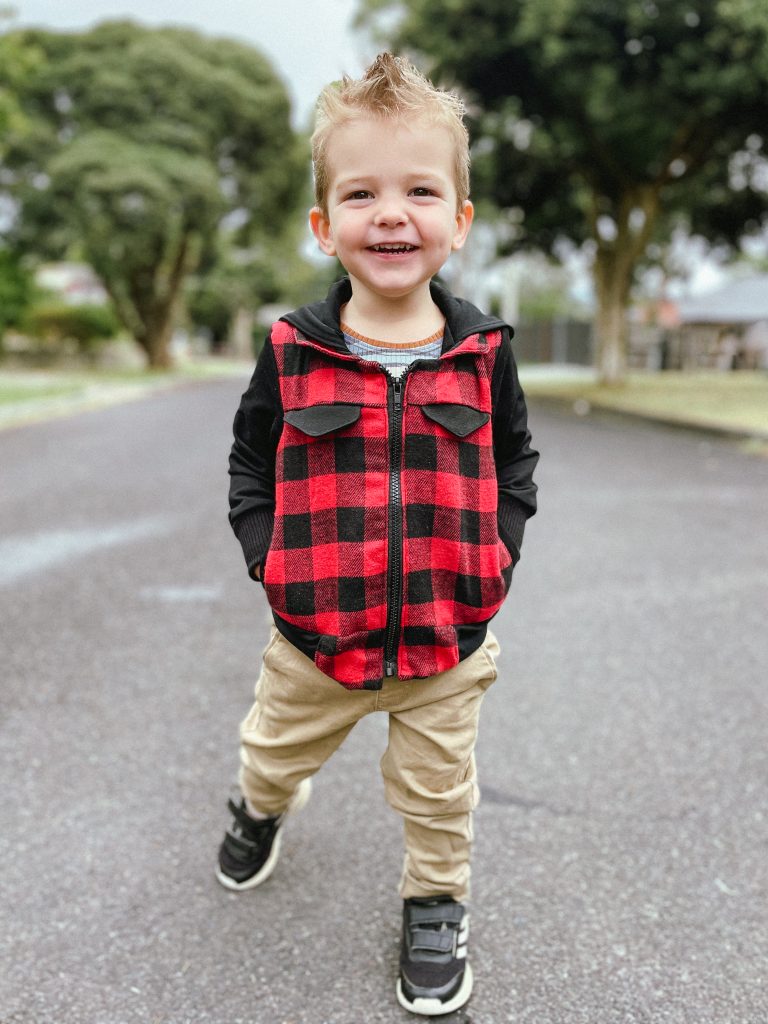
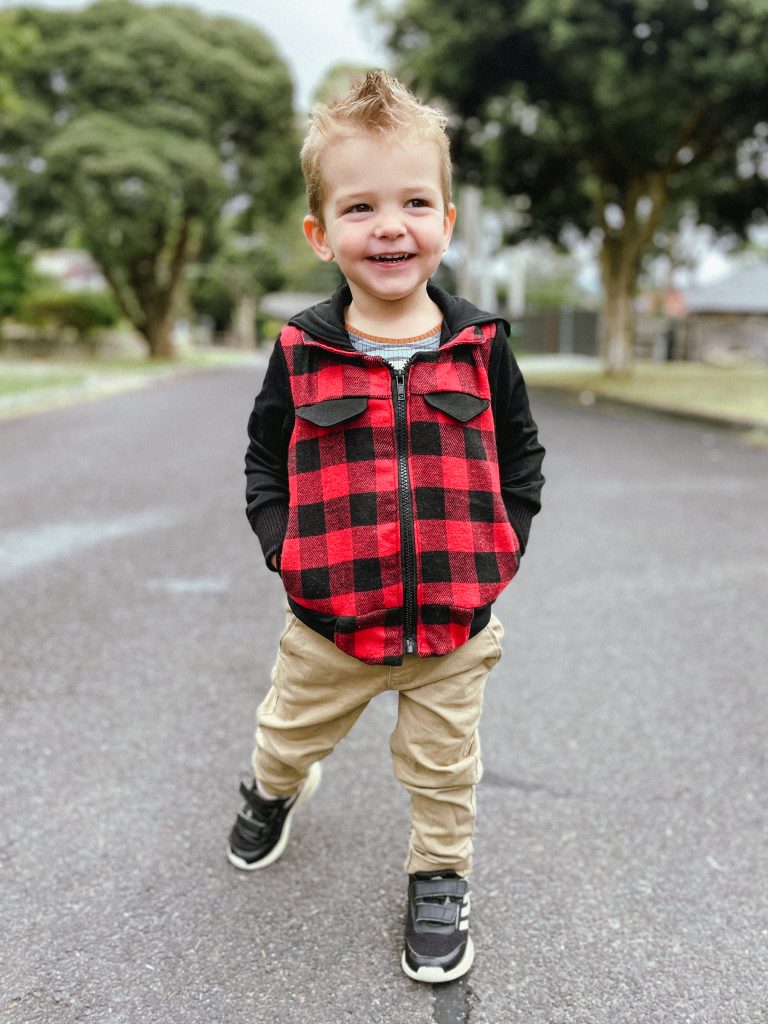
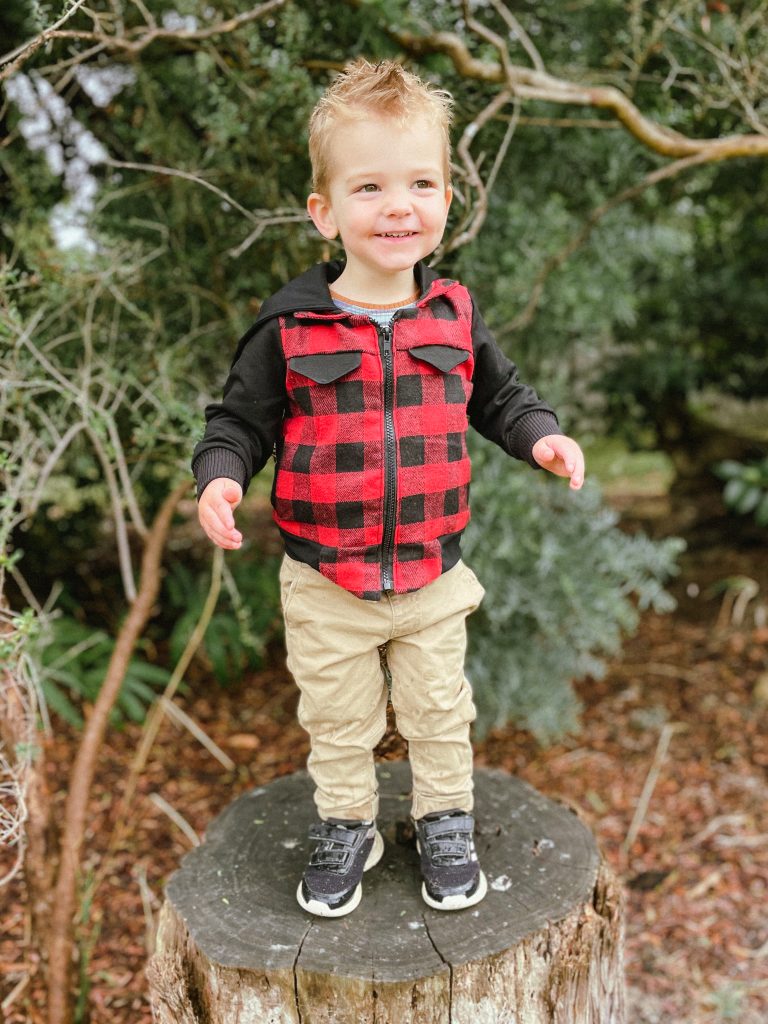
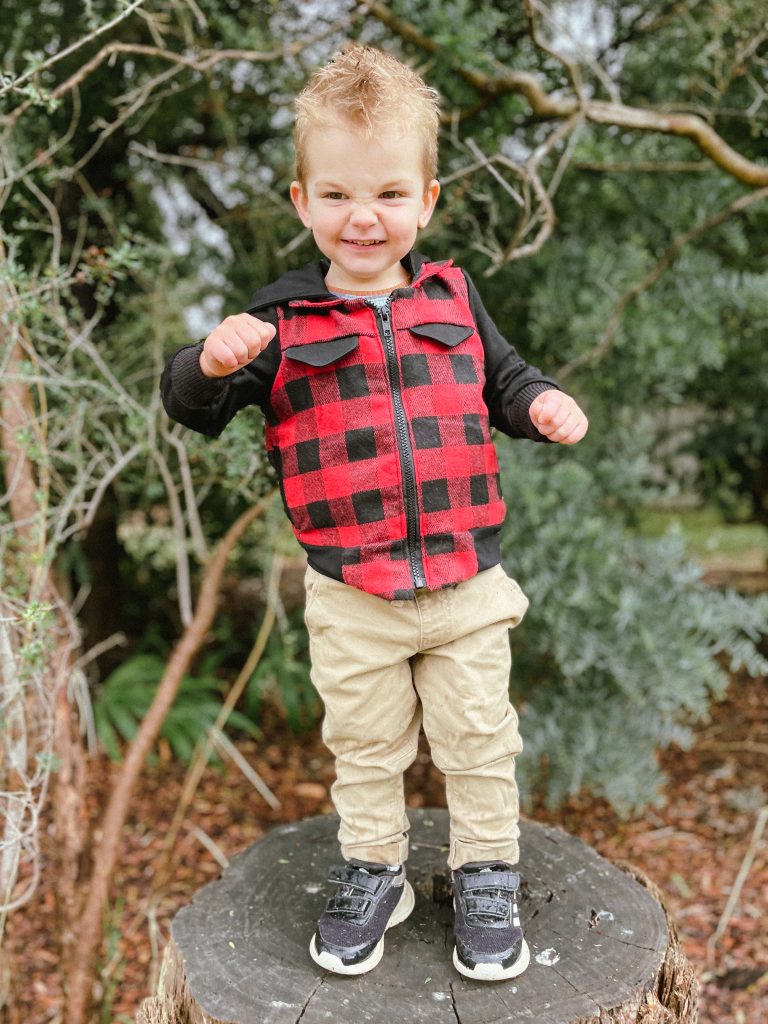
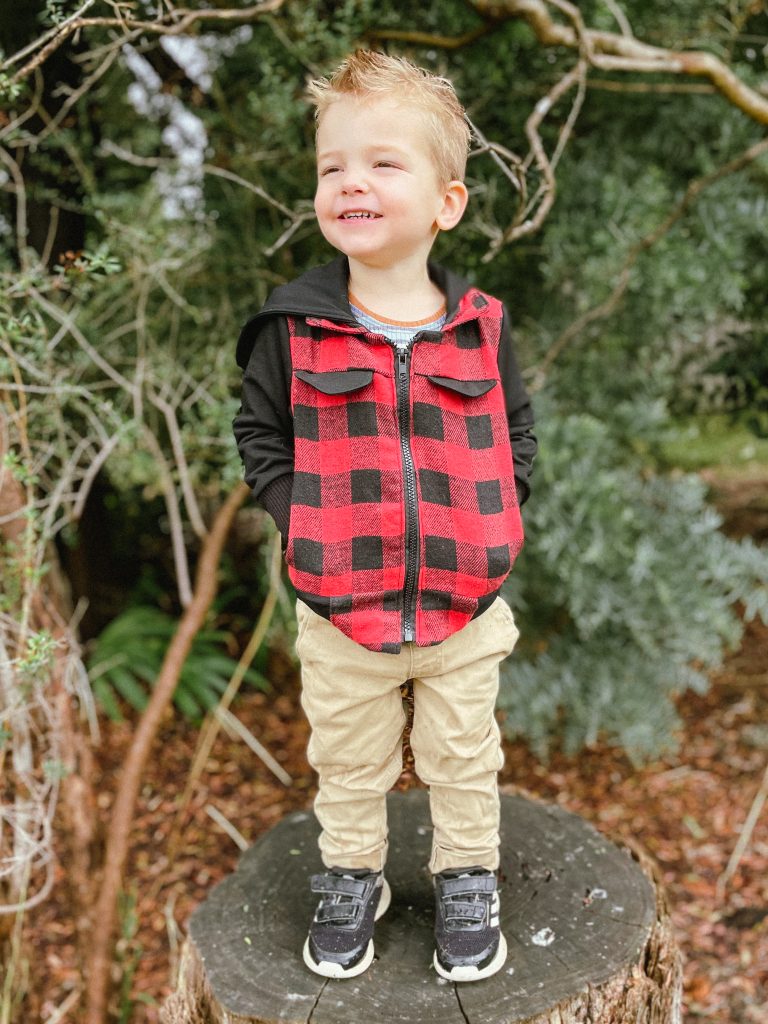
Pattern: Kids Billie Bomber
Designer: Petite Stitchery Co
Fabrics: Sew Unique Fabrics French Terry
Measurements: Chest: 21″; Waist 20.5″; Hips 21″
Size made: 2T
Adjustments: None
Pros: Is fully lined and has the option of either snap enclosure or Zip
Cons: Being fully lined it is quite labour intensive, but so worth it.


Links:
The Wrap Up:
I have had this jacket in my head for AGES! So when I had this strike fabric to sew, it was the perfect opportunity to help it come to life. I chose the Billie Bomber as I liked the size range it came in with the option of the baby bomber as well as the kids version.
I love the ‘varsity’ type look and I thought it would be just the cutest on Ted, so I looked for a varsity font online (which I’ve linked above), measured the area I wanted it to go and then typed out the letter and projected it onto my panel piece to see if it was a good size. From there I traced it onto a piece of paper so I could use it as a template to cut out my white cuddle fleece and main fabric letter. Final stage was sewing each layer onto the panel in a normal straight stitch and voilá! Perfect!!

After I had done that I followed the rest of the instructions as per normal to make up the jacket. This was my first time doing a proper lined bomber style jacket and while it wasn’t overly hard, it was time consuming and I had to concentrate a lot on what I was doing. Especially as this is designed to be a fully reversible jacket, so there are extra steps to ensure all seams are enclosed and neat. I am pleased with the final result and glad to have added to my skill set. Plus I have a super spunky almost 2yo ready to rock this winter. Stop growing so fast baby boy!
Gallery:


Pattern: Kids Raglan Top
Designer: Ellie & Mac
Fabrics: Accent Fabric – Wattle Hill Fabrics
Measurements: Chest: 21″
Size made: 2T
Adjustments: None
Pros: Raglan style on kids look so trendy & a great unisex tee option. They are also so simple in construction.
Cons: None

Links:
The Wrap Up:
As the weather turns colder in Melbourne, I’ve started having to pull out the long sleeve tops. I was a little shocked to realise all the long sleeve tops I have for Mr T are 2 sizes too small. Whoops. Lucky he has a mum who can sew him up some winter ready gear in no time!
The Ellie and Mac kids raglan tee just happened to be on their weekly sale, which made it a great opportunity to grab it cheap and have it in my kids pattern stash. The fact it is unisex and can easily switch between the kids depending on your fabric choice just made it that much easier to decide to buy it.
I’d had the tan cotton lycra in my stash for a while. I loved the funky look of it the first time i saw it while browsing Wattle Hill Fabrics and thought it would pair really well with a plain black. I think the combo is just right.
One of the things I love about raglan style sleeves is that they are so easy to put together. As they form part of the neckline, there is no easing the sleeve into the arm hole which I think helps simplify the whole process.
So if you want an easy tee pattern for your stash, the kids raglan is a great choice.
Gallery:


