Sew Unique Fabrics

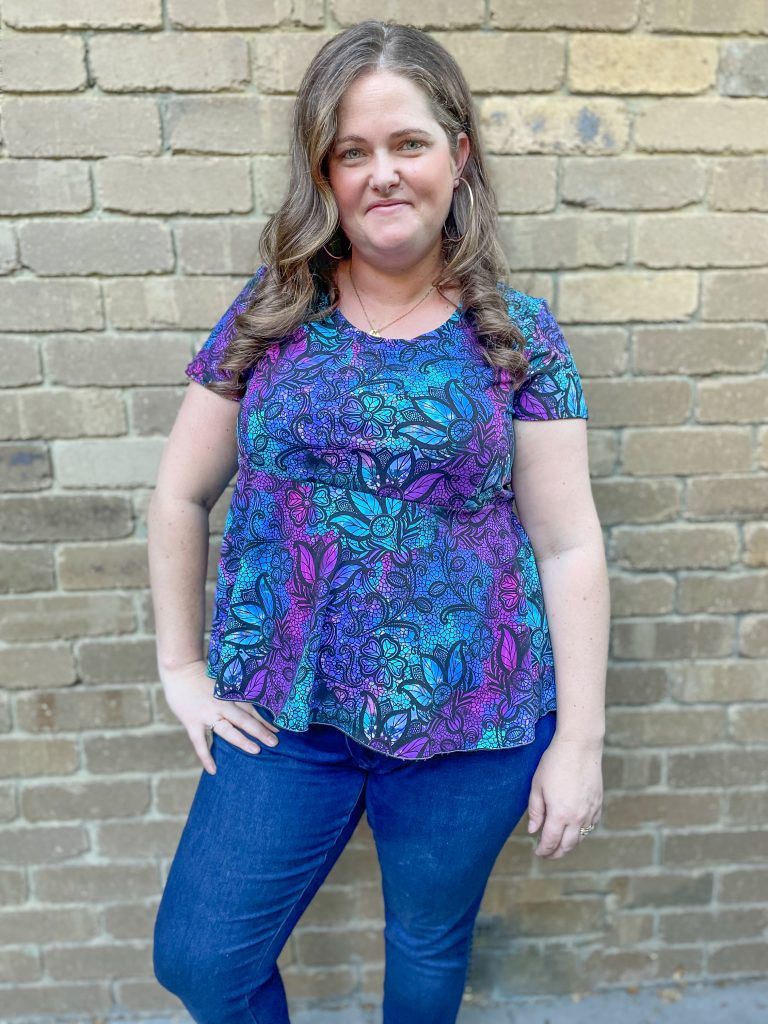
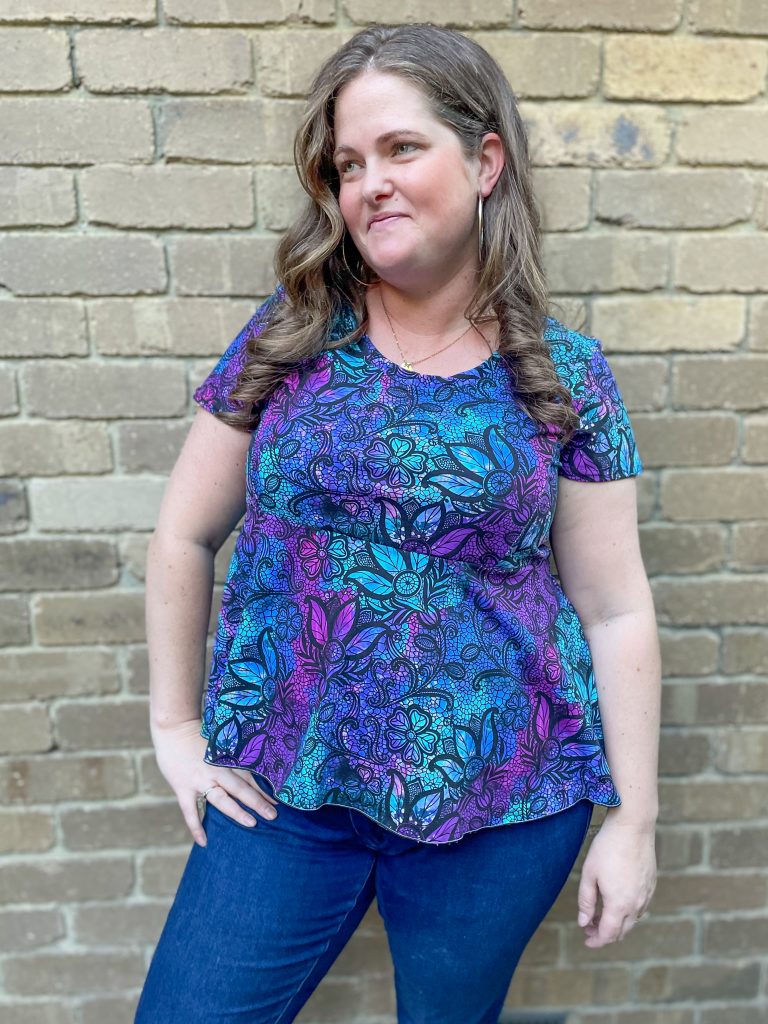
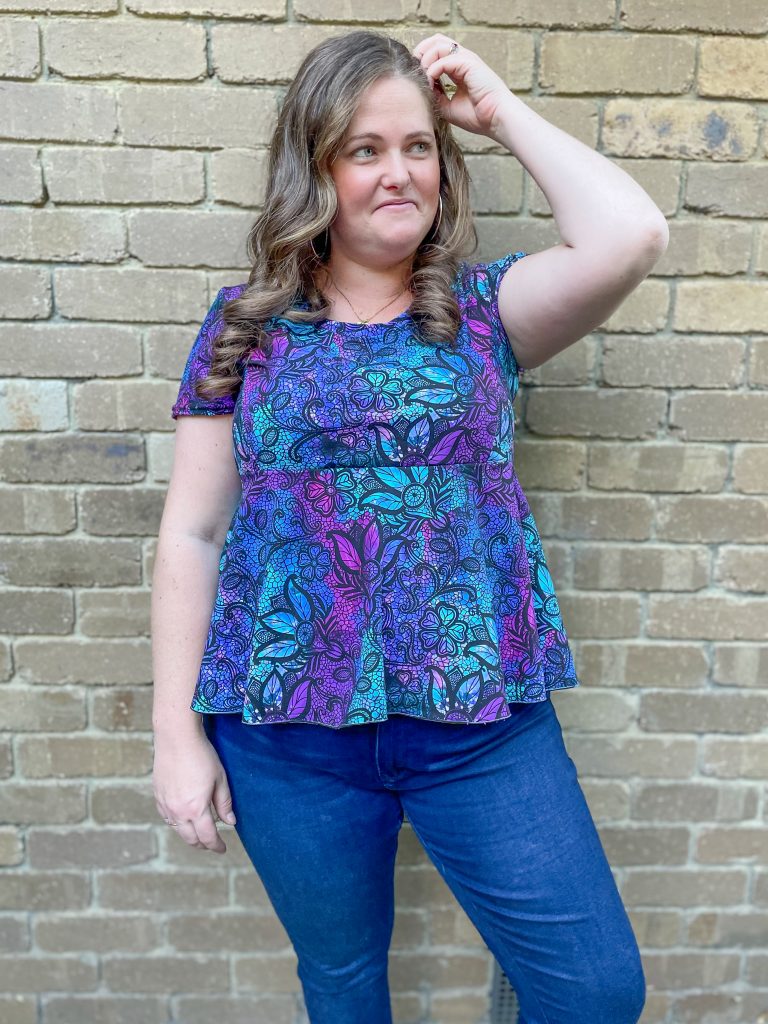
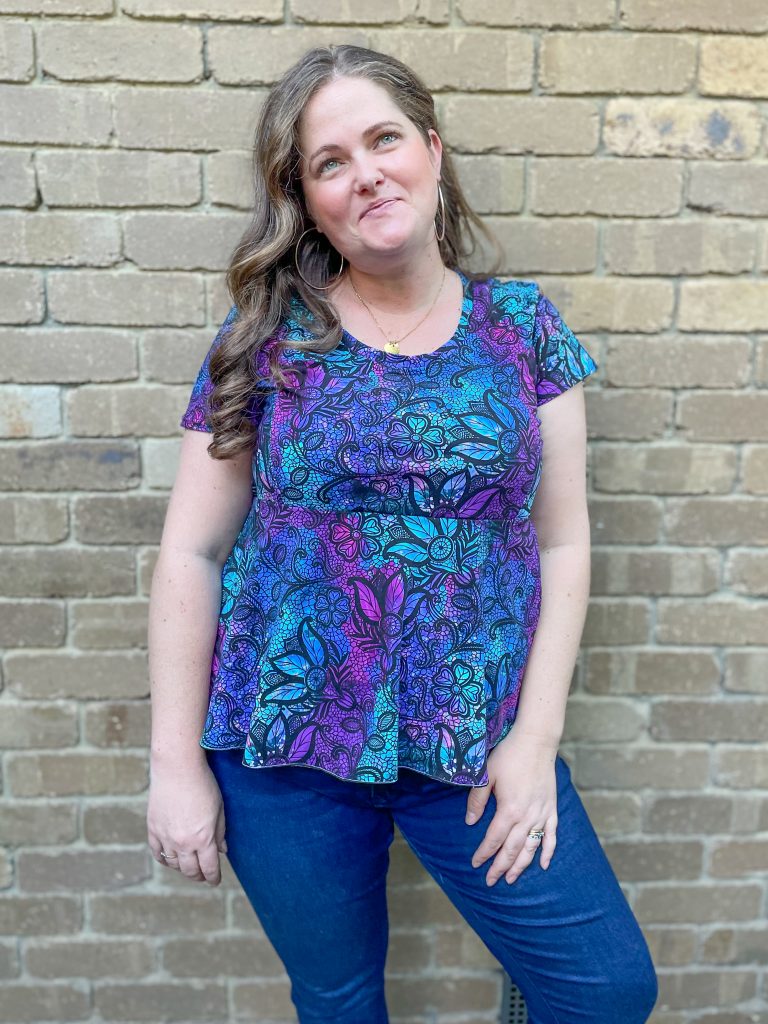
  • Pattern Review of the Margot Peplum
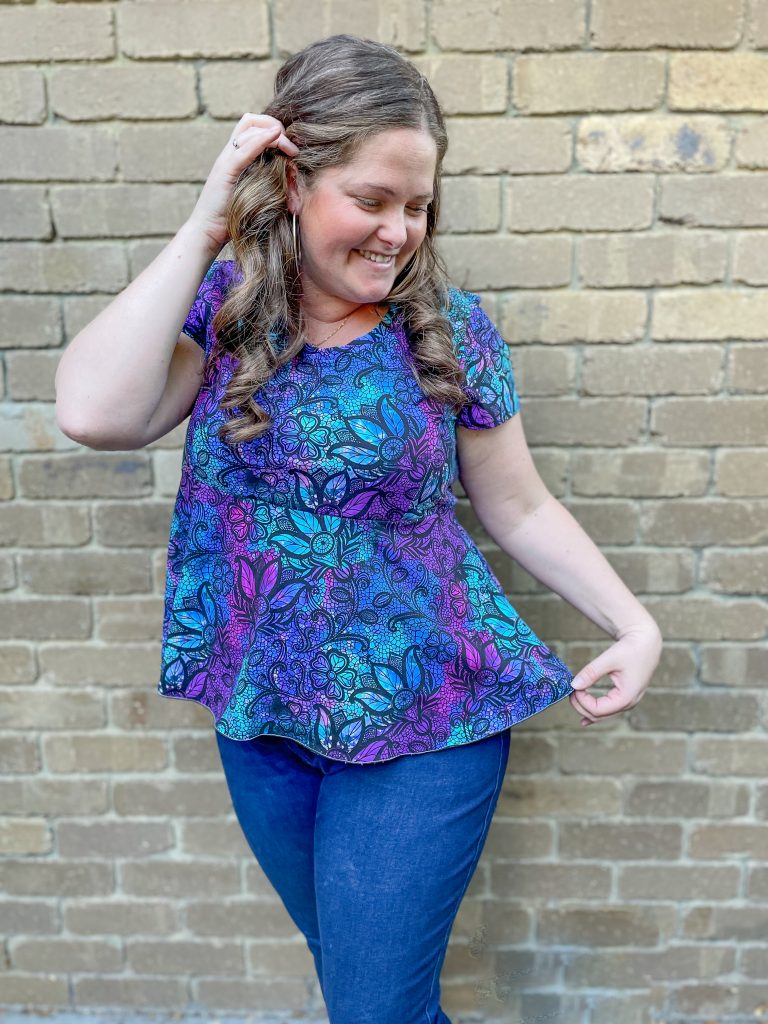
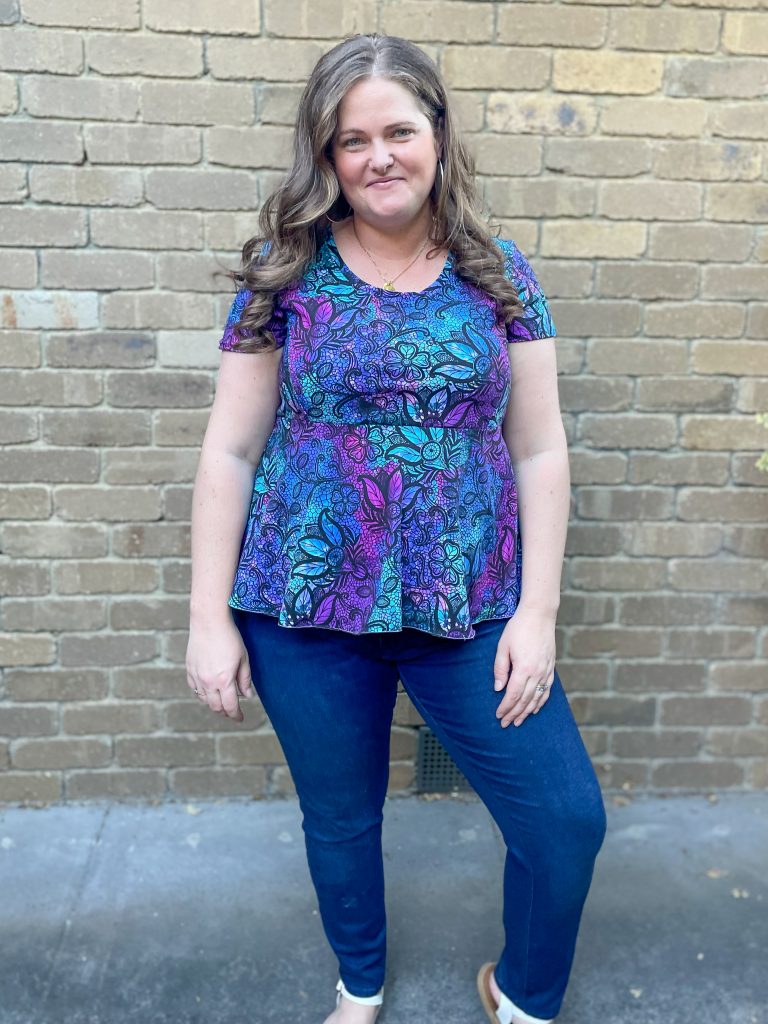
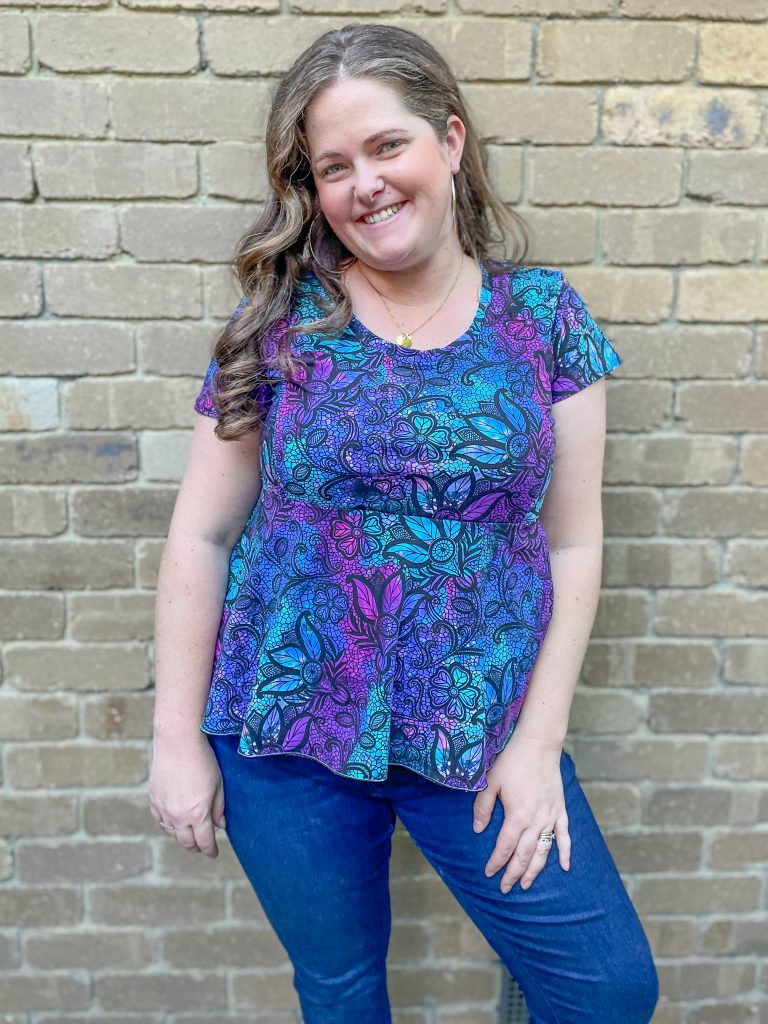
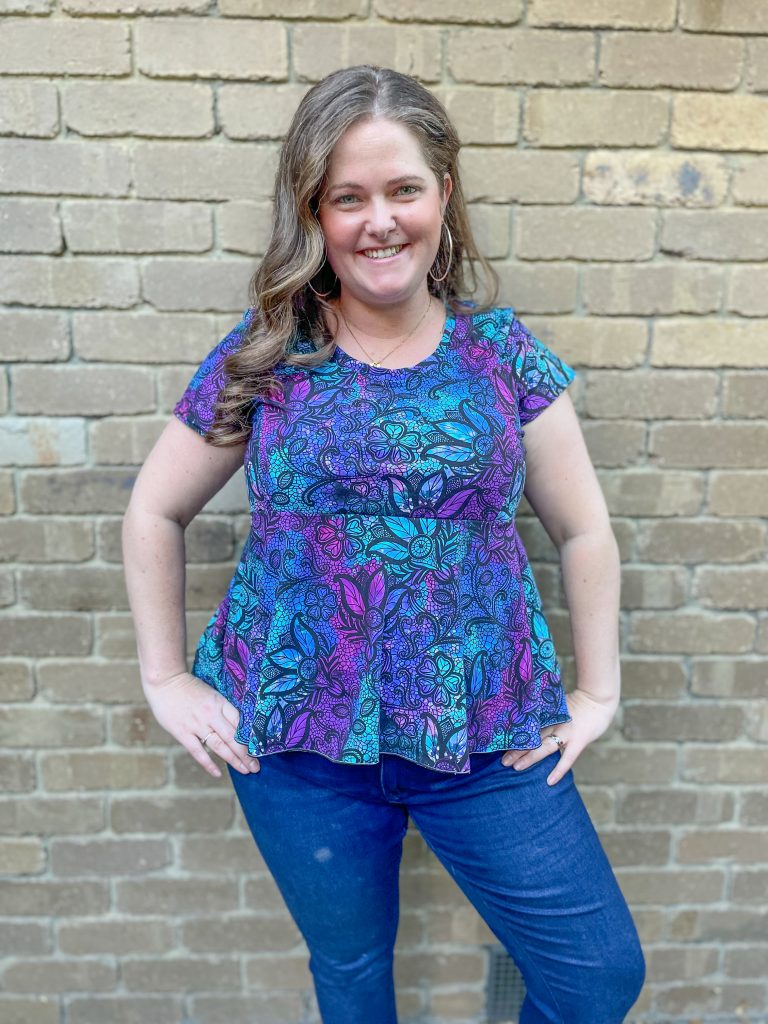
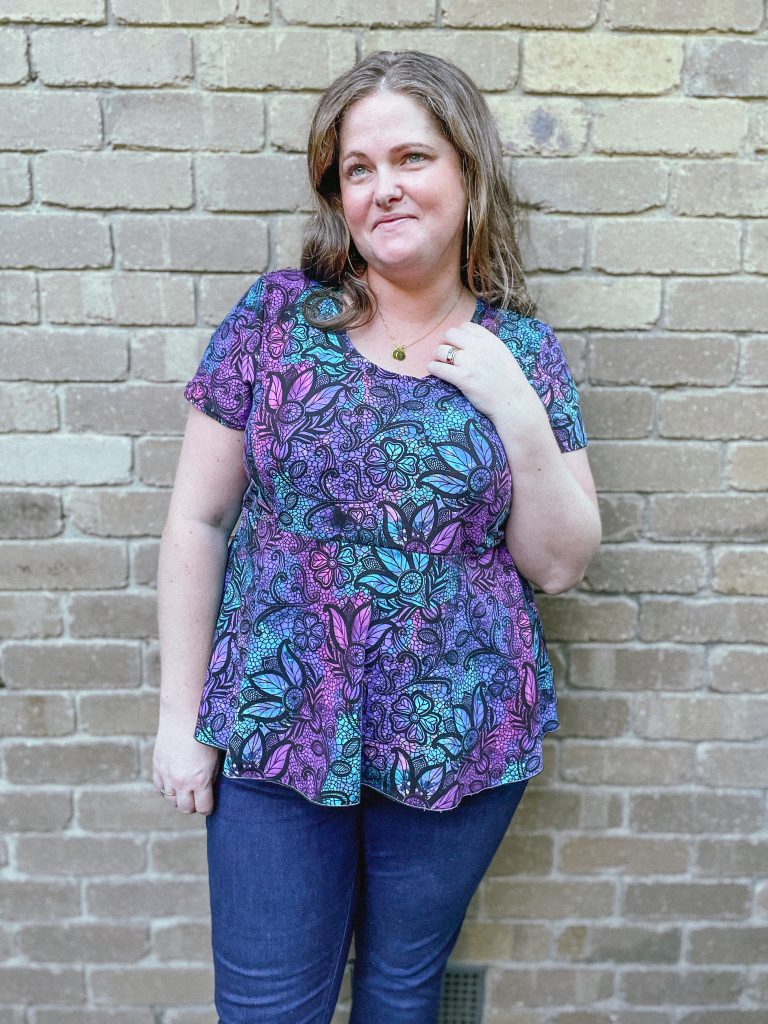
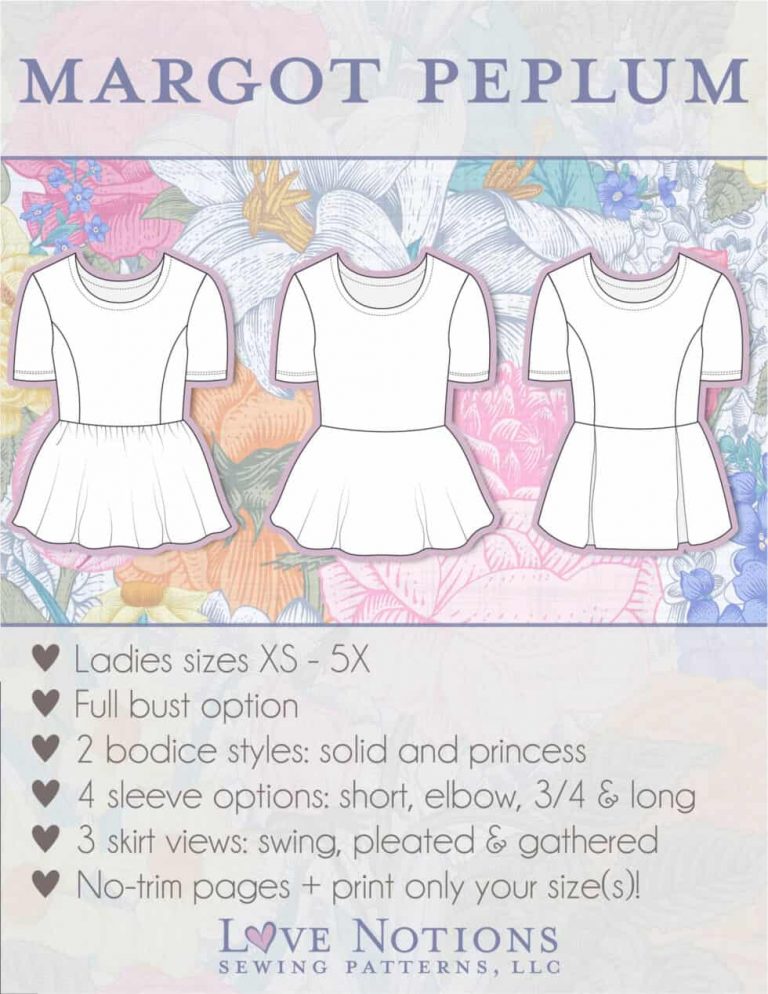
    Pattern: Margot Peplum
    Designer: Love Notions
    Fabrics: Cotton Lycra from Sew Unique Fabrics
    Skill level: Beginner
    Measurements: Chest: 44″; Waist 40″; Hips 47″
    Size made: XL/2XL
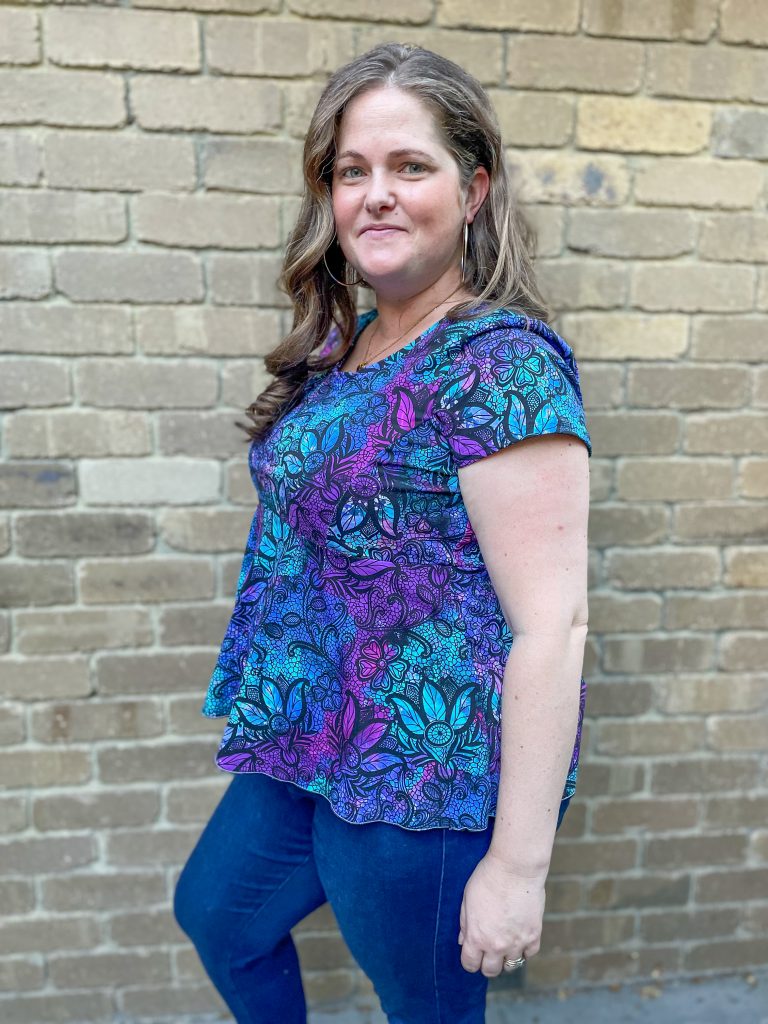
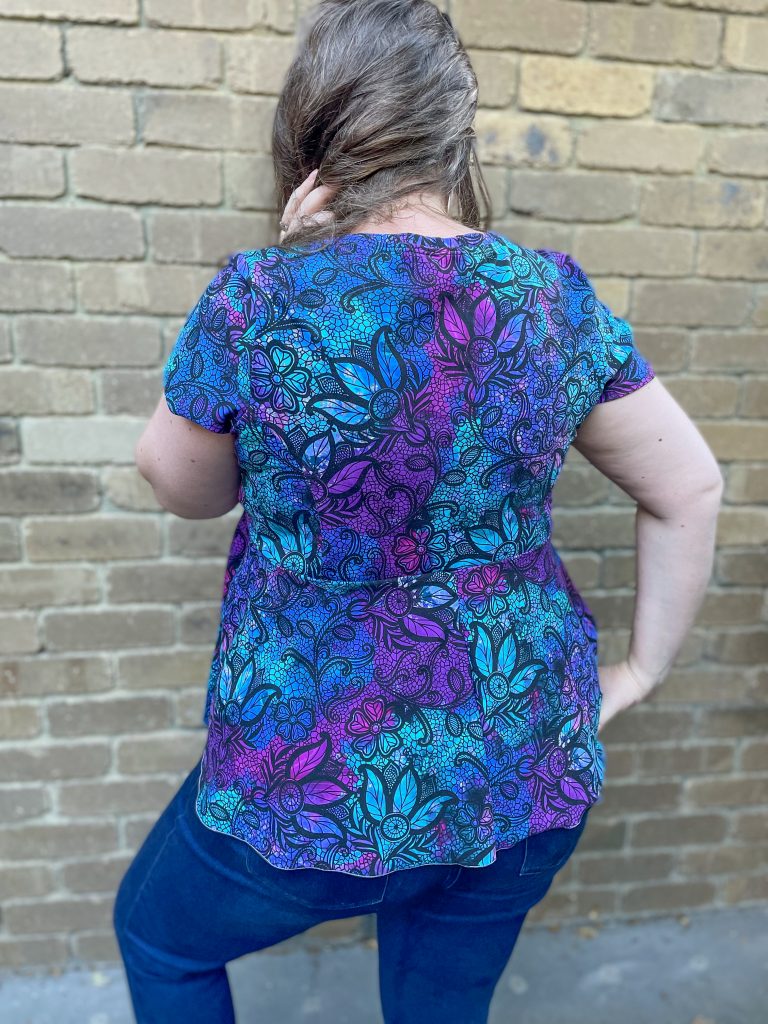
    Adjustments: Grading and shortening bodice to Empire waistline
    Pros: I love princess seams on my shape and the option of skirts is a bonus. Also has full bust adjusted pieces already.
    Cons: Not a fan of it sitting on my natural waist but I shortened to Empire waist. See my YouTube review for instructions.

    The Wrap Up

    I hadn’t made this one before but it’s been on my list to try for a while. 

    I had originally planned to try the pleated skirt but I didn’t have enough fabric so I ended up going for the swing style. I love the result but think I will try the pleated next time, some of the tester photos were so pretty.

    I also shortened the bodice to be more Empire style as I find that suits my shape much better. I am so happy with the final look now and absolutely LOVE how this sits on my body now.

    I made mine from a cotton lycra but I think this would look really nice in a scuba or ponte as well so I would be keen to try that next time as well.

    Love Notions is one of my fave for pre done full bust adjusted pieces as well. It makes it so much easier for bigger busted women to be able to just use the already adjusted pieces. 

    Excited to be wearing this one around!

    PS. use code sewandtellau10 for an EXTRA 10% off at the checkout.

    Video Review

    Watch my detailed review of the Margot Peplum on YouTube. Includes bonus tutorial on how to shorten a Natural Waistline to an Empire Waistline.

    What next?

    Stop wasting fabric and time on projects that don't fit right. 

    Learn to sew with confidence and let me guide you to more sewing success.
  • Pattern Review of the Calypso Colour Block Top & Hoodie

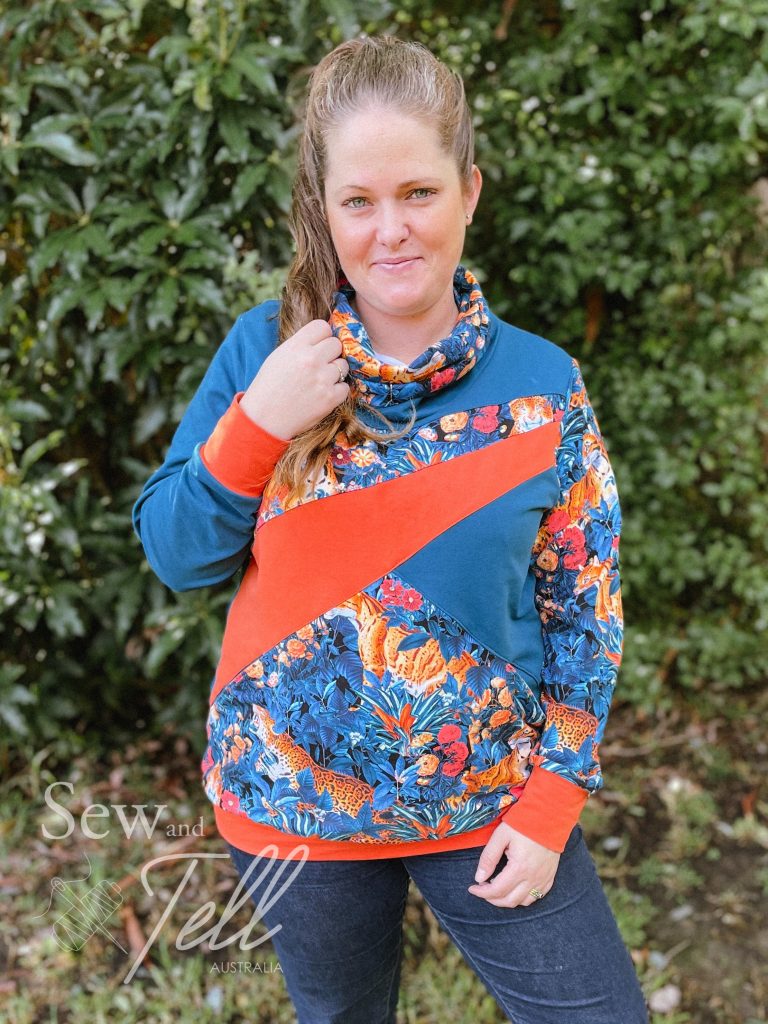
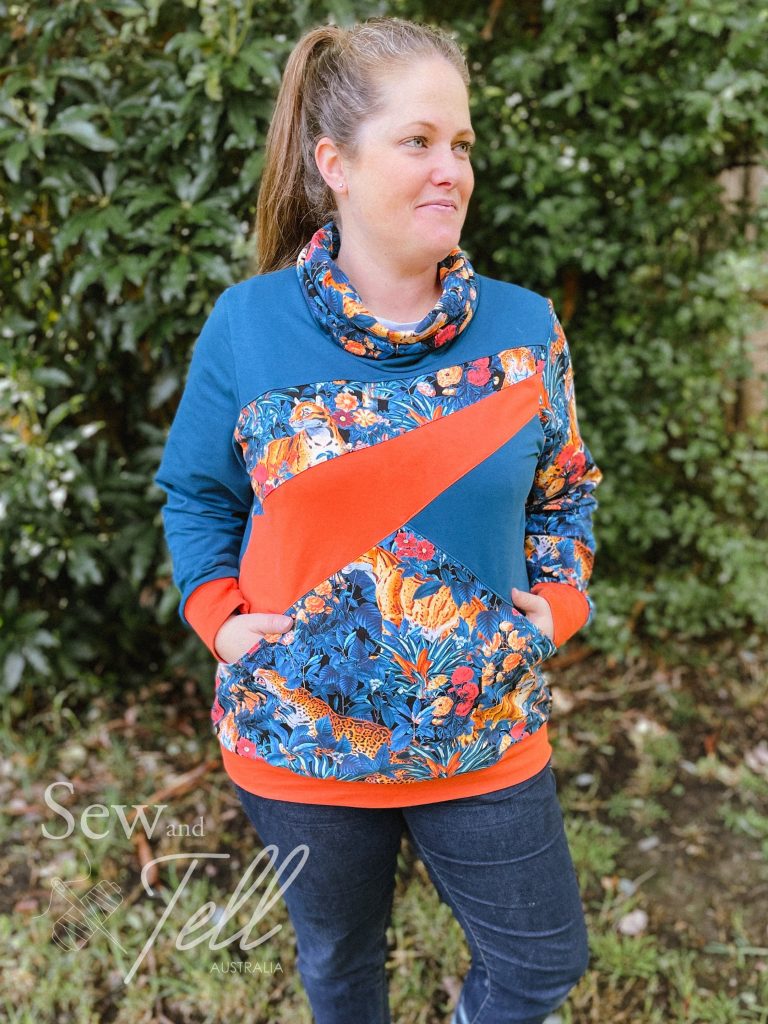
    Pattern: Calypso Colour Block Top & Hoodie
    Designer: Sinclair Patterns
    Fabrics: Floral Cheetahs, Deep Teal & Rust French Terry from Sew Unique Fabrics
    Measurements: Chest: 44″; Waist 39″; Hips 48″
    Size made: US 22
    Adjustments: None
    Pros: It’s no secret I love colour blocking and this one is now a firm fave. Perfect to show off coordinating colours
    Cons: The front pockets required a bit of concentration but came out beautiful

    Links:

    The Wrap Up:

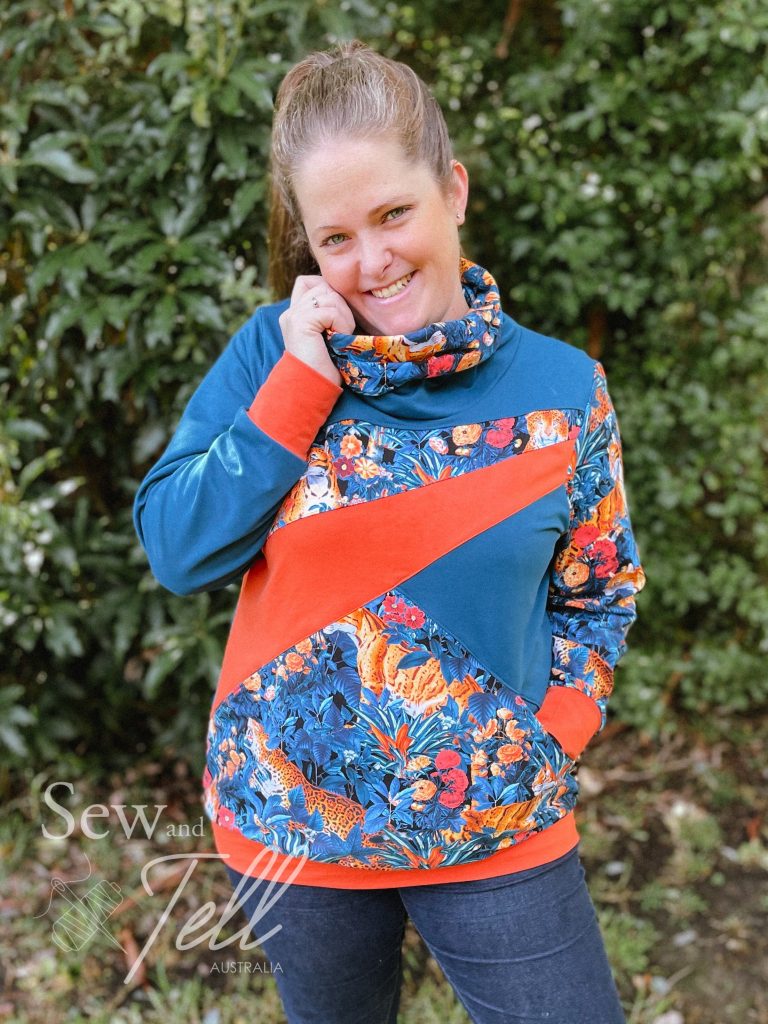
    I can not love this sew enough. The colour matching with the deep teal, rust and funky floral cheetah print as just so 🎉. Using a projector also meant I was able to get some pretty awesome pattern placement on all my pieces. Another tick for projector sewing! If you’re curious, my blog about it is here: Projector Sewing Blog

    Sinclair patterns have some really beautiful patterns and this was no exception. I do sometimes find the construction of their patterns a little strange, but it always comes out so nicely, so I just have to trust the process sometimes! haha. The front pocket on this one is one example, I was a little skeptical how it would come together, but the way it blends into the front so seamlessly is gorgeous. I’m already planning more. There is never enough time to sew all the beautiful things!

    I am also a huge fan of the cowl neck look. I love that its so warm and snuggly without the bulk of a hood. Hoods also are deceptively fabric hungry whereas cowl necks take much less fabric but still have a great look and are warm, especially with these Melbourne winter days!

    This is a perfect pattern if you have limited accent fabric as its great to splice in with solids. I definitely encourage you to give it a go.

    Gallery:

  • Pattern Review of the Adele Boatneck

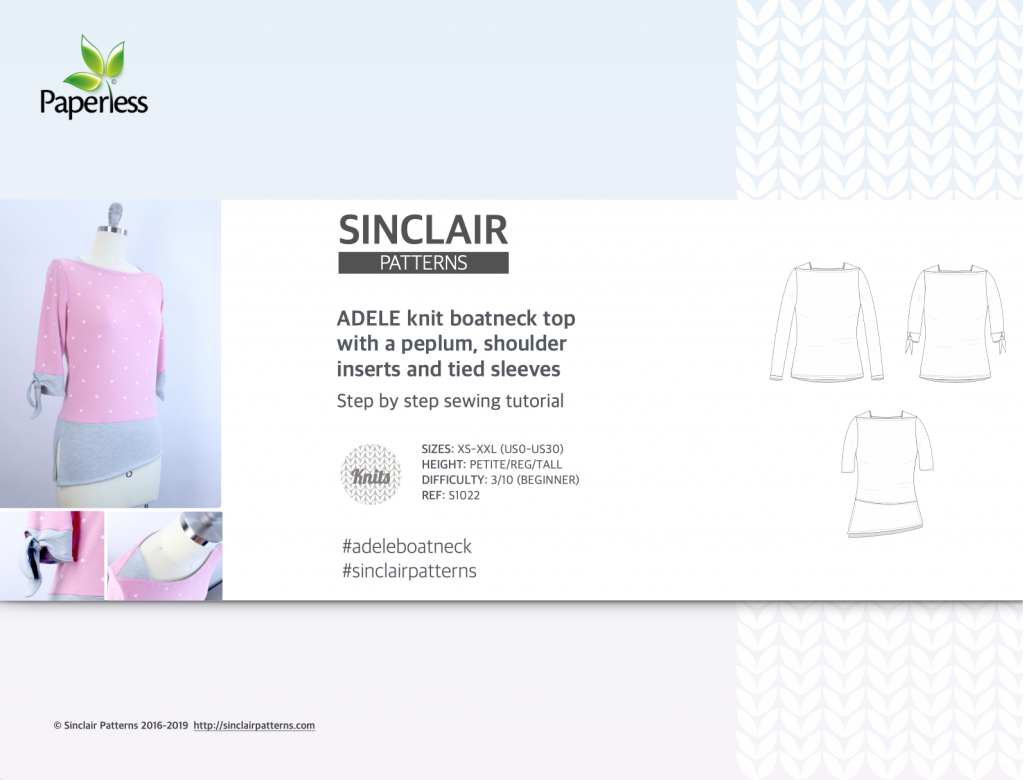
    Pattern: Adele Boatneck
    Designer: Sinclair Patterns
    Fabrics: Sew Unique Fabrics
    Measurements: Bust: 44″; Waist 39″; Hips 48″
    Size made: US18
    Adjustments: None
    Pros: I really love the details on this one, it’s a fun pattern to make
    Cons: No real cons, I just wish I had sized out at my hips as its a bit tight over my tum and bum.

    Links:

    The Wrap Up:

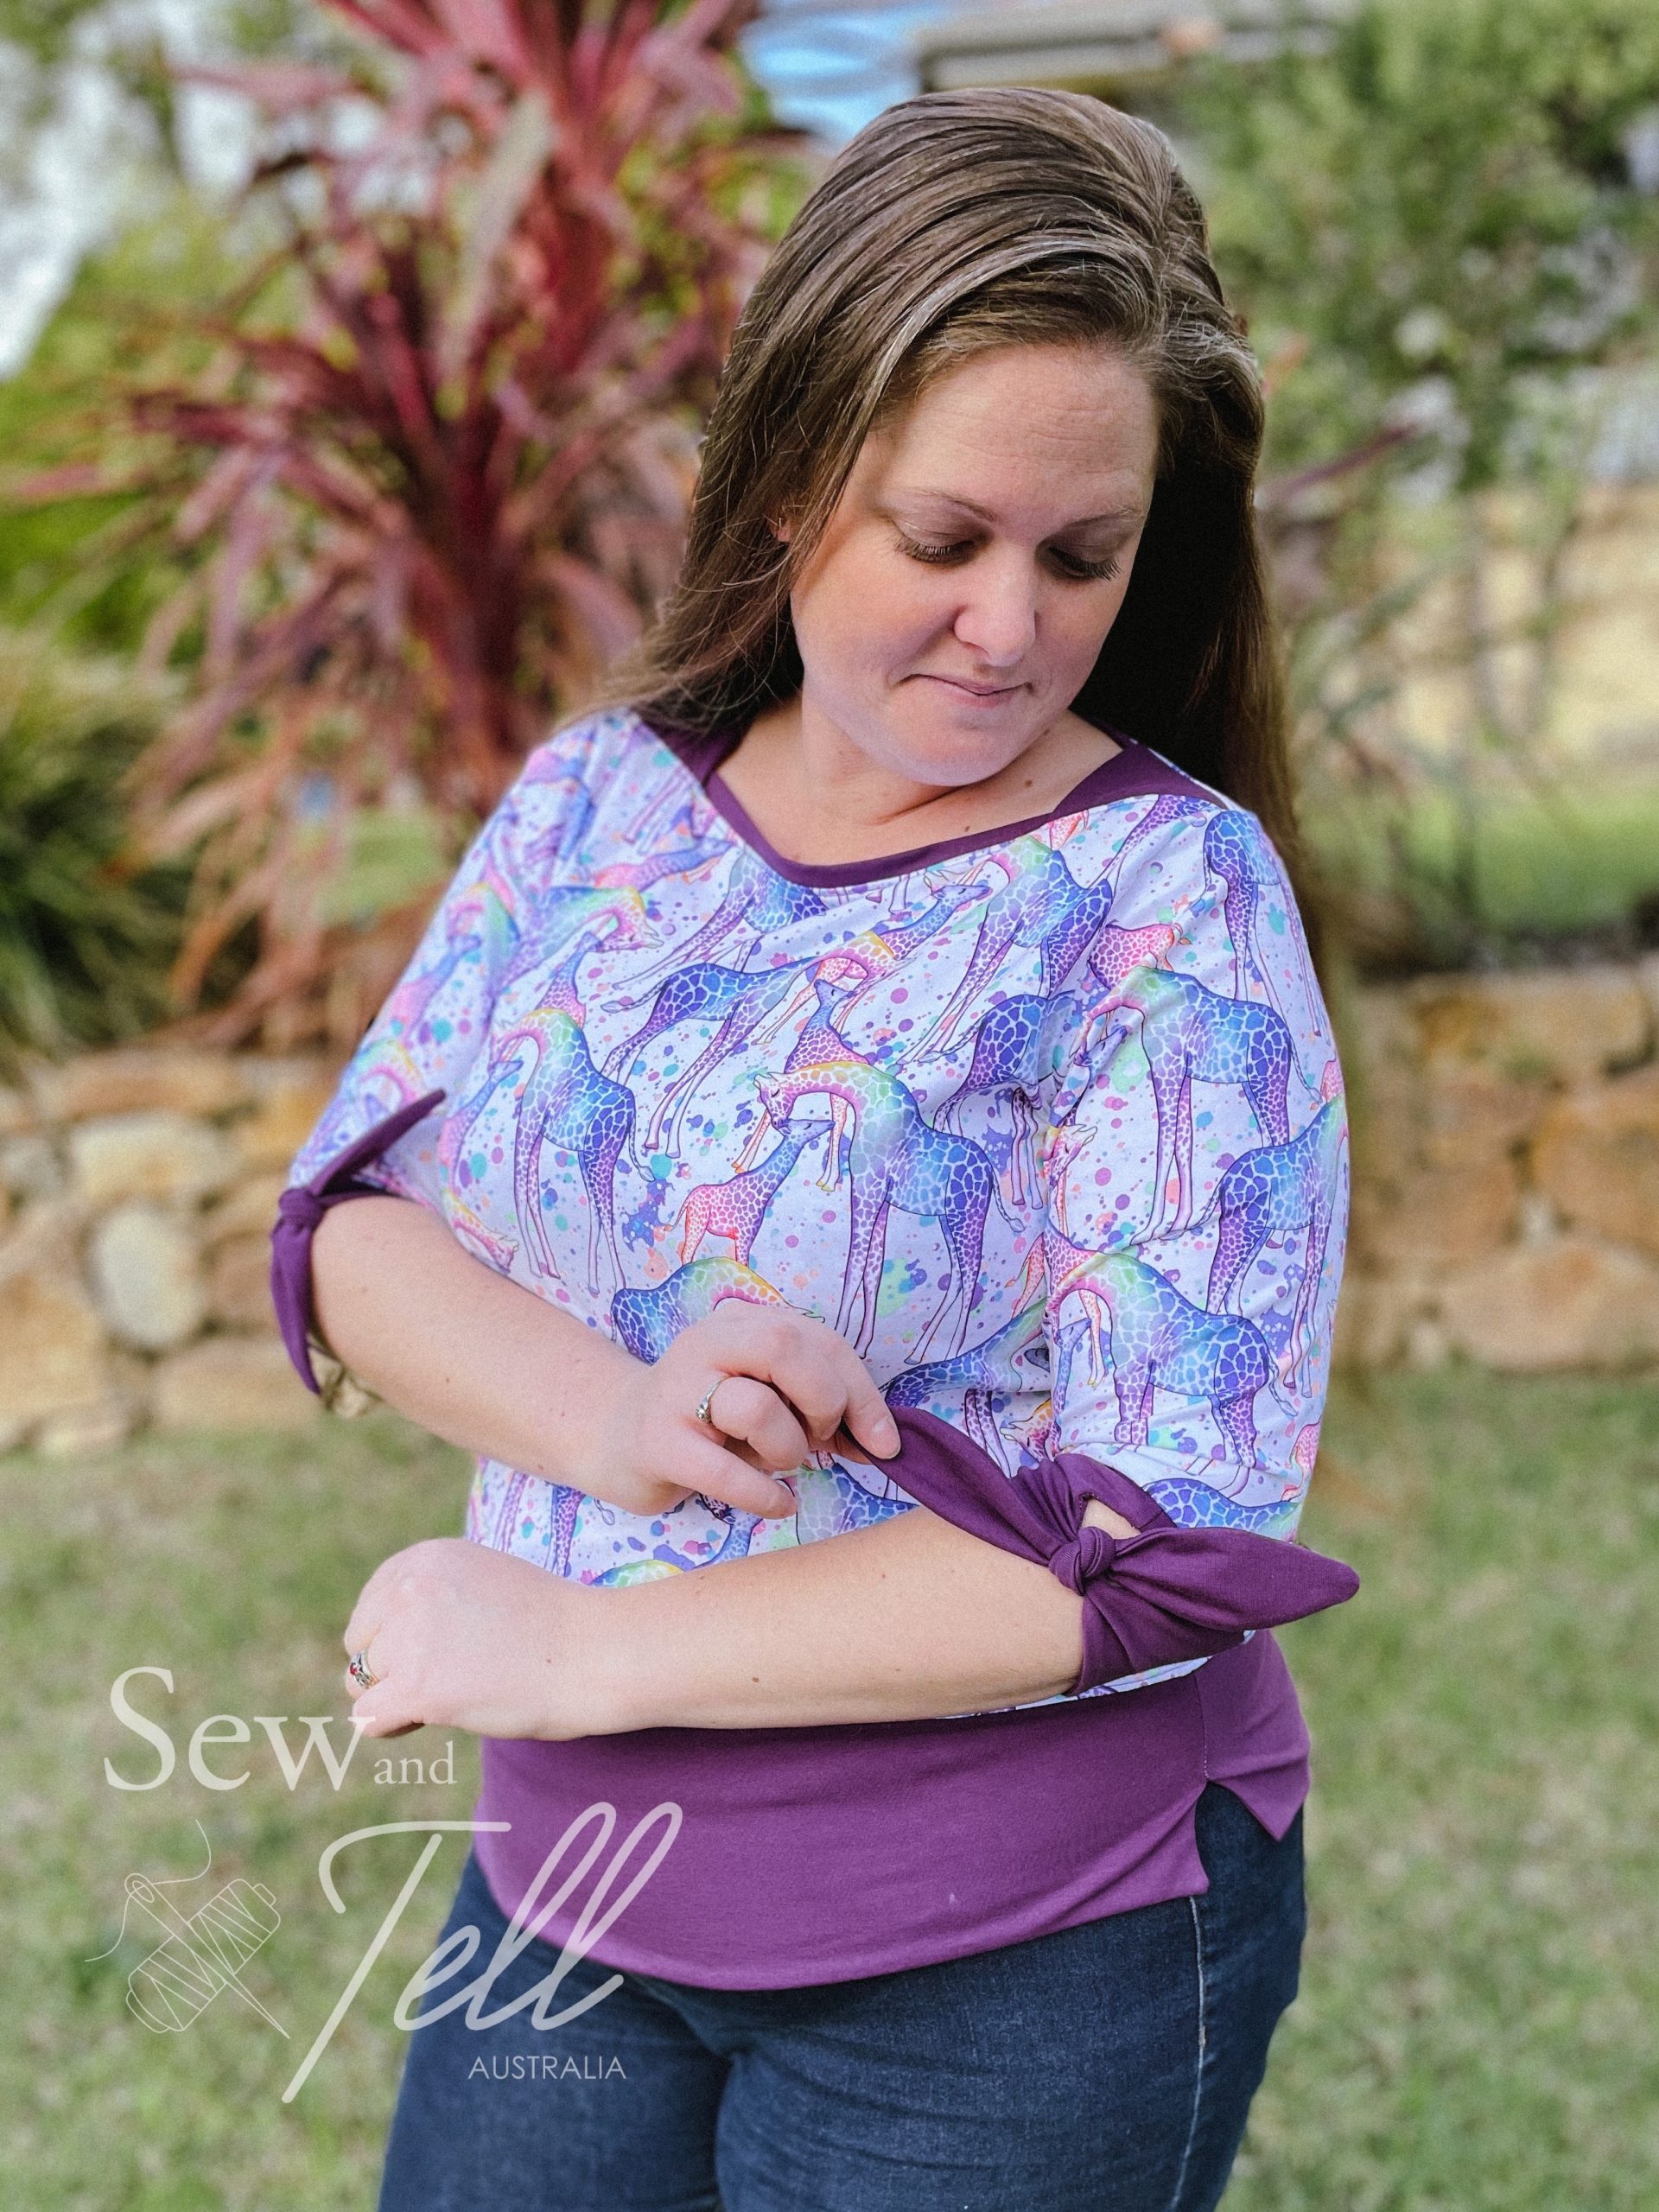
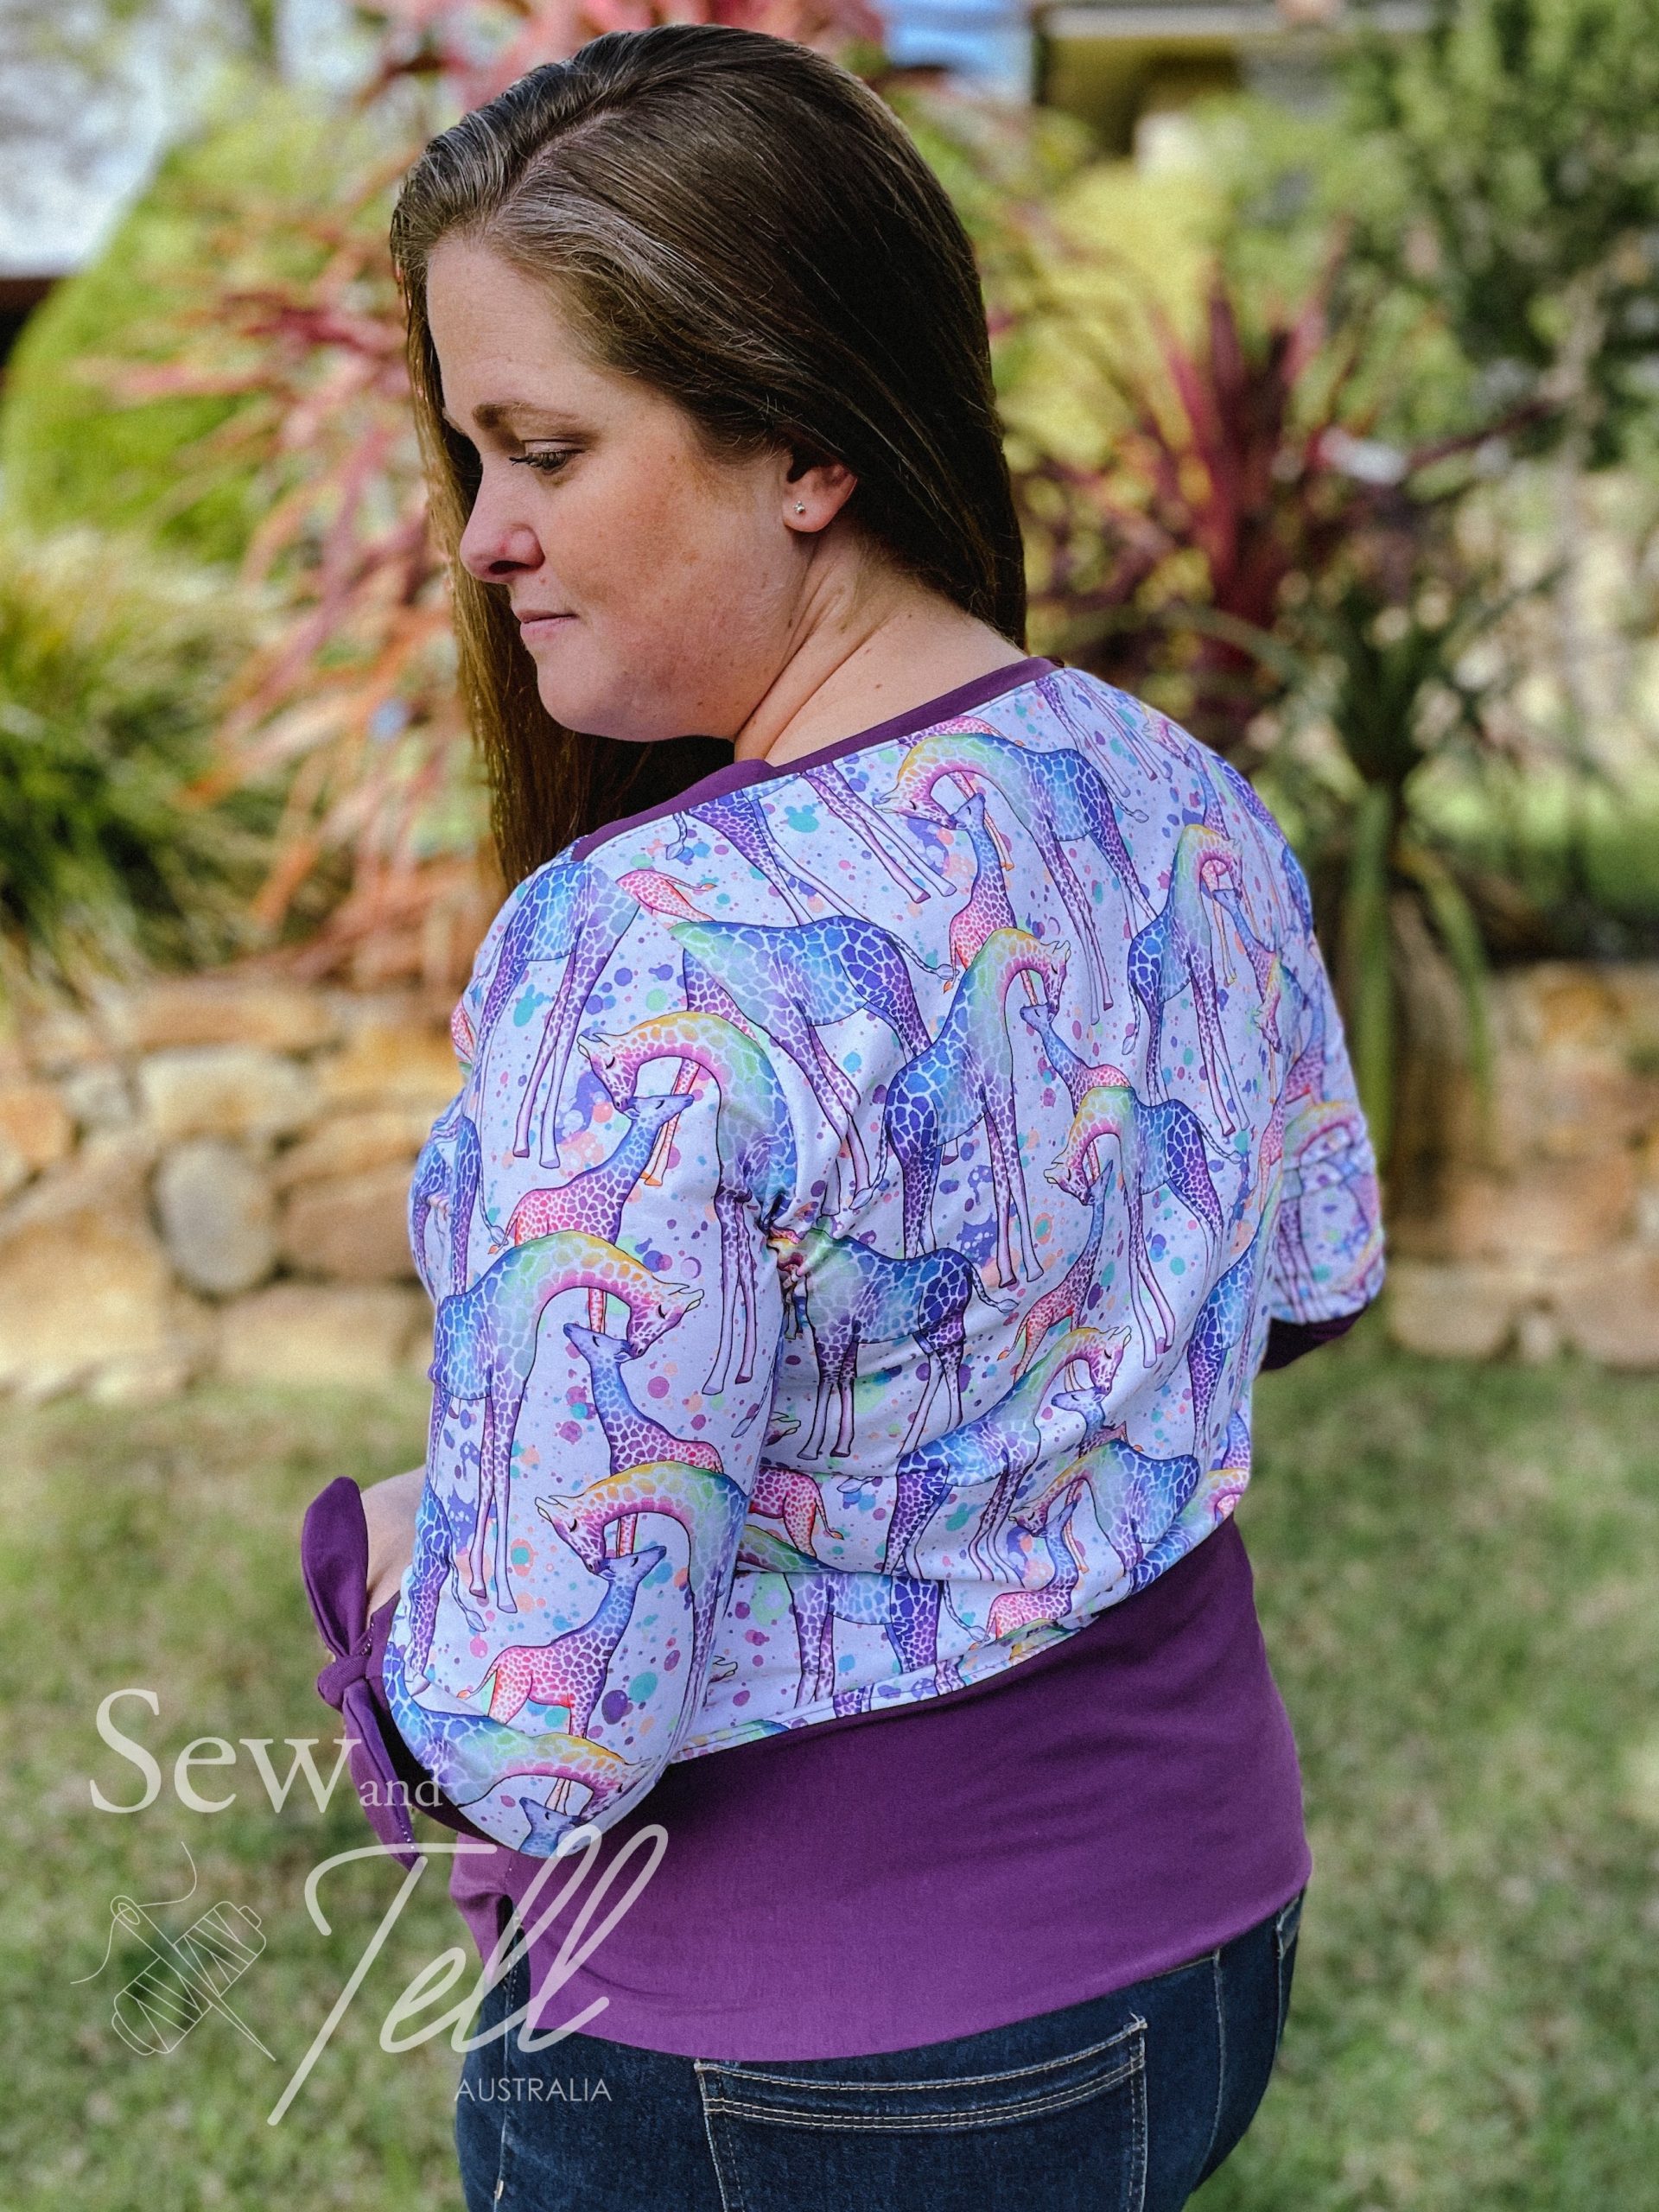
    This was the first time I made the Adele Boatneck and I was really happy with the result. I really liked the details on the shoulders as well as the sleeve options and peplum version. As soon as I saw the fabric I used on this one, I knew I wanted to make the boatneck and I was not disappointed. I think it worked so well with this pattern.

    I made the US size 18 which was great for the top half but I should have graded out more in the waist as it was a little tight over my waist and bum. Other than that though, the fit was great. I liked the way the neckline came together though I did it as a band and not as a binding. Even with the band though it is such a clean look and sits beautifully on the neckline giving that high boat look.

    The other detail I liked is the seperate lower piece, giving it a kind of faux layered look. It helps to be able to use shorter cuts of fabrics on the top piece, which is great for if you have limited amounts. While the sleeve cuffs are not a style I would normally go for, and I might not do again, I am still glad I tried them.

    So all in all I am very pleased with how this one came together and I would happily make it again.

    Video Review:

    Gallery:

  • Pattern Hack – How to use a Tee pattern as a Jumper/Sweater

    Pattern: Women’s Domino Dolman
    Designer: Peek A Pattern Shop
    Fabrics: Ribbed Knit from Sew Unique Fabrics
    Skill: Beginner

    Links:

    The Wrap Up:

    Have you ever seen a Tee pattern and thought, gee I love the colour blocking or shape on that, I wish they made it as a jumper pattern. Well, there is no reason you can’t use it as a Jumper pattern!

    When I had this gorgeous rib knit to sew up from Sew Unique Fabrics, I knew that the Domino Dolman would be perfect for what I wanted with the colour blocking and dolman style sleeves, so I simply sized up! It can be hard to know how much to size up, but a big clue is by looking at the amount of ‘ease’ in a pattern.

    Ease is the term used to let you know how tight or loose the final garment will be. For example, if the size chart says a size Large is for bust size 38″ – 40″, and then in the final garment size chart it says the bust size is 41″, then there is a built in ease of 1-3″, meaning the the garment will fit your bust of 40″ PLUS have an extra 1″ around the bust area.

    So once you know the ease, you can work out how much to size up by. I wanted a fairly oversized jumper so I went up 2 sizes, but to be honest, I probably could have gotten away with just 1 size up as this pattern has a generous amount of ease. I’m still really happy with the result though!

    Hopefully that helps give you a little confidence to think outside the box and not think if a pattern says it is a Tee, it only has to be a Tee. Patterns are whatever you want them to be 🙂

    Gallery:

  • Pattern Review of the Chill Tee & Hoodie

    Pattern: Chill Tee & Hoodie
    Designer: Ellie & Mac
    Fabrics: Sew Unique Fabrics French Terry
    Measurements: Chest: 38.5″; Waist 35.5″; Hips 42″
    Size made: L
    Adjustments: None
    Pros: I love the colour blocking on this one. It’s a great casual tee.
    Cons: I think this is more suited toward a tee than a hoodie. If I was to make it as a hoodie I would size up at least 2 or 3.

    Links:

    The Wrap Up:

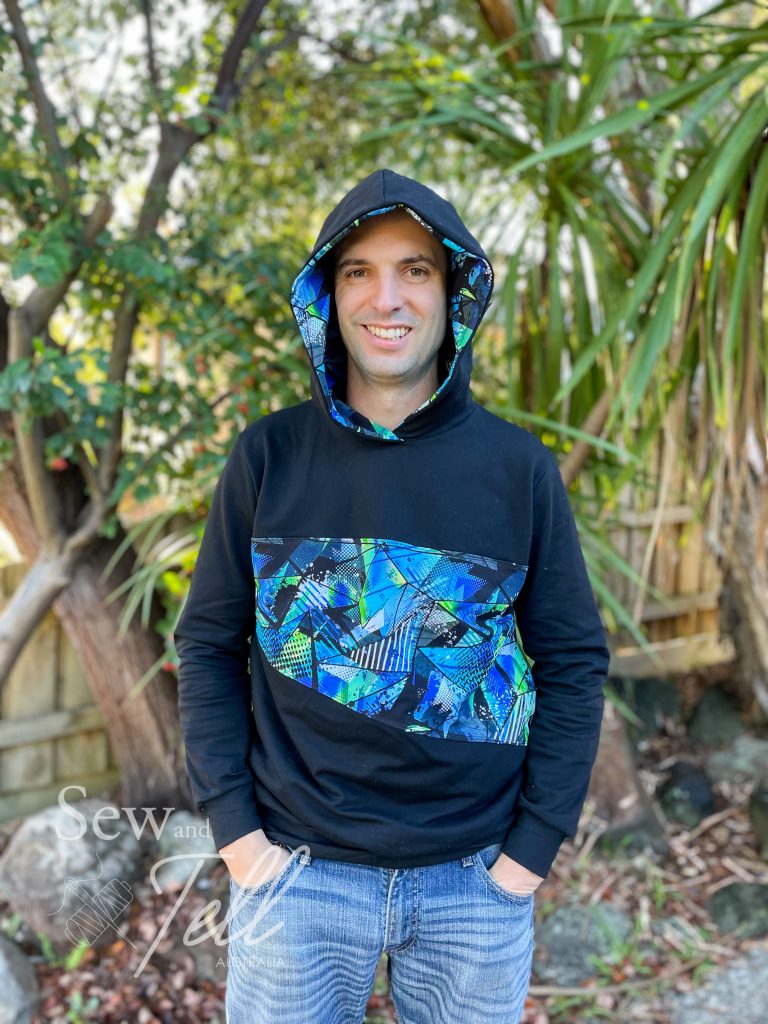
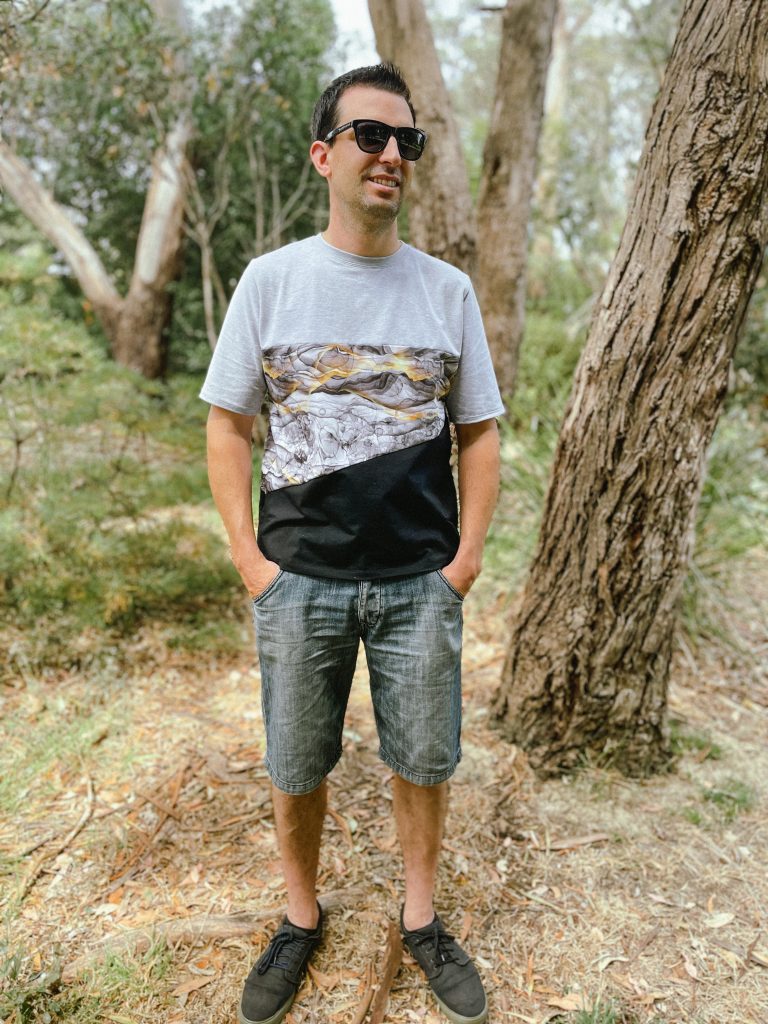
    I’ve made two Chill Tee & Hoodies now and they have both turned out great for hubby. I do prefer this as a tee however as I think it is too tight fighting for a traditional hoodie. The feedback my husband gave was that you would definitely need to size up at least 2 or 3 for it to be more comfortable.

    I do love the colour blocking on this one however, I think its a great simple one to showcase your fabrics without being too overpowering. It’s also a very quick and simple pattern to put together.

    The hoodie I made from a french terry and the chill tee is a cotton lycra. The french terry is part of the current release from Sew Unique Fabrics winter range, check out the the super cool bomber jacket I made for Ted that I did a write up for here.

    Gallery:

  • Pattern Review of the Kids Billie Bomber

    Pattern: Kids Billie Bomber
    Designer: Petite Stitchery Co
    Fabrics: Sew Unique Fabrics French Terry
    Measurements: Chest: 21″; Waist 20.5″; Hips 21″
    Size made: 2T
    Adjustments: None
    Pros: Is fully lined and has the option of either snap enclosure or Zip
    Cons: Being fully lined it is quite labour intensive, but so worth it.

    Links:

    The Wrap Up:

    I have had this jacket in my head for AGES! So when I had this strike fabric to sew, it was the perfect opportunity to help it come to life. I chose the Billie Bomber as I liked the size range it came in with the option of the baby bomber as well as the kids version.

    I love the ‘varsity’ type look and I thought it would be just the cutest on Ted, so I looked for a varsity font online (which I’ve linked above), measured the area I wanted it to go and then typed out the letter and projected it onto my panel piece to see if it was a good size. From there I traced it onto a piece of paper so I could use it as a template to cut out my white cuddle fleece and main fabric letter. Final stage was sewing each layer onto the panel in a normal straight stitch and voilá! Perfect!!

    Projecting the letter on my panel

    After I had done that I followed the rest of the instructions as per normal to make up the jacket. This was my first time doing a proper lined bomber style jacket and while it wasn’t overly hard, it was time consuming and I had to concentrate a lot on what I was doing. Especially as this is designed to be a fully reversible jacket, so there are extra steps to ensure all seams are enclosed and neat. I am pleased with the final result and glad to have added to my skill set. Plus I have a super spunky almost 2yo ready to rock this winter. Stop growing so fast baby boy!

    Gallery:

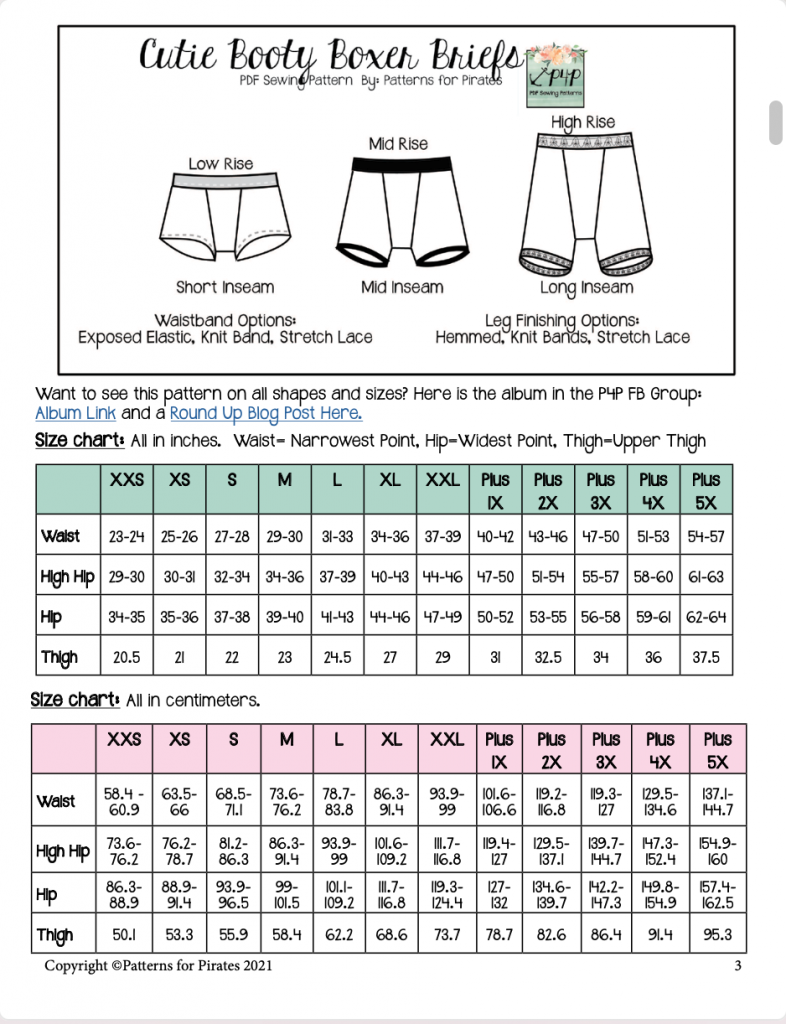
  • Pattern Review of the Cutie Booty Boxer Briefs

    Pattern: Cutie Booty Boxer Briefs
    Designer: Patterns for Pirates
    Fabrics: Sew Unique Fabrics
    Measurements: Waist 39″; Hips 48″
    Size made: XXL
    Adjustments: None
    Pros: Making your own underwear is the best! I highly recommend it.
    Cons: It can be confronting making underwear that fits, maybe you are ‘bigger’ than you think, but honestly, they are just numbers and having underwear that fits is SO worth it

    Links:

    The Wrap Up:

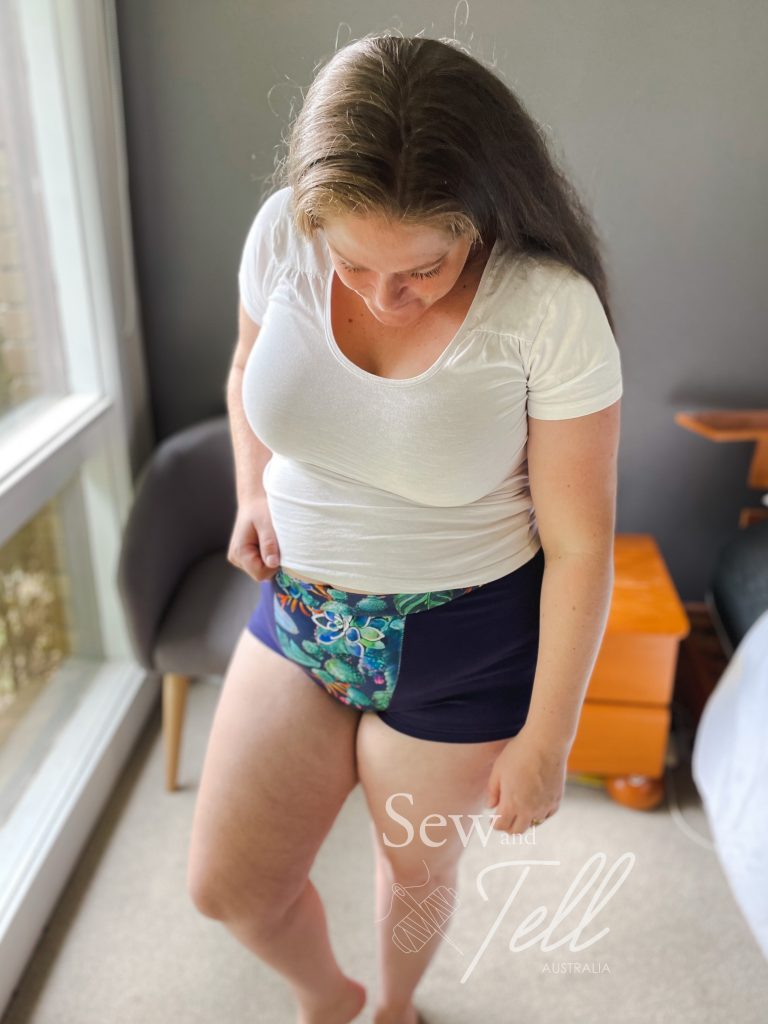
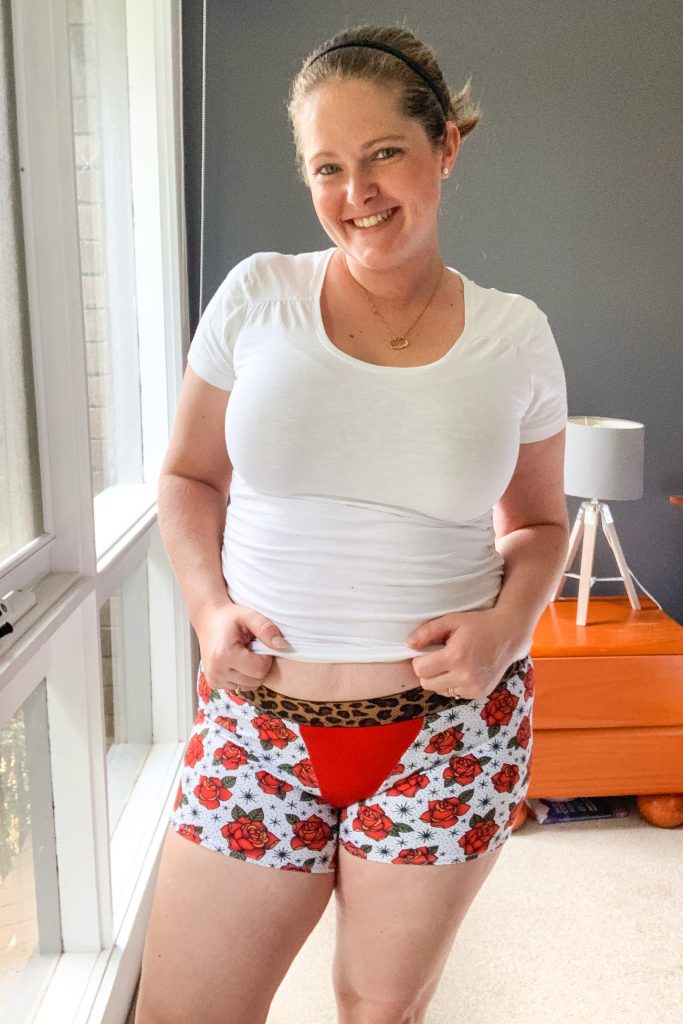
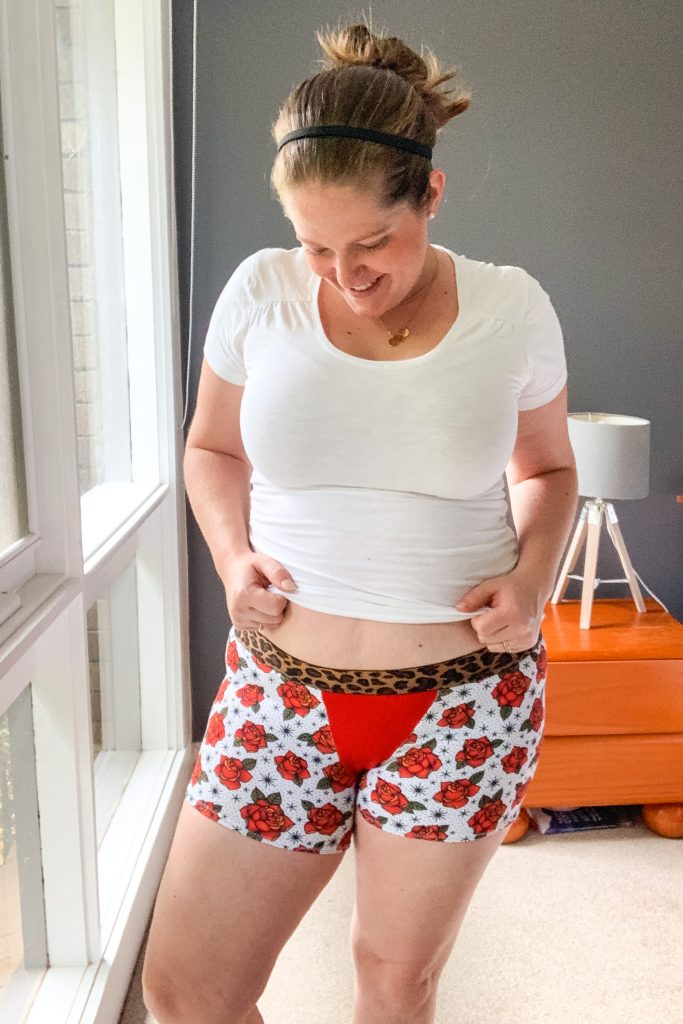
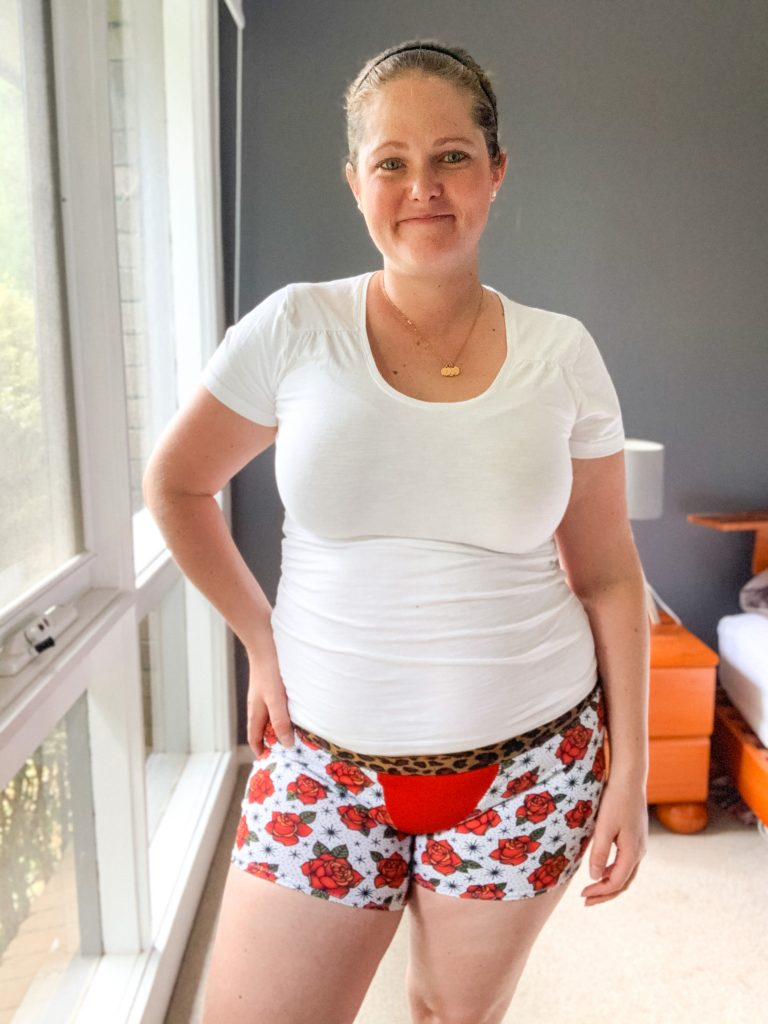
    I know a lot of people wouldn’t be comfortable taking photos in their underwear, but you know what, I just don’t care anymore. We all have a body and most of us wear underwear everyday, so I’m doing a community service by reviewing these and showing you what they look like on a not so skinny body like most of the media like to portray 😉

    Making your own underwear is definitely worth it in my opinion. They are so comfortable and means you get exactly what you want. It also means you don’t have to go to the shop, which is a bonus in my opinion! haha

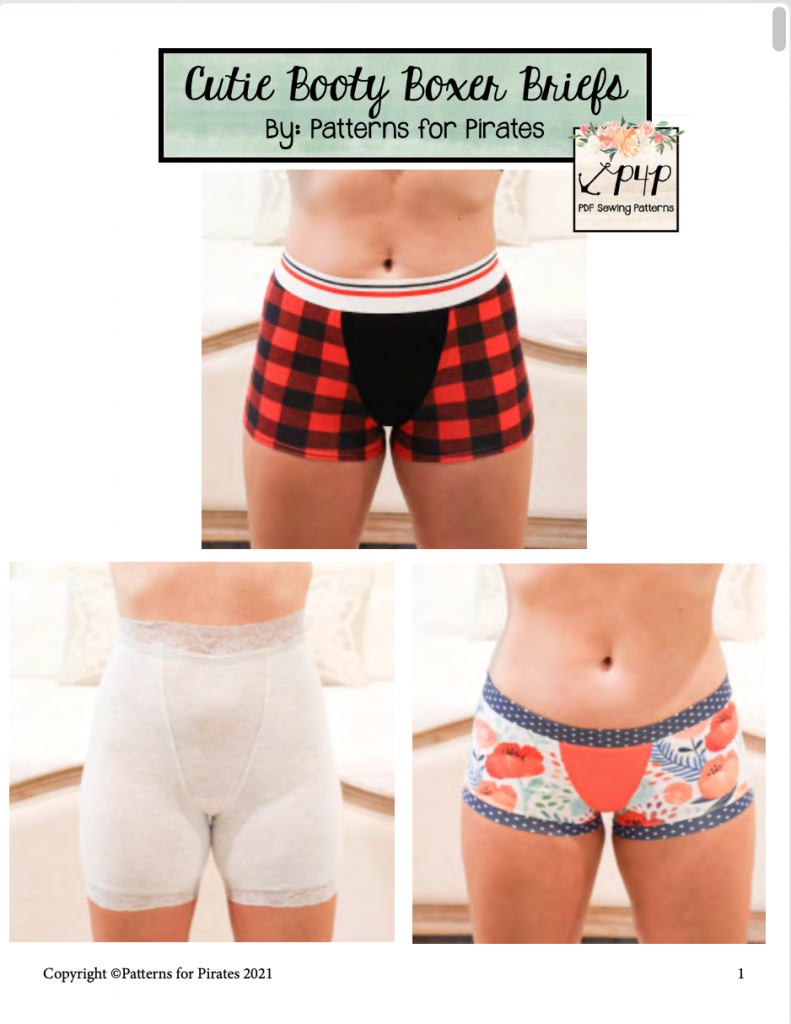
    The Cutie Booty’s are more of a boyleg style, which is something I like and have a number of options. I’ve tried both the exposed elastic and the knit waistband and I probably prefer the knit waistband for ease. My preference is also the high waist, short inseam, but there are several options to choose from.

    I will say that making garments like undies can be a little confronting. When the fabric is laid flat, it can seem like BIG pieces for your derrière, but I promise if you look past that, the end result is beautiful undies that you wish you’d started making sooner.

    Gallery:

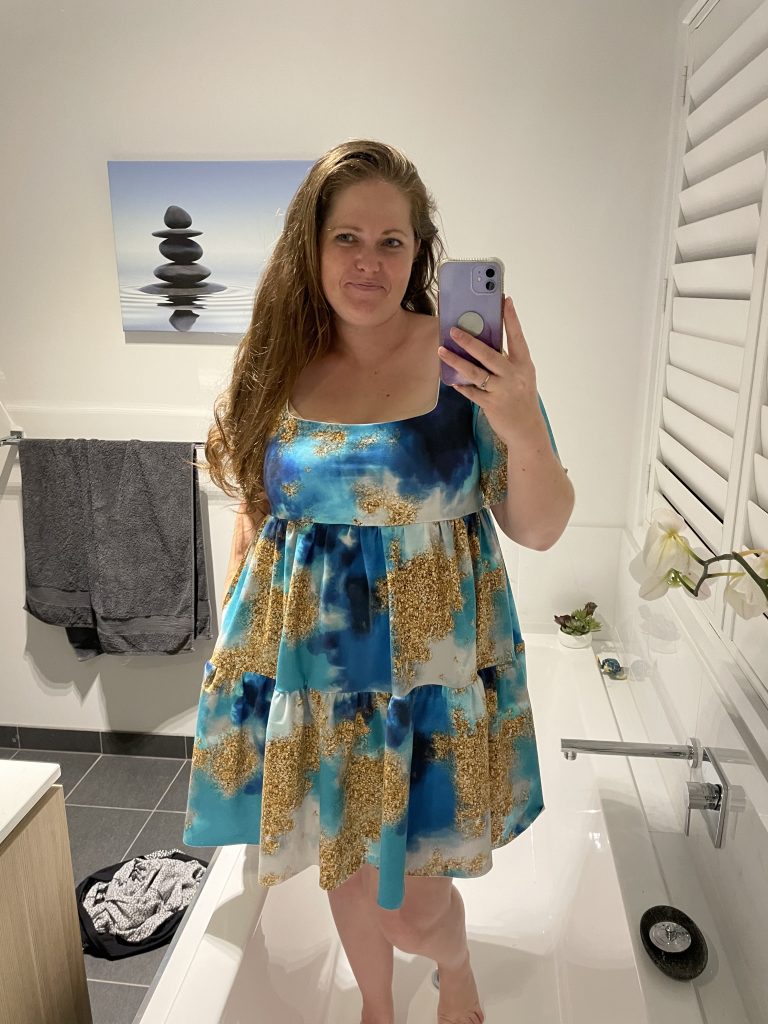
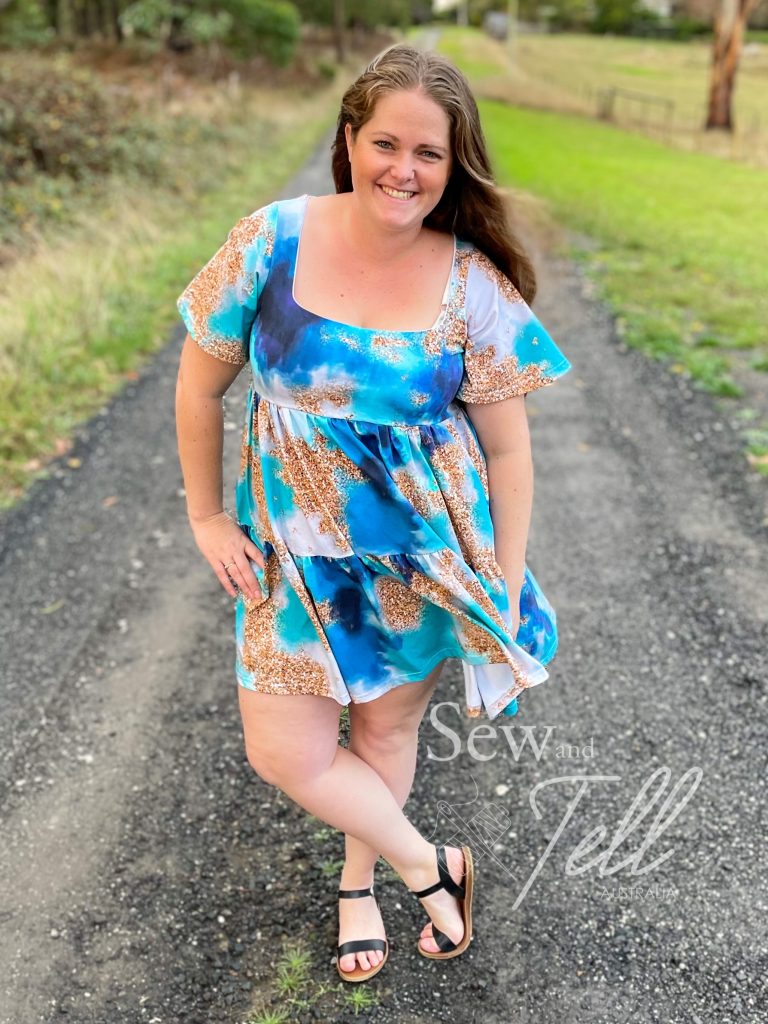
  • Pattern Review of the Camilla Dress

    Pattern: Camilla Dress
    Designer: Sonia Estep
    Fabrics: Cotton Lycra – Sew Unique Fabrics
    Measurements: Chest: 44″; Waist: 39.5″; Hips: 49″
    Size made: 18 graded to 22
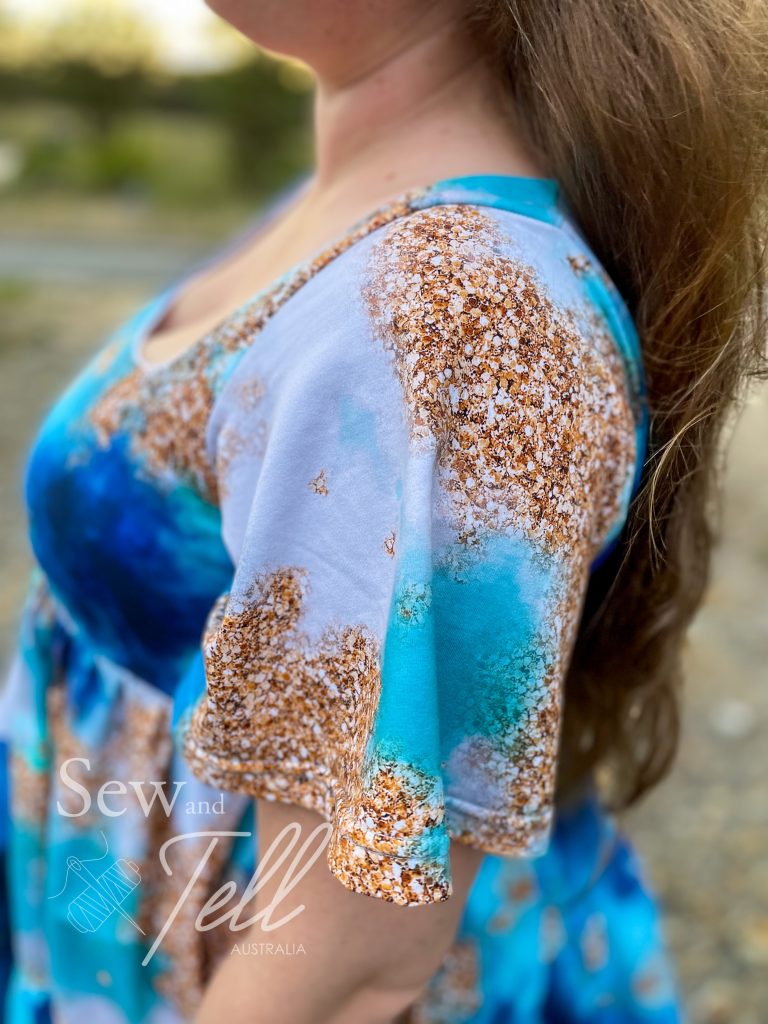
    Adjustments: I used the flutter sleeves from the Sonia Estep Katherine and the pockets from the Lily.
    Pros: I LOVE a square neckline. It always look very flattering on me, so I was super excited about this pattern. I also love that it mashed well with some of Sonia Esteps other dresses, like the Katherine so I could use the flutter sleeves.
    Cons: There was no pocket option as a standard which I thought was a little strange, every dress should have pockets! I also was a little annoyed that the tiered pieces were only measurements.

    Links:

    The Wrap Up:

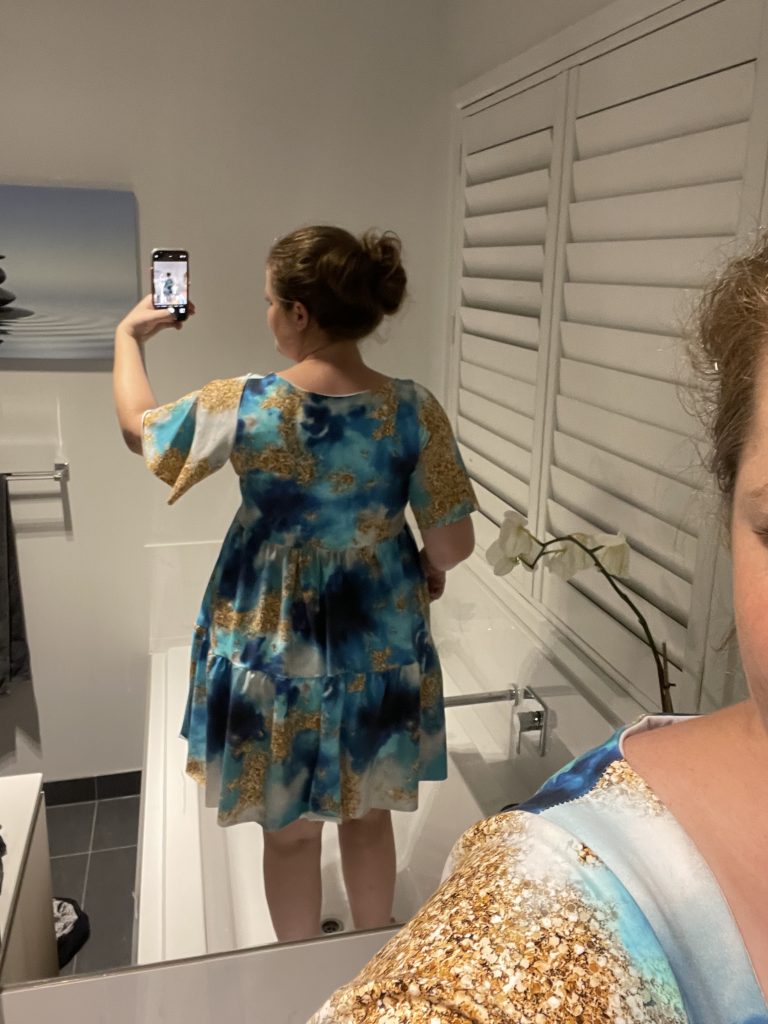
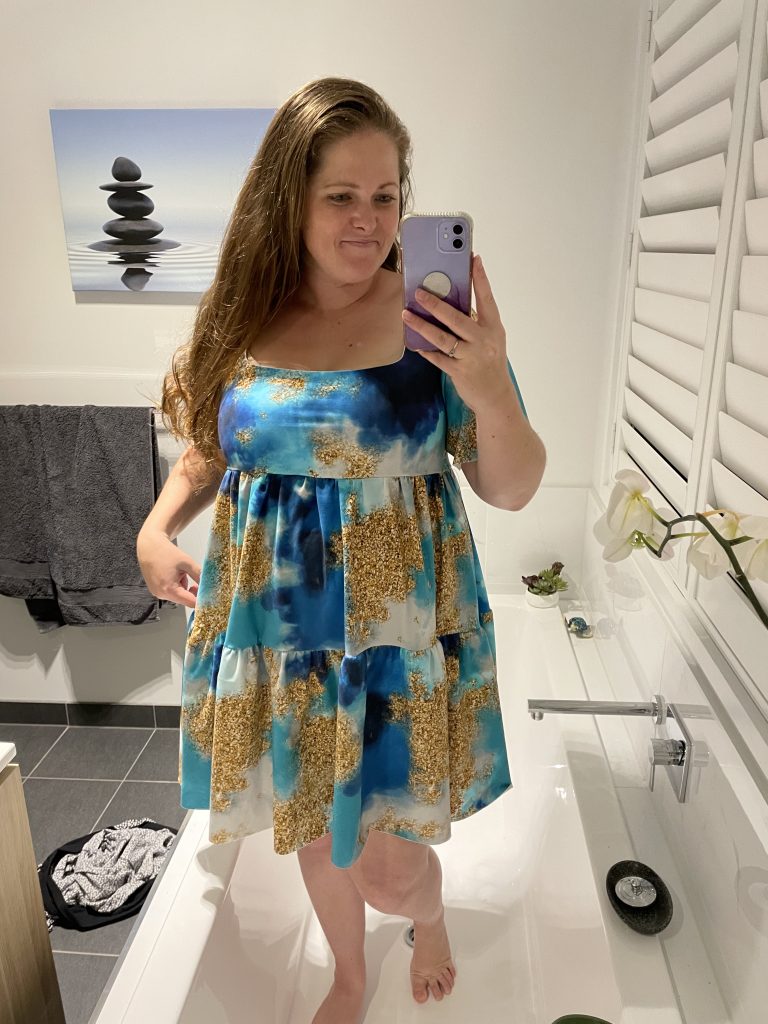
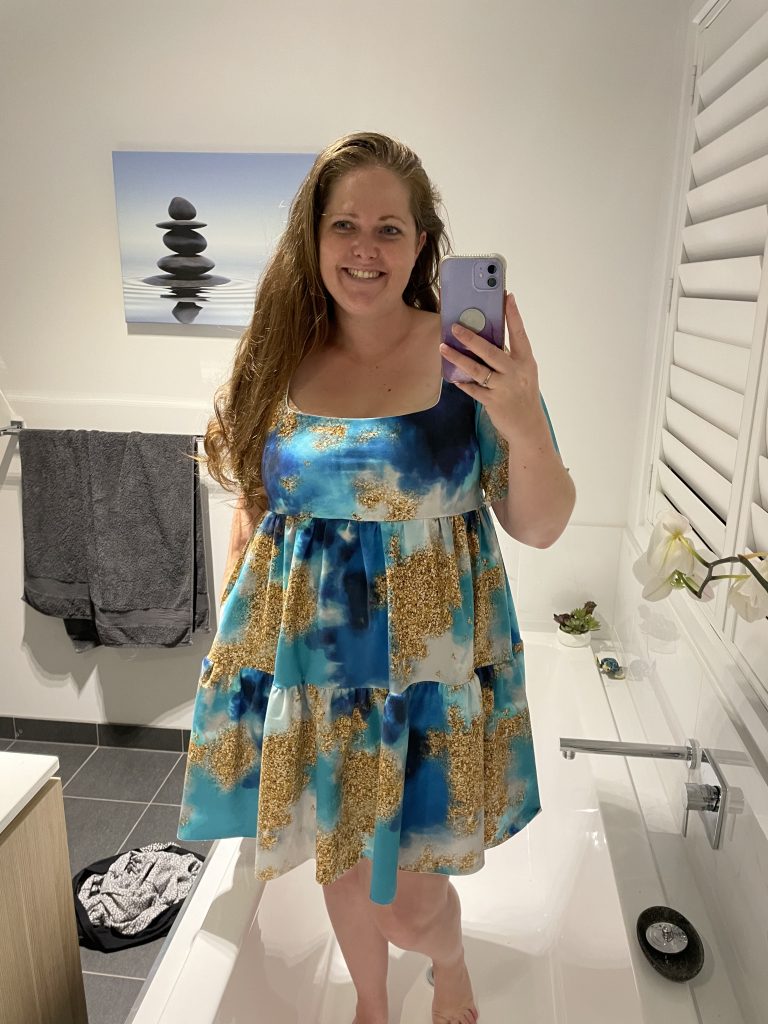
    I really really LOVE a square neckline. It is super flattering on my décolletage, so the moment I saw the Camilla, I knew I wanted to try it. I can now say, I was NOT disappointed. I love the way it sits on me and as always, the empire waist was a win for my body.

    The construction was fairly easy, however it annoyed me a little that their was no pattern pieces for the tiered layers. I know they are just rectangles, but with a projector I like having the pieces so I don’t have to measure it out. Once I had it all cut out however it, I had the dress made within about 2hrs.

    One of the great things about the Camilla is that it mashes well with the Katherine, Hollywood and Lily. I have made and written a review on both the Lily and Katherine, so I love that Camilla goes with both of those. For my Camilla I used the flutter sleeves from the Katherine and the pockets from the Lily. I waited until I had put my skirt pieces together but hadn’t sewn up the sides so I could decide on the best place to put my pocket pieces which worked well.

    I can tell this pattern is going to be one of my go to knit dresses, so get ready to see many more these!

    Gallery:

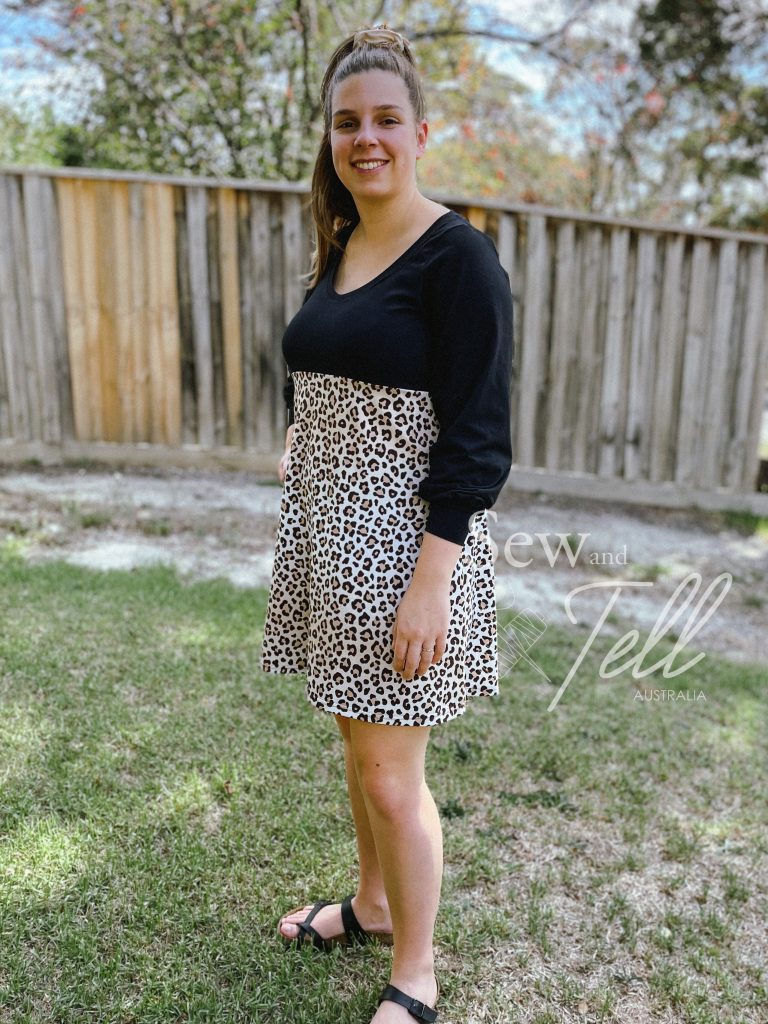
  • Pattern Review of the Katherine Dress

    Pattern: Katherine Dress
    Designer: Sonia Estep Designs
    Fabrics: Black Solid – Sew Unique Fabrics
    Animal Print accent – Rubyjam Fabrics
    Measurements: Chest: 44″; Waist: 39″ Hips: 47″
    Size made: 18/20
    Adjustments: Graded from an 18 at the top to 20 in the waist
    Pros: I love the signature options of an empire or natural waist the Sonia Estep includes in most of her patterns. I am surprised I like the bishop sleeve on me.
    Cons: I had high hopes for this dress but it didn’t quite hit the mark for me. It was unflattering over my tummy and the pattern doesn’t include pockets.

    Links:


    The Wrap Up:

    I made this dress after seeing a pic on an ad on facebook. I really liked the style and wanted to recreate it for myself.

    The Katherine dress from Sonia Estep was prefect, especially with the empire waistline and above knee hemline. I also had the perfect animal print fabric from Rubyjam that I wanted to try it with.

    It was a really quick sew, I had it done from cutting to wearing in about 2hrs, but I was unfortunately really disappointed with how it sat on me. When I tried it on it sat right at the top of my tummy, straining against it showing it up very clearly.

    My inspiration picture

    I did think about unpicking and adding a panel in the skirt, but I didn’t have enough fabric left and to be honest, I was just happy to chalk it up to experience and move on. Not all garments look good on me, and thats perfectly fine. So I very happily have passed it on to my neighbour, who looks fab in it!

    The one thing I did LOVE about this though was the bishop sleeves. Im not sure I’ve ever done them for myself and I will be making more. They looked very cool and will now feature in a few upcoming winter garments hahaha.

    So, for now you get to enjoy looking at my garment on my neighbour, who absolutely rocks it! And a sneaky photobomber of one Miss Jemma who is trying to be her surrogate daughter in an almost perfectly matched RTW dress she has haha.

    Gallery:

  • Pattern test & review of the Baby Poppy

    Pattern: Baby Poppy
    Designer: Made for Mermaids
    Fabrics: May Gibbs Accent fabric – Spotlight. Solid Cotton Lycra – Sew Unique
    Measurements: Chest: 19″ Waist: 21″; Height: 31″
    Size made: 9-12 months
    Adjustments: None
    Pros: As soon as I saw the tester call for this one I signed up immediately. I couldn’t resist the bubble romper option and adorable flutter sleeves.
    Cons: I wasn’t a huge fan of the way the crotch snap section was done in the instructions, so I may change it to something I am more comfortable with in future garments I do.

    Links:


    The Wrap up:

    The minute I saw this pattern I knew I had to test it. It just looked so dang cute! I love a bubble romper style and flutter sleeves get me every time. Throw in the button front and I was seriously swooning.

    I am very lucky to live next door to a pretty cute little girl and her amazing mum and dad who let me sew and use this little cherub as my model. I love sewing for Ted, but I don’t think its any secret that girl clothes are cuter. Well, they are easier to dress up I think.

    The baby Poppy also has plenty of other options included such as sleeveless, short & long sleeve, skirted and peplum. The button placket can either be faux or functional. Being a bubble romper style there is also plenty of room for either disposable or cloth nappies and the snap crotch makes it super easy to change when needed.

    I did have a little trouble with the snap crotch as its not a style I am used to and I’ll be honest, I didn’t love it. I think in future I might change it slightly to something I am more comfortable but is just as functional. Though I probably need to give it another try the way it is listed in the instructions before I make any rash changes haha.

    This pattern is definitely a winner for me and I have already ordered some gorgeous lounge rib from Clover & Co (I love their printed lounge rib) to make some more as I saw another tester use lounge rib and it was to die for. It almost makes me want another baby. *Almost* haha.