Inspiration, Tips & Tricks

  • Anatomy of a Needle

    Have you ever wondered what all the markings are on your Schmetz Needles? Lets dive in and take a look!

    The top part of a sewing machine needle is called the shank, and most domestic sewing machine needles have a flat shank, while industrial and some older domestic machines have a round shank. Having a flat shank means your needle will always be in the right position and won’t go in the wrong way. Plus, the beveled butt of the needle makes it super easy to insert into the needle bar.

    Now let’s take a look at those Schmetz specific colour markings. They’re like little helpers that let you know the needle type and size with just a quick glance. No more confusion or wasting time searching for the right needle.

    The long groove on the front of the needle is there to protect your thread as it travels through the fabric. It helps to minimise any damage as it goes up and down.

    The scarf on the back of the needle is like a space creator for the hook. It makes it easier for the loop to catch and form a perfect stitch.

    The eye of the needle is where your top thread is inserted. The size of the eye depends on the size of the needle.

    The shape of the needle point and tip varies depending on the type of needle you’re using. Schmetz has a huge range of types of needles including Universal, Jersey, Stretch, Jeans and Microtex just to name a few.

    Now, let’s dive into some needle numbers. The NM number is calculated by multiplying the diameter of the needle blade by 100. For example, a needle with a blade diameter of 0.75 mm corresponds to NM 75. 

    When you look at a needle and it says its a 90/14, those 2 numbers actually indicate the same thing, just different numbering systems.

    The European metric sizing system for sewing machine needles is numbered from 60 to 110 and was developed by Singer. The American sizing system is numbered from 8 to 18. For both sizing systems, the lower the number the finer the needle and the higher the number the larger the needle.

    Most needle companies show both sizes on the package.

    I hope you learnt a little more about Needles to help you when you use them next!

  • Essential Sewing Tools

    When it comes to sewing, having the right tools can make a world of difference in the quality and ease of your projects. Whether you’re a beginner or an experienced sewist, there are a few essential tools that should be a part of every sewing toolkit. In this blog post, we will explore the must-have sewing tools that will help you achieve professional results and enhance your sewing experience.

    Sewing Machine:
    A reliable sewing machine is the backbone of any sewing toolkit. Choose a machine that suits your skill level and project requirements. Look for features such as different stitch options, adjustable speed control, and a variety of presser feet. Remember to maintain and service your sewing machine regularly to keep it in optimal working condition.

    Fabric Scissors:
    Investing in a good pair of fabric scissors is crucial for clean and precise cutting. Choose scissors specifically designed for fabric, with sharp blades that glide smoothly through different types of fabrics. Reserve these scissors solely for fabric cutting to maintain their sharpness.

    Seam Ripper:
    Even the most skilled sewists make mistakes, and that’s where a seam ripper comes to the rescue. This small tool helps you easily remove stitches and correct errors without damaging your fabric. Look for a seam ripper with a sharp point and a comfortable handle for easy maneuvering.

    Measuring Tape:
    Accurate measurements are essential for successful sewing projects. A flexible measuring tape allows you to measure the body, fabric, and patterns accurately. Look for a tape with both inches and centimeters marked clearly for versatility.

    Pins and Clips:
    Pins and clips are indispensable tools for holding fabric layers together. Choose sharp and sturdy pins that won’t damage your fabric, and I tend you use clips on fabrics that pins would otherwise mark.

    Thread:
    High-quality threads in various colors are a must-have for any sewist. Invest in threads that are suitable for your fabric type and project requirements. Having a good selection of thread colors will ensure that your stitches blend seamlessly with the fabric.

    Bobbins:
    Bobbins hold the lower thread in your sewing machine and are essential for smooth and even stitching. Make sure to have an adequate supply of bobbins that are compatible with your sewing machine model.

    Iron and Ironing Board:
    Pressing and ironing your fabric is crucial for achieving professional-looking results. An iron and ironing board are indispensable tools for removing wrinkles, setting seams, and creating crisp edges.

    Marking Tools:
    Marking tools such as chalk, fabric markers, and tracing paper are essential for transferring pattern markings and other guidelines onto your fabric accurately. Choose marking tools that are easily visible and removable, without leaving any permanent marks.

    Storage & Organisation:
    Keeping your sewing tools organized is key to a stress-free sewing experience. Invest in storage solutions like sewing boxes, drawers, or wall organizers to keep your tools easily accessible and well-maintained.

    Equipping yourself with these essential sewing tools will set you up for success in your sewing journey. Remember to invest in high-quality tools that will stand the test of time and enhance your sewing experience. As you build your toolkit, add specialized tools based on your specific sewing interests and projects. With the right tools at your disposal, you’ll be well on your way to creating beautiful and professional-looking garments and projects.

    Happy sewing!

  • Find Your Perfect Sewing Machine for Flawless Stitches and Creative Sewing!

    Are you ready to take your sewing skills to the next level? Choosing the right sewing machine is essential for achieving professional-quality results and enjoying your sewing journey. Whether you’re a beginner, intermediate, or advanced sewist, this guide will help you find the perfect sewing machine that suits your needs.

    Understanding Your Needs:
    Before diving into the vast sea of sewing machines, it’s crucial to assess your requirements. Beginners may prefer user-friendly machines with basic features, while intermediate and advanced sewists might seek more advanced options. Consider your skill level and the type of projects you plan to undertake.

    Exploring Key Features:
    Sewing machines come with a range of features designed to make your sewing experience more enjoyable and efficient. From automatic threading to a variety of built-in stitches, understanding these features will help you make an informed decision. Look for machines with features that align with your specific sewing goals.

    Comparing Top Brands:
    With numerous sewing machine brands available in the market, it’s essential to choose a reputable and reliable one. Research and compare different brands to understand their strengths, reputations, and offerings. Consider factors such as durability, customer support, and available accessories.

    Reading Customer Reviews:
    Real-life experiences from fellow sewists can provide valuable insights into the performance and reliability of sewing machines. Look for customer reviews and testimonials to gather feedback on various machines. Consider the pros, cons, and overall satisfaction expressed by users to make an informed choice.

    Budget-Friendly Options:
    Budget plays a significant role in choosing a sewing machine. Fortunately, there are excellent options available that offer great value for your money. Consider your budget and look for machines that provide the features you need within your price range. Remember, a higher price tag doesn’t always guarantee the best machine for your specific requirements.

    I would encourage you to look at the best machine you can afford however. Don’t get caught in the trap of buying a cheaper machine while you ‘learn’. You may find you become frustrated with its lack of features, inhibiting your learning journey or making it an overly discouraging learning experience.

    Take The Machines For A Test Drive:
    Many sewing machine sales centres will have a large range of sewing machines on display that you can take for a test drive. Call your local centre to book a time and go in and have a play. Take samples of the fabric you intend to sew the most so you can see how the machine handles it.

    Finding the perfect sewing machine is an exciting step in your sewing journey. By understanding your needs, exploring key features, comparing top brands, reading customer reviews, and considering your budget, you’ll be well-equipped to make an informed decision. Happy stitching and enjoy the process of finding the sewing machine that best fits your unique needs!

  • Pattern Review of the Sabrina Slims

    Pattern: Sabrina Slims
    Designer: Love Notions
    Fabrics: Bengaline from Super Cheap Fabrics
    Skill level: Beginner/Advanced Beginner
    Measurements: Waist: 39″;  Hips 47″
    Size made: 18 & 20
    Adjustments: None
    Pros: This is an absolute staple for your kids wardrobe. It is perfectly unisex and has both a long and short version.
    Cons: None

    The Wrap Up

    I did think that I loved the Duet Trousers from Love Notions, but then I tried the Sabrina Slims and I LOVE THEM!!

    They are so comfortable and I love the slimmer fit look. I originally made the size 20 but thought they may have been a little bit big. I then made the 18 for the welt pocket tutorial and I realised I should have made the 20 again with some alterations. The 18 still fit, but they are more on the snug side. 

    My biggest piece of advice would be to make a muslin, and if you decide to make another size, make another muslin 🙈 Pants can be notoriously hard to fit, so I would very rarely recommend making pants straight from your fashion fabric. It is very disappointing to make a pair of pants and not having them fit. 

    I would definitely recommend grabbing this pattern, especially if you grab them while they are on special for $5.

    Use code MEGAN10 for an EXTRA 10% off at the checkout.

    How to get a beautiful welt pocket

    What next?

    Stop wasting fabric and time on projects that don't fit right. 

    Learn to sew with confidence and let me guide you to more sewing success.

  • Pattern Review of the Willow Wrap Dress with how to add pockets

    Pattern: Willow Wrap Dress
    Designer: Love Notions
    Fabrics: Cotton Lycra from Clover & Co. Fabrics
    Skill level: Confident Beginner
    Measurements: Bust: 45″; Waist 39.5″; Hips 47.5″
    Size made: XL graded to 2XL at waist
    Adjustments: Shortened to Empire waistline
    Pros: Gorgeous pattern for showing off your bustline
    Cons: No pockets, but watch my tutorial on how to add them!

    The Wrap Up

    I love this pattern so much I have made 3 of them!

    I am a huge fan of the Love Notions Willow wrap, it is such a flattering pattern with a variety of options. You can choose from dress or peplum length, and to be honest, you can also cut between the peplum and dress lengths to create a tunic length as well if you wanted. There are also 5 different sleeve options, 2 neckline heights and it is great for Maternity and Nursing.

    I would note that with the flutter sleeve option I think it is better suited for lighter, drapier fabrics as when I used the 220gsm Cotton Lycra it was just a bit too ‘stiff’. I didn’t think it sat as nicely as when I made it from a double brushed poly.

    I also prefer an Empire Waistline to a Natural Waistline, so I used the tutorial I made for the Margot Peplum, also from Love Notions, to shorten my bodice to Empire.

    This is the Feature Friday pattern for Love Notions, Friday 31st March, 2023 which means here in Australia it will be on sale for $5USD (approx. $7.50 AUD) till around 3pm Saturday 1st April.

    Use code MEGAN10 for an extra 10% off at the checkout!

    I also think every dress should have pockets, so make sure you check out my video review below which includes a tutorial on how to add pockets to any dress! Don’t forget to subscribe to my channel while you’re there so you don’t miss any future reviews and tutorials.

    Pattern Review and How to add pockets to your Willow Wrap Dress

    What next?

    Stop wasting fabric and time on projects that don't fit right. 

    Learn to sew with confidence and let me guide you to more sewing success.

  • Pattern Review of the Sicily Swing Dress/Top

    Pattern: Sicily Swing Dress/Top
    Designer: Peek A Boo Pattern Shop
    Fabrics: Bamboo Lycra from Clover & Co. Fabrics
    Skill level: Beginner
    Measurements: Chest: 45″; Waist 40″; Hips 47″
    Size made: 2XL graded to 3XL
    Adjustments: Just the grading
    Pros: SUPER comfy and easy to wear. Also has nursing option
    Cons: Needs updated sizing

    The Wrap Up:

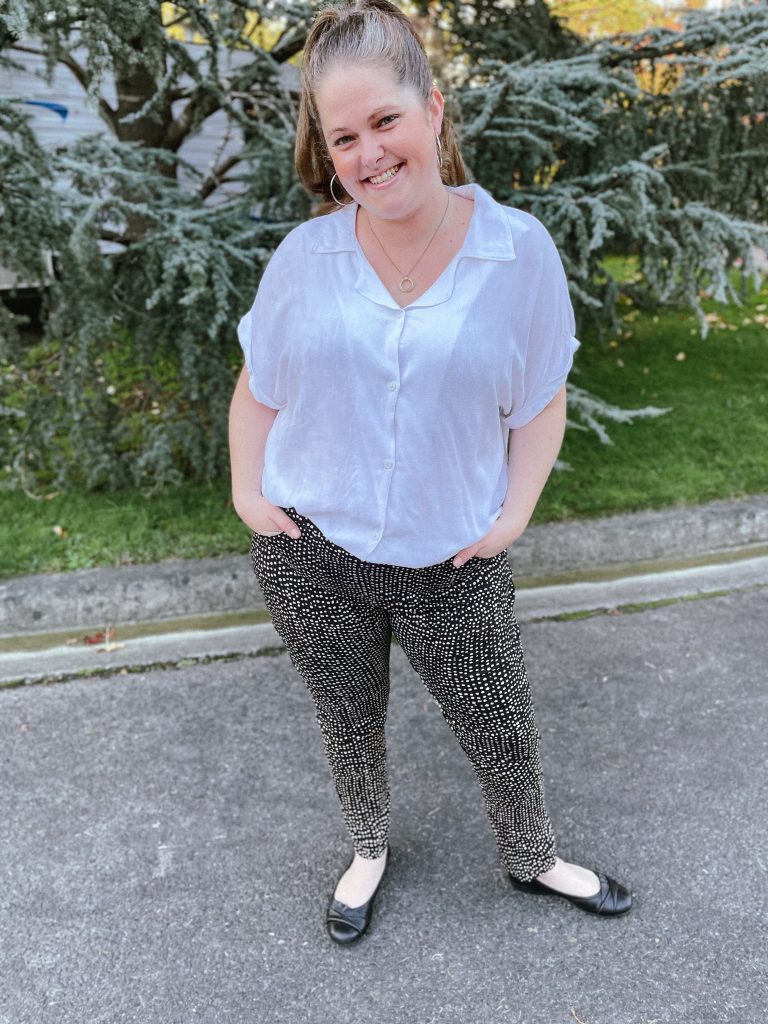
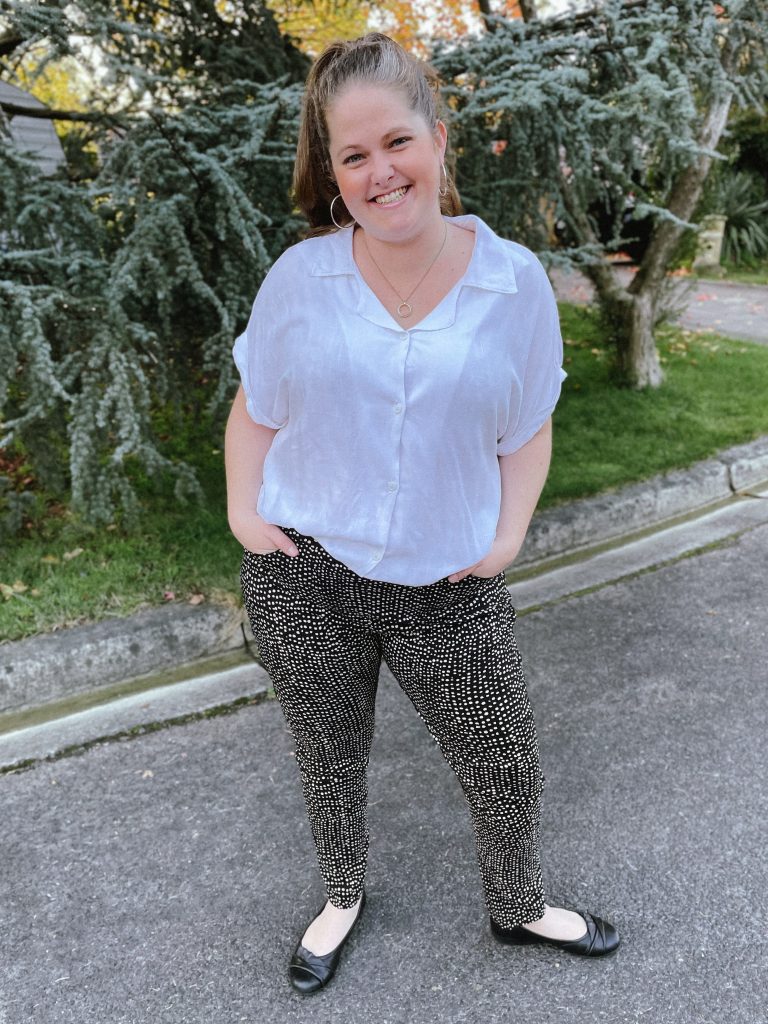
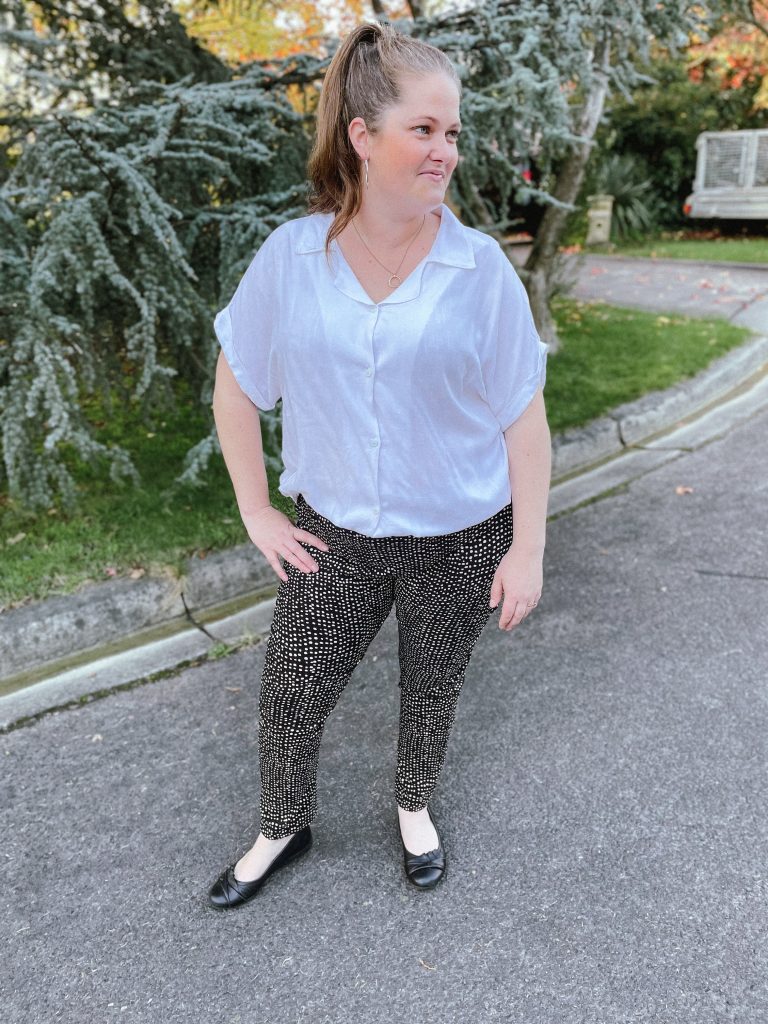
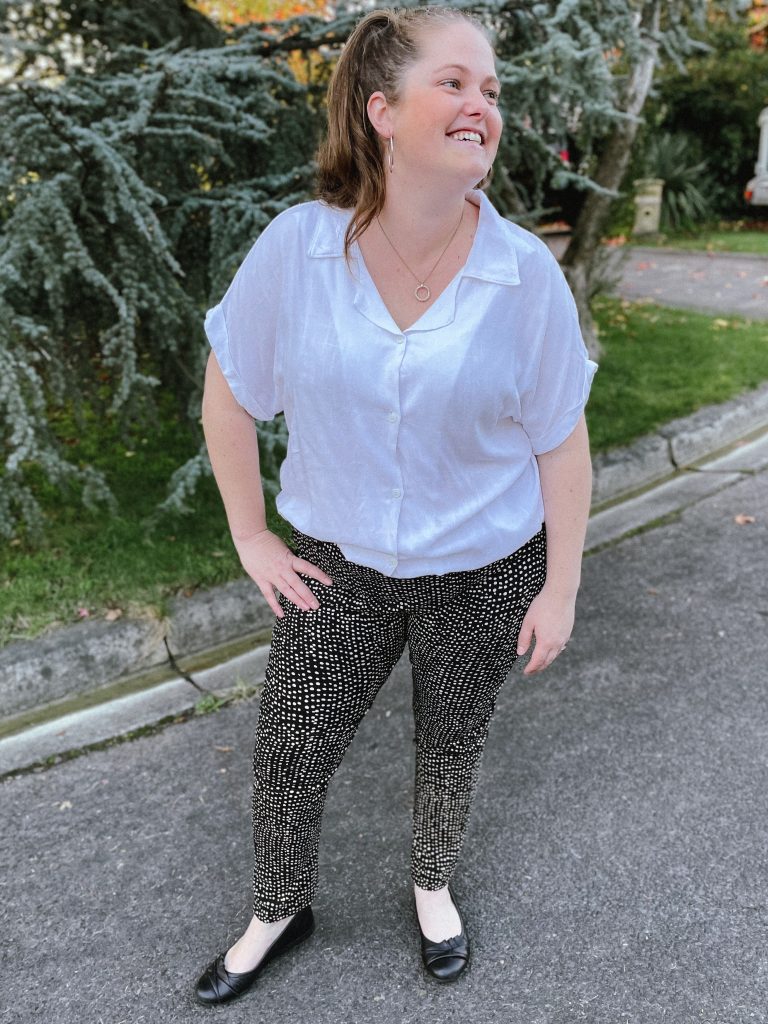
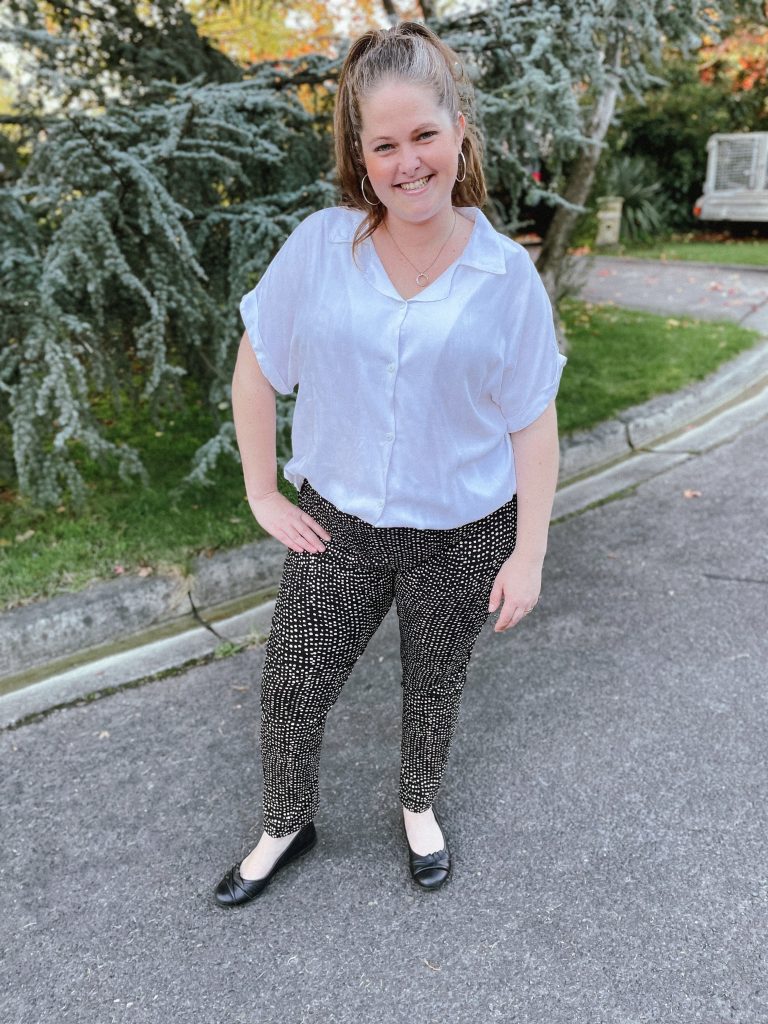
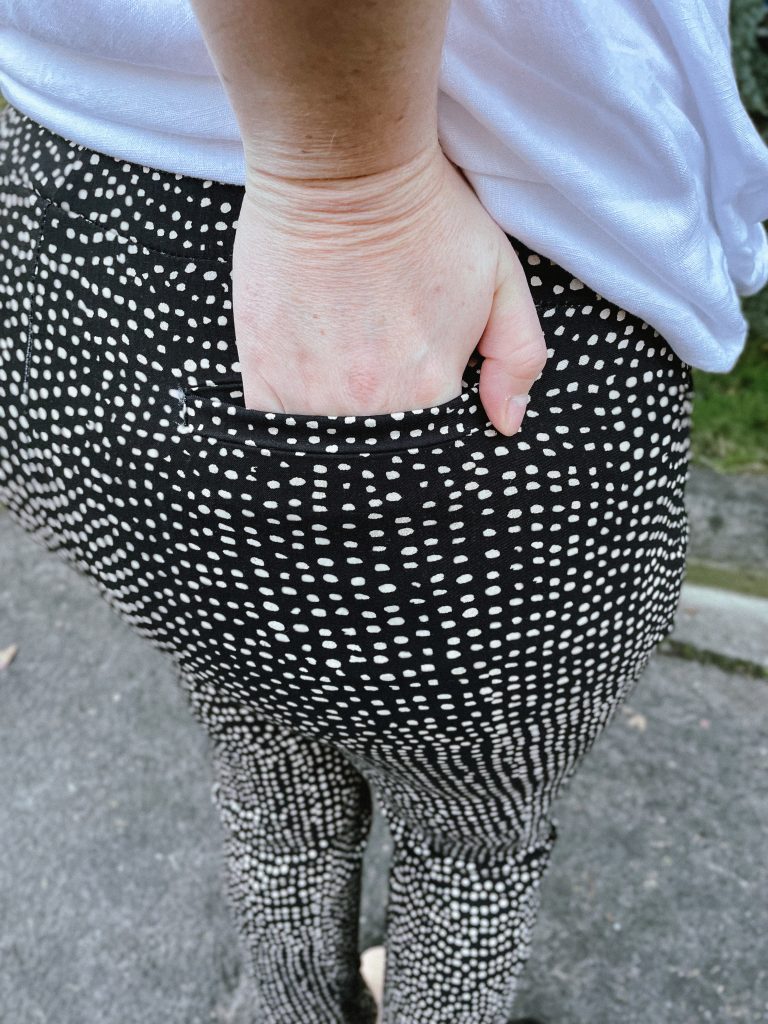
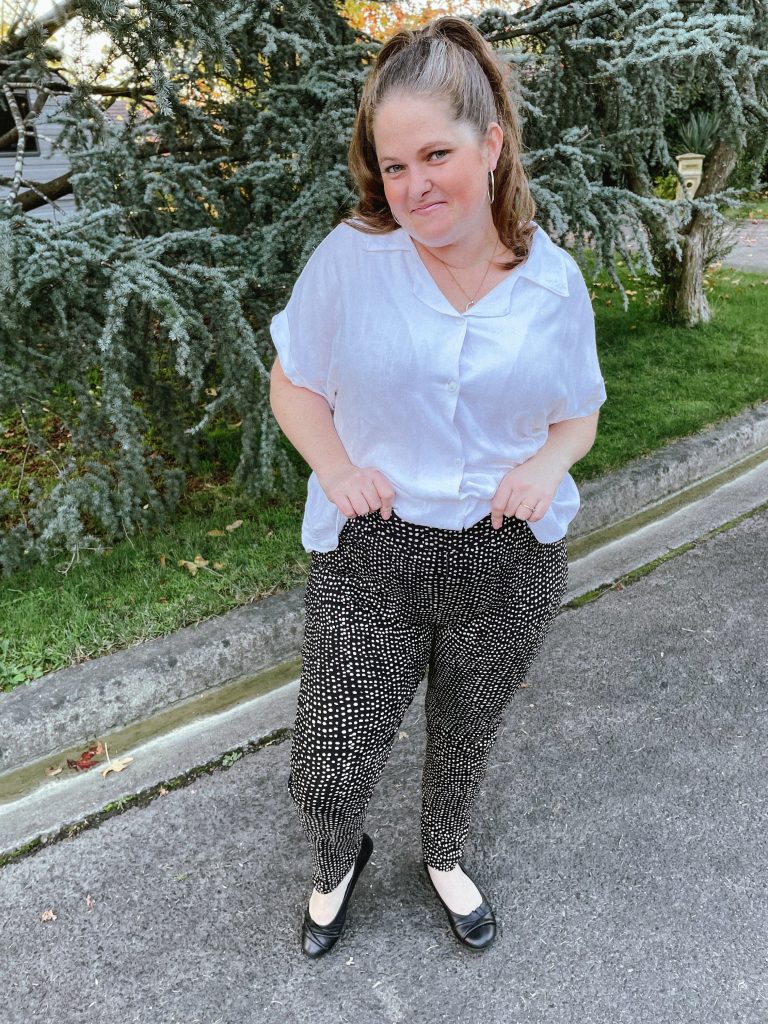
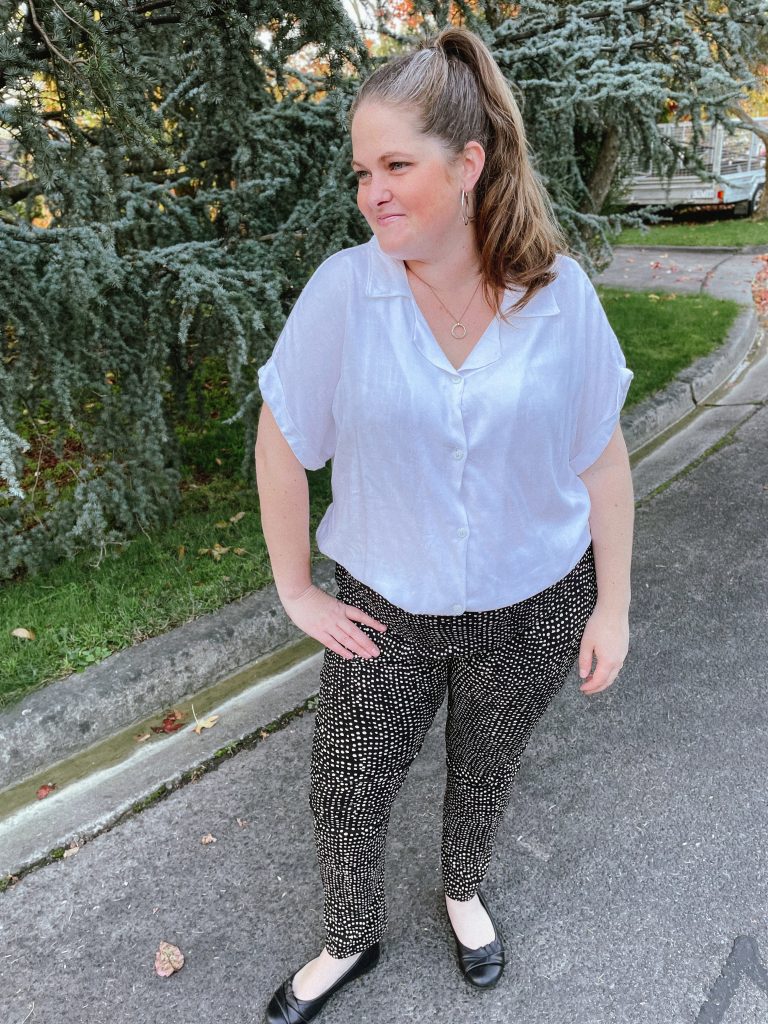
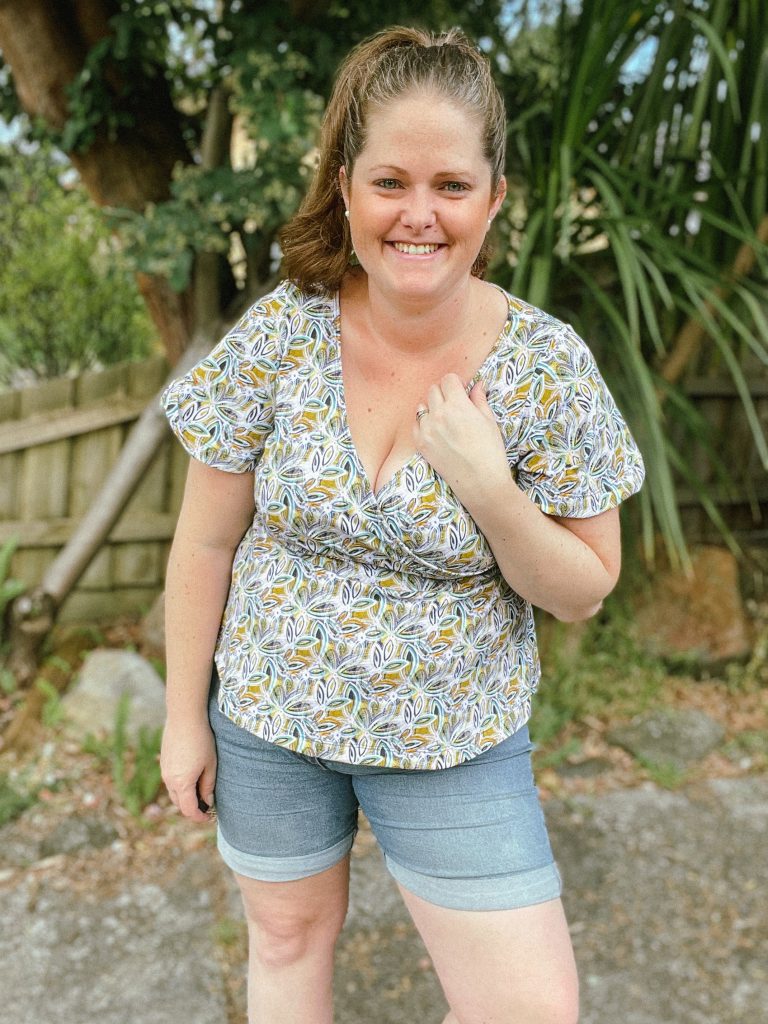
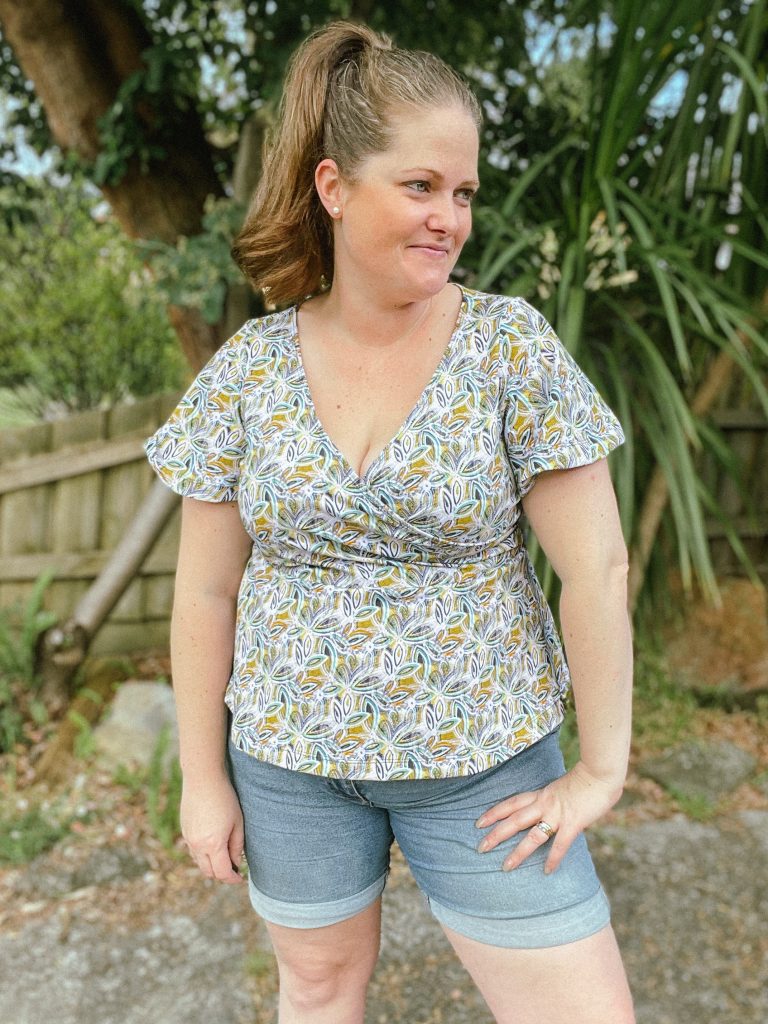
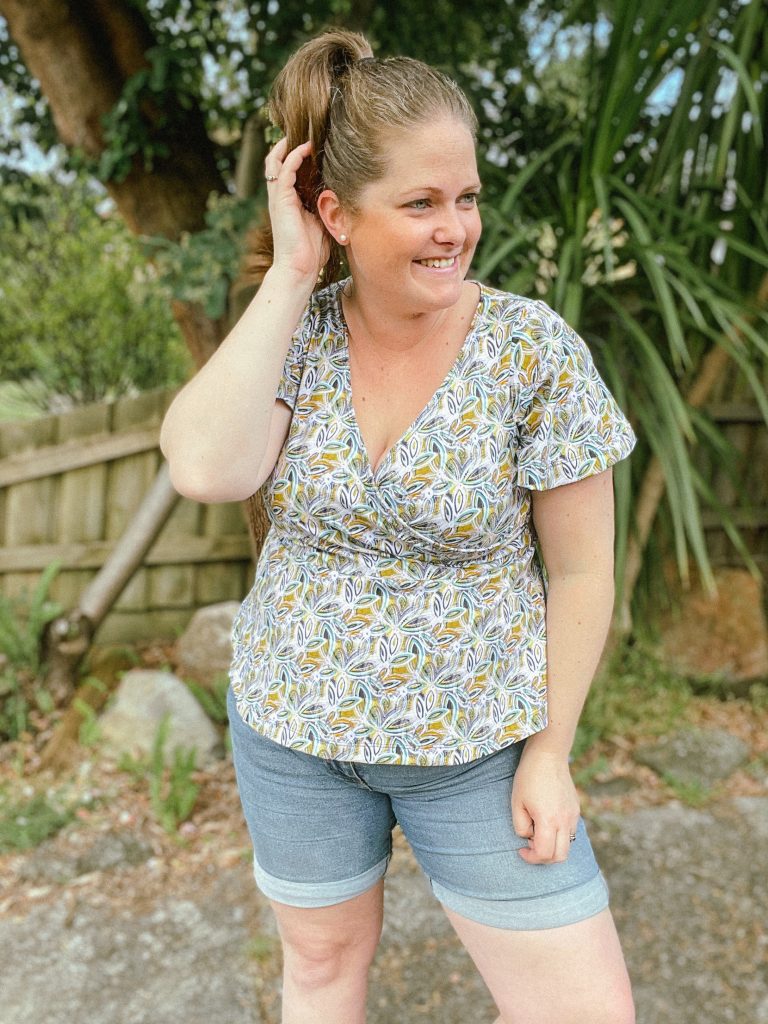
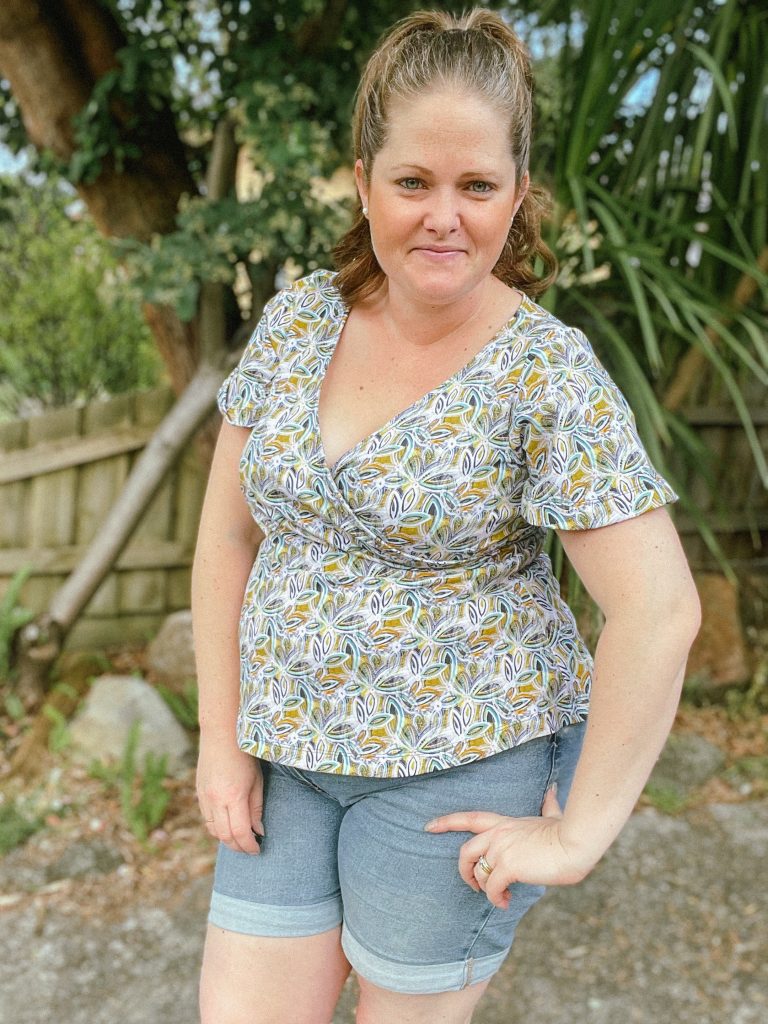
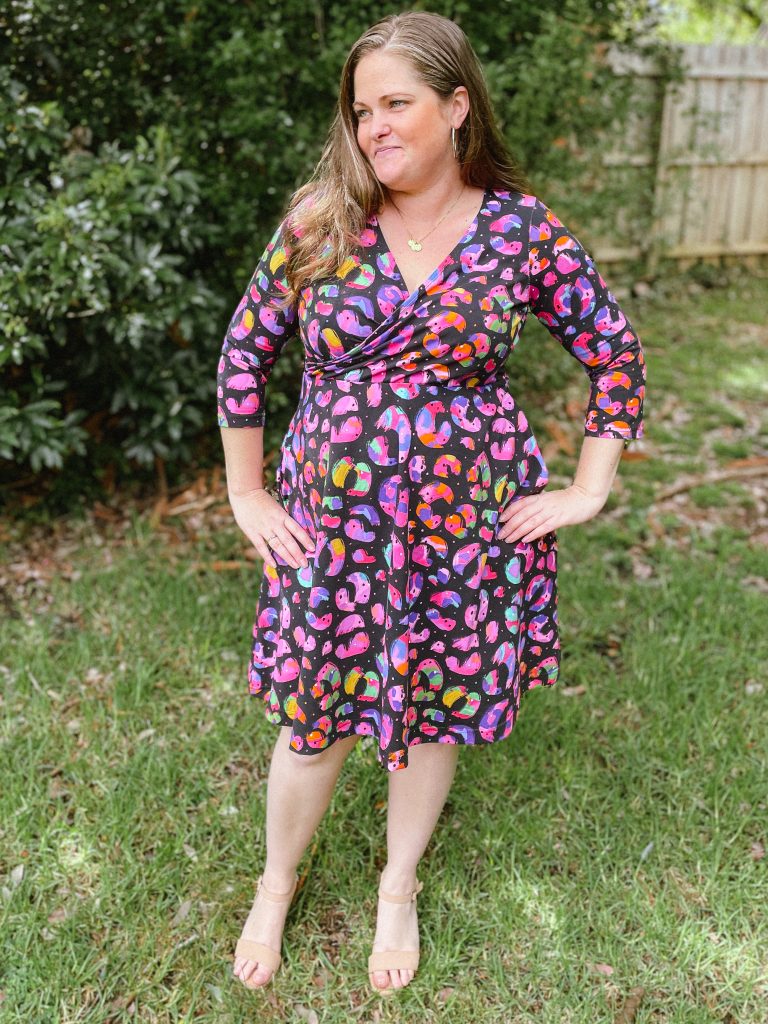
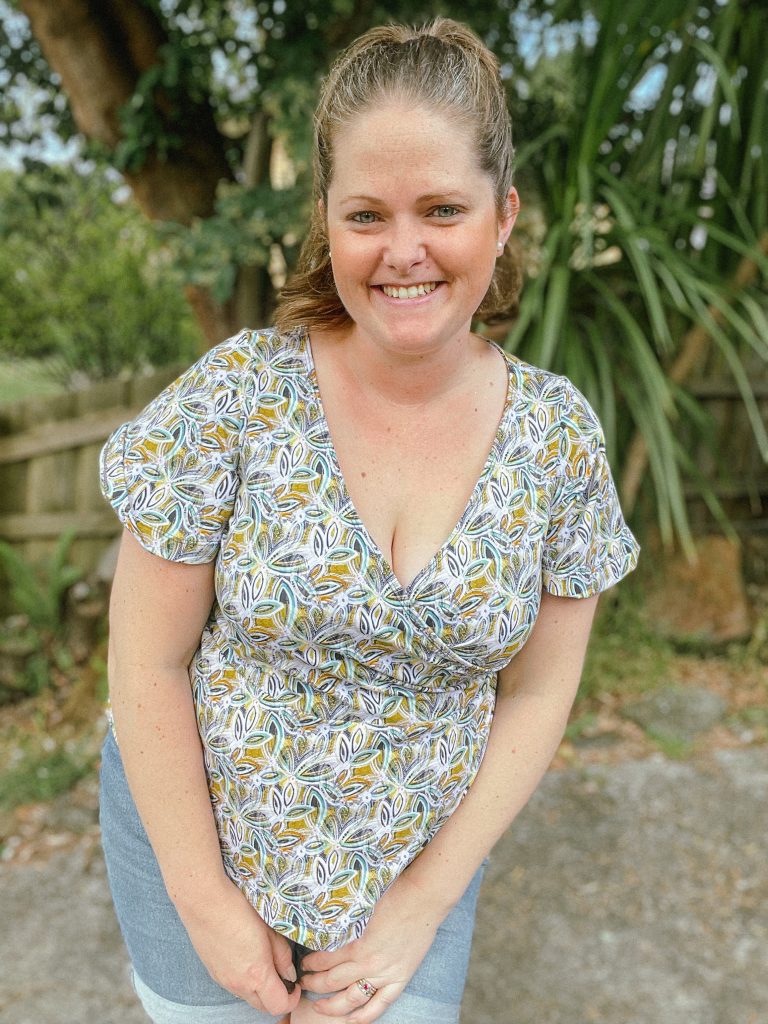
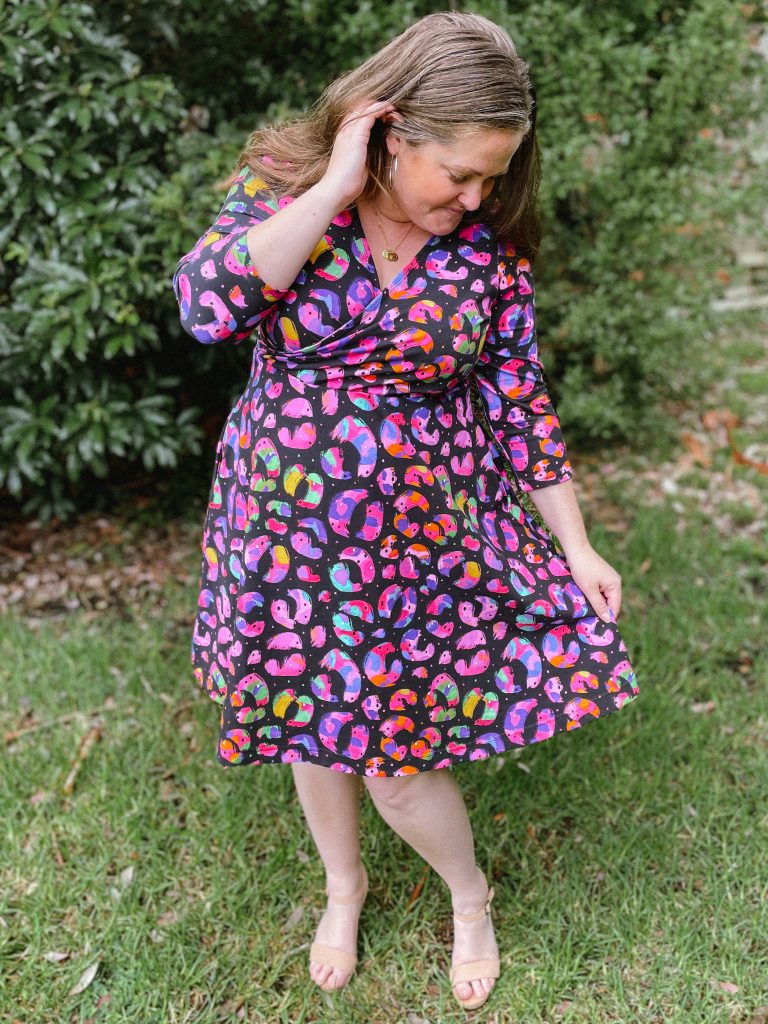
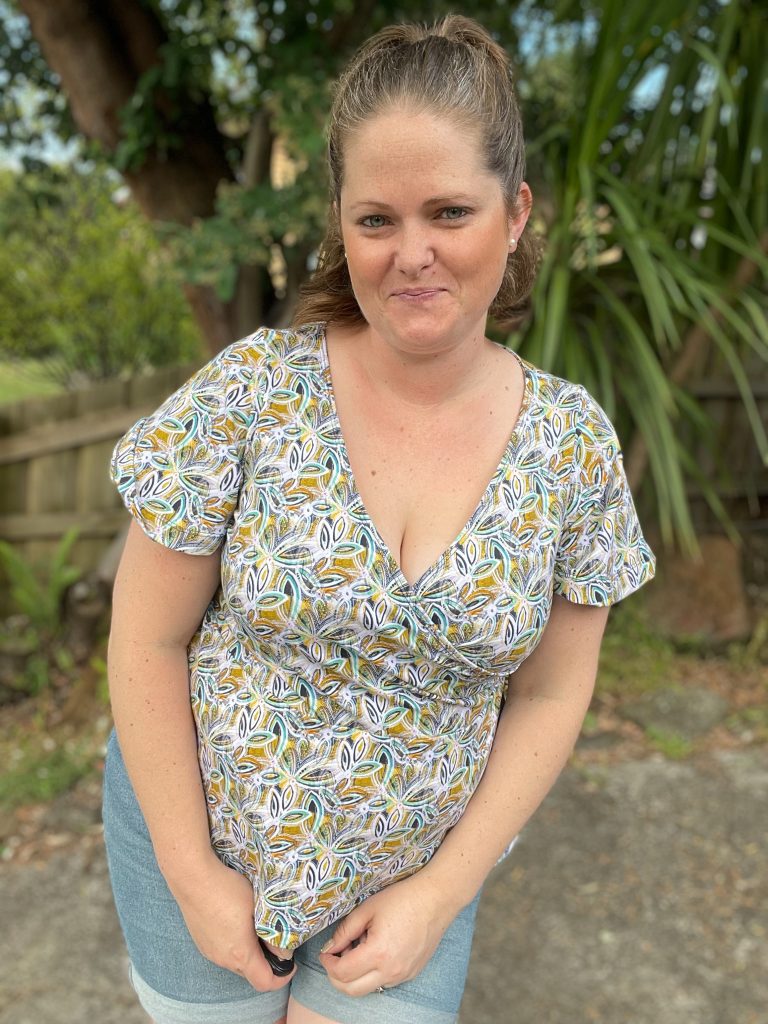
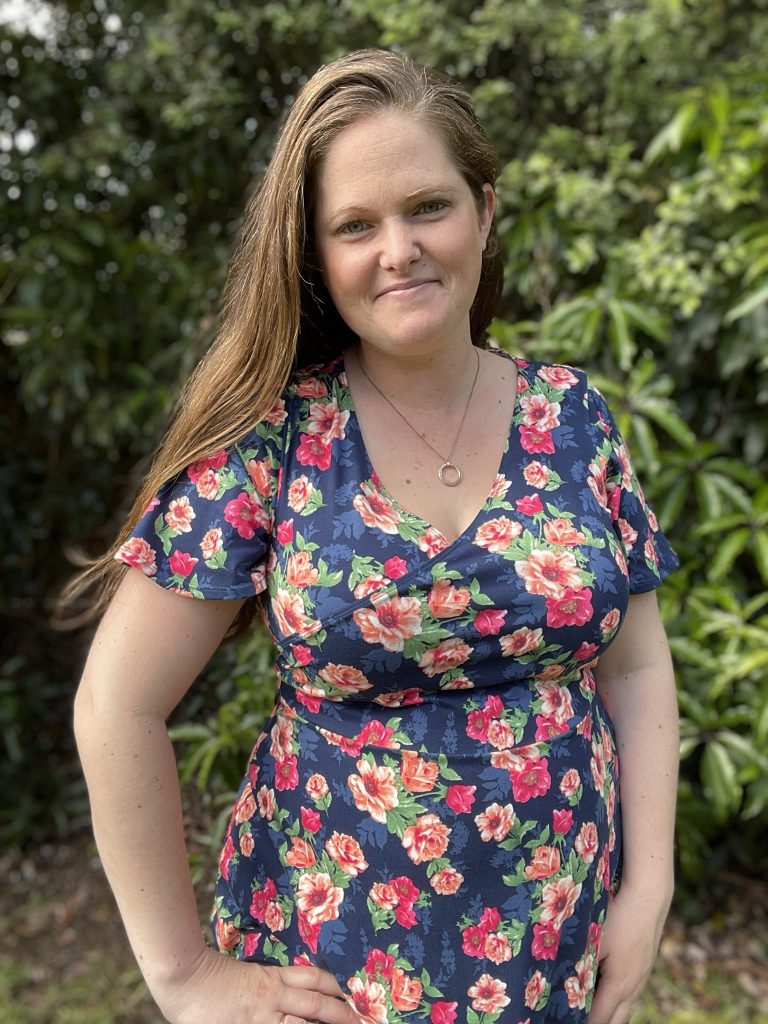
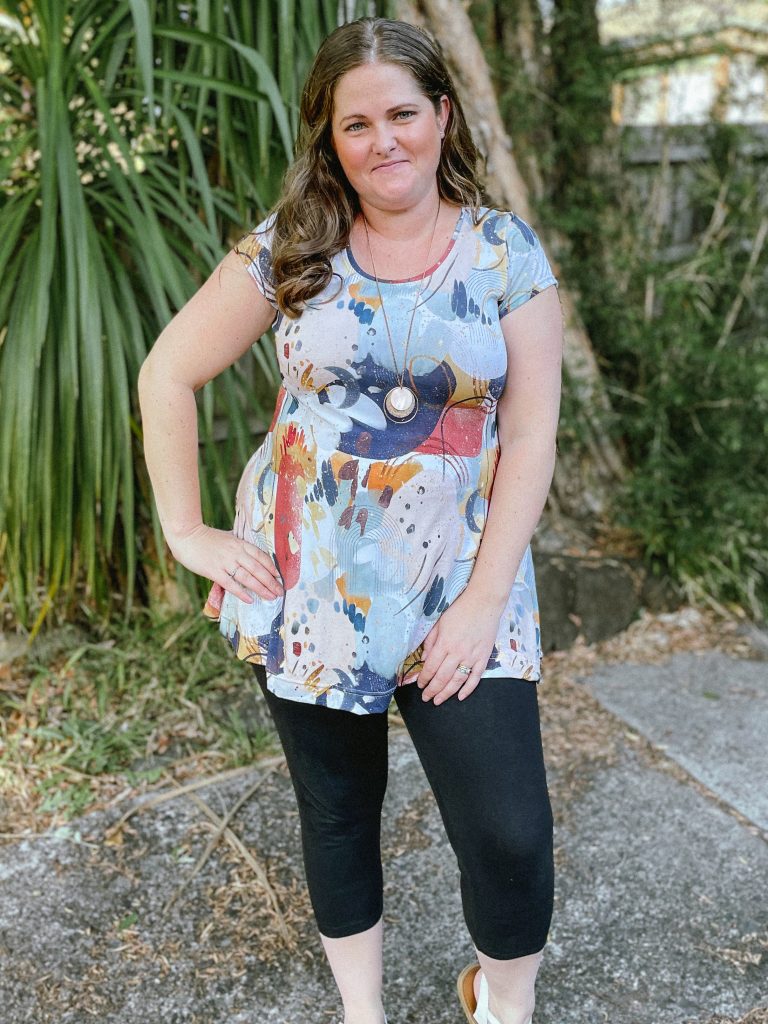
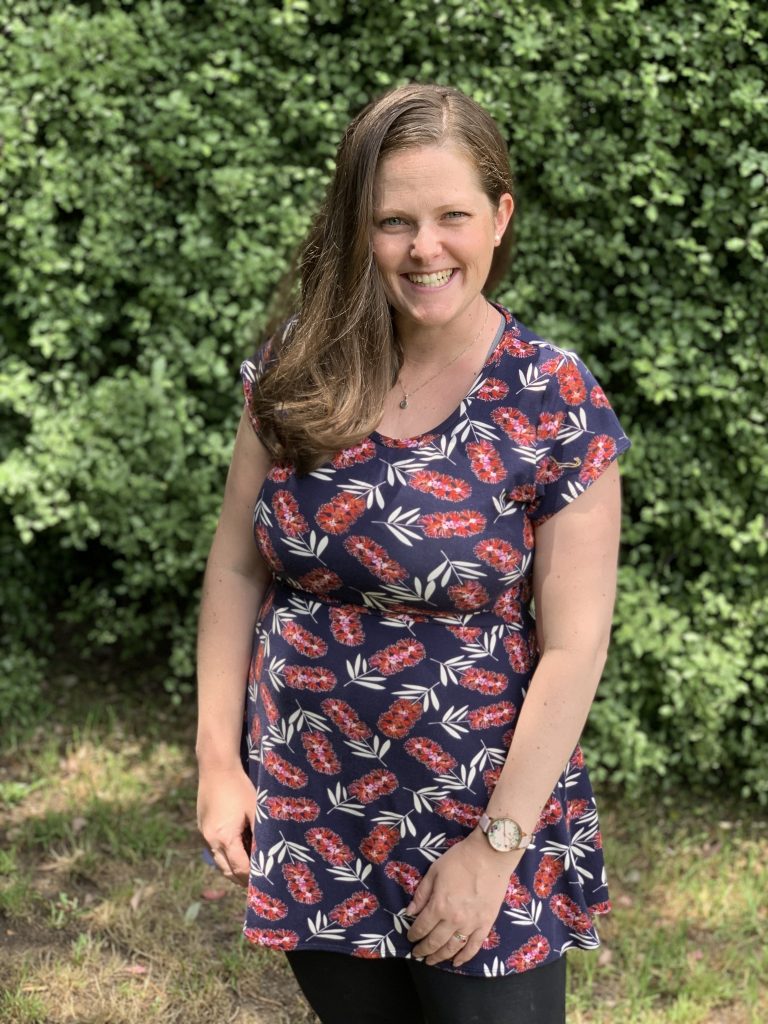
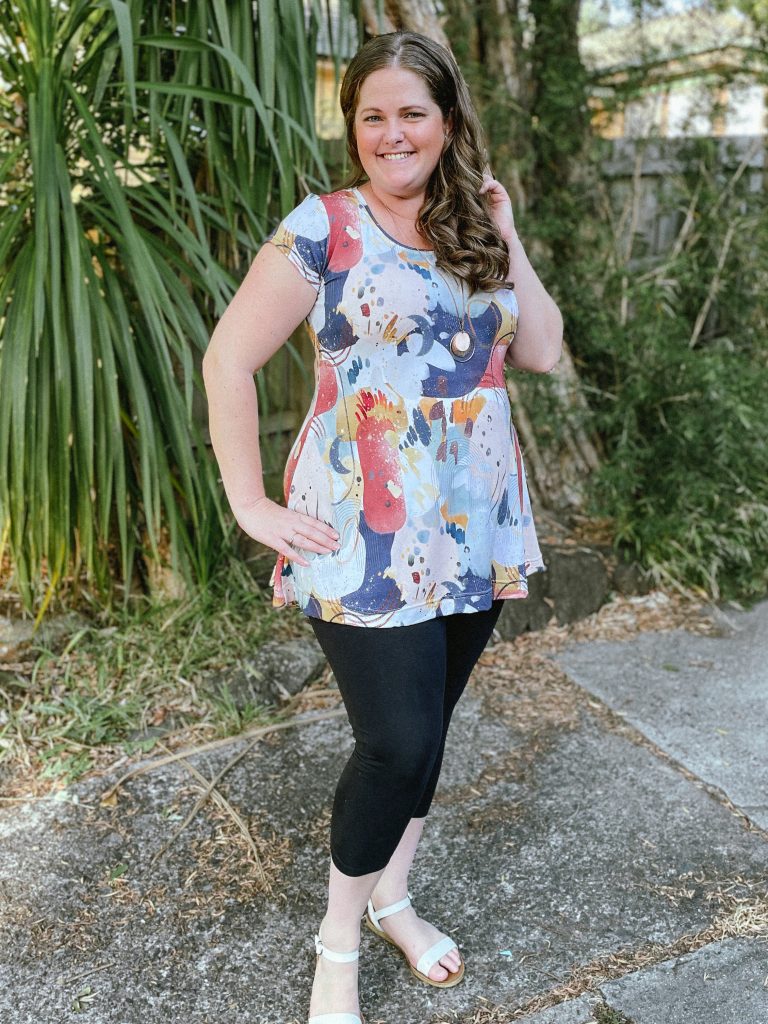
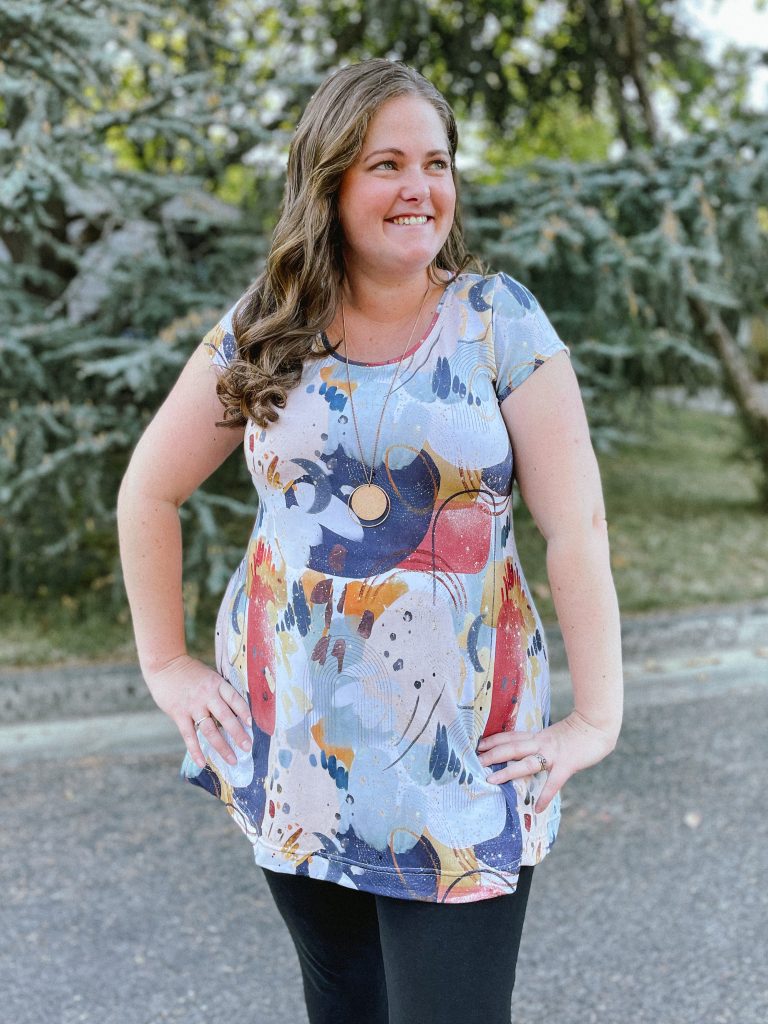
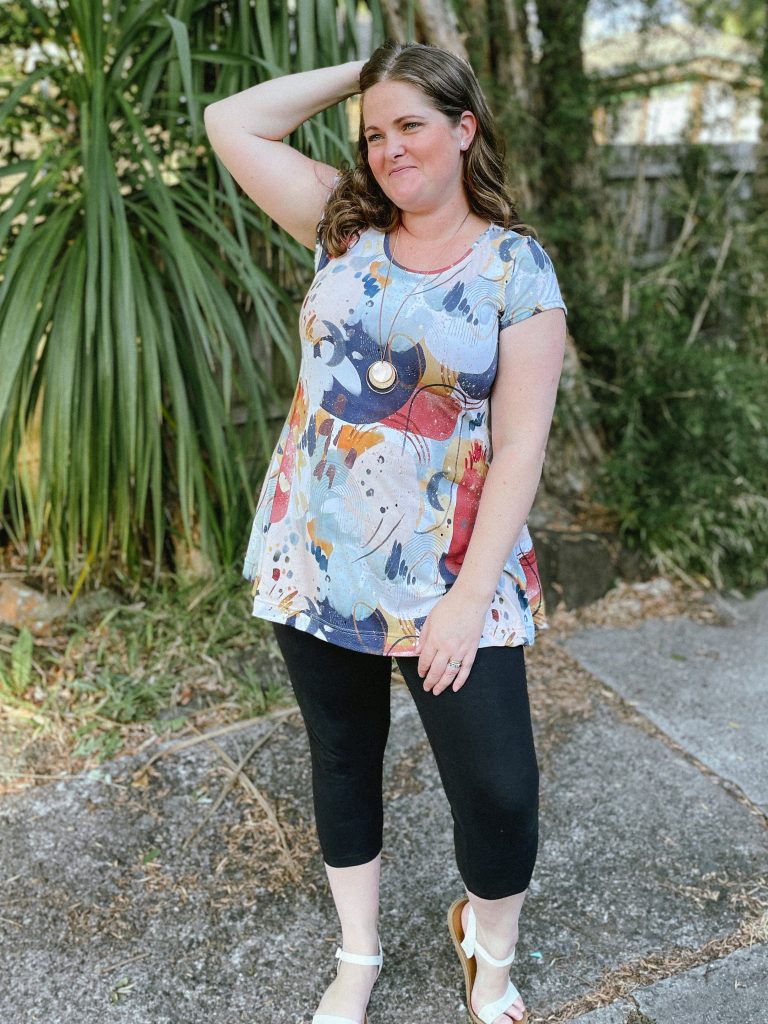
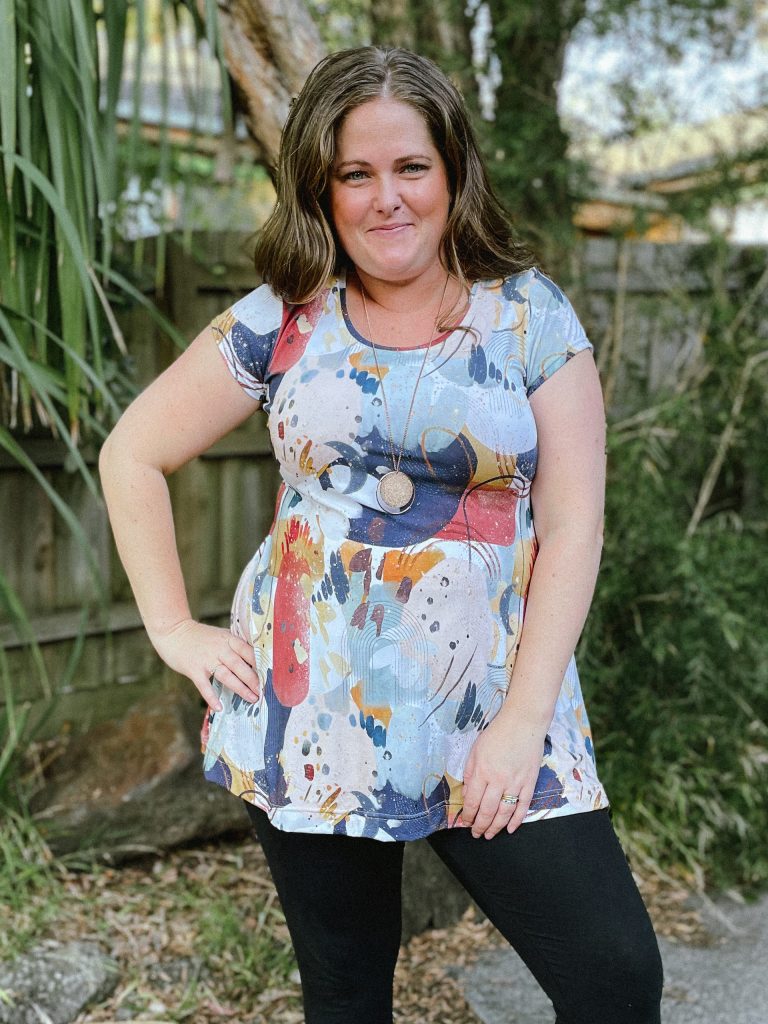
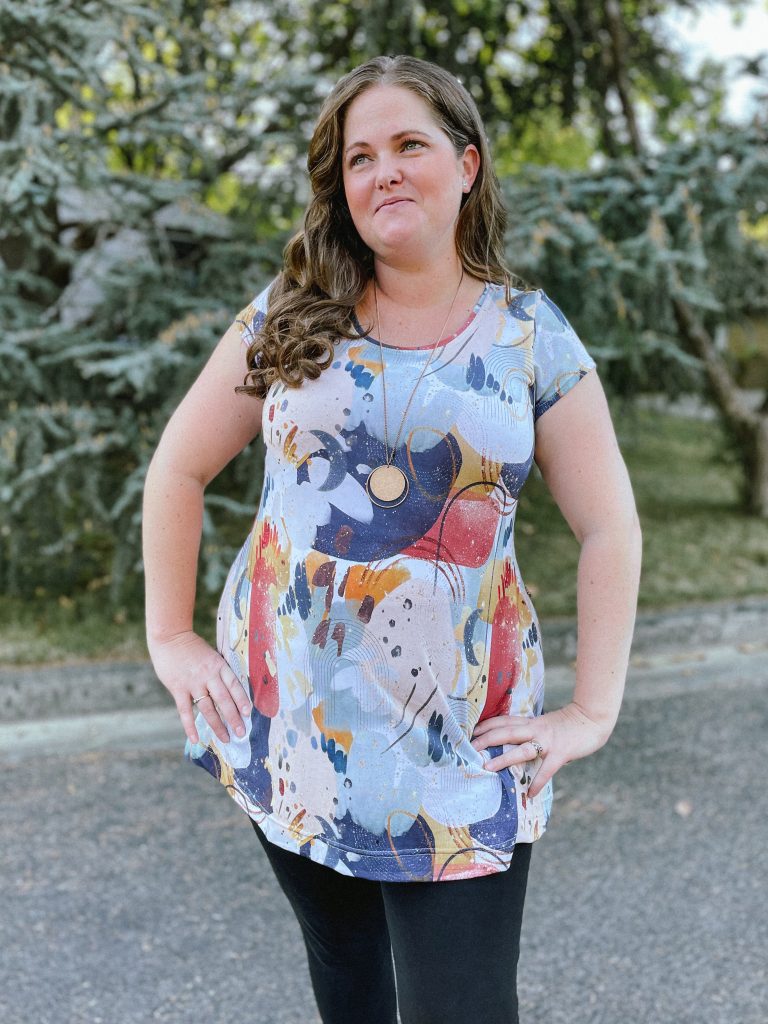
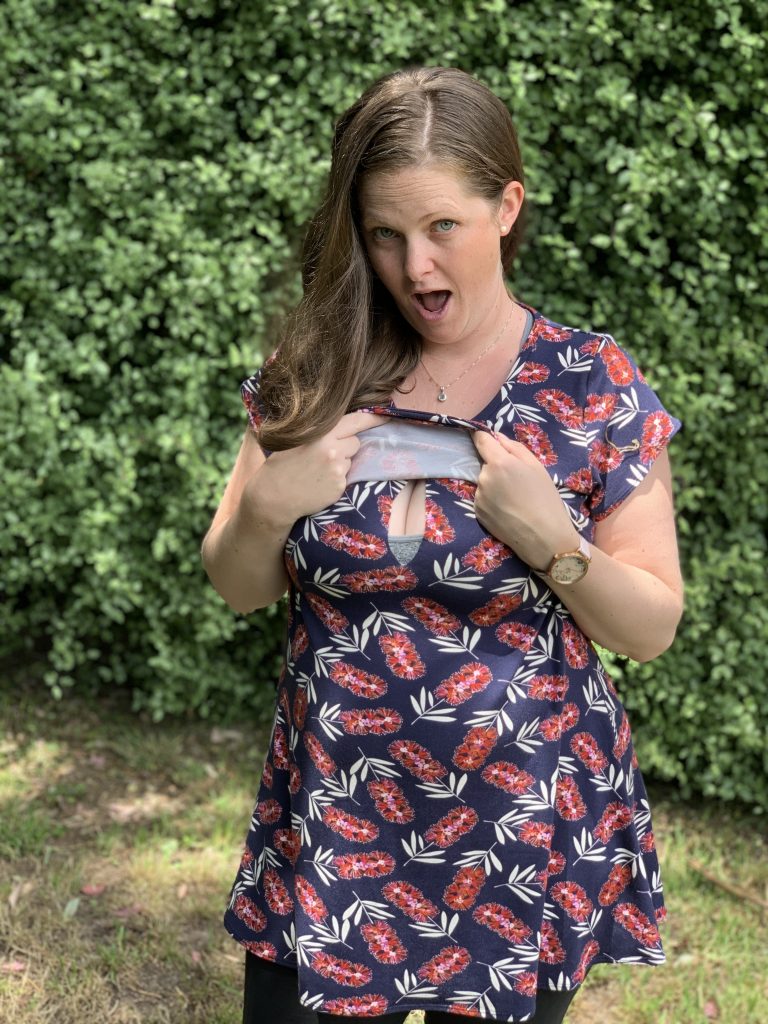
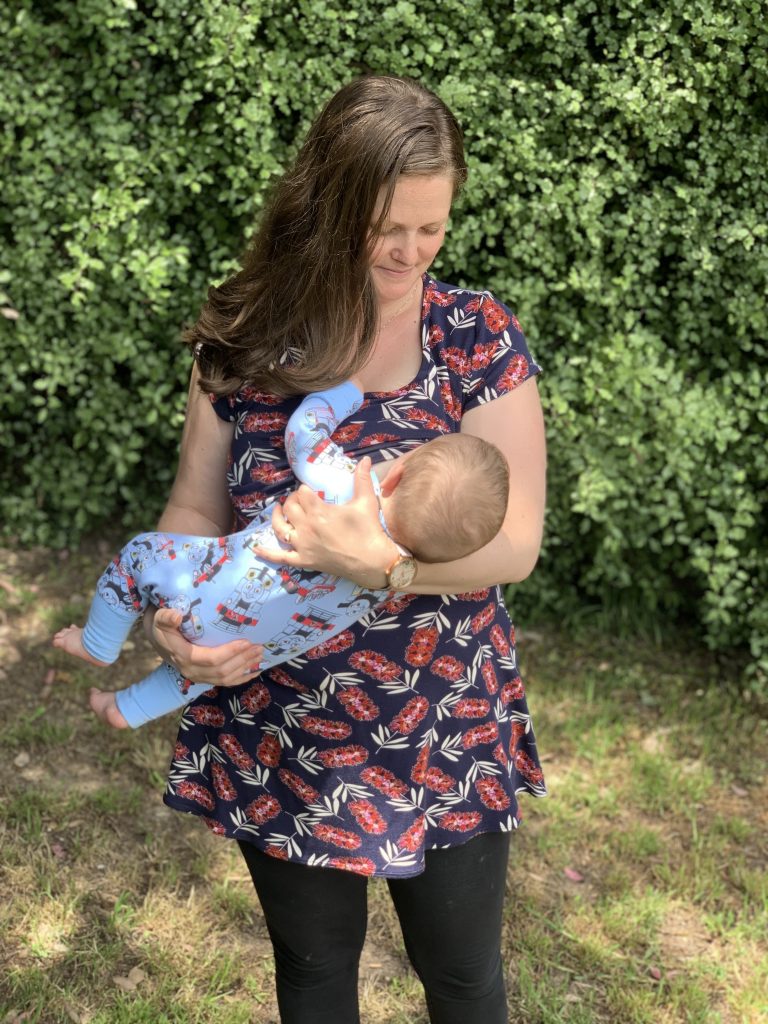
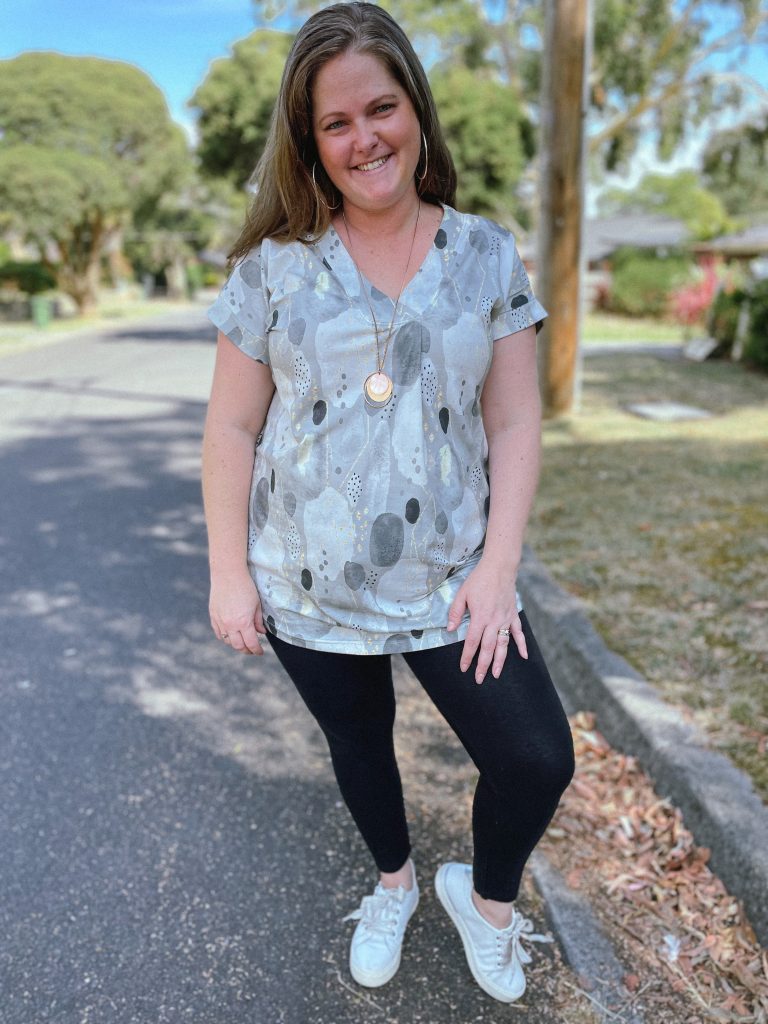
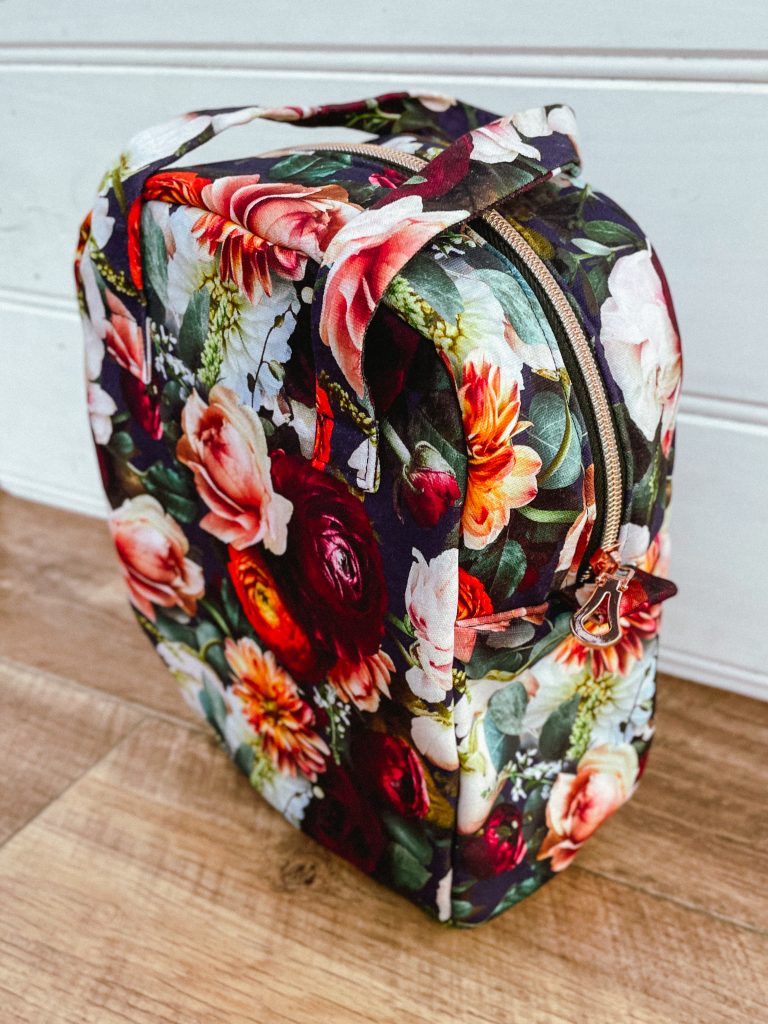
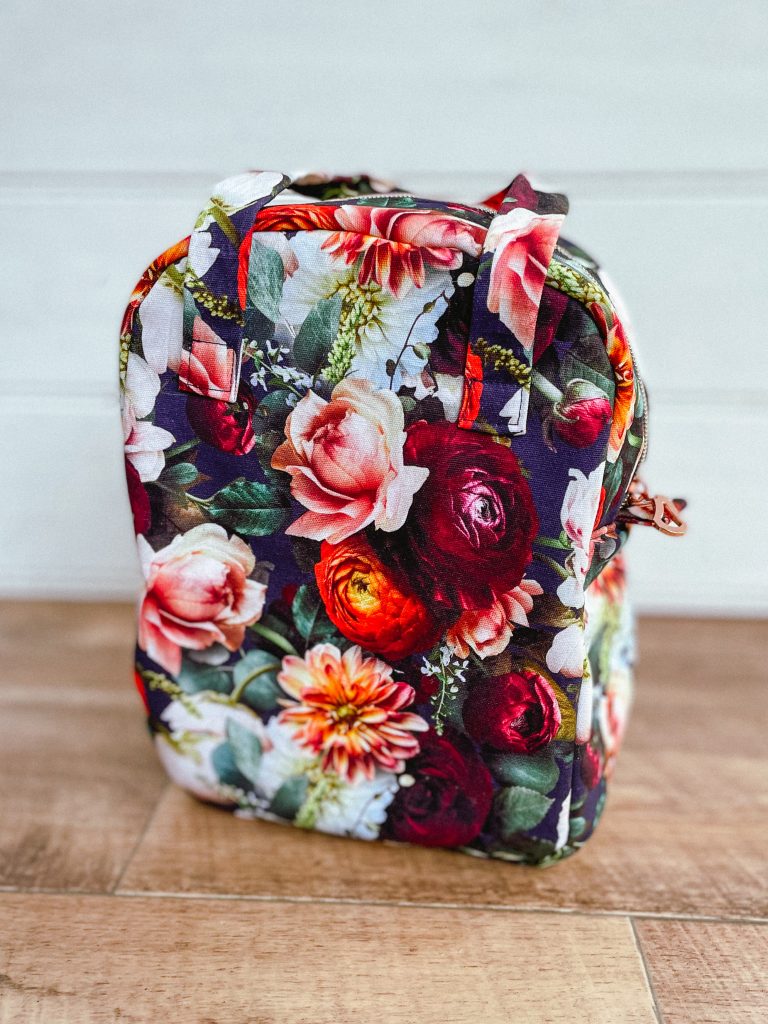
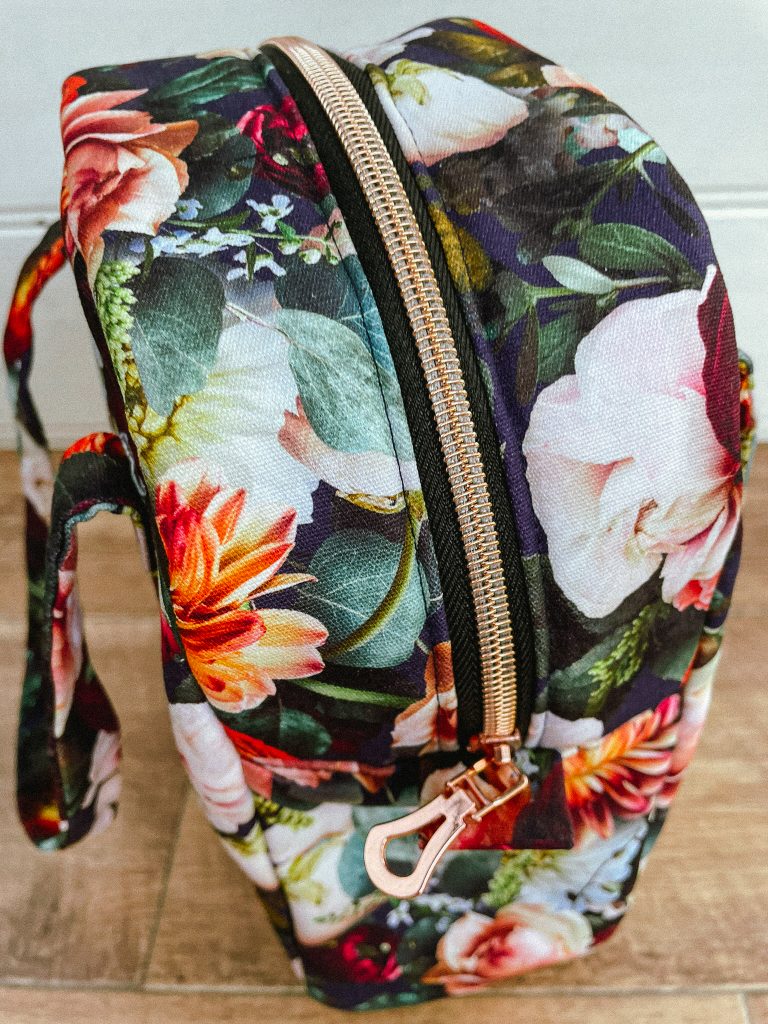
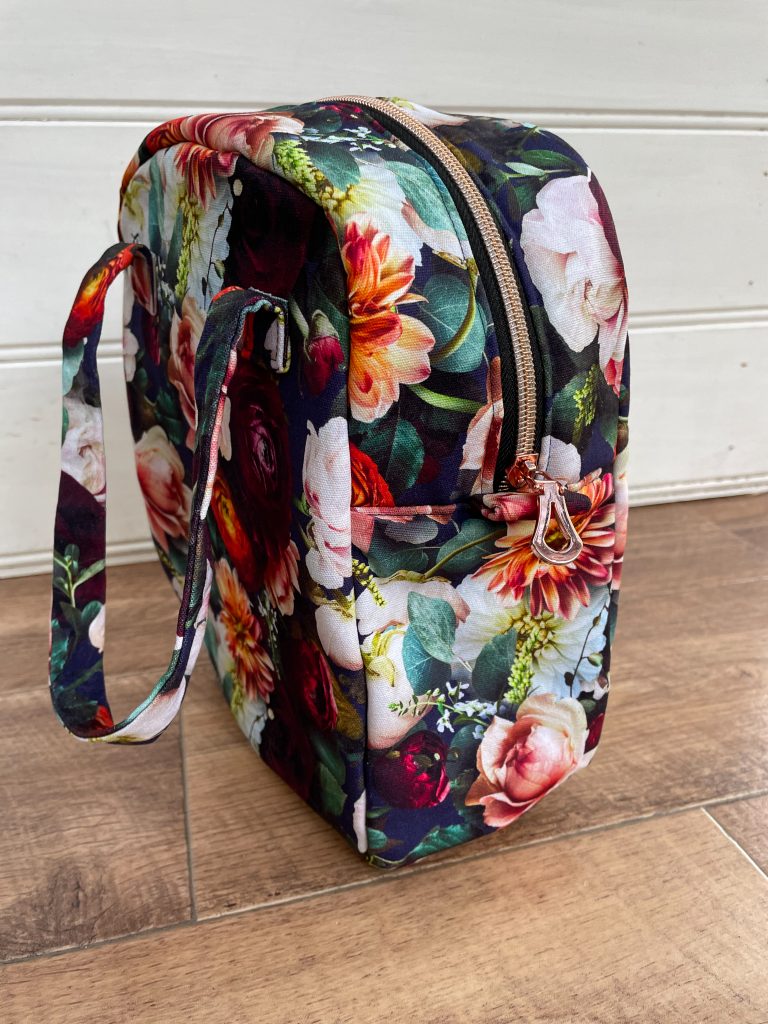
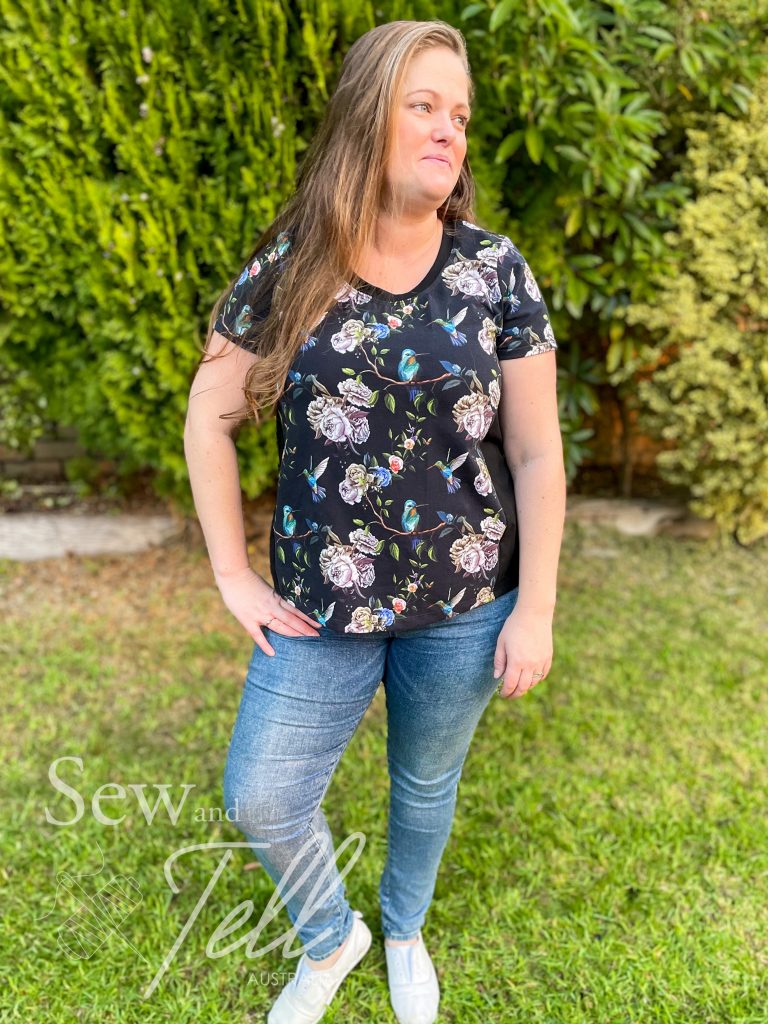
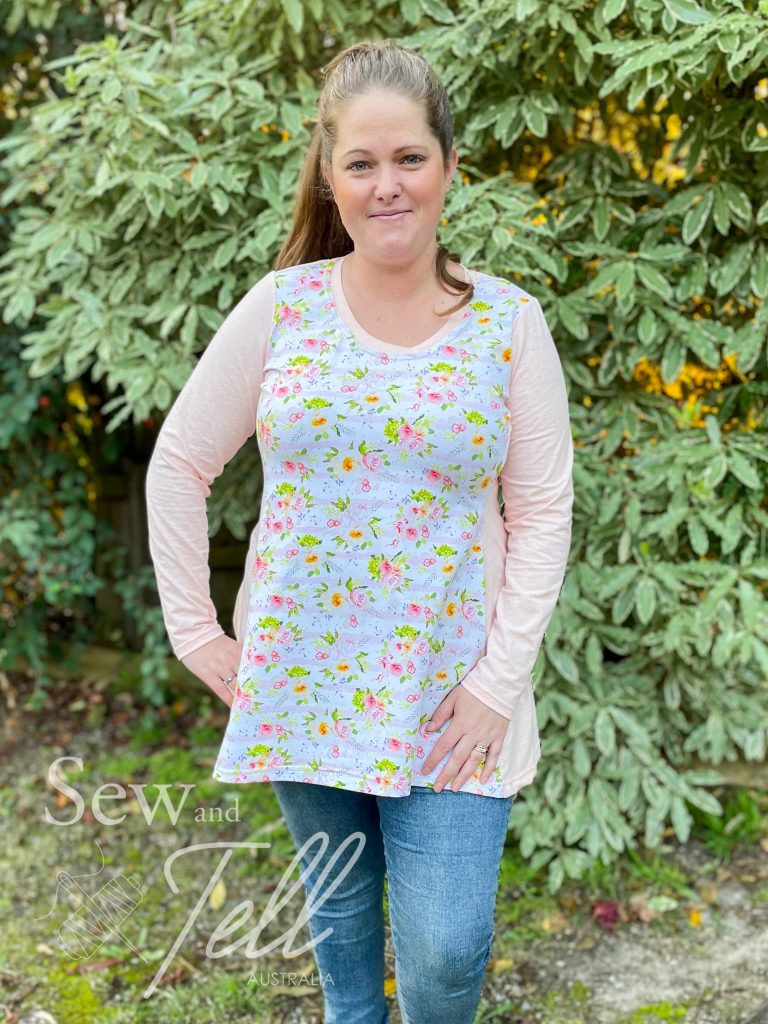
    I think this was one of the first patterns I ever tried of Peek a Boo as it had the nursing option and I loved it straight away.
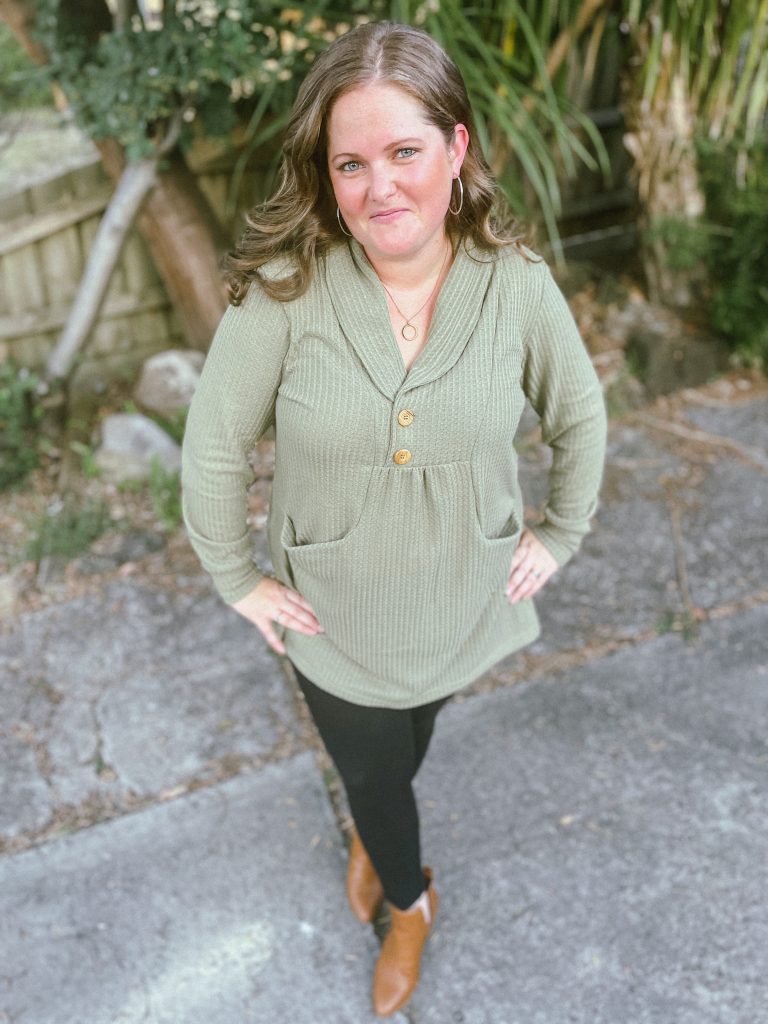
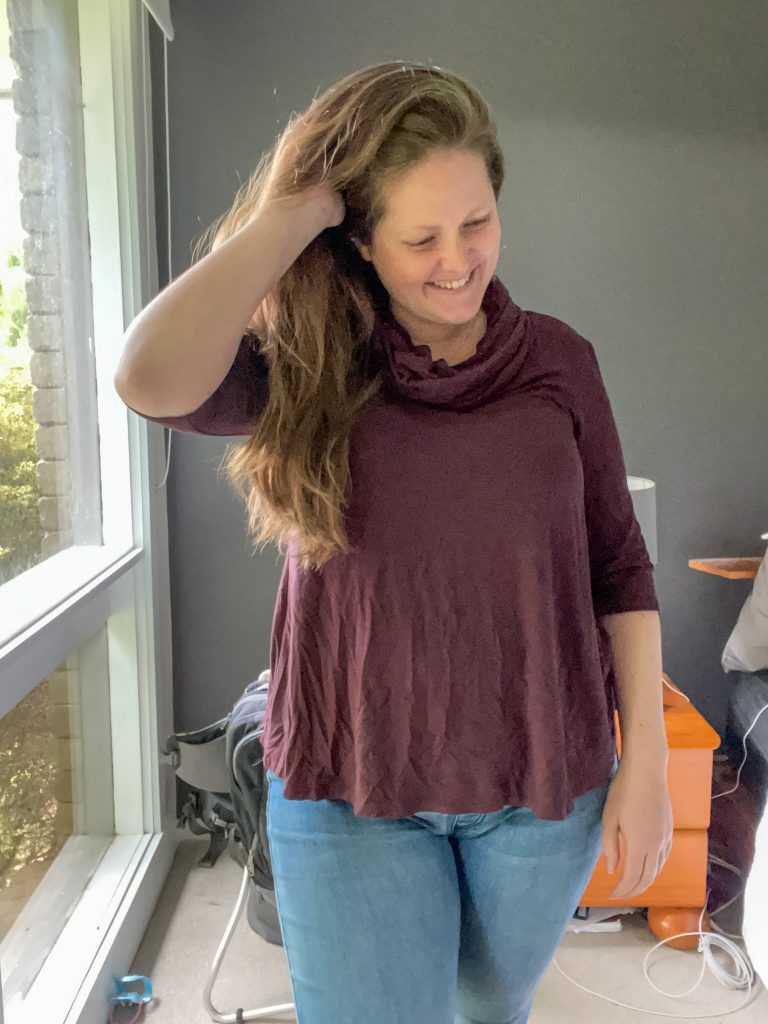
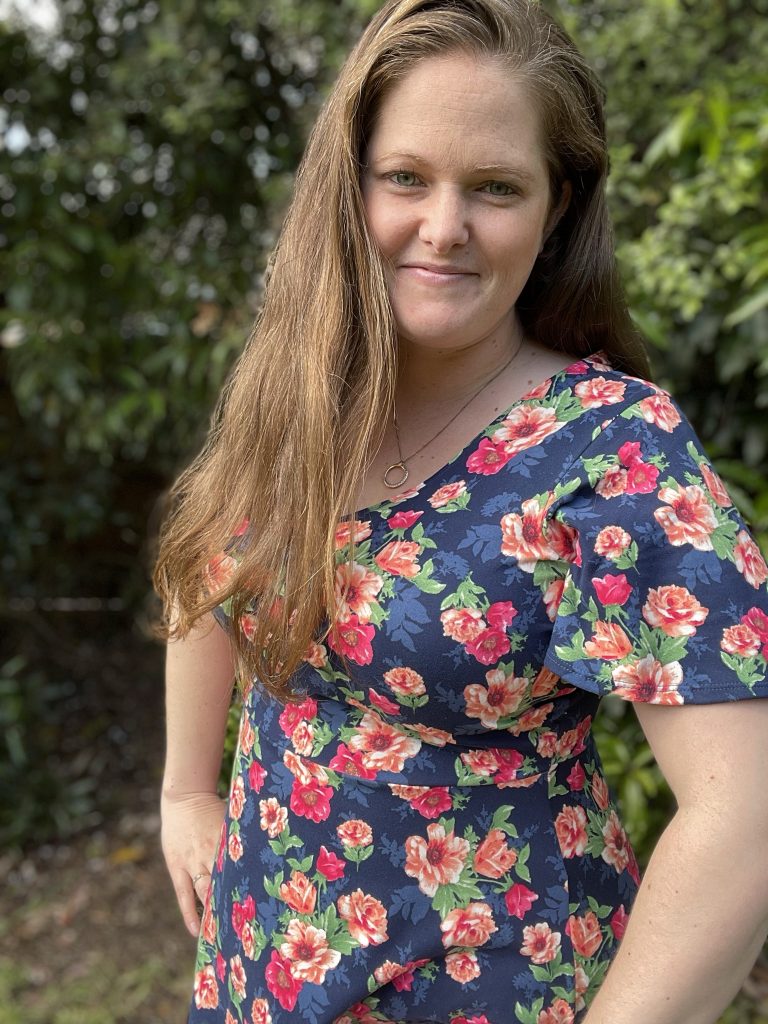
    The fit and flare style really suits me and I love that their are a couple of different neckline options. Especially over the fringe months, I really enjoy a cowl neck for that little bit of added warmth, without having to carry a scarf around. 

    Like I mentioned as well, this has the option of nursing which is so nice to see. When I was feeding my son I had such limited choices in Ready to Wear clothing and it was kind of what sparked me to really give clothes for myself another go, so to be able to make stylish feeding friendly tops was amazing!

    The fabric I made my latest from is a pre order I did with Clover and Co in Bamboo Lycra. I like that this fabric design and pattern can be paired well with both leggings and jeans, making it easy to dress up or down. Put a little crop jacket it with it and a pair of heels if you’re going out, or straight cut jeans and a pair of white sneakers and you’re day ready.

    I 1000000% will be getting more of Clover’s bamboo lycra as well. It is DIVINE!!! SO soft and drapey to wear. I want all the bamboo lycra now.

    What next?

    Find More Sewing Joy

    Discover an inclusive and supportive sewing community with a growing library of sewing tutorials, tips and tricks.

  • February – 52 Week Sewing Challenge Monthly Review

    Week 6 Aussie Pattern

    Well, another month completed in the 2023 Australian 52 Week Sewing Challenge! Only just scraped in for this month and nearly had to submit a reject for pleat week, but then I managed to get a Vivace Dolman sewn with the front pleat so I was able to use that. Phew!

    Lets take a look at each of the weeks.

    Week 6: Aussie Pattern

    I chose to use a Pattern Emporium one for the Aussie Pattern. Kate is up in Qld and is an incredible pattern maker. I have made a few of hers and am about to test a new one for her as well. Highly recommend!

    I made the Best Friends Tee in tank with square neckline. I used the last of my Sprinkle fabric to match with the kids set I made from Rubyjam Fabrics.

    Week 7: Pleats

    I was a little stumped by this one to start with and was going to enter a reject. Then I decided to make a Vivace Dolman from Love Notions and was stoked it had the front pleat to get me over the line for Pleat week!

    I have written a full pattern review on the Vivace Dolman which I’ll link here.

    I used a beautiful cotton elastane from Wattle Hill Fabrics and I can’t wait to wear this one A LOT more.

    Week 8: Autumn

    Another Love Notions sew for this week and one that I was absolutely stoked with how it turned out.

    This is the Whistler pullover and hoodie. I chose to make the shawl collar option and I made tunic length and gathered front. The full review is here and there is also a YouTube Pattern Review here.

    Fabric from Lush Fabrics Australia.

    Week 9: Kids & Pets

    A bit of an easy one for week 9. I’ve got 2 gorgeous kiddos I constantly sew for! 

    The kids love matchy match pjs and this was a great way to match but still make them personlalised to each child. Ted will often refuse to even get changed out of his ice cream pjs so they become daywear as well haha. I’m not even mad.

    The tops are the kids Essential Tee from Peek A Boo Patterns and the shorts are the Jordan Joggers.

    Fabric from Rubjam.

    What next?

    Would you like to improve your sewing? 

    Join a community of like minded sewists who share knowledge, advice and encouragement. All supported by step by step Masterclasses and exclusive content.

  • Free Tutorial: Double Oven Mitts with FREE pattern

    If you’re looking for an easy last minute gift, try this free and easy double oven mitt pattern.

    To get the pattern pieces for free, sign up to my newsletter and I will send you the A4 print at home, A0 and Projector file.

    I was recently looking through my woven stash and remembered I had 2 really beautiful prints from Clover & Co. Fabrics that I wanted to do something with. 

    With Christmas upon us, I thought I would make a cute and practical oven mitt as gifts.

    You can either trace out your existing oven mitts and copy them or if you sign up to my newsletter, I have created A4 print at home, A0 and Projector files to use. 

    I highly recommend using natural fibres for these such as Cotton, being that it will be used around hot areas. Clover and Co. Fabrics have a great range of cotton wovens, I’ll link them here if you’d like to check them out.

    How to sew: Sewing Instructions

    Materials list:

    • – .5m of woven cotton fabric. Quilting cotton, cotton poplin, canvas, drill.
    • . 4m of Thermal/insulated wadding.
    • – Matching thread
    • – Fabric pen/chalk
    • – Scissors/Rotary Cutter
    • – Safety Pins
    • – Pin/Clips
    • – 2.3m self made matching or store bought, minimum 10mm wide double fold binding.

    Step 1:

    Cut out all materials that you need. 

    You should have 2 outer pieces either in matching fabric or you can have a different colour on the bottom. 2 x pair of mitts and an inner piece from insulated/thermal wadding. I used Insulbright from Spotlight.

    Step 2:

    Place your two mitten pairs with wrong sides together. 

    Then cut some binding, either store bought or if you’ve made your own, and pin across the top, straight raw edge. 

    Your straight raw edges should be sandwiched between the binding.

    Sew the binding to the mittens and put them aside.

    Step 3:

    Draw the quilting lines onto the bottom side of your oven mitts. 

    I generally use a quilting ruler to be able to use the 45* angle on it and a fabric pen or tailors chalk.

    Draw lines 2″ apart, across the whole piece, and then cross them the other way to get your quilted look.

    Step 4:

    • – Take your 3 main pieces and layer them so you have the top piece (blue floral) on the bottom, with the right side out/down. Then your thermal/insulated piece (follow manufacturer’s instructions to put the thermal side so it will be on the bottom of the mitt when using it if applicable). Finish with your bottom piece (pink) right side out.
    •  
    • – You then want to put some safety pins through the 3 layers to try and stabilise it while you sew the quilted pattern. 

    More is more in this instance, so don’t be afraid to add a couple of extra. Mine moved a bit too much with only 5 pins.

    Step 5:

    Take your time quilting. The fabric moves a fair bit so it can be good to take your time.

    Follow the lines both ways until you have a lovely quilted pattern. 

    Don’t worry if your fabric has moved a little, we will neaten it up next.

    Step 6:

    Trim your main pieces so that all the raw edges are basically back aligned with each other. This will help when it comes to binding. 

    Step 7:

    Lay your mitten pieces onto your main piece, matching the rounded ends. 

    May need to trim your mitten pieces slightly to fit if you also trimmed your main piece in the previous step.

    Pin/Clip in place and sew all the way around the mitt, close to the raw edge.

    You’re almost done!

    Step 8:

    Cover the outer raw edges of your mitts with the binding. 

    You should basically be sandwiching the oven mitt between the double faced binding and clip/pin as you go. I find it easier to clip in this instance.

    Step 9:

    Sew all the way around.

    I like to sew from the top, but you can sew from the bottom. Just make sure you ‘catch’ the binding from both sides to ensure it won’t come off.

    Enjoy your new oven mitt!

    Don’t forget to tell everyone you made this beautiful handmade gift and tag me, @sewandtellau and @cloverandcofabrics so we can see your beautiful makes as well!

    The one I made from canvas is called the Gayle print and I made my own binding using the Simplicity Bias Tape Maker.

    If you’d like to give this pattern a go yourself, make sure you sign up to my newsletter and you will get the A4 print at home, A0 copyshop and Projector friendly files. 

    Happy making!

    What next?

    Stop wasting fabric and time on projects that don't fit right. 

    Learn to sew with confidence and let me guide you to more sewing success.

  • My favourite Teacher Gift

    Pattern: Cool Time Lunch Bag
    Designer: Waves & Wild
    Fabrics: Floral Cotton Canvas from Clover & Co. Fabrics
    Abstract Drill & Insulated lining from Spotlight
    Black PUL from GreenBeans Au
    Hardware: Zips & Pulls from Dreamy Bag Hardware
    Skill level:
    Intermediate
    Pros: This is a GREAT gift for anyone really. Don’t forget to make one for yourself as well!
    Cons: It can be a little tricky to get all the layers together without shifting.

    It’s that time of year. The crazy time where back in November we had planned hand made gifts for all the people we like and by now, we only like about 3 people. haha.

    Last year I made these for my daughters 3, yes THREE, Kinder teachers and they were a hit, so I was back again this year to make them for her Prep teachers.

    She was in a split teaching class so again this year so I had more than one gift to make, but thankfully I’ve gotten pretty good at them by now. I am thrilled with how they turned out and I’m hoping the teachers are pretty wrapped as well.

    I used a GORGEOUS cotton canvas floral from Clover and Co. Fabrics as well as a funky abstract drill from Spotlight. Both were very easy to work with, however like with any woven they can fray if not finished correctly, which is something to be aware of when sewing. You can either bind the inside seams to enclose them or I ran my outer pieces through my overlocker to neaten up the edges and keep them nice when I sewed it together.

    The lunch bags have an insulted liner so they can used as warm/cool bags and I also line mine with a PUL (water resistant lining) to help with any spillages and make it easier to wipe clean if anything leaks.

    The hardware I used was from my fave bag company Dreamy Bag Hardware. I decided the Rose Gold on both was SO pretty.

    These are such cool gifts when they come together so I encourage you to give them a go. I am super happy with the results and will probably start making next years teacher one now so I will have it finished intime without rushing hahaha.

    Your next step

    Discover the love of sewing clothes you and your family will be proud to wear.

    If you are ready to take the next step in your sewing journey and save time, become a better sewist and craft a beautiful wardrobe, enroll in my member community today.

  • Say Hello to the latest Love Notions Brand Ambassador!

    Get ready for more Love Notions pattern love in 2023

    I am beyond thrilled to announce that I have been asked to join the extremely talented International group of Ambassadors at Love Notions Patterns for 2023.

    I have been a fan of Love Notions for quite some time, so it was an easy yes when they approached me to join the team. Not only because their current ambassador team is full of extremely talented seamstresses, but also because I think they make well drafted patterns that are inclusive of sizes and larger busts.

    I have lots of Love Notion upcoming sews planned to celebrate this new partnership, I am looking forward to sharing those with you all over the coming weeks. 

    A perk of following both me, Sew & Tell Australia, and Love Notions is that I am able to give you an extra 10% off their patterns year round! I love that I can offer that to my loyal followers. 

    The code will change every quarter so be sure to always check through my socials to get the most up to date code, or you can always send me a msg on either Instagram, Facebook or Email.