Inspiration, Tips & Tricks

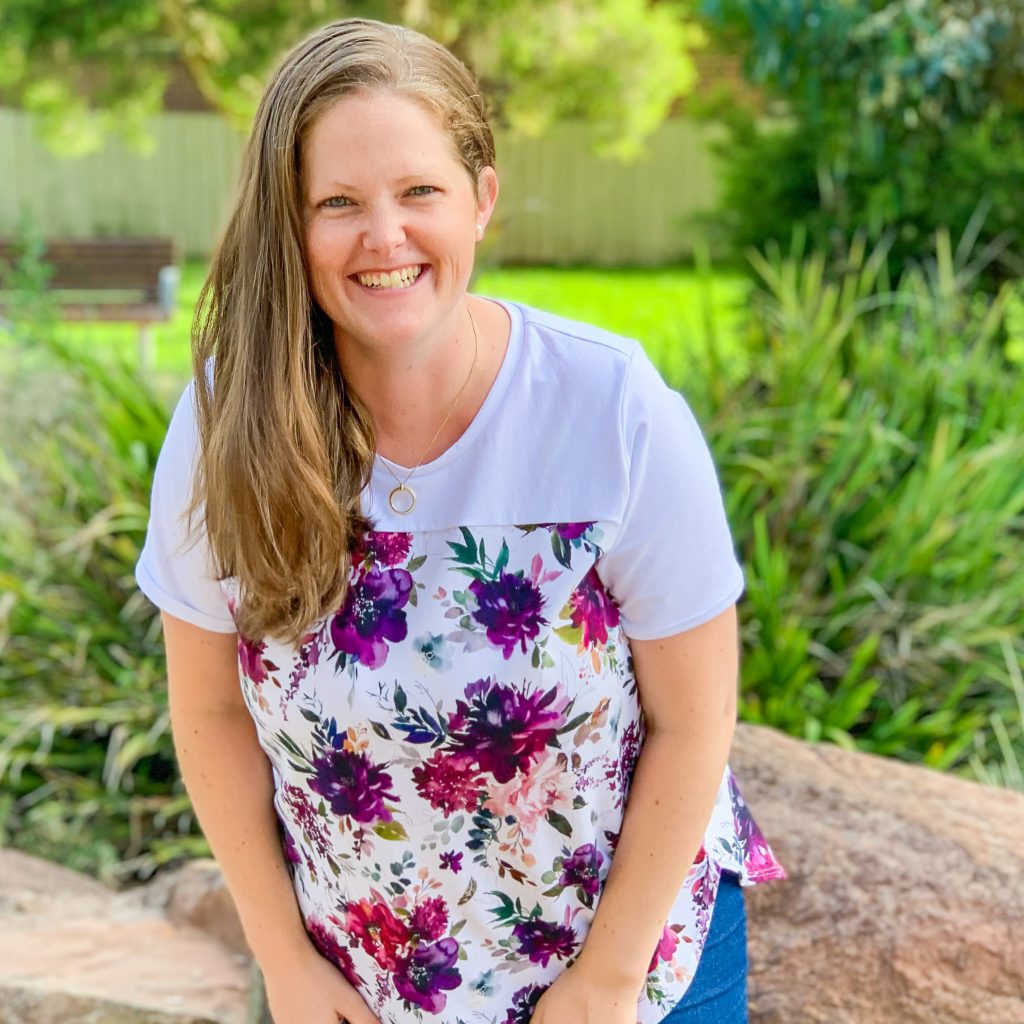
  • Pattern Review of the Caroline Shirt/Tunic

    Pattern: Caroline Shirt/Tunic – Tunic View (Patreon Exclusive)
    Designer: Sonia Estep Designs
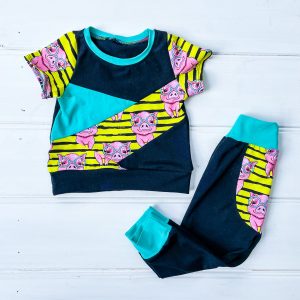
    Fabrics: Main Fabric – Slub knit from Spotlight
    Accent Fabric: Cotton Lycra from Fabric by Missy Rose
    Measurements: Bust: 42.5″; Waist: 39.5″; Hips: 47.5″
    Size made: 18 bust graded to 20 Hips
    Adjustments: None other than the size grading
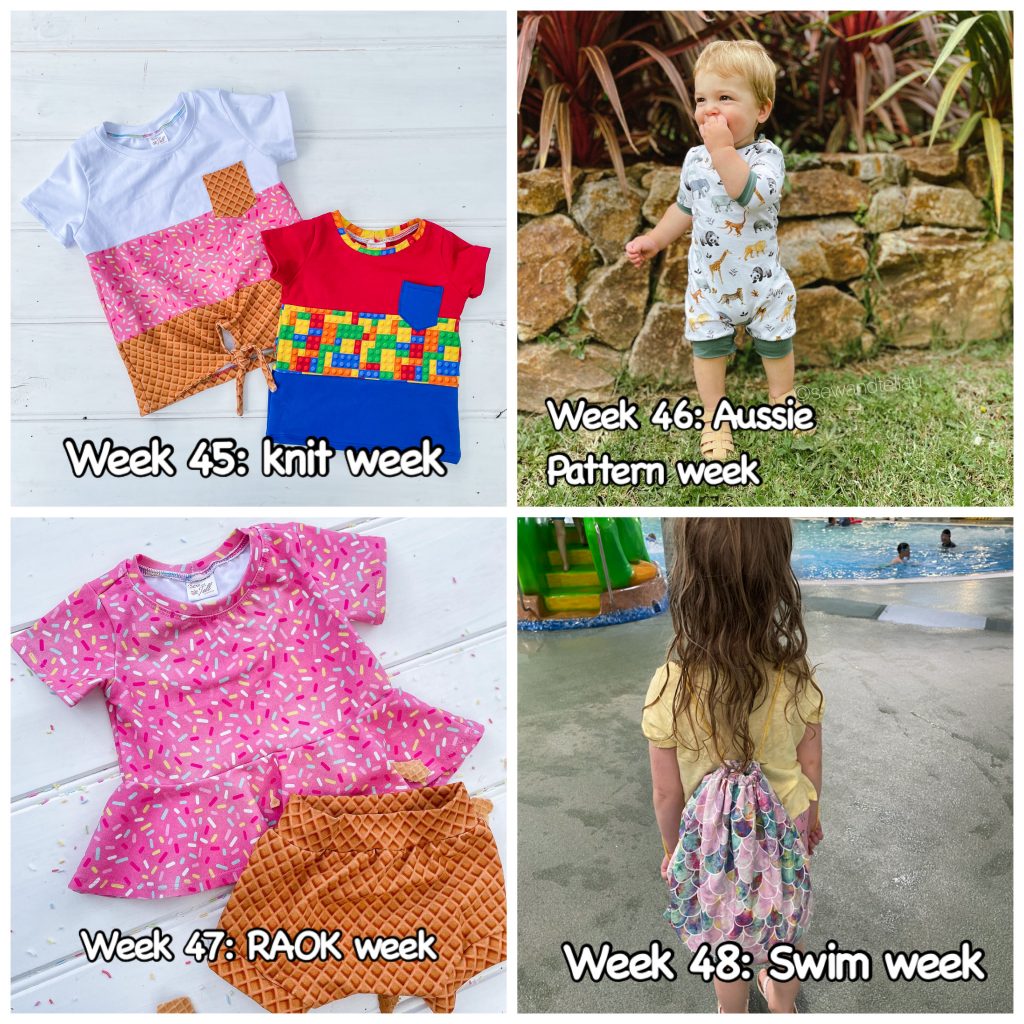
    Pros: Nice relaxed style, good to colour block different fabrics. Inclusive size range.
    Cons: I had some troubles with the instructions and order of steps in the instructions. Beginner sewists may have some challenges in the construction, but if you’re willing to give it a go, don’t be deterred!

    The Wrap Up:

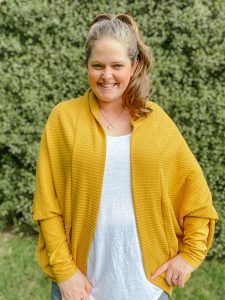
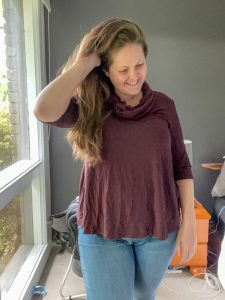
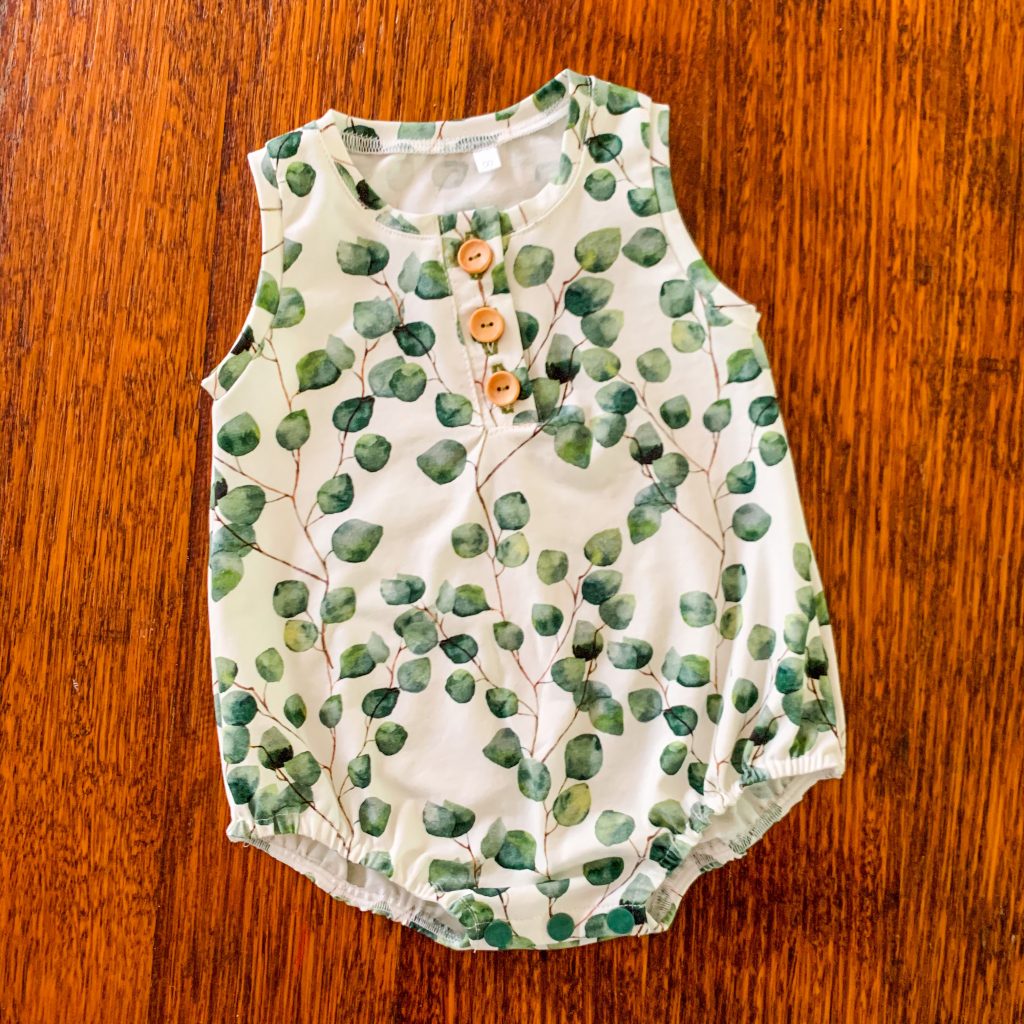
    When I first saw this pattern, I thought it would make such a great winter staple. I love the low V with the option to make it lower or higher by the amount of buttons/snaps you have done up. I also liked the option to colour block, as I often enjoy mixing and matching different fabrics and colours.

    I actually got the main fabric, the slub knit from the clearance table at Spotlight where it was marked down to $8pm, plus that week had a further 50% off clearance fabrics. I grabbed 4 metres and I’m glad I did. It is lovely and soft and I think will be good to wear as is during the fringe seasons, and layered in the winter months. The accent fabric is a 220gsm Cotton Lycra I’ve had in my stash for quite some time and I *think* I got it from Fabric by Missy Rose, but it could also have been Dizzy Daisy or Ella Jewel, but my heart say FBMR haha.

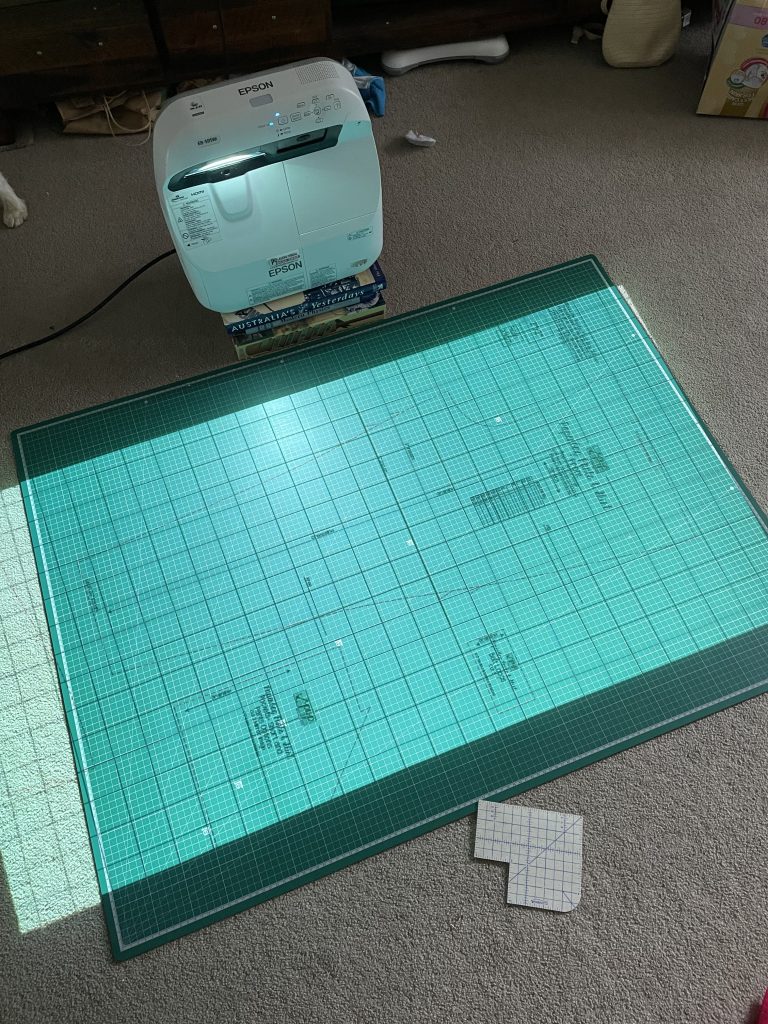
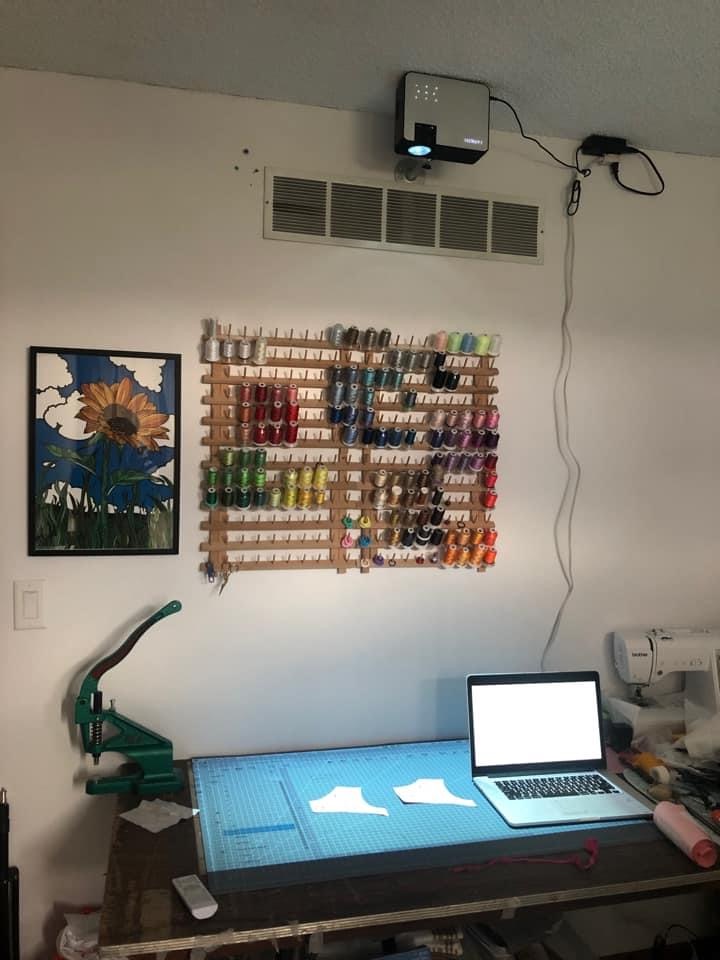
    As usual I used my projector to cut the pieces and found they were easy to see however I did run the file through pdf stitcher to add 20inches around all the sides to give myself more room to manoeuvre the pieces around my cutting matt. Most of the pieces were ‘folded’, so if you like unfolded pieces, you’ll need to adjust that yourself.

    When it came to the construction, most of it came together fairly easily though I had trouble with my placket. I actually ended up cutting a new front which was annoying to have to ditch the fabric, but hopefully I can repurpose for something for Miss J. I think my troubles were a combination of the fabric I chose and I personally didn’t like the way the placket was put together. Others may have less issues, but I just had a few problems hence needing to cut a second front. Luckily I was able to save the placket pieces and use them again on the new front piece.

    So all in all a really lovely garment that I think I’ll get a lot of wear out of.

    Links:

    As this is a Patreon Exclusive pattern, you can only get access to it once you join their program. However, this is a no commitment program and you can literally sign up, download the pattern and cancel your subscription. I would recommend staying on for the month you pay for to get the benefits, but you are not locked into a set period. Click the link below for more information on Sonia Estep Designs as well as the Caroline Pattern


  • Pattern Test of the Back to Front (BTF) Dress

    Pattern: Back to Front (BTF) Dress/Romper
    Designer: Tadah Patterns
    Fabrics: Cotton Poplin – I think from Spotlight, have had a LONG time
    Measurements: Chest: 46cm; Waist: 47cm; Height: 77cm
    Size made: 00 chest graded to 0 height
    Pros: Really simple construction, can be worn both ways.
    Cons: Size was a little tight on my models, may want to consider sizing up.

    The Wrap Up:

    This was my first time testing for Tadah. As a long time lover of there patterns, it really was quite an honour to get a chance to help owner Lauren to test this latest pattern.

    I put my hand up to test the 00 size as I was going to be using my friends little girl as my model. When I got her measurements she ended up fitting in the 00 size for chest but 0 for length, so I ended up grading to suit.

    Finished Garment ready for fit photos

    The version I tested was a little long in the short straps which I know was fixed in the final pattern, which is why its so important for designers to get a variety of models in the test phase, to iron out any of these little issues.

    I chose to use a cute floral woven I’ve had in my stash forever and it turned out so cute. I did the most simple version as I was running a bit short on time to get my fit photos in. I was able to use my friends little girl for fit photos, but on the day didn’t get to do any styled shots. As there weren’t any major changes to the final version, I was able to use my fit garment for the final photos but changed models to my neighbour as she was available the day I could take the pics. Lucky the are the same size 🙈.


    I love the versatility of this pattern being that it can be worn both ways and still look super stylish and cute. It also has quite an easy construction designed with beginners in mind, so definitely give this a go if you’re new to sewing and want something easy. Lauren also has a really helpful Facebook Group that you can join for extra help or advice if you get stuck.

    I have a few more of these planned now, I want to try the ruffles and I think they would make a great baby gift.

    This pattern is on sale to celebrate its release so jump on the link below and grab it while its discounted. Tag me in your make so I can see your cute version as well!

    Links:


  • 52 Week Sewing Challenge 2021

    Last year, 2021, I participated in my first 52 week sewing challenge. From the first week, I LOVED it!!

    For those that don’t know what it is, let me give you a little run down.

    The challenge is run through a Facebook group by 2 incredible ladies, Angie and Lisa as well as a bunch of other Australian based fabric and pattern companies that help sponsor the prizes through the year.

    At the start of the year we are given a prompt for every week of the year and from that, we need to sew something that fits in with the prompt. The ladies help give us some direction on what you could do, and what might be considered as ‘too loose’ to fit in with the theme.

    While the challenge is called the 52 WEEK challenge, it doesn’t necessarily mean you have to sew an item a week. You have the whole month to submit your challenge sews, so its up to you if you sew each week, or perhaps you get all done in one week! As long as you have the items finished by the first Wednesday of the following month you are eligible to enter the prize giveaway.

    Example of the 2021 weekly sewing prompts

    There were a couple of months I was cramming all the sews in the last week and some where I had it all finished before the end of the first week. haha. It’s all about balance right?! If you miss a few, you can always catch up at any point.

    There are also 6 ‘reject’ weeks available which means if you don’t like the prompt or can’t get it done in time, you can use a ‘reject’ and submit another make and you’ll still be able to enter that months prize draw, but you can’t use more than 1 reject in a month, and there are only 6 in total!

    So thats the challenge in a nut shell and I am so pleased and proud to say I completed all 52 weeks, on time, with no rejects! Sadly I didn’t win any prizes throughout the year, but I had the best time and was definitely challenged by a few prompts to try different styles and patterns that I would not have normally tried.

    I have already signed up to the 52 Week Challenge 2022 and am off to a cracking start. I’m hoping to blog about each week, though I might release them on a monthly basis. I am also planning to release a few more regular blog post documenting my journey’s with pattern testing and various other things, though its a challenge finding the time to sit down and write them, so we will see!

    I’d love to see you join the 2022 challenge, so if you think you’d like to come and check it out, follow the link below to be taken to this years Facebook Group.

    Lastly, I hope 2022 finds you taking on new sewing challenges, but most of all just enjoying the process of sewing. 🙂

    See below each of my 12 months of the 2021 challenge. It was so much fun.

  • Projector Sewing – The next big thing in Patterns

    Do you hate printing, sticking, tracing, cutting, pinning then cutting again on your PDF patterns only to realise the size doesn’t fit? Or you blinked and your kid is in the next size so you have to trace and cut a new size?

    “Well, be prepared to have your mind blown”

    Using a projector in sewing is an emerging trend, bringing sewing and patterns into the digital age. This exciting use of existing technology holds so much promise for sewing enthusiasts.

    So, what is projector sewing you ask?

    Projector sewing is using a common household or office projector to project your pattern pieces onto a flat surface. Place your fabric down on the surface, use your rotary cutter to cut out the pieces you need.

    By using a projector, you eliminate the very lengthy and cumbersome steps of having to print your A4 pages from PDF patterns and assembling them together, or even with traditional paper patterns, having to trace and cut the size you need.

    A big incentive for me is the fact you don’t then have many ten’s or indeed hundreds of patterns and sizes lying around trying to store them. All you need is data storage, either on your computer or online, a place for your cutting mat and projector itself (if you don’t have a ceiling mounted model). Most Ultra Short Throws are around the size of a large shoe box.

    Which leads me to my next point, what type of projectors are there?

    There are 2 types of projectors being taken advantage of at this point. Ultra short throw projectors, or ceiling mounted.

    In a nutshell, Ultra Short Throws (or UST’s) are being utilised as a more portable option. Ceiling mounted is better for those who have a designated cutting area.

    There is a lot of factors to take into account when deciding on a projector, I highly recommend joining the Facebook group; Projectors for Sewing. This group is a wealth of knowledge, they have checklists and advice on what might suit your situation the best.

    From my personal experience, these are some of the distinct advantages and ultimately disadvantages of projector sewing:

    Pro’s:
    – No printing, cutting, sticking, tracing etc.
    – Time saving, you can get to the sewing much quicker
    – Can grade easily
    – Can try multiple new patterns and styles very quickly
    – No storing of patterns
    – Layers on the pdf make it incredibly easy to see which size you are cutting
    – Fabric pattern matching or placement is easier to see while you are cutting

    Con’s:
    – Modifications of pattern pieces is more challenging, but not impossible
    – Can not lay pattern pieces ‘jigsaw’ style to get the most from fabric. You need to plan a lot of that virtually
    – If you don’t have a dedicated sewing area, there are a couple more steps each time to set up your projector

    As projector sewing becomes more popular, I have no doubt we will start to see projectors emerge that are targeted to the sewing world specifically. With the development of this technology, it may help overcome some of the challenges with the current set up. A lot of pattern designers are already offering pdf print as well as projector files, A0 or copy shop files are generally also able to be used successfully as well.

    But how much do they cost?

    A very important question. I was able to pick up my projector second hand from a school for $250AUD. It is an Epson EB-595Wi UST, I know a number of people who have bought their projector second hand as well. It is worth keeping your eye on eBay and Facebook marketplace for any deals. Otherwise a brand new ceiling mount projector is approximately around the $200-$300AUD mark for a reasonable one, while the UST’s can be around the $2k-$3k AUD price bracket.

    Since becoming more adept at using my projector, I have been soooo much more adventurous in my sewing. I have been confident to use more of my fabric stash, as I don’t have the challenge of all the prep work in trying new patterns to hold me back. What previously might have taken me a whole night to print, stick, trace and cut to try one new pattern, now takes me no time and I have been known to cut out 2 or 3 patterns in one night ready to sew up the following day. Or sometimes, the same night! It is just SO MUCH quicker.

    To watch my video overview, click the play button below. Otherwise, I’ll see you in the projector world! ❤️

    What next?

    Stop wasting fabric and time on projects that don't fit right. 

    Learn to sew with confidence and let me guide you to more sewing success.

  • Welcome to Sew & Tell!

    Welcome to my little spot on the interwebs chronicling my sewing adventures and life. 

    I have been sewing for over 15 years on and off after being taught to sew by my mum at a young age. Up until I had my first child, a daughter in 2016, I was a bit of a sporadic sewist, mainly only doing the odd project. Just after my daughter turned 1 however, a friend found sewing and started to share her creations and I was inspired to get my machine out and join in the fun. 

    I have never looked back. 

    Since then I have evolved from sewing children’s clothes to replacing nearly my entire wardrobe with me made clothes and can’t see myself stopping anytime soon. Having my son in 2020 afforded me the necessity to discover cute boy clothes and sewing also offered me a mental haven from the trauma that was 2020 (and beyond). I have been battling Post Natal Depression and Anxiety since his birth and sewing has been a wonderful way to keep my mind calm and my hands busy. 

    The main purpose of this space/blog is an extension on the squares of my Instagram to showcase in more detail projects I undertake as well as share bits of advice and tips about things I learn along the way.  

    I can’t guarantee it will be consistent, haha, life with 2 kids and a hubby keep me busy, but I love to share knowledge, so my aim is to get what I can out there. 

    If you would like to work with me, I welcome collaborations and am currently associated with a number of incredible pattern and fabric companies. If you’re looking to work together on a project, get in touch and let’s see what we can create together!