Pattern Reviews

  • Pattern Review of the Whistler Pullover

    Pattern: Whistler Puller & Hoodie
    Designer: Love Notions
    Fabrics: Waffle Knit from Lush Fabrics
    Skill level: Intermediate
    Size made: XL graded to 2XL
    Adjustments: Simple grading
    Pros: Great for Winter and fringe seasons. Can be made into maternity and can be used for feeding mamas’ as well.
    Cons: Not a con, but there is a tricky construction part. It is fully detailed in the Love Notions blog though!

    The Wrap Up

    This was my first time making the Whistler pullover, but it will be far from my last! I loved the look of this one and the multiple options made it really easy to customise to suit what I was looking for. 

    I chose to make the shawl collar in tunic length with gathered front and curved hem. I knew that I would want to pair this with a pair of leggings and something like boots to dress it up or I could wear sneakers to dress it down. I decided that making it in a solid colour would make it a little more versatile to style, but I think this can look equally as good in a print as well.

    It does say that it’s aimed at an intermediate sewist, but there is a full tutorial that Love Notions has put together, helping you understand. I really think anyone who is willing to give it a go and has some very basic pattern construction knowledge should be able to make one.

    The fit was great. The XL/2XL fit well in the bust and hip areas without being too tight or too loose. I really enjoyed making the Love Notions Whistler Pullover and Hoodie. The end result is a comfortable and stylish top that I will definitely be wearing a lot.

    Pattern Review of the Whistler Pullover

    How to Sew the Whistler Pullover

    What next?

    Want more time to sew?

    Find out how to create more time for you, connect with an incredible sewing community and improve your sewing skills.

  • Pattern Review of the Pelican Tote Bag

    Pattern: Pelican Tote
    Designer: Bagstock Designs
    Fabrics: Accent Vinyl from Clover & Co. Fabrics, Solid colour from Dreamy Bag Hardware
    Skill level: Beginner
    Measurements: 15″ x 12″ x 3″
    Adjustments: I made the recessed zipper with fancy straps version
    Pros: This is such a fun bag pattern to make. I absolutely love the options and even better, IT IS FREE
    Cons: None really. If you have basic skills, you could make this bag

    The Wrap up

    From the minute I had the concept for this bag I just KNEW it was going to be amazing. The muted but moody floral paired with the latté Litchi leather and gold hardware was the perfect combo to create an incredible look. 

    If you have never attempted a bag before, I highly recommend giving this one a go, especially as it is a FREE pattern! 

    I made mine from vinyl, but you can also make it from other woven materials. Mixing and matches patterns and solids really gives you endless options on how cool this bag can be. 

    The construction is fairly simple and I love that I can customise the zips I want to put in it as well. All in all I am so happy with how this one turned out!

    If you want a detailed step by step guide on how to put this bag together, make sure you join The Sewing Corner where I have put together an incredible tutorial to help step you through it.

    You can also check out my detailed pattern video review below.

    Video Pattern Review

    What next?

    Wish you had more time to sew?

    Find out how to create more time for you, connect with an incredible sewing community and improve your sewing skills.

  • Pattern Review of the Metra Blazer

    Pattern: Metra Blazer
    Designer: Love Notions
    Fabrics: Double knit from Spotlight Stores
    Skill level: Intermediate
    Size made: Large
    Adjustments: None
    Pros: This is such a classy jacket that can be done with either the lapel or shawl option.
    Cons: It is a little more involved, but if you take your time, I think even an adventurous beginner could try this.

    The Wrap Up:

    I made my first Metra Blazer about a year ago, and it is such a beautiful make. I used a houndstooth double knit I got as a remnant from Spotlight and it came together fairly well. I think one of the only problems I had with it was that I ran out of black knit interfacing when doing the pockets so I had to use white instead. It wasn’t a problem per say, but if the pockets pop open when I move, you can see a hint of the white in there.

    One thing I really love about this jacket is the ability to dress it up or down. I trialed pairing it with some black slacks and heels for a dressy look and then switched to skinny cut jeans and sneakers for a more casual look. It switched between the two effortlessly. Which I think could easily be replicated with other printed fabrics as well.

    The pattern does say it is for an intermediate sewer, however I really think that if you are willing to give it a go, an adventurous beginner could learn a lot and produce a decent jacket themselves.

    If you need a little help...

    Like I mentioned above, I really think that anyone could give this a go, PLUS, Love Notions have just released a Metra Jacket course to go with it! 

    This on-demand course can be watched on YOUR time. No limits, no expirations. Binge it or watch it in chunks. Replay the tricky spots until it clicks for you. Tami walks you through each every step the way. Tami takes the mystery out of intimidating subjects like size, notions needed, sewing the welt pockets, using the burrito method to enclose the seams and more.

    I highly recommend purchasing this add on if you feel you need a little extra hand holding. It is also on sale for this weekend only, so don’t wait and check it out.

    What next?

    Stop wasting fabric and time on projects that don't fit right. 

    Learn to sew with confidence and let me guide you to more sewing success.

  • Pattern Review of the Momentum Shorts

    Pattern: Momentum Shorts
    Designer: Peek A Boo Pattern Shop
    Fabrics: French Terry from Clover & Co. Fabrics
    Yellow Rib Knit from Frankie Bear Fabrics
    Skill level: Intermediate
    Size made: 5 width/6 Height
    Adjustments: Just the custom fit
    Pros: I love the knit binding detail on this one, though it can be made without it as well.
    Cons: The binding can be a bit tricky, but if you take your time, it comes together well.

    The Review:

    I have had this Lemon French Terry in my stash for a little while and I wasn’t 100% sure what I was going to make, but when I saw this shorts pattern, I knew it would look so good with a bit of white trim. This make came together so well, I am just itching to make about 10 more pairs of these super cute and functional shorts.

    I like that it has a few different options, like the ability to have the leggings inbuilt into the shorts for a little more comfort underneath.

    There was a little bit of fiddling with the knit binding, but I think the next time I make it I would be quicker again as I know what I’m doing this time. You can also omit the pockets if you want to save a little bit of time. If you are anything like me though, there is ALWAYS time for pockets haha.

    I also like that the waistband is enclosed making it nice and soft of Miss J’s tummy.

    This one got a HUGE thumbs up and grin when she saw the finished outfit. I used the Kids Essential Tee in tank version in a lusciously soft Rib Knit from Frankie Bear Fabrics to complete the look.

    Click the links below to shop the look:

    What next?

    Stop wasting fabric and time on projects that don't fit right. 

    Learn to sew with confidence and let me guide you to more sewing success.

  • Pattern Review: My 6 Summer Must Haves from Love Notions

    New Year, New You!

    One of my fave pattern companies are having a New Year site wide sale, yay! 

    Often I find a lot of the pattern companies I love are on the other side of the world to me, so there is lots of inspiration for the opposite season of weather I am in. To help us out in the Southern Hemisphere, I have put together these top 6 Summer must have patterns. 

    Enjoy!

    P.S. use code Sewwithmegan10 for an EXTRA 10% off!

    1. Melody Dolman

    The Melody dolman is a gorgeous, easy, woven shirt. It is so light and breezy, and when made in a staple colour like white, it can honestly be worn with almost anything. I’ve paired it here with a pair of RTW denim jean shorts, but I’ve also worn it with a cute pair of burnt orange shorts and also the Summer Caye shorts that you’ll see a little further down this list. 

    I made mine from a linen blend from Spotlight Stores and its been in high rotation already.

    2. Willow Wrap Dress in Peplum

    The Willow Wrap is probably almost my all time fave Love Notions Pattern. I have made quite a few now as the cross front, V neck is the most flattering for my body type. It draw attention away from my tummy and helps me look a little more porportial I think haha.

    I did tweak this one a little and took about an inch out of the bodice to give it more of an empire waistline, which I also prefer. I’m a huge fan of flutter sleeves and love this in dress length as well. The slightly flared skirt also helps give some ease and grace of some of my more challenging body areas.

    I am so in love with the fabric I chose for this one as well. This is from an indigenous artist and printed by Clover & Co. Fabrics.

    3. Summer Caye Pants/Shorts

    I made a pair of the Summer Caye in pant length earlier this year and they were so comfy, I decided to make a pair of the shorts for summer. 

    I used a rayon from Spotlight Stores that I got as a remnant and they are so flowy and lovely to wear. I love the flat front on these. I was meant to interface the front waistband but it was too hot to turn the iron on the day I made them so I skipped it, but I think they are fine. I also added 1.5″ to the rise as per my personal preference.

    I had planned to make a La Bella Donna Top to go with this but ran out of time. It looks great with loose tops gently tucked in. This is a RTW, but I’ve also worn them with my Melody Dolman.

    4. Summer Basics Tank

    Another Summer fave I love is wearing natural fibres. Using fabrics like Cotton Rib knit are great as they help breathe on those hot summer days.

    I used this beautiful Rib knit from Clover & Co. Fabrics to make a Summer Basics Dress, that I shortened to tank length. I liked the 2 piece look, but only had enough for tank length, so I just used the pieces for the dress and cut it shorter.

    I also got to try my new double fold binding tool on my Babylock Euphoria Coverstitch which was fun. I can see more of these in my Summer Wardrobe as well.  

    5. Sybil Skirt - Pencil Skirt

    This was a bit of a gamble for me to make as I am so self concious of my mum tum, that the idea of having a tight fitting pencil skirt over my stomach was a little daunting. 

    However, with the contoured waistband and the Willow Dress in peplum length, it was actually the perfect combo and let me tell you, I felt HOT!

    Don’t get me wrong, if you look hard enough, I still have a stomach, but the contour waistband helps keep it contained and the peplum hits at just the right spot that it is super flattering.

    The best thing I think about this pattern as well is that there are SIX skirts in one pattern. yes, SIX. I highly recommend adding this one to your pattern library.

    6. Boyfriend Cardigan - Duster Length

    So, as much as these are my fave SUMMER must haves, I have to be realistic that I live in Melbourne, which is notorious for having 4 (or more) seasons in one day.

    With that in mind, I used this cable knit from Spotlight Stores to make this duster length boyfriend cardigan. You all know I love my dressing gown cause its so easy to throw over the top of things, I thought if I made this, it will hopefully be a little more socially accepted. haha. 

    I won’t lie, this fabric was TERRIBLE to sew with and I had issues with the collar band as I think the fabric stretched, but I still think its a cute sew, and I suspect I will still be wearing it when proper winter rolls around next year.

    What next?

    Stop wasting fabric and time on projects that don't fit right. 

    Learn to sew with confidence and let me guide you to more sewing success.

  • Pattern Review of the Everyday Overalls

    Pattern: Everyday Overalls
    Designer: Tadah Patterns
    Fabrics: Cotton Canvas from Clover & Co. Fabrics
    Skill level: Beginner
    Measurements: Chest: 21″; Waist 20.5″; Hips 21″
    Size made: 2
    Adjustments: None
    Pros: This is an absolute staple for your kids wardrobe. It is perfectly unisex and has both a long and short version.
    Cons: None

    The Review:

    This pattern could not have come at a more perfect time, as I can see they are going to be a massive staple in our house. I used to have a different woven overalls pattern I loved, but once I moved to projectors, I could no longer use it as it didn’t have layers. So when Lauren from Tadah said she was releasing her own version, I very much did a happy dance. 

    I love the extended size range on these also. They start at a 0000 and go all the way up to a teen 14, which is so helpful. I highly recommend buying the bundle so you can get all 3, the babies, kids and teens. 

    I made 3 versions in the testing phase, and Ted gave them a really good go of playing in them and they really held up well in play time. The name of Everyday Overalls is perfect cause I think we’ll live in them almost everyday over Summer haha.

    I do have a pair there that I’m making Jemma out of a gorgeous Corduroy, but I just didn’t get them done in time of writing this. Hopefully you’ll see them on my socials ASAP. There is even an adorable Pinafore version which I think is also a cute option for girls. The V back is also perfection, it comes up SO well!

    Tadah have also released their own hardware which is perfect for these overalls, so make sure you jump on and check that out as well.

    It’s a huge thumbs up from me on this pattern, I can’t wait to make many many more!

    Your next step

    Discover the love of sewing clothes you and your family will be proud to wear.

    If you are ready to take the next step in your sewing journey and save time, become a better sewist and craft a beautiful wardrobe, enroll in my member community today.

  • Pattern Review of the Preppy Polo

    Pattern: Preppy Polo
    Designer: Ellie & Mac Patterns
    Fabrics: Cotton Lycra from Rubyjam Fabric
    Skill level: Confident/Advanced Beginner
    Measurements: Chest: 21″; Waist 20.5″; Hips 21″
    Size made: 2T
    Adjustments: I didn’t use the interfacing on the collar
    Pros: This is a super cute pattern that can be used for boys or girls.
    Cons: I’m not a huge fan of the way the placket is constructed. It turned out ok but it was just a bit clunky I thought.

    The Wrap Up:

    When I purchased this octopus material I was absolutely thrilled with how vibrant and beautiful it was when it arrived. I knew straight away that it would make a great top for my son.

    I am one of the testers for Ellie & Mac Patterns, who have weekly sales on 7 of their patterns, so when I saw the preppy polo was coming up on sale, I thought it would be a great opportunity to showcase not only the pattern, but also this stinking cute fabric!

    This is the first time I have made the preppy polo, so I paid close attention to the pattern instructions, however I chose to omit one big thing it suggested to do. I did not interface my collar with the knit interfacing they suggested. I often find when I interface things like neckbands it never stretches the way I want it to and I am often frustrated with the result, so I chose to skip that step. I don’t think it had an impact on the final look and I am very happy with how it turned out.

    I also wasn’t a huge fan of how the placket was constructed in general. I may investigate a different way to construct next time, but for this time it was fine and looks good. I did make sure I interfaced the placket pieces as it is important to interface when using snaps or it can pull through the material.

    A definite overall win for me though, can see many more of these being made!

    What next?

    Stop wasting fabric and time on projects that don't fit right. 

    Learn to sew with confidence and let me guide you to more sewing success.

  • Pattern Review of the Colleen Cardigan

    This article contains affiliate links throughout.

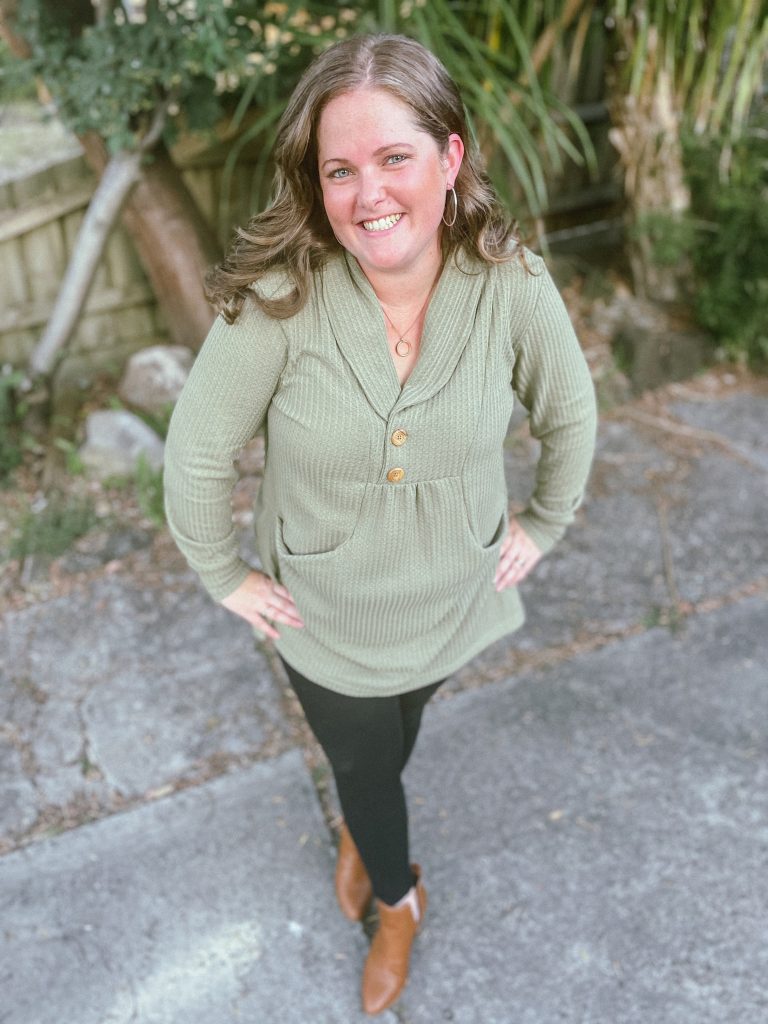
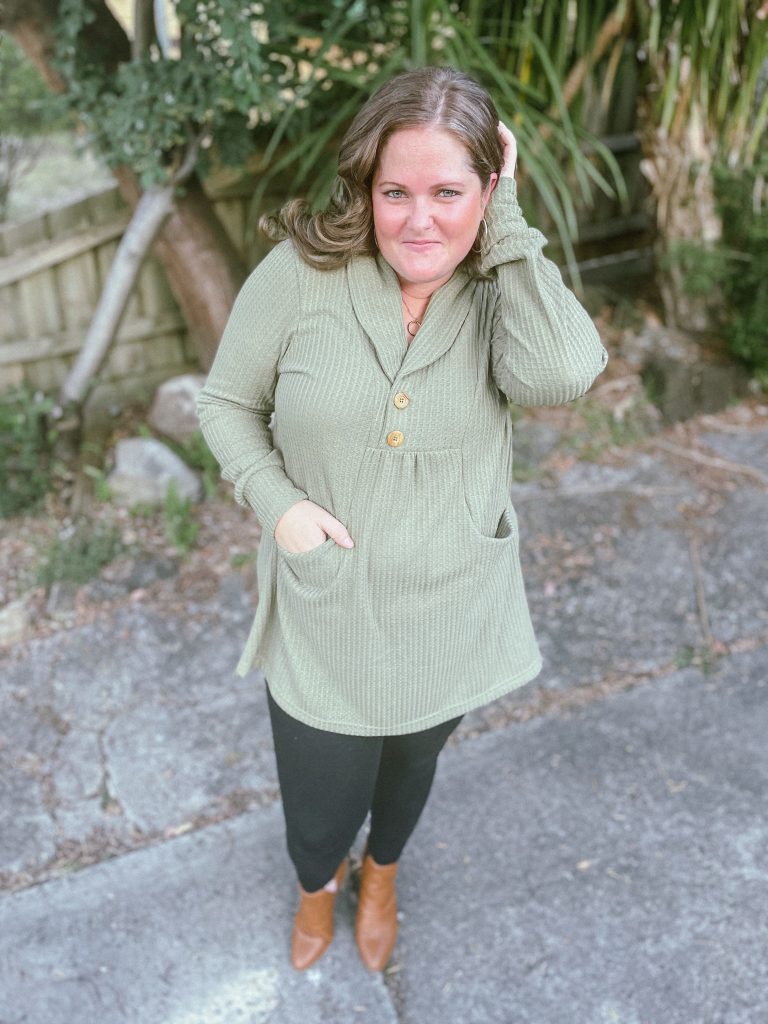
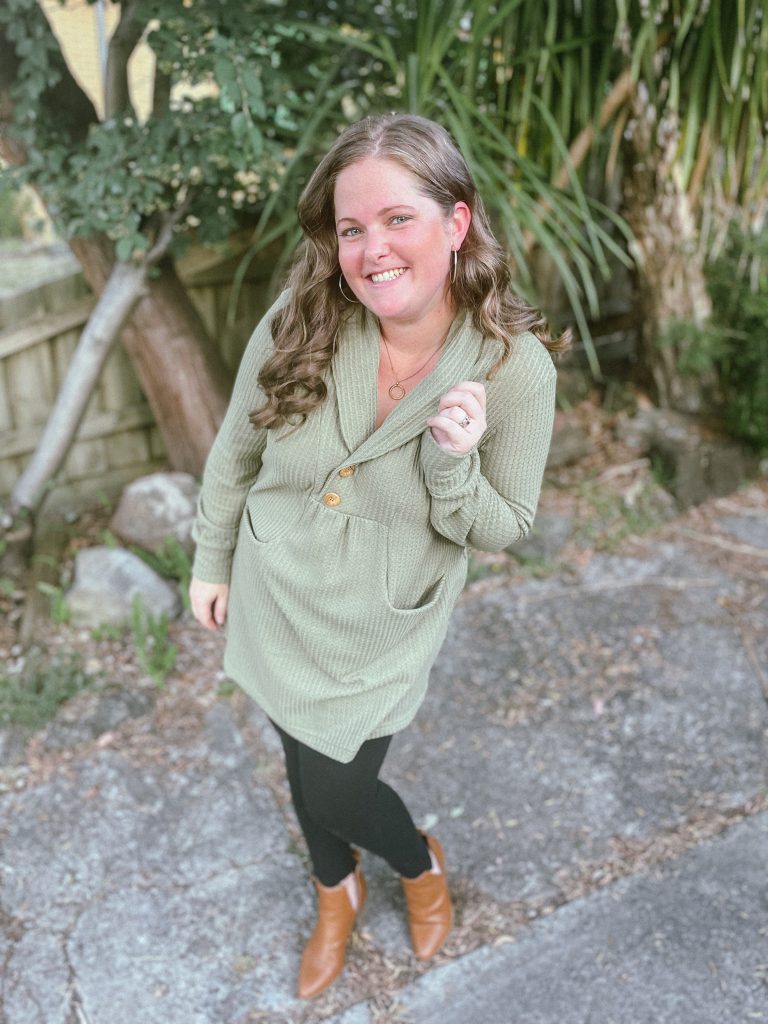
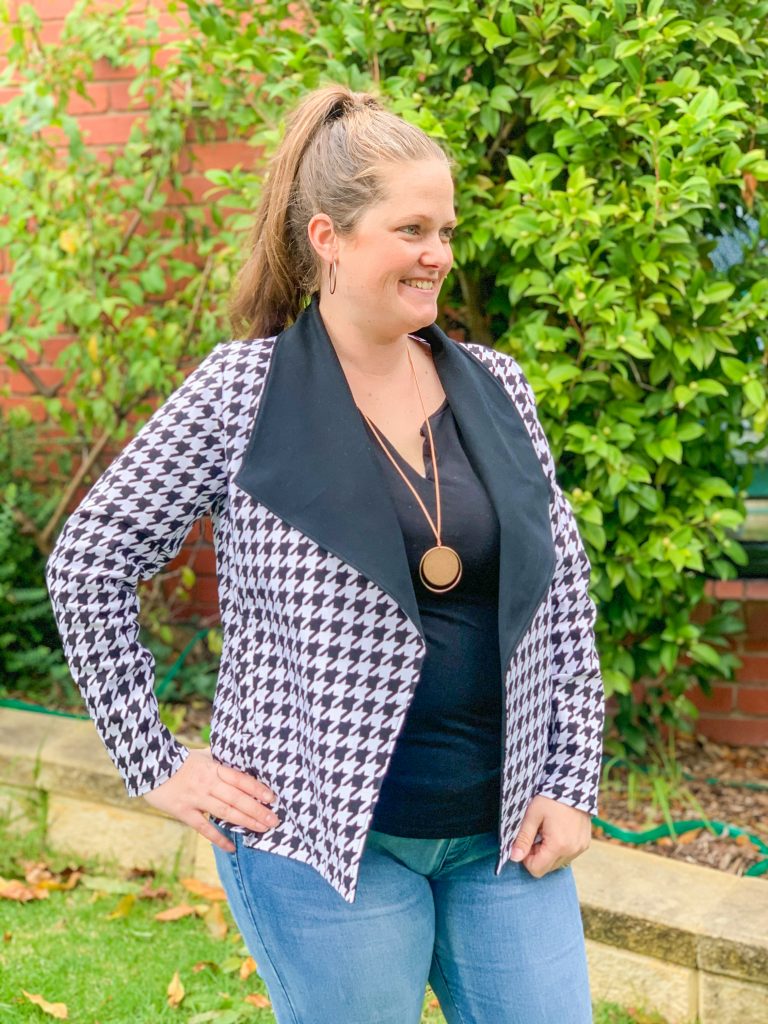
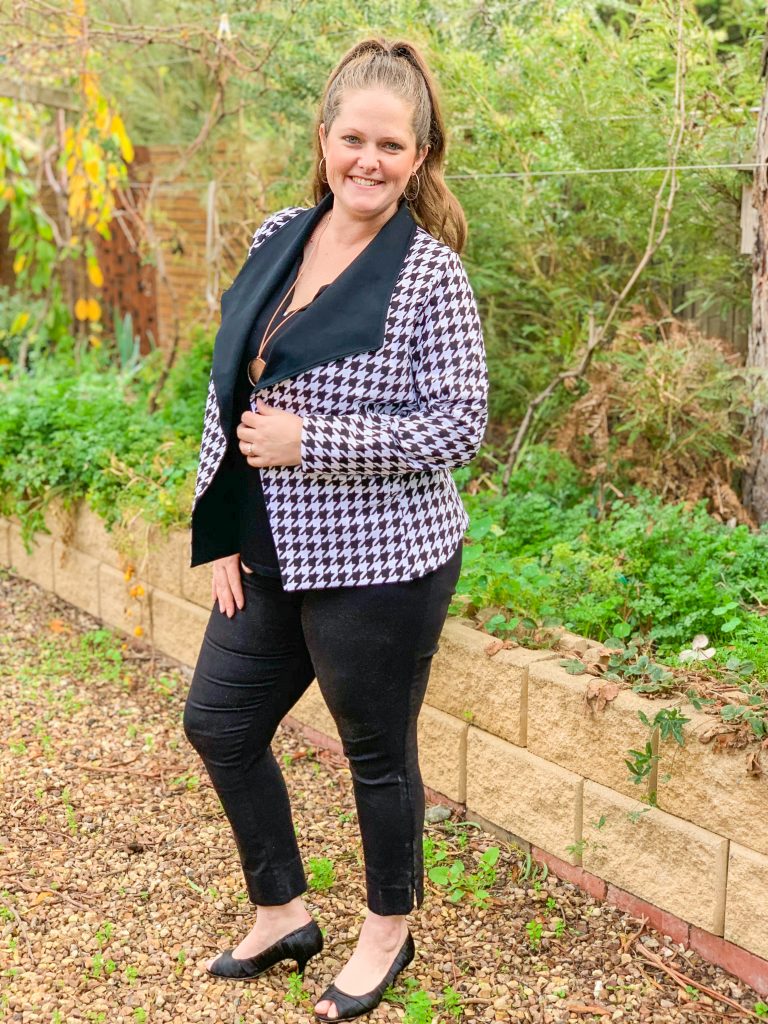
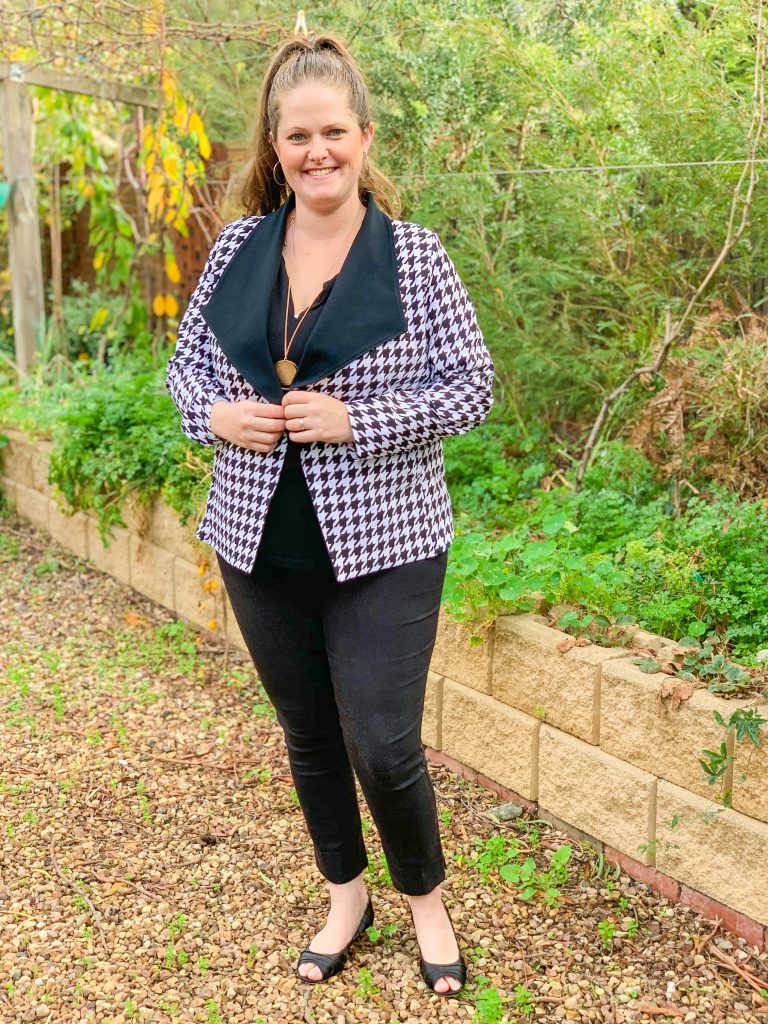
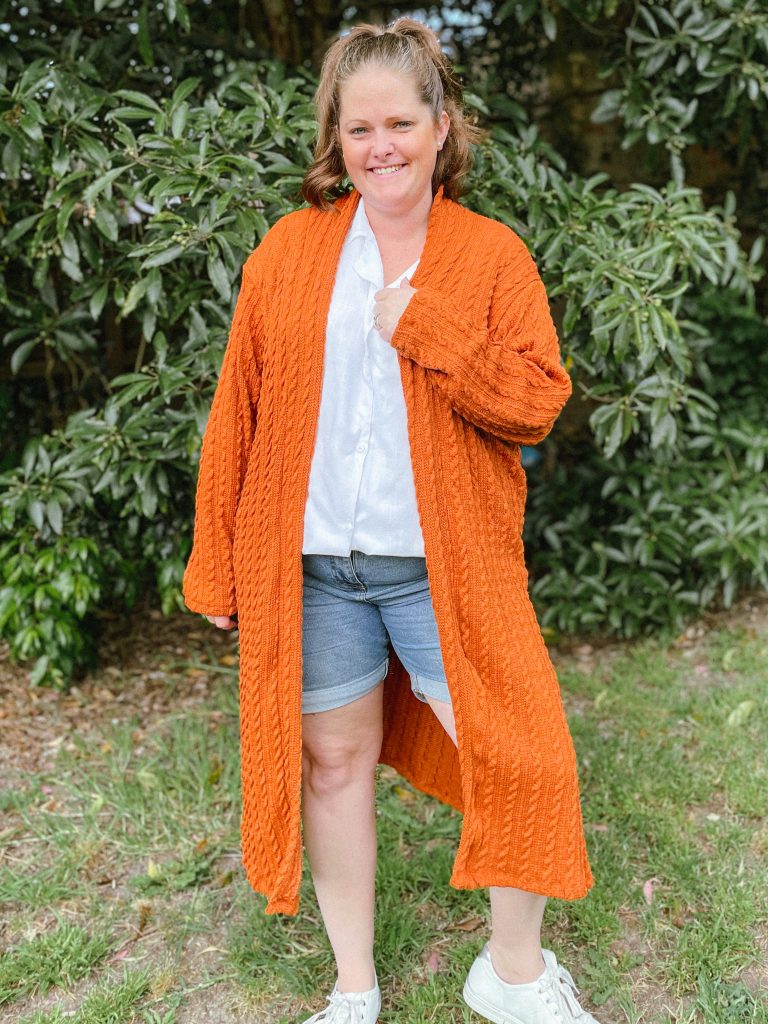
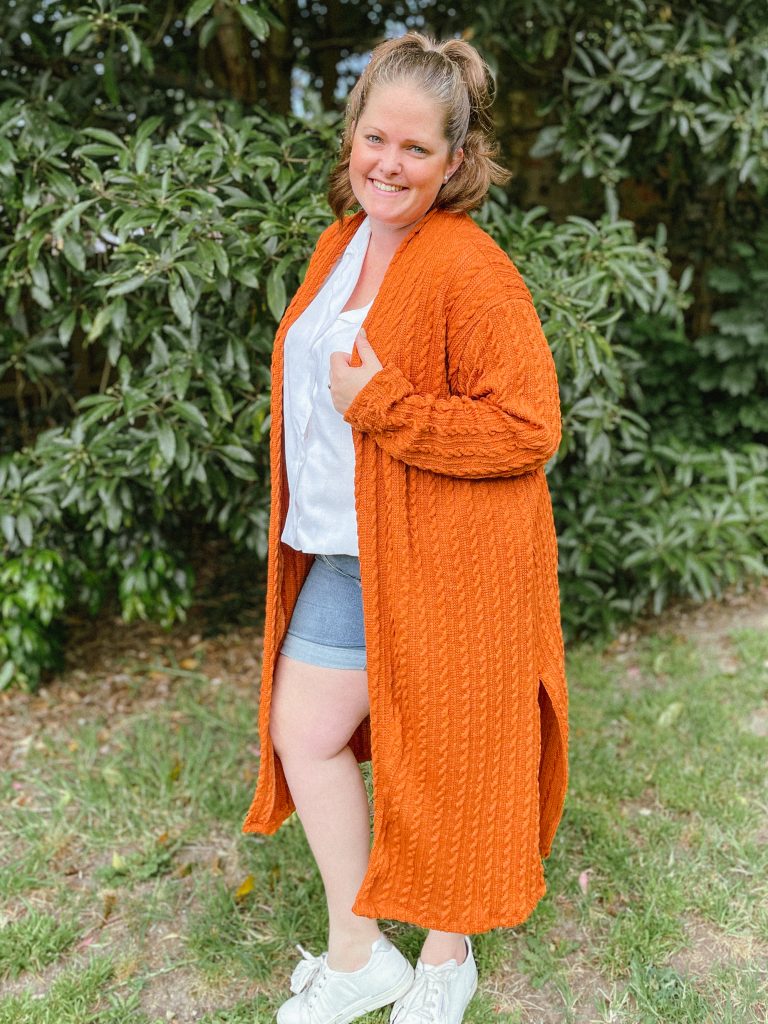
    Pattern: Colleen Cardigan
    Designer: Made for Mermaids
    Fabrics: Waffle knit – Lush Fabrics
    Measurements: Bust: 44″; Waist 37″; Hips 46″
    Size made: Yellow
    Adjustments: None
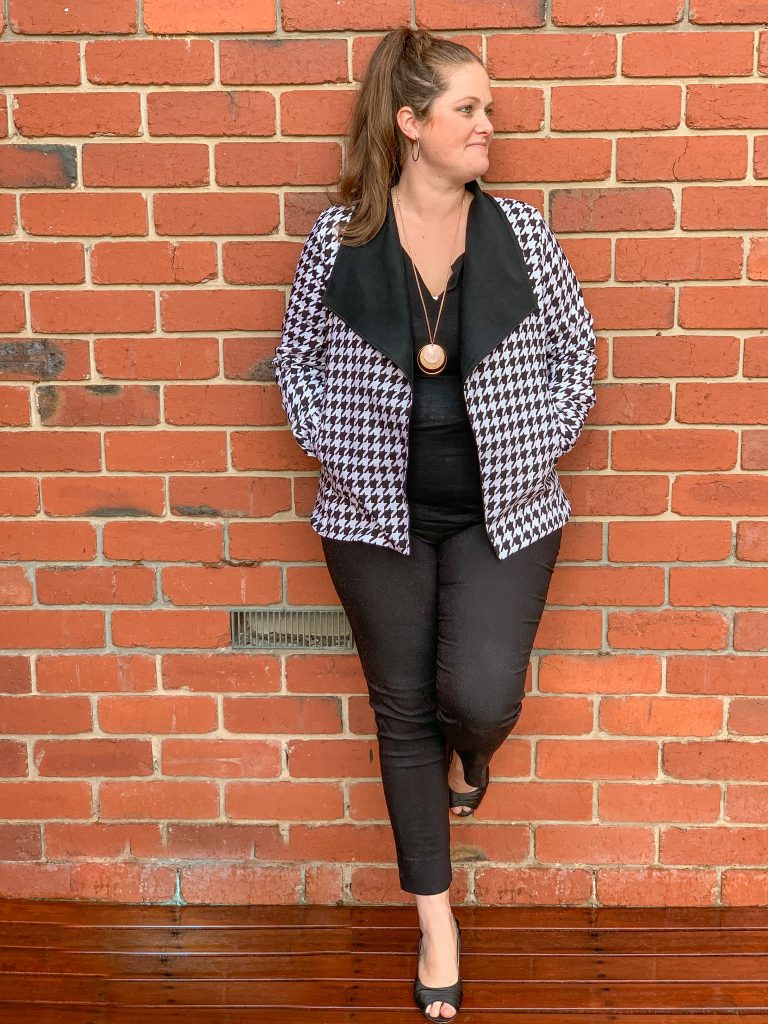
    Pros: Love the colour block options and oversized look
    Cons: None really

    Links:

    The Wrap Up:

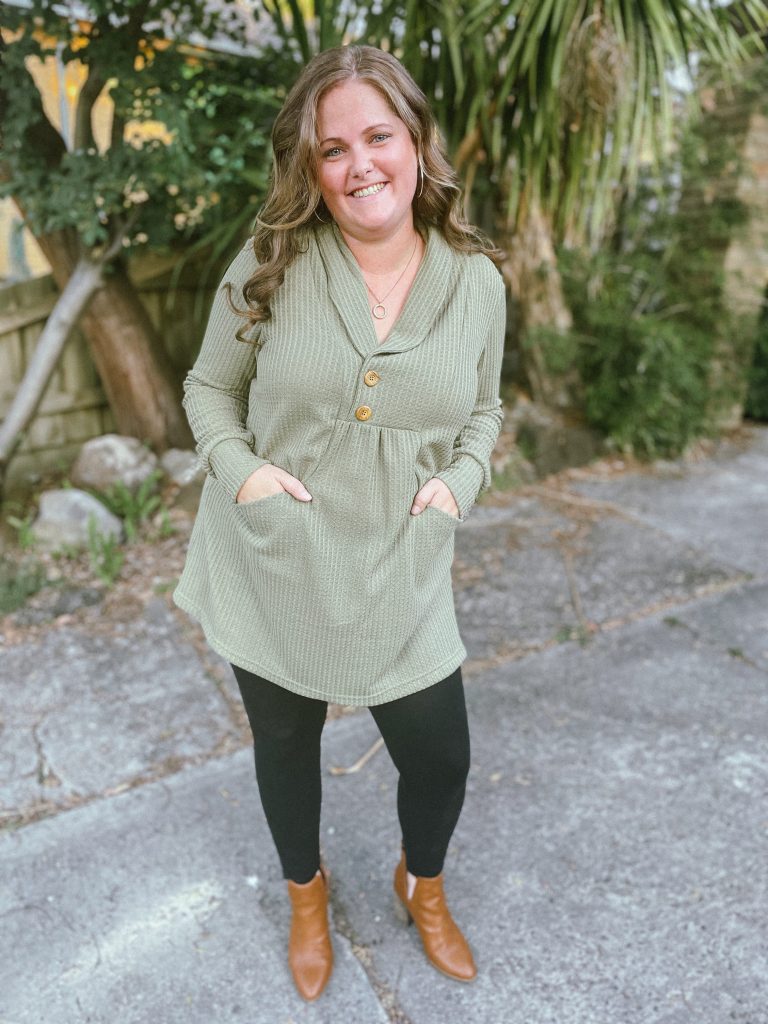
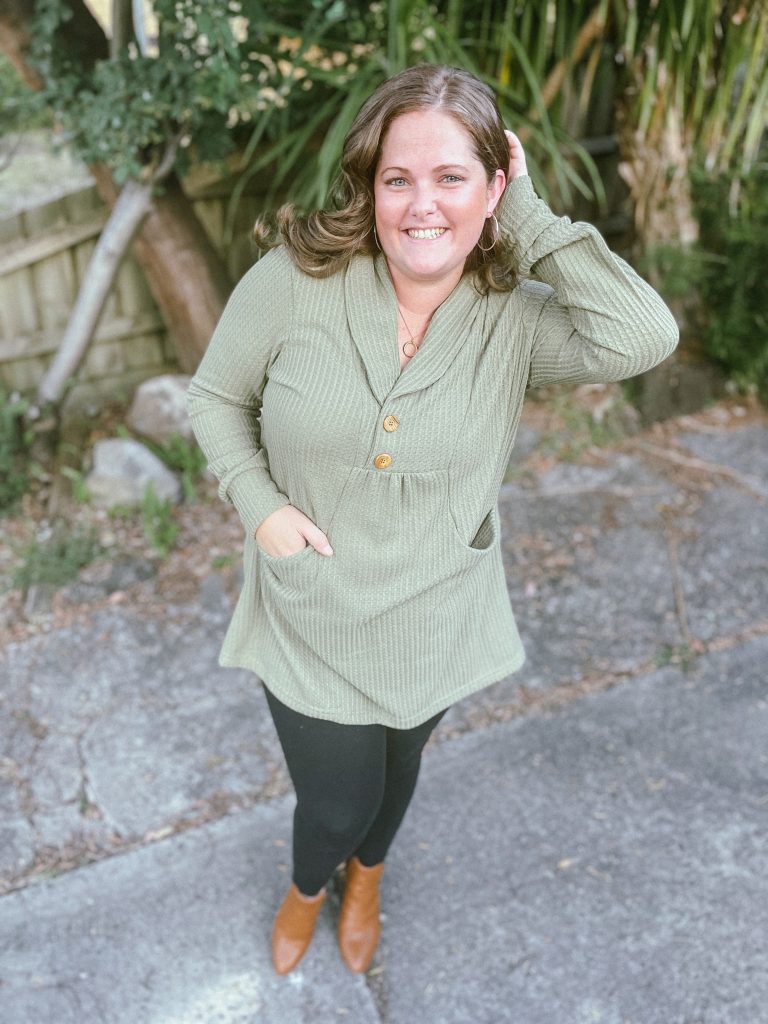
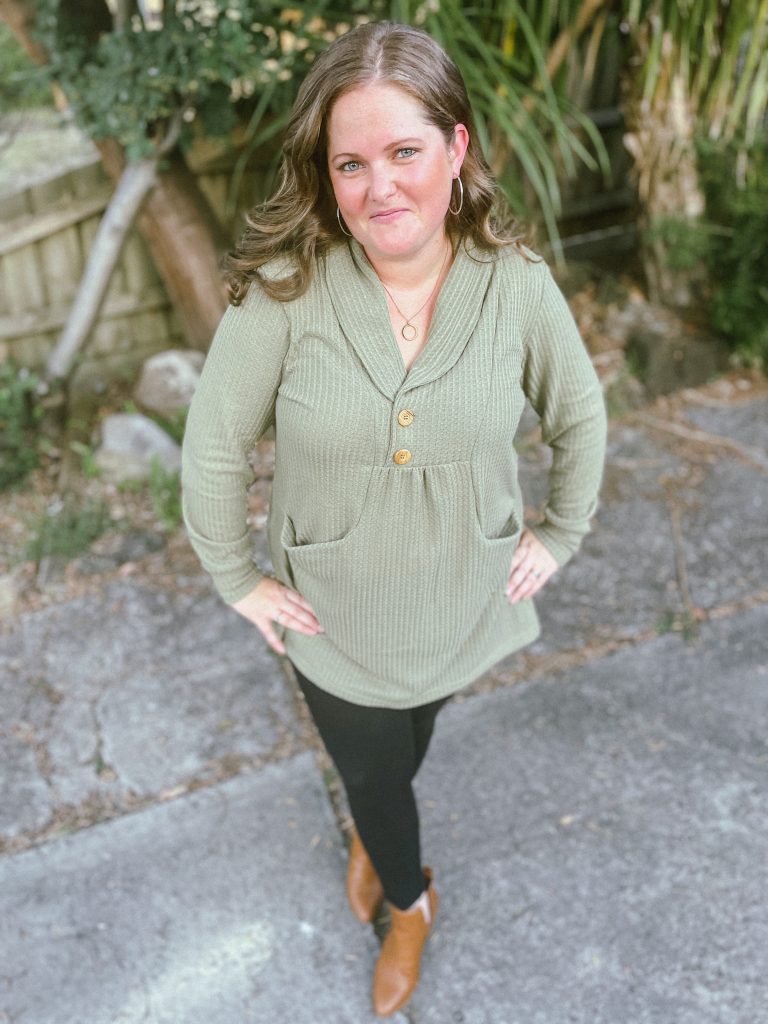
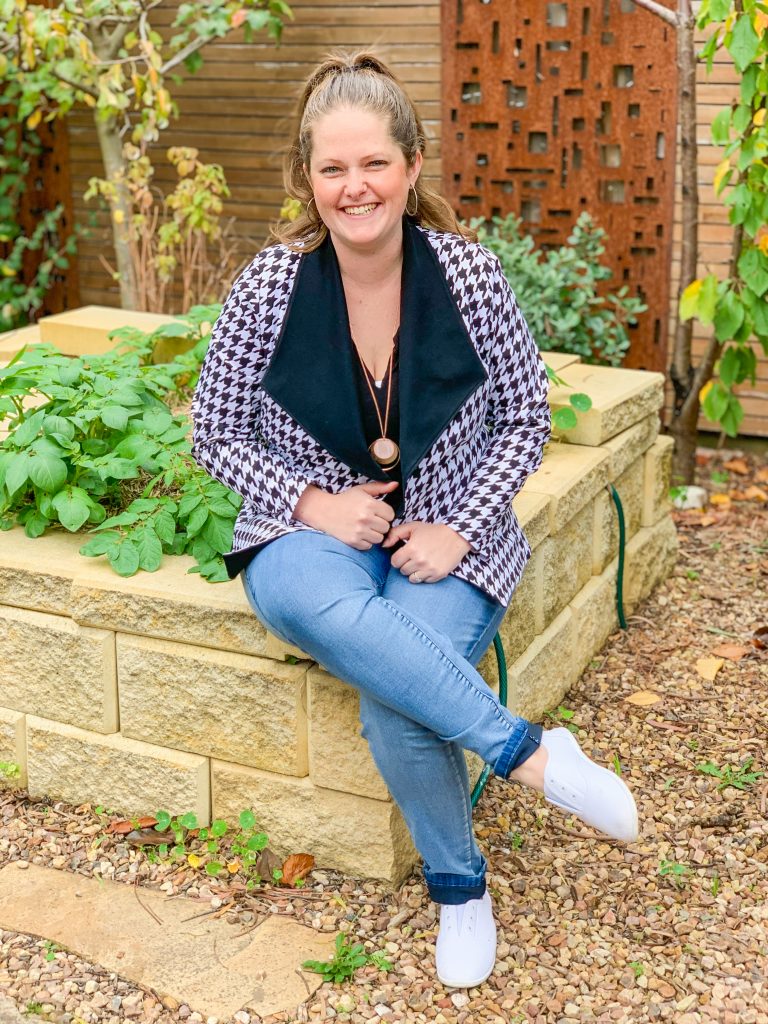
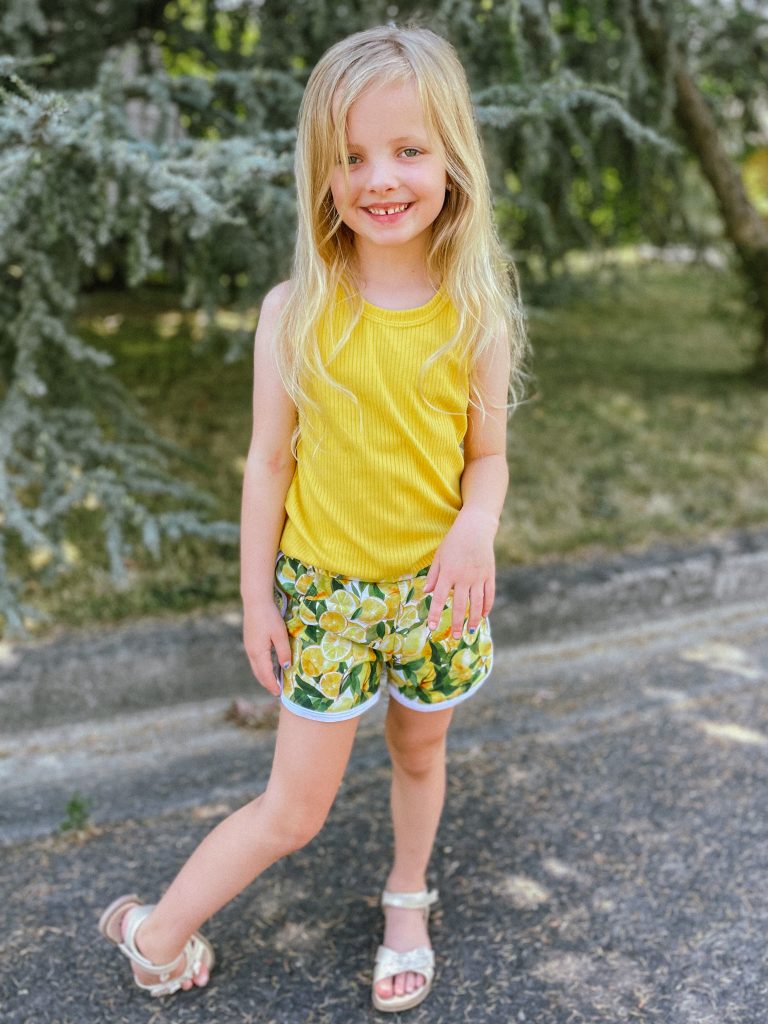
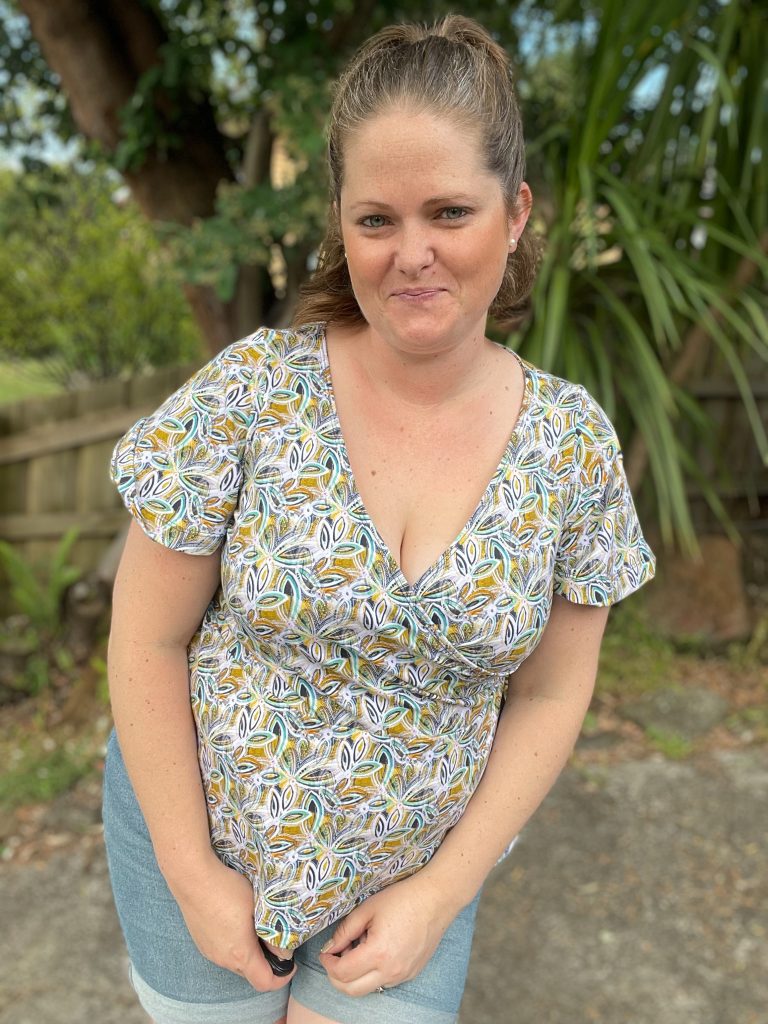
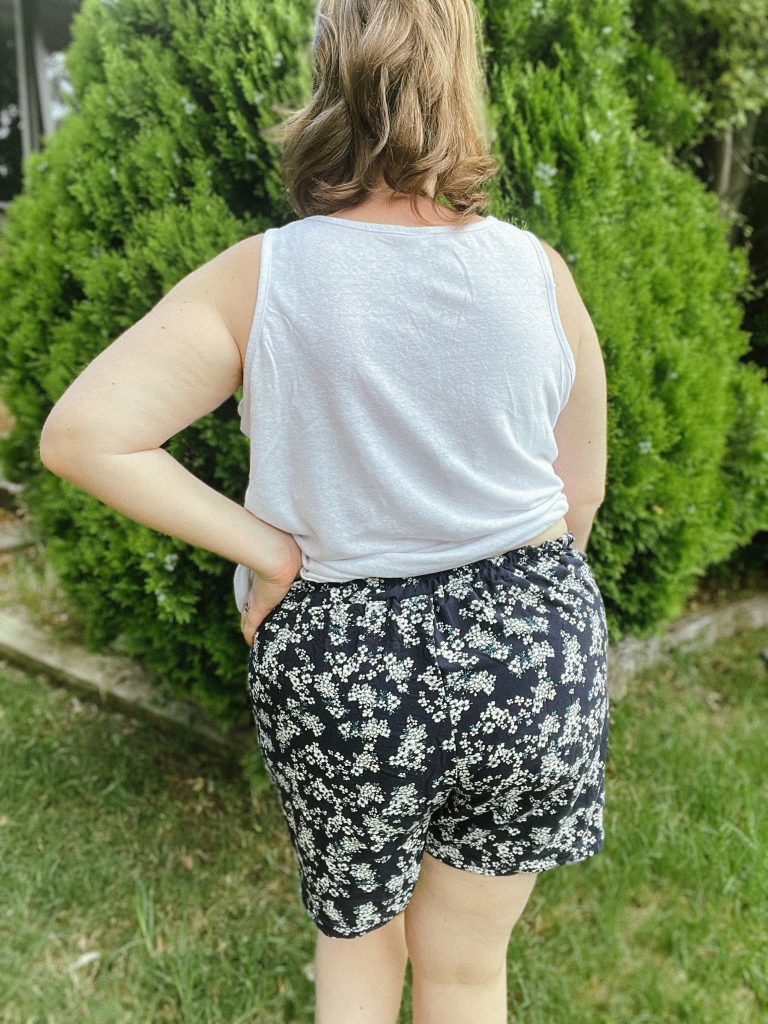
    I first made the Colleen Cardigan from a Double Brushed Poly and rayon spandex in the colour block regular collar and absolutely loved it, so the next one I used some of my coveted mustard waffle I had been saving from Lush Fabrics Australia. I had zero regrets.

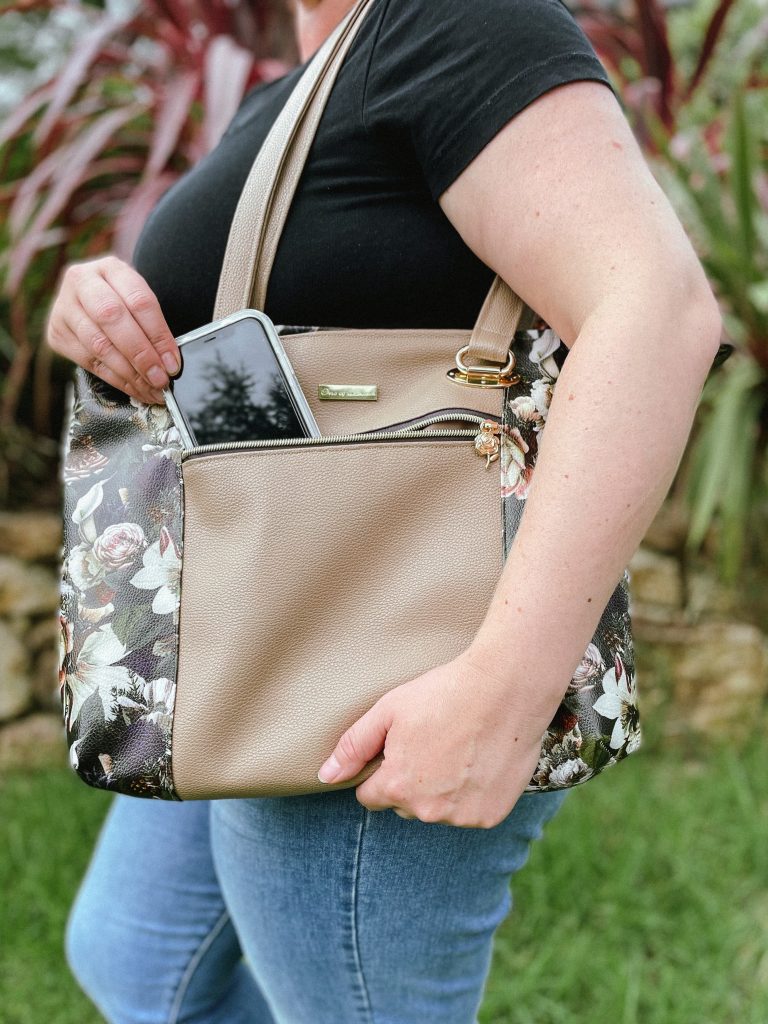
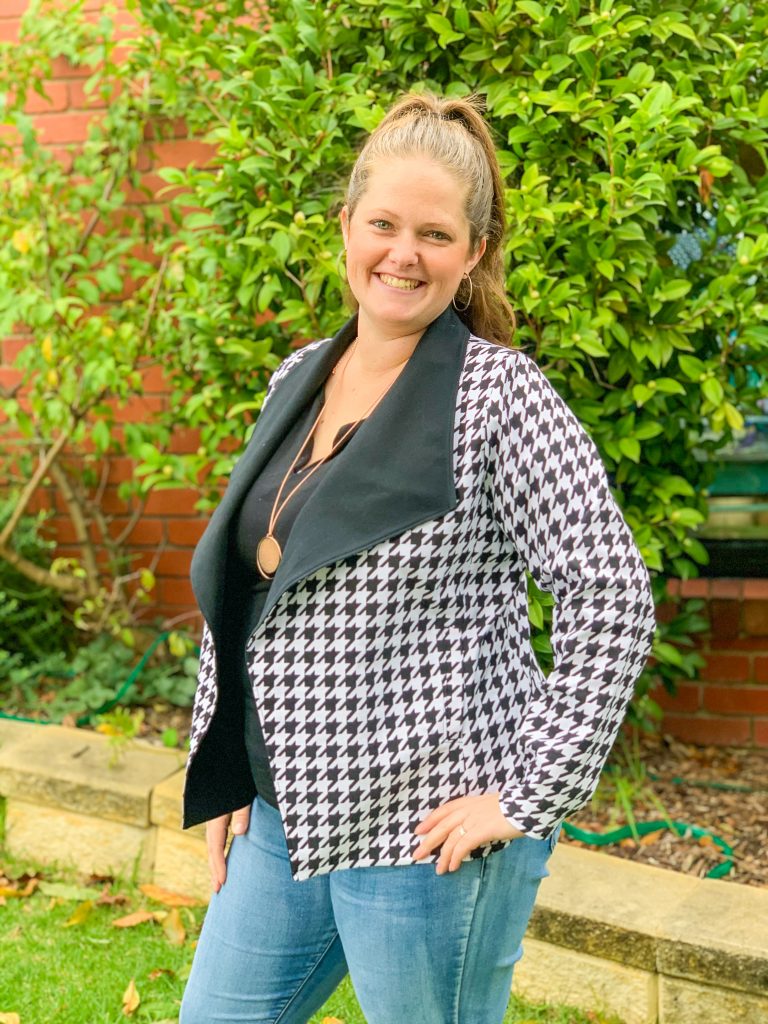
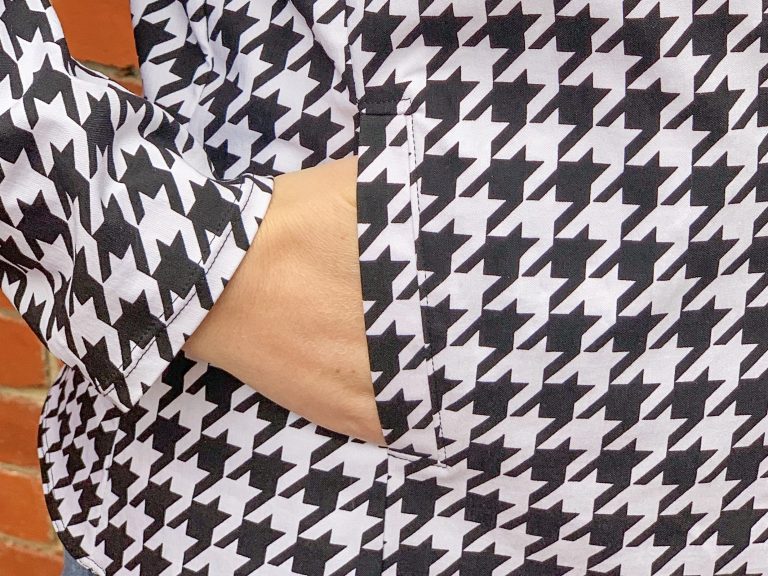
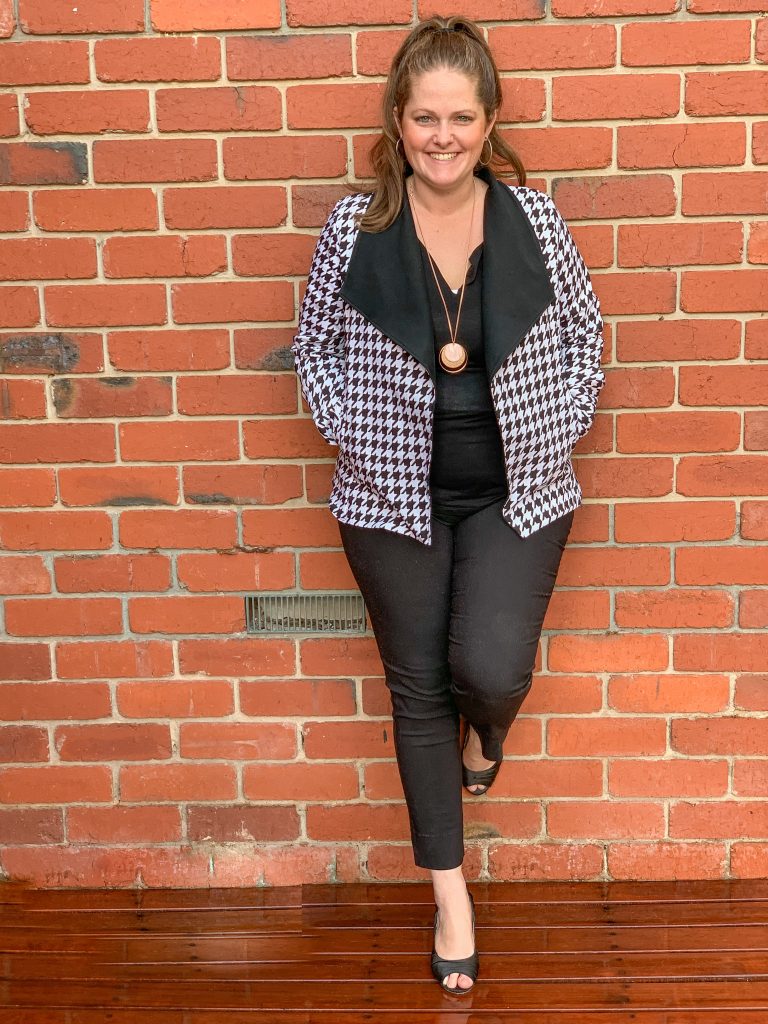
    It is such a nice light, oversized, comfy cardi to chuck over the top of tops when the nights start to get a bit chilly or in the cooler months over long sleeve tops. The only thing I wish I had done for both versions of the cardigan I made was add pockets. Bit of a rookie mistake, but I didn’t add them and have regretted it. However, I also think it would have changed the look a little if it was weighed down by say my phone in the pocket, so it could also be a good thing that I didn’t add them as well.

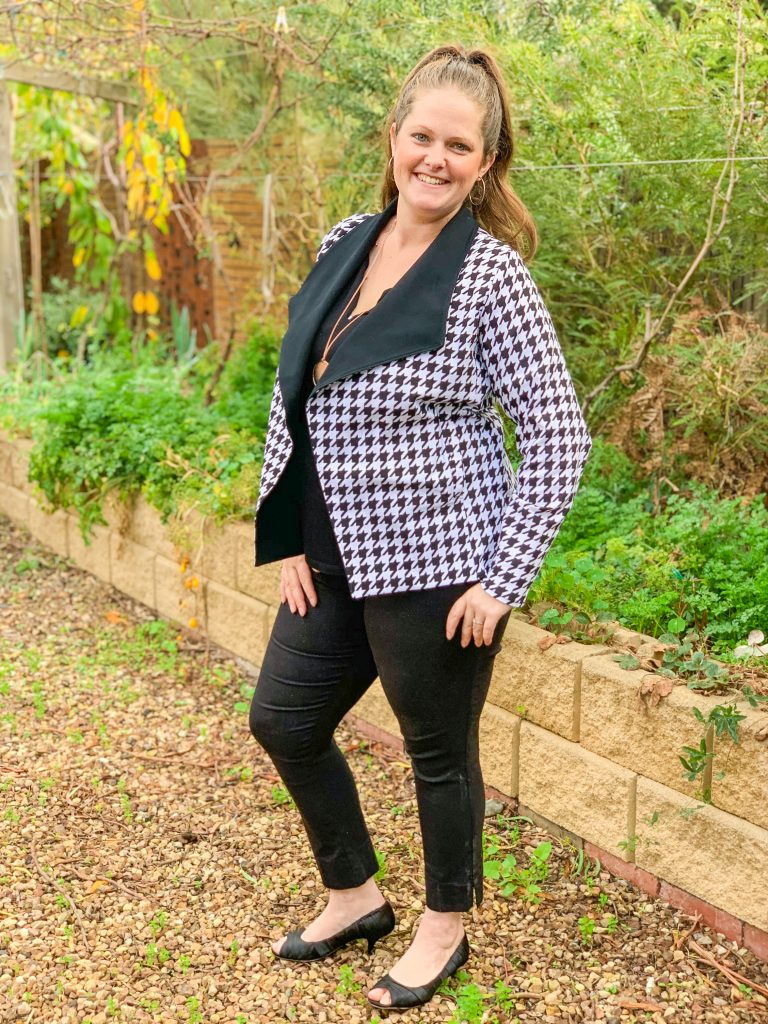
    I think on the mustard one I ended up doing the shawl collar which adds a little bit of extra coziness in my opinion as well.

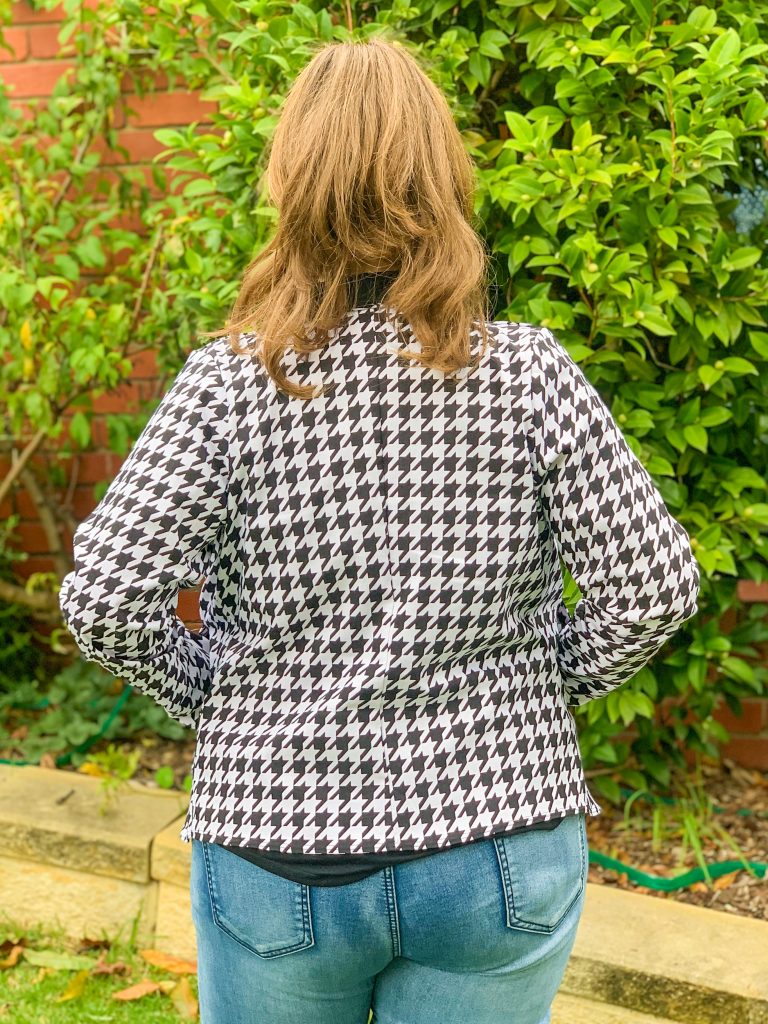
    The colour block one is quite good if you have a couple of half metre scraps as well as you can put them together for this fairly simply constructed cardigan.

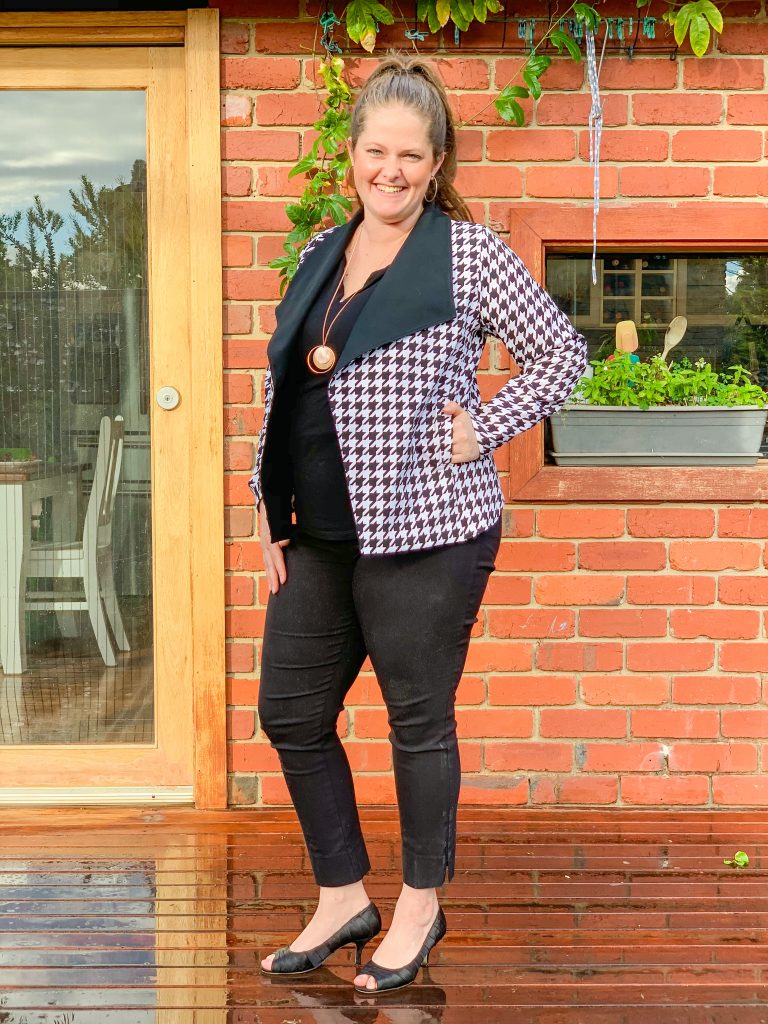
    Give it a go and tag me in your makes so I can see your me mades too!

    Gallery:

  • New Born Gifts For My Best Friend

    This article contains affiliate links throughout

    When my best friend told me she was pregnant earlier this year, I was so excited! I know how much she’s been waiting to make that journey from Maiden to Mother, so hearing that she was expecting her own bundle of love was beyond exciting for me.

    I was also excited of course at all the fun sewing opportunities. I love gifting hand made and I knew she would really appreciate anything I made for her. I got to work straight away thinking about what I wanted to make and the materials I wanted to use.

    The Wrap Up:

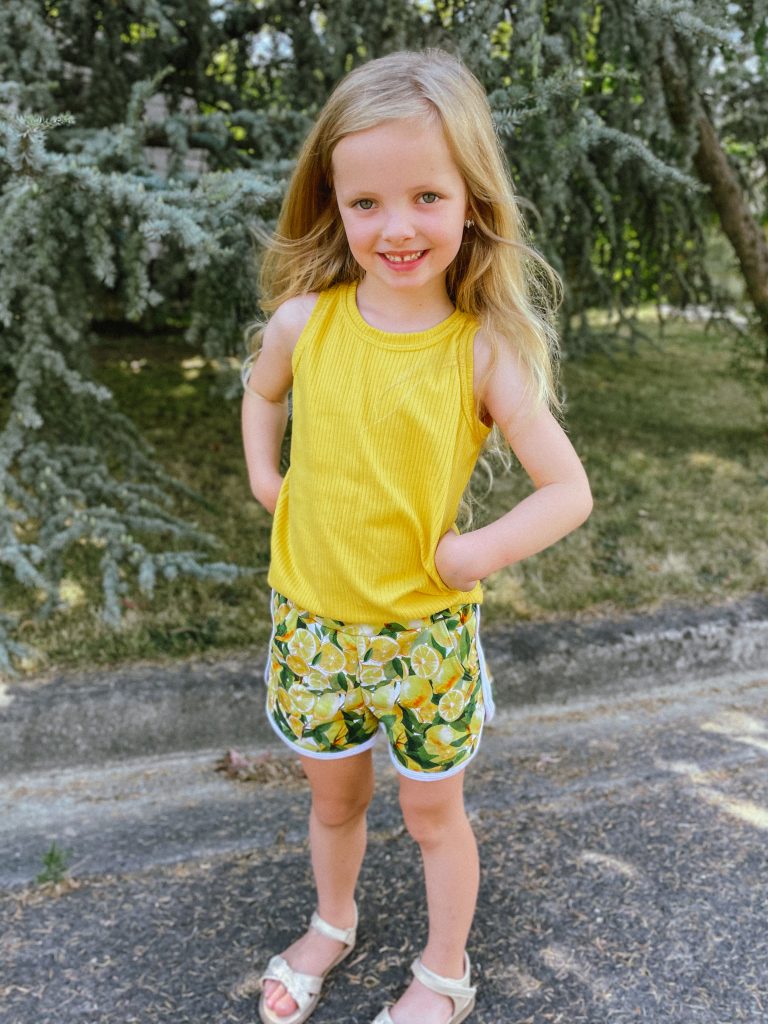
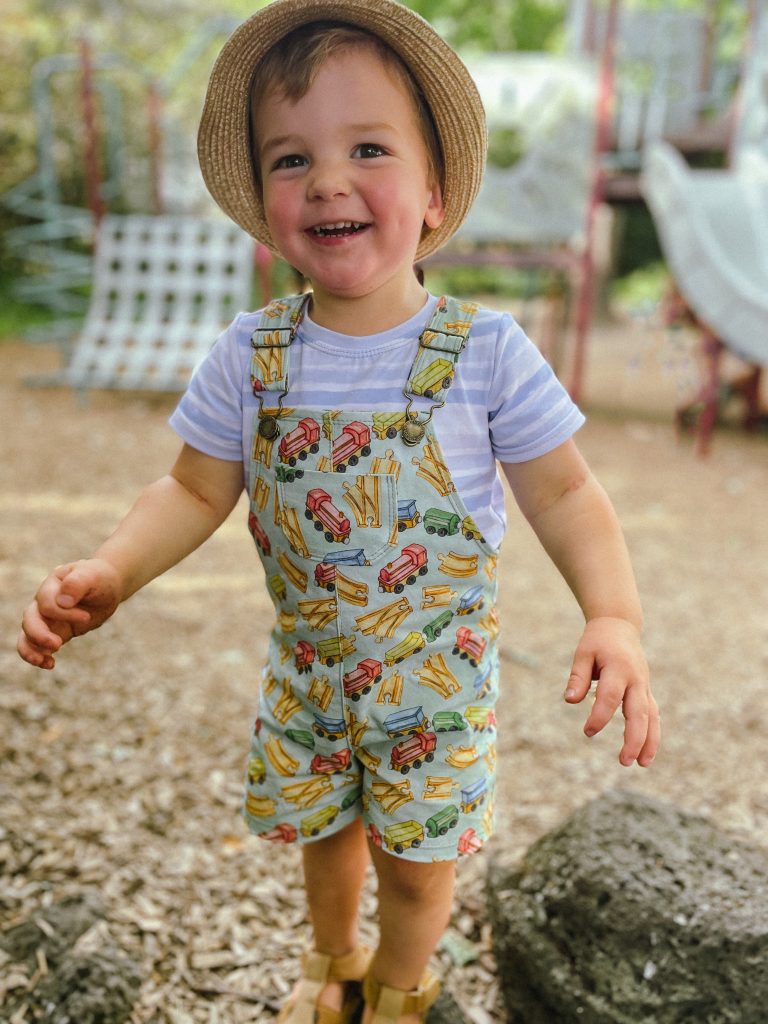
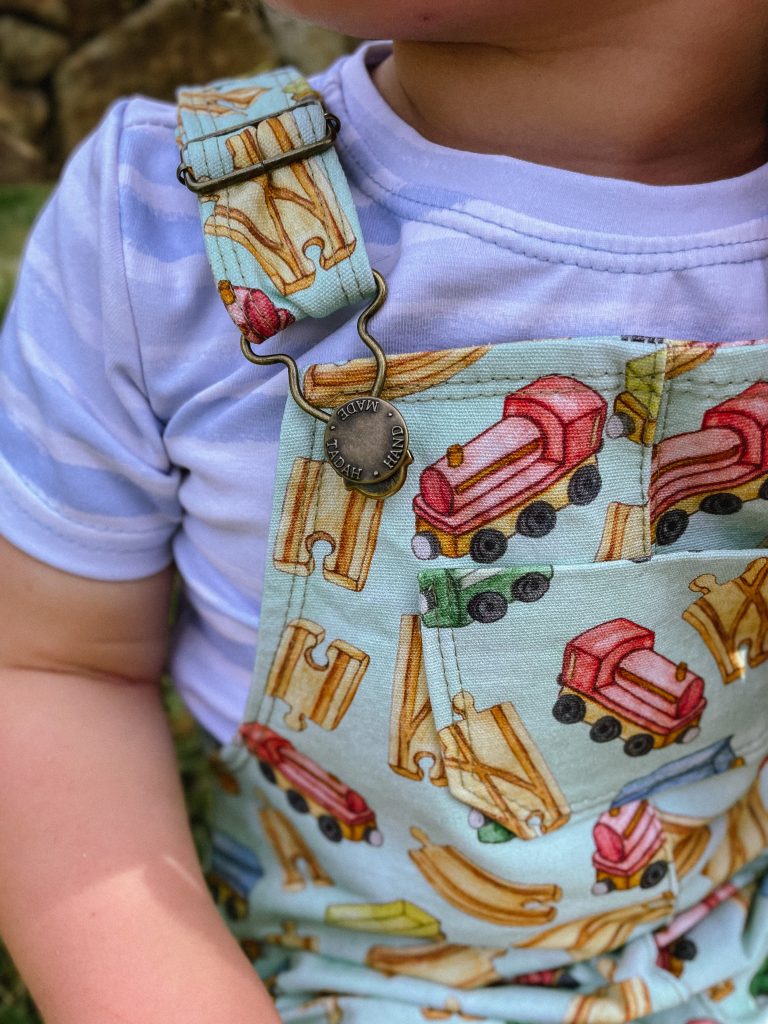
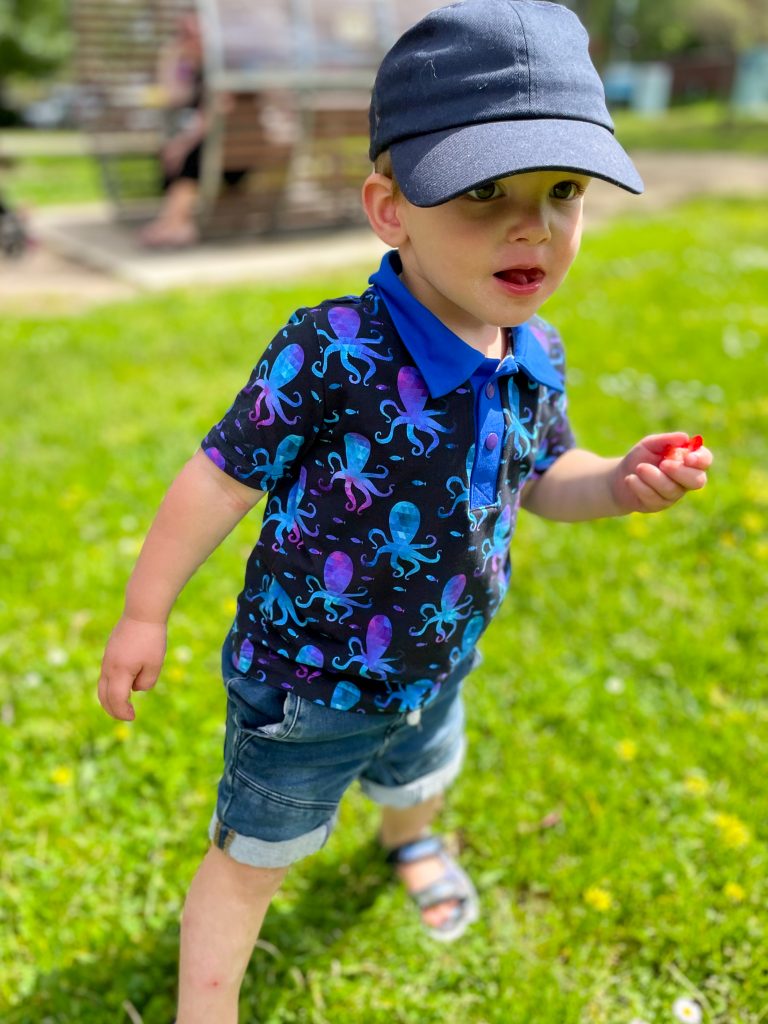
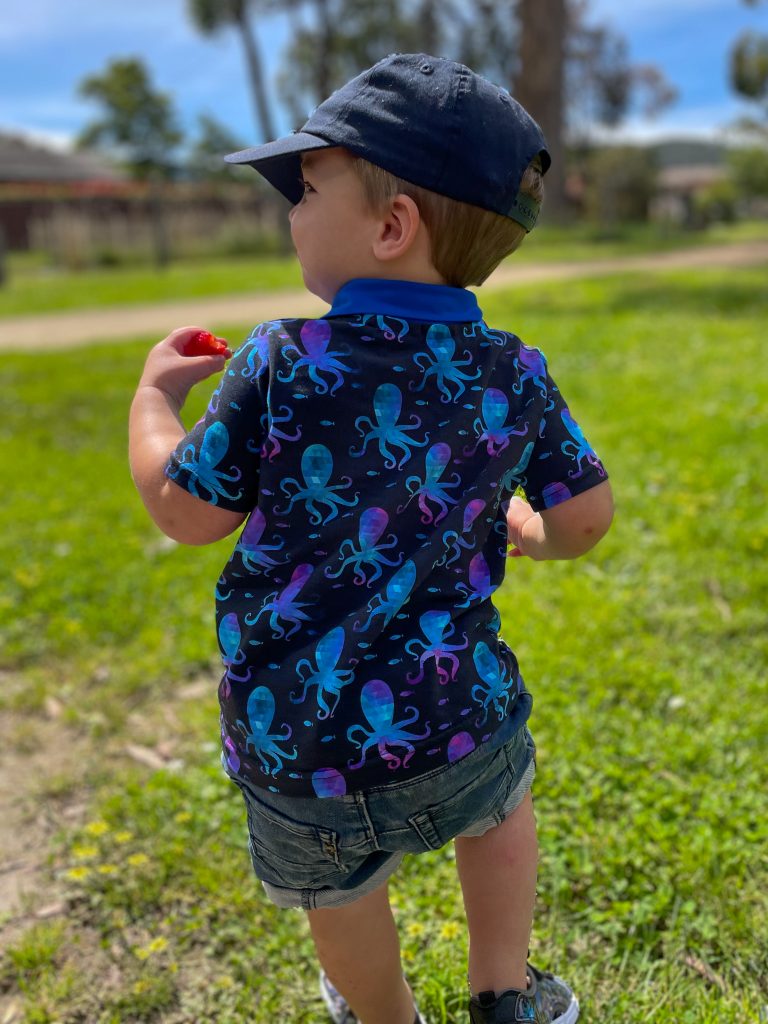
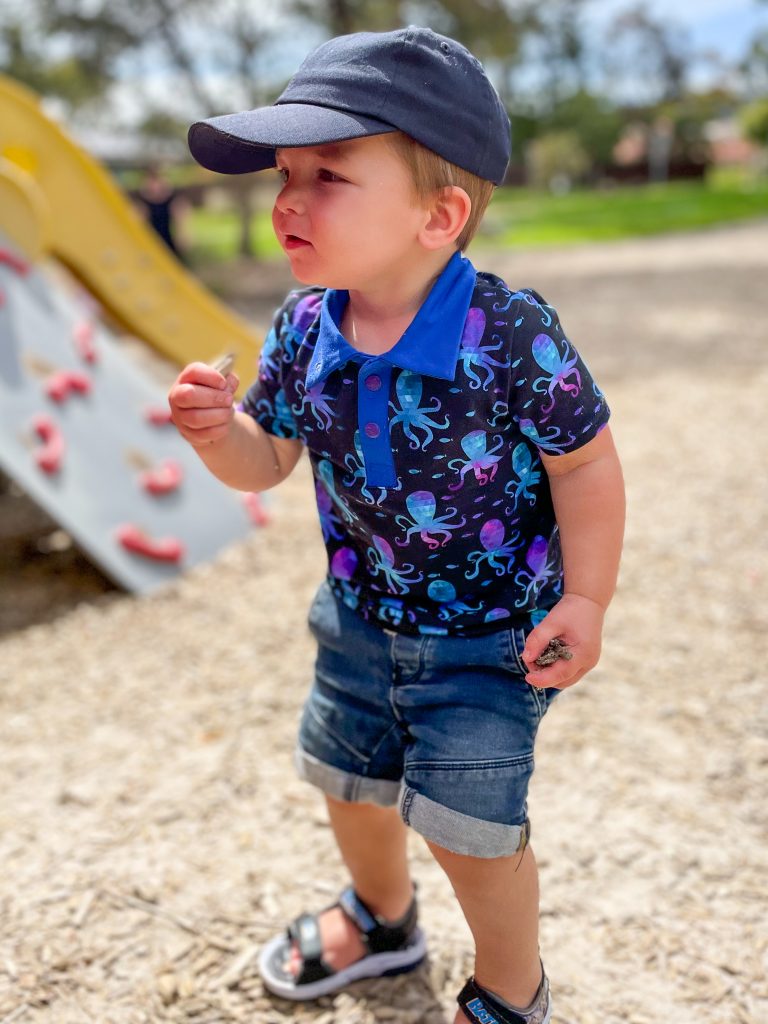
    The first set I made was two Waves & Wild Patterns. A pair of Over it Alls and a Pick n Mix Tee.

    Waves & Wild have some incredible kids patterns and are up there with one of my favourite pattern designers. Particularly the Over it Alls. I don’t even know how many of those I have made! They are so quick and easy and have a very generous size range. Newborn to Age 12.

    I chose to use some of Clover & Co. Fabrics Lounge rib as it is so incredibly soft and is made from 95.4% Cotton and 4.6% spandex, making it super breathable. The print is called Midnight Soleil and I fell in love with it the minute I saw it.

    I did the short version in 000 size, hoping that her bubba boy will get some wear early next year before the weather turns. I also chose to use plastic Kam snaps for the straps but I highly recommend interfacing or at least adding another square scrap of fabric for extra stability under the snaps. They get quite a lot of strain when pulling them off that if they are not properly backed, they will pull through the fabric over time.

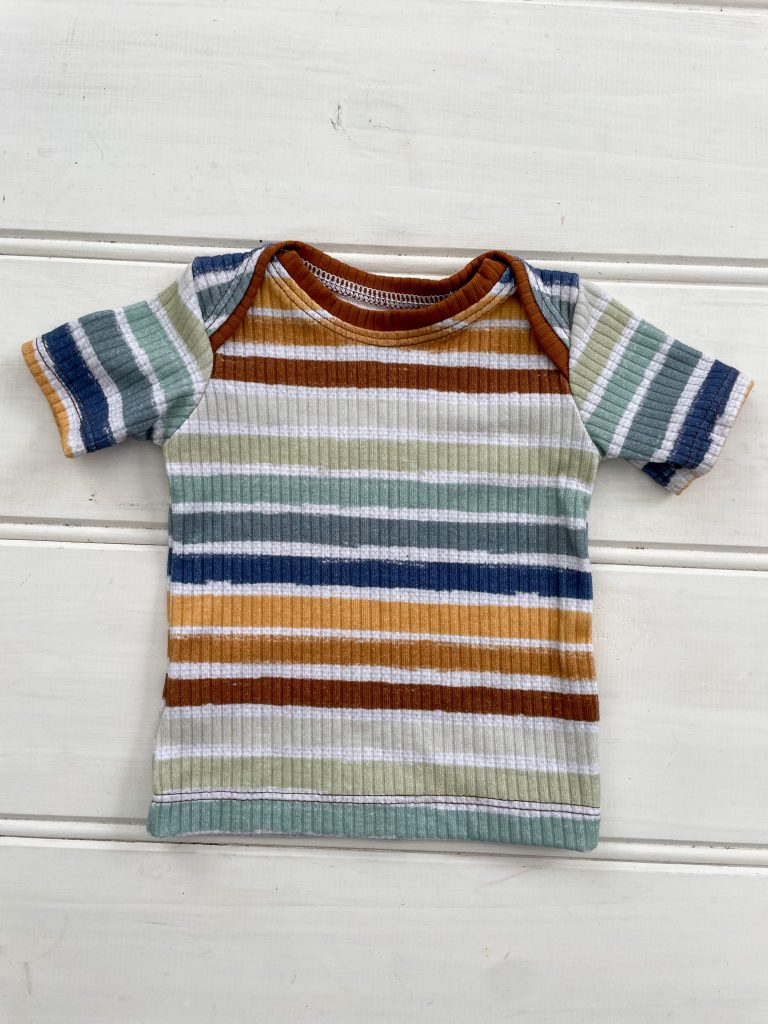
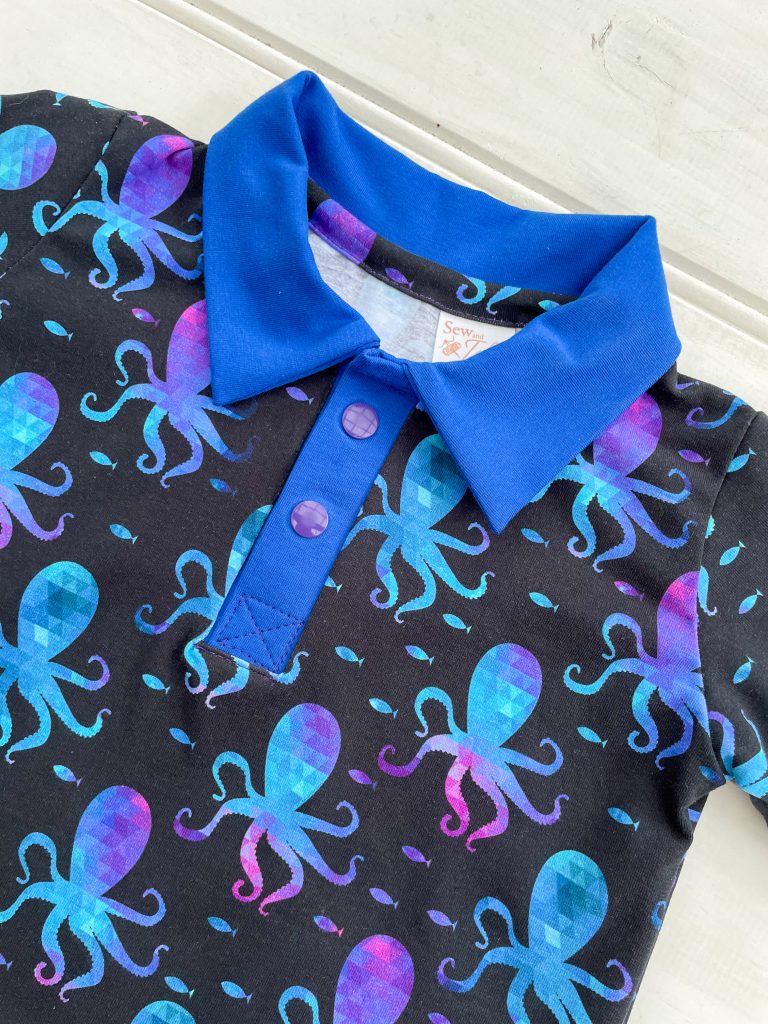
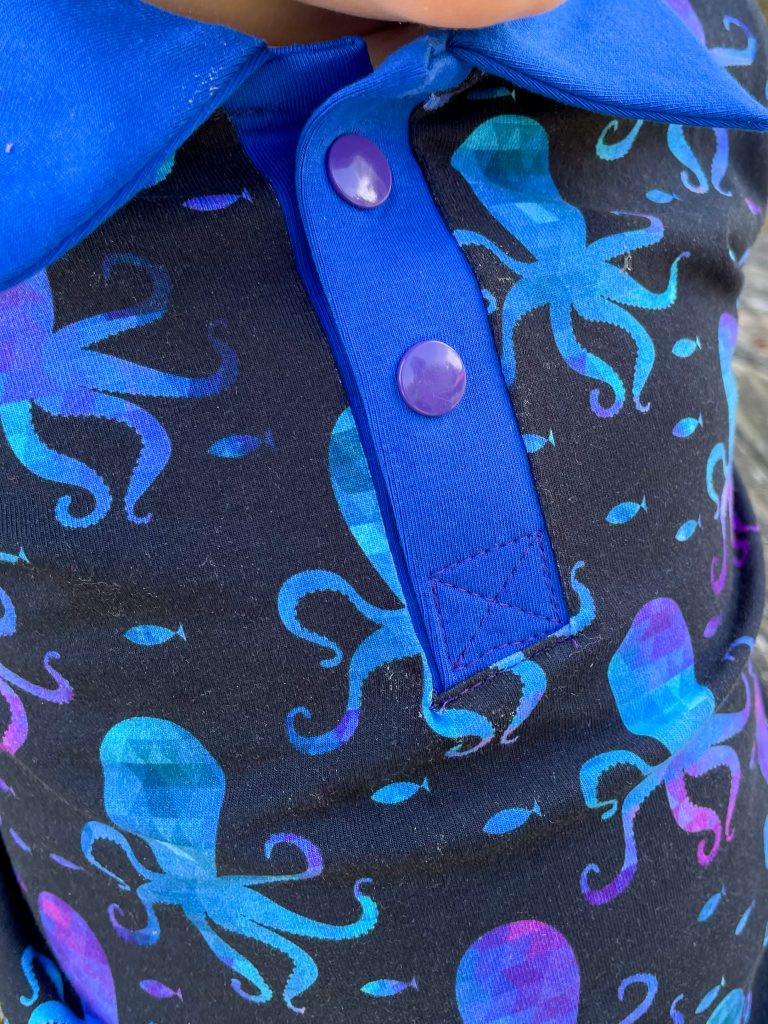
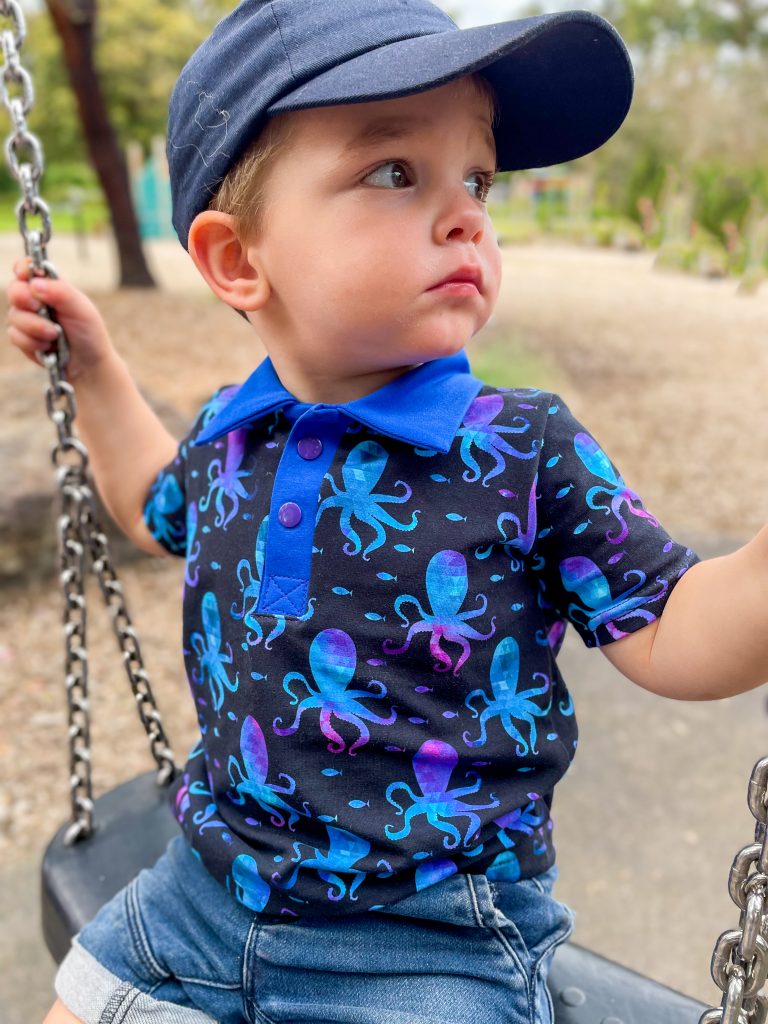
    To pair with the Over it Alls I also made a teeny tiny size 000 Pick n Mix Tee. I chose this one for the envelope neckline which if you have kids, you’ll know if a lifesaver when they get covered in anything from poop to food. Not having to pull it over their head and spread it more in their hair, instead being able to peel off over their body is SO much easier!

    The awesome thing about the Pick n Mix is that within the one pattern there is also a sleep sack and body suit. The other necklines include snap neck and crew neck. You can also have either short or long sleeves and there is a handy fold over mitten option so those tiny little fingernails can’t scratch themselves.

    Again I chose to make it from Clover’s Lounge rib, in their Stripes of Soleil print.

    The next gift I made was one that I but a lot of thought into. Although my friend grew up here on the mainland, she now lives in Tasmania and is obviously where she is building her family. So through Clover & Co. I was able to use a fabric that has roots in Tasmania which I knew she would love.

    The design, called Wattle, is from Clover’s NAIDOC round and is designed by local First Nations artist, Annie from Pia Designs. My friends partner has lived and worked with First Nations people out at Uluru, Alice Springs and they both have incredible respect for First Nations people so I knew this print would be perfect.

    For this piece I chose to make a short leg Zippie from Peek A Boo Pattern Shop. I’ve done a pattern review before about the Classic zip PJ set, as its honestly one of my favourite sleepwear patterns to make. Both my kids LOVE their homemade zippies in funky fabrics. So much more than they ever did their Bonds ones. It also has a really generous size range of Newborn to 10/12.

    I was also able to use another incredible Australian supplier for this one, Dreamy Bag Hardware. Coincidently, another Tassie based business! I used their ‘Made in Tassie’ zip pull and number 5 zip tape. As the Made in Tassie pull is quite chunky, and I wanted to have a two way zip for ease of nappy changes, I chose to use a slim line pull for the bottom pull, still in the antique brass to keep it within the theme.

    So all in all a very Tassie themed sew for my Tassie based friend with her soon to be Tassie born babe!

    Seeing the joy on her face when she received these was so worth the trip down there, as was the beautiful 2 days I got to spend with her.

    I can’t wait to see her little man in these!

    Links:


    Video tutorial of the Waves & Wild Over it Alls:

  • Pattern Review of the Serendipity Sweater

    This article contains affiliate links throughout

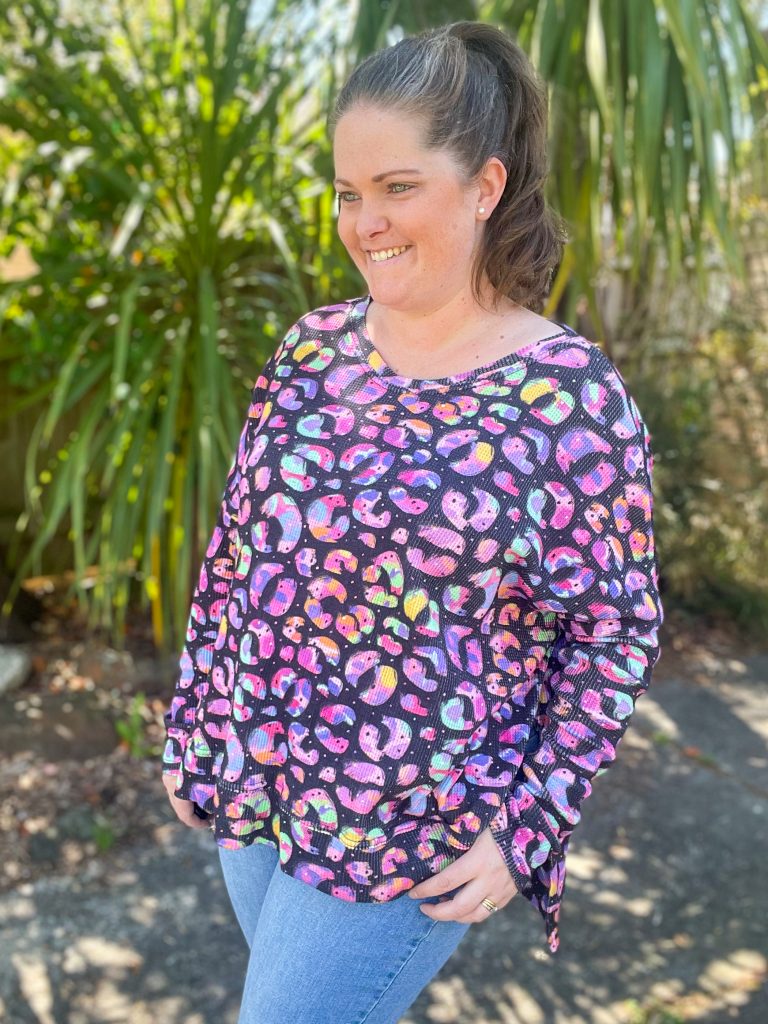
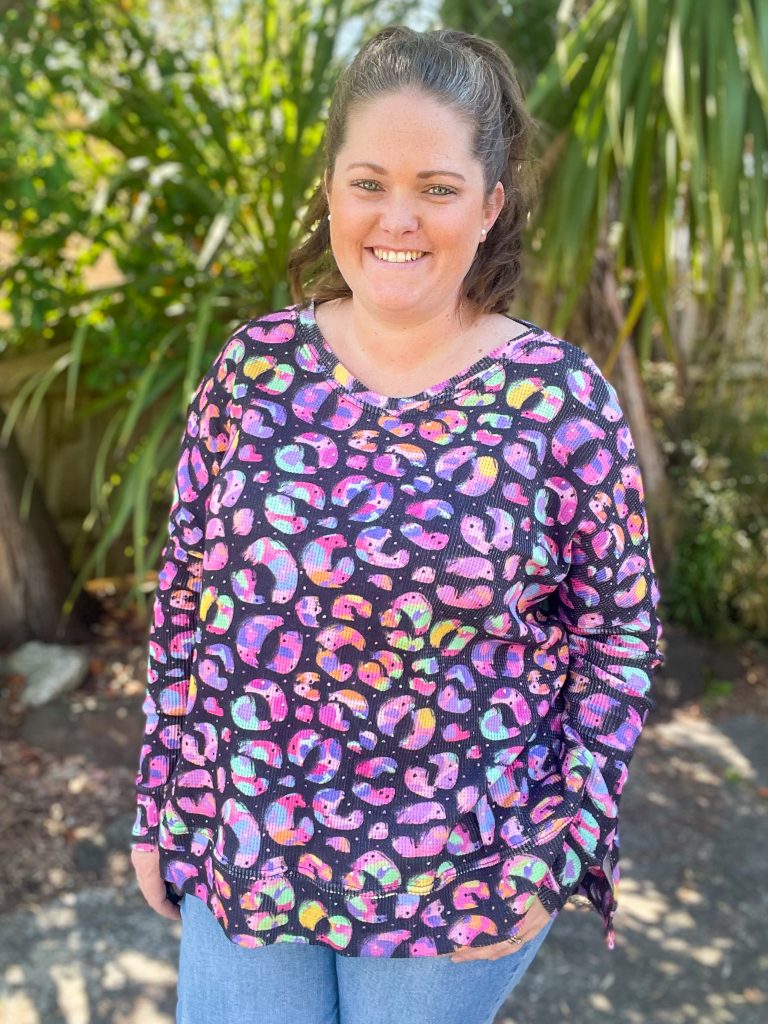
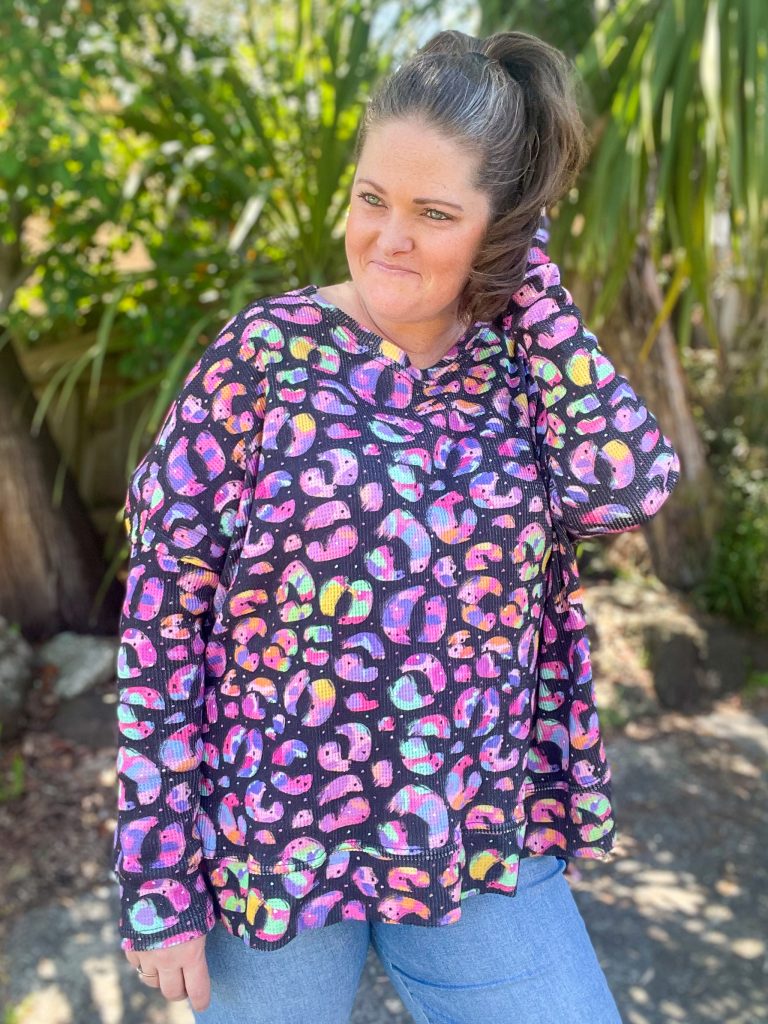
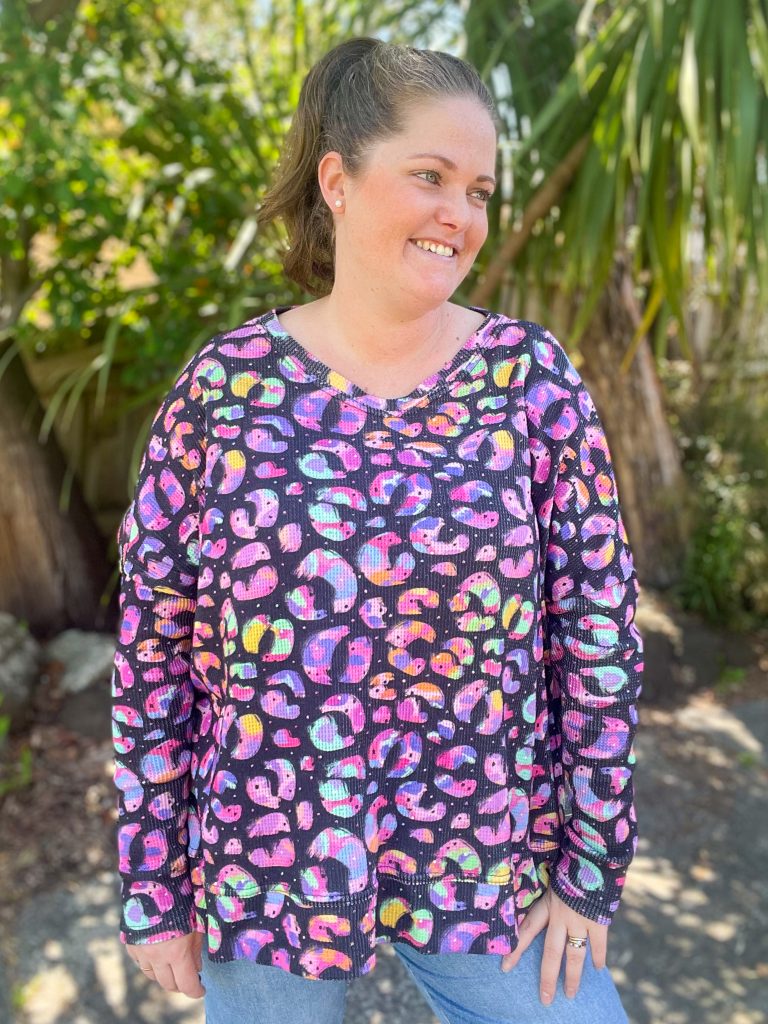
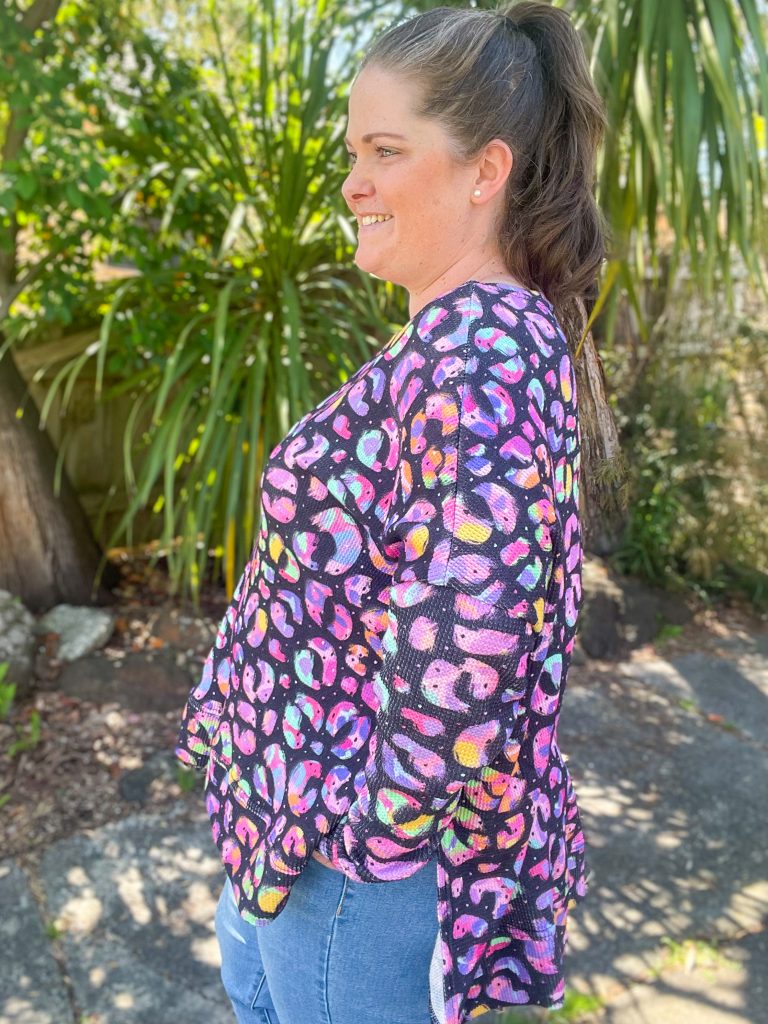
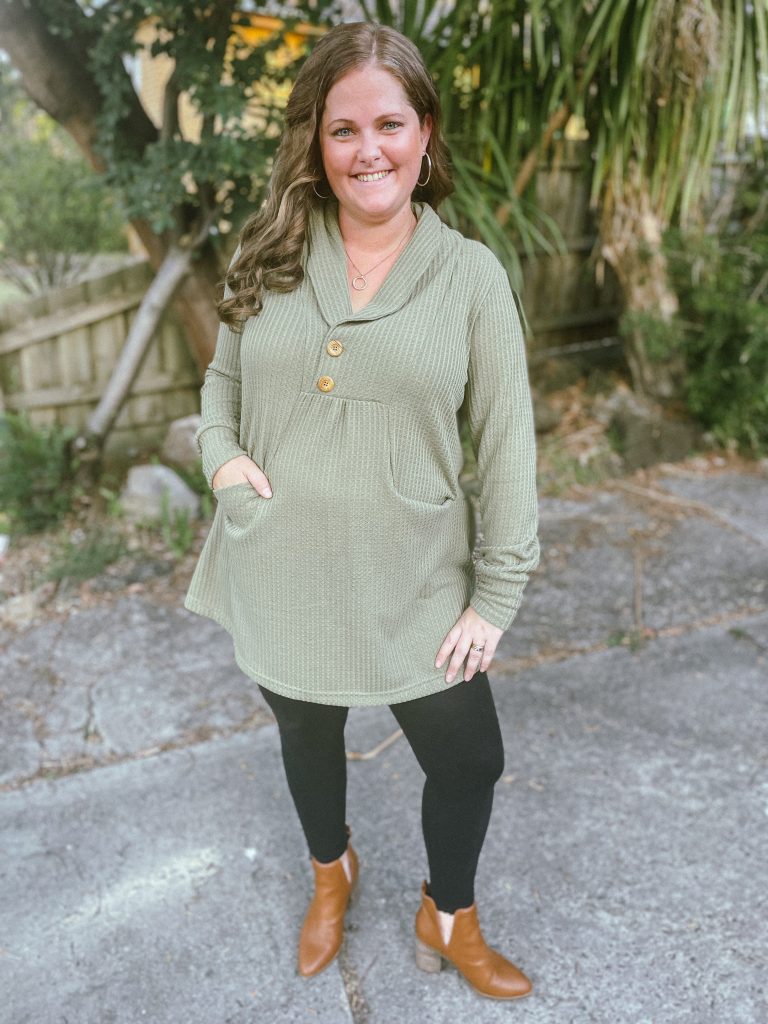
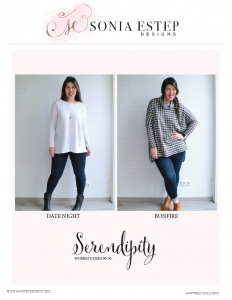
    Pattern: Serendipity Date Night Sweater
    Designer: Sonia Estep Designs
    Fabrics: Printed Waffle from Clover & Co. Fabrics
    Measurements: Chest: 44″; Waist 39″; Hips 47″
    Size made: 20
    Adjustments: None
    Pros: Beautiful and comfy oversized Sweater
    Cons: The Sleeves were a little long for me, I should probably shorten them

    Links:

    The Wrap Up:

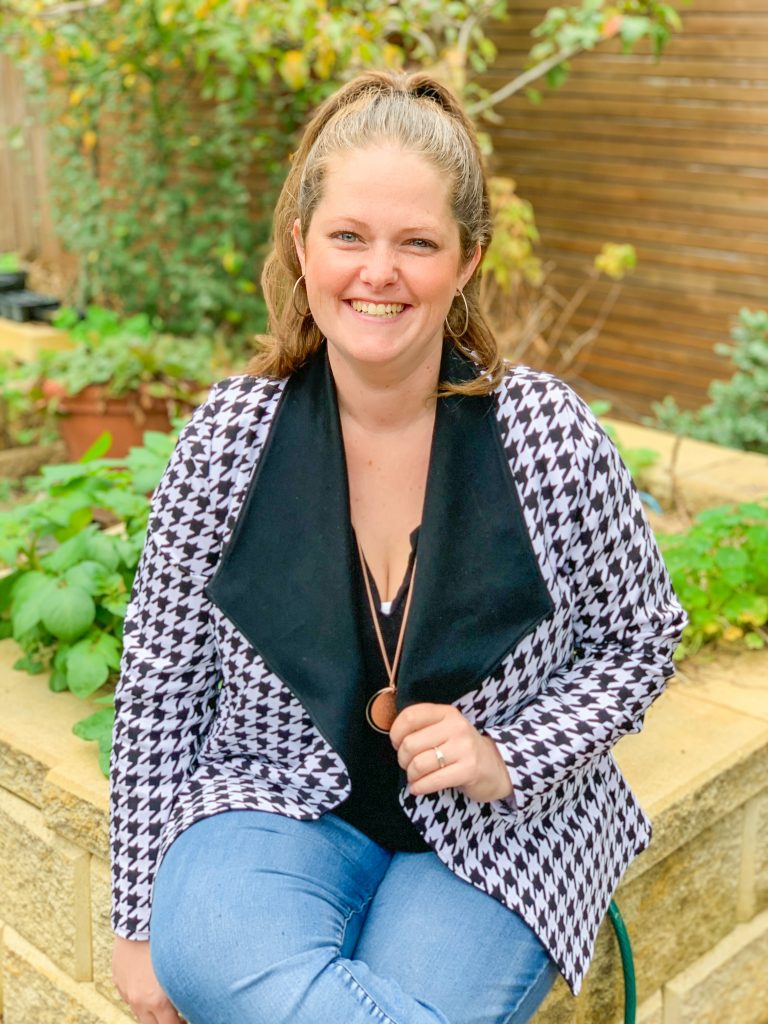
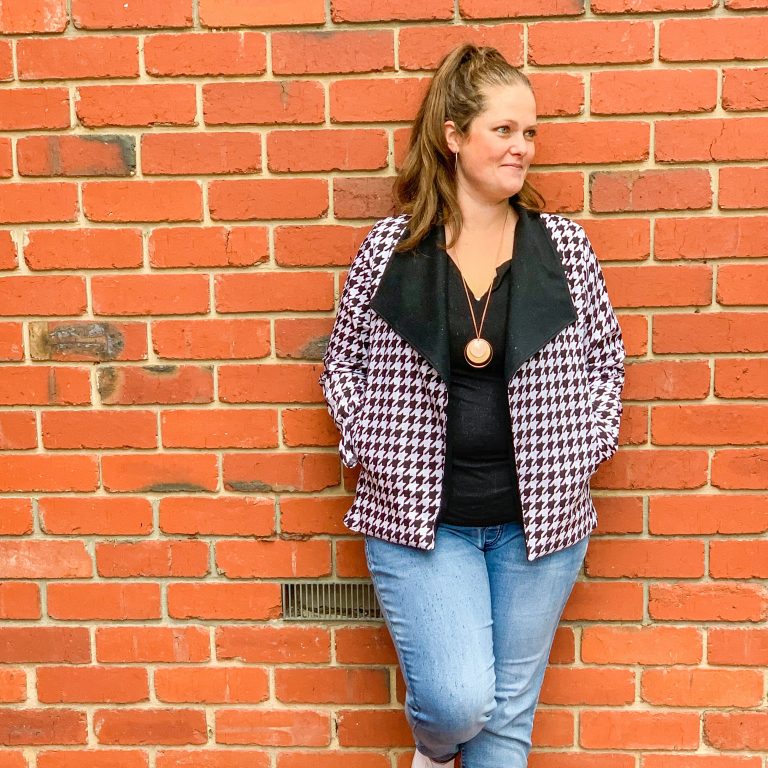
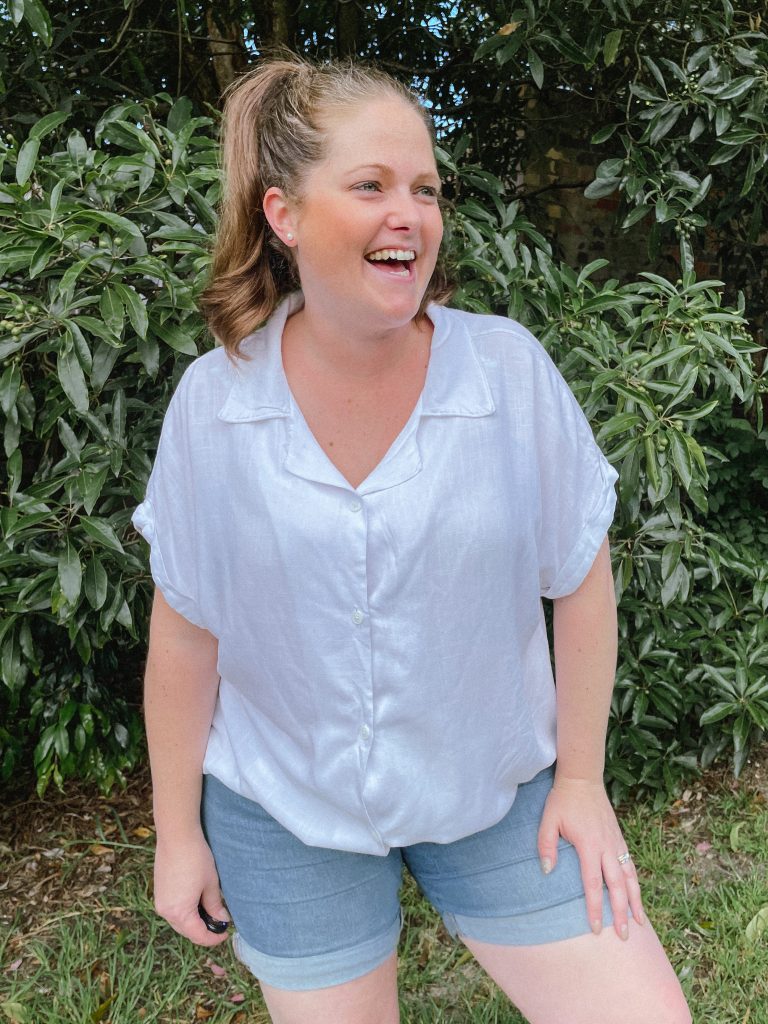
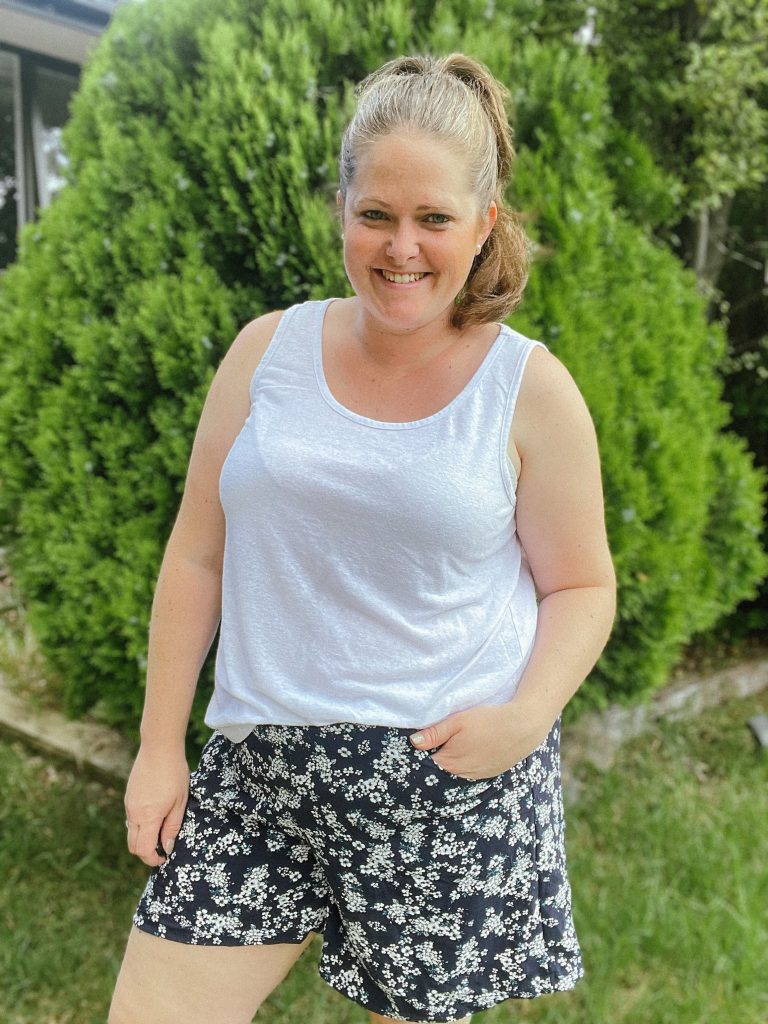
    Where do I start with this incredible sew? This sew was love from the minute I received the fabric till the minute I finished it and got to wear it.

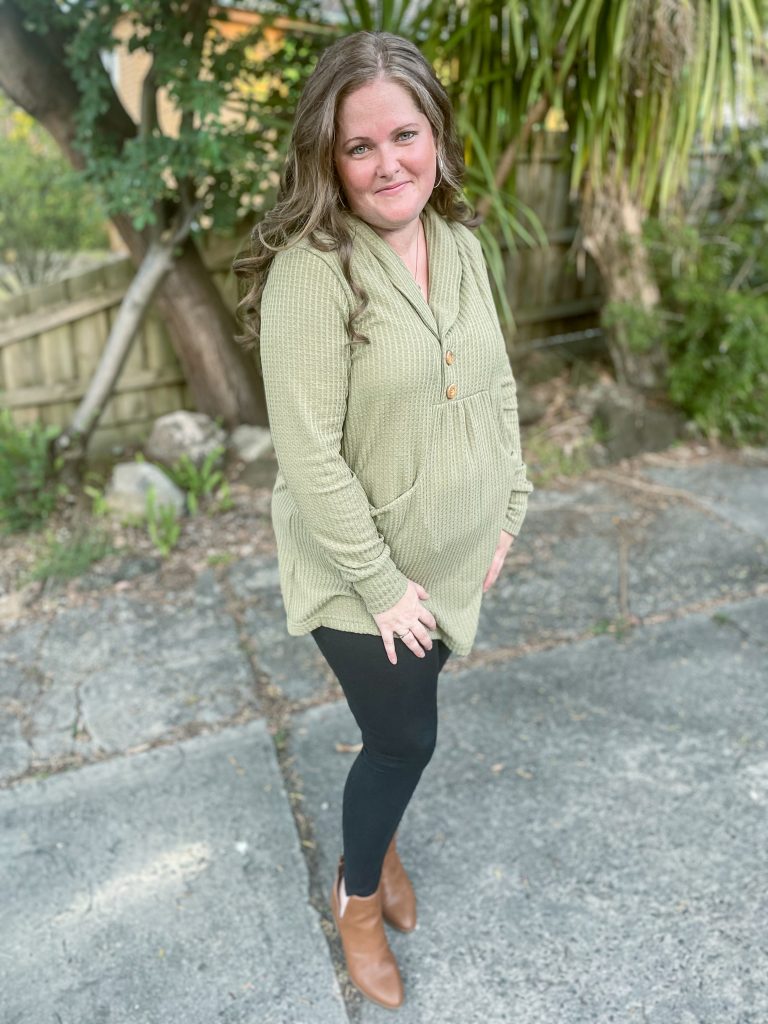
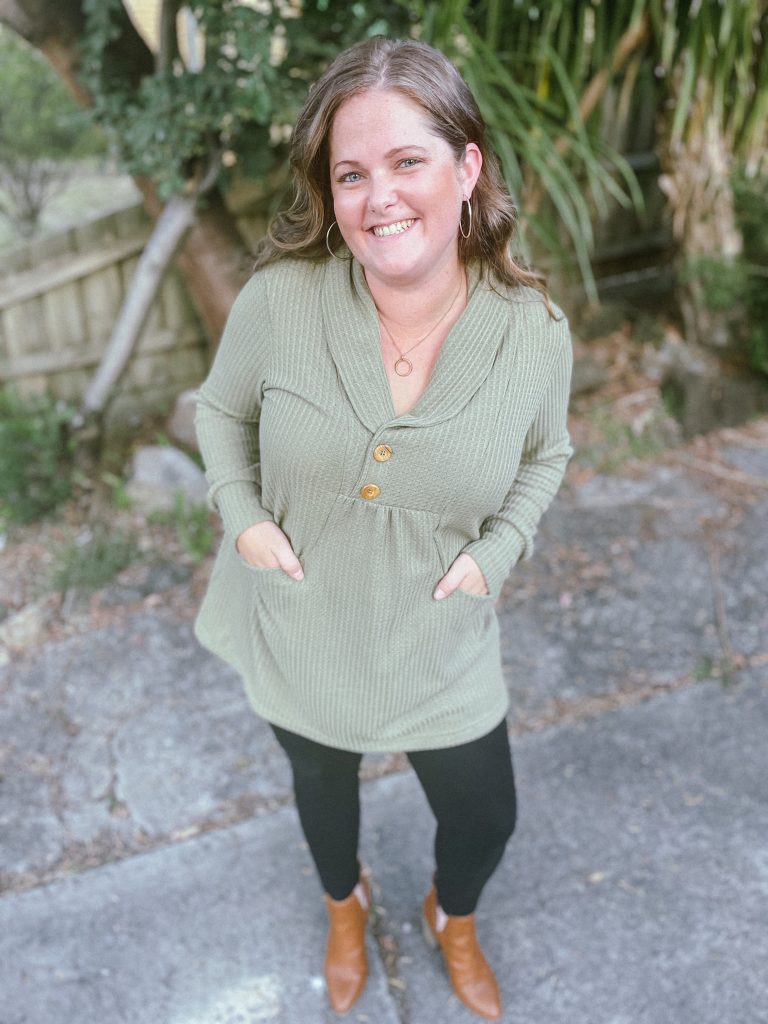
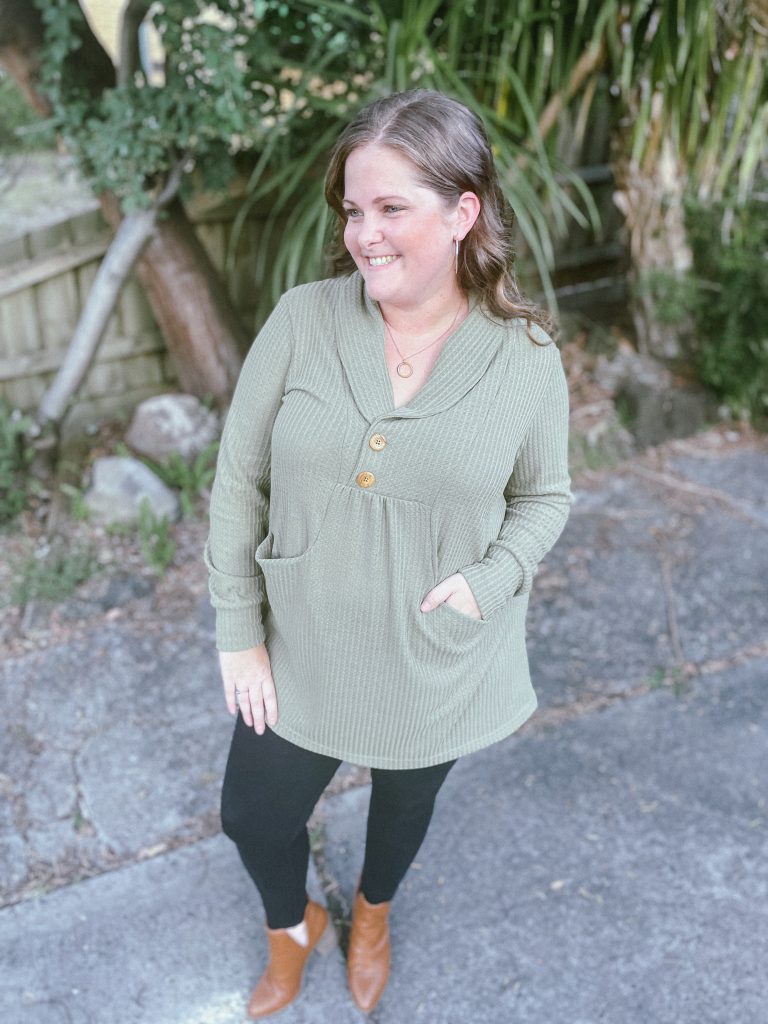
    I am a big fan on oversized at the moment. I feel like it’s a big hug and also helps me feel a little less self conscious about some of my lumps and bumps.

    This pattern has two versions. The Bonfire version which is more of an oversized poncho, and the Date night version with is a crew neck sweater with side vents. I was a fan of both versions, but as we are heading into Summer in the Southern Hemisphere, I wanted something that I would be able to wear on the cooler nights but also be able to layer underneath in the colder months. Being oversized means I will be able to wear this year round with no issues.

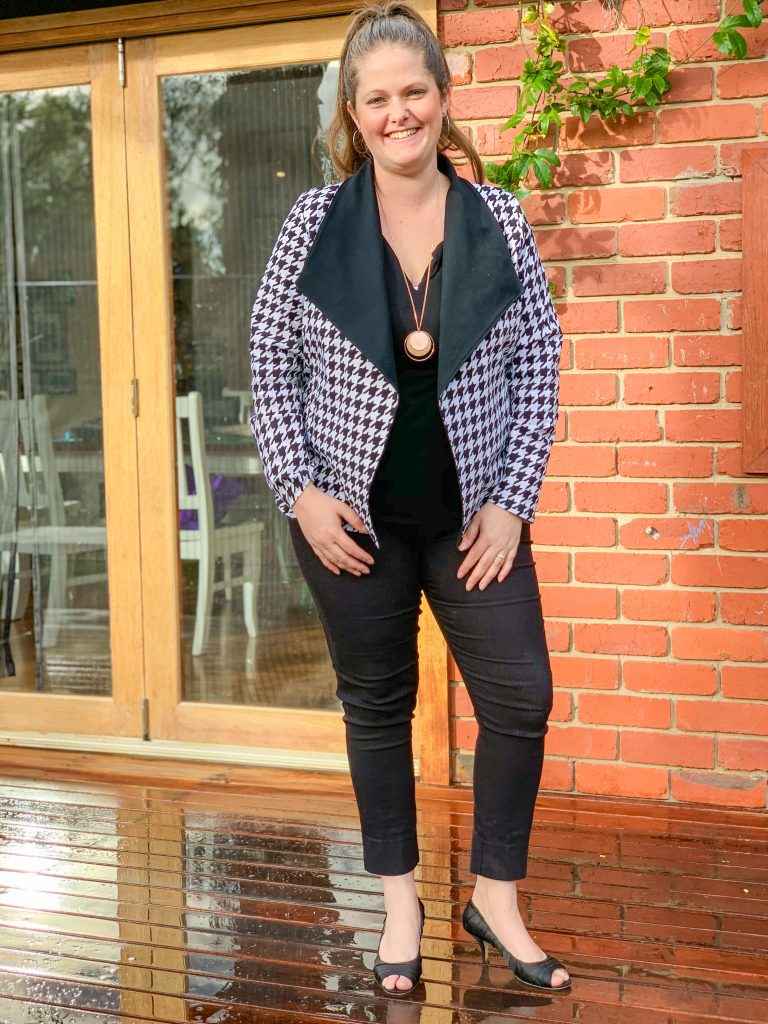
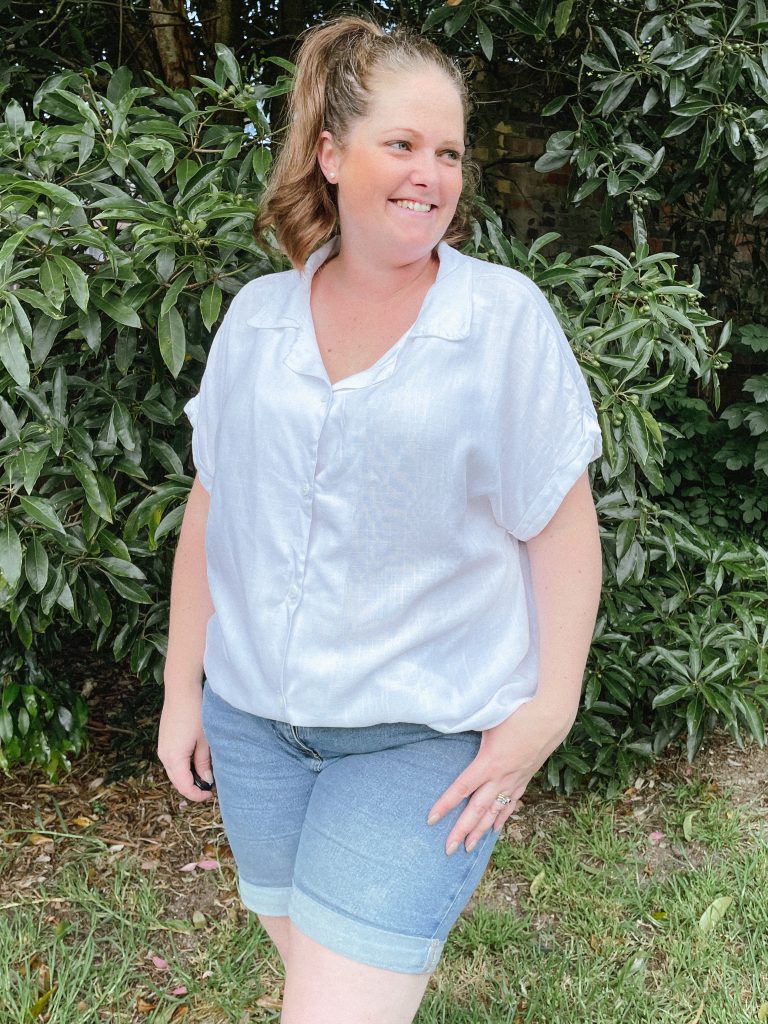
    This was also my first time using Clover & Co. Fabrics waffle base. Safe to say it will not be my last. This is quite a light base to wear, but the square waffles give it such a cosy feel. It has more horizontal stretch than vertical, so wouldn’t suit leggings or any garment that requires 4 way stretch, but pj’s, jumpers, joggers and cardigans are perfect in this base. It is 95% cotton and 5% spandex, so also really breathable, which is important to me. The generous 160cm wide Width of Fabric (WOF) also means you can squeeze a lot out of the meterage. Worth checking out.

    So all in all a huge win for me on this pattern and fabric. The Serendipity is on sale until 21st November 2022 for $6USD OR, you can get it for free with the purchase of any other Sonia Estep Designs Pattern. I highly highly recommend the Iris shorts. I’ve written a review of that one HERE!

    Gallery: