Pattern Reviews

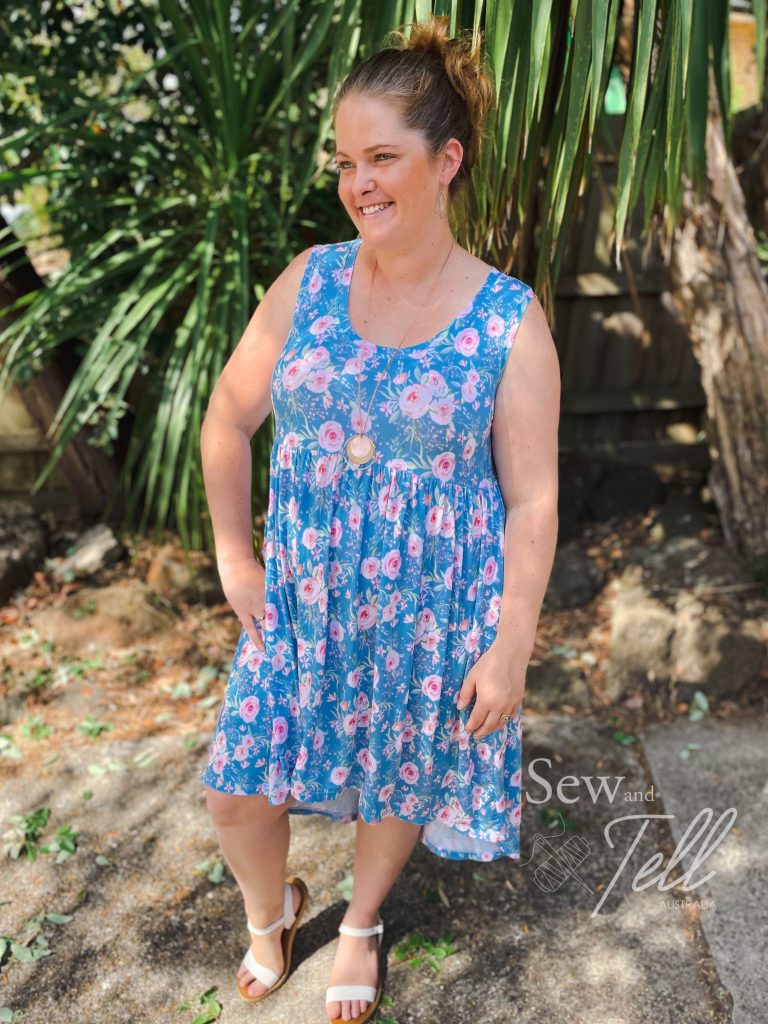
  • Pattern Review of the Camilla Dress

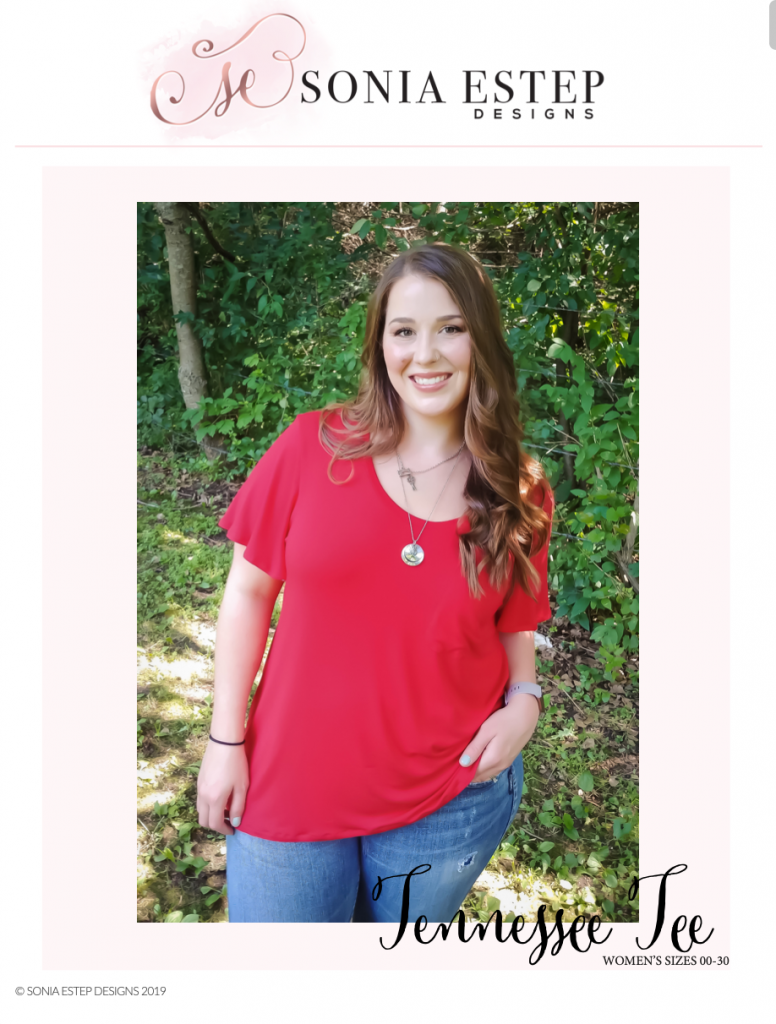
    Pattern: Camilla Dress
    Designer: Sonia Estep
    Fabrics: Cotton Lycra – Sew Unique Fabrics
    Measurements: Chest: 44″; Waist: 39.5″; Hips: 49″
    Size made: 18 graded to 22
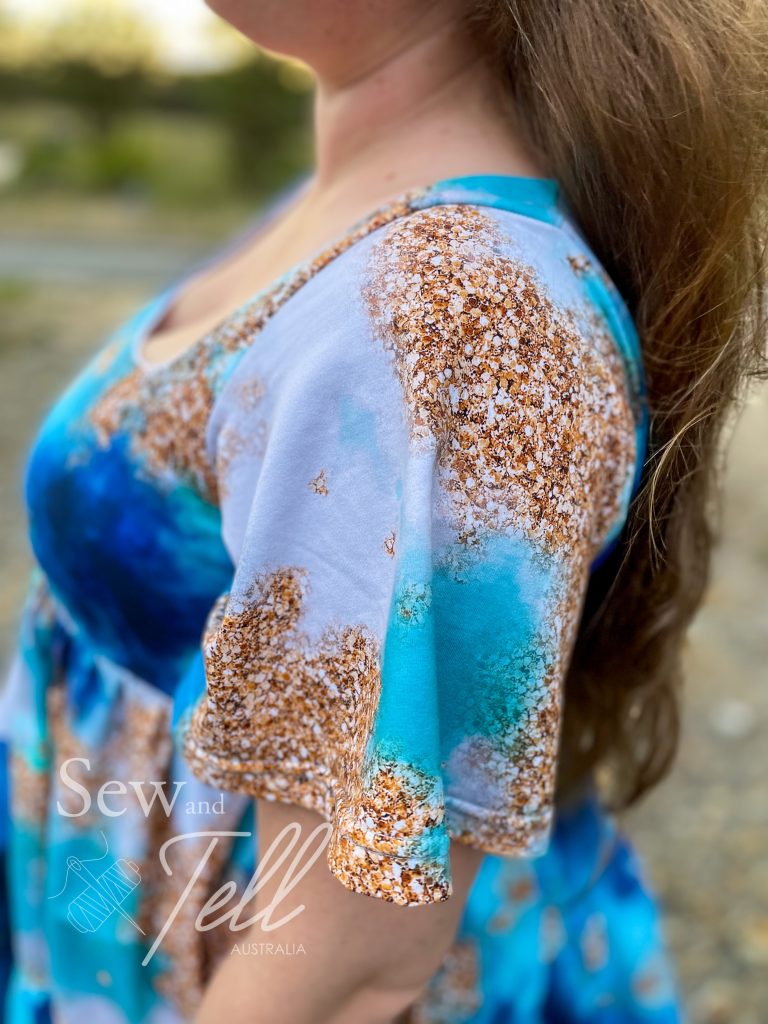
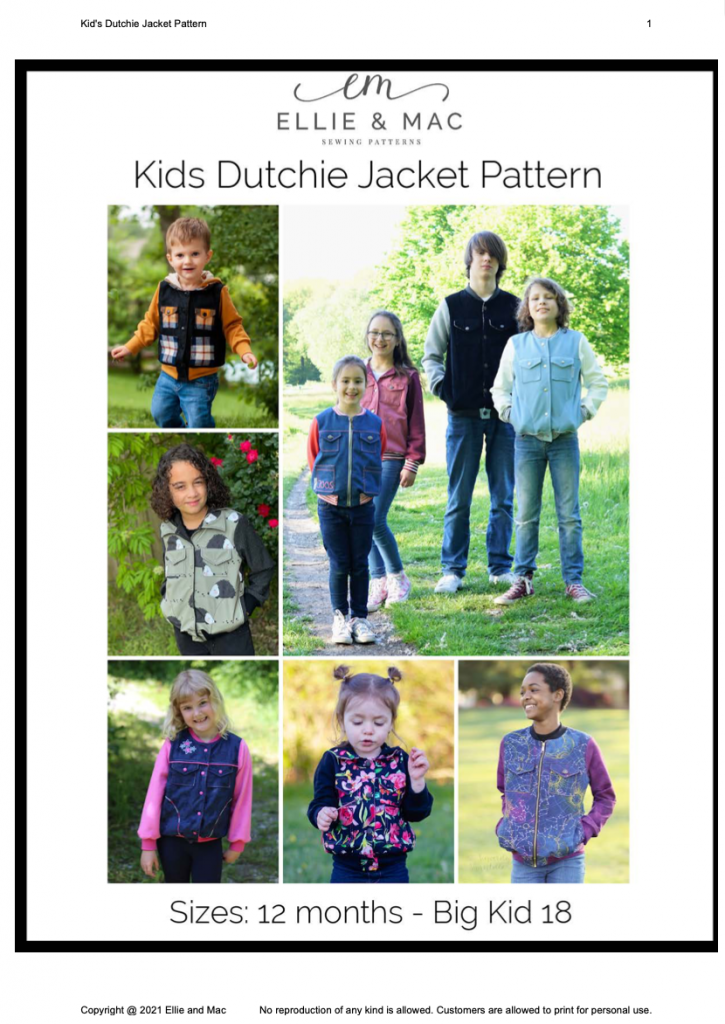
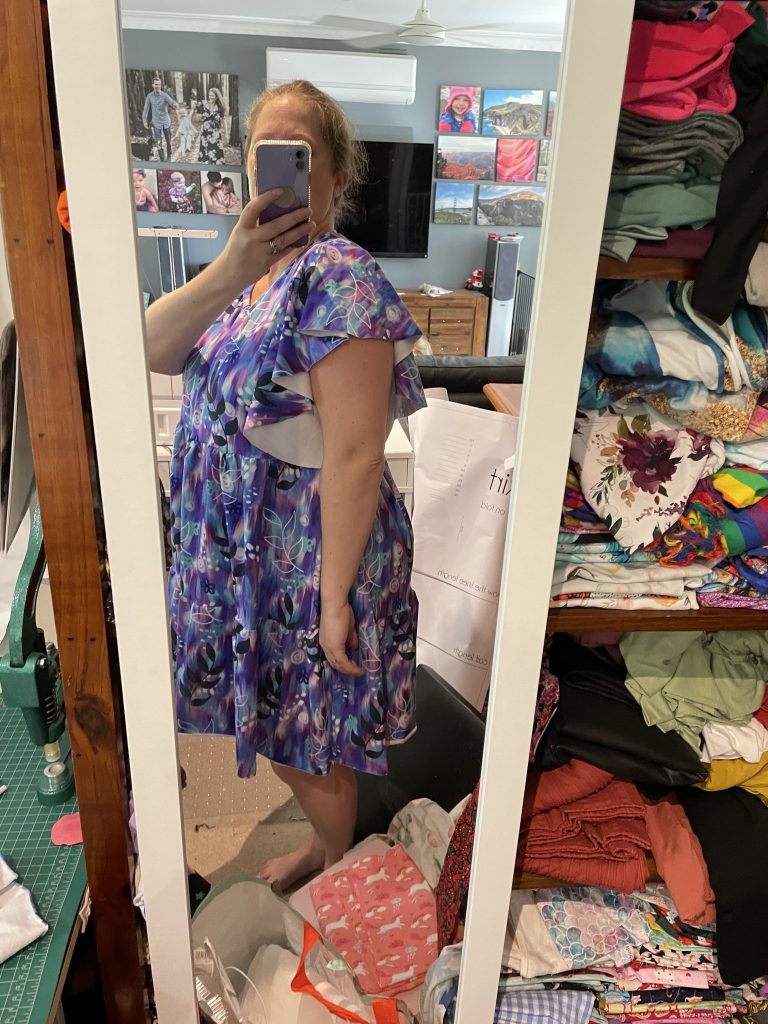
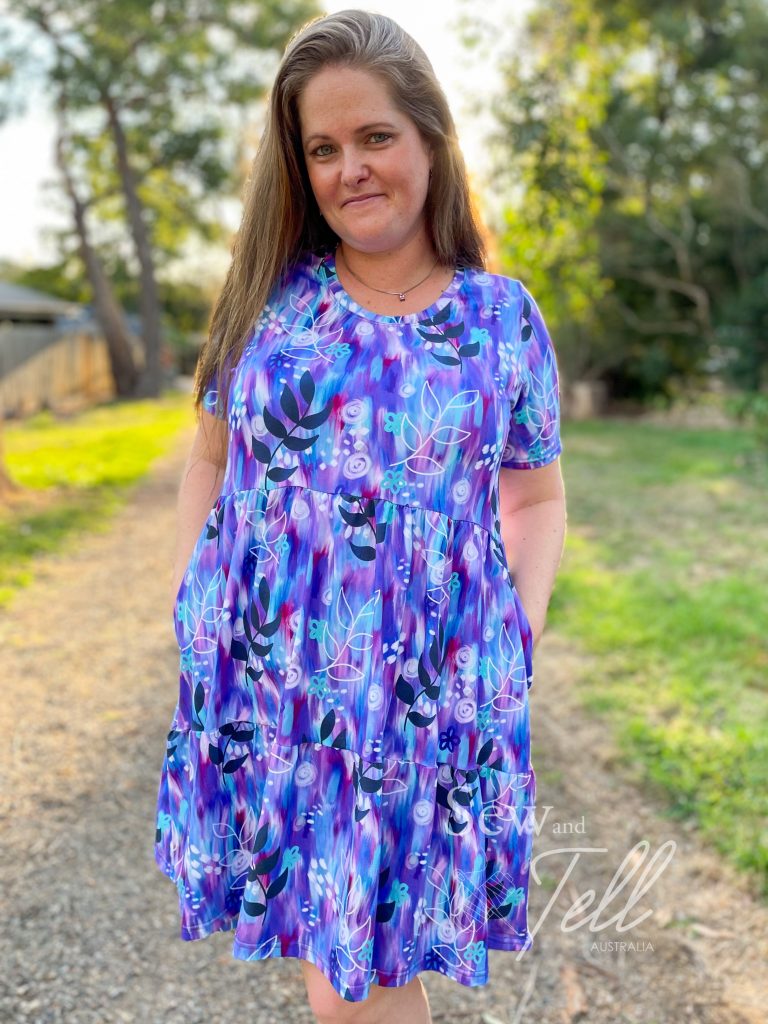
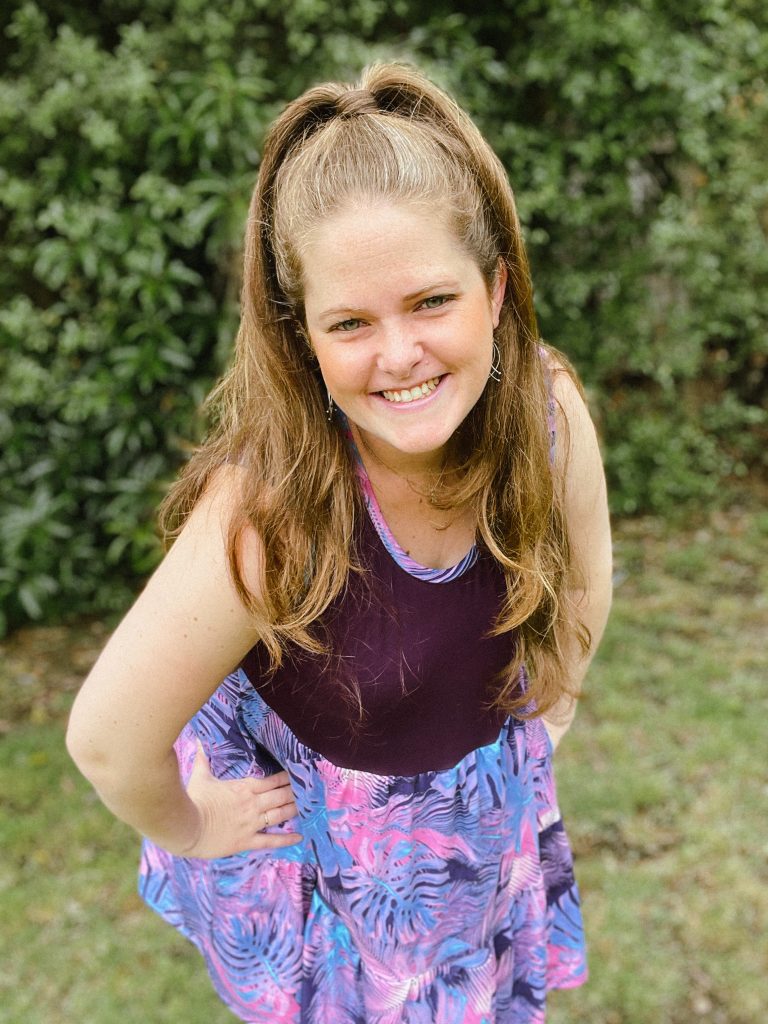
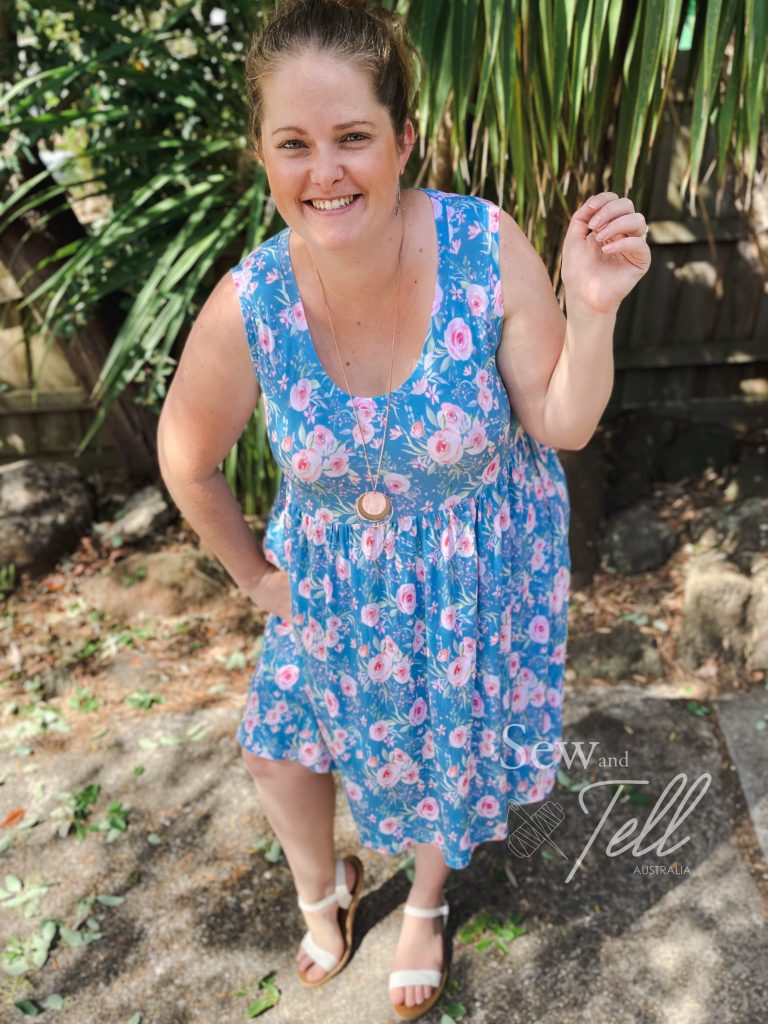
    Adjustments: I used the flutter sleeves from the Sonia Estep Katherine and the pockets from the Lily.
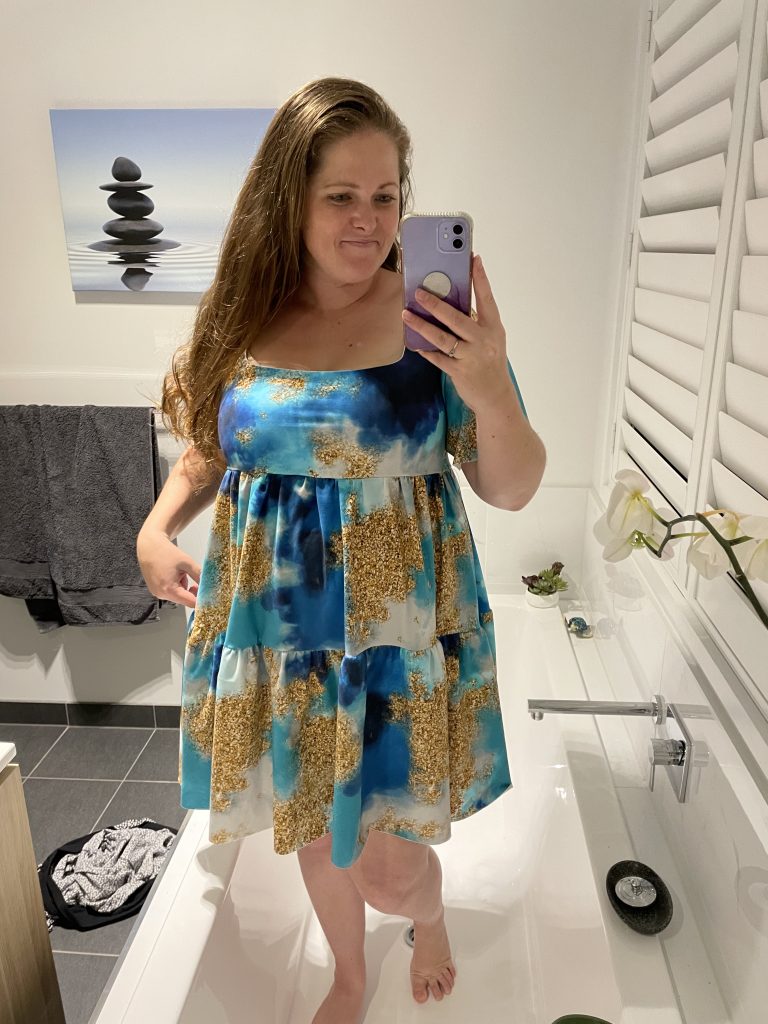
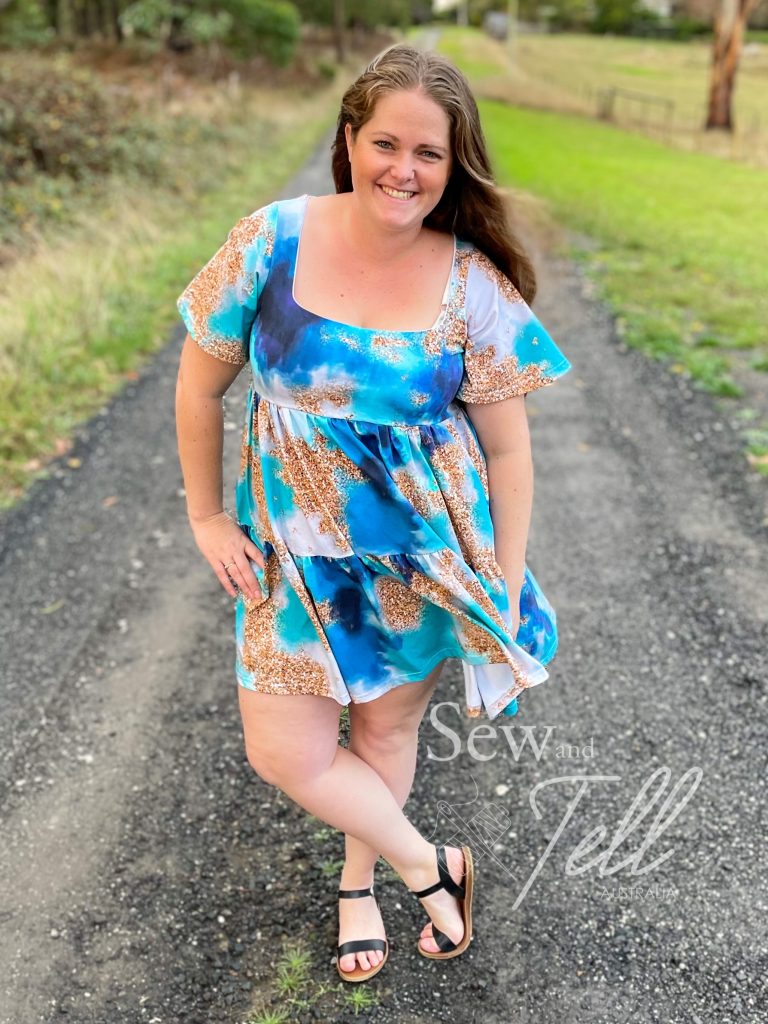
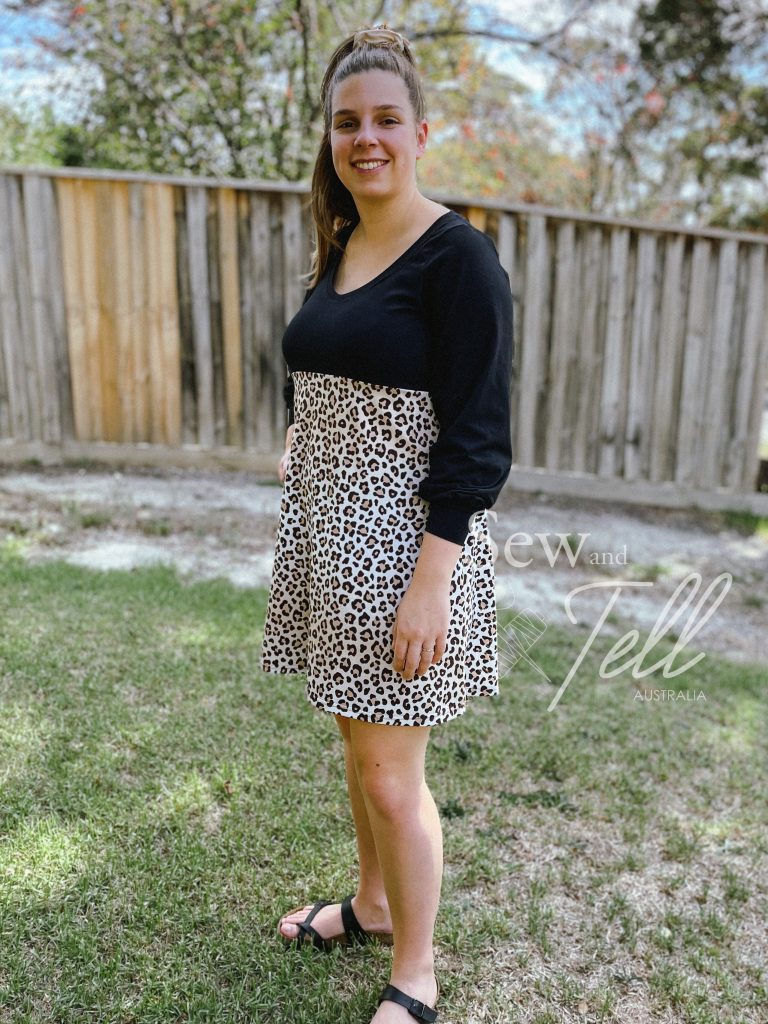
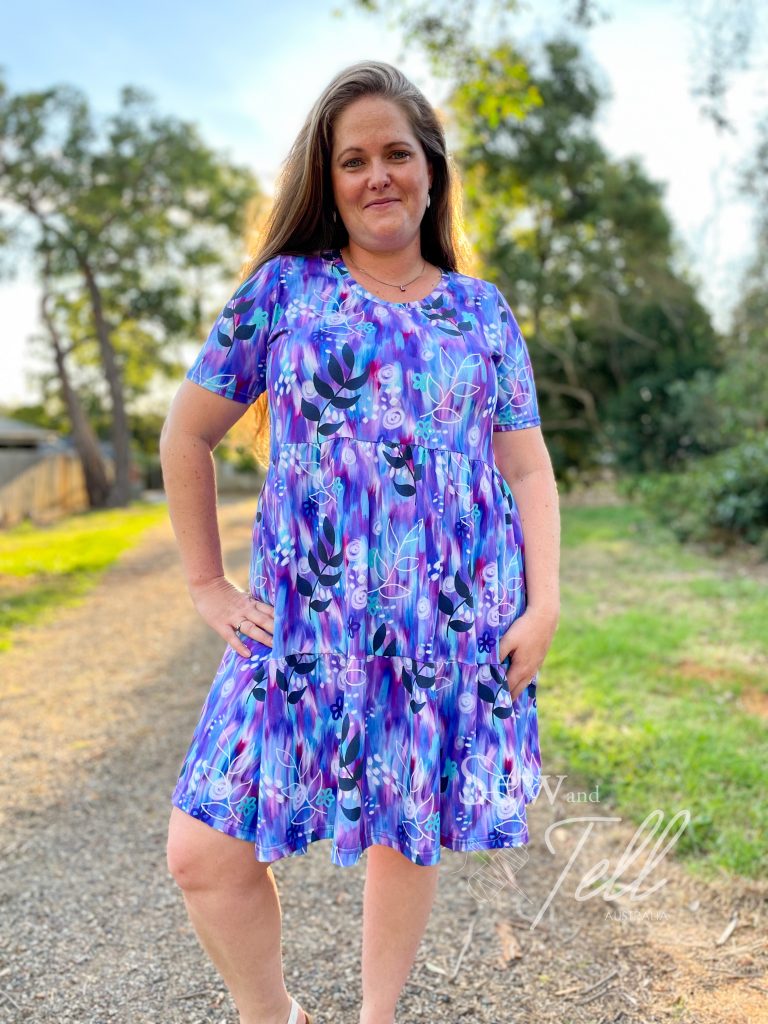
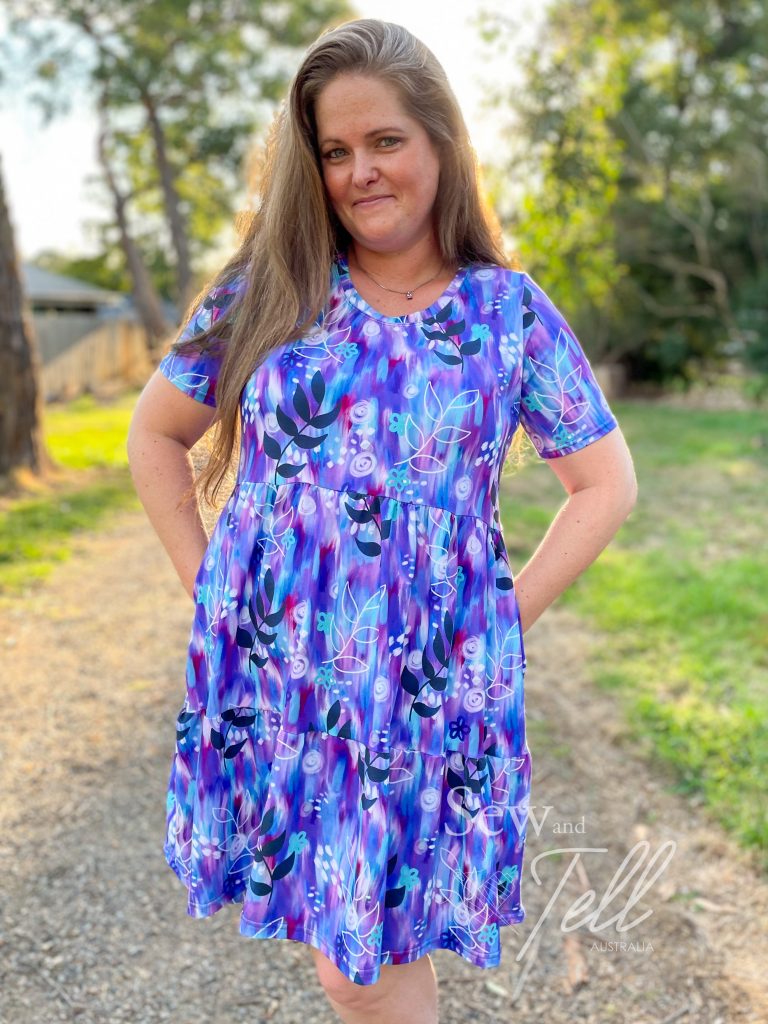
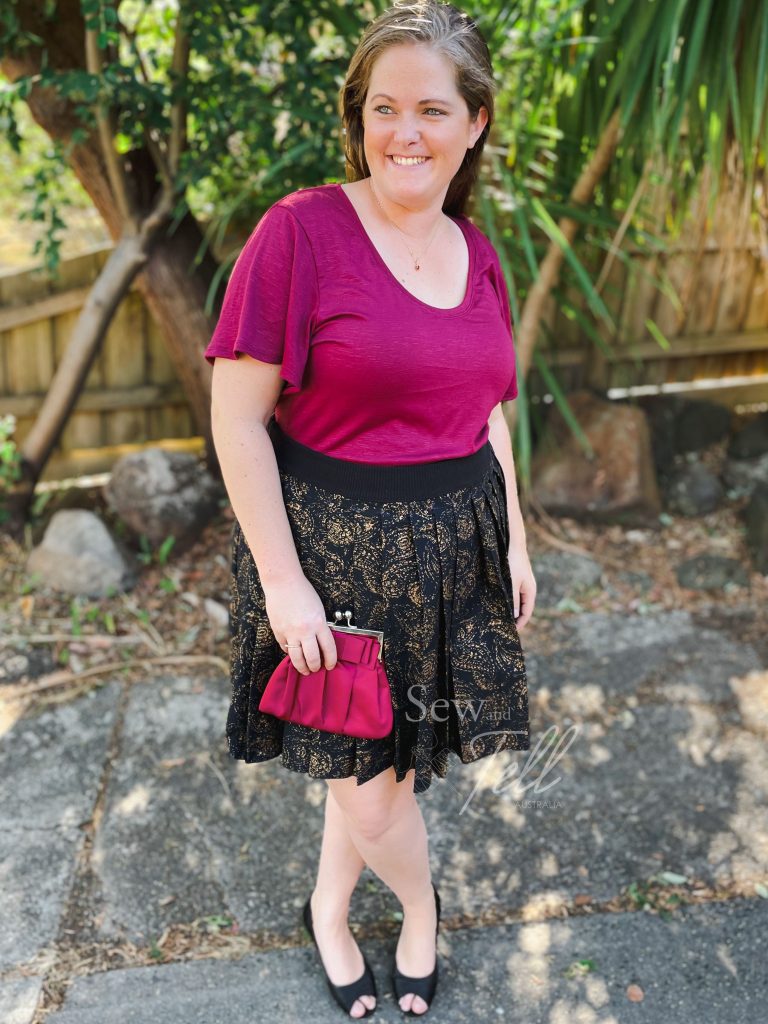
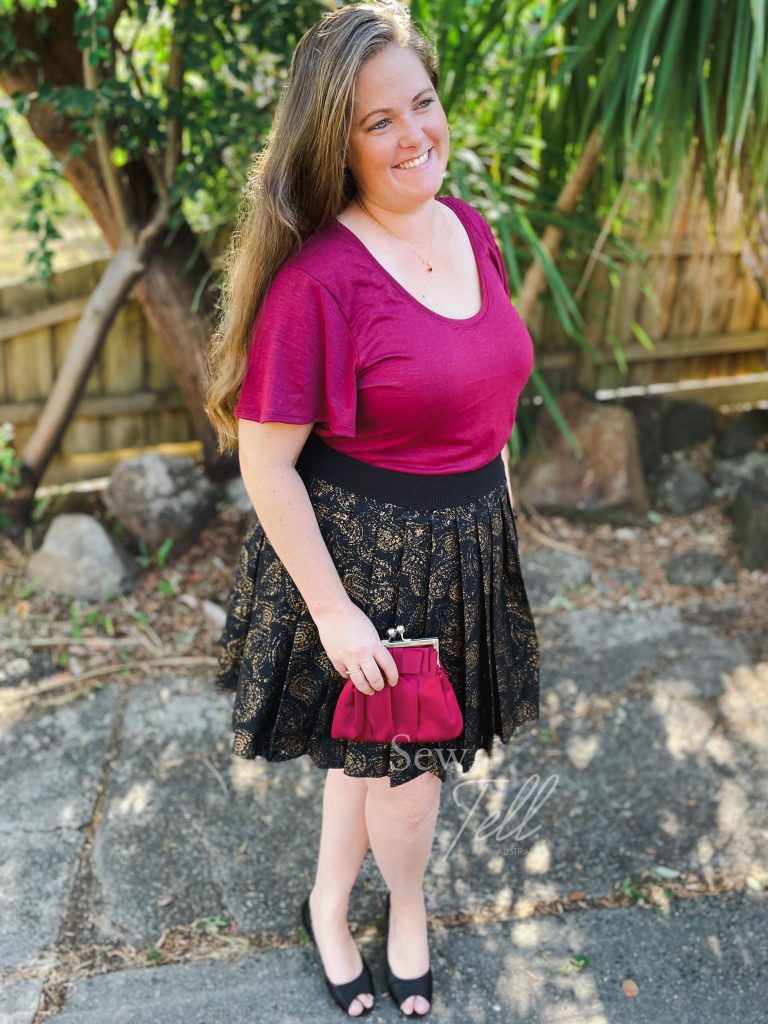
    Pros: I LOVE a square neckline. It always look very flattering on me, so I was super excited about this pattern. I also love that it mashed well with some of Sonia Esteps other dresses, like the Katherine so I could use the flutter sleeves.
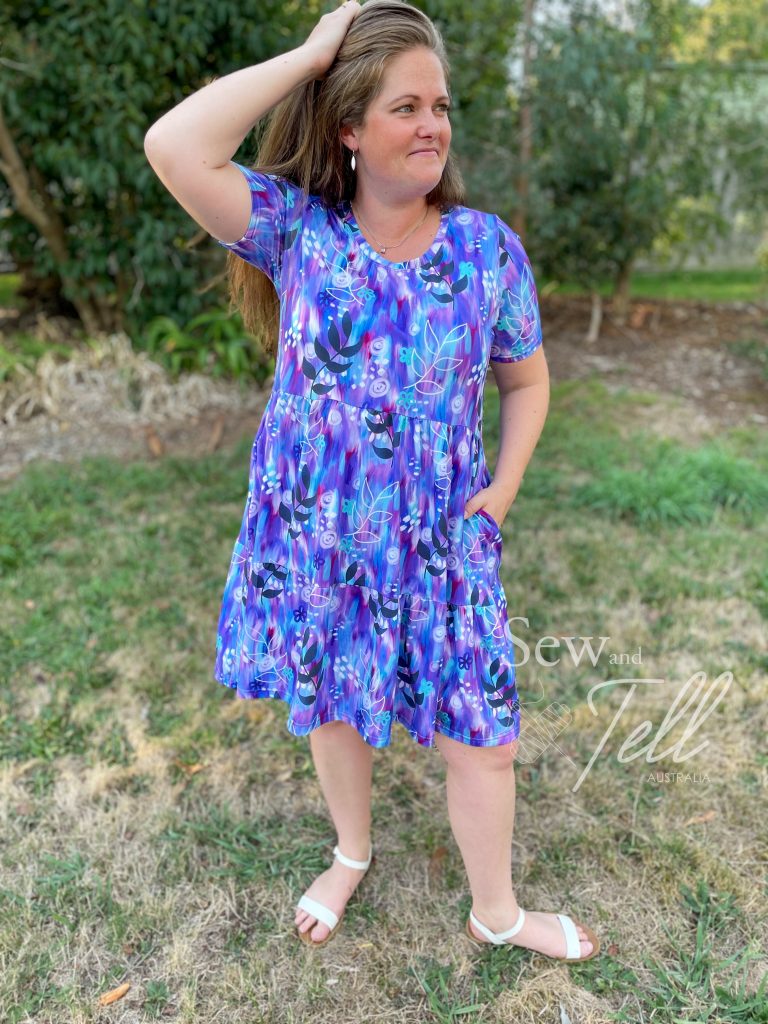
    Cons: There was no pocket option as a standard which I thought was a little strange, every dress should have pockets! I also was a little annoyed that the tiered pieces were only measurements.

    Links:

    The Wrap Up:

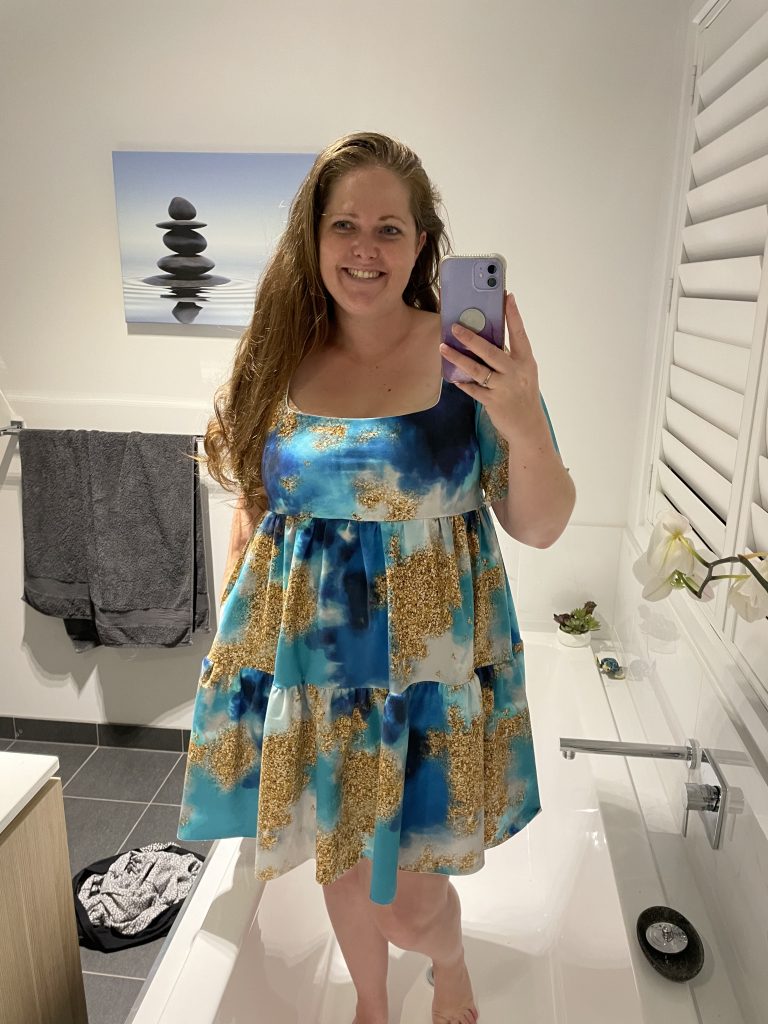
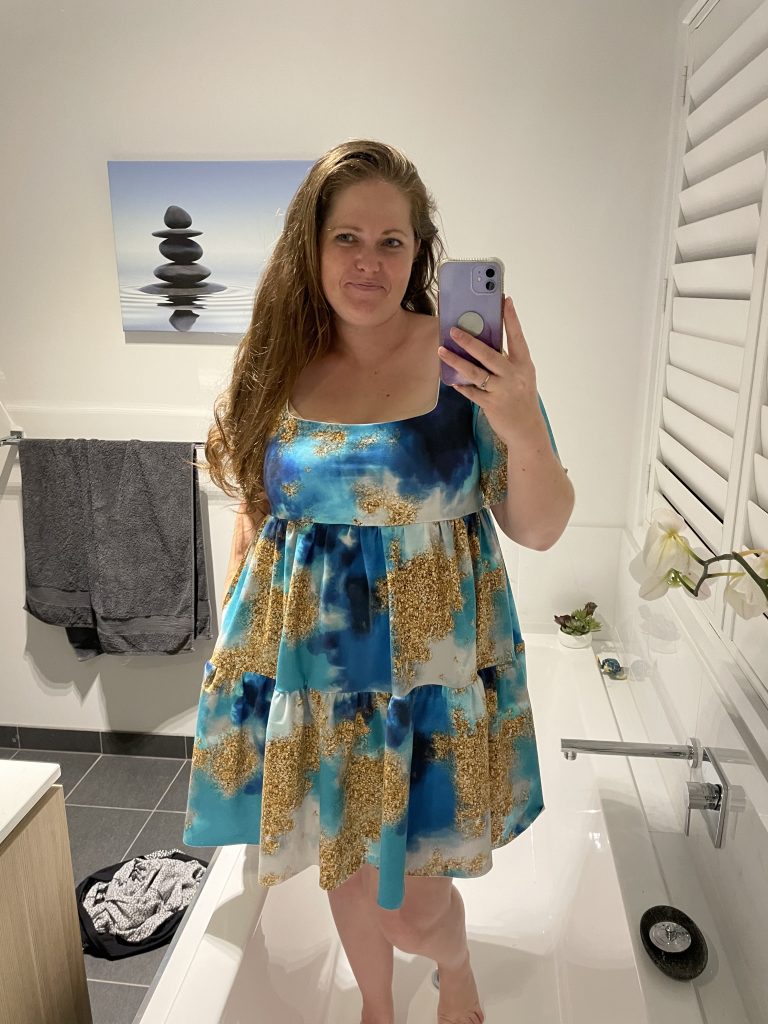
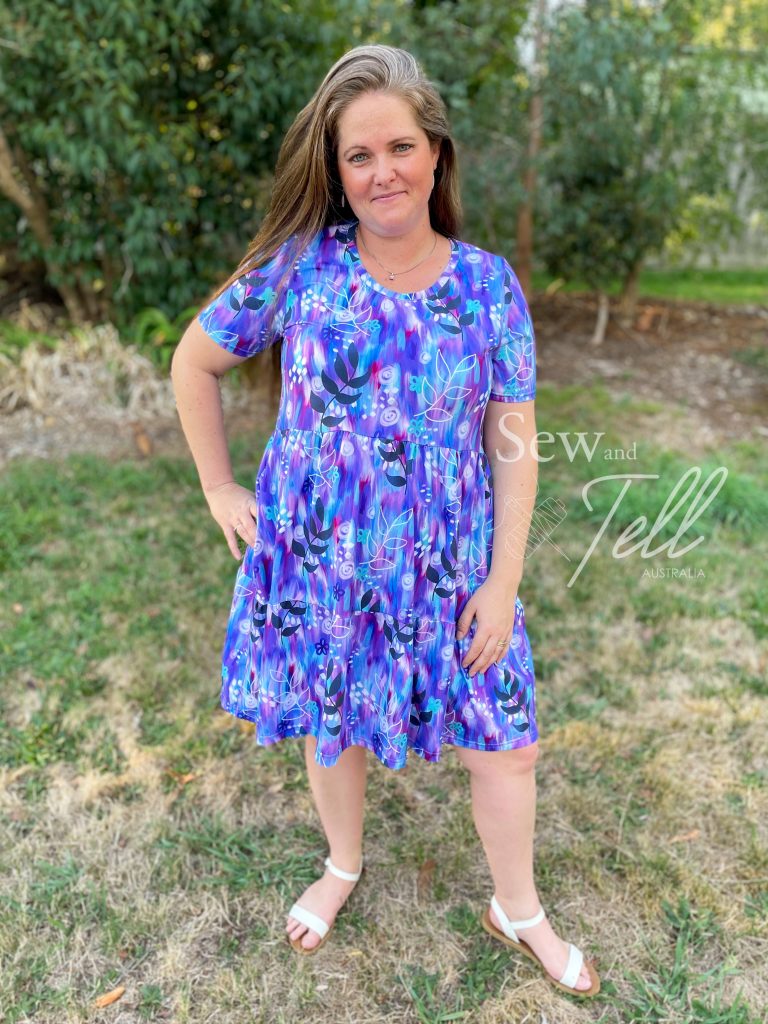
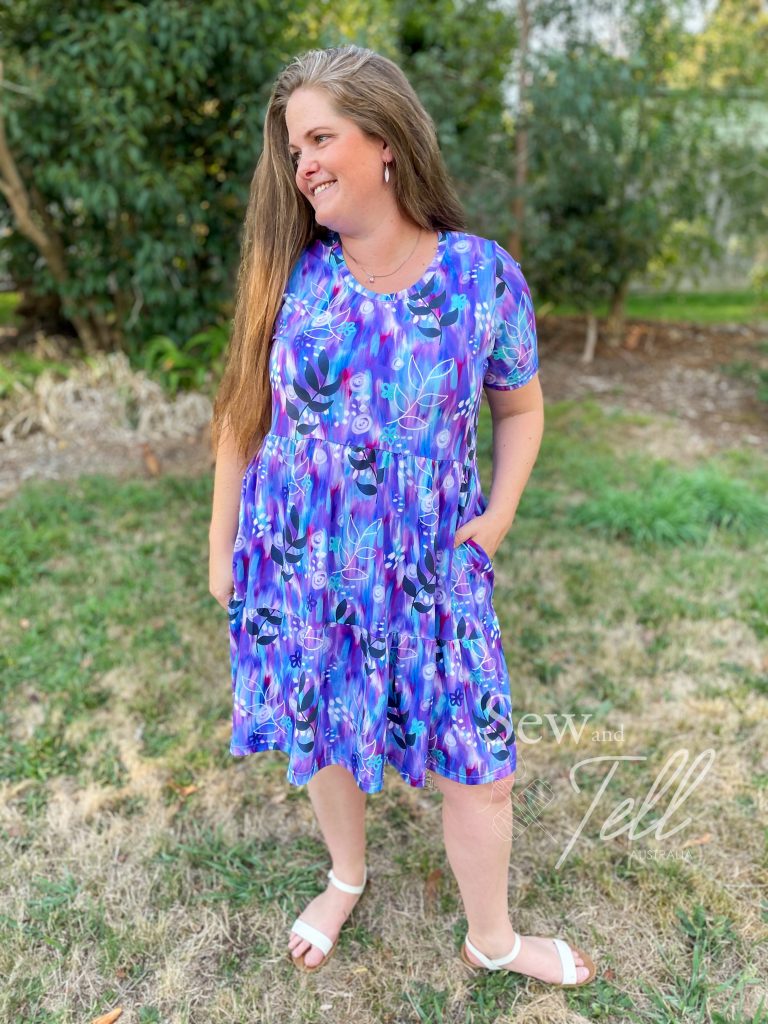
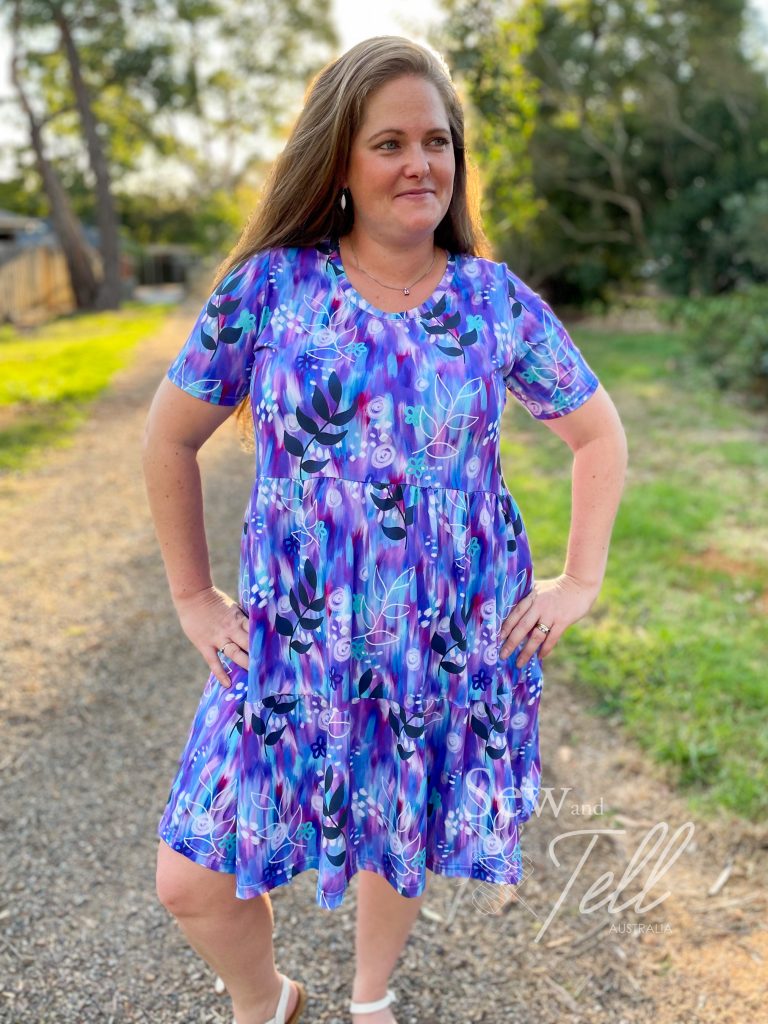
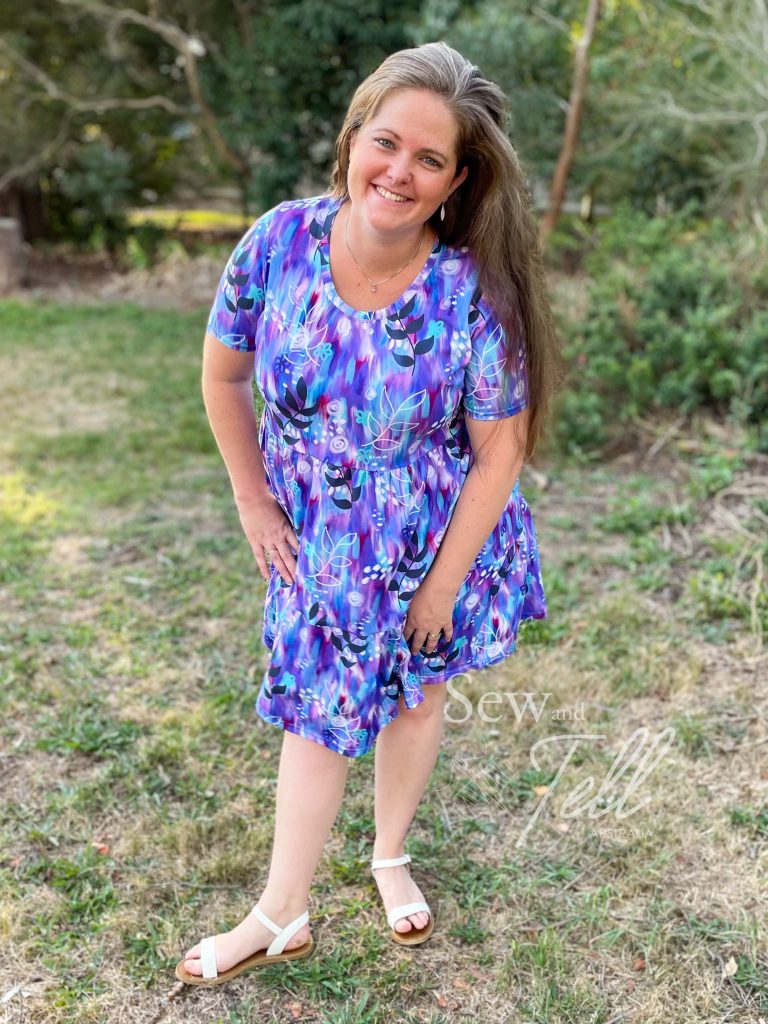
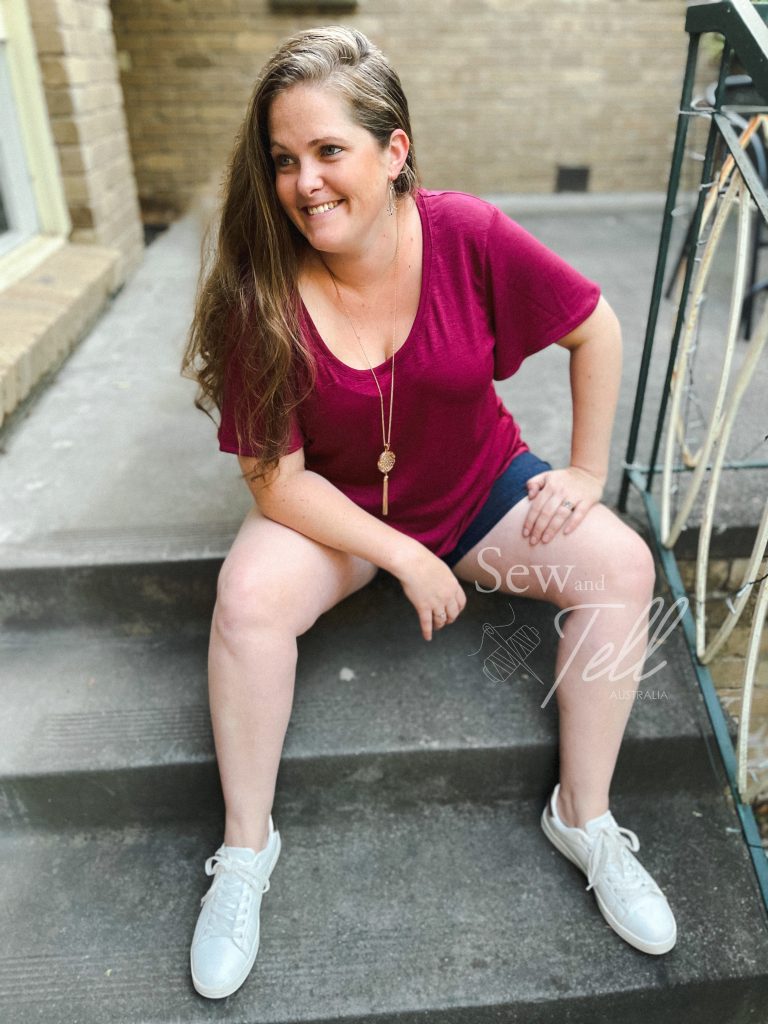
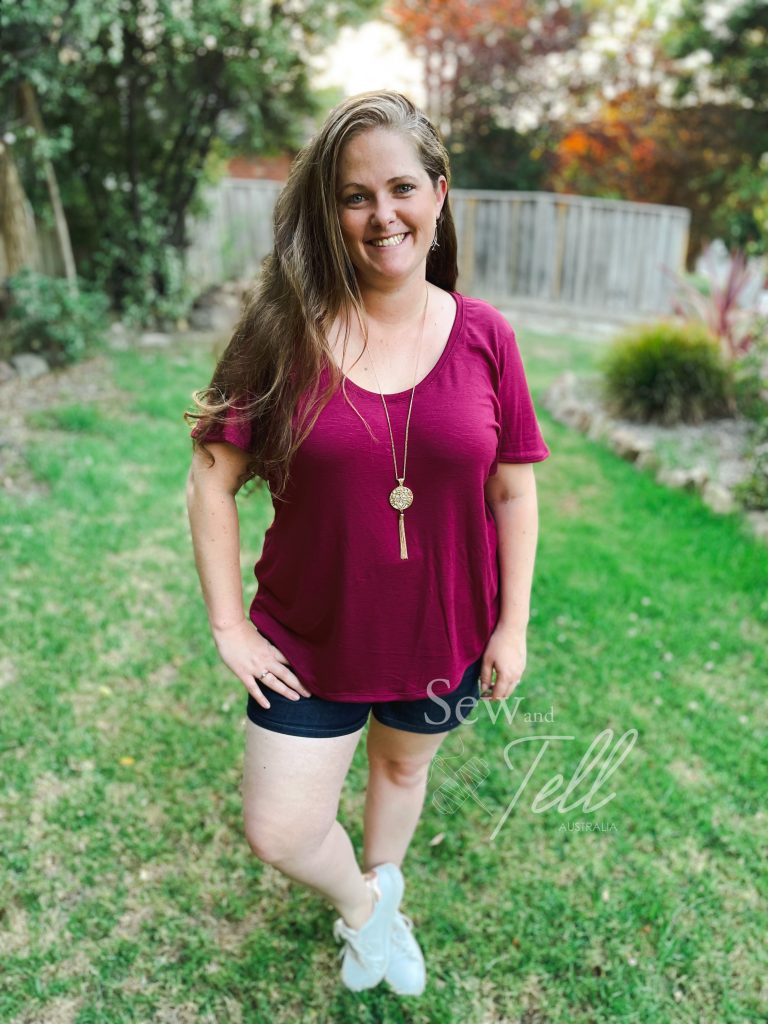
    I really really LOVE a square neckline. It is super flattering on my décolletage, so the moment I saw the Camilla, I knew I wanted to try it. I can now say, I was NOT disappointed. I love the way it sits on me and as always, the empire waist was a win for my body.

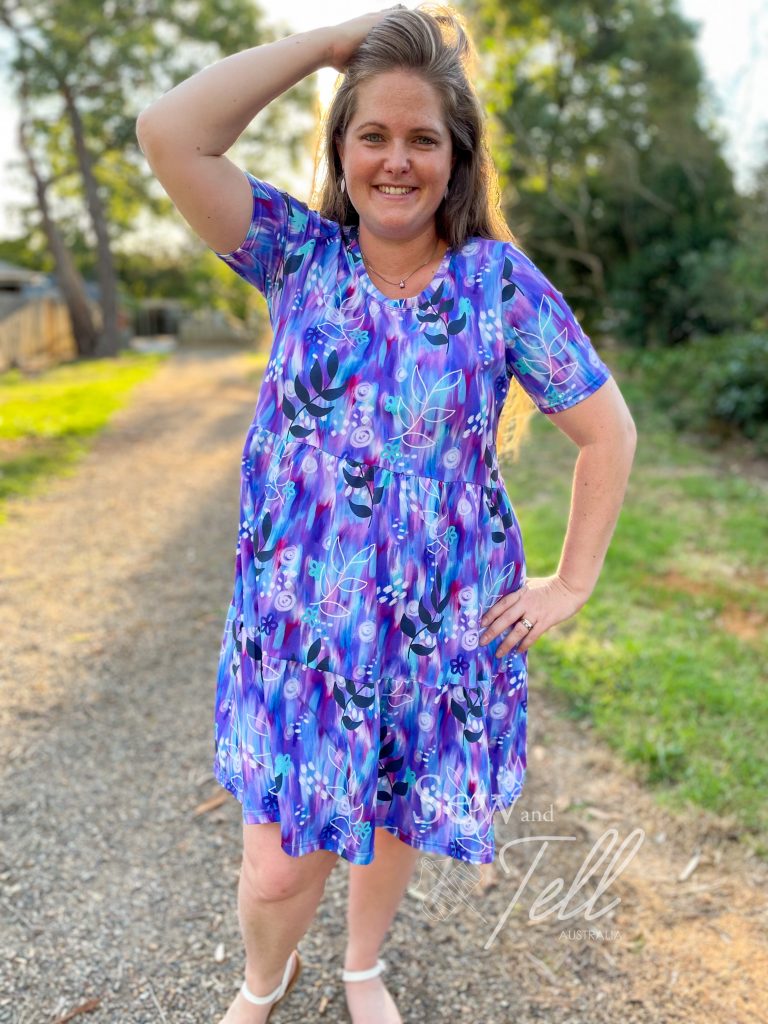
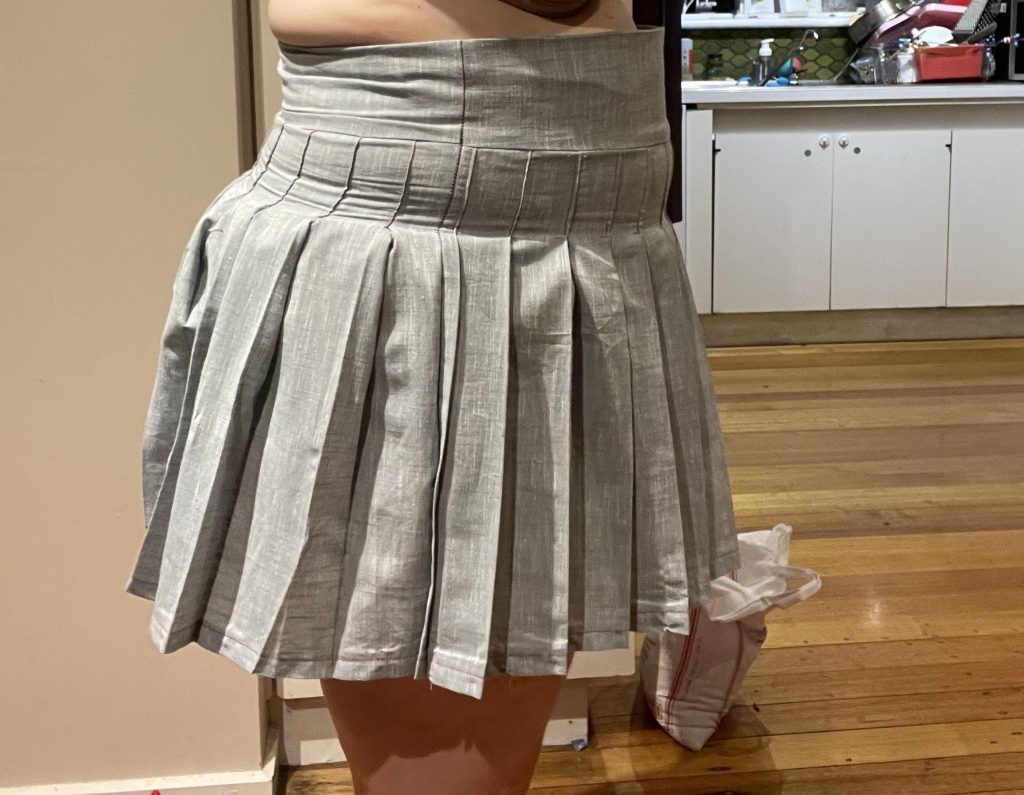
    The construction was fairly easy, however it annoyed me a little that their was no pattern pieces for the tiered layers. I know they are just rectangles, but with a projector I like having the pieces so I don’t have to measure it out. Once I had it all cut out however it, I had the dress made within about 2hrs.

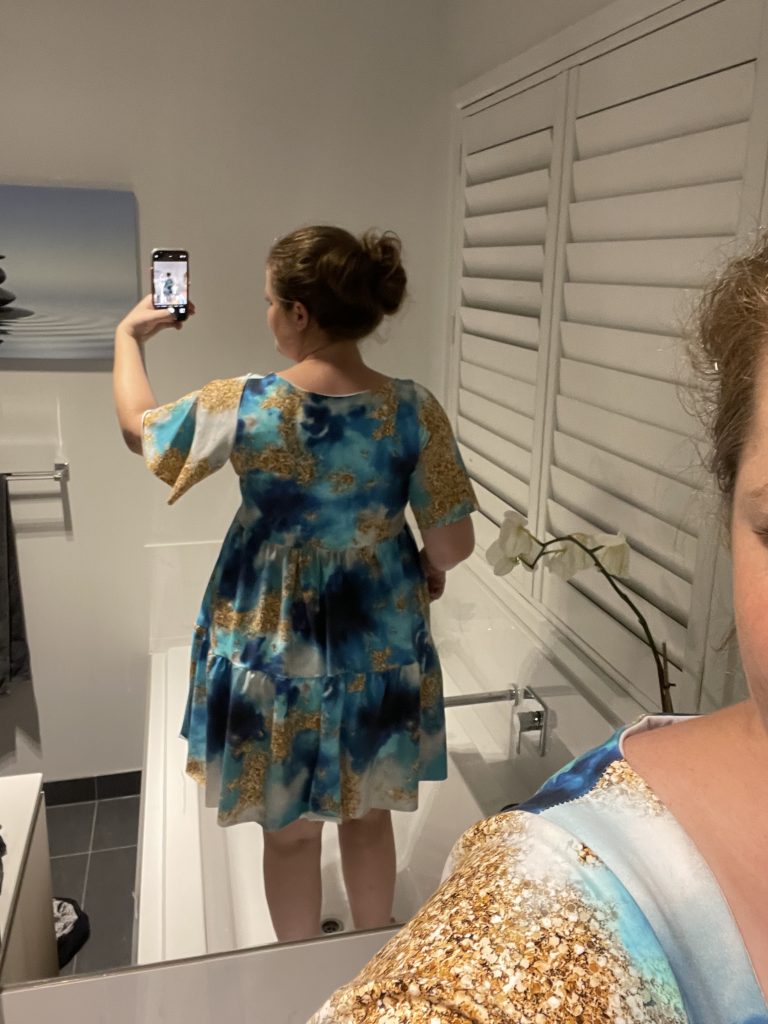
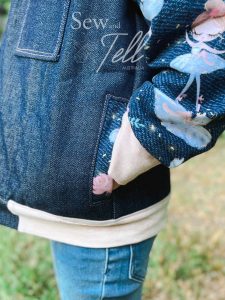
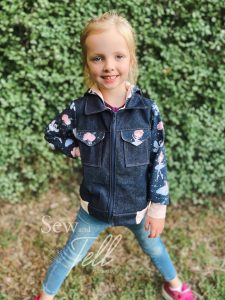
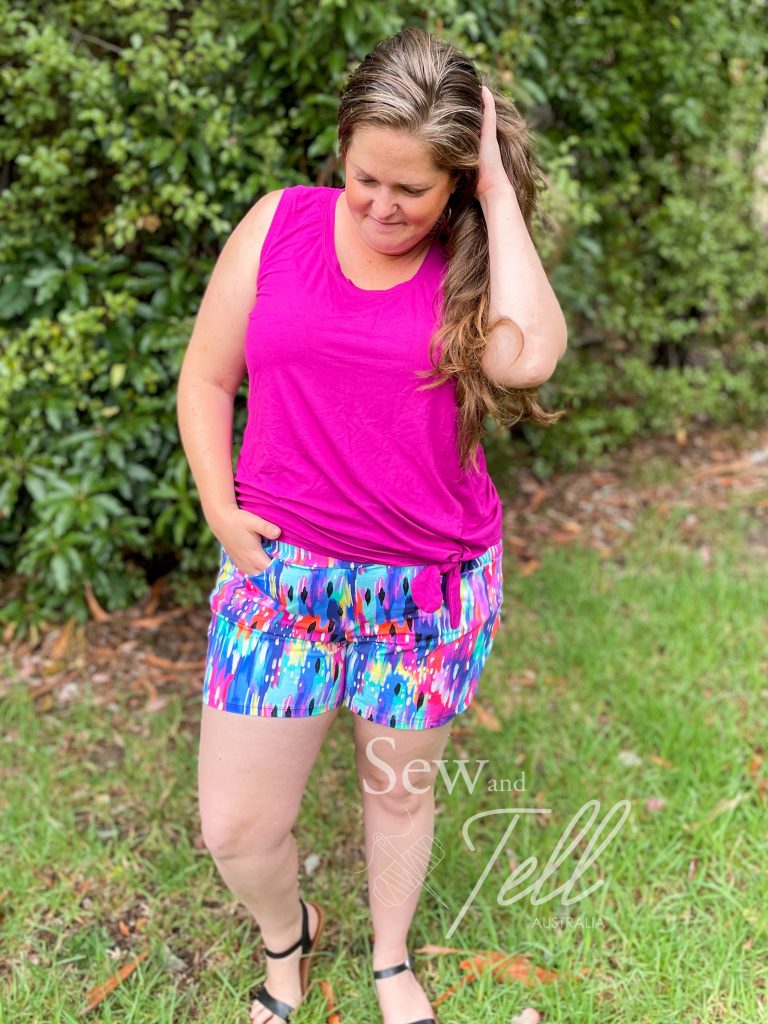
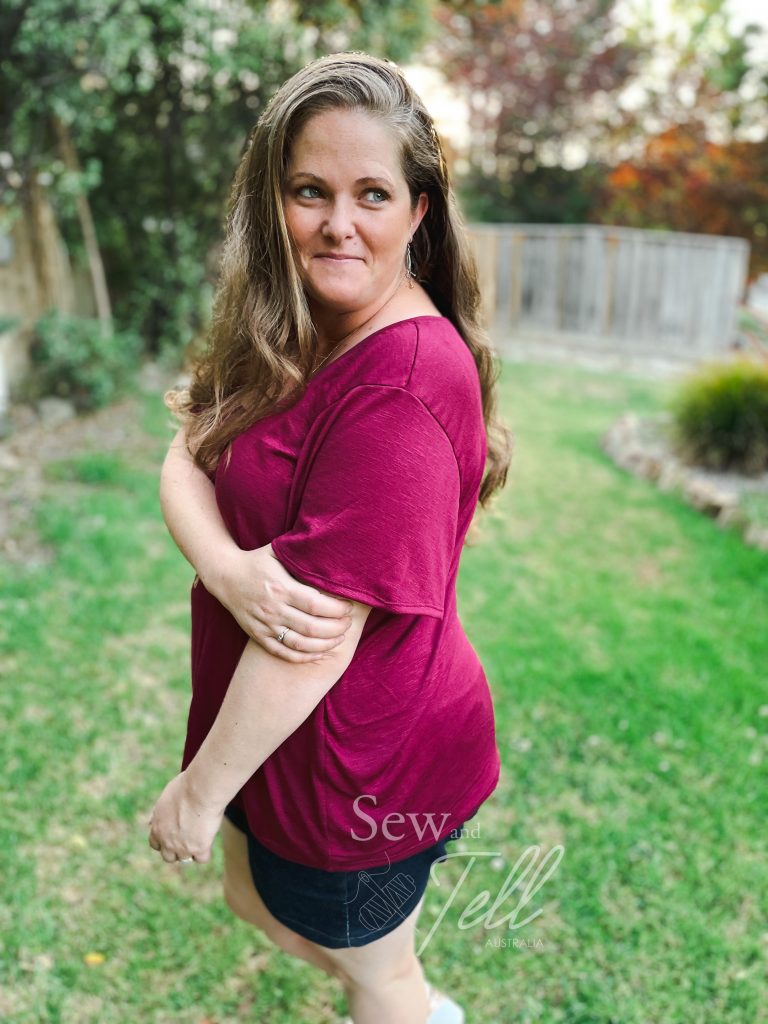
    One of the great things about the Camilla is that it mashes well with the Katherine, Hollywood and Lily. I have made and written a review on both the Lily and Katherine, so I love that Camilla goes with both of those. For my Camilla I used the flutter sleeves from the Katherine and the pockets from the Lily. I waited until I had put my skirt pieces together but hadn’t sewn up the sides so I could decide on the best place to put my pocket pieces which worked well.

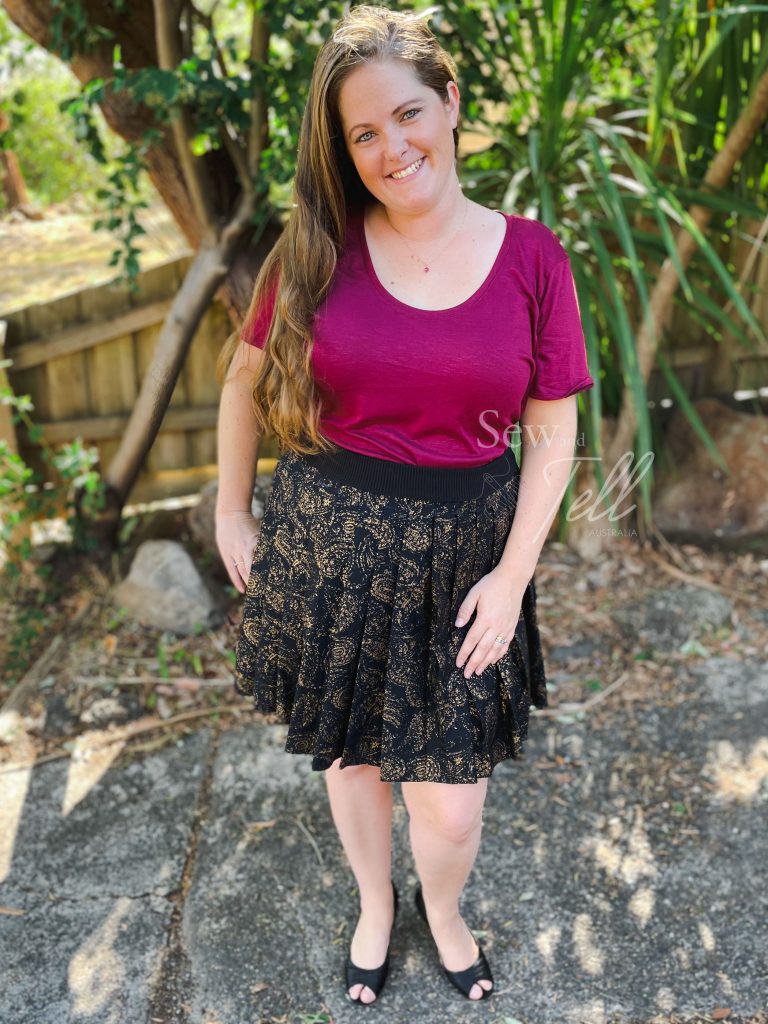
    I can tell this pattern is going to be one of my go to knit dresses, so get ready to see many more these!

    Gallery:

  • Pattern Review of the Kids Dutchie Jacket

    Pattern: Kids Dutchie Jacket
    Designer: Ellie & Mac
    Fabrics: Denim – Spotlight. Accent ballerina French Terry – Sew Unique Fabrics
    Measurements: Chest: 22″
    Size made: 7
    Adjustments: None
    Pros: This is a super cute jacket that I liked could be made with either snaps or a zip. I also liked that you can use a woven for the main body and mix it up with knit for the sleeves.
    Cons: I had A LOT of trouble with the lining pieces. This was a combo of me not reading the pieces correctly and I felt the instructions weren’t super clear that there should be an additional lining piece for the welt pocket version.

    Links:

    The Wrap Up:

    I have wanted to make Jemma a denim jacket for quite some time, so when I saw that the kids dutchie jacket was on sale with Ellie & Mac, I thought it was a great opportunity to give it a go.

    One of the things I really liked about the dutchie jacket was the ability to mix and match woven fabrics with knits, which gave me the chance to use some of my heavier weight wovens like denim and drill. I had also received a half metre piece of the Ballerinas on denim in French Terry in a Sew Unique Fab bag, so it really was a match made in heaven!

    There are a few pocket options on this pattern, I opted to do the welt inseam pockets and the breast patch pockets which I felt looked super stylish.

    Now I had A LOT of troubles with my welt pockets. Well, not the welt pockets per say, they came up really well, but I felt the instructions weren’t super clear that there is an ADDITIONAL liner piece when doing the welt pocket version. I ended up using my outer liner piece instead of the welt pocket liner piece, which caused me a world of pain later haha.

    I ended up having to do some heavy modifications to make the liner in the jacket work, which I felt if you were a beginner and made the same mistake as me, you may have wanted to give up. So my big tip is to make sure if you make the welt pocket version that you cut BOTH lining pieces!

    Other than my mistake with the liner, this jacket came together pretty well and I am super pleased with the final result. I made it in a size 7 which is 1 to 2 sizes bigger than Jemma normally wears so I can get some extra milage out of it.

    The Dutchie jacket is on sale this week, 11-18th April, for only $2USD, so its worth grabbing to have in your pattern stash. Especially with its generous sizing up to big kid 18.

  • Pattern Review of the Katherine Dress

    Pattern: Katherine Dress
    Designer: Sonia Estep Designs
    Fabrics: Black Solid – Sew Unique Fabrics
    Animal Print accent – Rubyjam Fabrics
    Measurements: Chest: 44″; Waist: 39″ Hips: 47″
    Size made: 18/20
    Adjustments: Graded from an 18 at the top to 20 in the waist
    Pros: I love the signature options of an empire or natural waist the Sonia Estep includes in most of her patterns. I am surprised I like the bishop sleeve on me.
    Cons: I had high hopes for this dress but it didn’t quite hit the mark for me. It was unflattering over my tummy and the pattern doesn’t include pockets.

    Links:


    The Wrap Up:

    I made this dress after seeing a pic on an ad on facebook. I really liked the style and wanted to recreate it for myself.

    The Katherine dress from Sonia Estep was prefect, especially with the empire waistline and above knee hemline. I also had the perfect animal print fabric from Rubyjam that I wanted to try it with.

    It was a really quick sew, I had it done from cutting to wearing in about 2hrs, but I was unfortunately really disappointed with how it sat on me. When I tried it on it sat right at the top of my tummy, straining against it showing it up very clearly.

    My inspiration picture

    I did think about unpicking and adding a panel in the skirt, but I didn’t have enough fabric left and to be honest, I was just happy to chalk it up to experience and move on. Not all garments look good on me, and thats perfectly fine. So I very happily have passed it on to my neighbour, who looks fab in it!

    The one thing I did LOVE about this though was the bishop sleeves. Im not sure I’ve ever done them for myself and I will be making more. They looked very cool and will now feature in a few upcoming winter garments hahaha.

    So, for now you get to enjoy looking at my garment on my neighbour, who absolutely rocks it! And a sneaky photobomber of one Miss Jemma who is trying to be her surrogate daughter in an almost perfectly matched RTW dress she has haha.

    Gallery:

  • Pattern review of the Explorer Jacket

    Pattern: Explorer Jacket
    Designer: Peek A Boo Pattern Shopo
    Fabrics: Forest Friends Softshell – Etsy. Solid Mustard softshell and cuddle fleece – Spotlight
    Measurements: Chest: 21″; Height: 35″
    Size made: 3T
    Adjustments: I had to alter the lining which I’ll detail below
    Pros: This is going to be the PERFECT winter. Its so cuddly and warm.
    Cons: I chose to line it with cuddly fleece and had quite a few problems. I felt the instructions weren’t that clear on what to do if you were lining with a thicker fleece.

    Links:


    The Wrap Up:

    First up, I absolutely ADORE how this one turned out. It is an intermediate pattern and I definitely agree. I couldn’t finish this one while watching TV or being distracted by kids. It had a lot of little finishing touches that required concentration. But, with many things, the effort was totally worth it and I love how it turned out. Didn’t love the 5 needles I broke on the zipper installation alone, haha, but the end product was worth it.

    Now, the tricky stuff. As I mentioned above, I broke 5 needles when installing the zipper. Was not a fun time, much cursing was said to my machine that I later had to go to her and apologise for being a bit cranky. I simply think my domestic machine struggled with the layers of soft shell, zipper tape binding, seams and cuddle fleece. I had to hand crank in a few areas as it was dicy. I even used a microtex needle to try and help pierce the soft shell fabric a little easier.

    The second issue I had was that the pattern gave a tip to not use cuddle fleece in the sleeve lining as it would likely make the sleeve too bulky and stiff in addition to the soft shell (You can actually do the whole jacket unlined as soft shell generally has a fleecy underside which is fine). I agreed so I didn’t cut my arm pieces to line it and proceeded to sew up my lining as instructed. However, it became apparent when putting the jacket outing and lining pieces together that because of the raglan style sleeve it really wouldn’t work without some kind of arm lining. I was a bit stumped about this for a while and kind of put something together to make it work. It was only after I had done that that I realised I probably should have used a cotton lycra for the arm lining, sewing it to the cuddle fleece. I was just a little disappointed there wasn’t some kind of note next to the tip about not using cuddle fleece in the arms that look at using a lighter fabric instead.

    The inside of the jacket with open arm holes in the lining.

    I would also note that even though I sized up, using the cuddle fleece has added a certain amount of bulk and I probably should have gone another size again to account for that.

    I have more planned, with no lining this time haha. I definitely think its a great winter jacket pattern. This little guy is certainly going to be the sunshine on my rainy days this winter.

    Gallery:

  • Pattern test & review of the Baby Poppy

    Pattern: Baby Poppy
    Designer: Made for Mermaids
    Fabrics: May Gibbs Accent fabric – Spotlight. Solid Cotton Lycra – Sew Unique
    Measurements: Chest: 19″ Waist: 21″; Height: 31″
    Size made: 9-12 months
    Adjustments: None
    Pros: As soon as I saw the tester call for this one I signed up immediately. I couldn’t resist the bubble romper option and adorable flutter sleeves.
    Cons: I wasn’t a huge fan of the way the crotch snap section was done in the instructions, so I may change it to something I am more comfortable with in future garments I do.

    Links:


    The Wrap up:

    The minute I saw this pattern I knew I had to test it. It just looked so dang cute! I love a bubble romper style and flutter sleeves get me every time. Throw in the button front and I was seriously swooning.

    I am very lucky to live next door to a pretty cute little girl and her amazing mum and dad who let me sew and use this little cherub as my model. I love sewing for Ted, but I don’t think its any secret that girl clothes are cuter. Well, they are easier to dress up I think.

    The baby Poppy also has plenty of other options included such as sleeveless, short & long sleeve, skirted and peplum. The button placket can either be faux or functional. Being a bubble romper style there is also plenty of room for either disposable or cloth nappies and the snap crotch makes it super easy to change when needed.

    I did have a little trouble with the snap crotch as its not a style I am used to and I’ll be honest, I didn’t love it. I think in future I might change it slightly to something I am more comfortable but is just as functional. Though I probably need to give it another try the way it is listed in the instructions before I make any rash changes haha.

    This pattern is definitely a winner for me and I have already ordered some gorgeous lounge rib from Clover & Co (I love their printed lounge rib) to make some more as I saw another tester use lounge rib and it was to die for. It almost makes me want another baby. *Almost* haha.


  • Pattern Review of the Staycation Dress

    Pattern: Staycation Tiered Dress & Peplum
    Designer: Ellie & Mac
    Fabrics: Sew Unique Cotton Lycra
    Measurements: Bust: 44″ Waist: 39″; Hips: 48″
    Size made: XXL
    Adjustments: None
    Pros: I’m really into tiered dresses at the moment, so the Staycation is a bit of a fave of mine. I also love pockets of course!
    Cons: I wish this came with a flutter sleeve option. I think it would be a really great edition

    Links:


    The Wrap Up:

    This is the second Staycation I’ve made, and I still love it.

    There a few different options for the skirt, including a few different tier configurations and also the option for a plain skirt or a peplum length. I really wanted to change the sleeves on this to something more flouncy and trialled it with the ‘Be Dreamy’ sleeves, another pattern from Ellie & Mac, but I didn’t love the outcome so I stuck with the short sleeves and it turned out fine.

    I have had success before using the Love Notions Willow Wrap Dress flounce sleeve in Ellie & Mac patterns, so maybe if I make another I’ll try substituting those in instead.

    No I can’t do this review without talking about how absolutely GORGEOUS this fabric is. This is the Sew Unique Fabrics exclusive March subscription fabric and its bloody amazing. I’ve written about their subscription program before >>here<<. If you were ever going to join, THIS is the month for sure. If you sign up before the 31st of the month, you will get shipped this beautiful fabric along with a neat free gift (also crushing hard on this months gift). You can cancel your subscription at any time, but shhhh, I’ve seen the next couple of months of prints and they are pretty special so I don’t think you’ll regret it❤️

    The other version I made I hacked to be sleeveless which you can see in the gallery of images below. I will try and get a blog written up on how to change it to sleeveless soon for those who would like to know.

    All in all though, the Staycation is a winner and you should definitely get it while its on sale!

    Gallery:

  • Pattern Review of the Berkley Knot Top

    Pattern: Berkley Knot Top
    Designer: Peek a Boo Pattern Shop
    Fabrics: Bamboo Lycra
    Measurements: Bust: 44″ Waist: 39″; Hips: 49″
    Size made: 2XL
    Adjustments: None
    Pros: I love the built in knot option. It adds a fun feature.
    Cons: No real cons, I had a little trouble with the top stitching on the knot, but it was user error, not the pattern

    Links:


    The Wrap Up:

    I’ve had this pattern in my stash for a while but never got a chance to make it. But when my Sew Unique fabric subscription came this month (read more about the program here), I knew the shorts I wanted to make and that this top would be the perfect piece to complete it.

    It was a really quick sew, the hardest bit was facing the tie pieces, but even that wasn’t too difficult. I did make a mistake when top stitching however. After I had very carefully coverstitched all the way around the edge, I realised I shouldn’t have coverstitched those bits as they are faced and therefore don’t need it.

    I think the whole thing took me about 40 minutes to make, so a very quick and easy sew.

    I do want to make a note about my fabric choice. This was my first time trying Sew Unique’s bamboo lycra and oh my goodness. It is SO soft and delicious to wear. I have felt other bamboo lycras and this by far my favourite. I have already planned a nightie with the black I have sitting there as well.

    I paired this top with a pair of Iris shorts which are SO comfy and the fabric pairing for that one is next level. I can tell this combo is going to get a good workout!


  • Pattern Review of the Lily Dress

    Pattern: Lily Dress & Top
    Designer: Sonia Estep Designs
    Fabrics: Bamboo Lycra
    Measurements: Bust: 44″; Waist: 38″; Hips: 49″
    Size made: 18 graded to 20 hips
    Adjustments: Grading between sizes
    Pros: I LOVE this dress. I specifically love the hi-lo hemline, it just makes me feel so pretty and summery. The empire waistline is also a plus
    Cons: Not really any cons for me on this one, I love it all

    Links:


    The Wrap Up:

    I absolutely love everything about this dress. From the scoop neckline, the pockets to the hi-lo hemline, this dress is super flattering and I feel like a million dollars in it.

    I got the bamboo lycra in a Clover & Co preorder as I loved the design and already had it in purple, so when it came up as a blue colour way, I HAD to have it. I also really like the bamboo lycra as it is a natural fibre that breathes better than say a double brushed poly which can get quite hot.

    One of the things that impressed me about this pattern was the option between 2 waistlines. Empire or natural. Empire tends to hit just under your bust line and is a little more flattering for those with a bit of a tummy. Natural sits lower and can sometimes accentuate features you’d rather not have highlighted. As I have slightly larger breasts, an empire waistline will over skim over my bust and flair out straight below, helping to hide my tummy.

    I also loved the scoop neckline which I’ve mentioned before suits my body type, and pockets. Well, what can I say about pockets?! They explain themselves haha.

    The last thing that I really love is the hi-lo hemline. I just think it adds something a little different and feels nice when you’re walking along.

    This was a really simple dress to put together and there is also the option of a straight gathered maxi skirt, peplum length and a button placket. I was going to do the button placket but decided against it. I may look at it for the next one, cause let me tell you, there will be a next one for sure!


    Gallery:

  • Pattern Test & Review of the High Waisted Tennis Skirt

    Pattern: High Waisted Pleated Skirt
    Designer: Ellie & Mac Patterns
    Fabrics: Woven Cotton Poplin & black ribbing
    Measurements: Waist: 39″; Hips: 49″
    Size made: 2XL
    Adjustments: None
    Pros: I like the dressiness of this skirt and how by changing the fabric could really change up wether you are making it dressy or casual.
    Cons: There is a lot of work in this one with the pleats. I wouldn’t say its difficult, its just finicky and time consuming.

    Links:


    The Wrap Up:

    This pattern went through a couple of changes through the testing process, which is partly what the test process is, to iron any kinks in the size grading and instructions.

    The original skirt was to made from knit fabric, but the first test group had issues, so when it got to my group for testing, it had changed to a woven or structured knit. I had a lot of trouble with my fit version, which I think was partly to do with the style (the pleats were sewn down a lot further creating less room in the hips) and I also think I didn’t sew the right size for me.

    It bunched at the hips and non contoured waistband sat funny on my waist. It was not a flattering look! I was a little scared to see what the final version would come out as, but a few additional changes were made and I think they made a big difference. The main difference was incorporating the option for a ribbed waistband option to help with the waistband issues.

    I had initially picked out some cute grapefruit fabric to make my final from, but pleated skirts are incredibly fabric hungry and I didn’t have enough. I did however have some stylish black and gold cotton poplin that I got from a friend who was de-stashing and it was perfect.

    While pleats are time consuming, I actually find it quite cathartic and satisfying watching them come together. It’s ‘slow’ sewing, but requires more skill and attention to detail, which I think is good to have a few of those projects every now and then. Especially if you’re a fast and dirty sewer like I am haha.

    I think the final skirt came up quite good and when I paired it with my new Tennessee Tee in a deep red/Burgundy, it really popped. Throw in a pair of black kitten heels and I was already for my Valentines date of salmon and rice with my husband and kids at 5.30 before I ran off to work haha. Glamorous Valentines for us for sure 😉


    Gallery:

  • Pattern Review of the Tennessee Tee

    Pattern: Tennessee Tee
    Designer: Sonia Estep Designs
    Fabrics: Viscose Slub – Lush Fabrics
    Measurements: Bust: 45″; Waist: 39″; Hips: 48″
    Size made: 18 graded to 20 hips
    Adjustments: Grading between sizes
    Pros: I really love the relaxed style of this and the flutter sleeves.
    Cons: I think I’ll make a size 16 and grade out to a 20 next time, its quite big up top for me.

    Links:


    The Wrap Up:

    I was asked to sew this one up as part of Sonia Estep Designs Hello Monday promotion, and I can see it fast becoming one of my go to tee patterns.

    Relaxed fits are generally my style, so this suits me perfect. However it does seem to have quite a fair bit of ease built in, so I think I will size down in the next one I make. Possibly a size 16 up top graded to a 20 at my hips.

    I have had this Burgundy/Red Wine Viscose Slub from Lush fabrics Australia in my stash for a while with a tee pattern make in mind and I can say I think it was the perfect pairing. I have realised I am not a huge fan of polyester fabrics in general as I get quite hot in them, but being a roomy style, it isn’t too bad. The drape works really well with the flutter sleeves and I tend to favour scoop necklines as it compliments my décolletage.

    I would highly recommend grabbing this to add to your basics collection, especially while its on sale Monday 14th February 2022.


    Gallery: