Pattern Review of the Patterns for Pirates Gala Gown
This article contains affiliate links
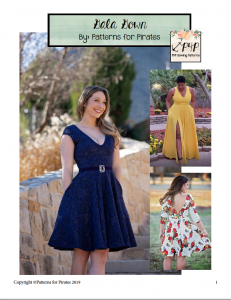
Pattern: Gala Gown
Designer: Patterns for Pirates
Fabrics: Cotton Lycra
Measurements: Chest: 44″; Waist 39″; Hips 47″
Size made: XXL
Adjustments: None
Pros: I LOVE THIS DRESS
Cons: It’s a little fabric hungry but worth every scrap.
Links:
The Wrap Up:

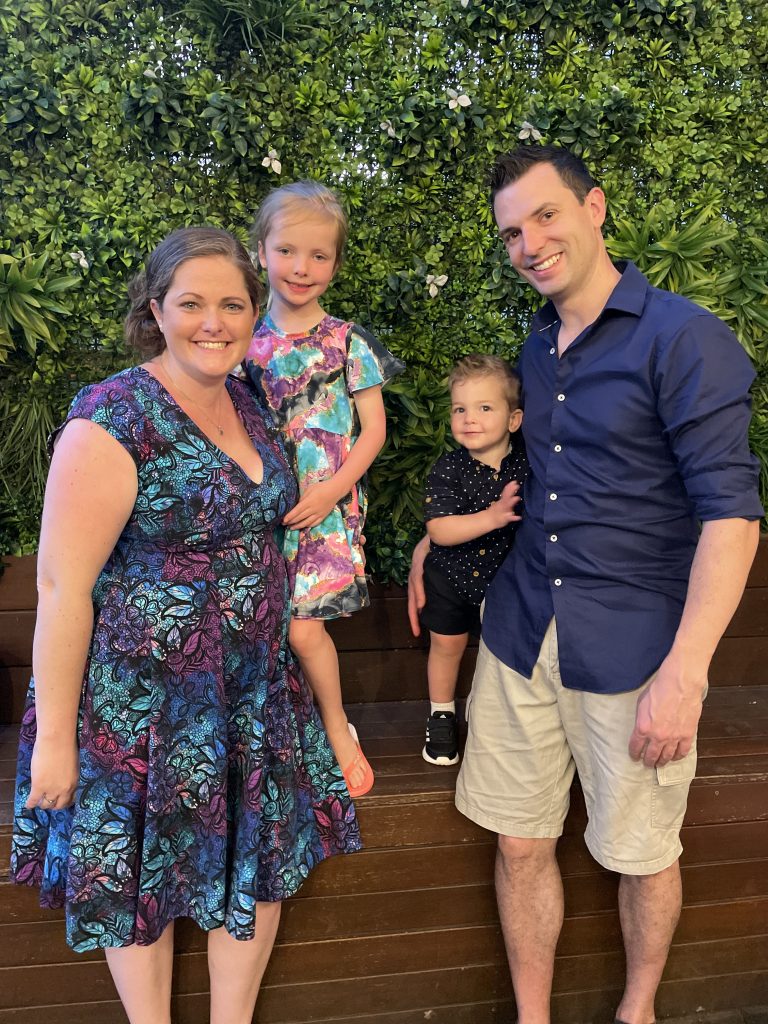
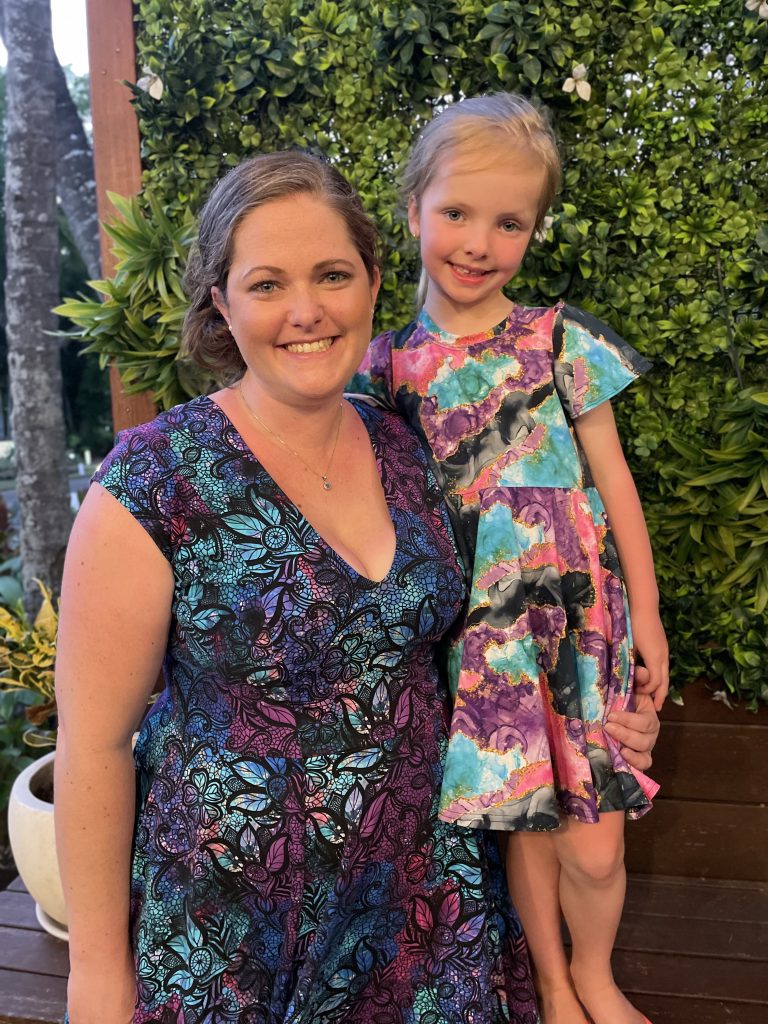
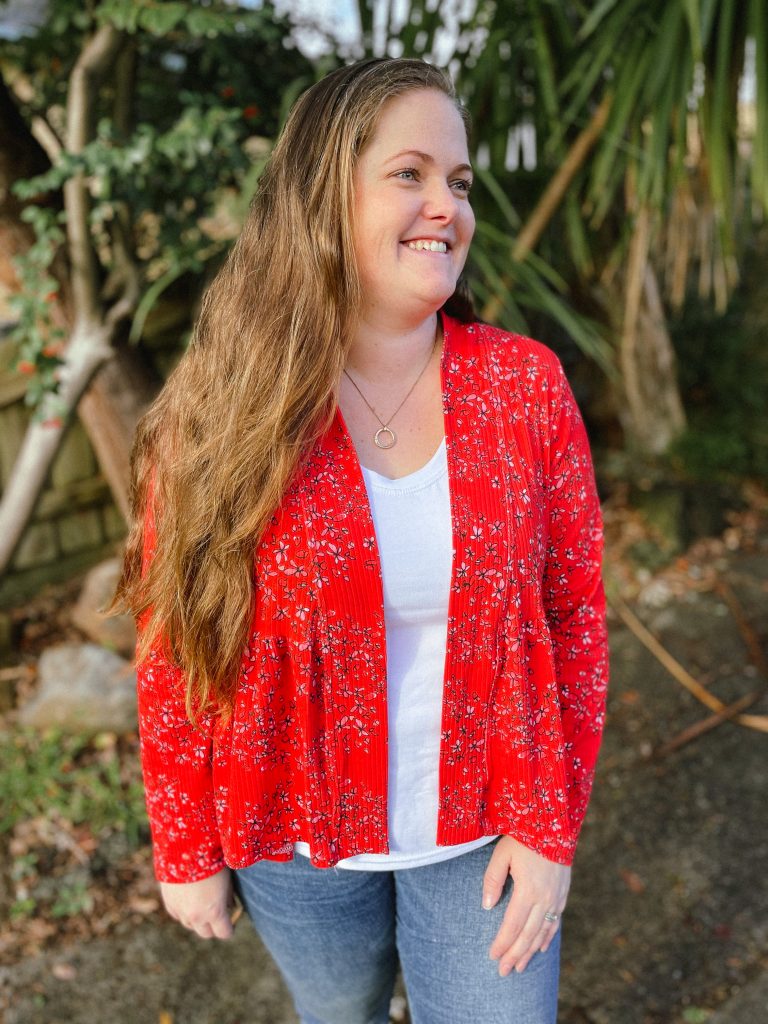
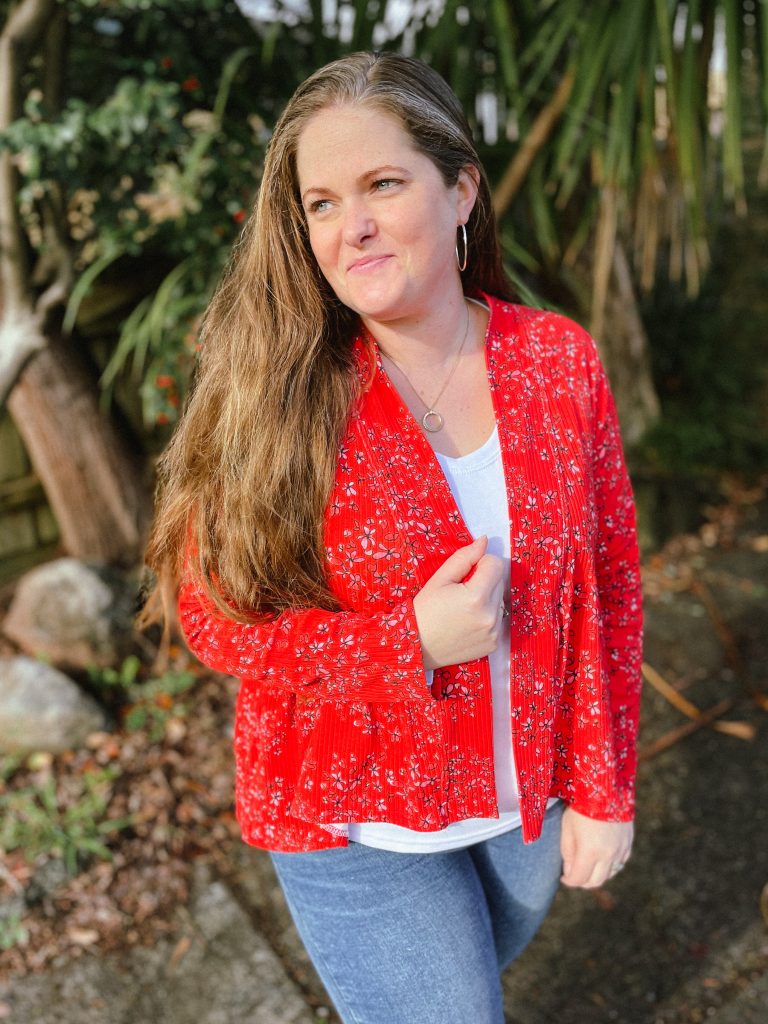
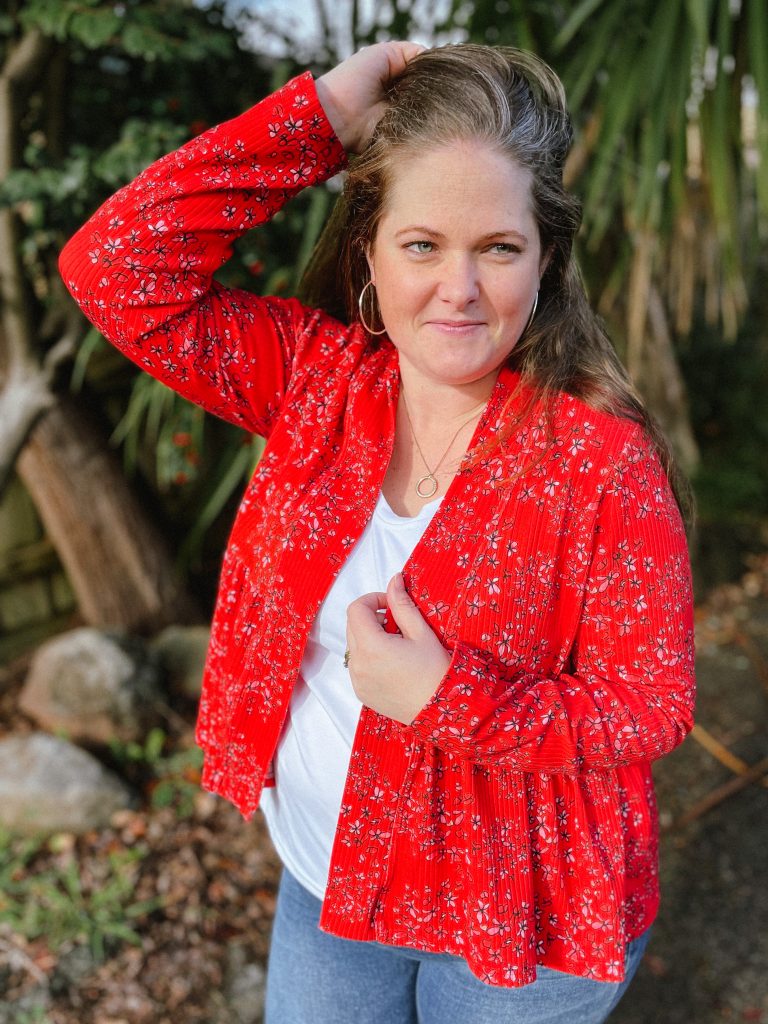
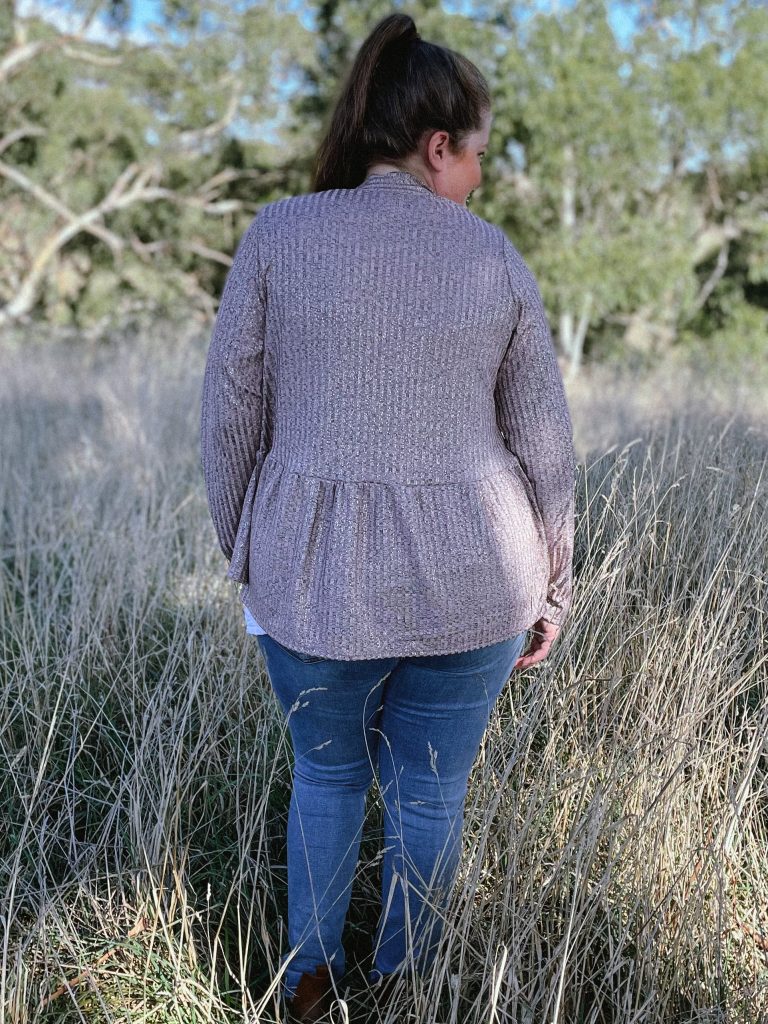
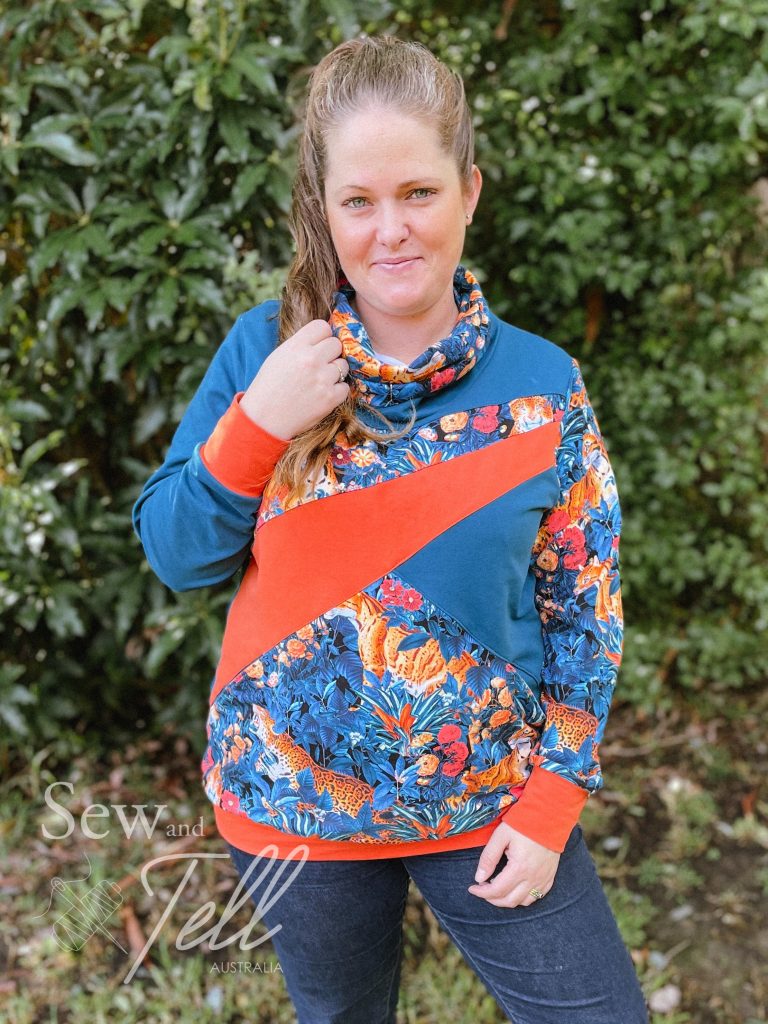
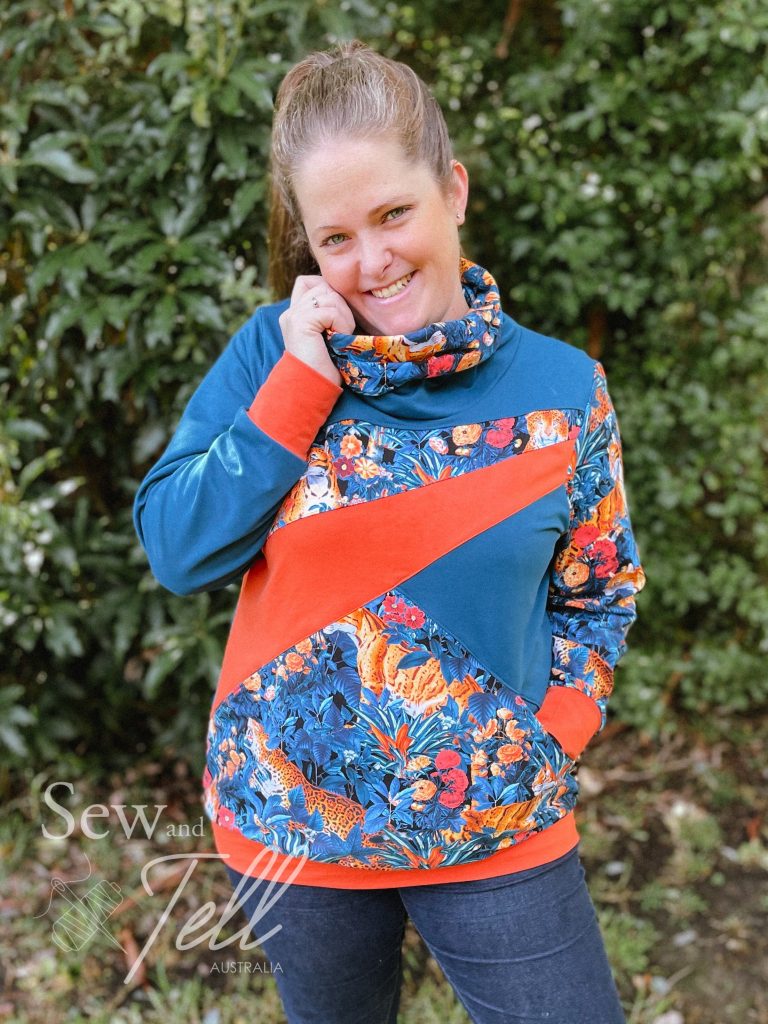
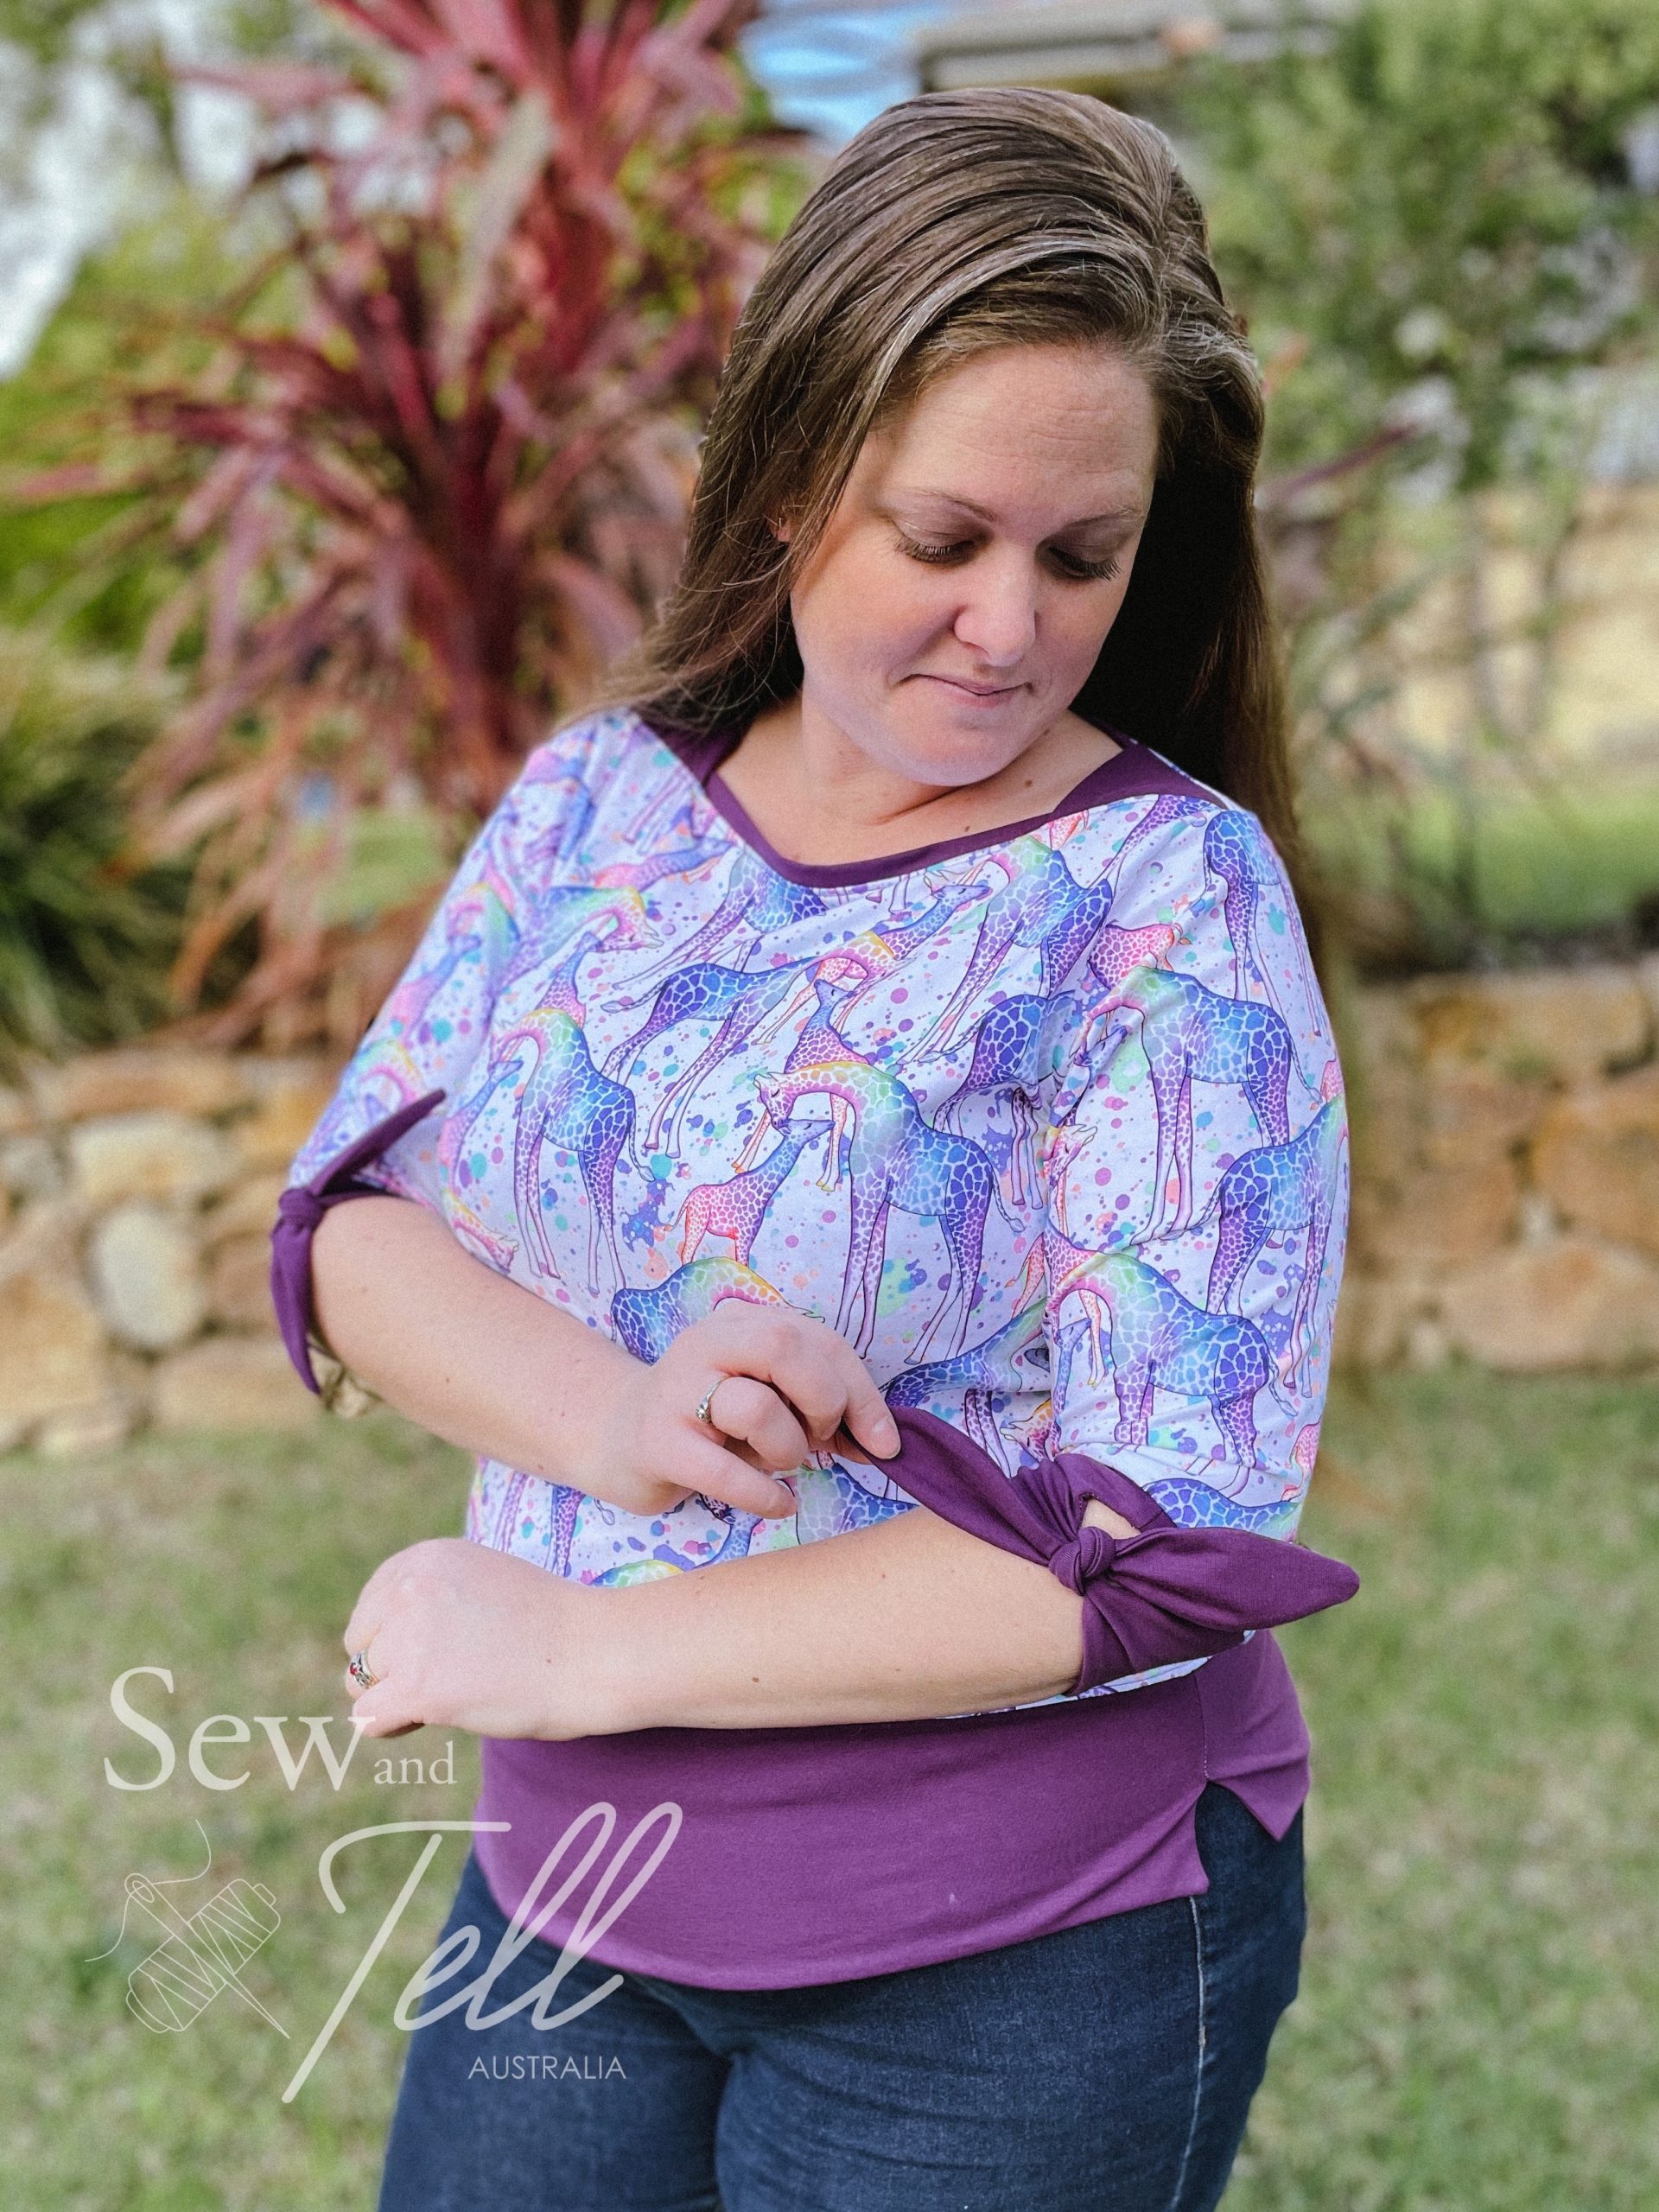
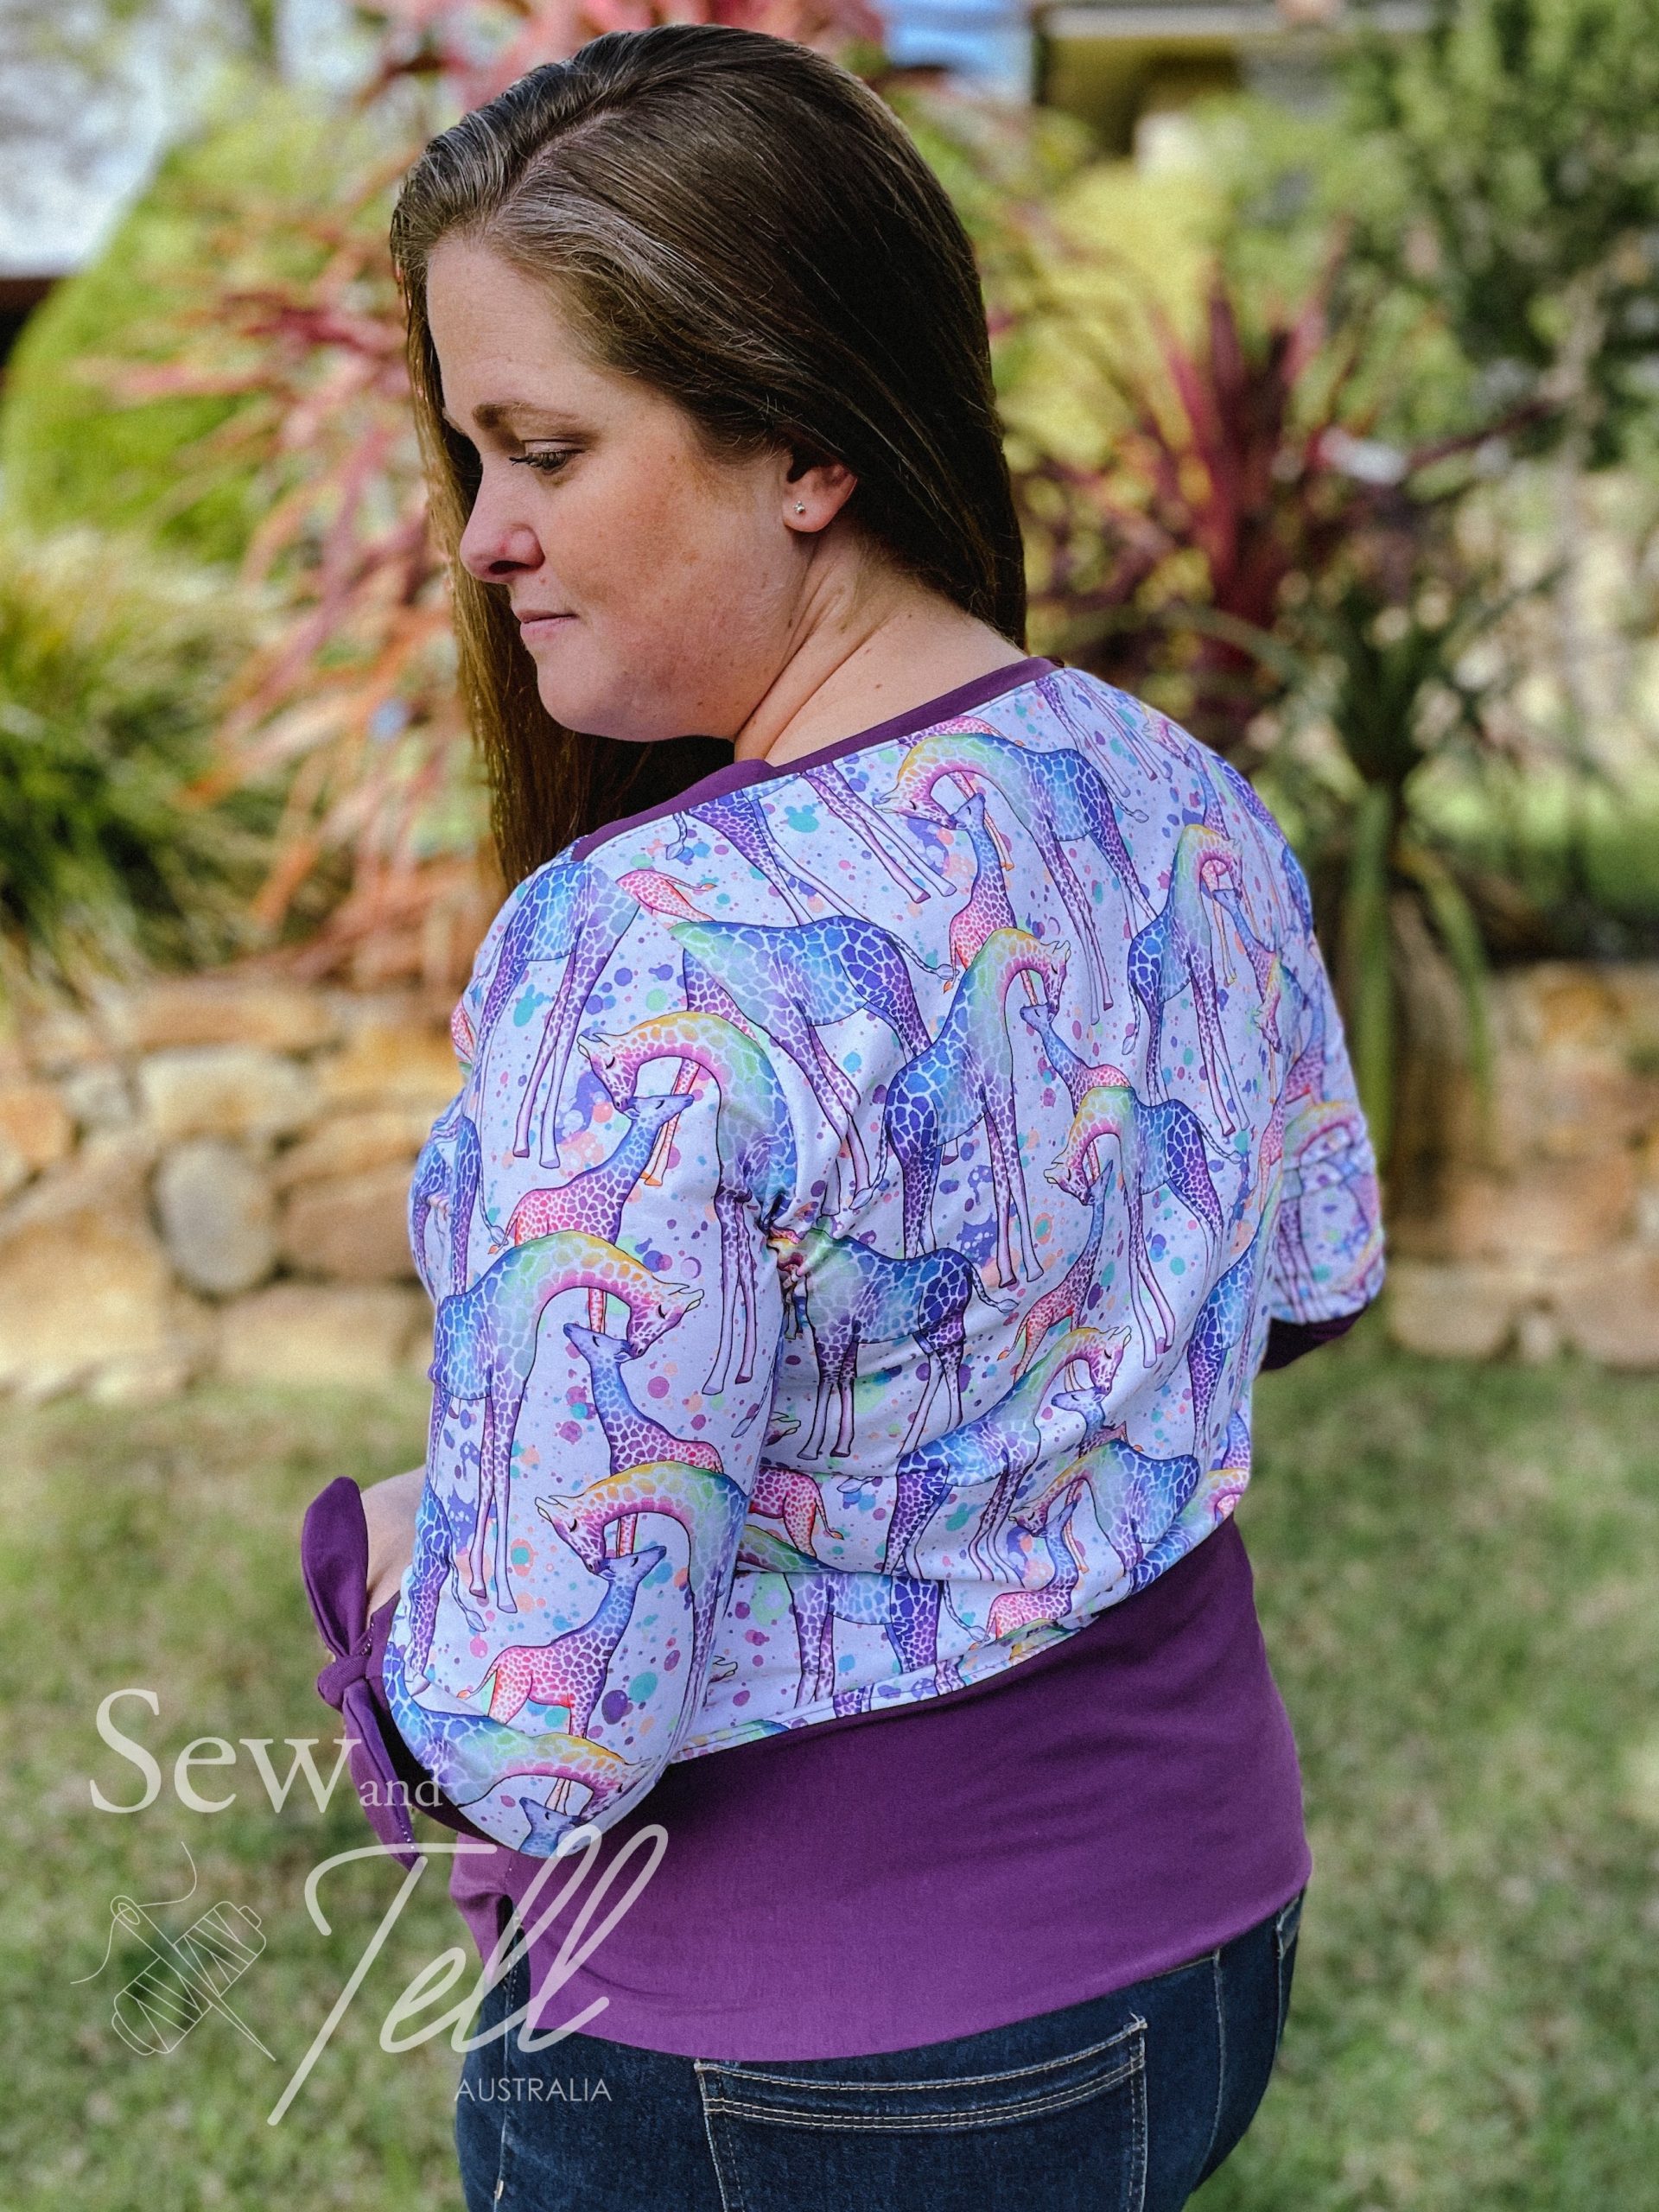
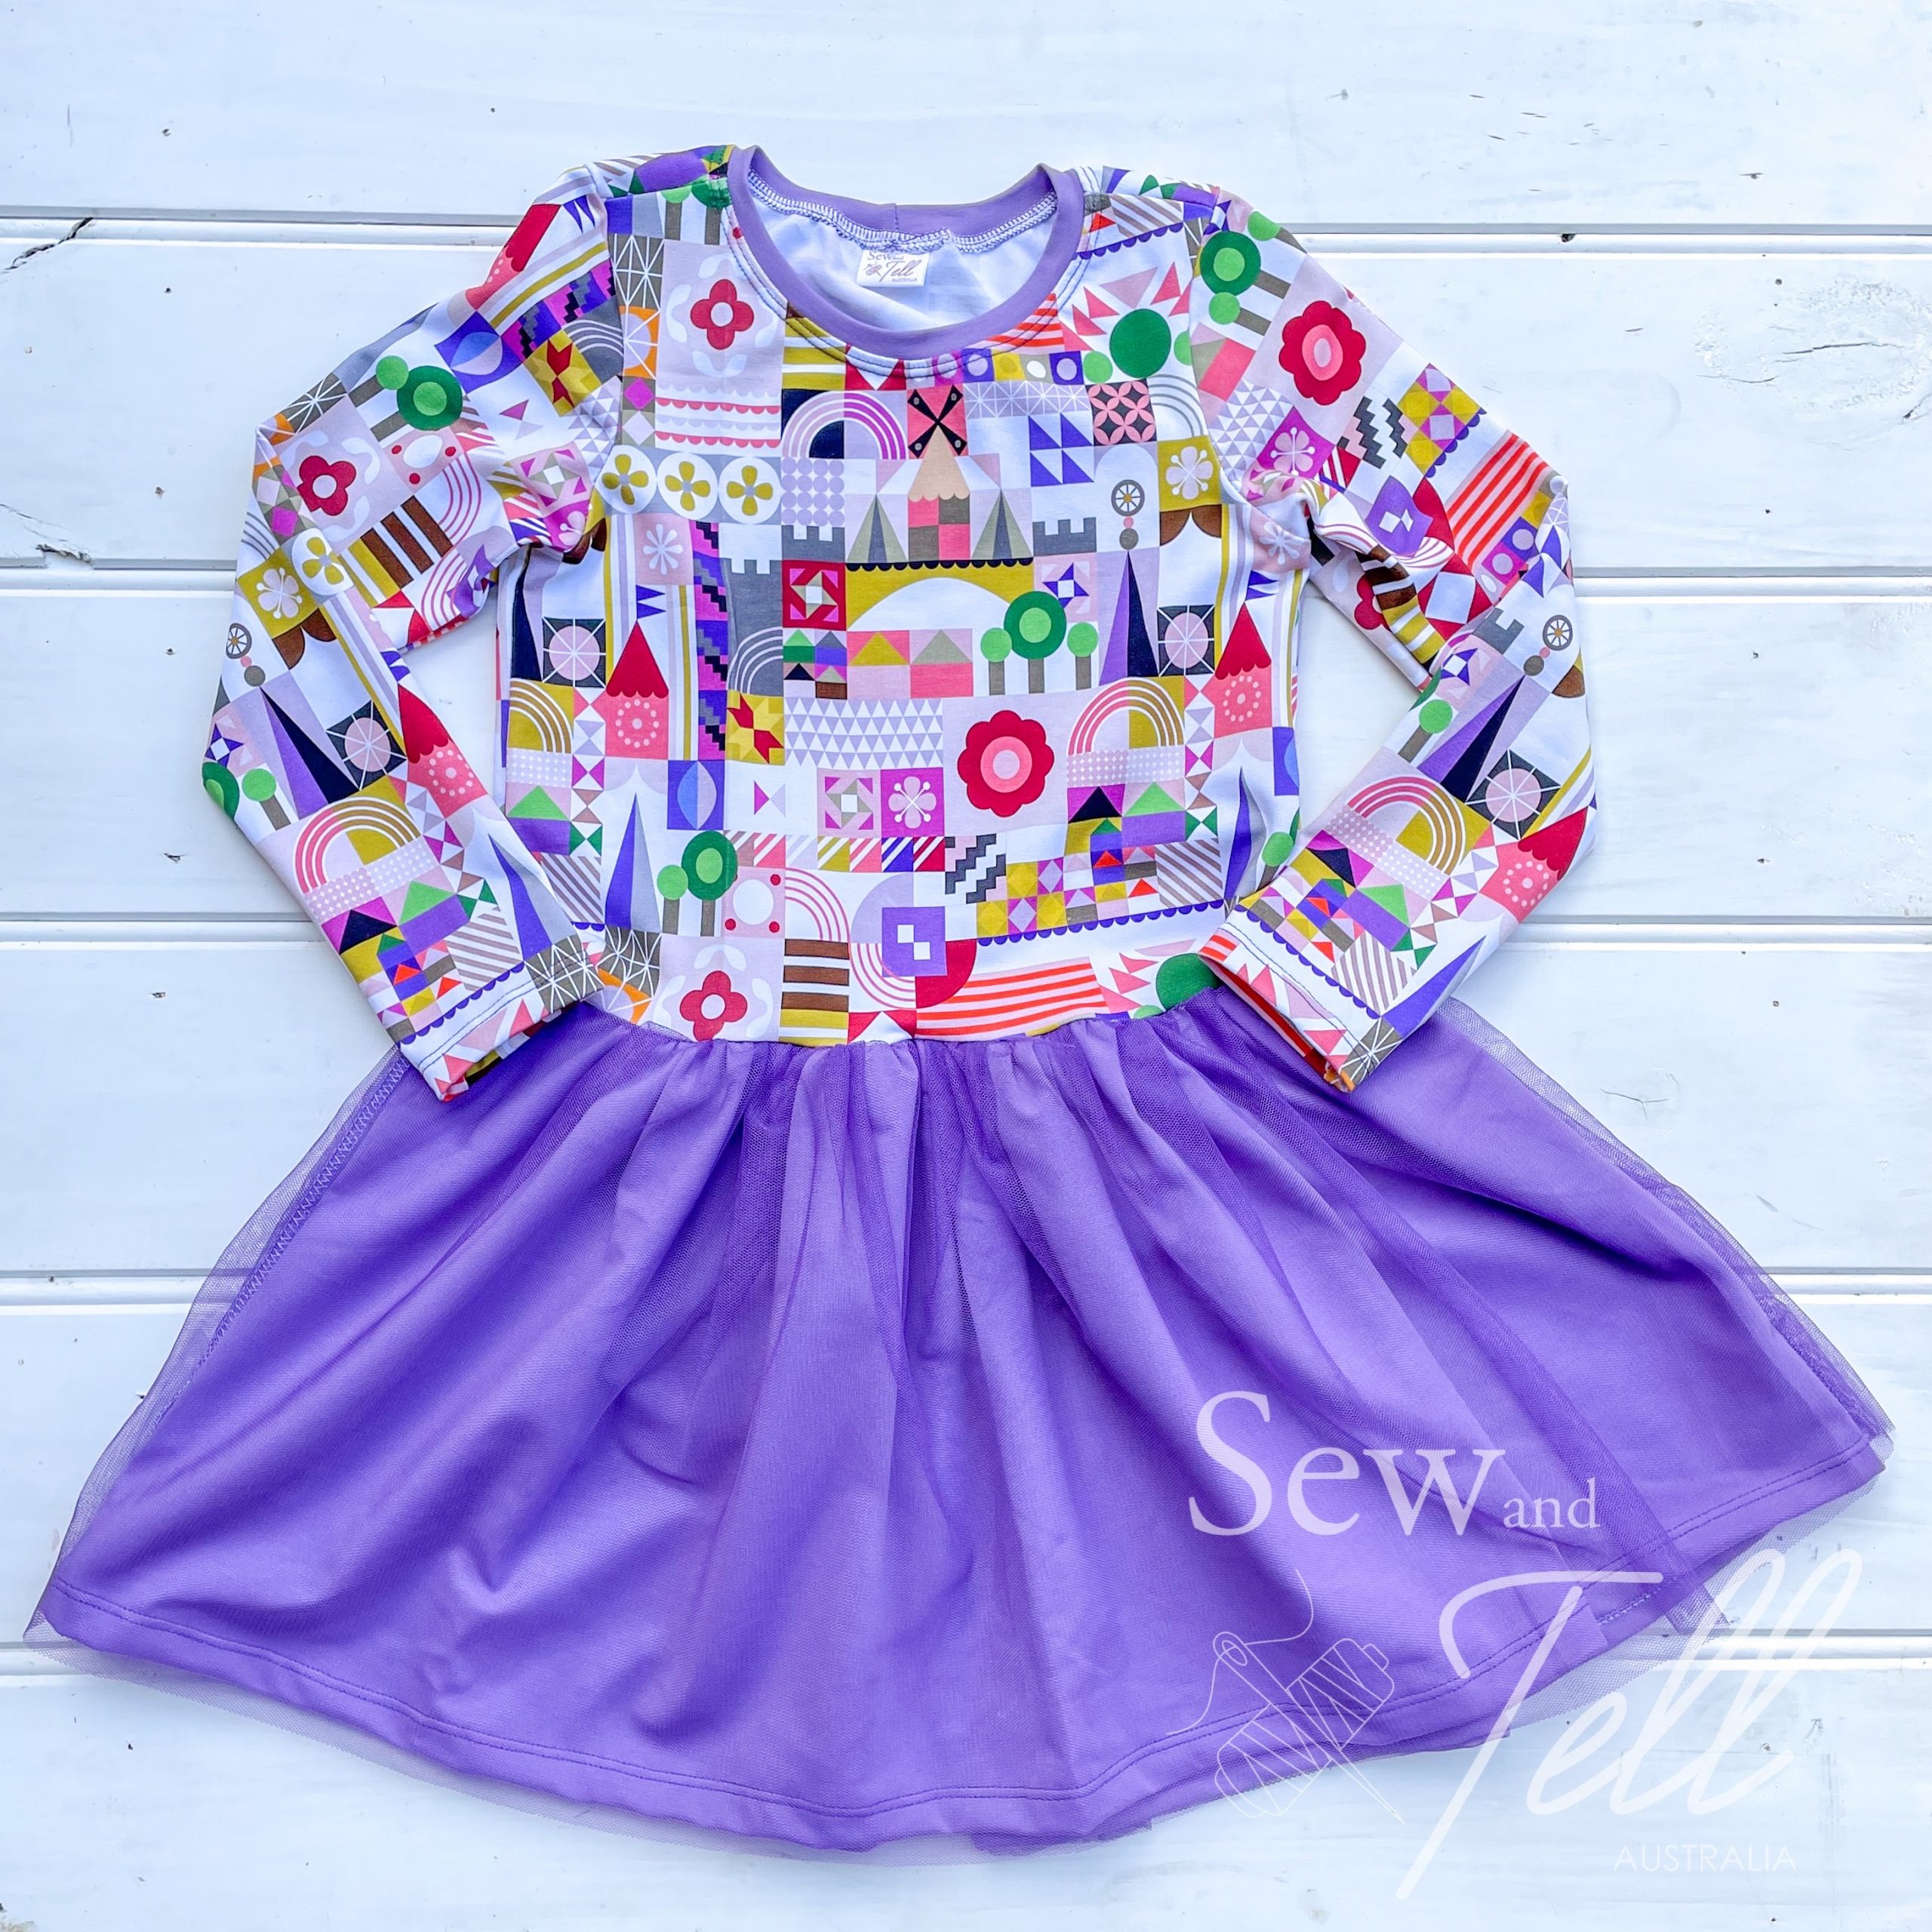
Where do I start with this dress? It is so much amazing all rolled into the one beautiful gown. From the minute I started cutting it to the last seam stitched, I just KNEW it was going to be a stunner, and I was right.
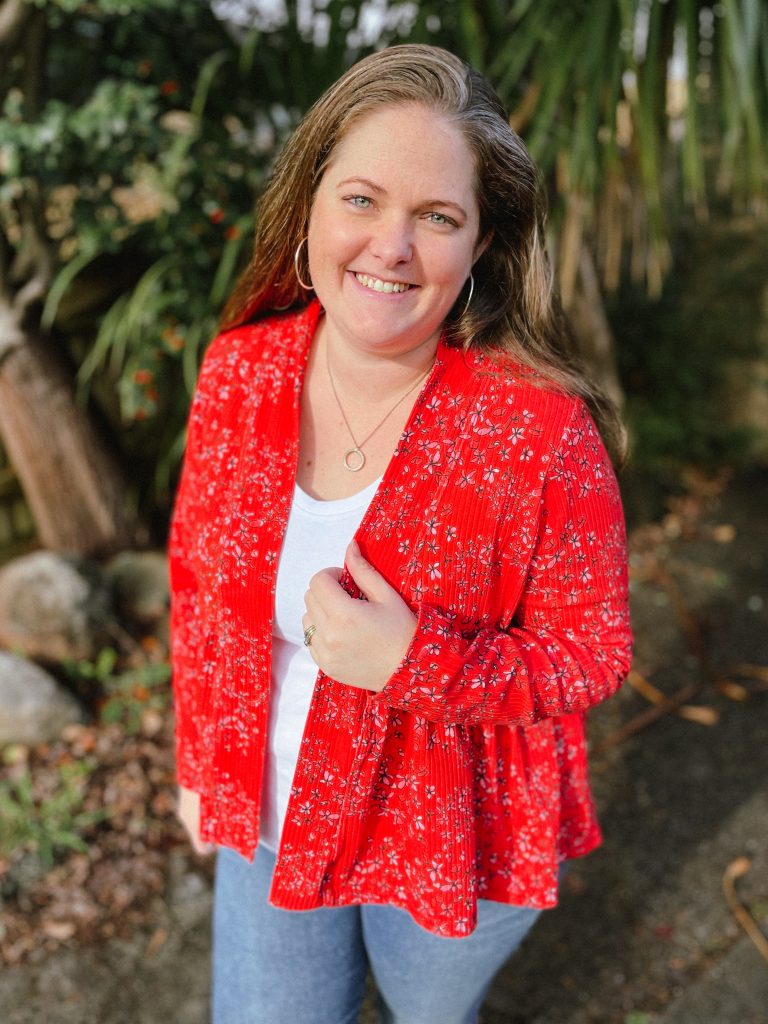
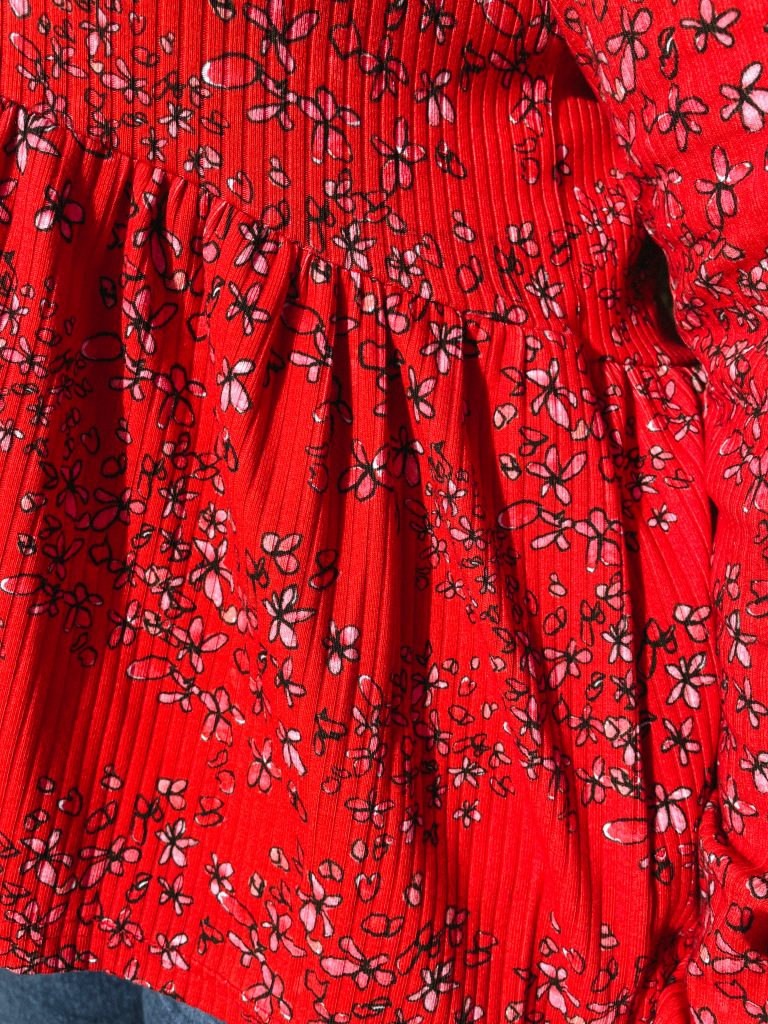
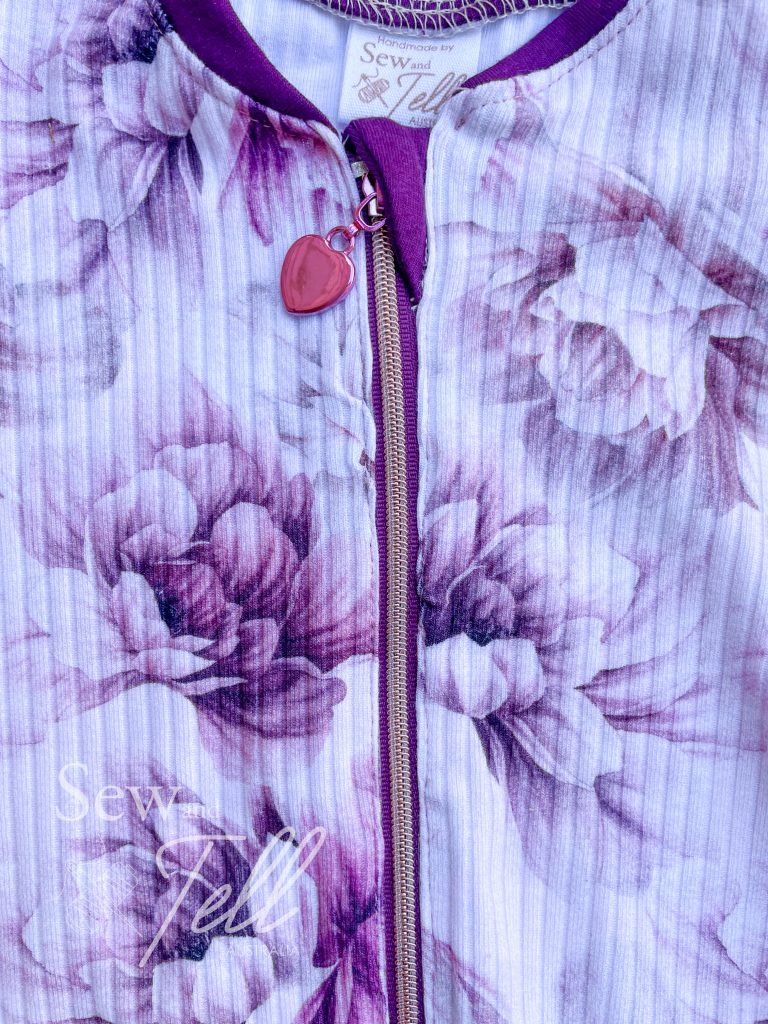
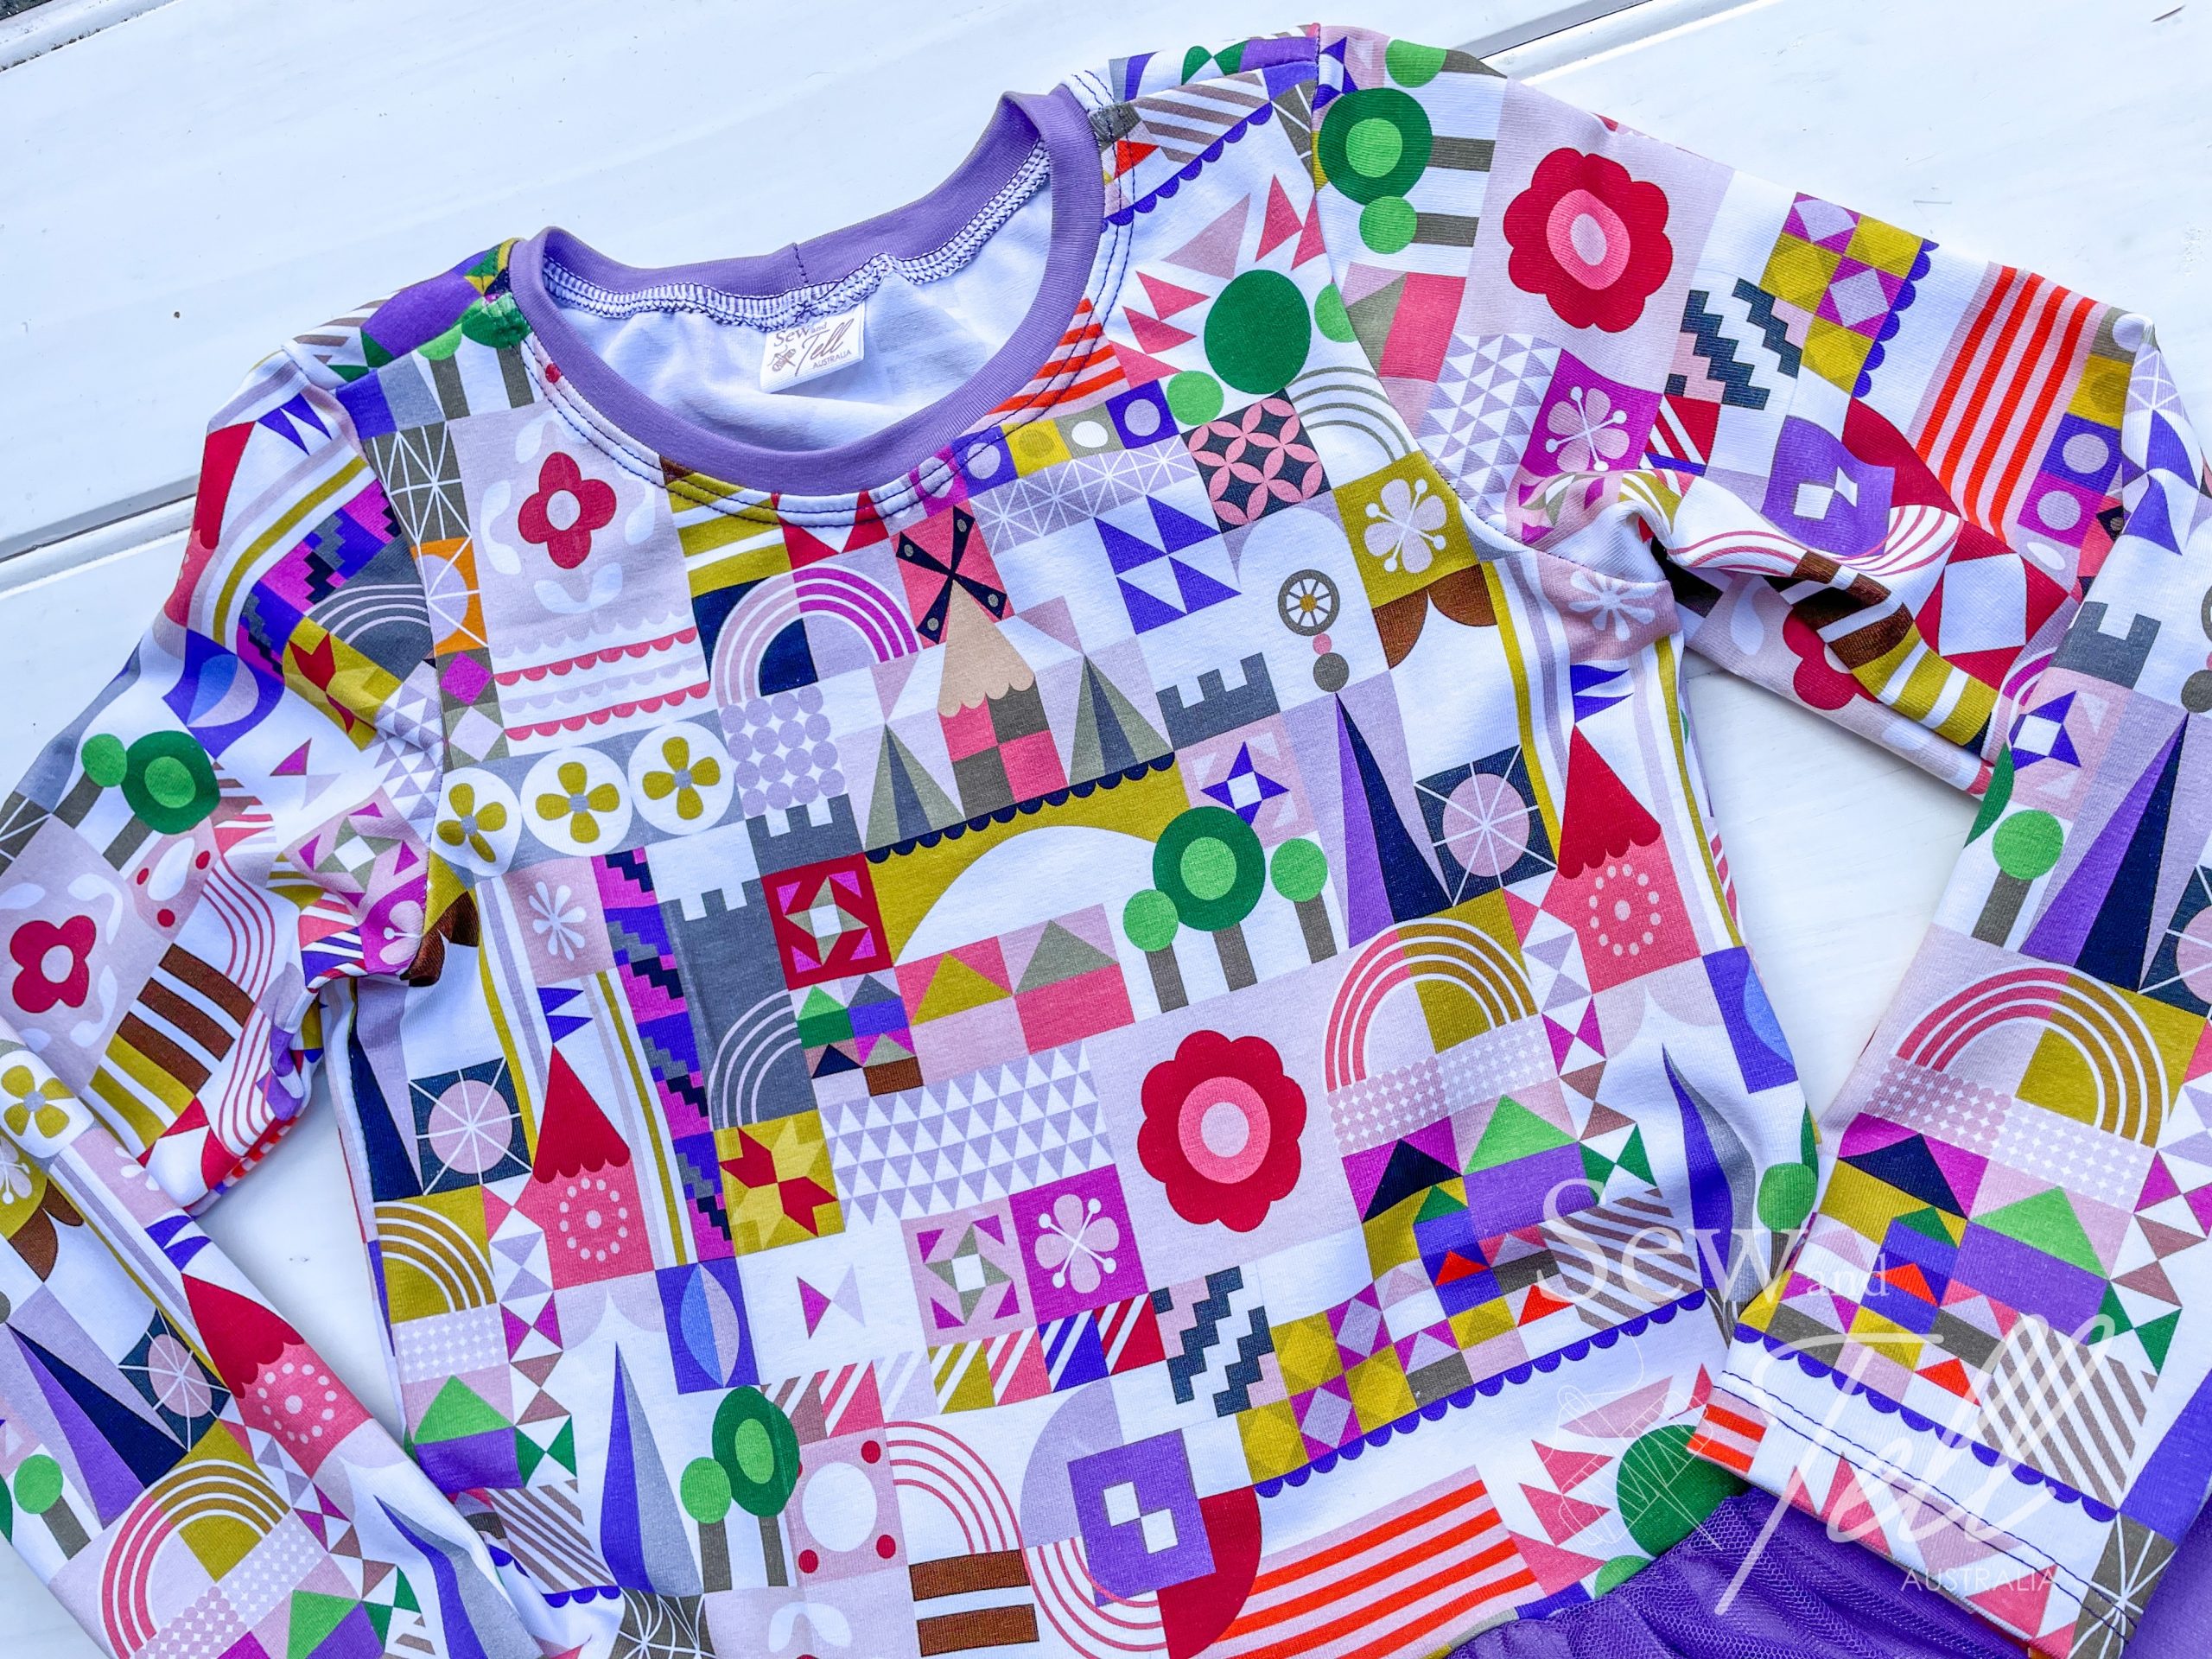
Now, fair warning, this dress is HUNGRY. I had a 2m piece of fabric and still didn’t get an XXL out of it. To be be fair though I didn’t preplan my cutting and could possibly have ended up making it work if I had done better tetris, but as it was I ended up putting an SOS out to my friend Laura to grab her 2m piece so I could finish it in time to go away with it. Bonus is I now have another 1.5m of fabric to play with! And I LOVE this print.
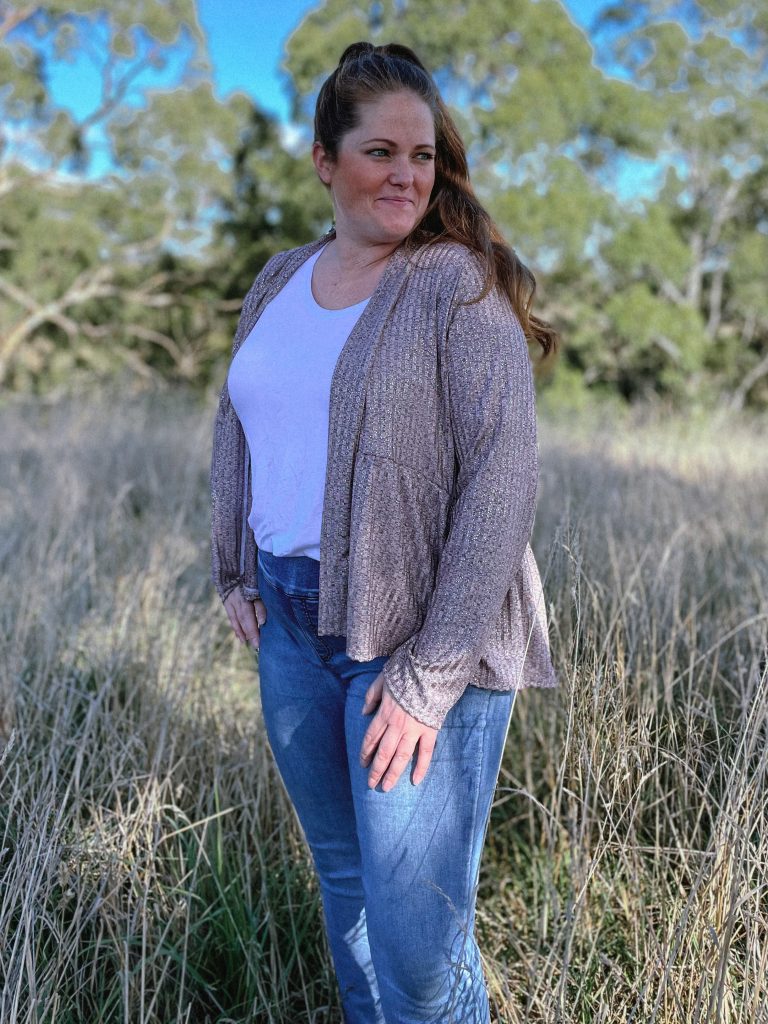
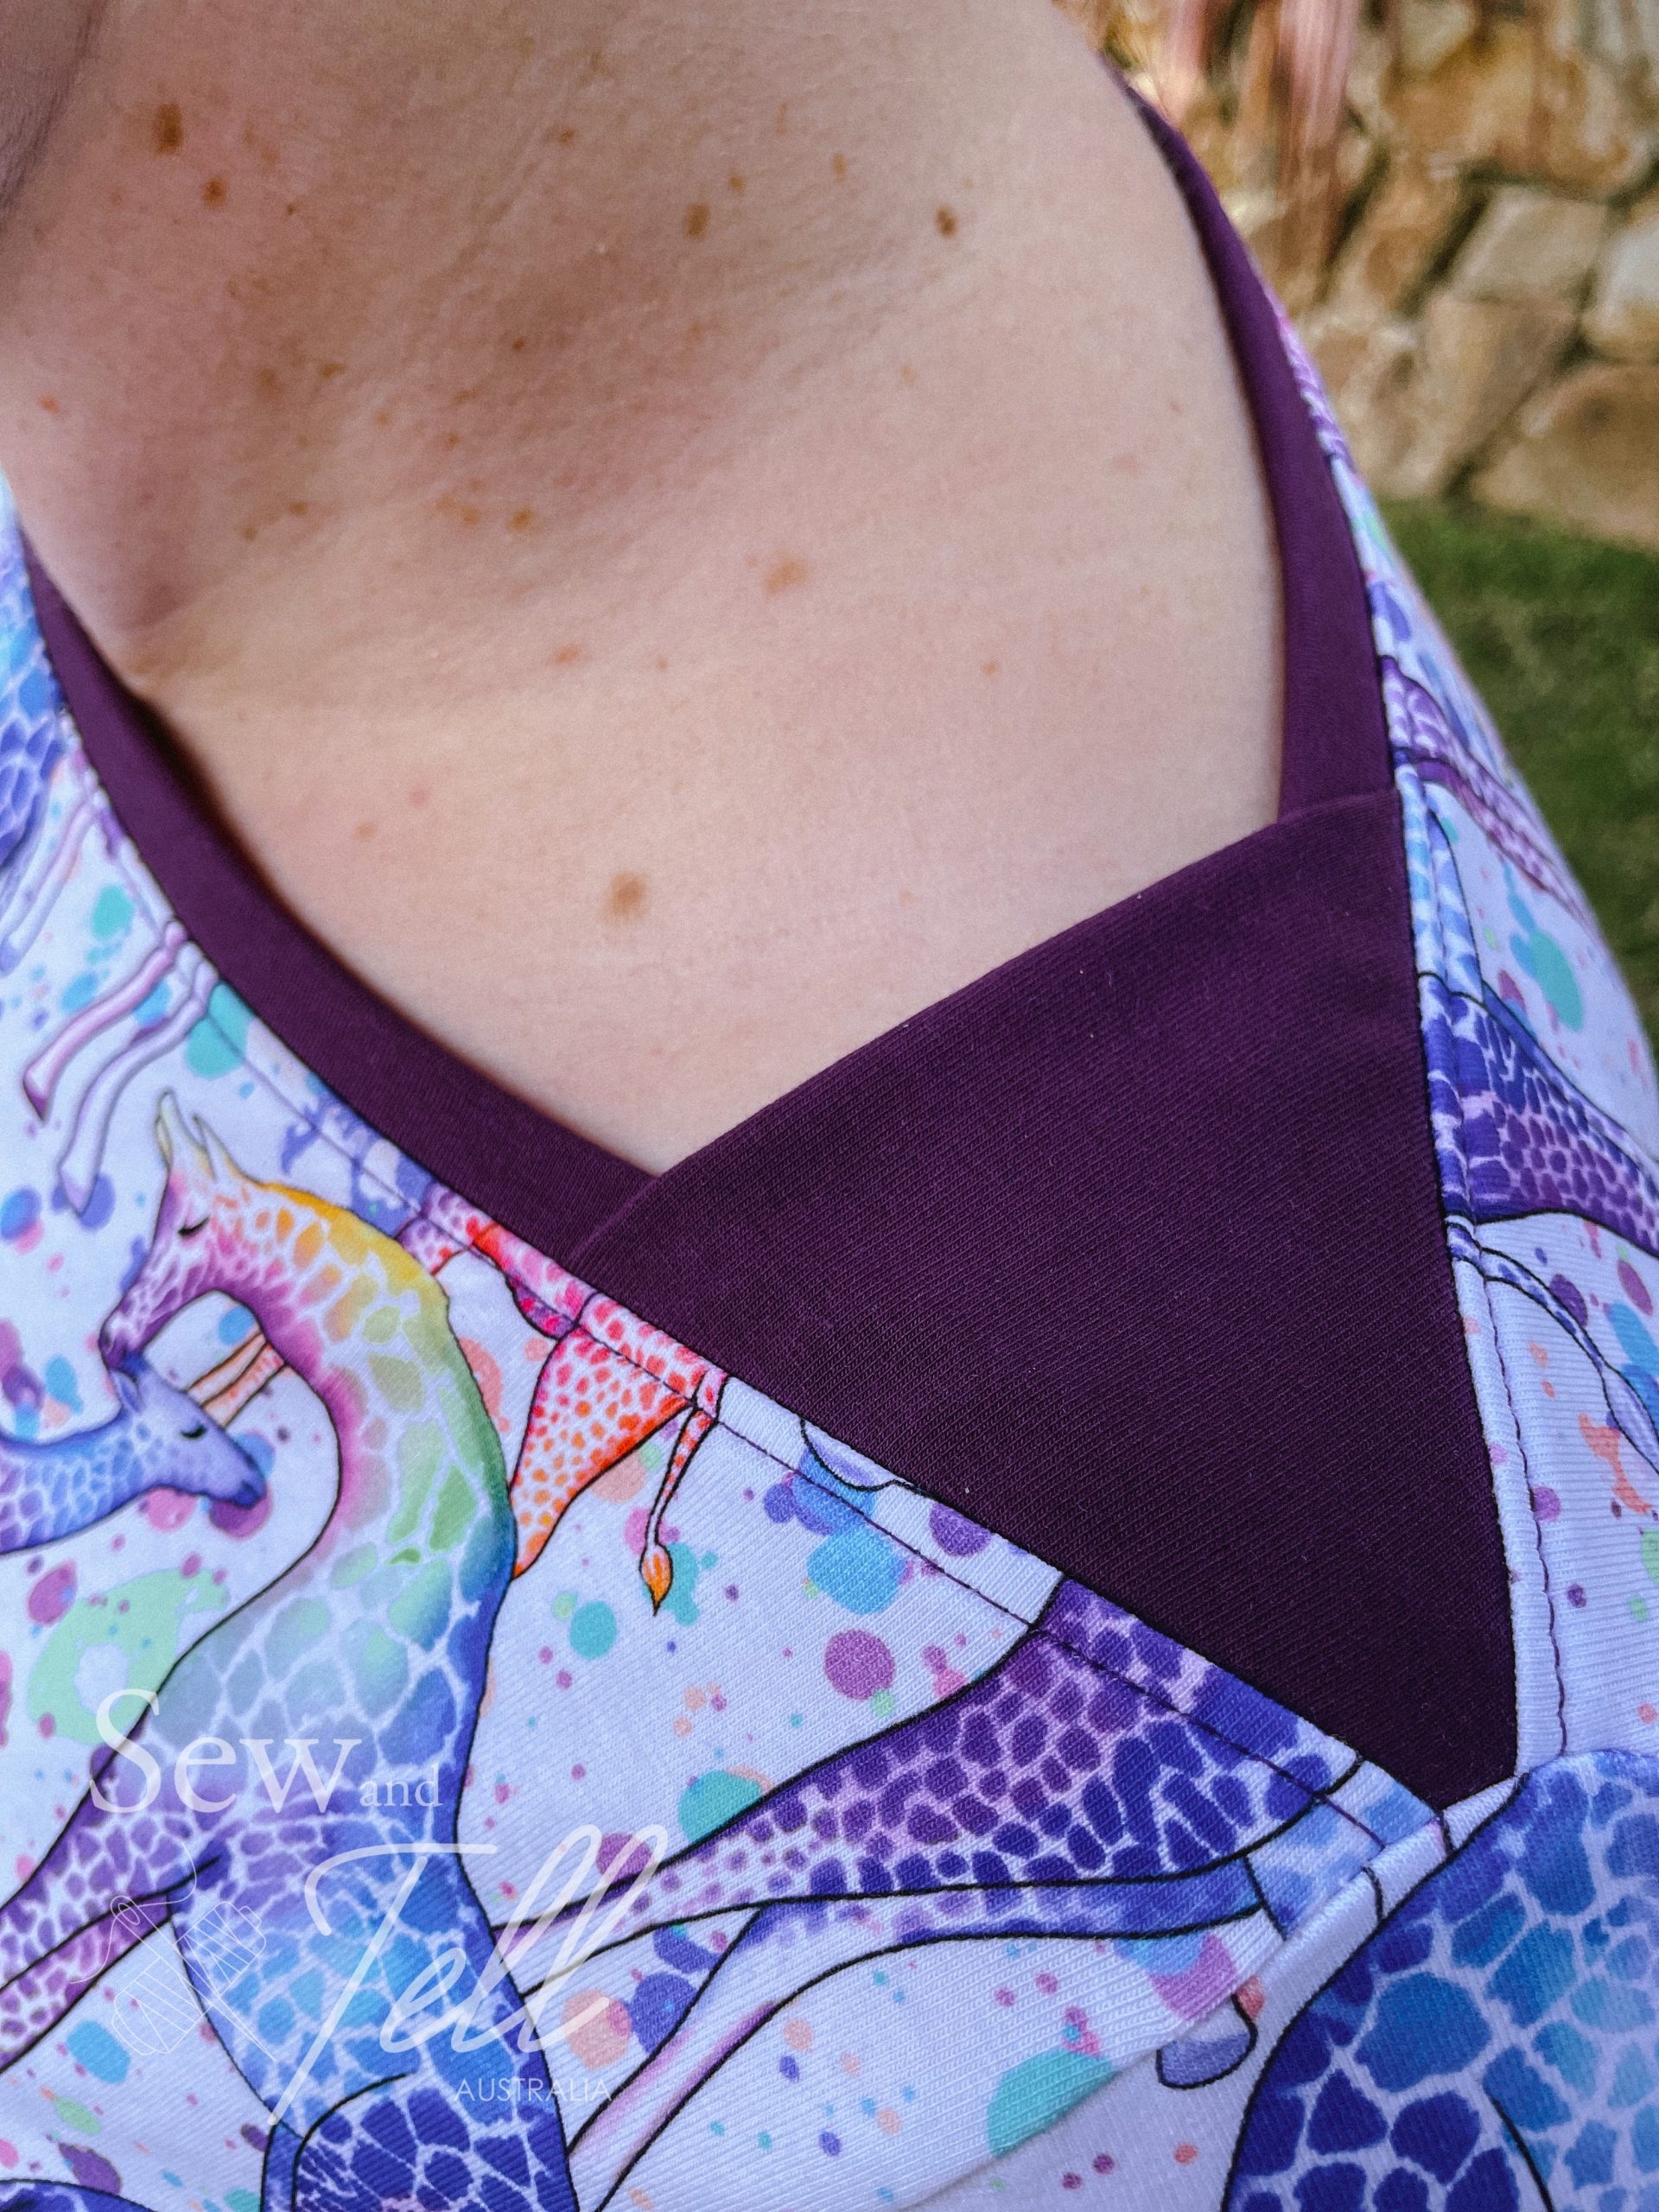
I originally cut the smaller v neck but decided I wanted to show off my assets and cut the deeper V and I’m glad I did. It’s just the right amount of cleavage I think, and I fortunately have the chest to show it off haha.
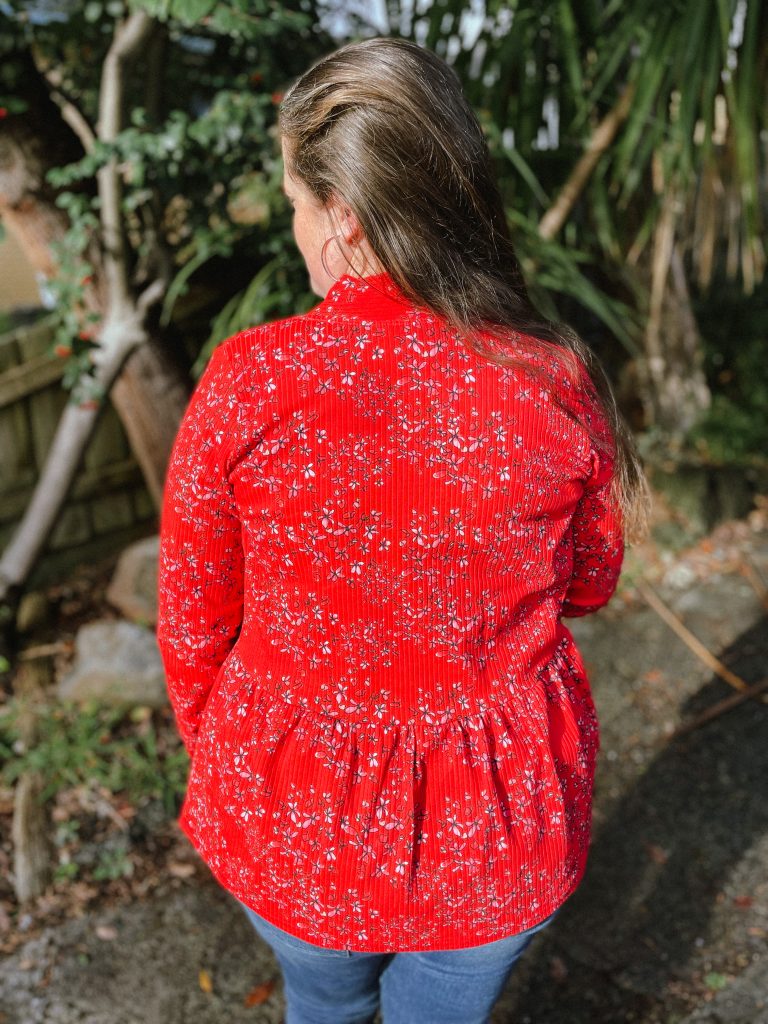
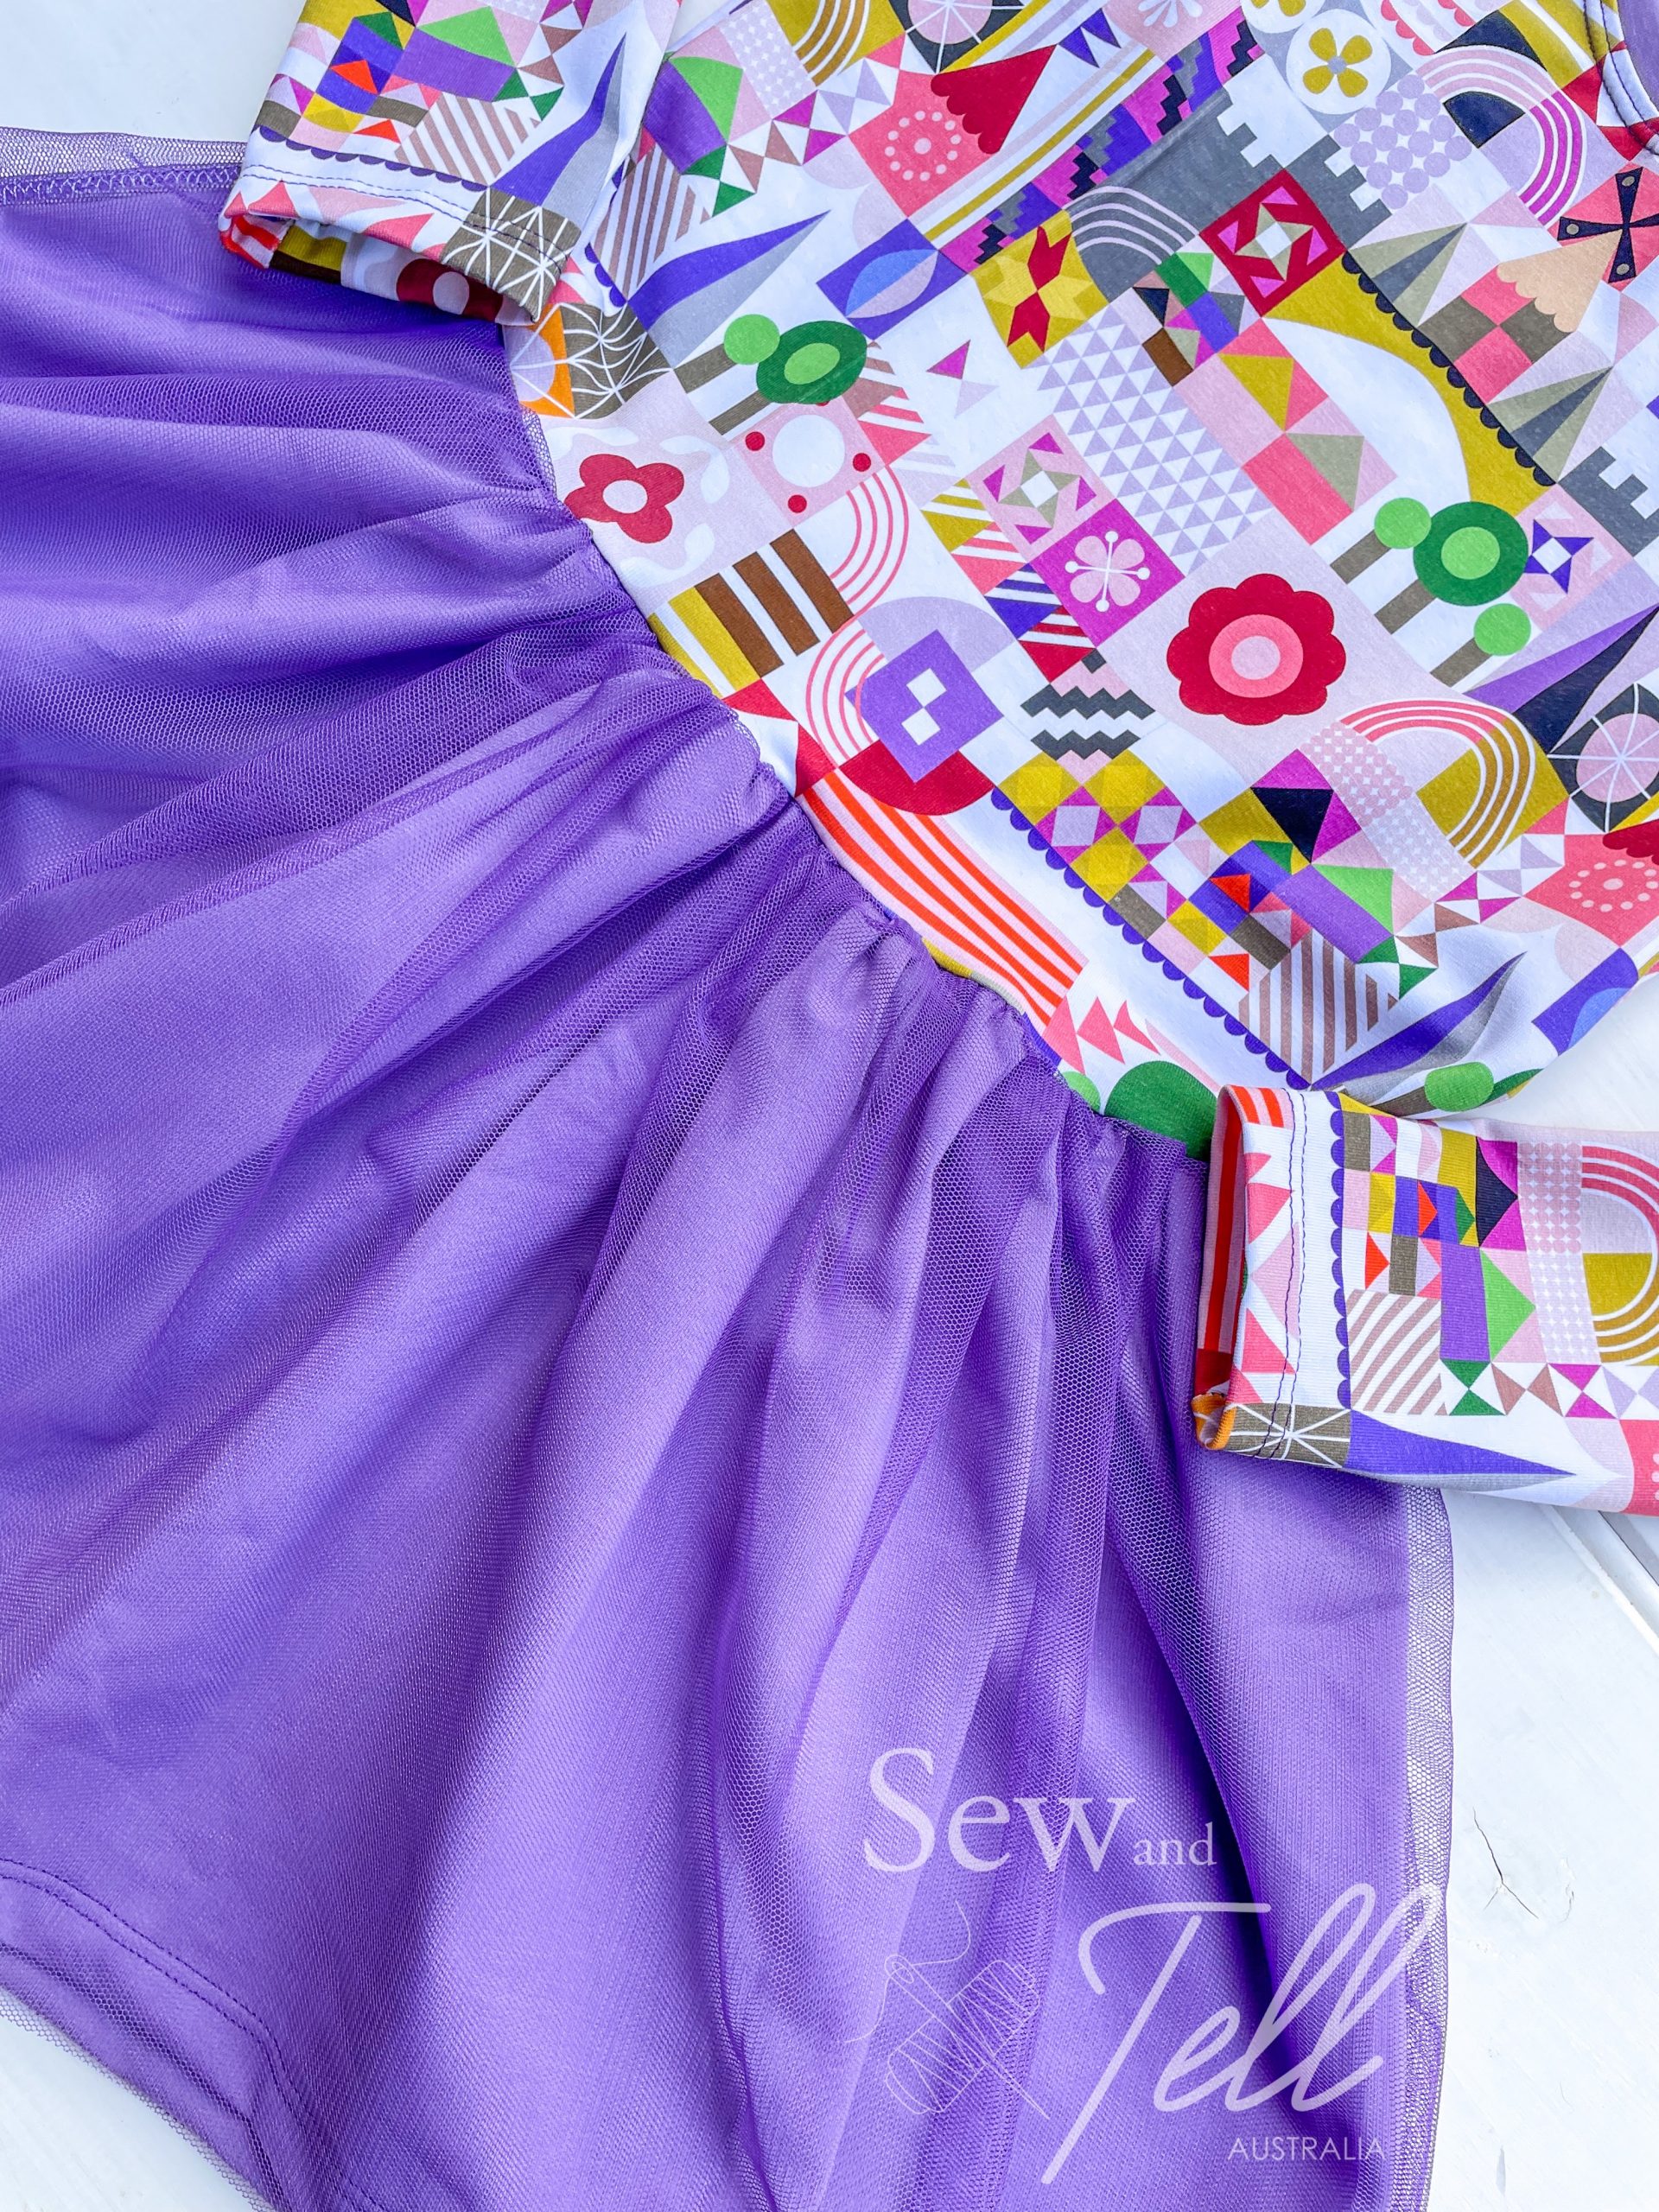
As with a lot of garments these days for me, tummy flattering is a big consideration. The princess seams in this one, plus being a knit fabric, meant it hugged in all the right places and the waist sits at just the right place to skim over anything I’m not happy with. If I make another one I may take an additional inch or so for personal preference, but I am not unhappy with this one.
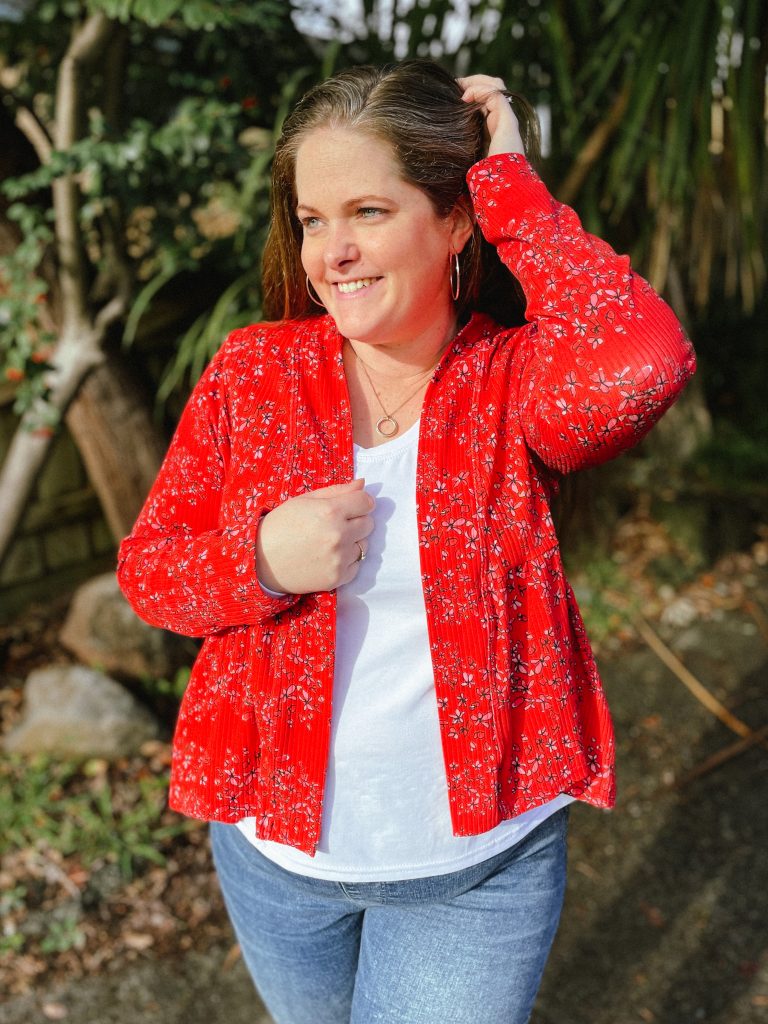
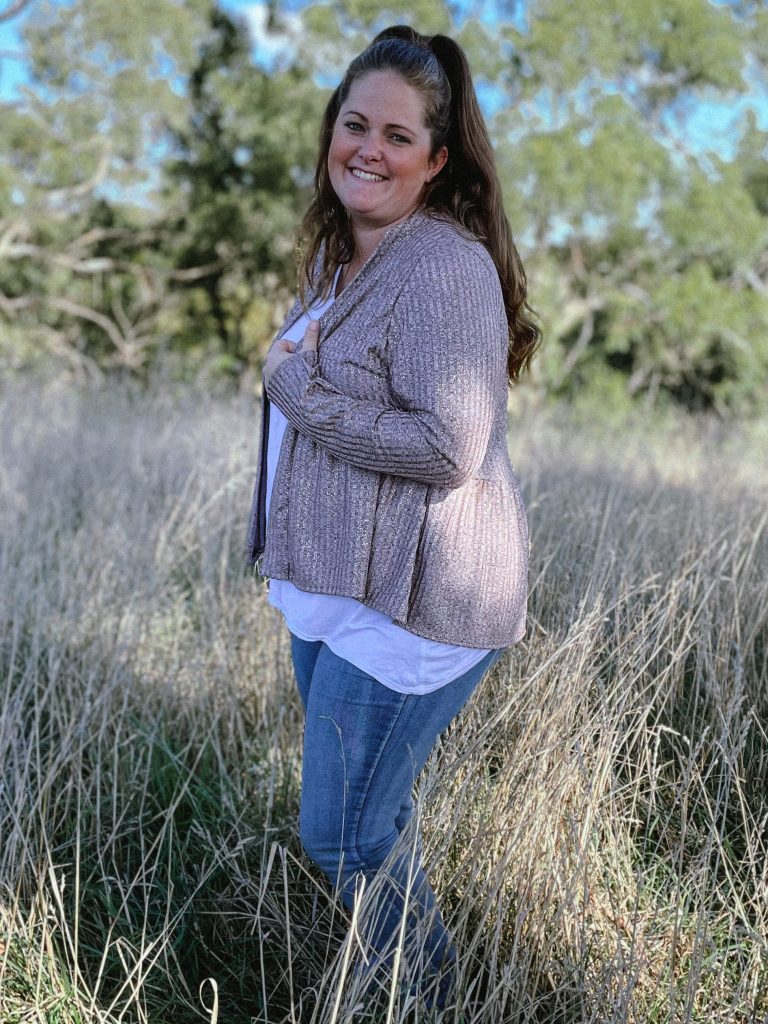
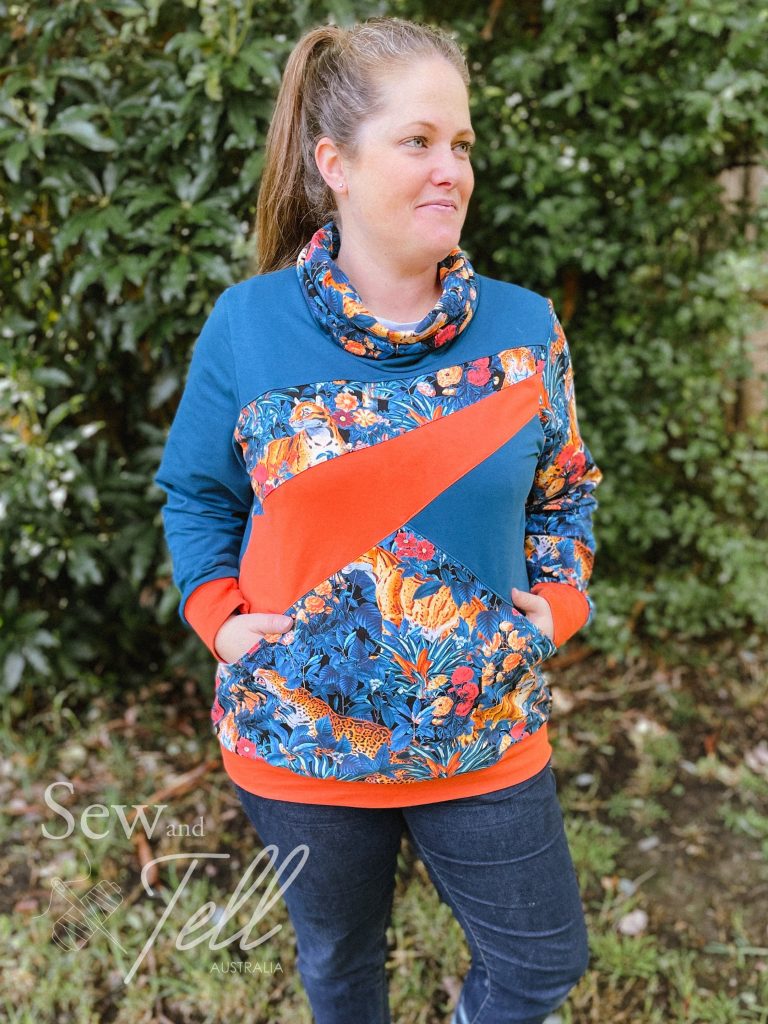
My other big plus on this one is POCKETS. and those pockets go DEEP. Quality pocket size and nicely hidden in the sides. I could fit my phone & Puffer easily plus I reckon I probably could have got a bottle of wine in there if I tried hard enough haha.
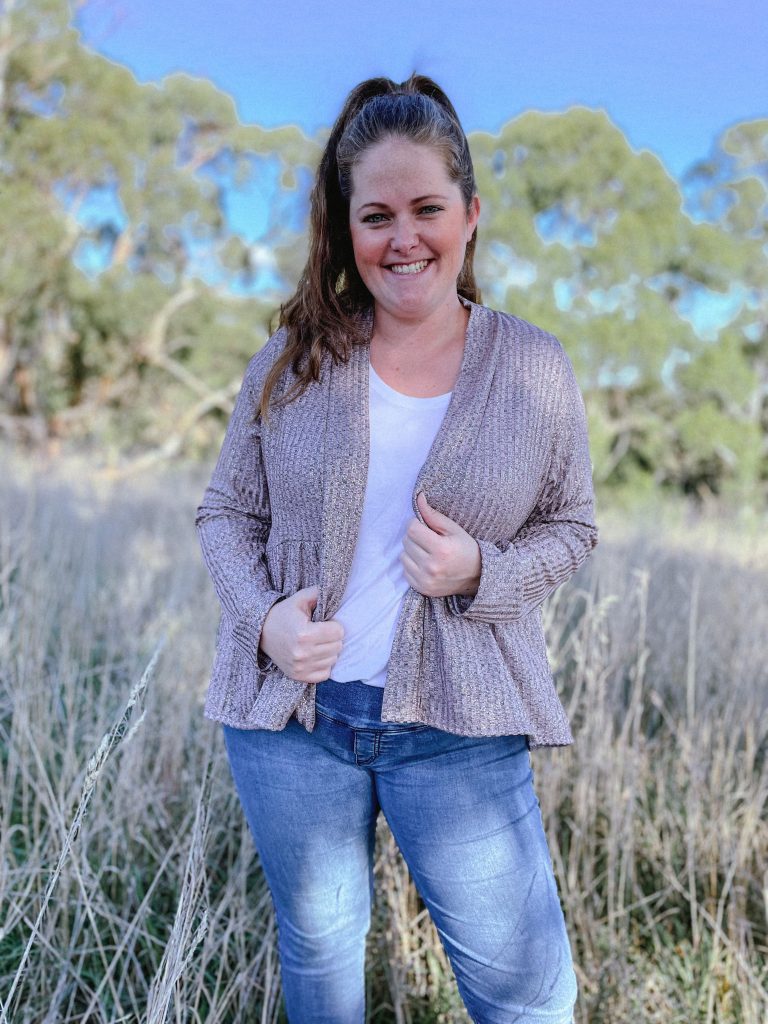
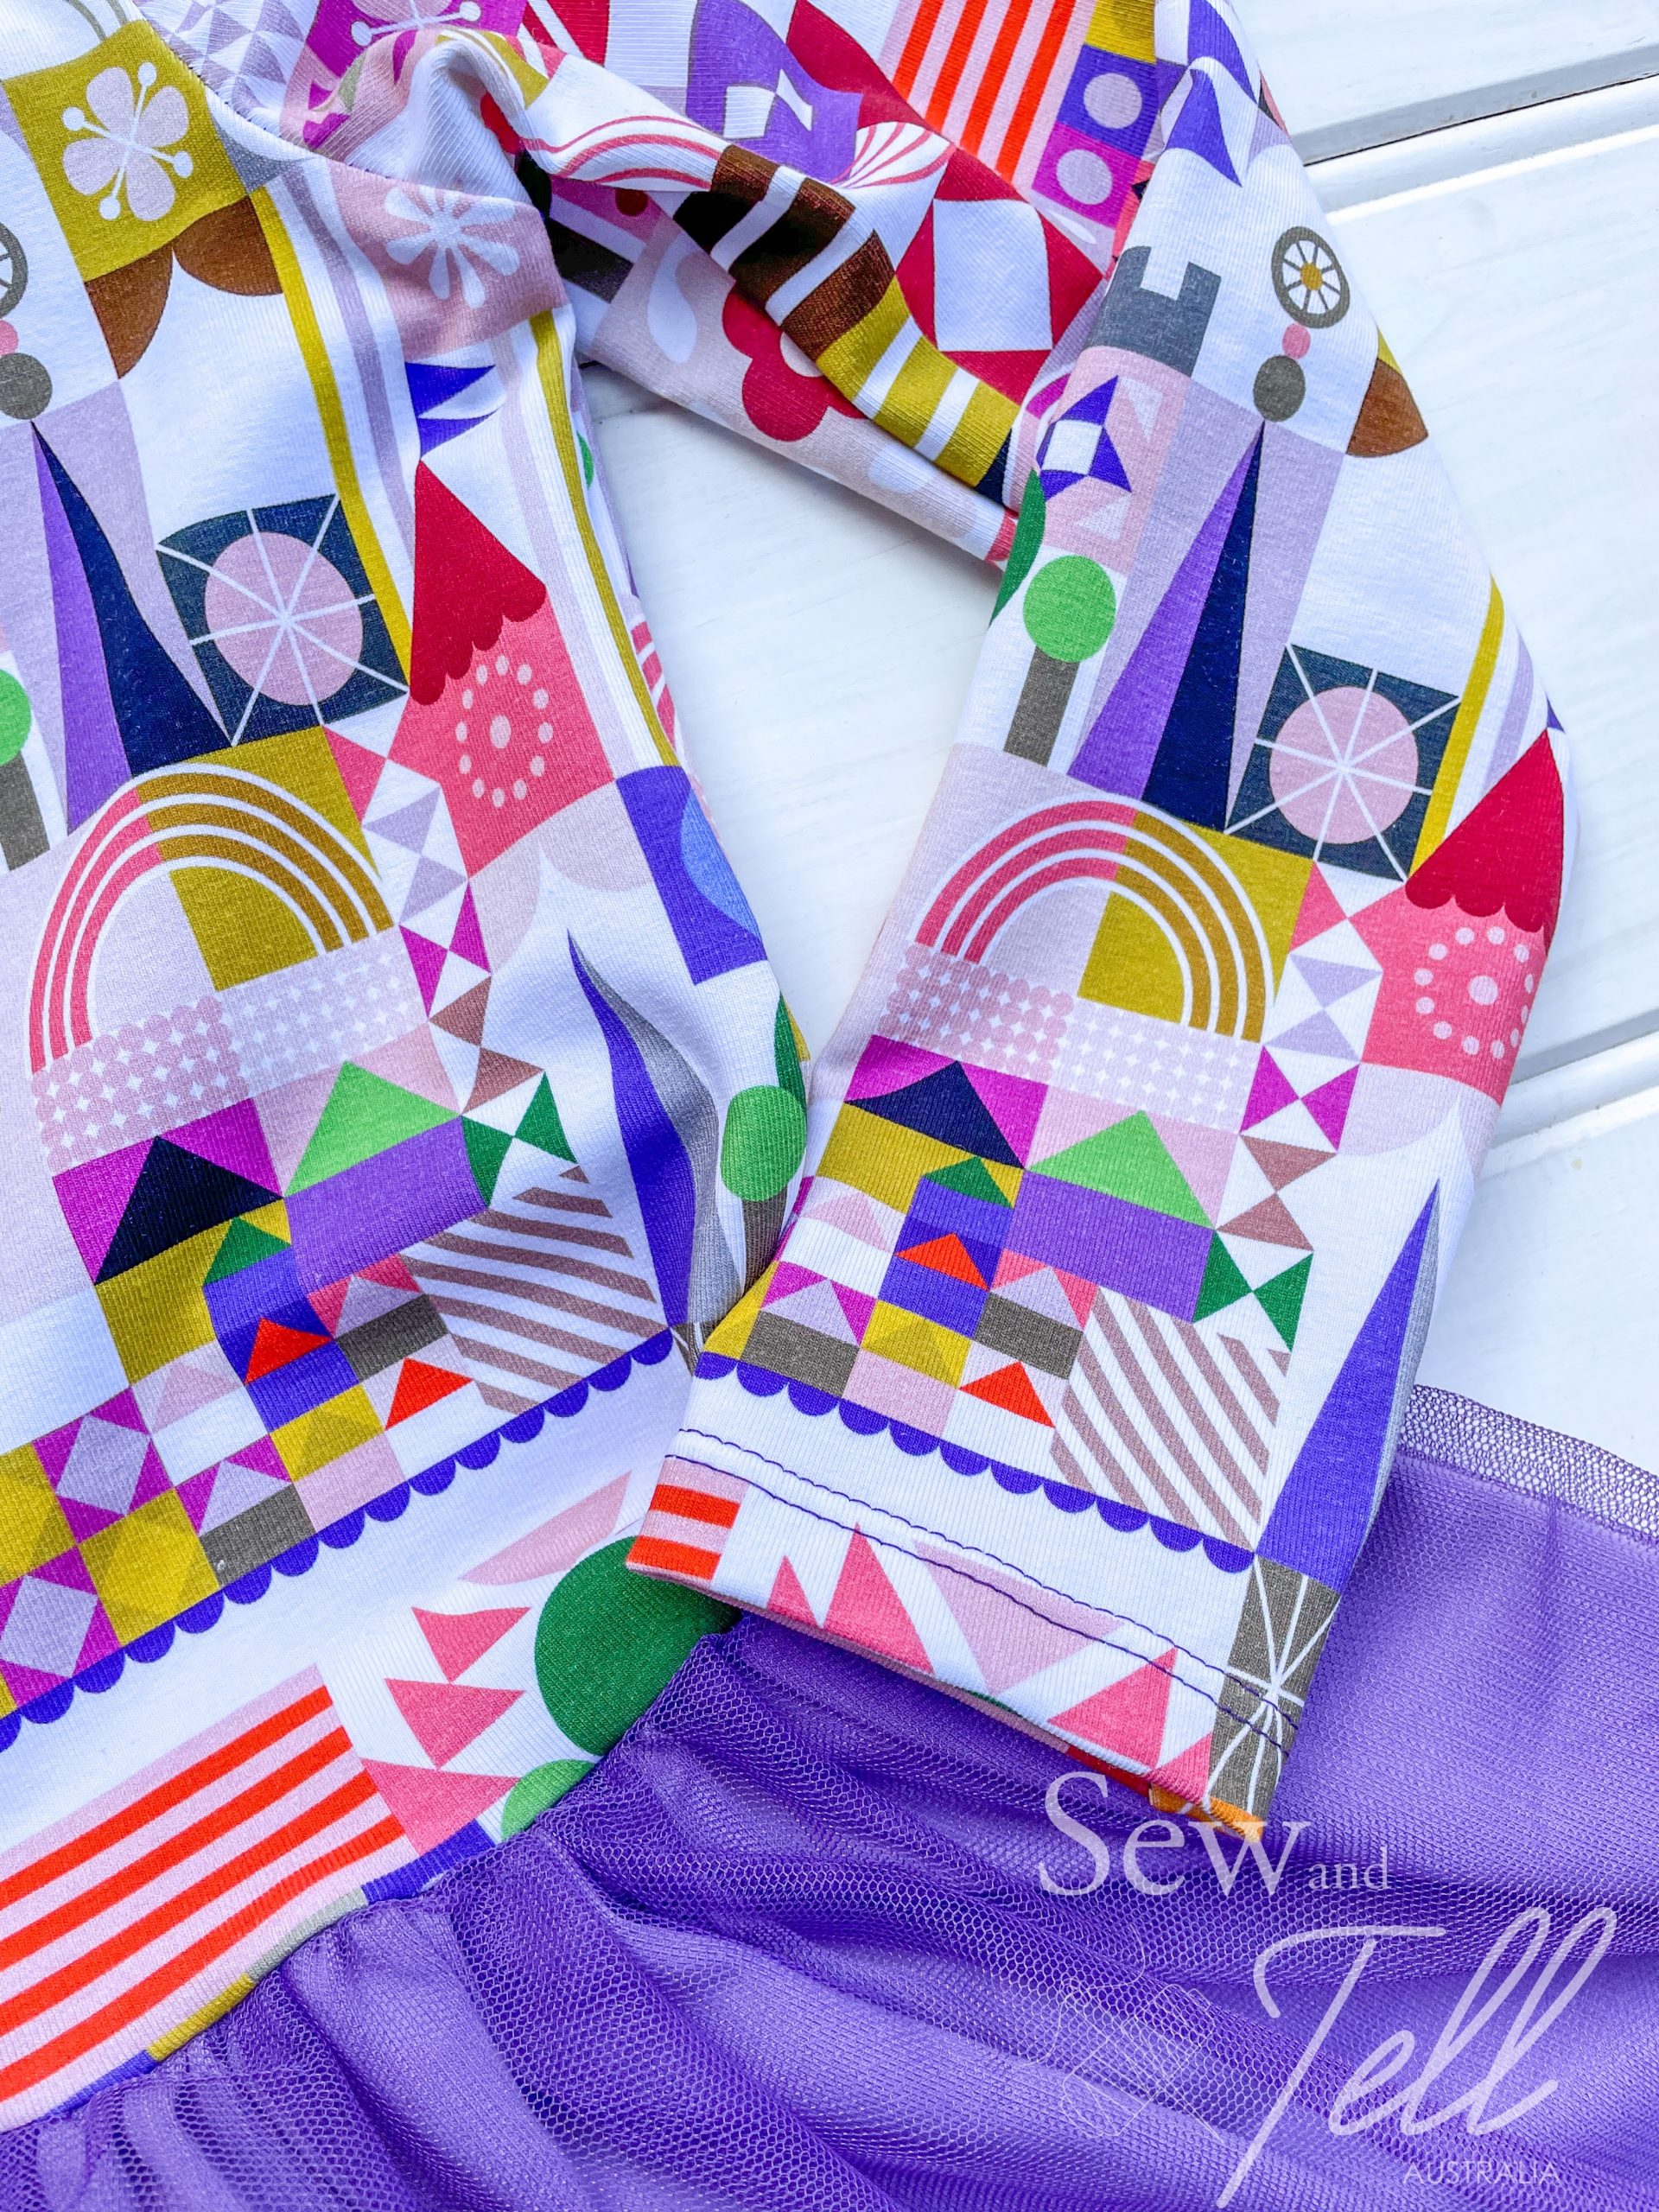
10/10 for me with this dress. The print, the cut, the pockets. Plus Plus Plus!! I felt very beautiful wearing it to my step mums 60th in Far North Queensland.
Gallery: